Kurt Zimmerman is a member of the Michigan chapter of the R2-D2 Builders Club. He’s authored over 90 children’s and science fiction books and enjoys woodworking, architectural drafting, and restoring vintage Pontiac cars.
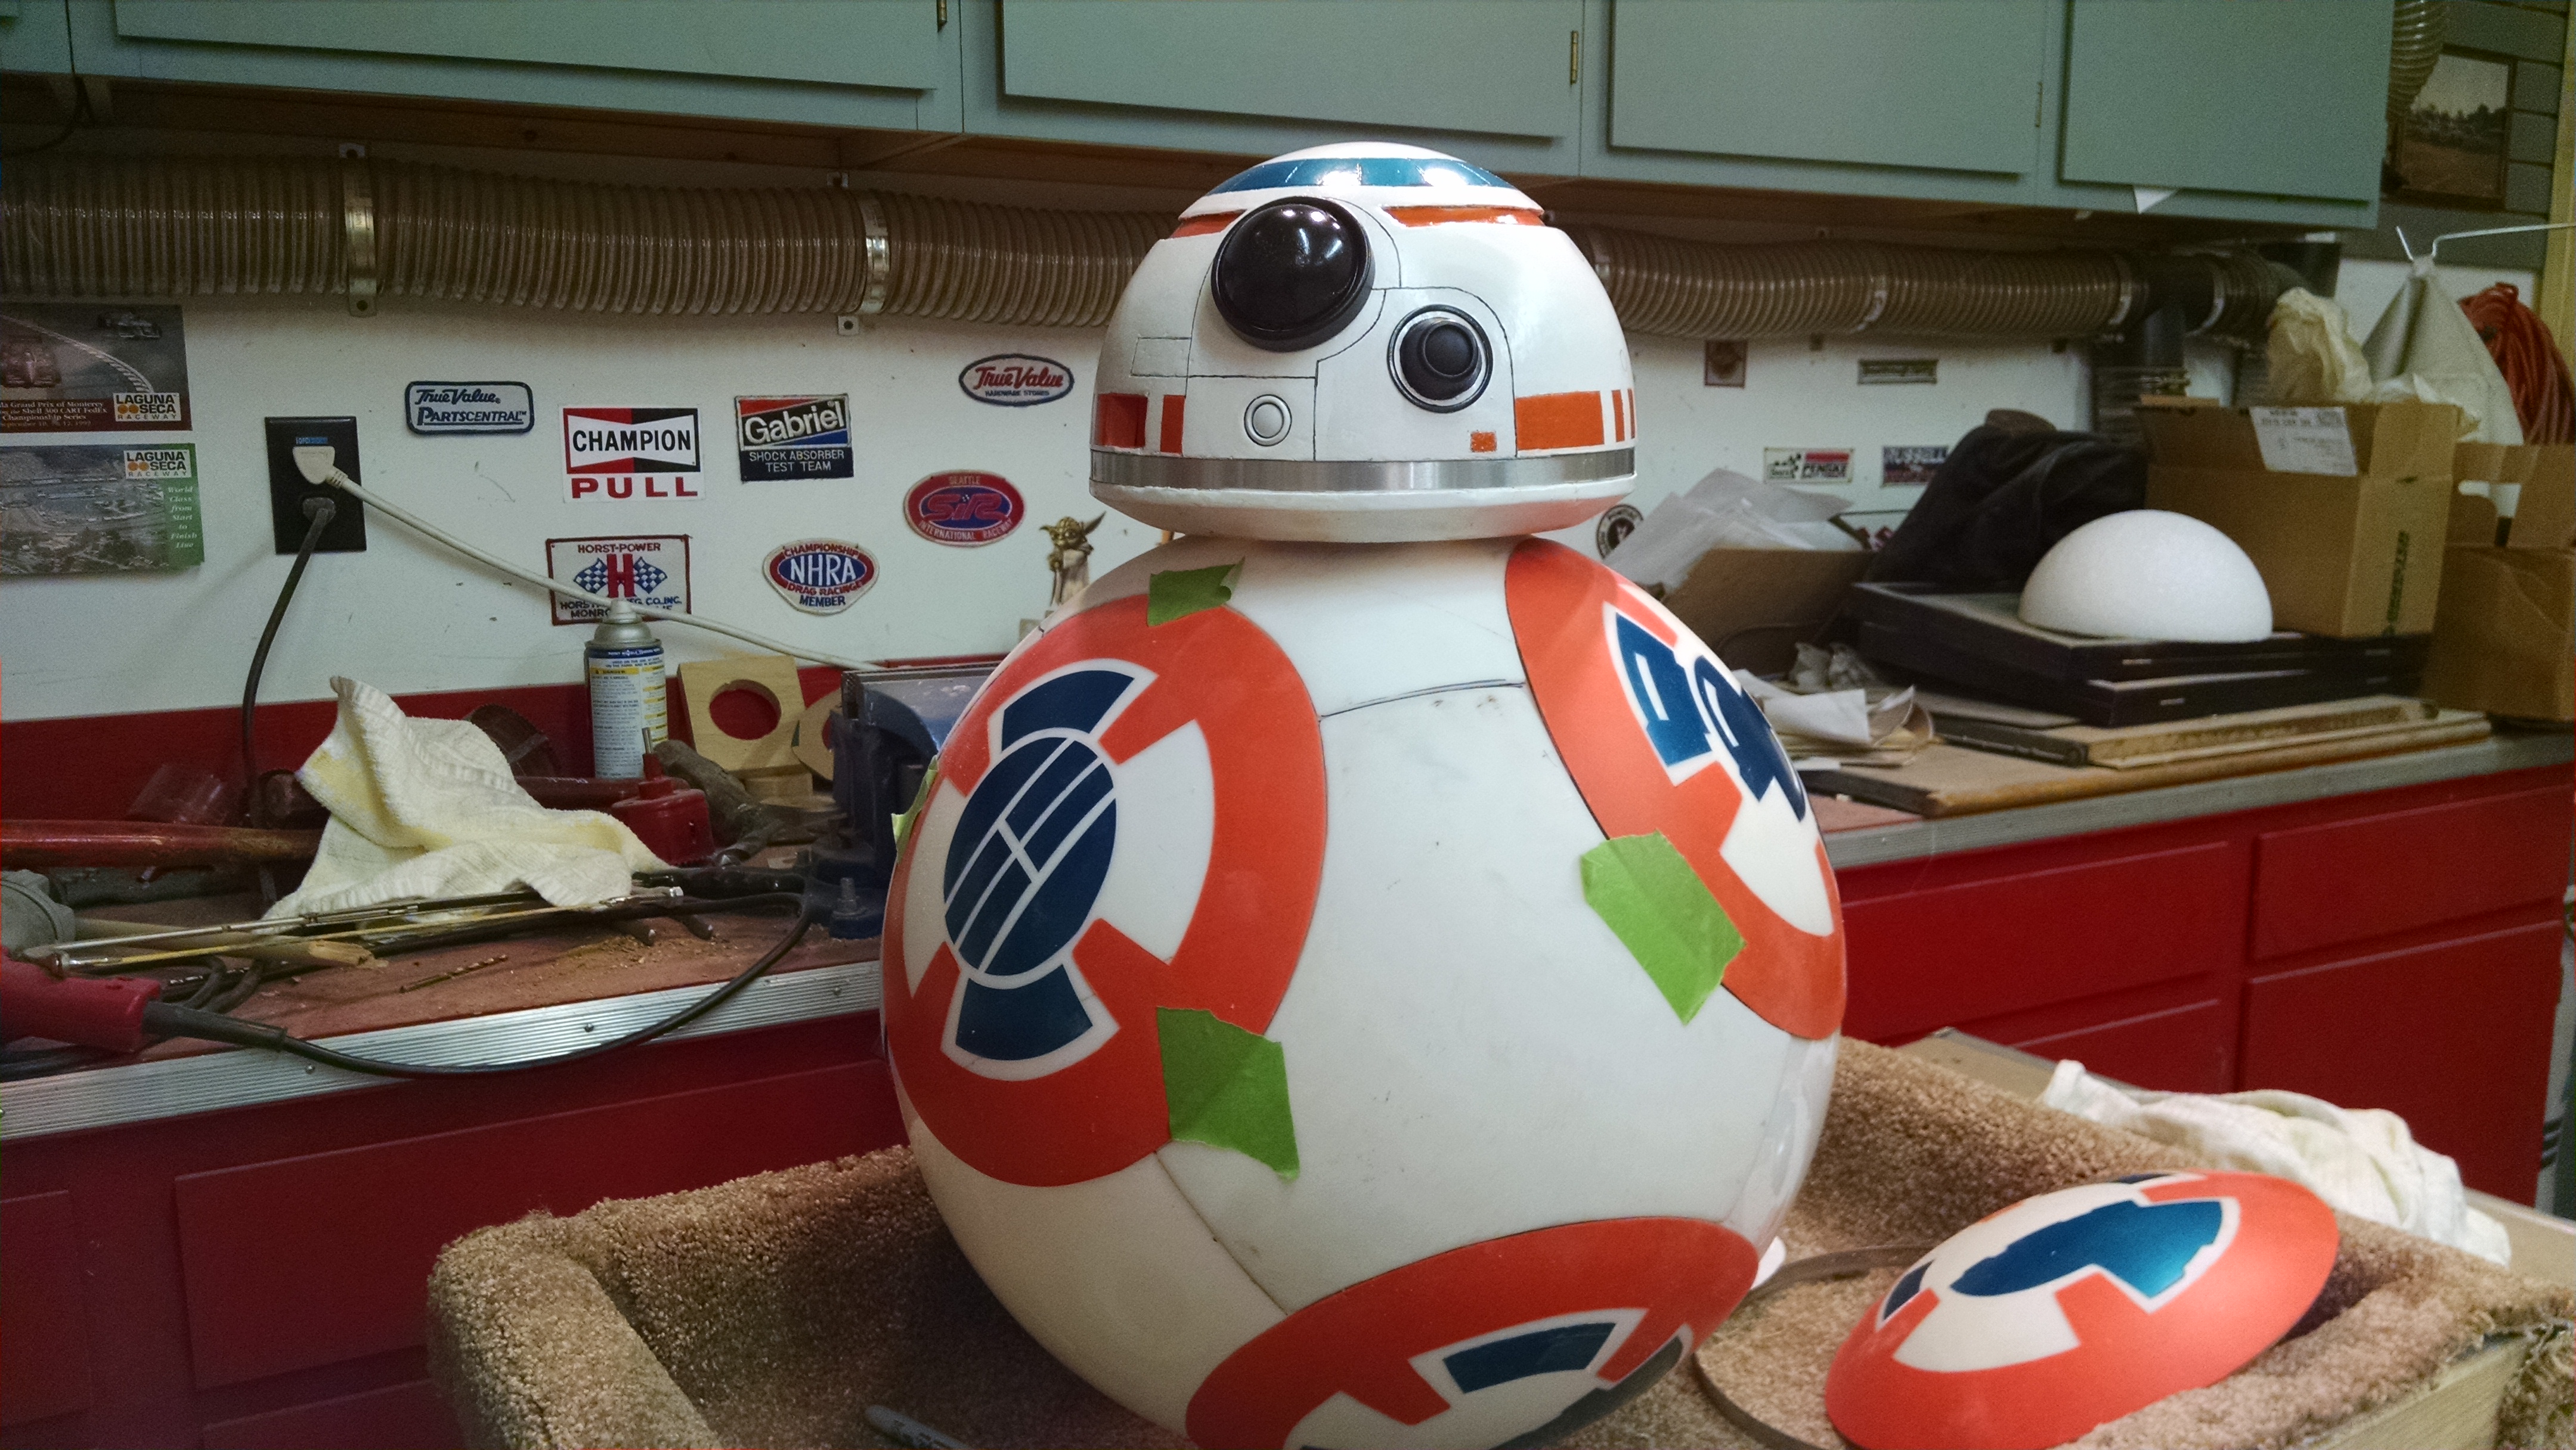
Kurt Zimmerman’s nearly-completed full-size Star Wars BB-8 droid.
What the heck was that?
This was my first impression of BB-8 when a 3-second glimpse of it was revealed during the first “teaser trailer” for Star Wars Episode 7. No one had seen a droid such as this. A dome bouncing along on a rotating ball.
I had to have one.
Project Steps
1.
I reasoned that I could drive a ball with a remote control tank inside. The trick would be to keep the dome from falling off. Three weeks later, I had an outer shell with a finished Styrofoam dome. The dome had five cannibalized computer mice underneath, their rubber balls replaced with ⅞” steel bearings. The inner tank had a framework attached, supporting an array of five magnet columns, spring-loaded to keep them in contact with the inner ball while the tank crawled around the interior. This design failed for two reasons. Firstly, the tank only touched the ball on its four corners, so there was little traction. Secondly, the inertia of the droid when it stopped kept the lower ball rolling, causing the upper dome to tip off. I needed to increase the traction and come up with a way to stabilize the ball.
Steel bearings installed underneath BB-8’s dome head.
The solution I came up with was a custom drive system that puts the weight and traction directly in the bottom of the lower ball. Two rubber drive wheels, powered by two Power Wheels motors and gearboxes, and controlled by radio with a Sabertooth 2×25 motor controller, would give me the control and traction I needed. I would be able to turn the drive system 360° and have enough power to overcome the drag of the magnets at the top of the ball. I added a sliding platform so that I could move the magnet array forward and backward inside the lower ball. A 360° servo rotates the magnet platform and the upper dome.
A series of magnets embedded within the top of the frame allow BB-8’s head to both attach and spin.
2.
For the enclosure I used 18″ polycarbonate globes from edee.com. (The community now feels 20″ is more accurate.) Because the globes come with a hole already cut out, and gaps occur when you cut out the outer shell pieces, three globes are needed.
Kurt’s recreations of the six different mysterious insignia found on BB-8.
3.
To stabilize the droid, I purchased the only “old school” gyroscope I could find, but it didn’t have enough rotating mass to stabilize such a large ball. To add more rotating mass, I built four additional gyroscopes out of discarded computer hard drives, stacking four discs in each drive and spinning them with a control circuit, powered by a battery.
I also tried to replicate the different emblems on the sides of the body. And now that we have better pictures of BB-8, I plan to rework the outer shell to make it even more movie-accurate.
Project Update 9/30/15
The steel bearing I was originally using to allow the head to roll didn’t work out. In fact, they were the things that kept BB-8 from rolling! The magnets had to be strong enough to retain the head, and magnets that strong also kept the steel bearings from rolling.
I replaced the steel ball bearings with plastic ones. The only plastic ones I could readily find were plastic bingo game balls, and they worked great. I drilled into the styrofoam head and embedded magnets into the foam with builder’s expanding foam, then layered them over again with glue. The magnets I used would pull the head magnets out of the foam if they were not laminated into the head. I positioned the head magnets around the center, but in between the bearing holders in the dome. You have to be careful to make sure they are all arranged with the same pole down, so they are attracted to the lower ball magnets.
The interior structure for BB-8’s motors, gyro, and batteries.
Hard lessons from my initial BB-8 build:
The gyroscopes I used are practically useless, because the weight of the drive system grew too heavy to be steadied by such a small amount of rotating mass. Electronic gyroscopes and tilt sensors are the way to go, or build a larger old-school gyroscope.
The only way to get the drive system to propel the lower ball and be able to drag the dome along with it is for the drive system to have some weight. Otherwise, you will not have enough traction to move the droid. My BB-8 weighs 36 lbs. The dome is less than one pound.
My drive wheels are too close together to turn the drive system within the lower ball, as designed. They should be spaced farther apart.
Using Power Wheels motors and gearboxes makes for one noisy droid!
A peek inside the lower section of BB-8.
This project was a lot of fun, but very frustrating at times. It does help stretch you as a maker and as a modeler, and it has been great to get to know the other BB-8 builders from around the world. There are several BB-8 builders groups on Facebook, most of whom are writing and publishing programs for 3D printers. These builders will be able to make a BB-8 that is much more screen-accurate than mine, and I wish them luck in getting theirs to move under their own power!
Kurt Zimmerman is a member of the Michigan chapter of the R2-D2 Builders Club. He’s authored over 90 children’s and science fiction books and enjoys woodworking, architectural drafting, and restoring vintage Pontiac cars.