
I’ve been working on a walking robot (term used loosely) based on Theo Jansen’s Strandbeest for quite a while. Once I decided to scale things down and cut small linkages for it on my CNC router, I soon had a mechanism that I dubbed the “StrandMaus,” and it actually looked like it might work. The problem was actually controlling it.
The most obvious solution for control of something like this that uses two motors would be to take apart a remote control vehicle, such as a tank, and wire them where the wheels or treads would normally go. Unfortunately, may of these toys use relatively heavy batteries, and, importantly, I didn’t have one readily available.
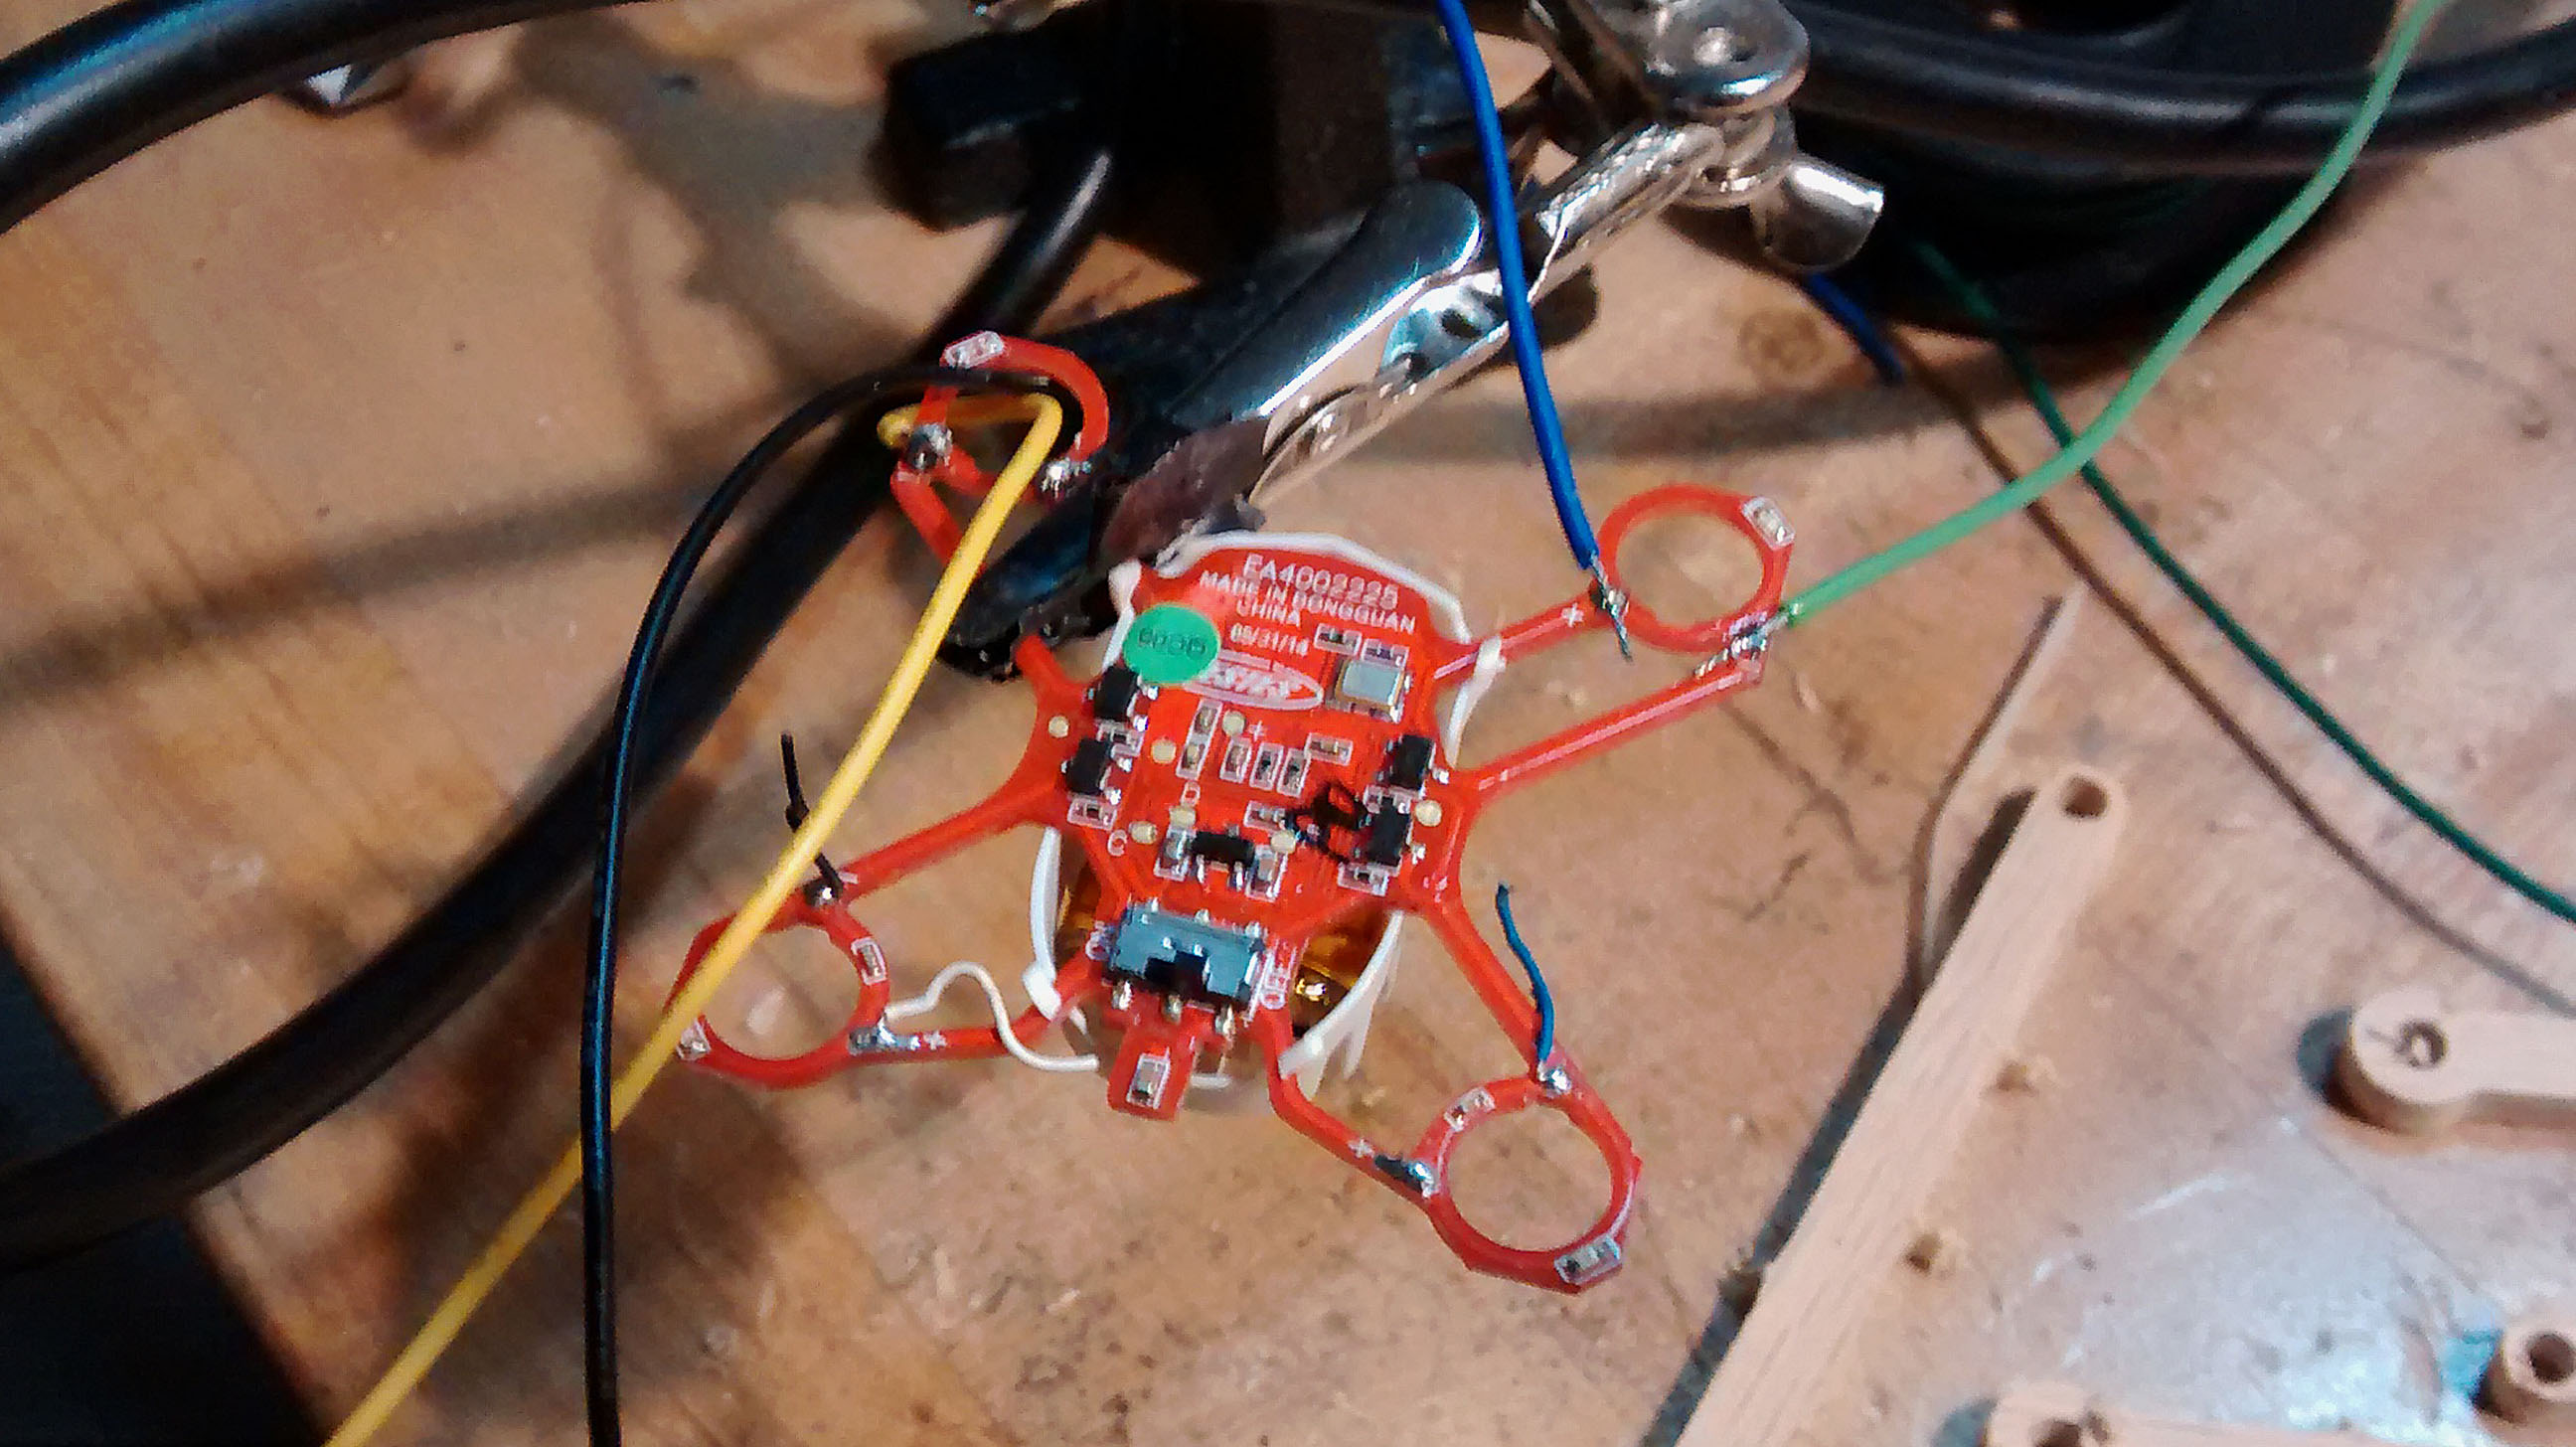
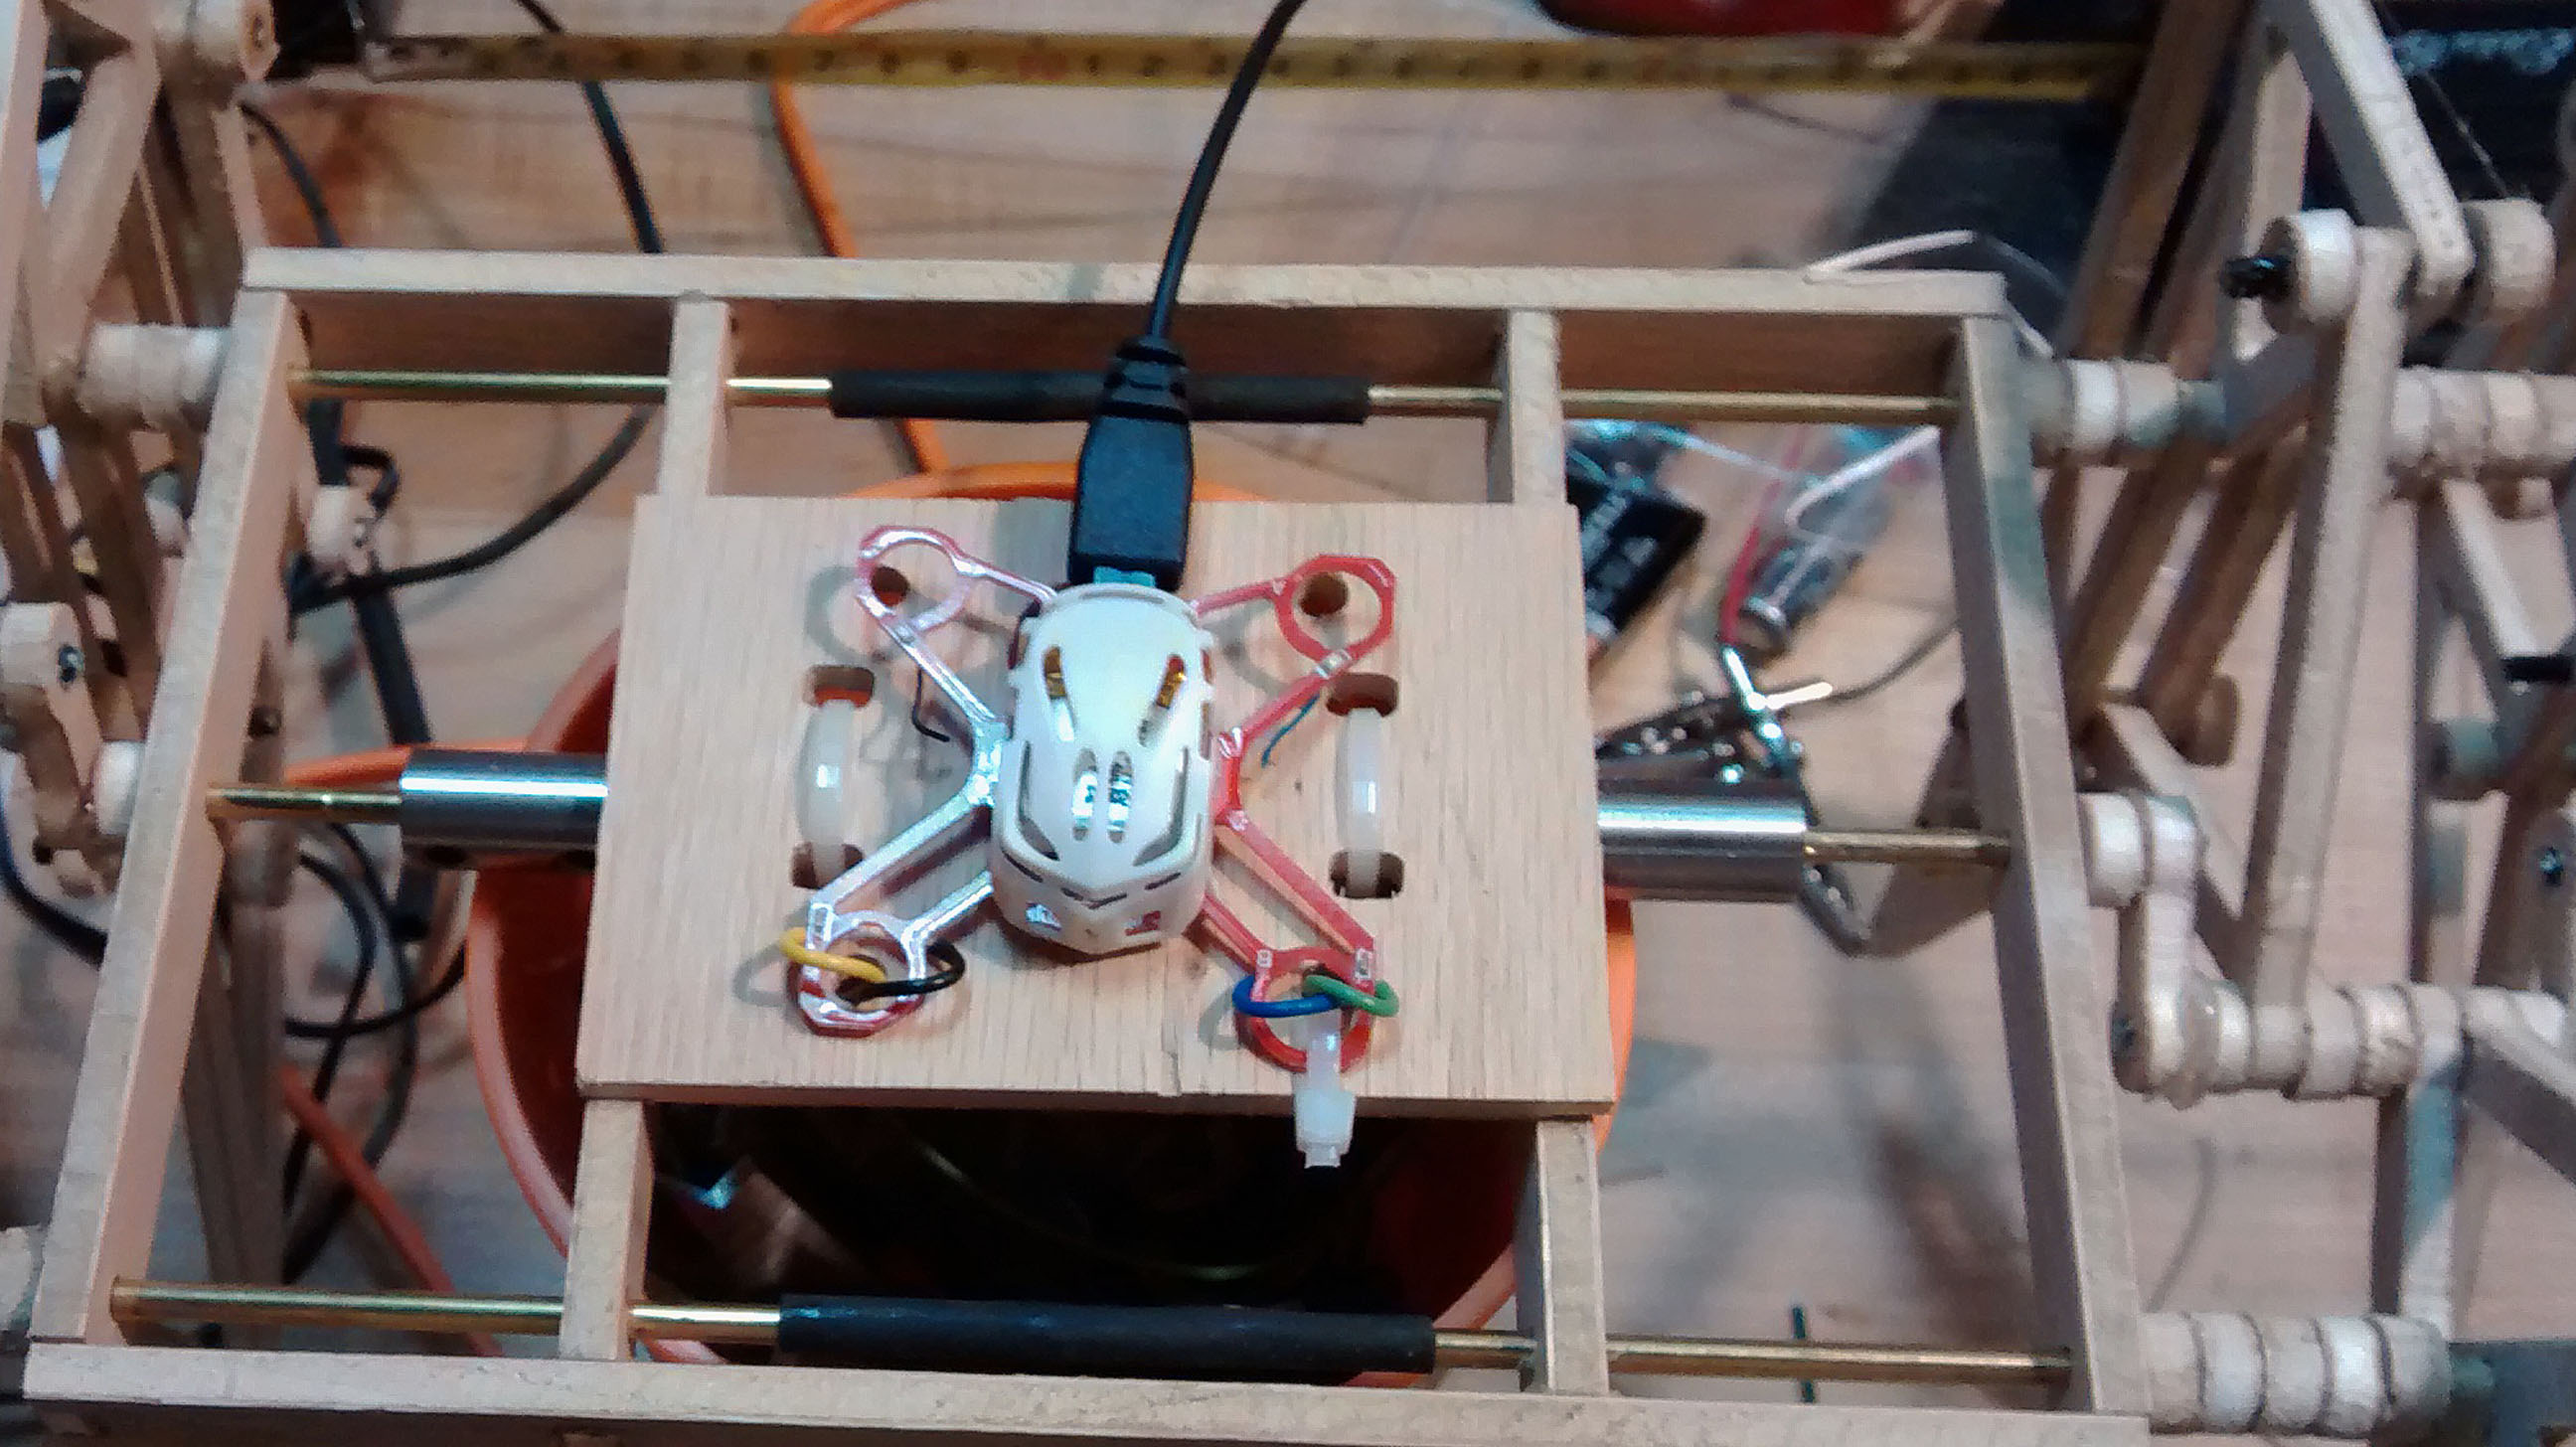
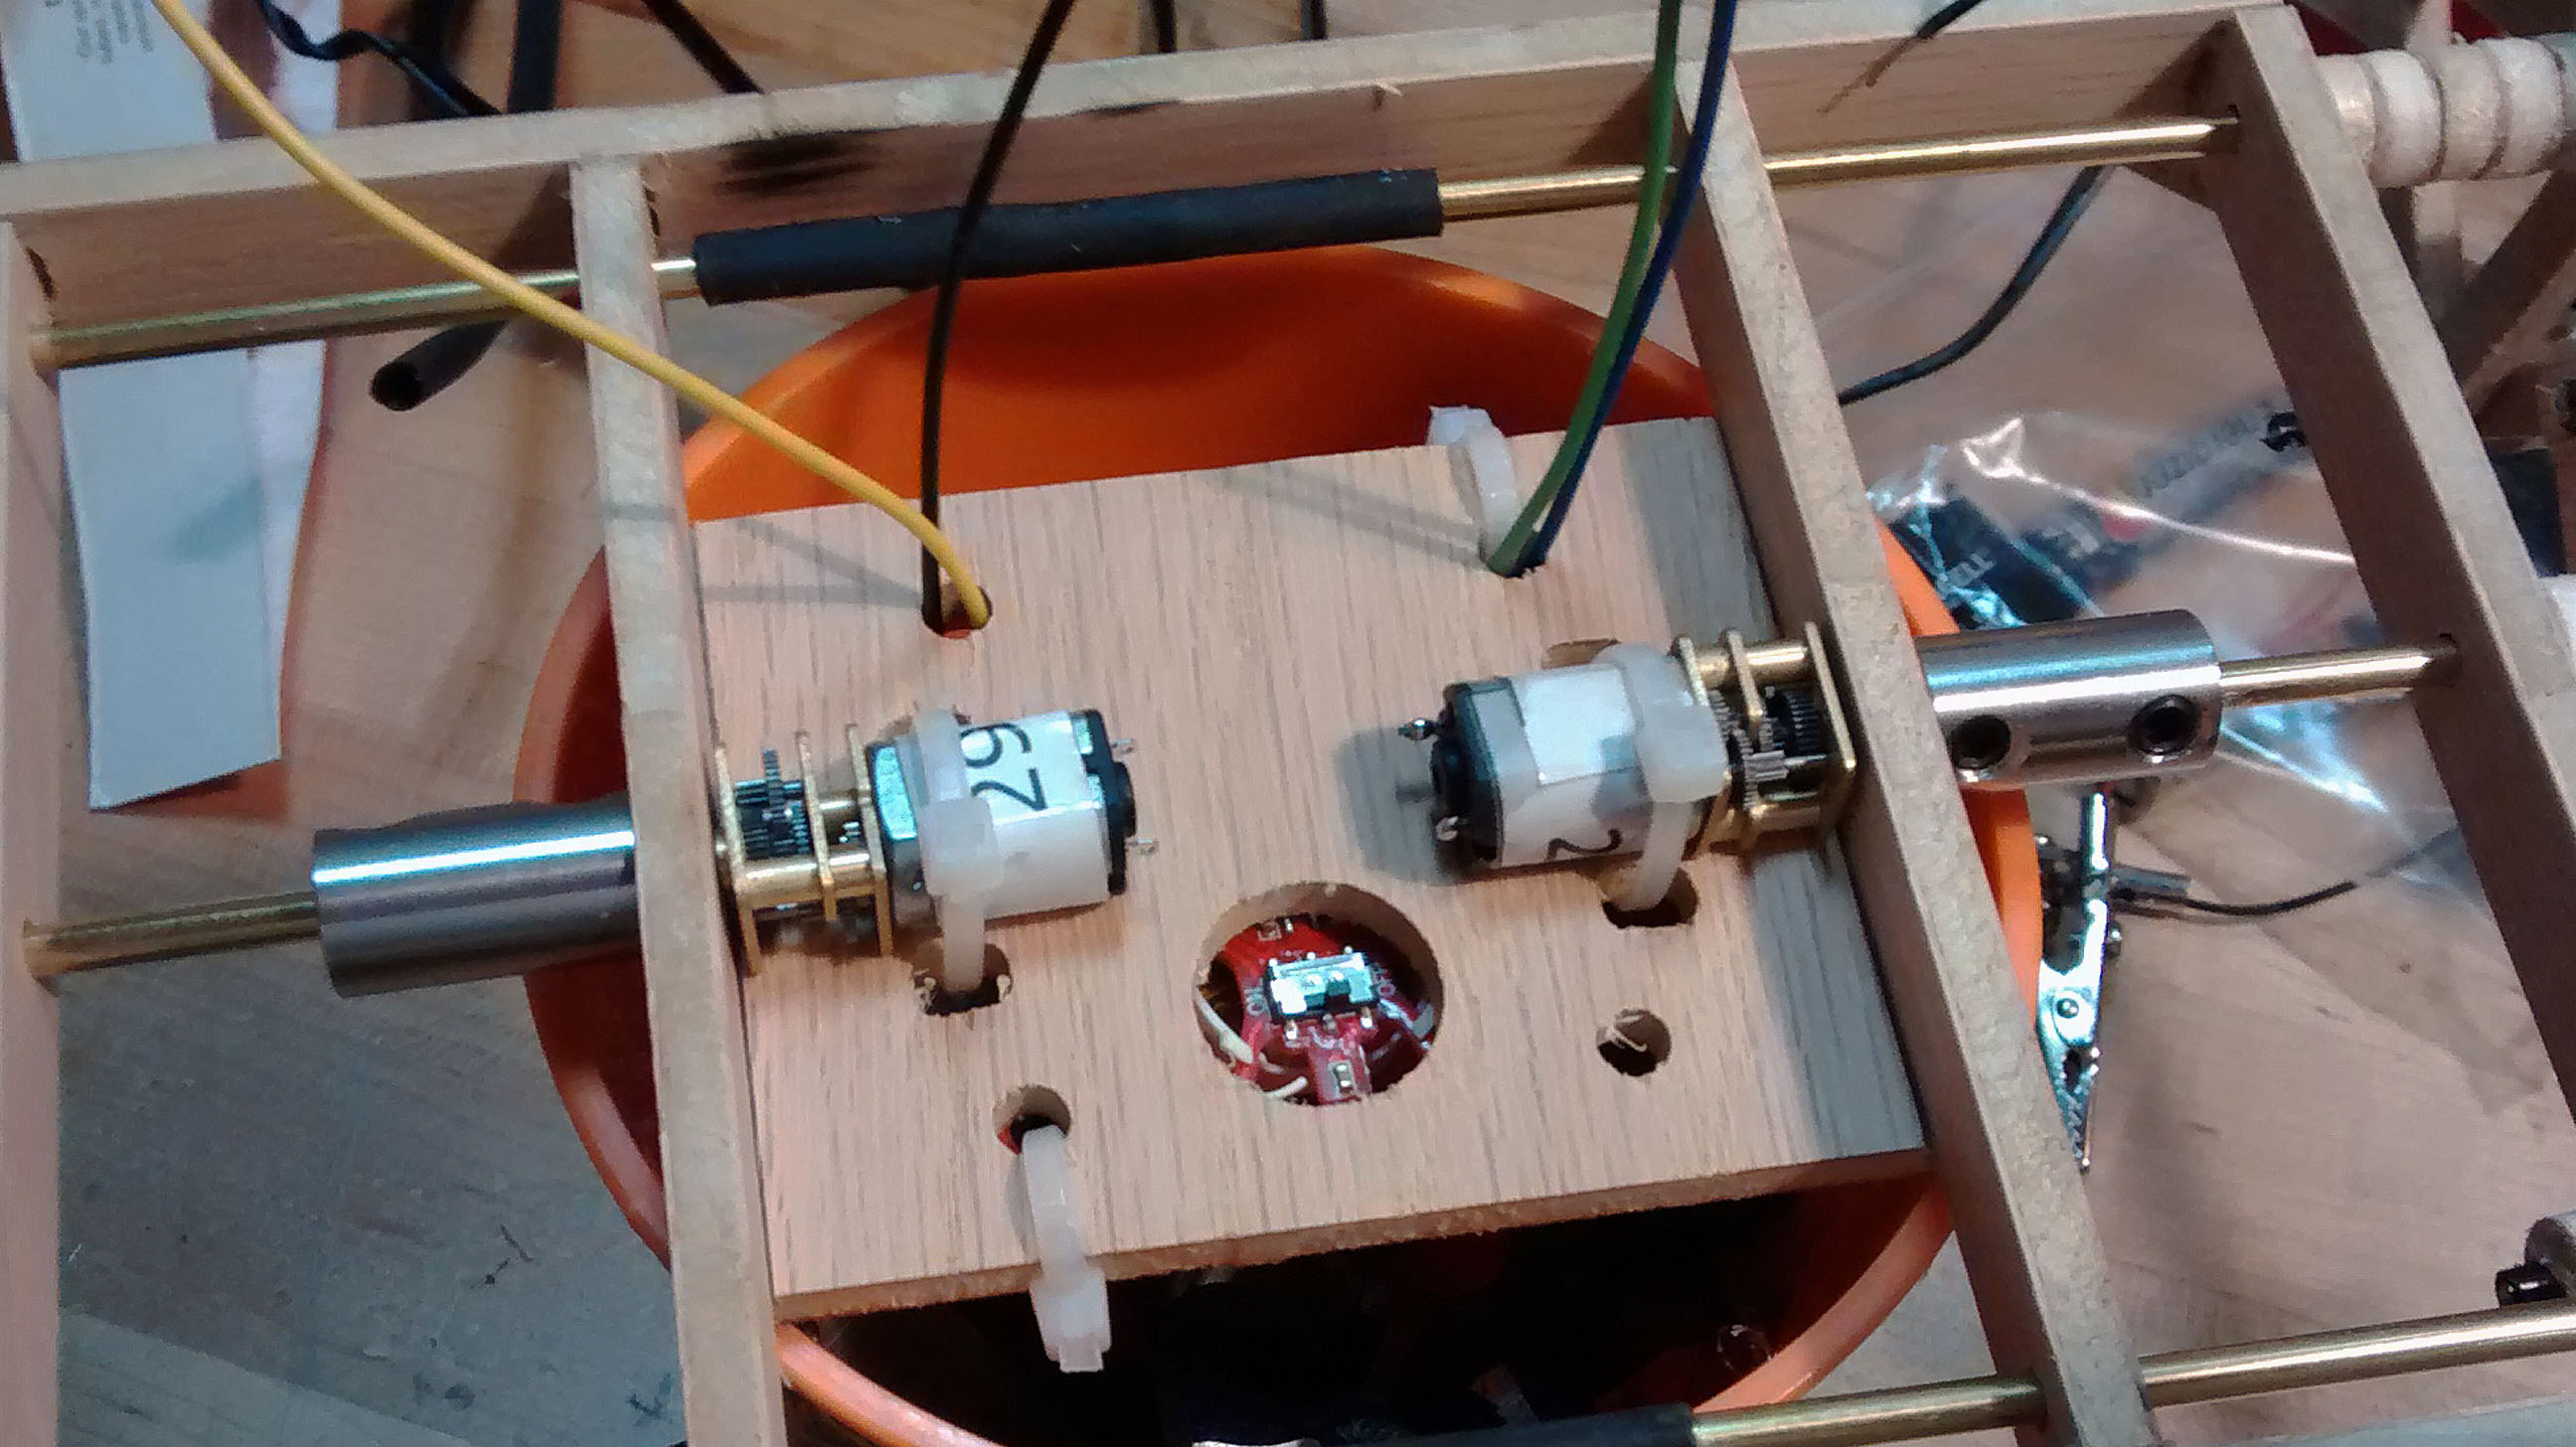
What I did have available was a cheap quadcopter — an Estes Proto X nano with a burned out motor. It came with a tiny controller that was a little smaller than I prefer for quadcopter use, but was perfect for something slow-moving. This meant that if I didn’t hit the correct stick at the right instance, I could generally do it in the next second or five without consequence. Here’s a video of it actually working; read on for how to control something like this yourself!

Quadcopters have counter-rotating blades that are varied in speed to turn left and right. There’s no reason I couldn’t wire the quadcopter’s left-front motor to the StrandMaus left motor and the right-front motor to the right ‘Maus motor. In theory, this should be able to turn the ‘Maus just like it would a quadcopter, though there would be no accommodation for reverse. I had my doubts as to what would happen given the physically larger motors, but it turned out to work quite well.

If walking legs aren’t your thing, this concept could be used with any vehicle that needs to control two motors (and doesn’t have to reverse). Besides that, with its self-contained battery source, this concept could be used for anything that needs very simple low voltage control. It should go without saying that this type of control is highly experimental, so use your own judgement with this hack, and don’t use a quadcopter you can’t live without!