Do you want a cheap car FM transmitter with (unlike most of the products you can buy) great audio quality and great signal strength? You want to get yourself a Scosche FMT4 and hack it!

This is technically illegal in the US, but so is transporting dentures, so take it with a grain of salt, I guess.

My suggestion for avoiding legal issues would be this: “Don’t be a jerk”. Use an unoccupied frequency, and use the minimum power that you need to be happy. This can mean shortening the antenna (use a quarter- or an eighth-wavelength instead of a full- or half-wave), or lowering the input power.

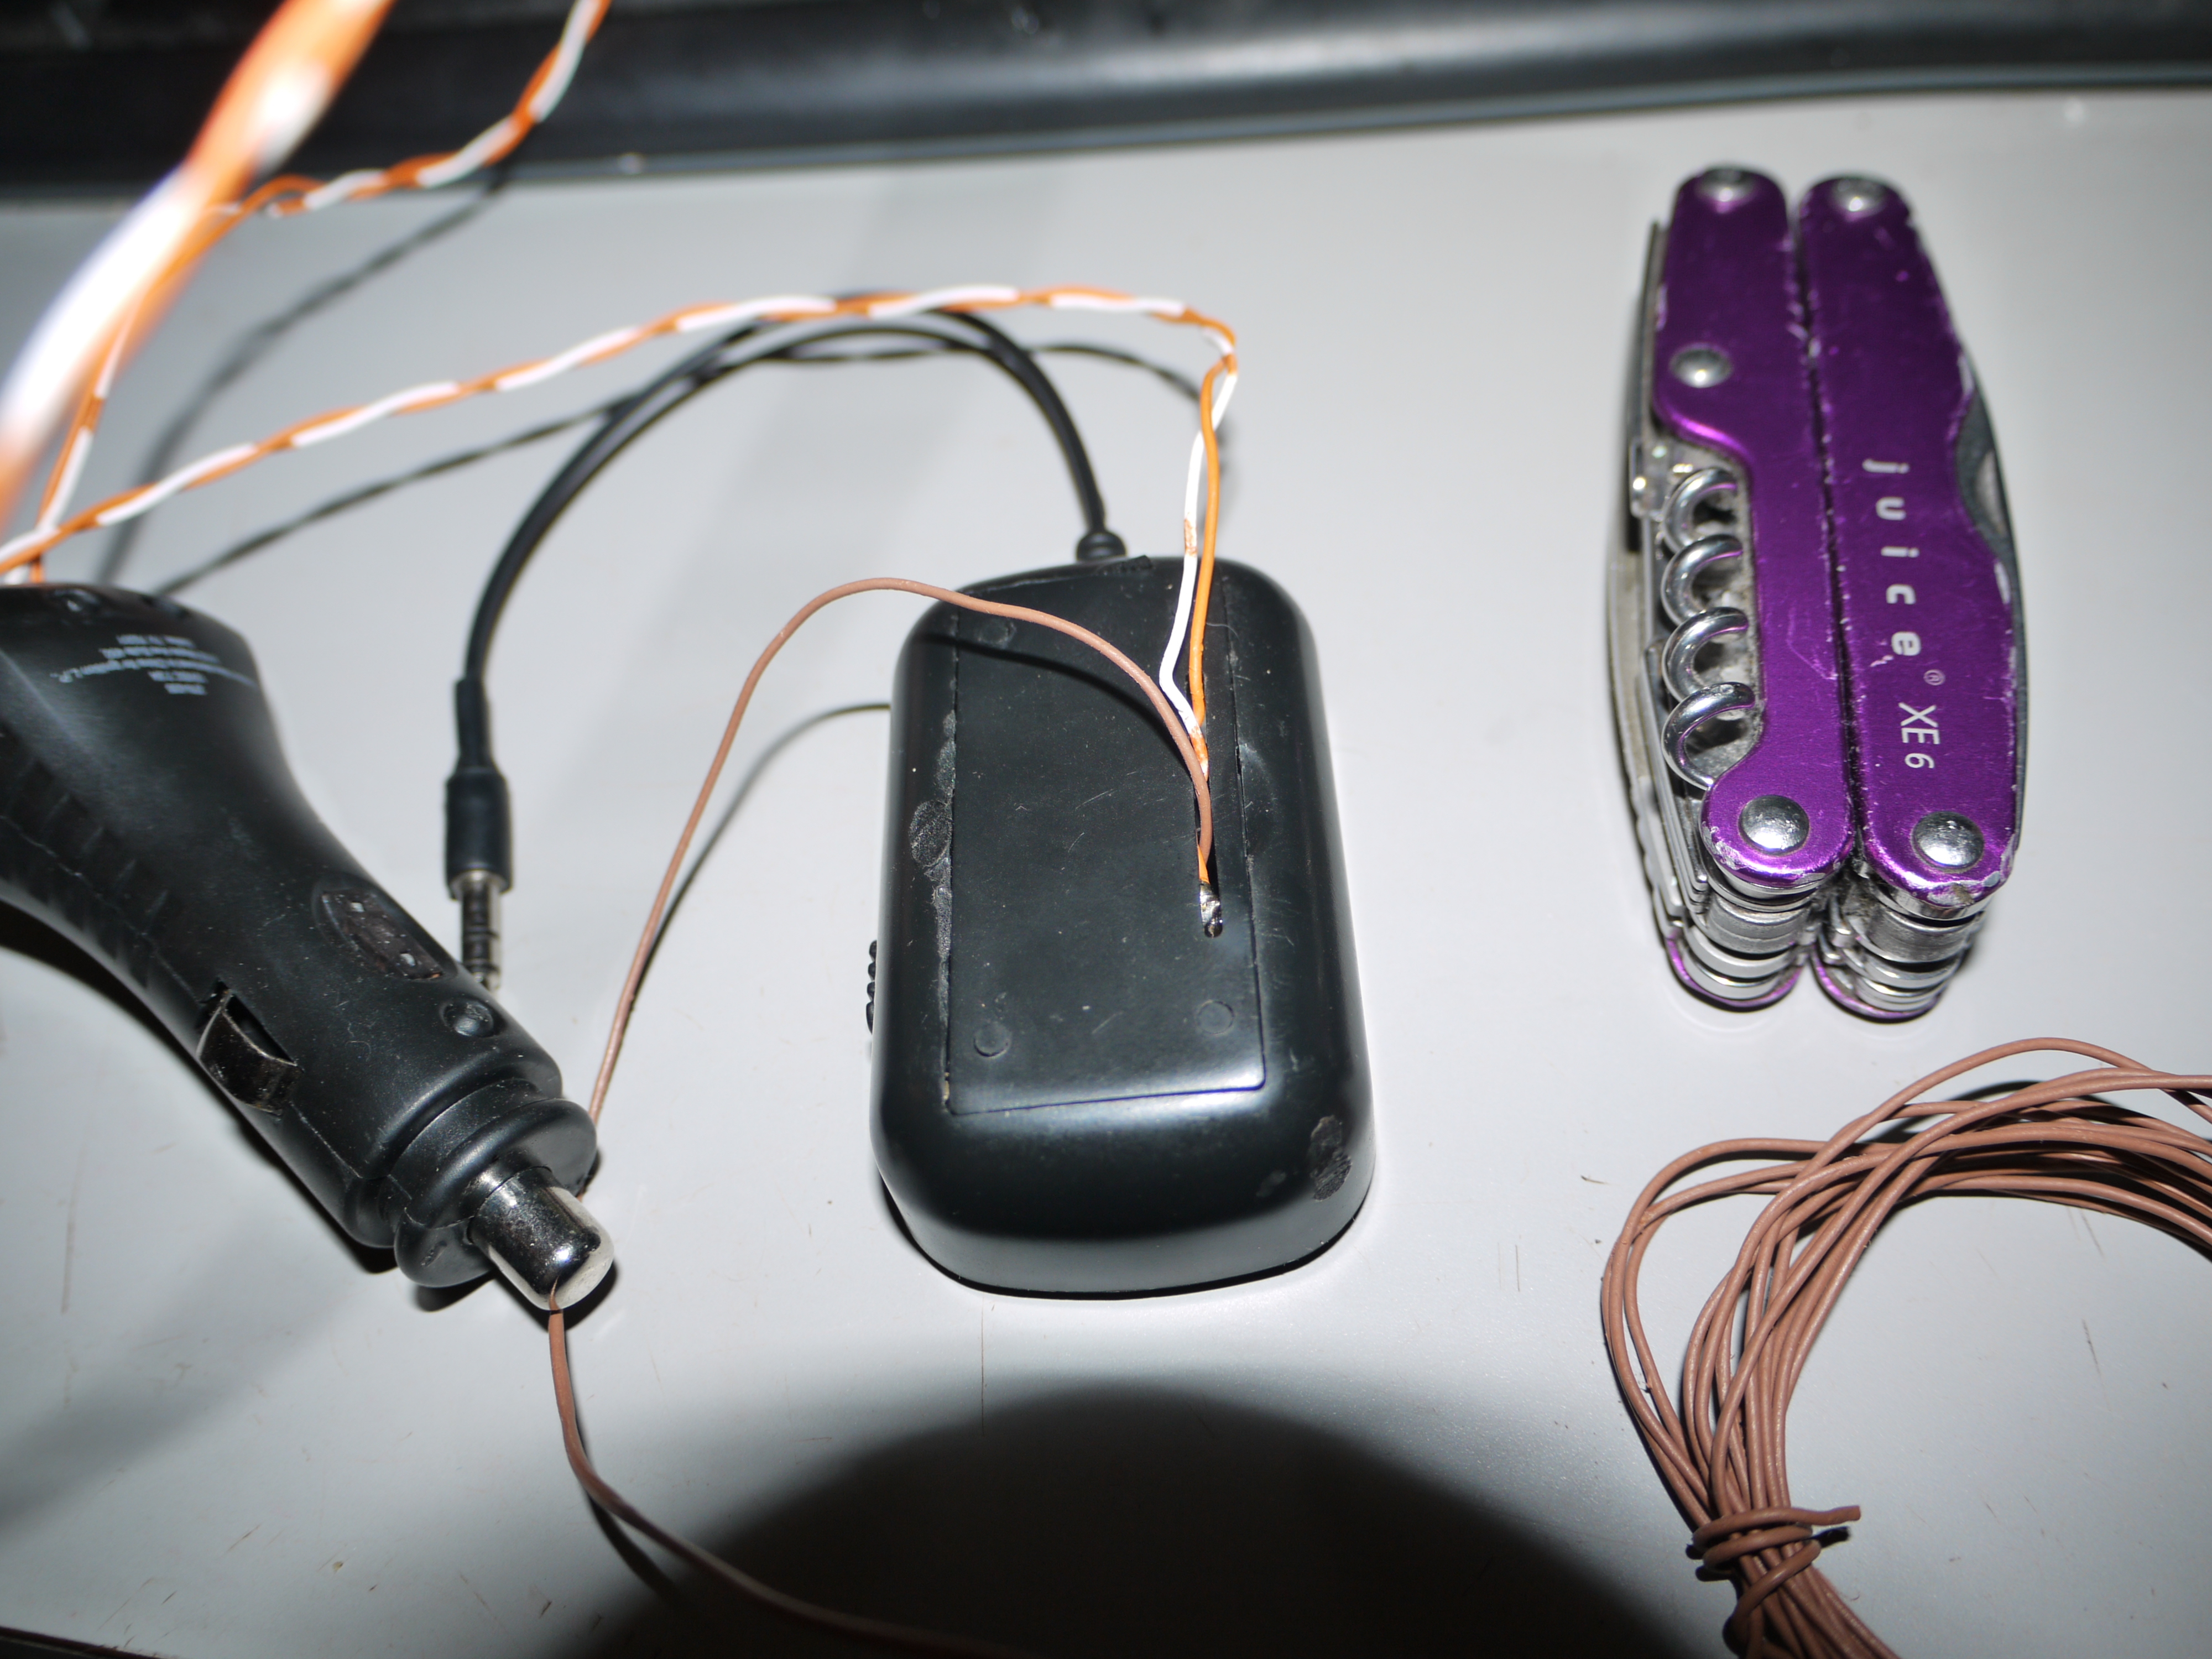
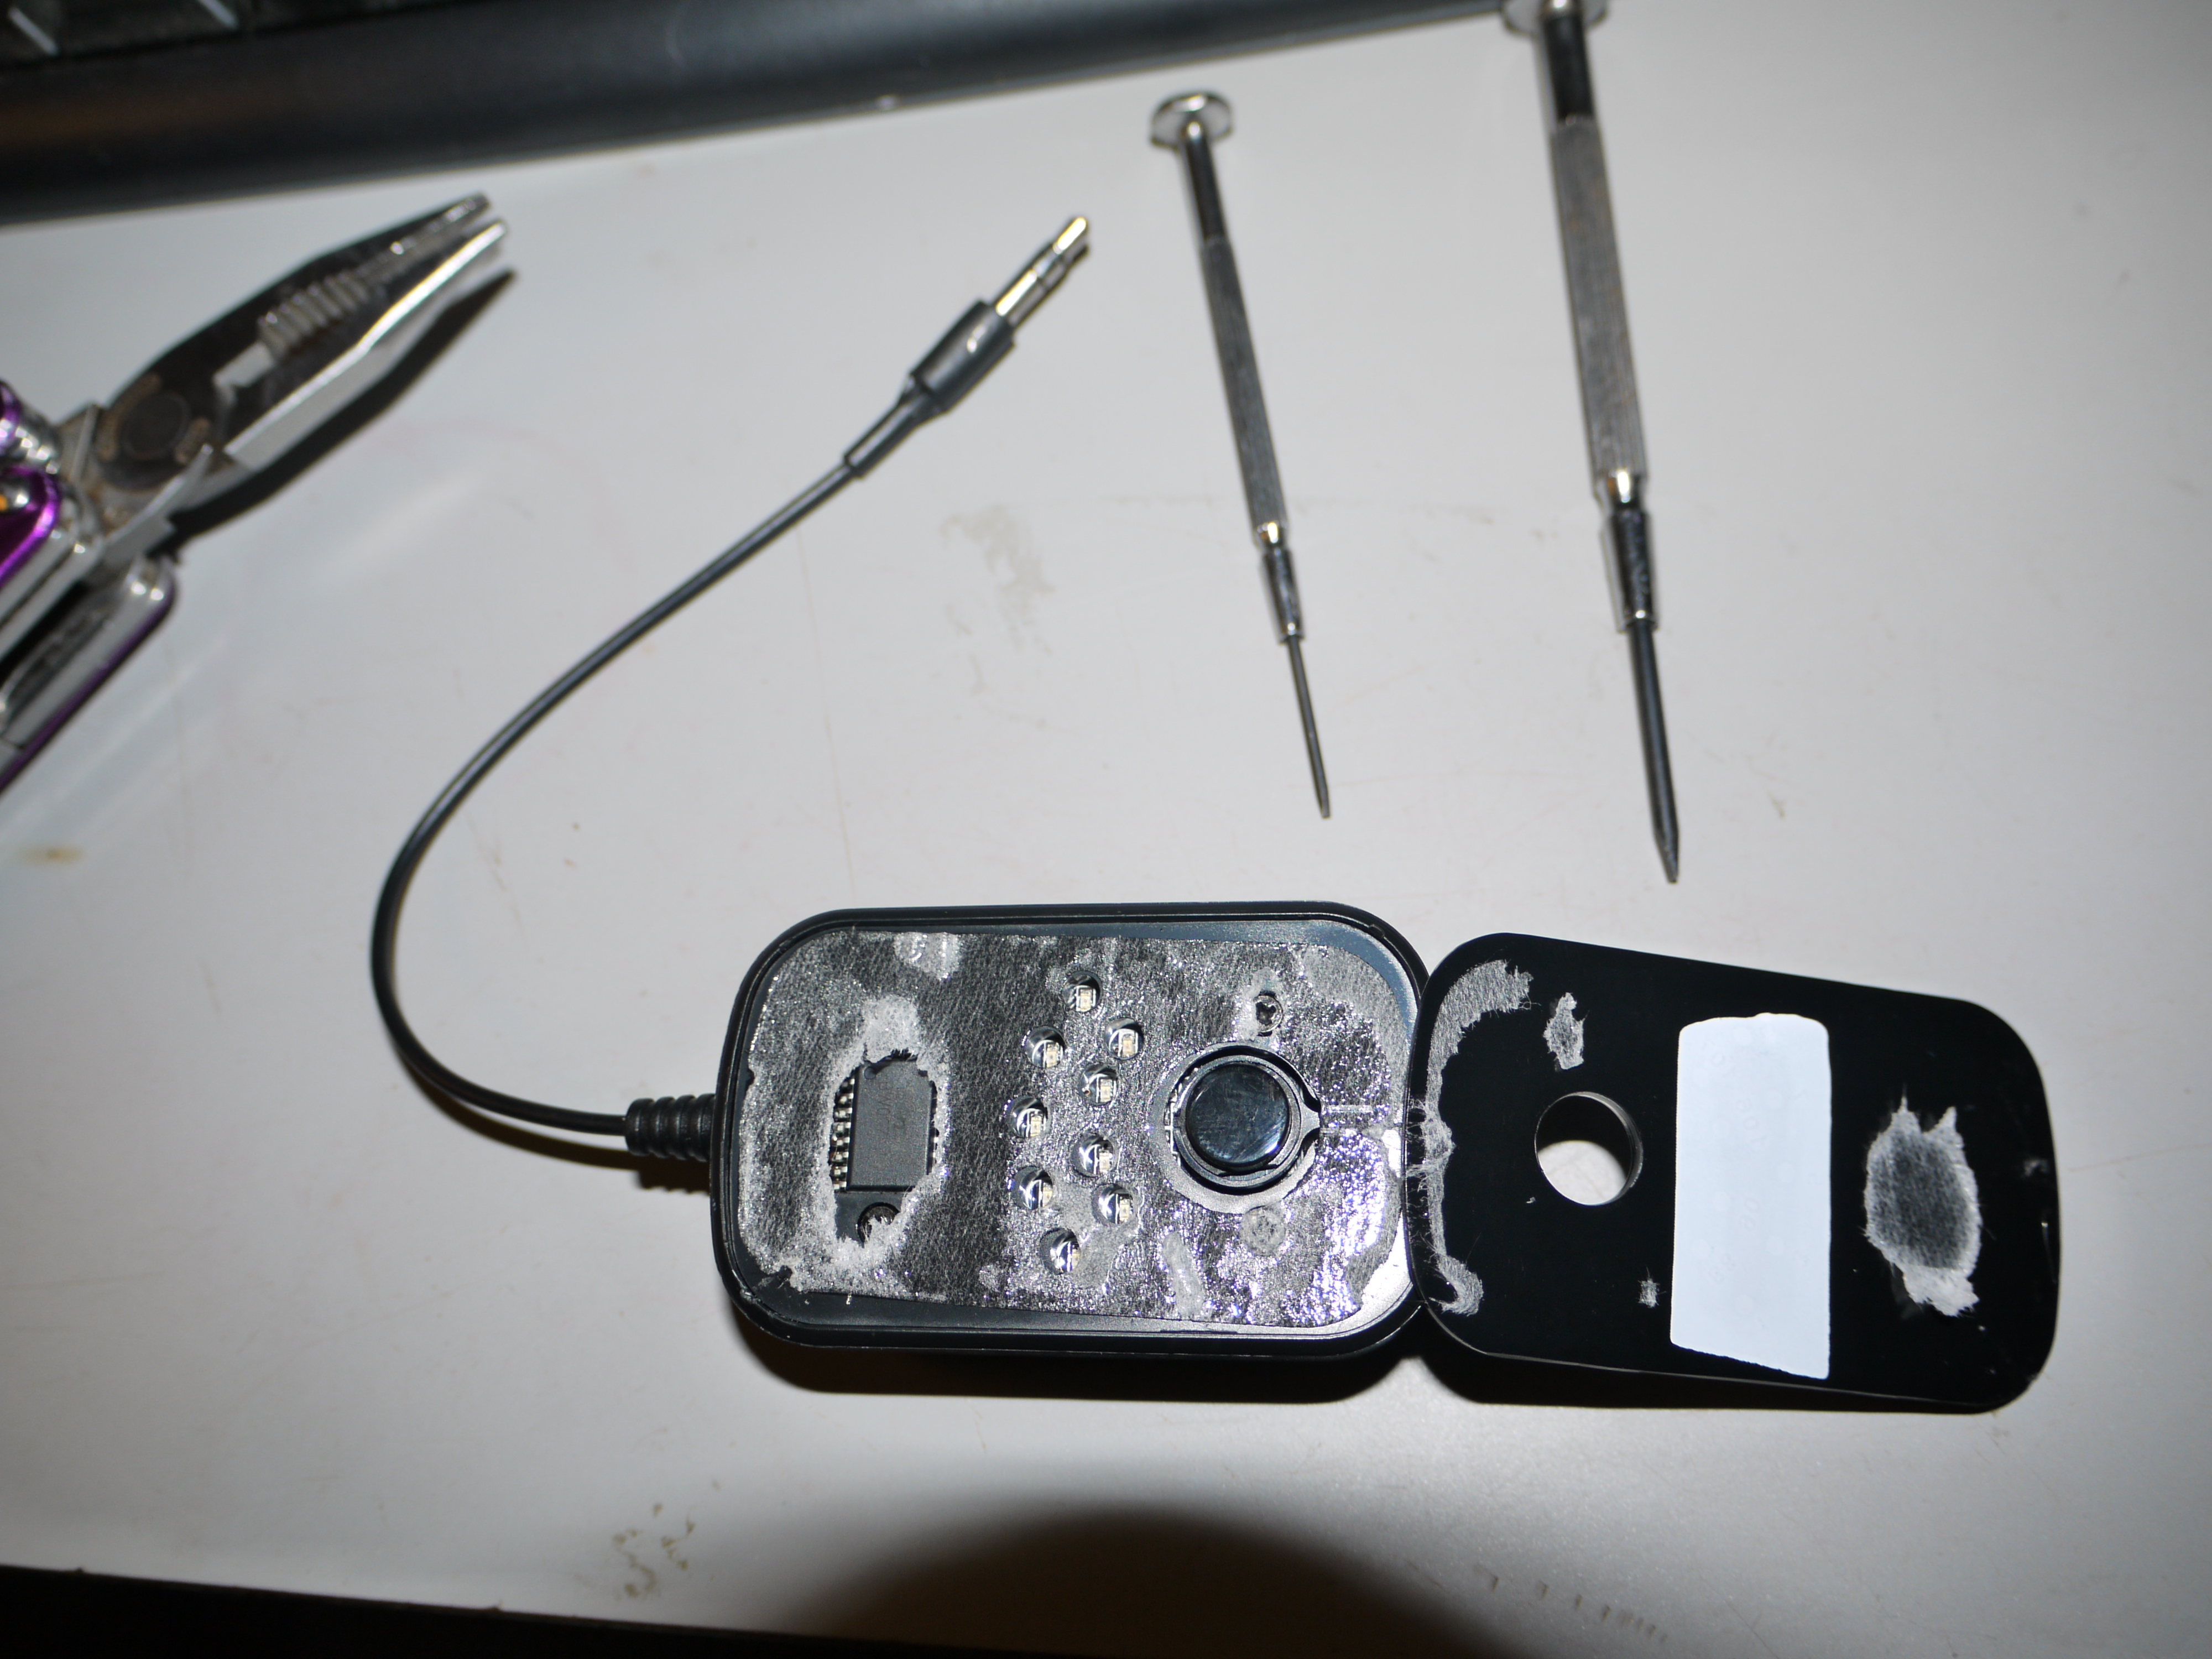
A brief test led me to believe that transmit power increases as input power increases past 2.4v, but I’ve never seen a schematic of this thing (or a datasheet for the chip). At some point I will try to make time to check reception at various points with various input voltages to validate this theory. (Did you ever wish you had an oscilloscope?)

Project Steps

Only if you want to add an antenna: Pop the front cover. Just pry it off; it’s glued on with a removable (and reusable) adhesive.

Scrape the adhesive as needed to expose the four screws holding the inner plate on.

Remove the four screws and carefully pry up the inner plate. It is clipped to the rubber strain relief device on the audio/antenna wire.

This step is for antenna upgraders only. For the purposes of this step, the “top” of the unit is the side with the battery/antenna cable.

Cut an antenna wire to length. Cheat sheet: 88.1 MHz fullwave: 128″ half: 64″ 1/4 wave: 32″ 107.9 MHz fullwave: 104″ half: 52″ 1/4 wave: 26″

Bend the tine on the battery connector furthest away from the audio/antenna cable vertical. Pull it out from the other side.

From the battery compartment side, poke your antenna wire through the hole you just made. Pull about a foot through. Put a C-shaped curve in the end of it, and run it under the switch on the right side of the case so it comes out near the top by the audio cable. Pull a little bit out and strip off about 0.5-1mm on the end.

See the three gold connectors on the top right of the PCB? The topmost one is the other side of the antenna connector. The antenna is surface-soldered to the other side of this post. We’re going to leave it right there and add an antenna.

Secure the unit to your work surface with a clamp. Flux the gold connector (very sparingly!) and the tiny wire tip. Establish a good mechanical connection (so the wire sits on the the gold contact without you holding it there). Give it a little dab of solder. Be very careful. If it takes more than half a second, you are in danger of frying stuff.

Check the connection for strength with a couple gentle tugs. Pull the wire back through to the bottom of the case. Make sure it’s not in the way of the switch. Leave a little slack, and use the slack to make some strain relief where the wire enters the battery compartment. (Just a couple twists at that point should do fine.)

Antenna upgrade complete! Reassemble the case.

Build a 2.4-3v DC power supply that will fit into the battery compartment.

I used a Radio Shack LM317T adjustable regulator (which lets me choose my input power, but makes it a lot harder to fit into the battery case). You also need about 230 ohms’ worth of fixed resistor (I used 2 470-Ω Radio Shack 2711115’s in parallel), a 0.1μf cap, a 1 μf cap, a 5k-Ω pot, and some disused 22 gauge cat 5 wire.

Voltage note: I did try this with a fixed 3.3v regulator package, and while it does work, it’s too much input voltage and you can hear the overdrive.

Voltage note #2: I am not 100% sure that increasing input voltage increases output signal strength, but it seemed like it did in the one highly unscientific test I did using my wife’s car for a portable radio. :p “normal” input voltage is probably 1 – 3v for this unit (2.4 or 3v at first, then it drops off to 0 as the batteries die).

There are 4 connections to make in the power supply:

1) The 0.1μf cap, the wiper on the potentiometer, the 1.0μf cap, ground wire to the PCB (make this about 2″ long), and input power ground. Make this last wire at least as long as you want the power cord to your car (or other power source) to be!

2) Pin 1 on the LM317T, the 0.1μf capacitor, and +12V from the car/power source. Make this wire at least as long as you want the power cord to your car (or other power source) to be!

3) Pin 2 on the LM317T, the fixed resistor, the 1.0μf capacitor, and +3.0v out (make this wire about 2″ long).

Pin 3 on the LM317T, one of the non-wiper pins on the varistor, and the fixed resistor.

Make these four connections temporarily (good mechanical connections with no solder). Check it VERY CAREFULLY for shorts before going on to the next step. Even a slight jiggle could create a short if your mechanical connections aren’t solid. You can use a breadboard for testing if you want something that you can plug in more safely.

Bear in mind that when you actually assemble it, it needs to fit into the FMT4 battery compartment, so there won’t be any fancy PCB or breadboard. ;)

Connect the assembled power supply to a +10-20v power source (such as a car cigarette lighter), and put a multimeter on the output wires. Adjust the pot for +2.4V. Once it works well, take the input power away, work out how to mush the whole mess into the battery compartment, and solder all the joints. Apply liquid tape to prevent shorts.

Before soldering, ensure that you can get to your pot screw without creating any shorts. You may wish to adjust this after you have it all together.

Solder the positive power supply output to the + battery terminal (I made a 2mm flat coil of wire and a big blob of solder).

Solder the negative power supply output to the – terminal (I wound the wire around the inside of the spring and tinned the resulting mess).

Deal with the spring on the negative side so it doesn’t come into contact with anything unexpectedly- you could trim it, or drown it in liquid electrical tape. If you want to be tidy, you could cut it off completely and attach the negative wire the same way as the positive one (which would also give you a bit more room in the compartment).

Finish assembly.

Put the free end of the antenna wire and the two free ends of the 12V wires through the battery cover, and put the battery cover back on.

Put a power connector on the end of the power wires (I used a car cigarette lighter adapter from Radio Shack; you could do the same, or salvage one from an old piece of equipment.)

Success! Lower your input power and/or trim your antenna down as needed. This transmitter is a fraction of a watt, but with a fullwave antenna on it, I imagine you could annoy people a quarter mile away, so be a good neighbor. :p