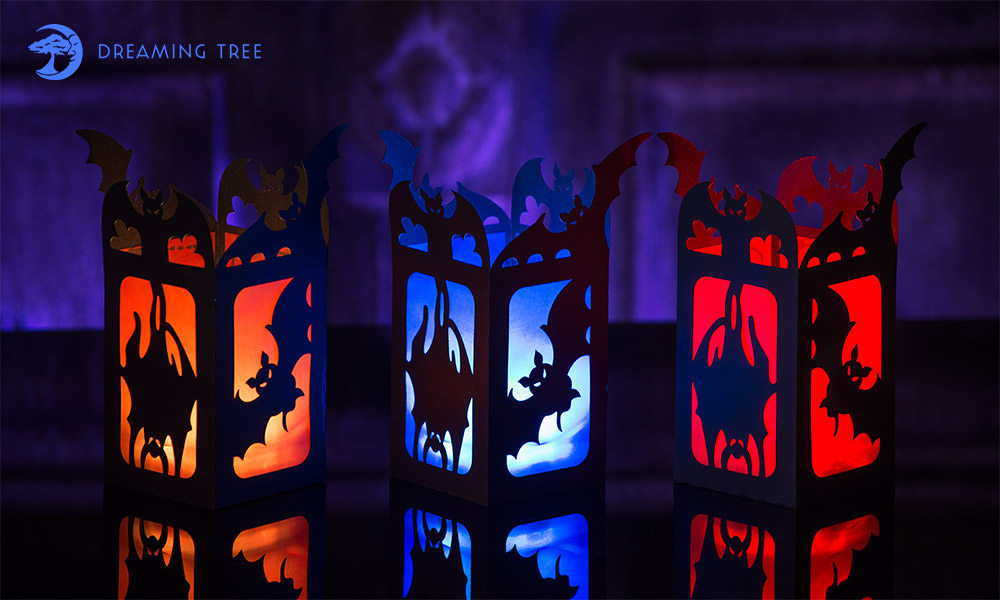
SUPPLIES NEEDED:
- 2 sheets of 8.5″×11″ cardstock (Orange, Purple, RED or Green)
- 1 sheet of 8.5″×11″ vellum (Orange, Purple, RED or Green)
- Exacto knife
- Glue
- Inkjet printer
Project Steps
Step 1.
Print lantern.pdf on 8.5″×11″ sheets of cardstock (purple, red, green or orange recommended). There are other patterns available both free and for purchase on our site 3dsvg.com
Note: Do not print on black cardstock.
Step 2.
Cut out interior pieces leaving only the black portion of the design.
Step 3.
Partially cut the dashed lines to aid folding.
Note: Only a single line cut is necessary as these lines aid in folding in later steps.
Step 4.
Using an x-acto knife or scissors, cut along the edge of design.
Step 5.
Cut out vellum template. Cut four pieces of colored vellum by placing vellum template on top of actual vellum to ensure the proper size.
Step 6.
Glue vellum to the backside of design.
Note: Make sure not to overlap the perforated lines.
Step 7.
Repeat on all four sides.
Step 8.
Glue tab to the backside of the adjacent piece.
Your lantern should now be one continuous piece.
Step 9.
Glue the remaining tab to the adjacent piece.
Step 10.
Glue the bottom in place by applying glue to bottom three tabs. fold bottom over to close.
Step 11.
Congratulations! Your lantern is complete. Insert electronic tea light and enjoy!


