Folding origami paper into thirds can be challenging. When I first started learning origami, I always shied away from ANYTHING that made you fold into thirds. :)

I don’t want anyone to be scared of folding into thirds. You can do it!

I will show you two different ways … you pick the method you like the best.

IMG_1299

IMG_1302

What will the next generation of Make: look like? We’re inviting you to shape the future by investing in Make:. By becoming an investor, you help decide what’s next. The future of Make: is in your hands. Learn More.

Project Steps

Example #1

Start with paper color side down.

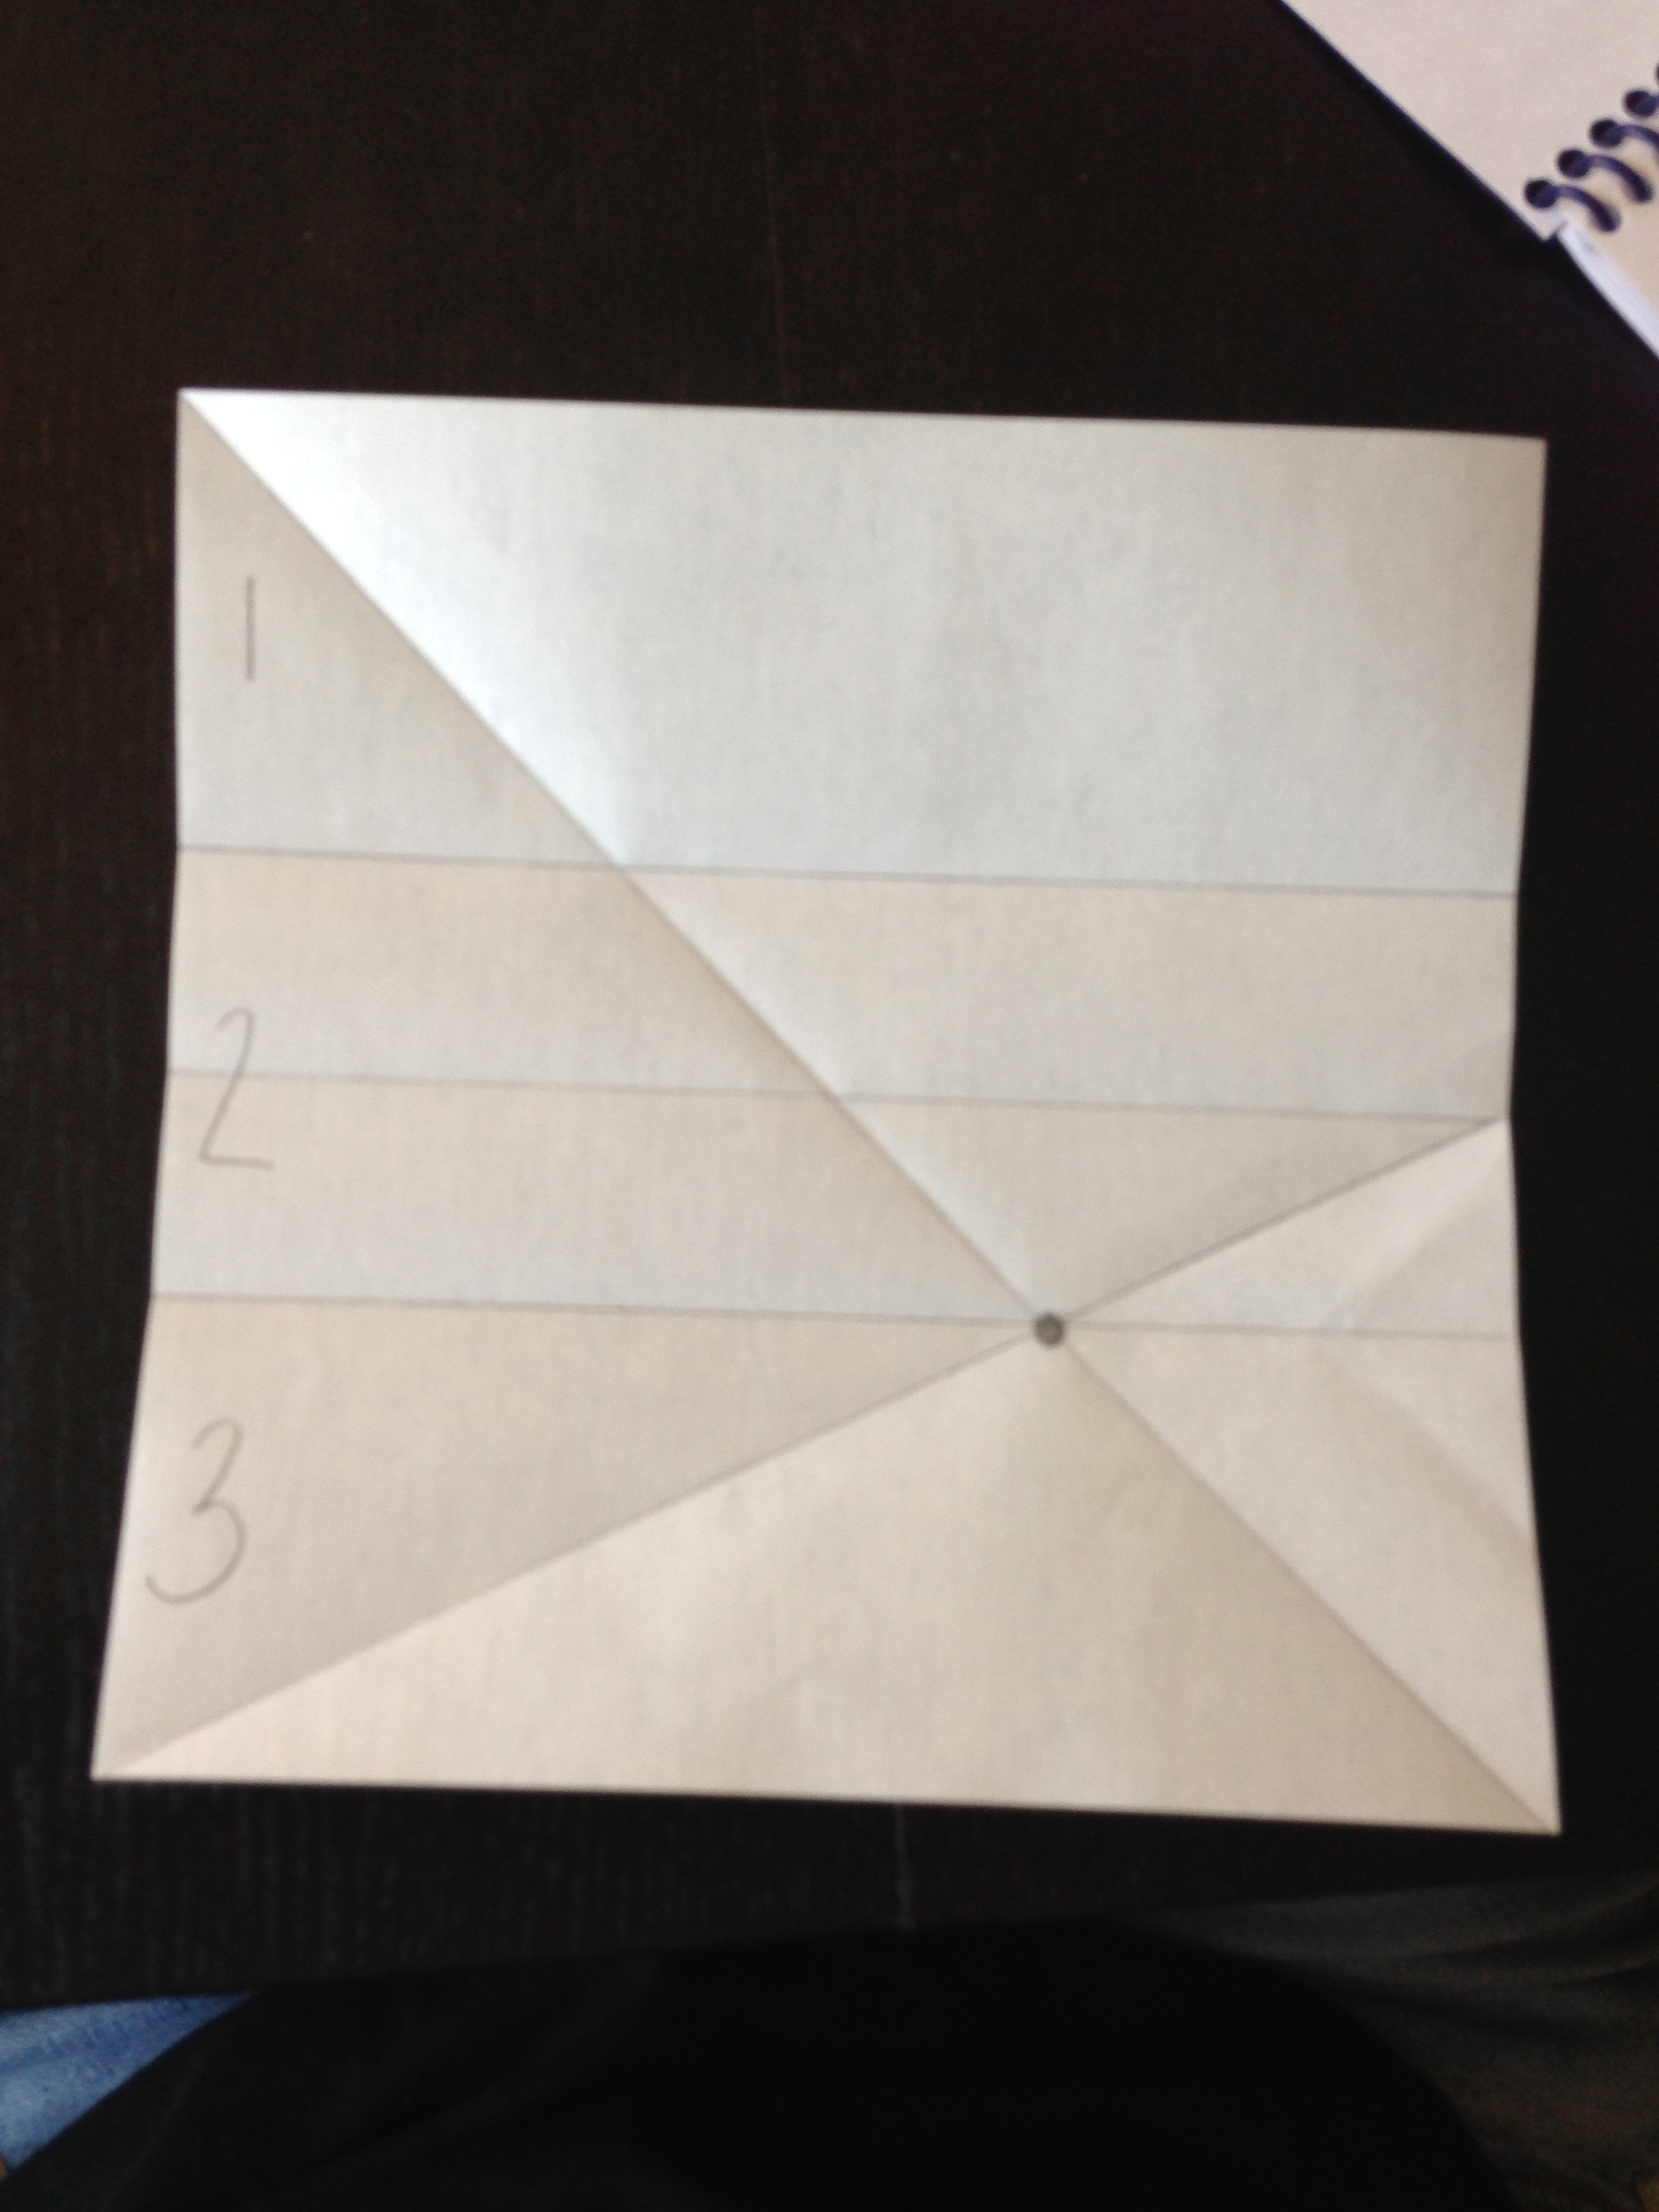
Fold in half – unfold.

Fold on the diagonal – unfold

Working on the bottom half of the paper.

Fold the paper from the bottom left corner to the half way point on the right.

This can be hard. You can use a ruler to mark the line – then fold using the guide.

Unfold

Notice where the diagonal line from the first set meets the crease you just made.

Make a crease using the intersection as the fold.

Unfold

This fold will represent 1/3 of the paper.

Fold the top straight edge down the meet the fold you just created.

Unfold

You have just folded your paper into 3rds!

The only disadvantage to this technique is that you hall alot of folds in your paper.

Example #2

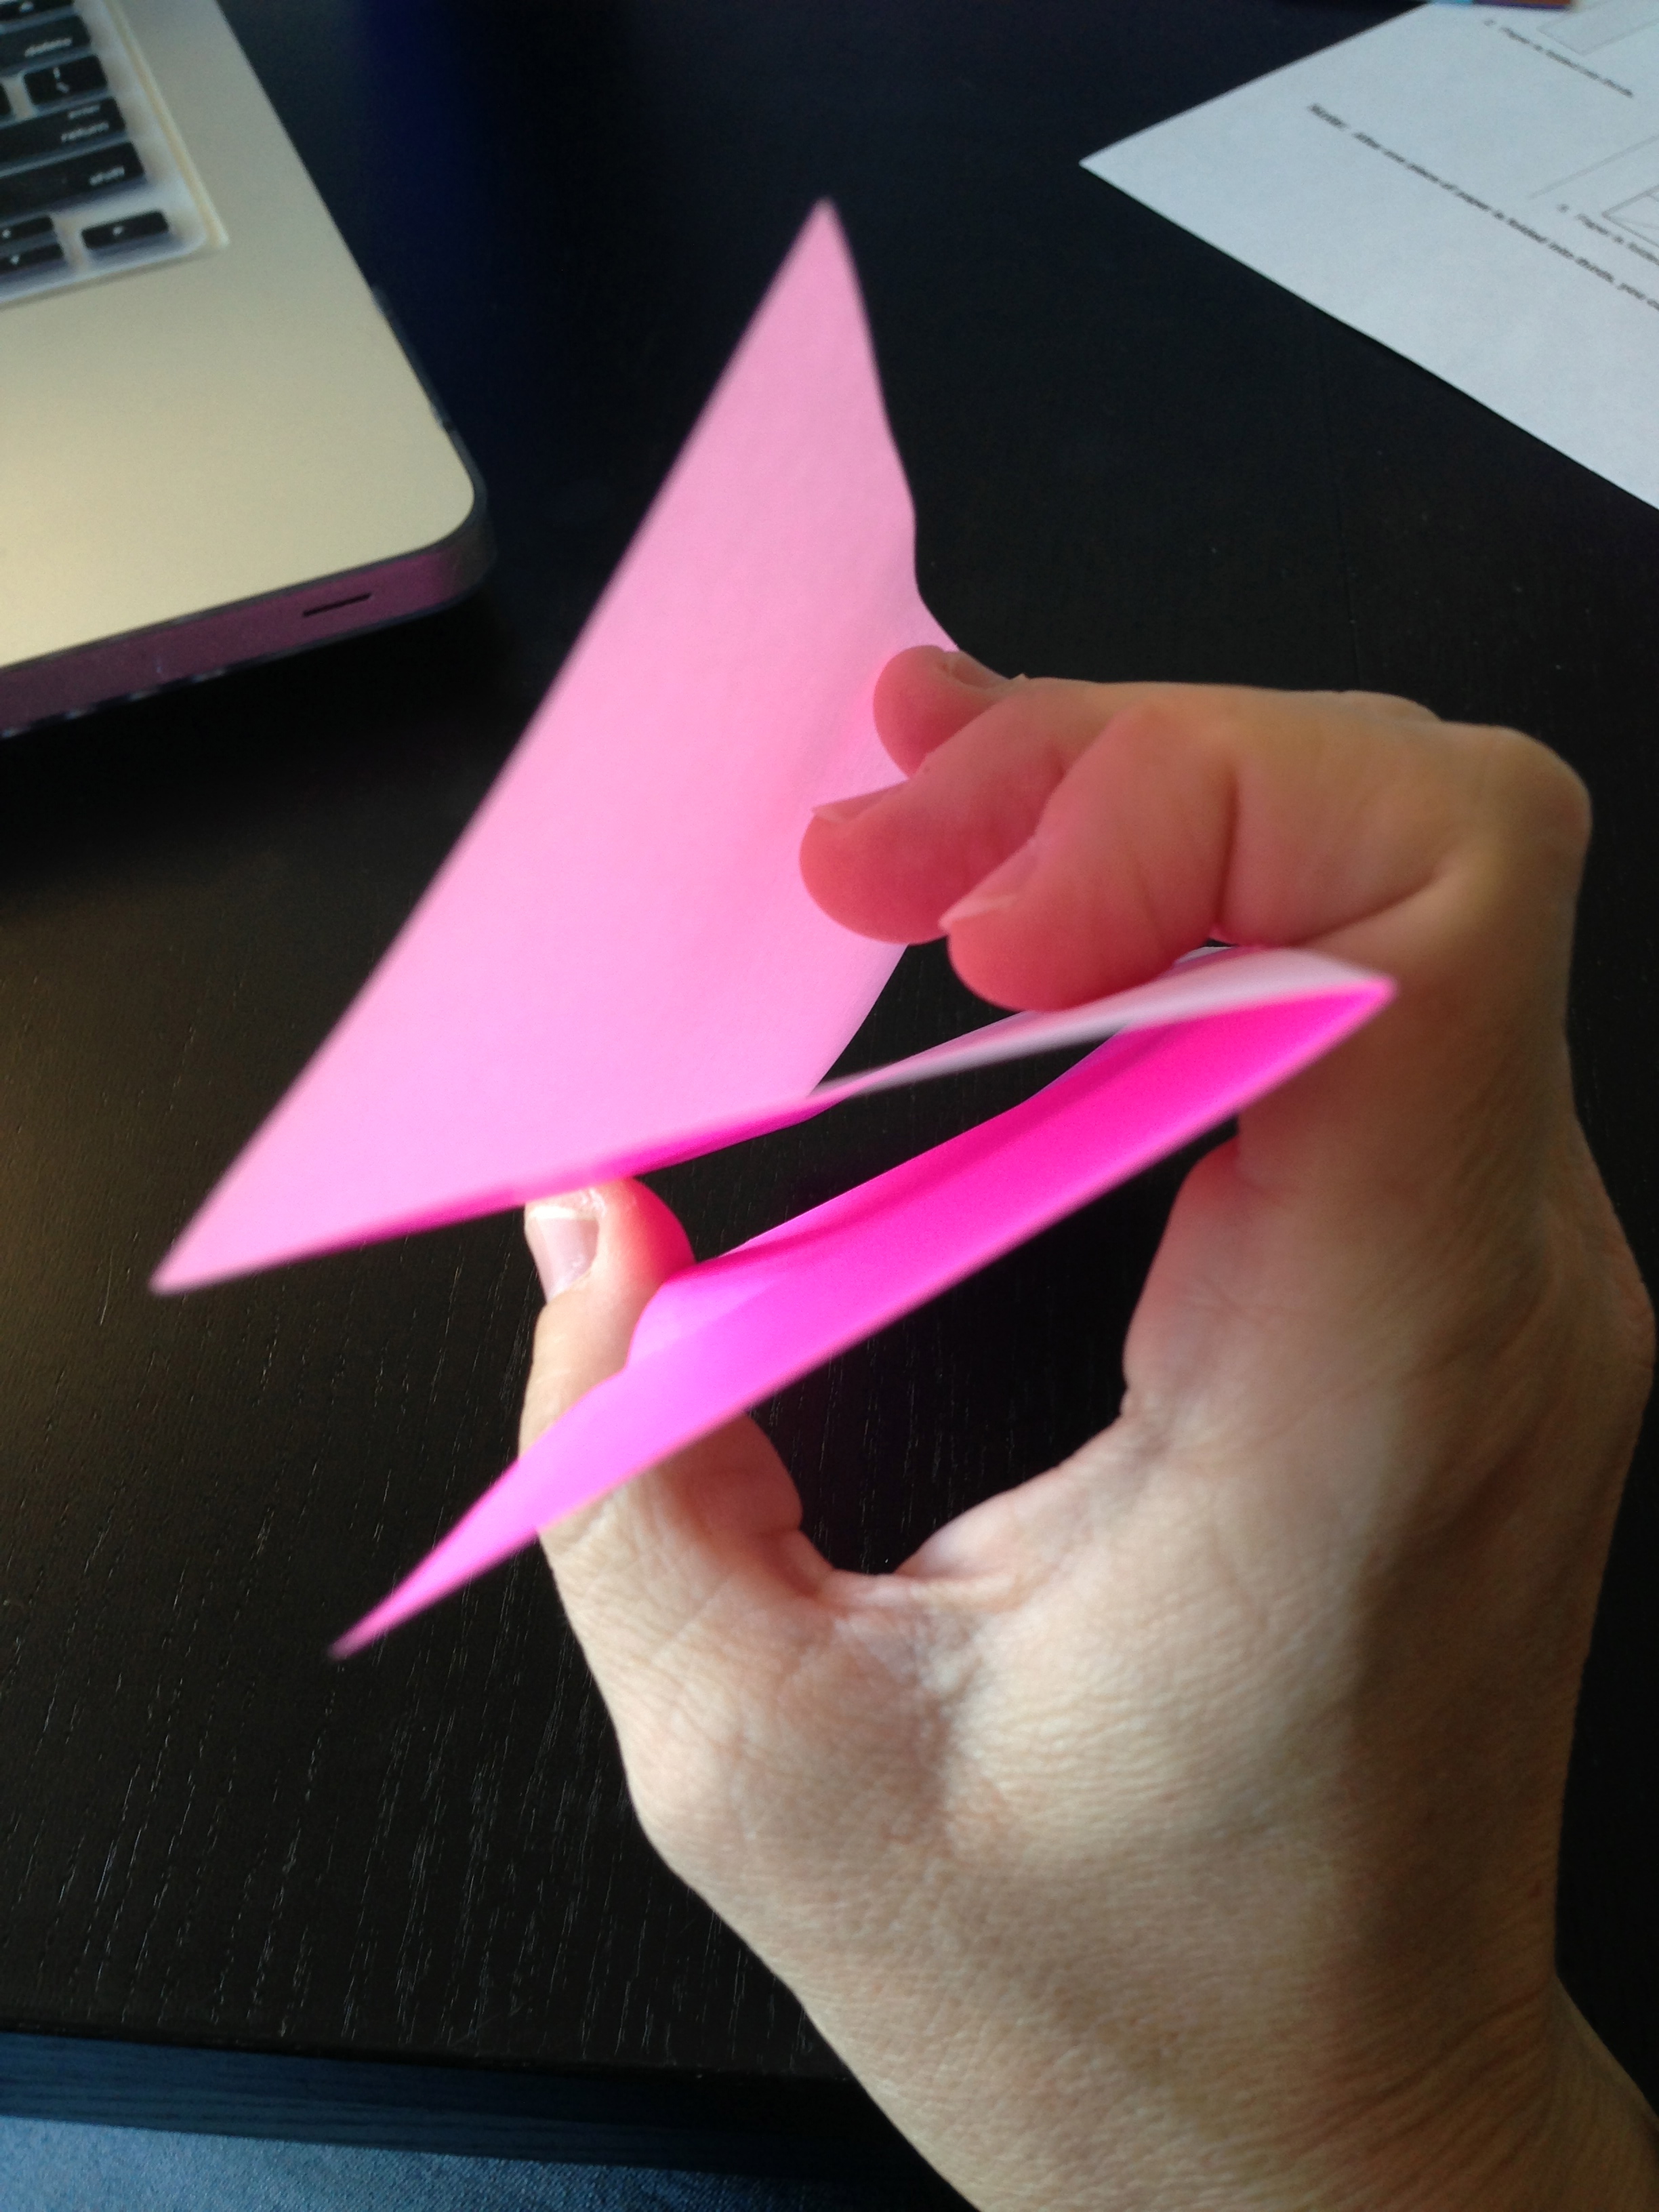
Bend your paper in kinda a ‘S’ or a snake.

Once you have even amounts in the 3 sections you can crease.

You really have to roll the paper around, working to get it even.

This way is definitely faster – but can be frustrating.

The benefit to this technique is there are no extra folds.