cider

Yes, our new neighbor got as drunk as a skunk. Blootered, bladdered, and blitzed as we Scots say, or in Cockney slang, Brahms and Liszt! He and his partner came along to a cider-themed evening at our house where he was initiated into the Scillonian Road hard cider making cooperative.

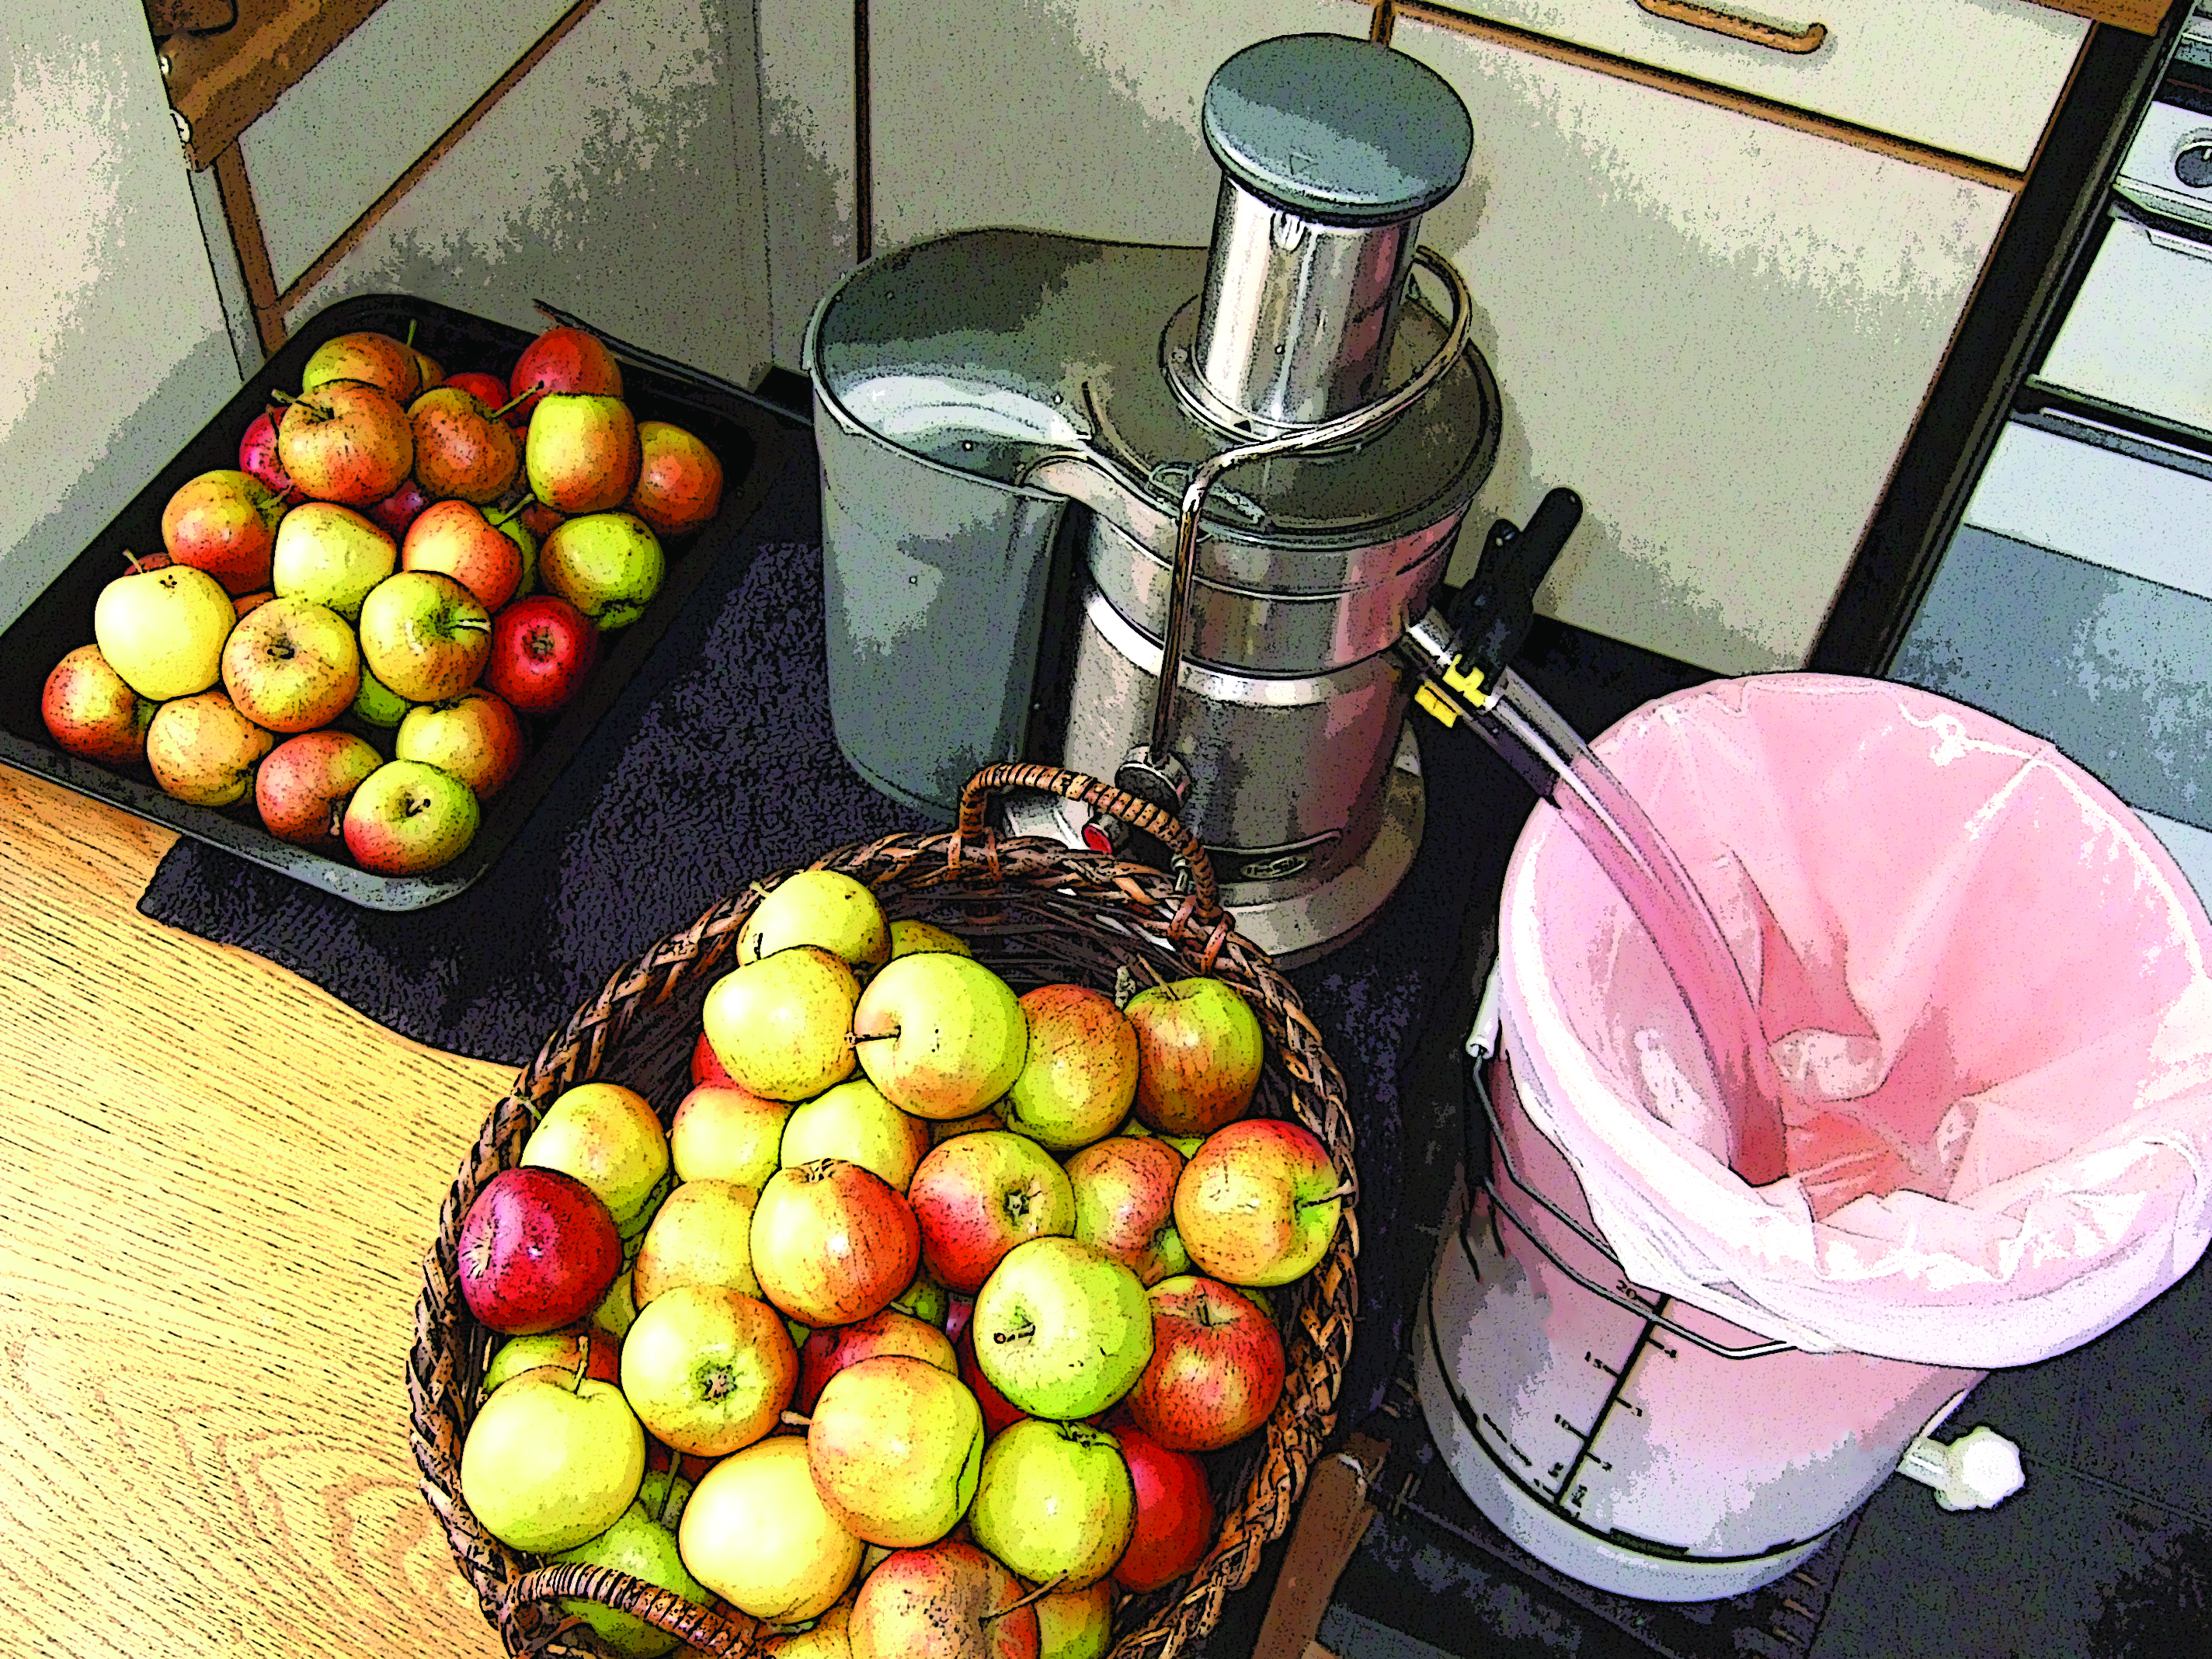
We started the evening with a hands-on practical session of how to use my “juice and strain” method to make clear apple juice and crystal-clear hard cider, quickly, and with minimal mess. Rather than smash the apples outdoors with a messy, old-fashioned cider press, I use modern centrifugal juicers right on the kitchen table.

Dinner was accompanied by last year’s homemade hard cider (6.5% alcohol by volume), apple wine (15% ABV), and store-bought Calvados (40% ABV). It was the latter that did him the most damage.

The next day, our new friend could remember nothing of the evening’s proceedings. He was unable to recall disclosing his lifetime’s accumulated prejudices, politics, religion, and relationships. Also my introduction to the juice and strain cider method had been lost, as with the spirit vapors.

To save further embarrassment, I said nothing about his verbal indiscretions, but I did re-explain my method to him as follows.

This project originally appeared in Make: Volume 36.

Project Steps

Clean your equipment.

Apple juice and hard cider are foodstuffs, and all appropriate food handling and safety measures should be stuck to. Wash your hands, sanitize all surfaces, double-wash the apples, and throw away any bad ones.

Sterilize all equipment that will be in contact with fresh apple juice. I use a stock solution of 4 Campden tablets per gallon of water to soak all the relevant parts and buckets for a couple of hours before use.

Set up the juicer and strainer.

Lay out a clean towel, rinse off the juicer parts, and assemble your whole fruit juicer.

Attach the “juice containment and delivery adaptor”, aka hose, to the juicer’s spout, and feed it into the straining bag, held within a straining bucket that has holes in its base. This assembly sits neatly in the open brewing bucket with a draw-off tap at the bottom.

Set up your brew bucket on a stool or box, high enough that you can fit your demijohn or carboy underneath the tap. Apples go in at one end, clear apple juice comes out at the other. It couldn’t be simpler.

Juice and strain.

Feed apples into the juicer with a steady, even pressure on the pusher. The higher the machine’s power rating, the faster you can go.

CAUTION: Whole-fruit juicers are powerful appliances. Read and adhere to the safety and other instructions for your juicer.

When the pulp container fills up, discard the pulp. After every 25lbs of fruit, dismantle the machine and clean the pulp off the centrifuge stainless steel mesh.

You’ll find that the juicing work is done in a flash, although it takes a while longer for all the juice to strain through. I obtain the last 5% of the expected 65% by weight of juice by wringing out the straining bag. Scottish, you see!

What’s left in the bag is about 1% of the original apples. This very fine pulp can be used in apple muffins. You don’t want it in your cider.

Shoot the yeast.

While the last juice is draining, pitch the yeast into a measuring cup containing fresh, clear apple juice held at room temperature. This will allow the dried yeast to rehydrate and kick-start your fermentation. Use a champagne yeast for simplicity and reliability. A 5g packet is enough to inoculate 5gal of juice.

At this point measure the original gravity (OG) with a hydrometer and write it down. Later, this figure will allow you to estimate your cider’s alcohol percentage. If the OG is low, top it up with a little white sugar to reach 1.040.

After half an hour, stir the cup to thoroughly disperse the yeast, then pour it into your sterilized carboy or demijohns. Fill these up nearly to the top with apple juice and put airlocks on top. Within the hour you should see bubbles coming out through the airlock.

Ferment.

Keep the fermentation vessel(s) in a warm place like the kitchen and after 3 weeks you should have a crystal-clear cider ready to be racked and bottled. Check it with your hydrometer. The reading needs to be 1.000 or less. If it’s still high, let fermentation continue.

When the hard cider is finished, measure the final gravity and read off the alcohol content from an ABV chart or online calculator. For reasonably good storage, 5% ABV is considered the target minimum

Bottle.

Siphon your cider into recycled, sterilized beer bottles that will take a crown cap.

If you want a still hard cider, just bottle as is. If you want bubbles, then add ½ teaspoon of white sugar to a pint bottle, fill up with your hard cider, and cap. After a few more weeks, a secondary fermentation should be complete and you’ll have some fizz.

Enjoy.

Serve chilled. Take care when opening. If you’ve overdone the sugar, it can go off like a fire extinguisher.

When serving, you can adjust the sweetness to taste by adding sugar syrup. But I prefer my cider as dry as it can go.

Watch the Scillonian Road crew brew a 5-gallon batch at http://youtu.be/Qvc0cCh5r0c.