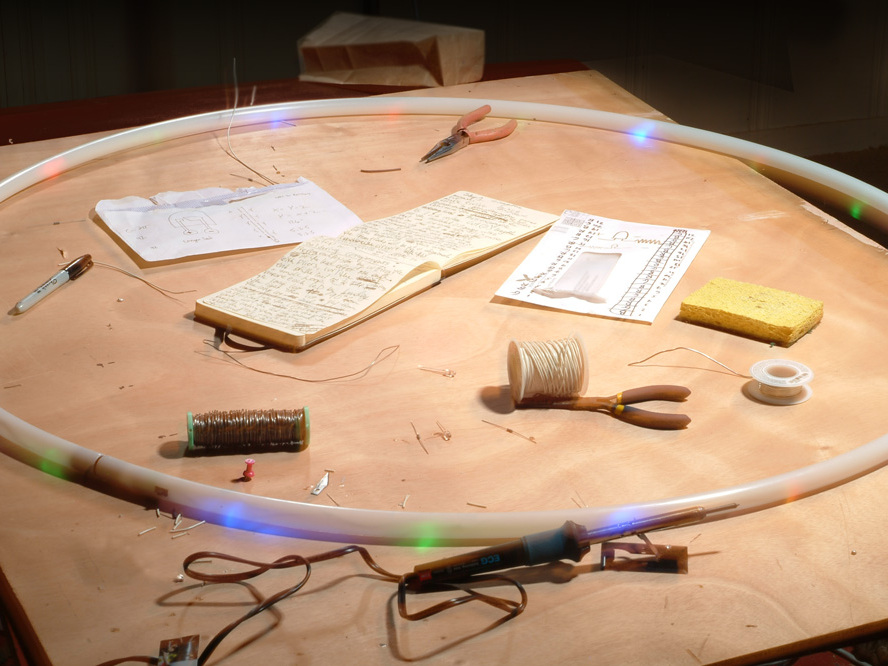
LED hula hoops are so beautiful to watch, and creating a custom hoop is a satisfying challenge. Twenty-one LEDs are used in this hoop; 6 are flashing LEDs that cycle through the colors of the rainbow. Each light is combined with a resistor and then wired together in a classic and simple parallel circuit.

Be sure to research each part and its specs when creating the circuit design. Each LED for this project was chosen for its similar voltage drop, making things simpler by requiring only one value of resistor.

The battery for this project can be a laptop battery like the one used here, or a few AAA batteries taped into series. Either way, the tube can be taken apart for the battery to be easily changed. Experimentation and thoughtful research will make this project successful.

What will the next generation of Make: look like? We’re inviting you to shape the future by investing in Make:. By becoming an investor, you help decide what’s next. The future of Make: is in your hands. Learn More.

Project Steps

Create the “rails” for the circuit.

Determine the circumference of your hoop. This example is 126″, or 10 1/2′, for a 40″ diameter, same size as a pro hoop (Wham-O’s hoops are 30″–36″). Cut 2 lengths of the insulated wire at least that length plus 1′ tails to help thread the circuit into the hoop. Mark 1 length of wire where each LED will be placed. The 21 LEDs in this hoop were spaced every 6″.

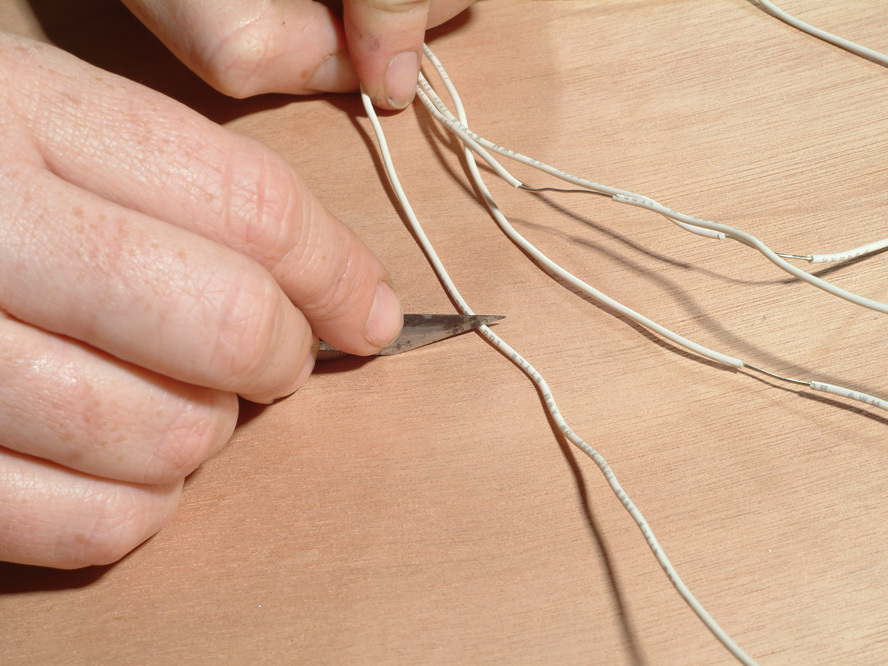
Mark the second wire with the same intervals, but offset 2″ from those on the first wire. After all the marks are made on both wires, use a razor blade to strip about 1/2″ of insulation at each mark. The “railroad ties” set into the “rails” will be diagonal.

This technique has advantages. When the wires are inserted into the tube, and the rails are pressed close together, each contact has insulated wire against it, instead of another contact. If spaced right, the rails are unable to short-circuit against each other. (As insurance, cover everything with electrical tape to prevent catastrophic shorts.)

Solder the components.

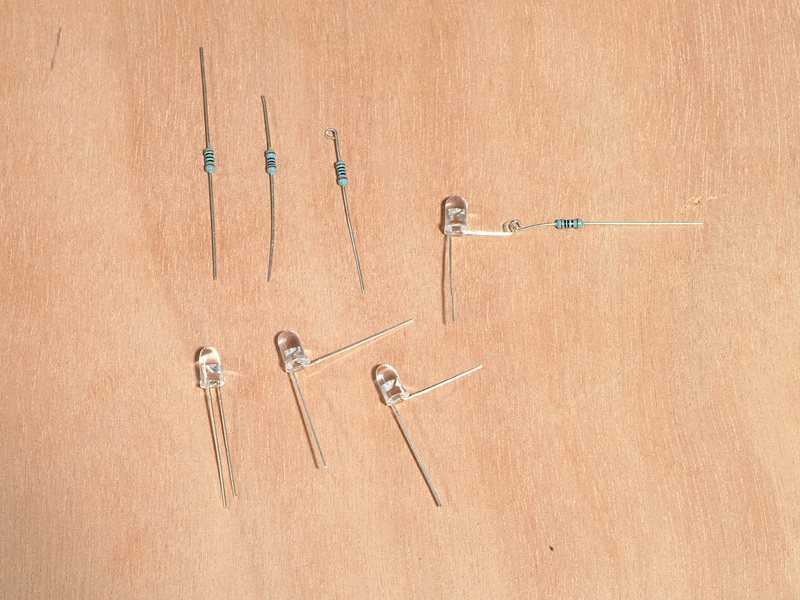
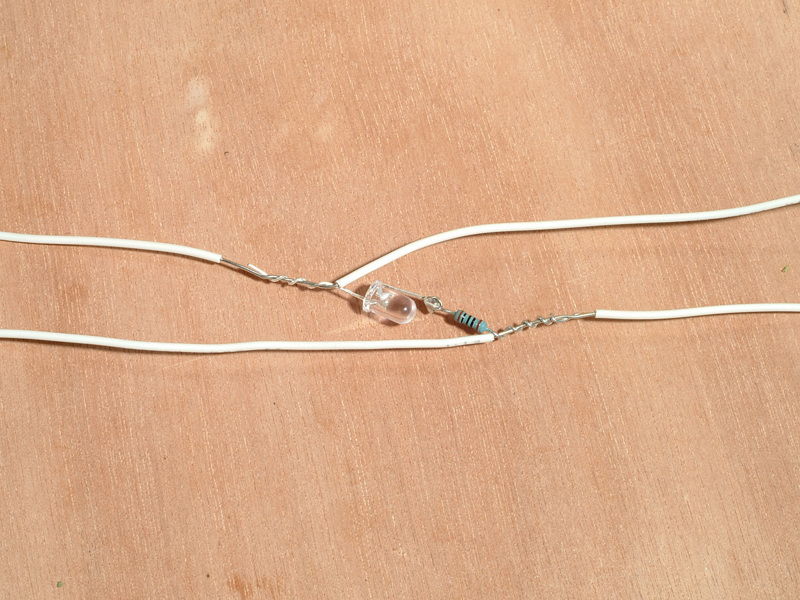
With the rails complete, begin the ties. Prepare each resistor by cutting the last 1/3 off one of its lead wires (it doesn’t matter which). With needlenose pliers, curl the cut end of the lead onto itself, creating a small loop.

Prepare each LED by bending the long lead — the anode (positive) — at a right angle to the base of the light. Leave the short lead — the cathode (negative) — straight. Cut the last off the end of the anode and slip it into the curled end of the resistor.

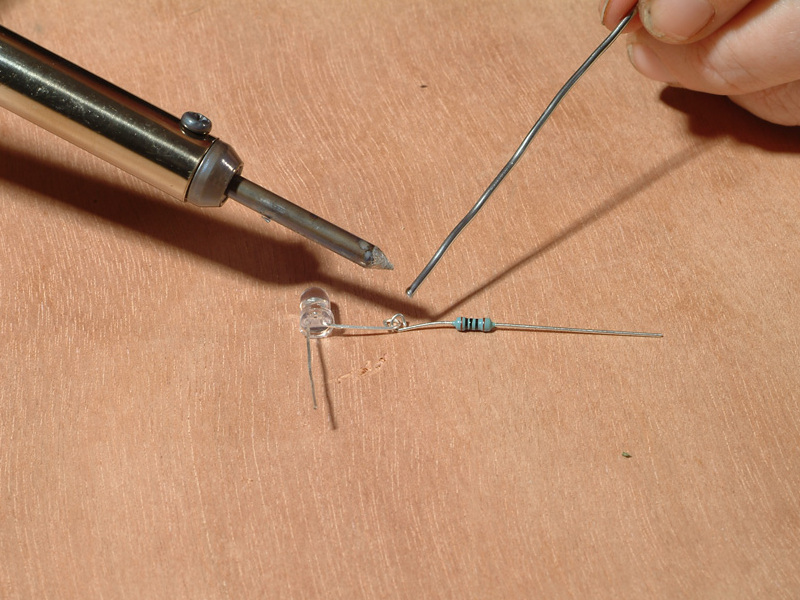
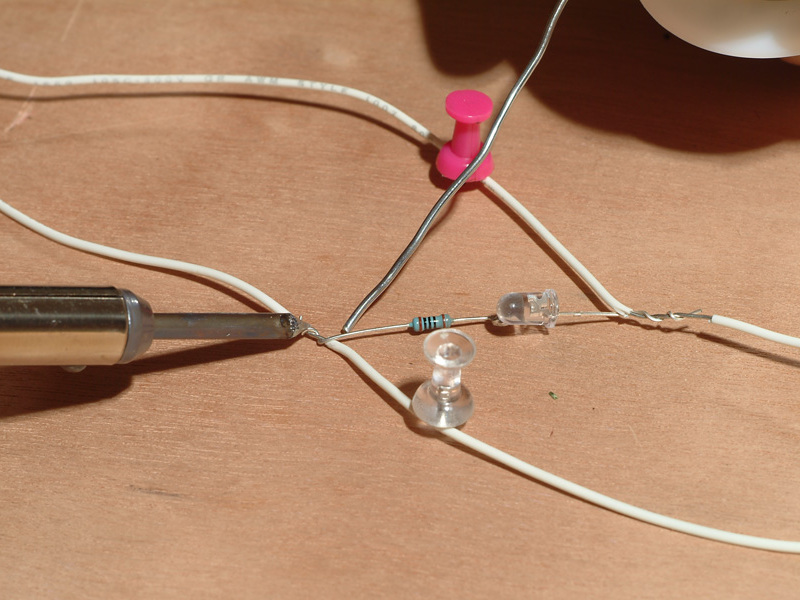
Take the pliers and curl the LED anode around the resistor, locking them together. This makes soldering easier. Now solder the place where the 2 are joined. Repeat this step until each resistor has been joined to each LED.

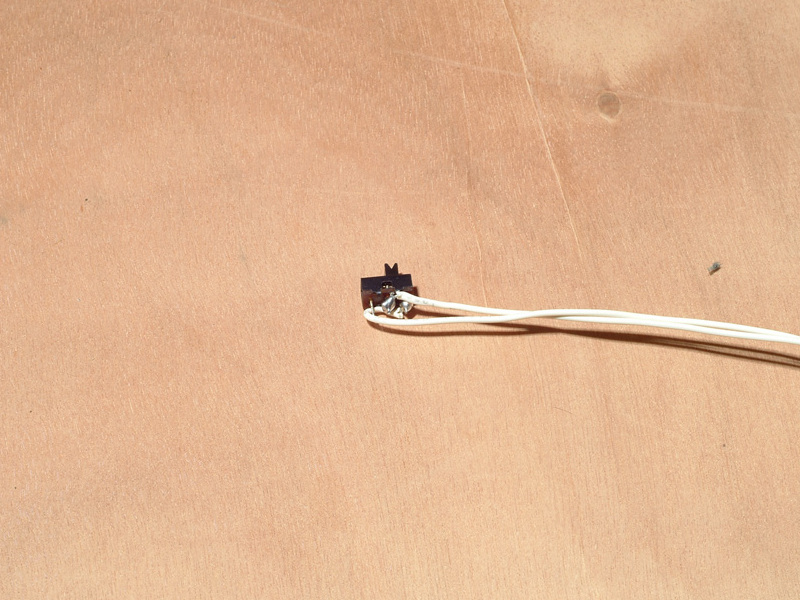
Wiring of the switch depends on the switch itself. Mine has 3 leads, but only 2 are needed to make the circuit. A 3-lead switch should be tested to see which 2 leads will make an open/closed circuit. Now add a few inches of wire to the chosen leads to make the switch accessible from inside the hoop.

Assemble the lights.

The 2 wire rails run parallel, one positive and the other negative. Wire all the components to the rails by twisting the leads around the sections of stripped wire. Connect the LED cathodes to the negative rail and the resistors to the positive rail, placing your colored LEDs in any pattern desired.

Wire each one, and then, before soldering, press the rail wires against the battery’s positive and negative terminals to check that all is in working order. If the LEDs do not light, check for loose twists and proper polarity. When each LED lights properly, smile.

Carefully solder each component to the rails. Wrap with electrical tape any exposed areas that could possibly short out. Now mark each end of each wire as positive or negative, for later reference. This step is very important.

Create and thread the hoop.

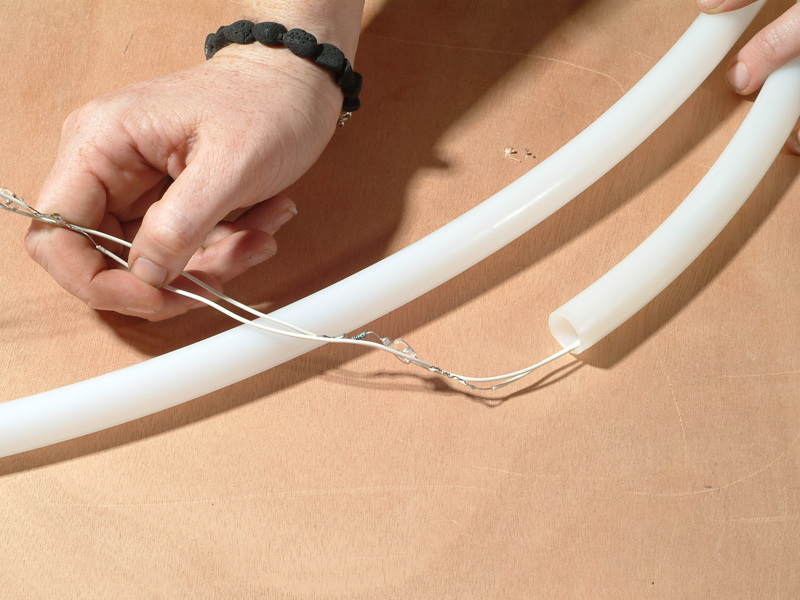
Cut the tubing to 10 1/2′. If it’s too tightly coiled, gently bend it, and if necessary, apply heat from hot water or a blow dryer to soften it so that it can be plied into a circle. Very slowly, thread the circuit into the tube. When I made this hoop, even gentle threading made one of the weaker components break, requiring a repair with electrical tape. Go slowly, and use the stiff wire to fish out the ends if there is a snag.

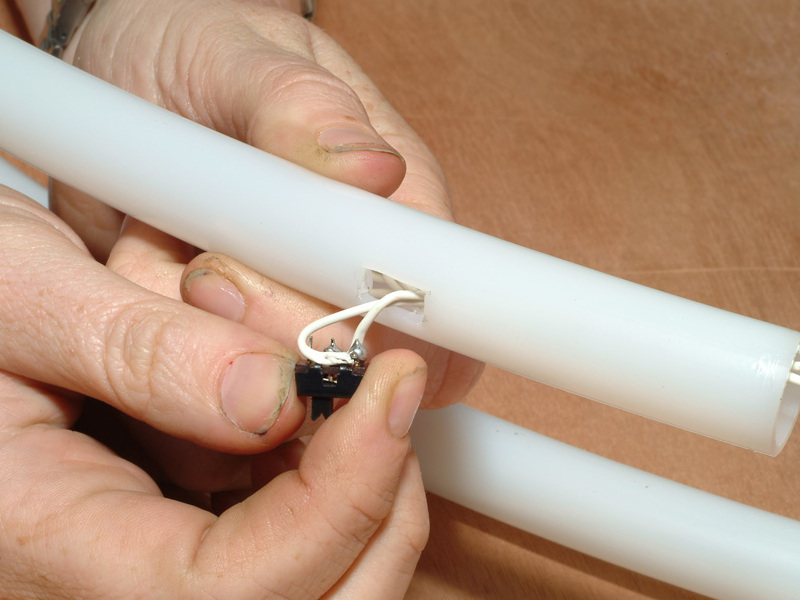
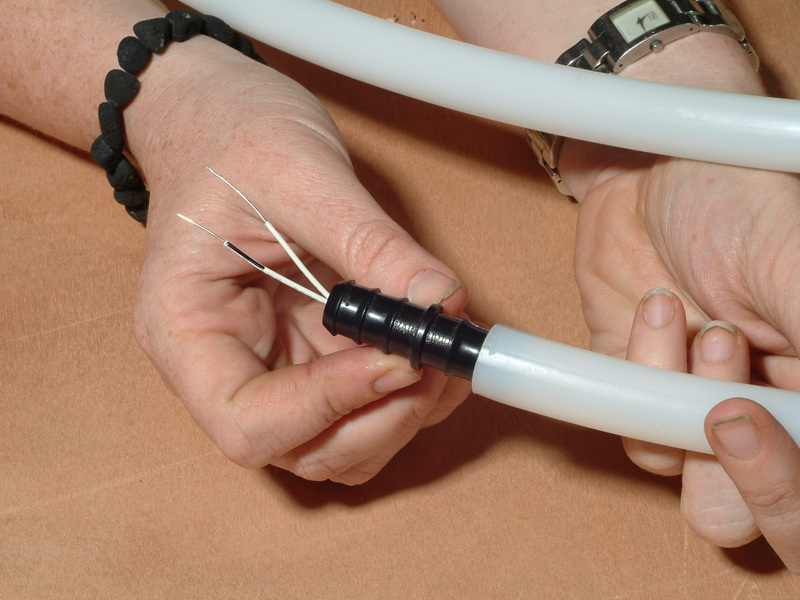
Choose one end of the tube for the switch and battery. The switch will be set at the outside edge of the tube. Determine where to cut the hole, leaving room for the battery, wires, and barbed pipe fitting to be stuffed into this end of the hoop. Using a razor blade, cut a small hole to set the switch in. Start small, carving out little bits at a time to make a tight fit. Press the switch into the hole, running its wires out the open end of the tube. Secure the switch with epoxy or hot glue. On the opposite end of the tube from the switch, thread the rails through the barbed fitting, and press the fitting into the tube.

Connect the battery and close.

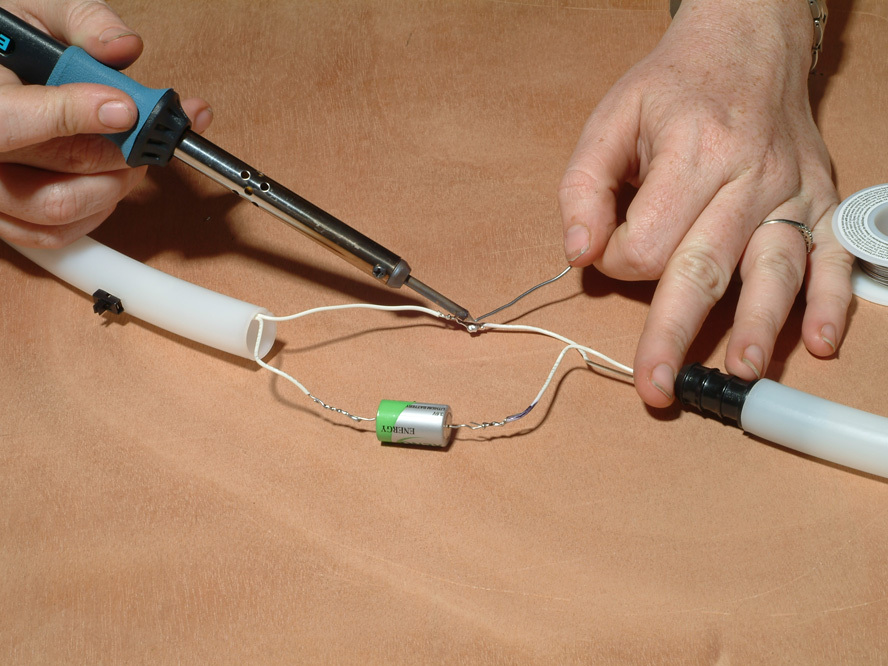
Wire the battery into the circuit. Solder the positive battery lead to one of the switch leads, and the negative battery lead to the negative rail that’s threaded through the fitting at the other end of the tube. Solder the remaining switch lead to the positive rail to complete the circuit. Before enclosing the battery and wires, test the switch several times.

Push the battery and wires into the hoop. The fit is tight! Press the open end onto the barbed fitting to seal the hoop. The tube can be reopened to change the battery by gripping and pulling the ends apart. Now flip the switch and blaze up that hoop!

Conclusion

This project first appeared in CRAFT Volume 06, page 54.