Linoleum printing is a form of relief printing, one of the easiest and most direct of all the printmaking methods. Linocuts can be simplistic and graphic, or as intricately detailed as you want. It’s a subtractive process, meaning you cut away, or subtract, the areas you do not want to print. They can be printed onto almost any type of paper or fabric. You can print on top of painted or silk-screened backgrounds, or you can use watercolor paints or colored pencils to hand-color the print after it has dried.

When printing with a soft block of linoleum the edges will round a bit, giving a softer look to your image. Softer linoleums also reduce the number of prints you can pull before the block starts to deteriorate. The harder linoleums allow a lot of detail, but they are more difficult to cut. They also hold up to a longer print run. I like to use battleship linoleum because it is firm enough to allow for good detail but soft enough that it won’t strain my hand to carve it. You can soften it slightly by using a heating pad underneath it while carving.

There are several different types of linoleum you can use for linocuts, each with its own characteristics. Linoleum is typically 1″ thick and comes either unmounted with a canvas backing or mounted onto a block of wood. You can buy it from art supply companies or your local arts and crafts store. The softer varieties are easier to carve but they won’t hold as much detail as the harder blocks.

What will the next generation of Make: look like? We’re inviting you to shape the future by investing in Make:. By becoming an investor, you help decide what’s next. The future of Make: is in your hands. Learn More.

Project Steps

Transfer design onto the plate.

Plan out your design and get it onto the linoleum block in preparation for carving. Keep in mind that your image will print in reverse, so if you use any type in your design you’ll need to reverse it on the plate.

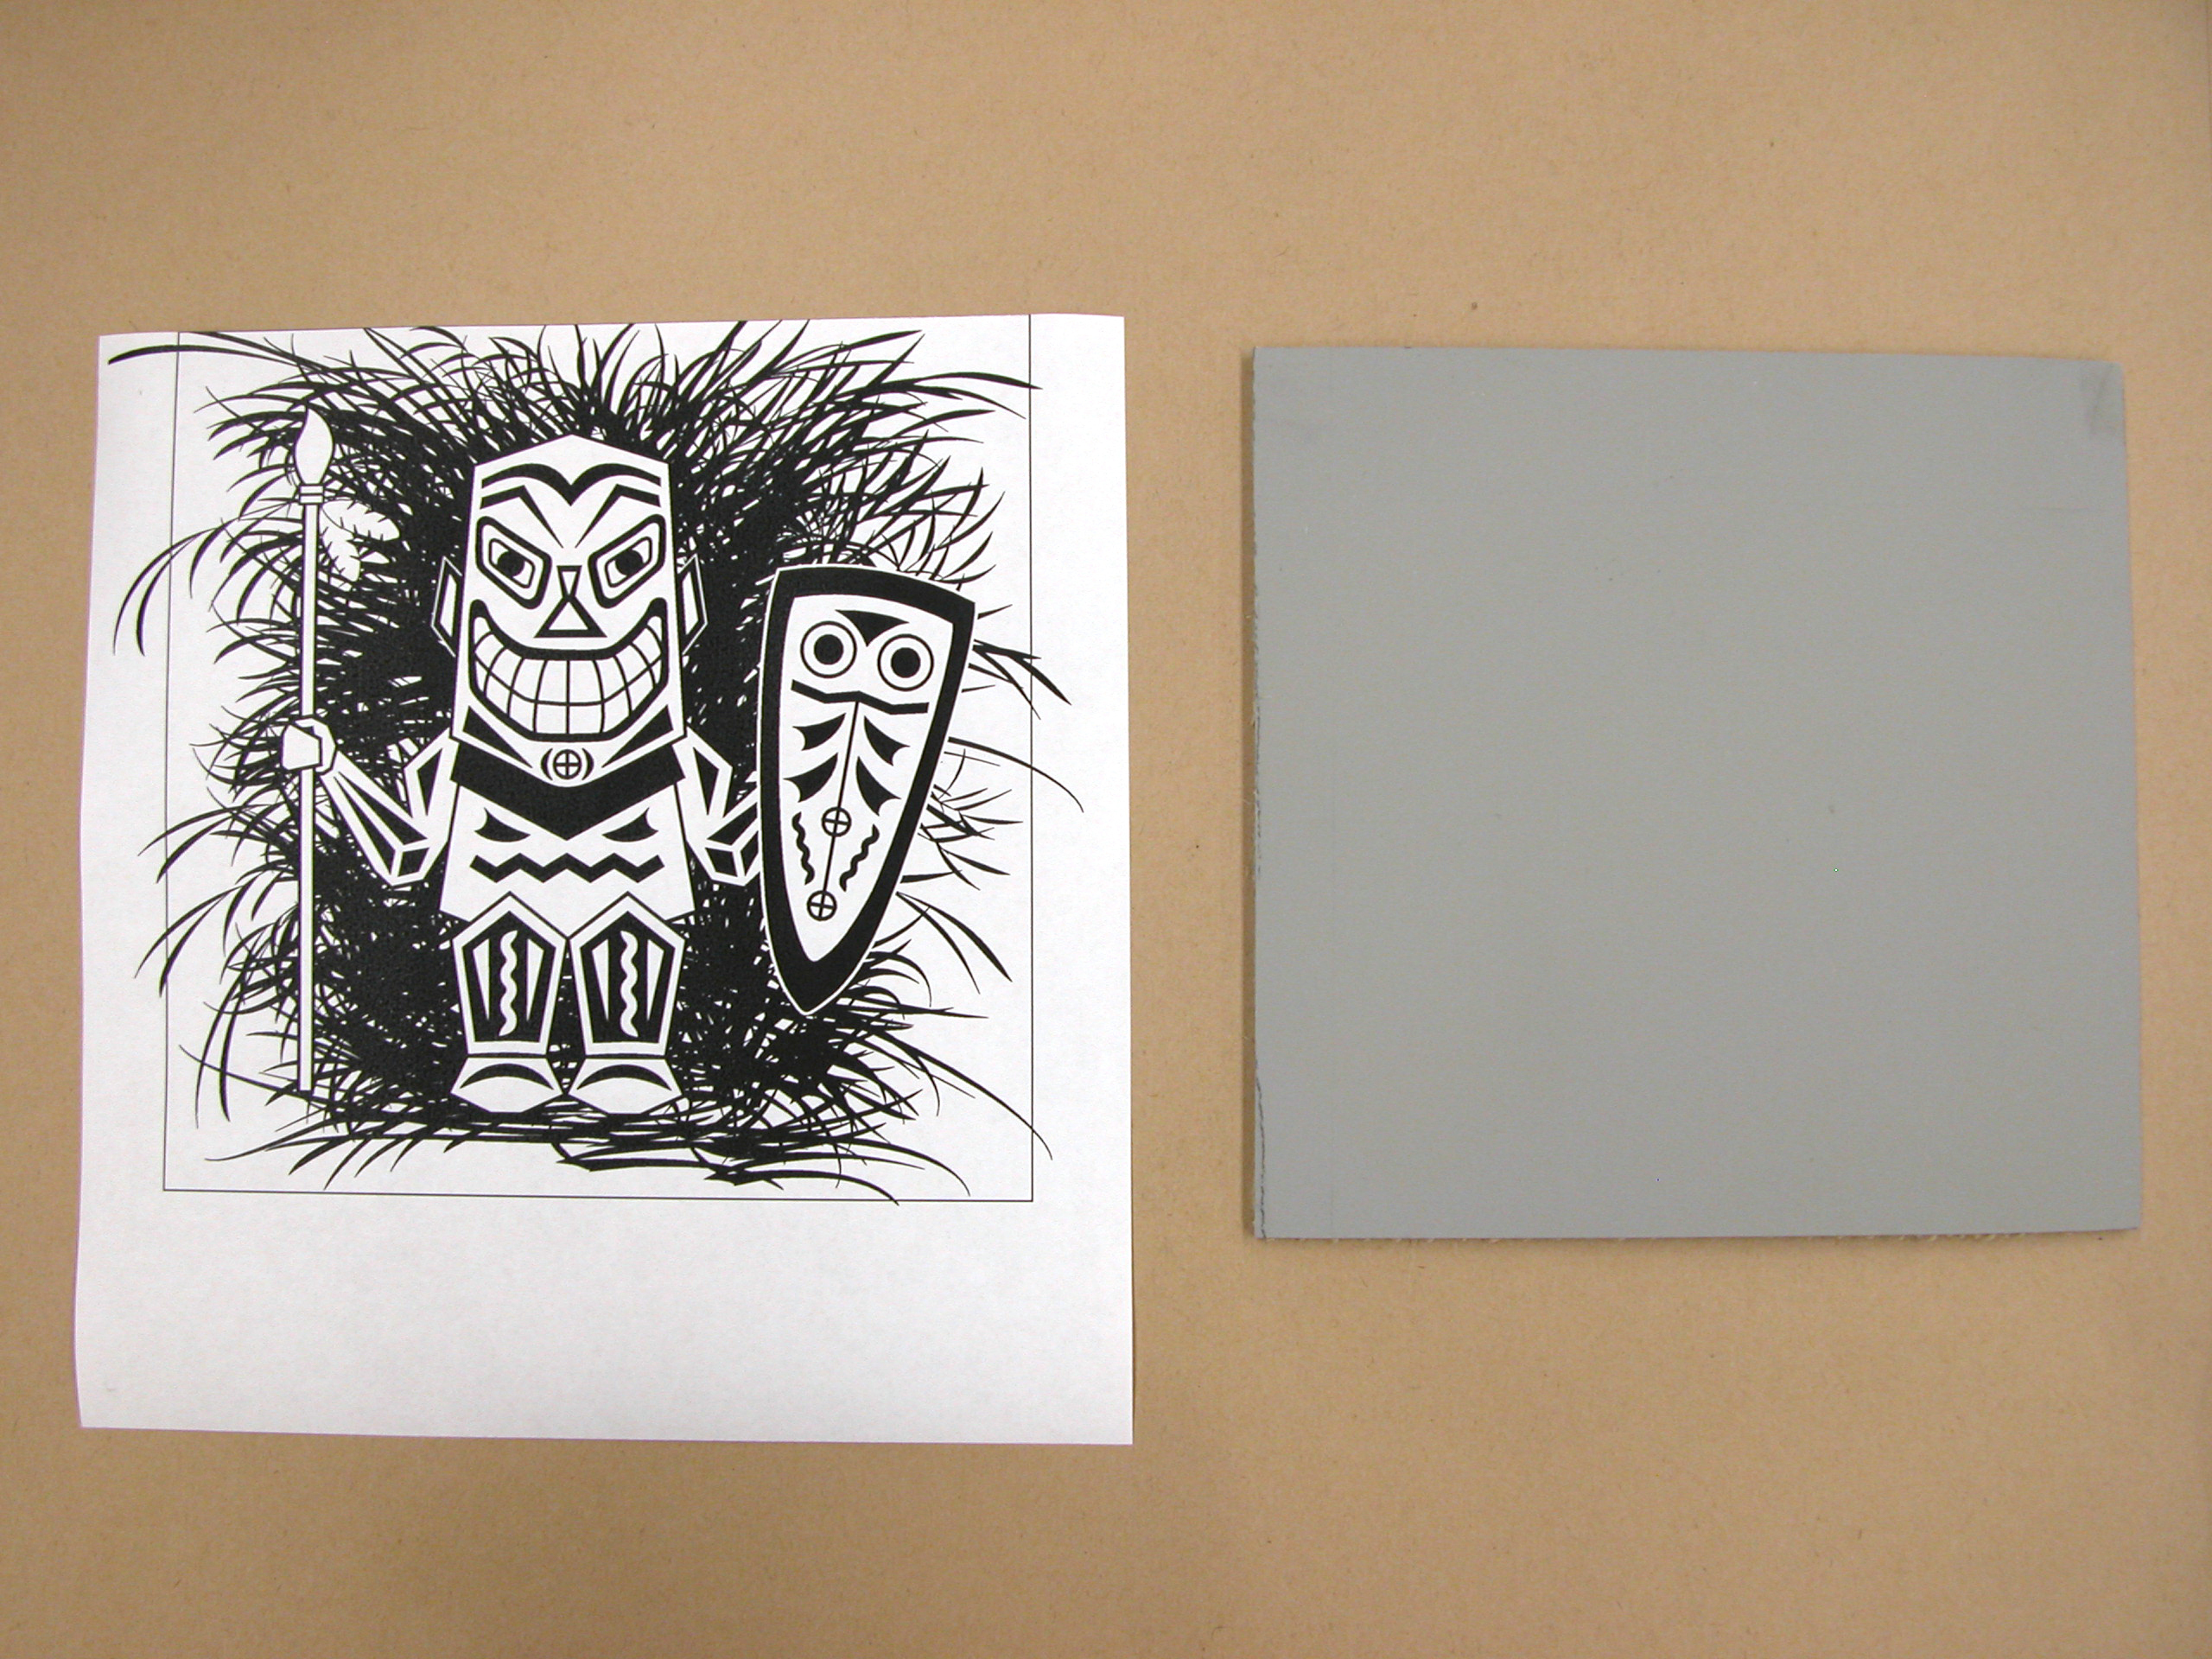
You can draw directly onto the linoleum or you can use a transfer method. If you decide to draw right onto the linoleum, start by sketching with pencil and then use a permanent marker to go over your lines and fill in the areas that will print.

Carbon Method: To transfer a design, sketch it onto a piece of drawing paper, cut it down to the final size and tape it, hinge style, to one side of the linoleum. Slide a sheet of carbon paper underneath your drawing, face down, and then use a ballpoint pen or hard pencil to trace over your drawing. Be careful not to press too hard; if you’re using very soft linoleum you could inadvertently leave indents where you don’t want them. Once you have the outlines transferred, remove the carbon paper and the drawing and use a permanent marker to fill in the areas that will print.

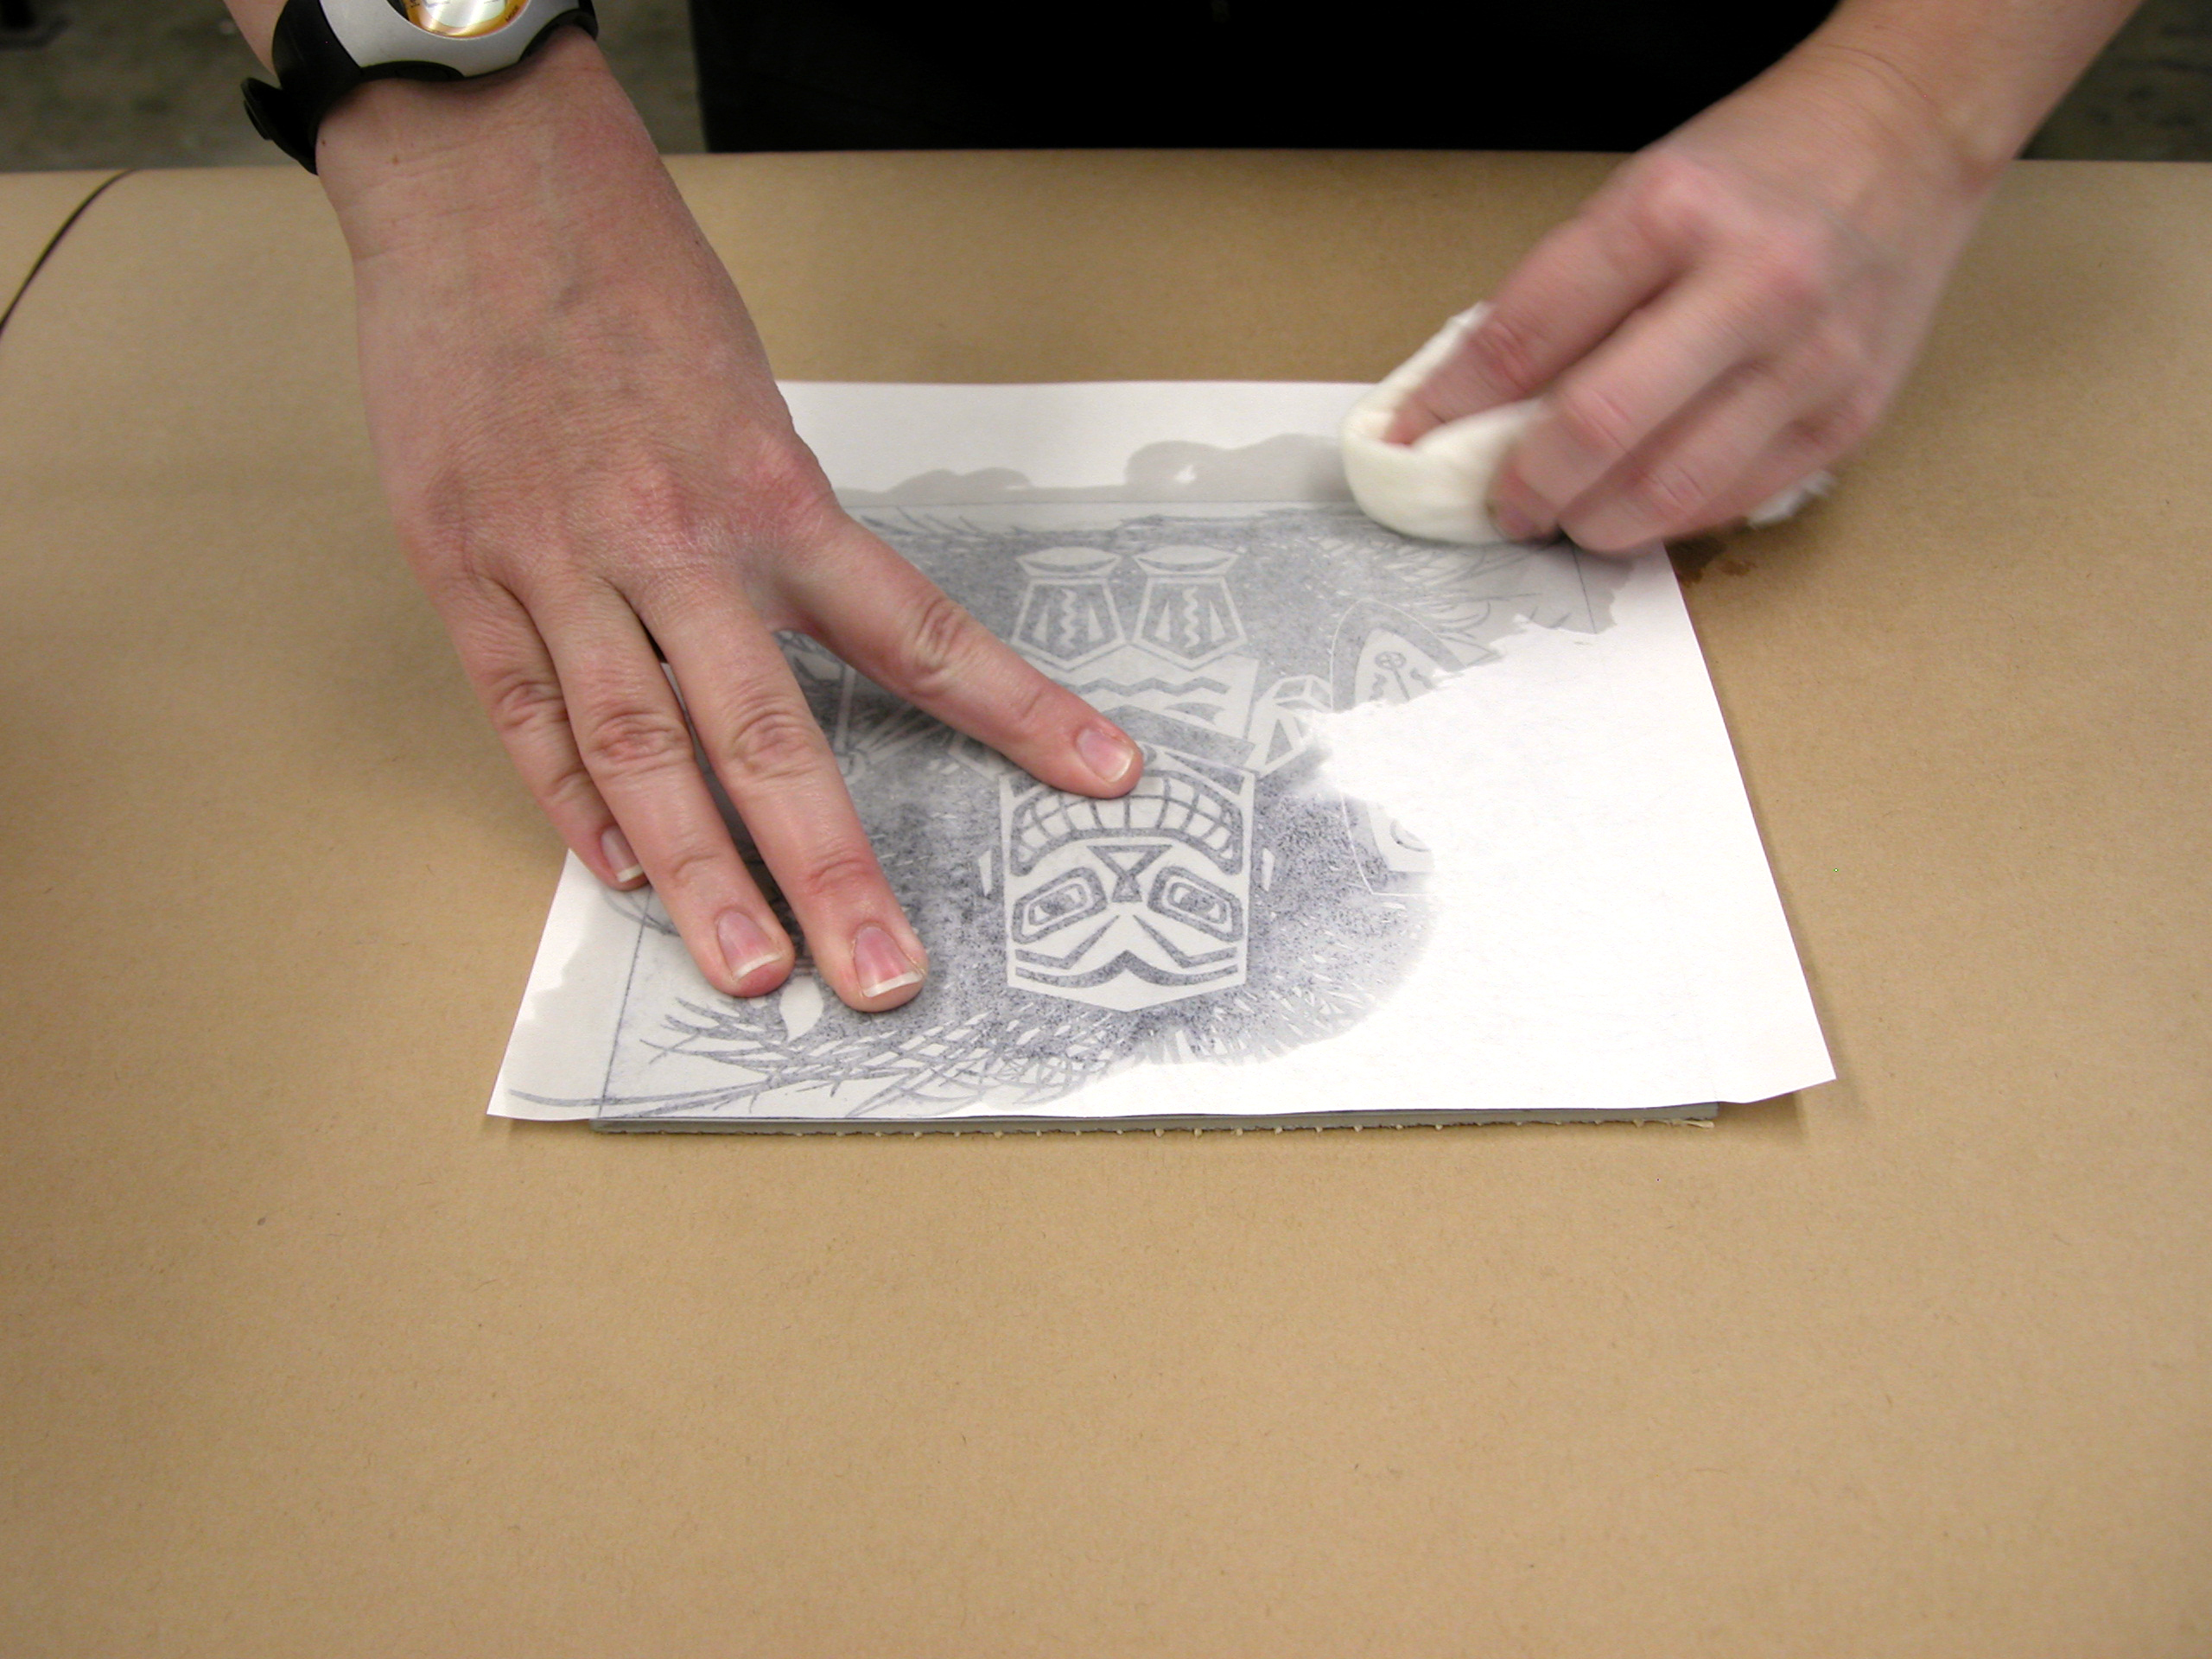
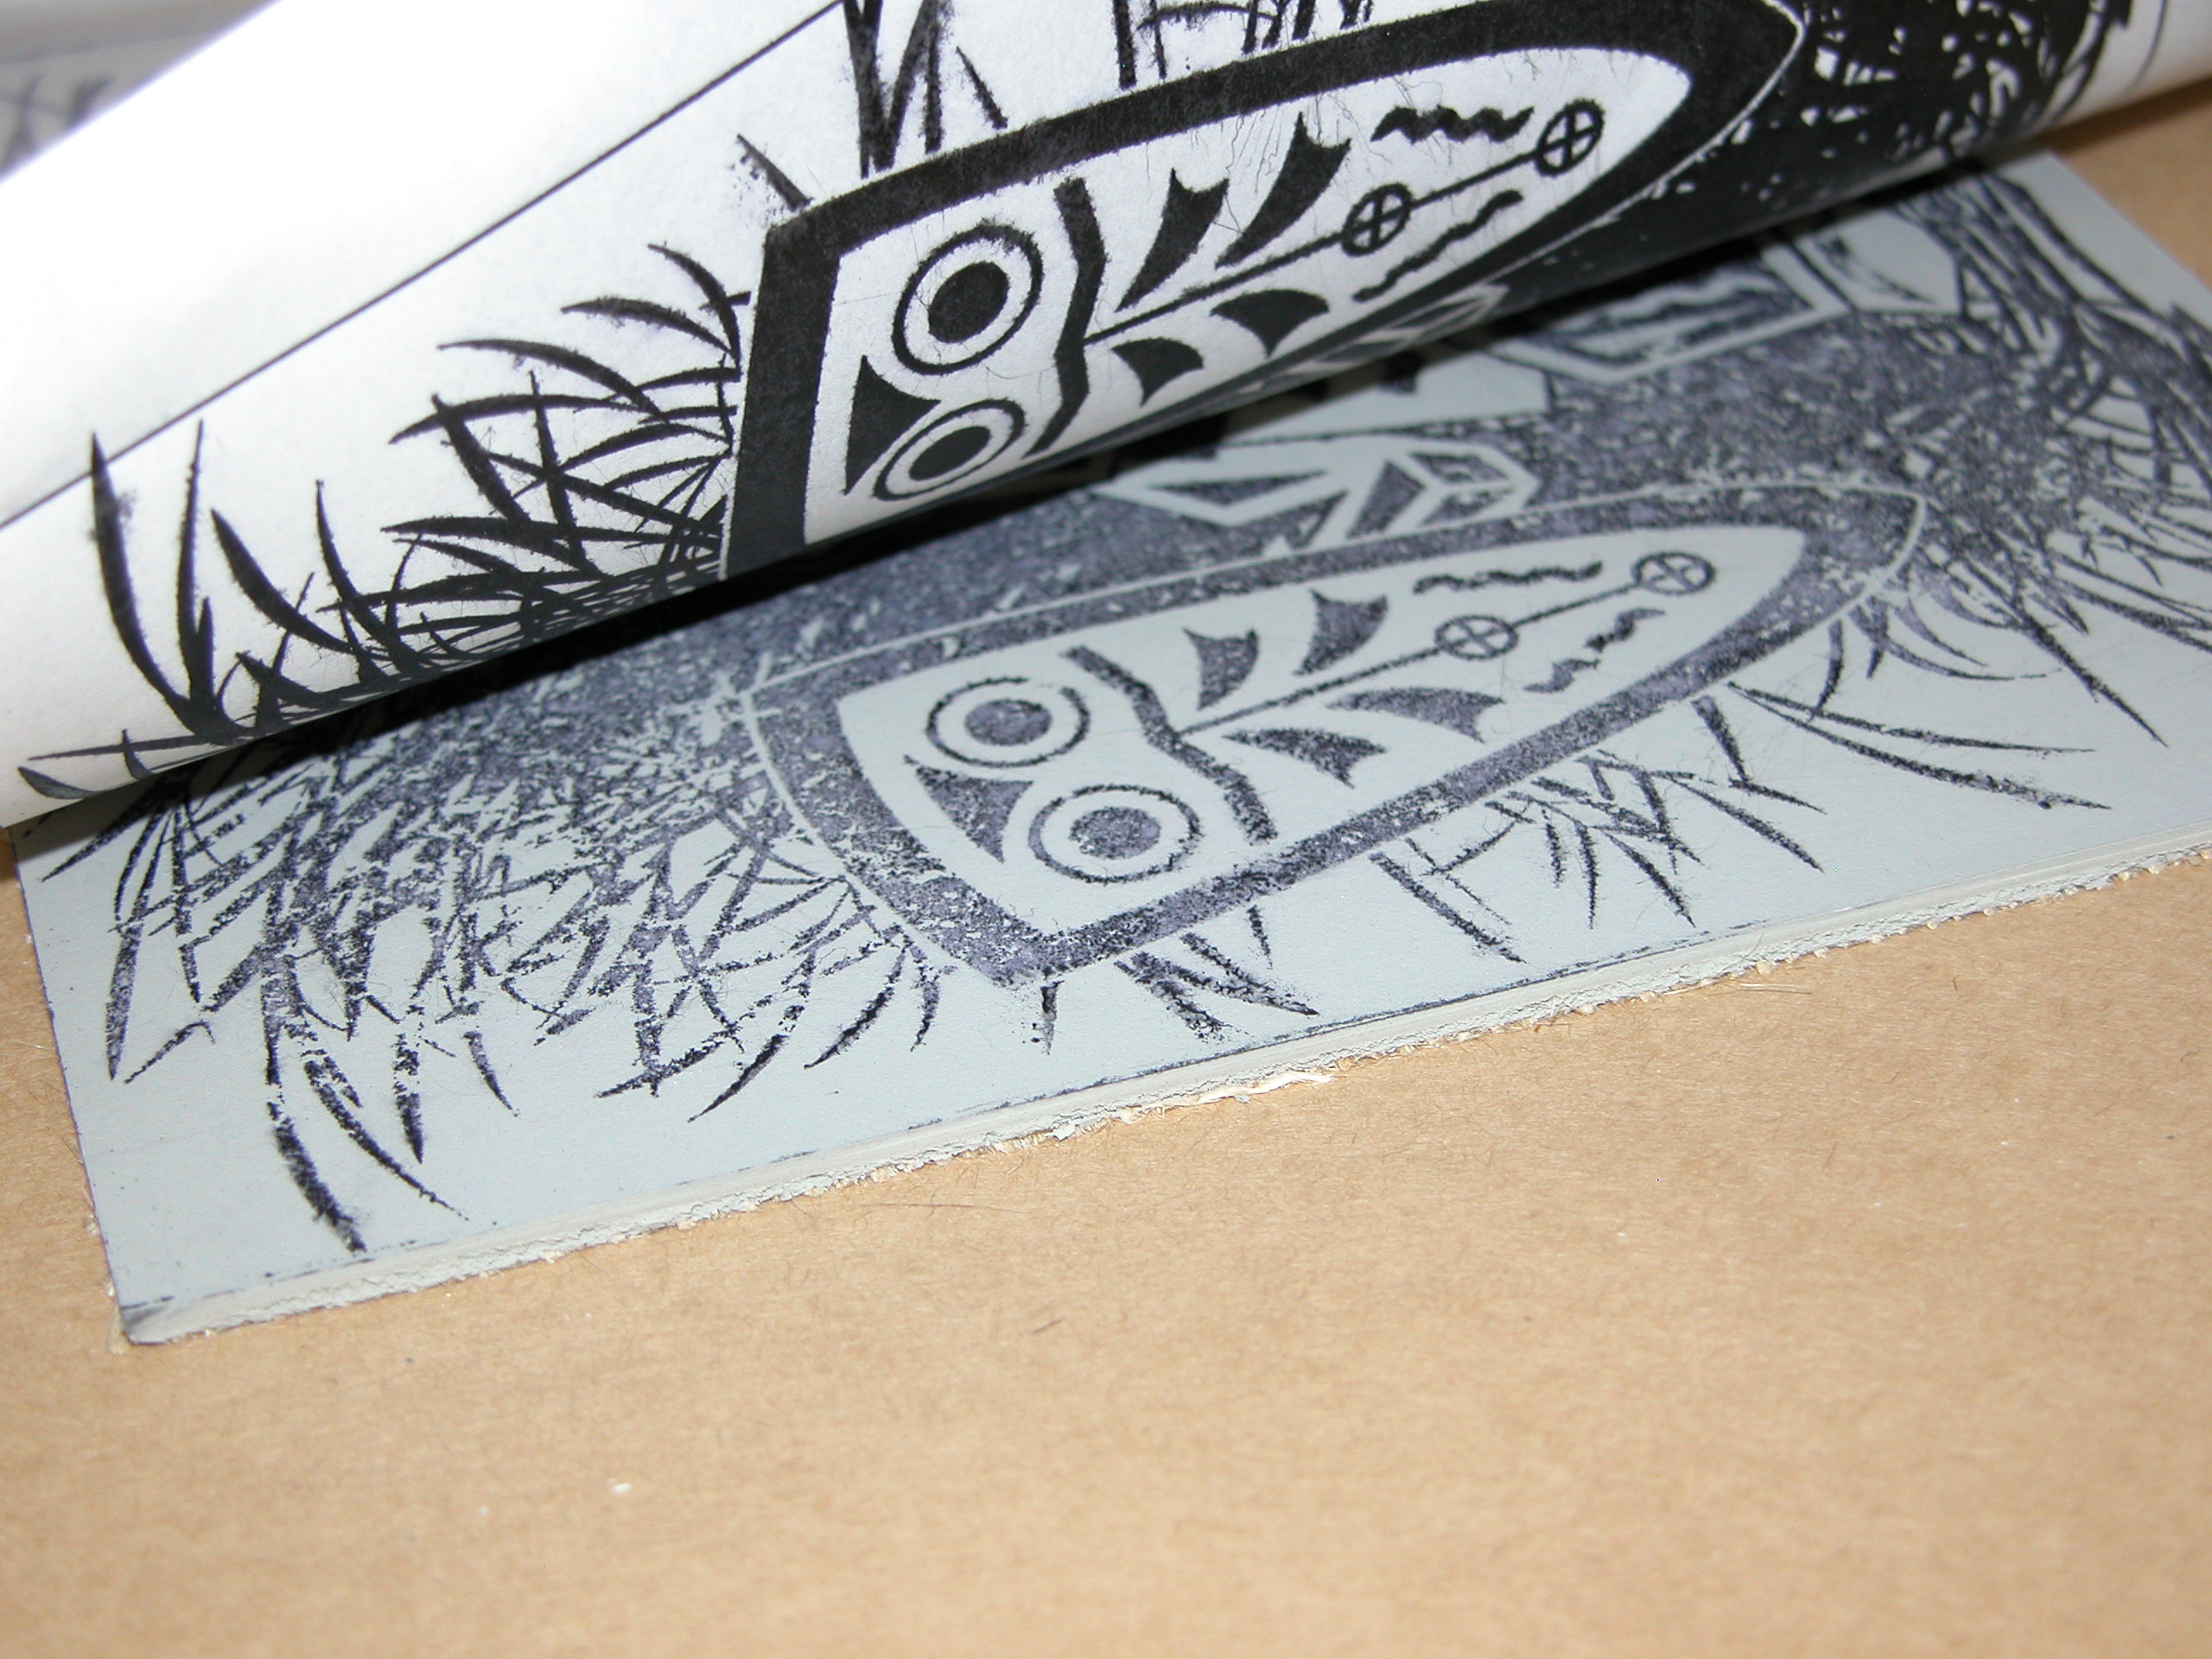
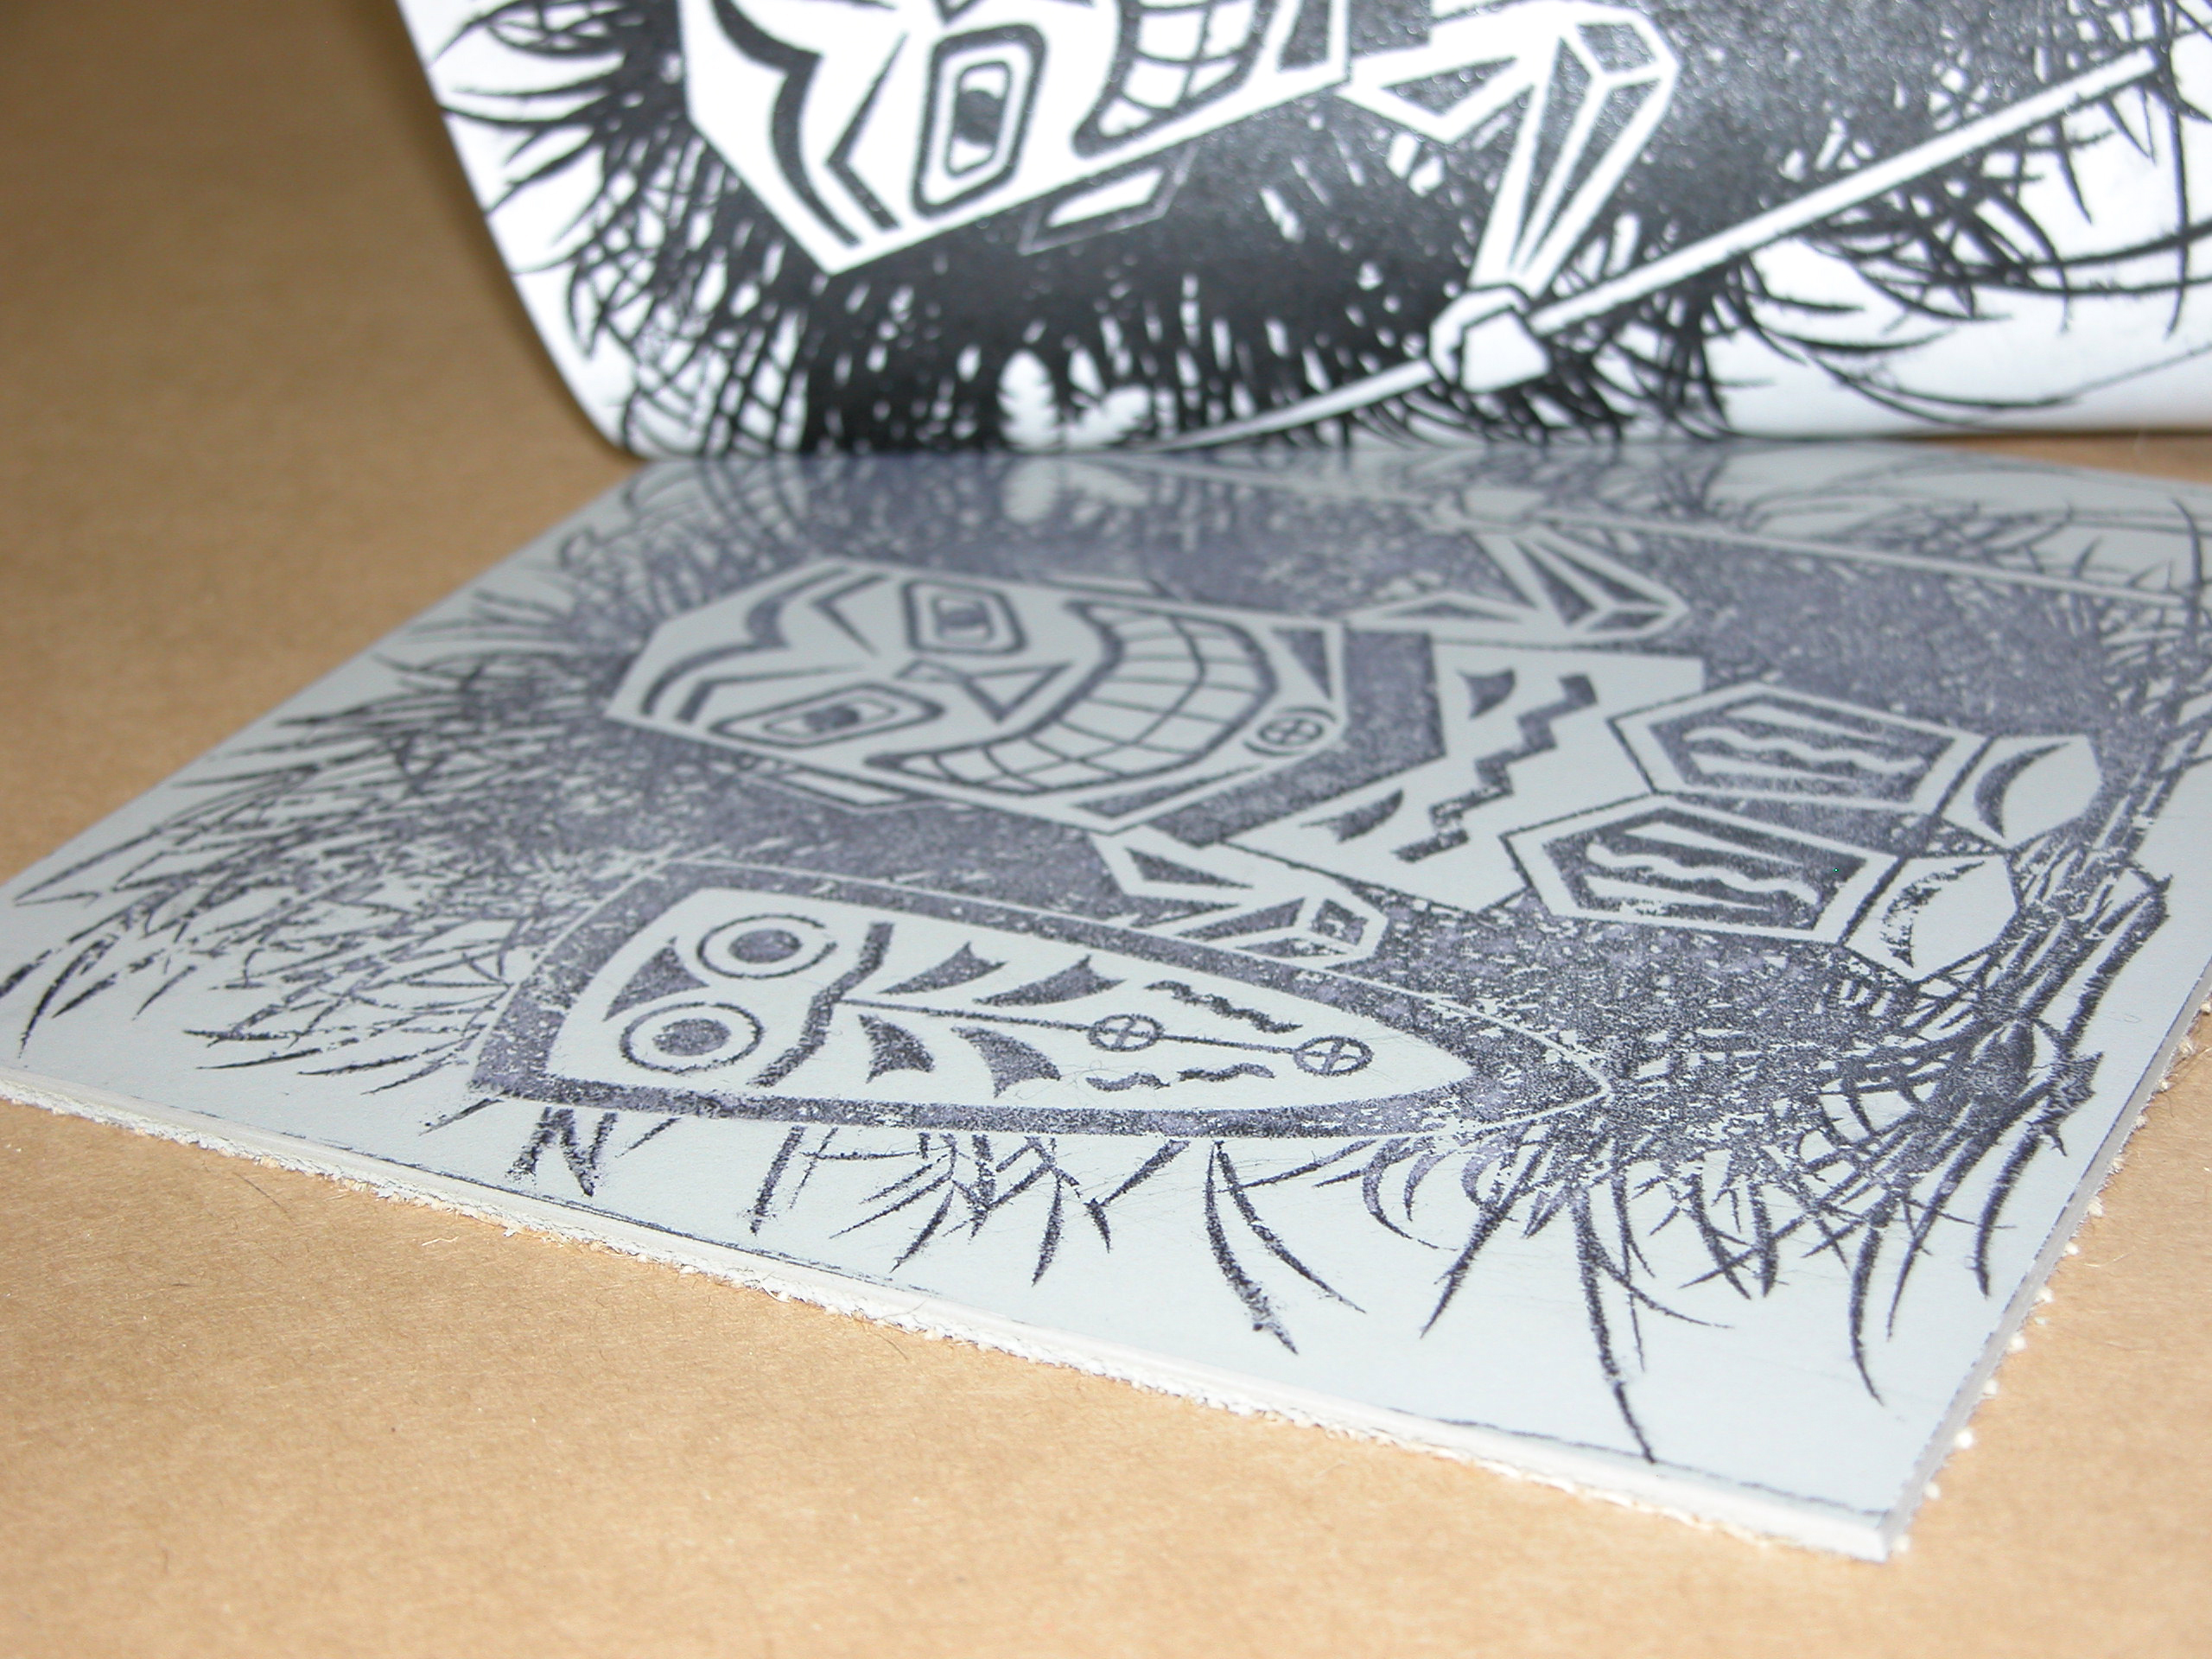
Toner Method: You can also use a toner transfer method if you want to print your design from your computer. This will not work with an inkjet print, only a laser print. Place the laser-printed design facedown onto the linoleum, and using a cotton ball, wet the back of the paper with acetone or Bestine solvent. Lightly burnish the back of the paper for a few seconds and then gently peel it back from the block. Keep in mind that you need to work in a well-ventilated area if you use this method.

Carve the design.

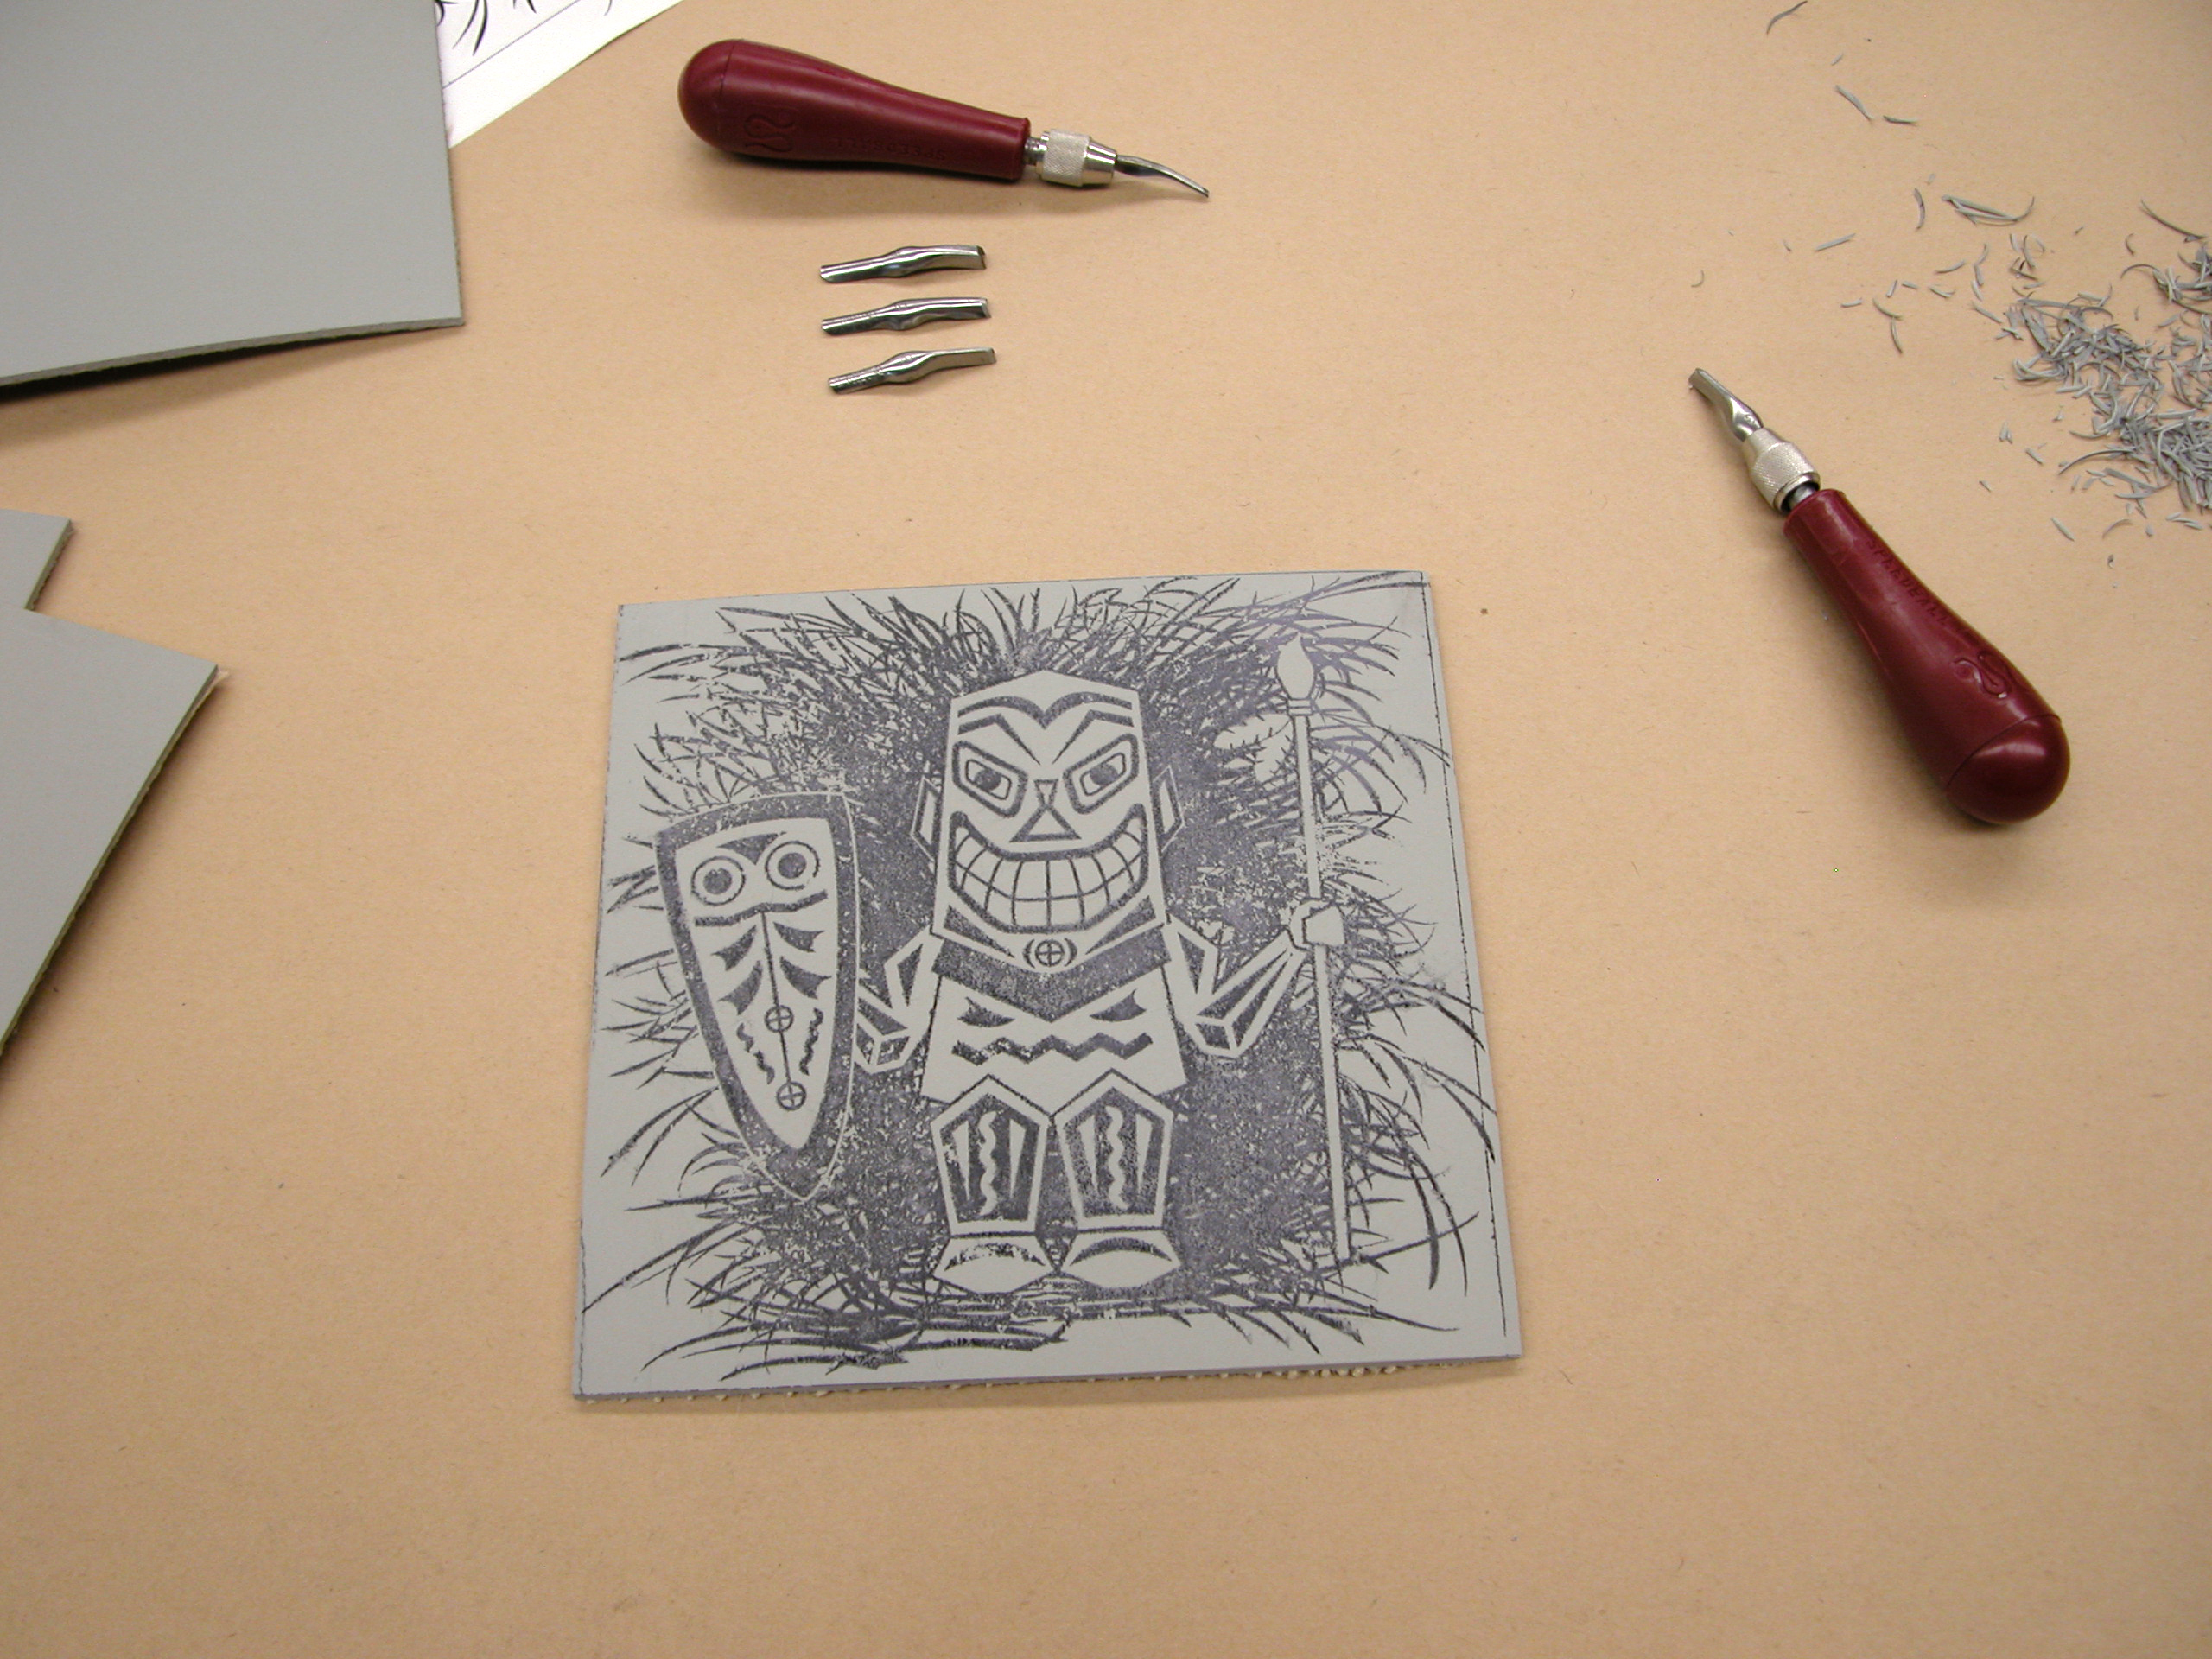
This is my favorite part — carving the block! Using a Speedball handle and the accompanying blades, you can now carve out any part of the design that will not print, thereby showing white, or the color of the paper.

There are many different types of blades available depending on the look you want, but I generally use only two blades, the #1 and the #3. The #1 is good for detail work and the #3 is good for clearing out large white areas. Crosshatching or varying the thickness of your lines can create gray areas.

As you’re carving, be mindful of the direction of your strokes. Some edges will inevitably be sticking up, which will create interesting line effects in the white areas. These carving lines are part of your design, so you’ll get a better look by working them in coherent directions.

You can also make interesting marks and patterns on the linoleum by sanding the surface or marring it with various tools. After you’ve finished carving the plate, be sure to thoroughly clean off any stray pieces of linoleum. These little bits and pieces can stick to your brayer or your printable areas and leave unwanted white spots when you print.

Note: Always cut away from yourself when carving and don’t put your opposite hand in front of the blade when you’re holding the linoleum in place. A good device to help with safe carving is a bench hook, which gives you leverage by providing an edge to hook onto the table and an edge against which to brace the linoleum.

Holding the tool is usually a matter of personal preference, and after some time spent carving you’ll discover what works best for you with the least amount of strain on your hand. I recommend that you start by holding the carving tool as you would a pencil. This will give you more control when cutting, especially for flowing curvy lines. You may want to switch to an overhand grip when clearing out large areas or cutting very deeply.

You don’t have to carve very deeply at all. The linoleum will hold very light delicate lines just barely incised into the surface. You can use the deeper cuts for thicker, more expressive lines, or when you are clearing out an area that does not print.

Prepare the paper.

Next you’ll want to prepare your paper before getting the ink ready. You can print on any type of paper, but for this example we’re going to use BFK Rives archival printmaking paper because it has a smooth absorbent surface that holds the ink well. It’s also heavy enough to hold up to any additional work you want to do on the print afterwards, such as adding color with pencils or watercolors.

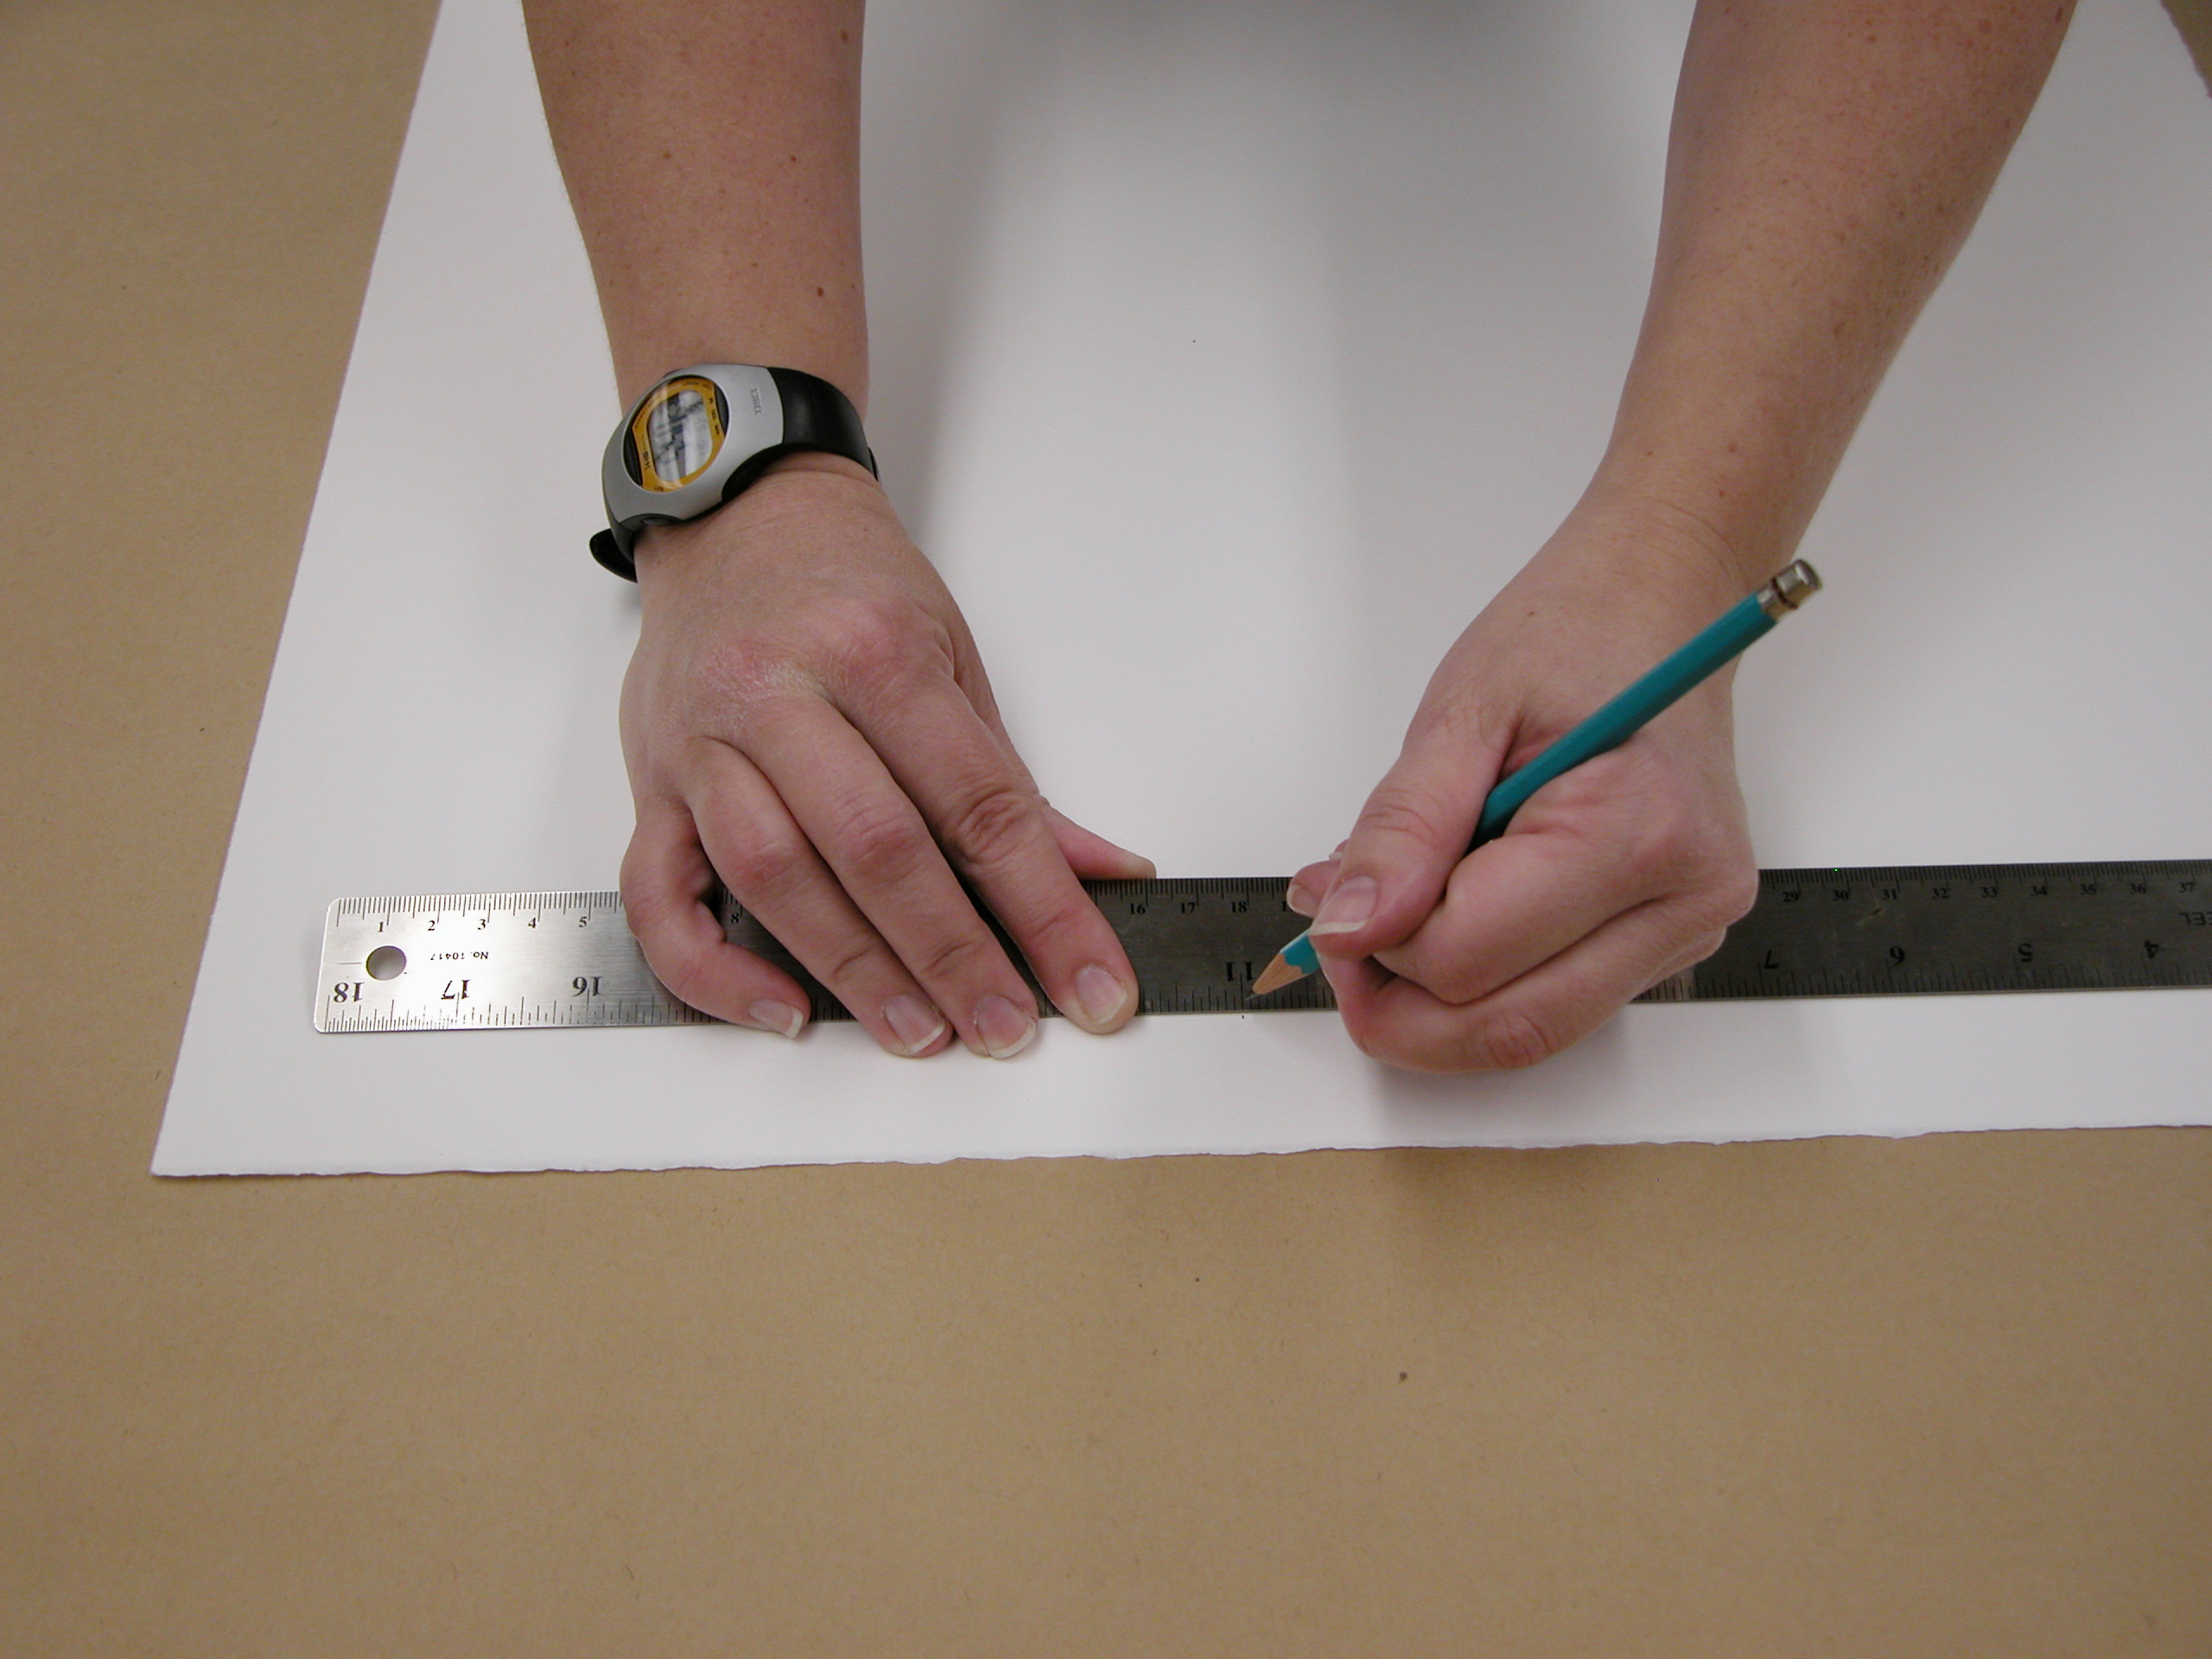
Measure the size of your design and add at least 4″ to the height and width to give yourself a 2″ border on all sides. You can cut the edges with an X-Acto knife and a metal straightedge, or hand-deckle the edges by tearing the paper to the correct size.

Roll out the ink.

You can print multicolor linocuts by using separate plates for each color, or by using a gradated ink roll. For this project, however, we’ll print with one color. You’ll need a piece of glass or acrylic on which to roll out your ink.

You can use either water-based or oil-based inks. The advantage to water-based inks is that they clean up easily without the use of solvents, but they do tend to dry faster, which can be bad if you’re doing a longer print run. I prefer Daniel Smith oil-based relief ink because it provides better coverage and won’t dissolve if I decide to use watercolors on the print afterwards. Baby oil is a safe, nontoxic way to clean up oil-based inks.

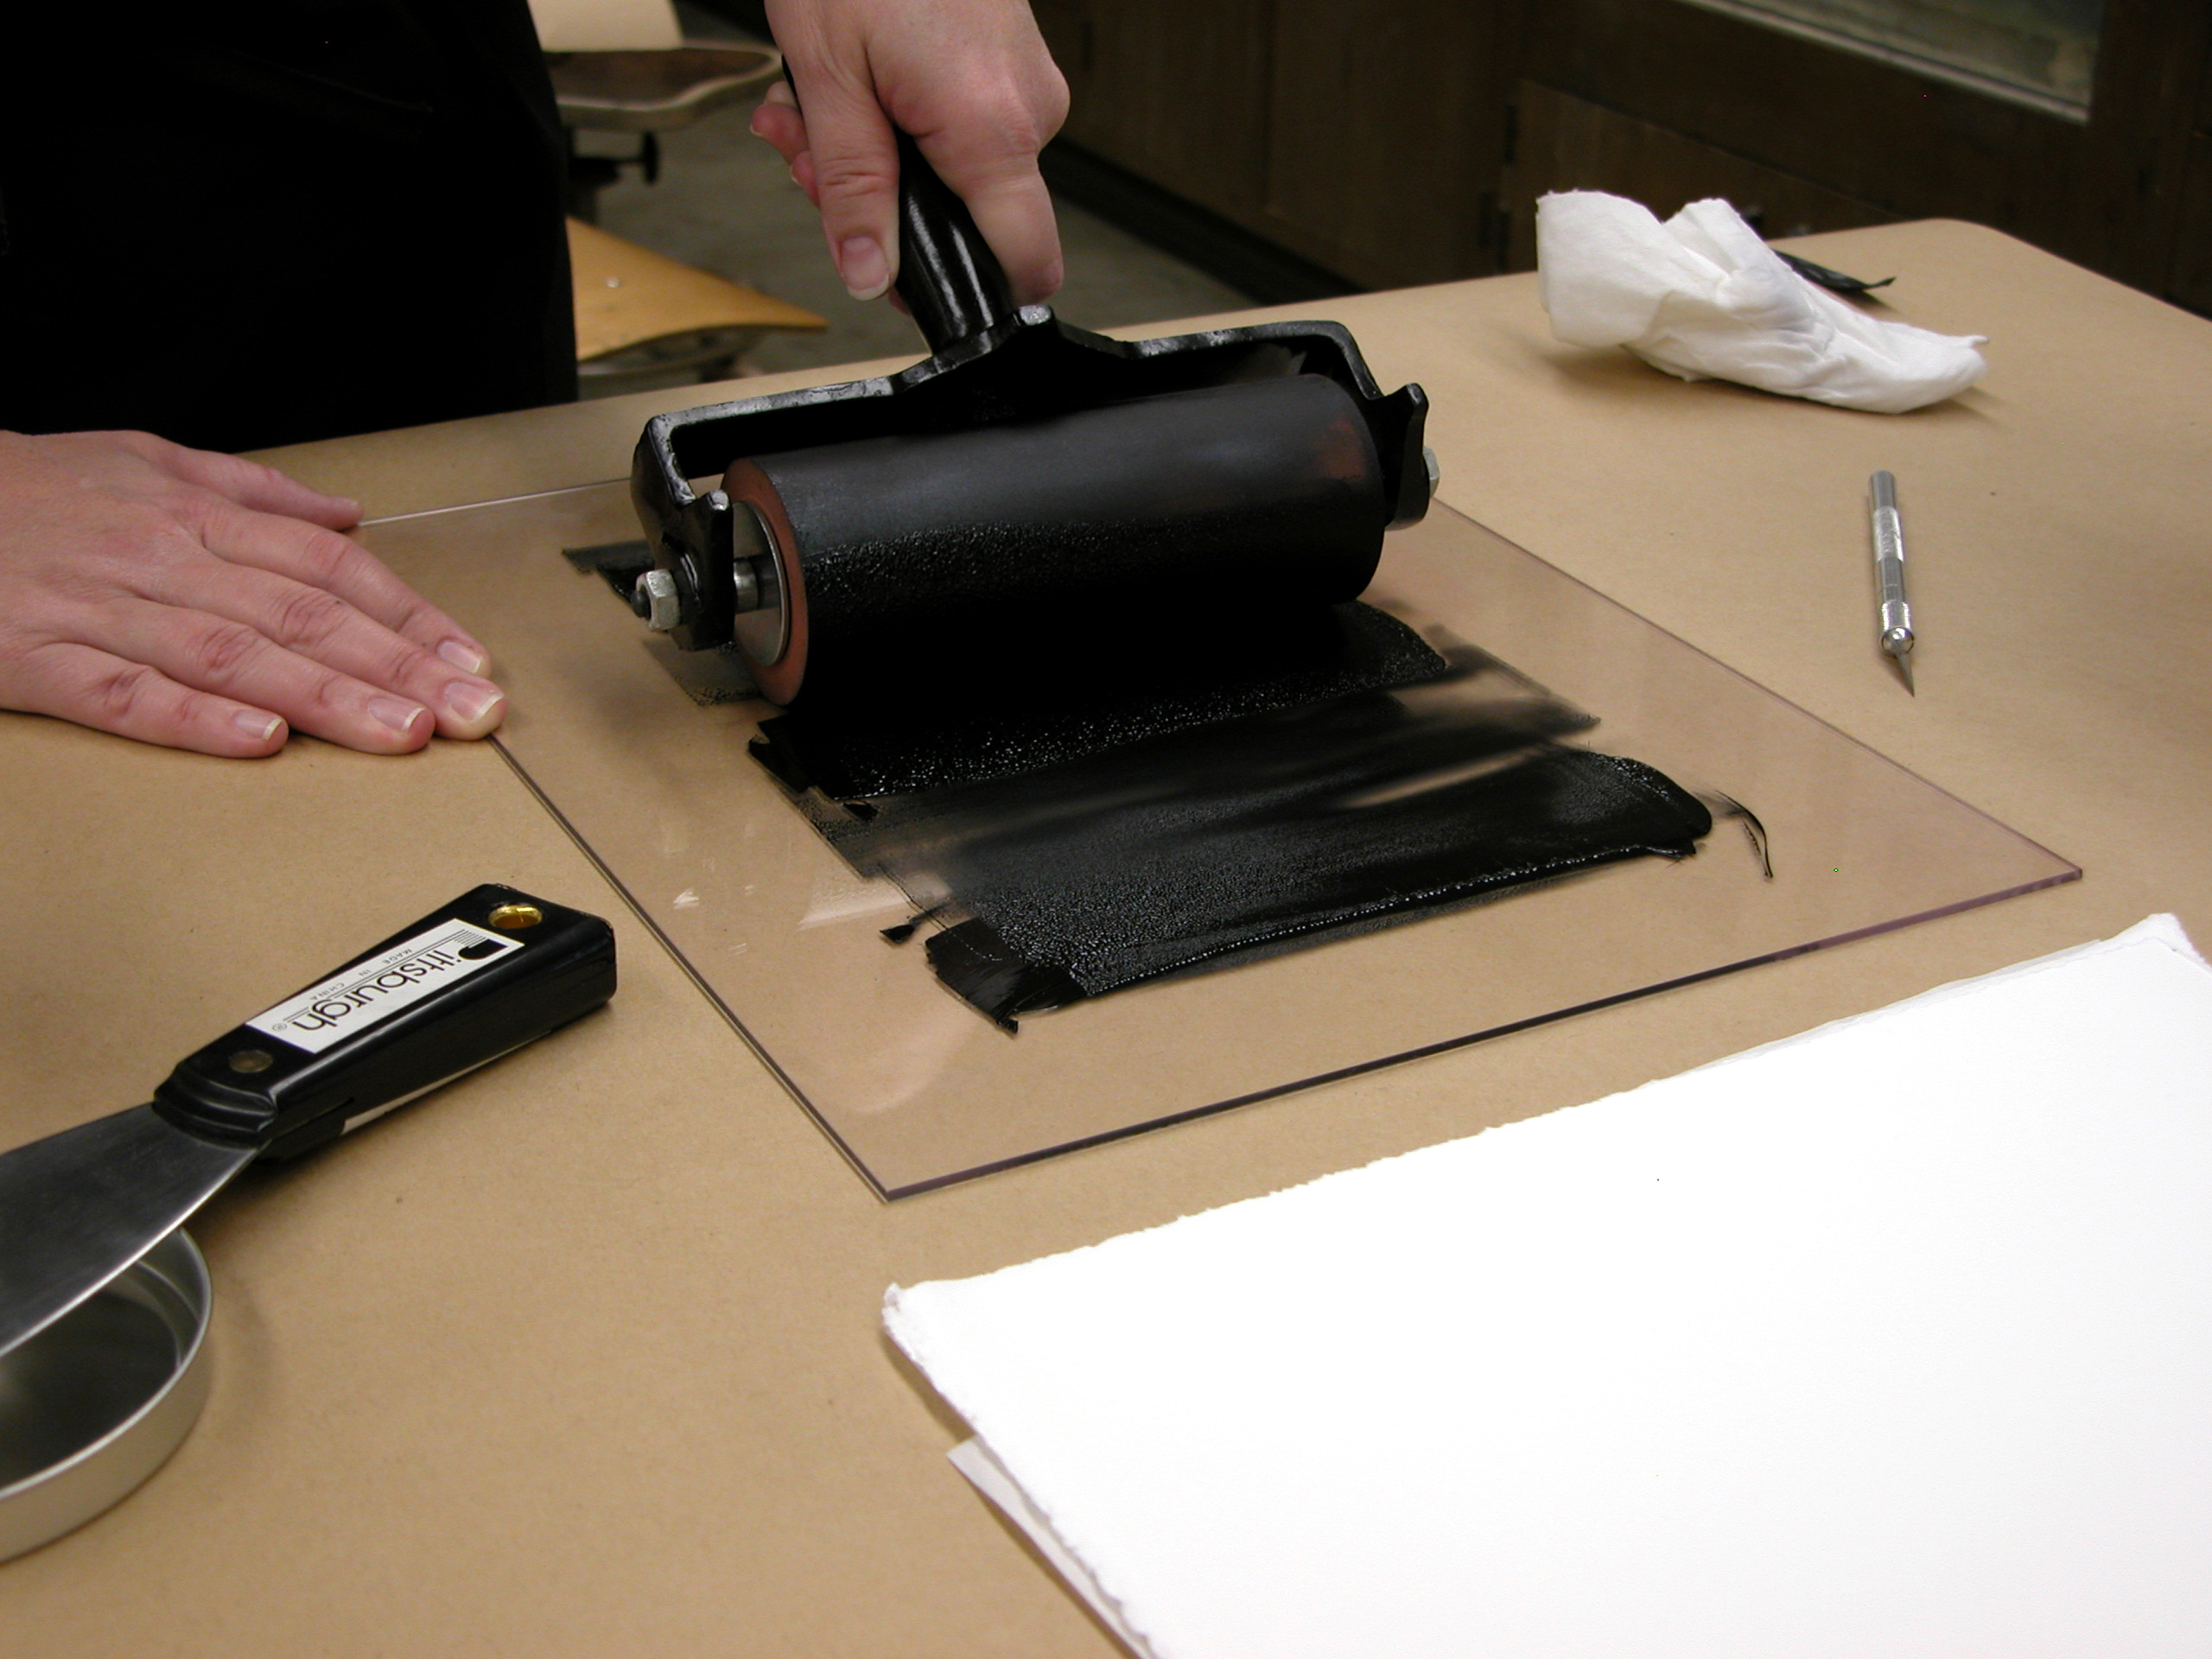
Use a putty knife to spread 2 or 3 lines of ink onto the palette at a width slightly wider than your brayer. This is what you’ll use to charge or ink your brayer. Use your brayer to roll out the ink into an evenly coated rectangle. You don’t need to apply pressure when doing this. Just let the weight of the brayer do the work.

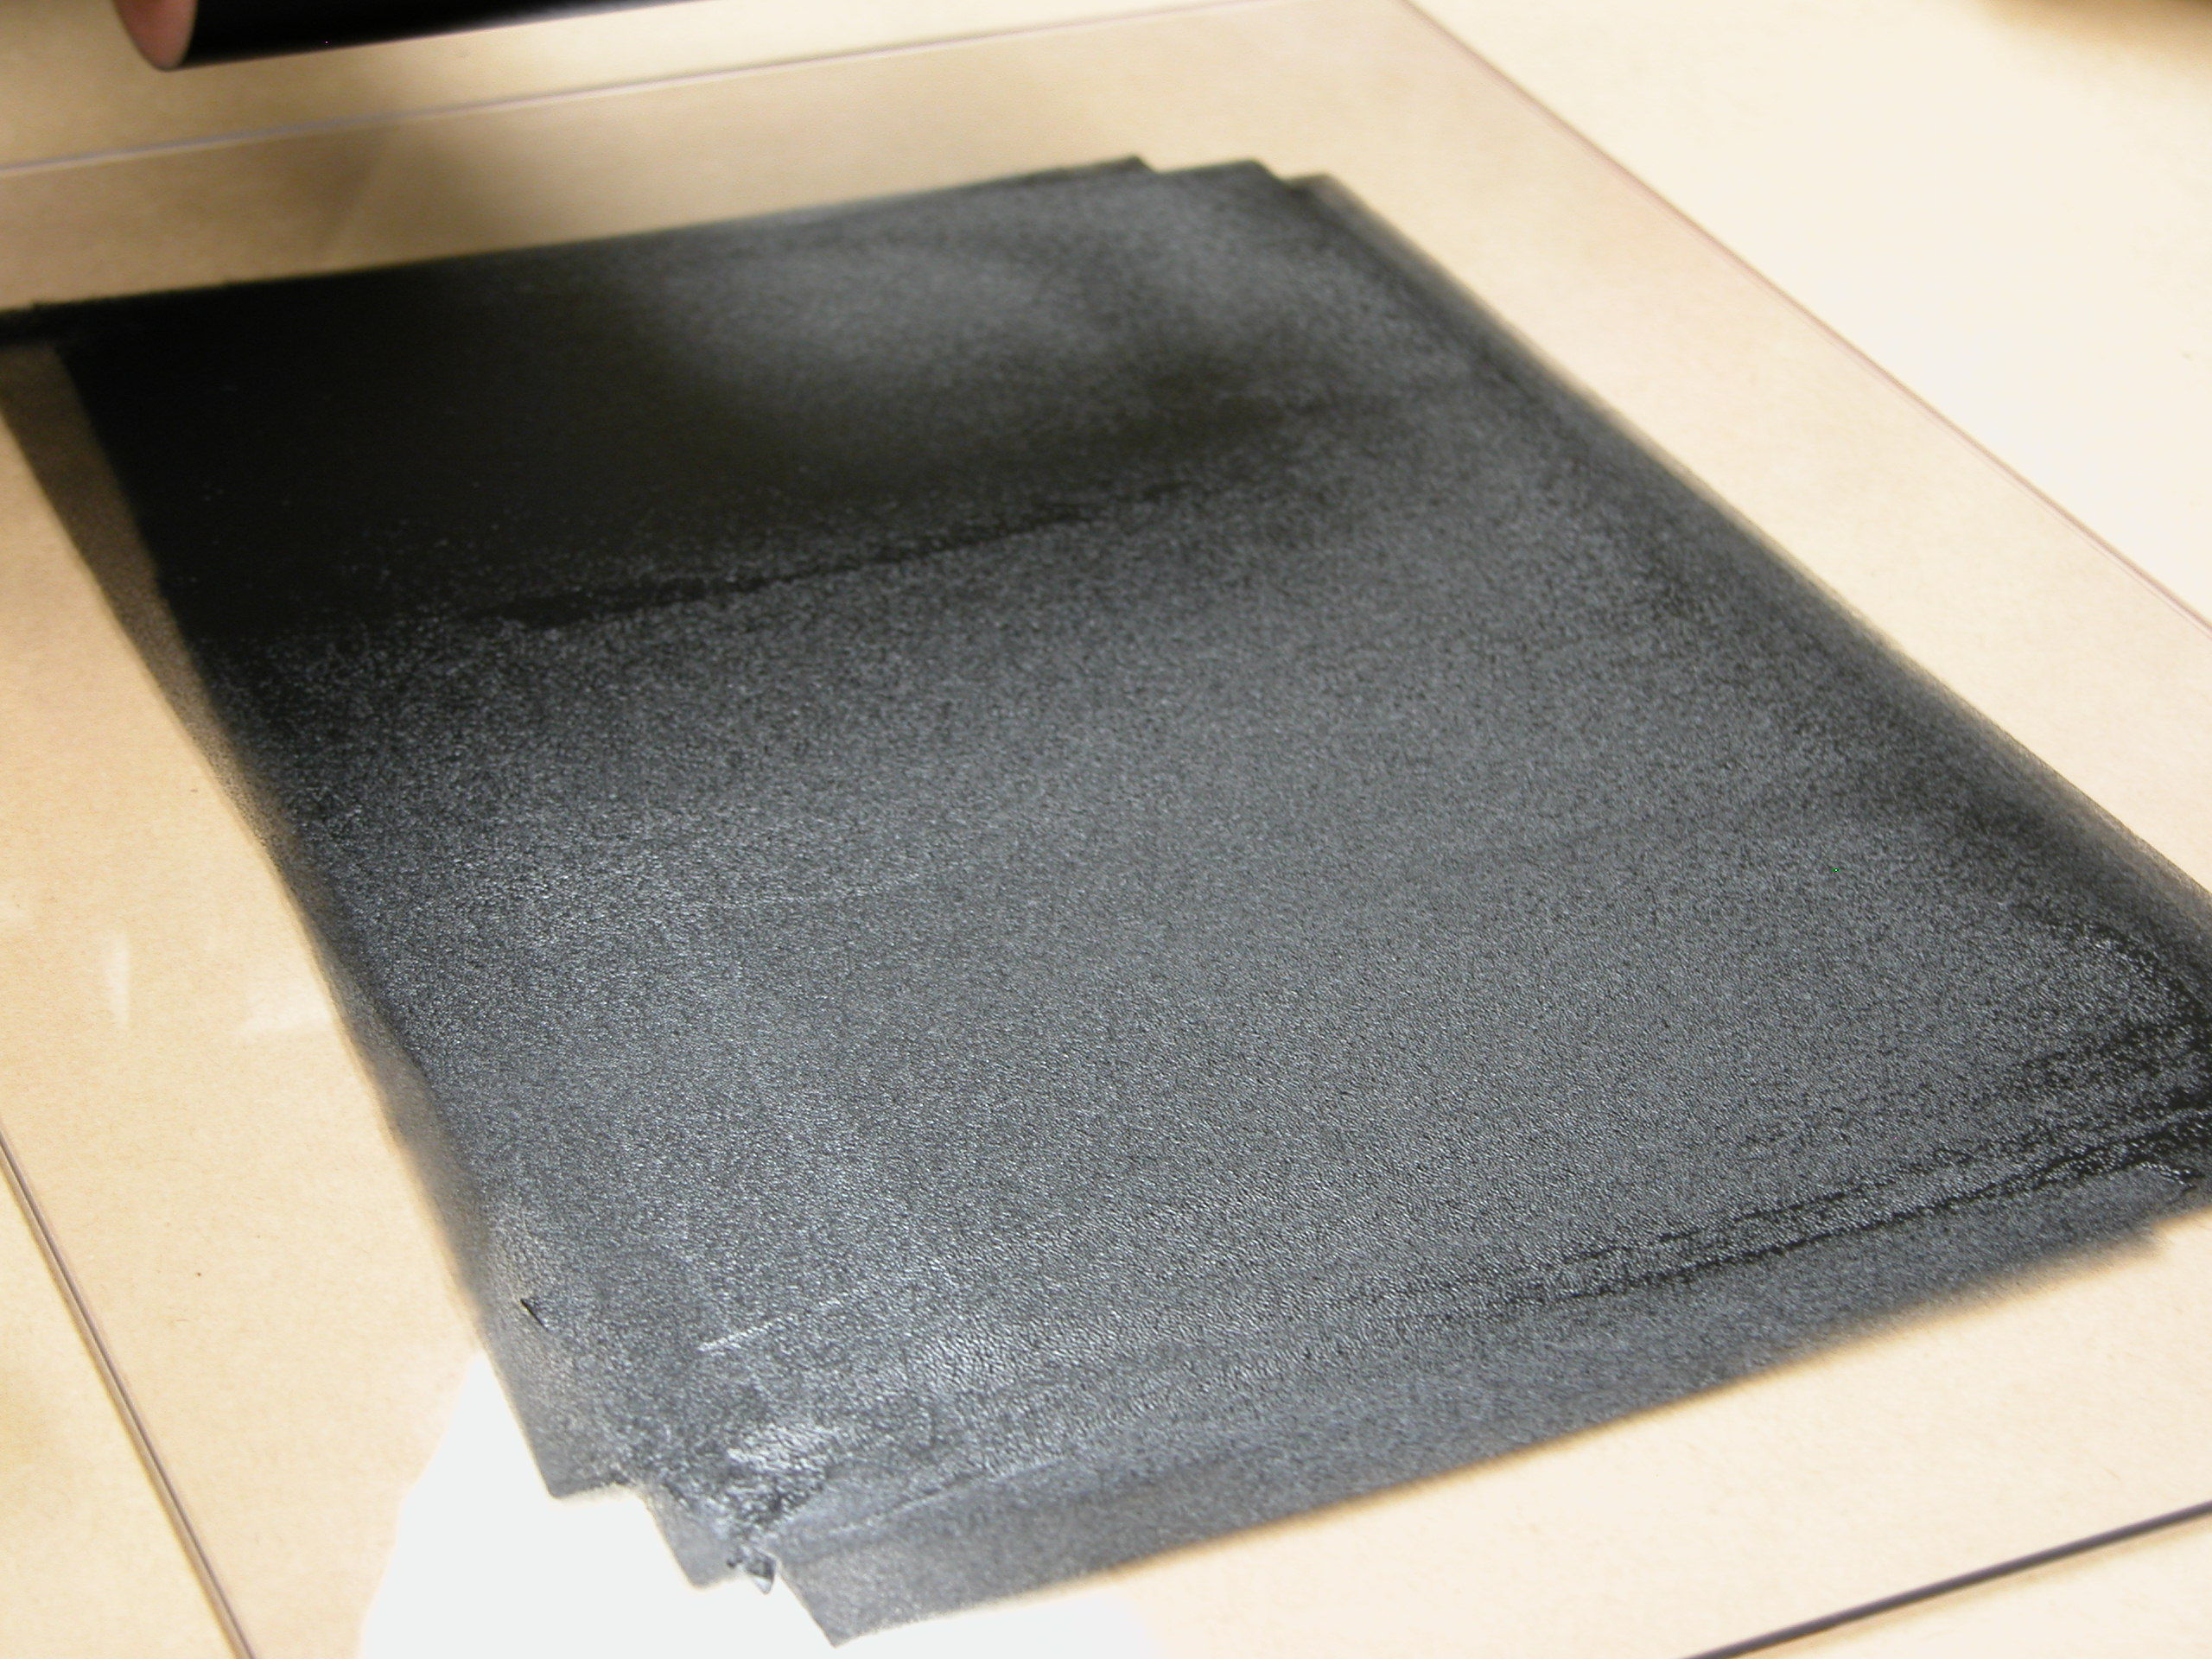
Keep rolling it out until you get an orange-peel effect in the surface of the ink. If you have too much ink on your palette, you’ll get smears when you’re rolling and you’ll see globs of ink on the brayer instead of a nice even coating.

Ink the plate.

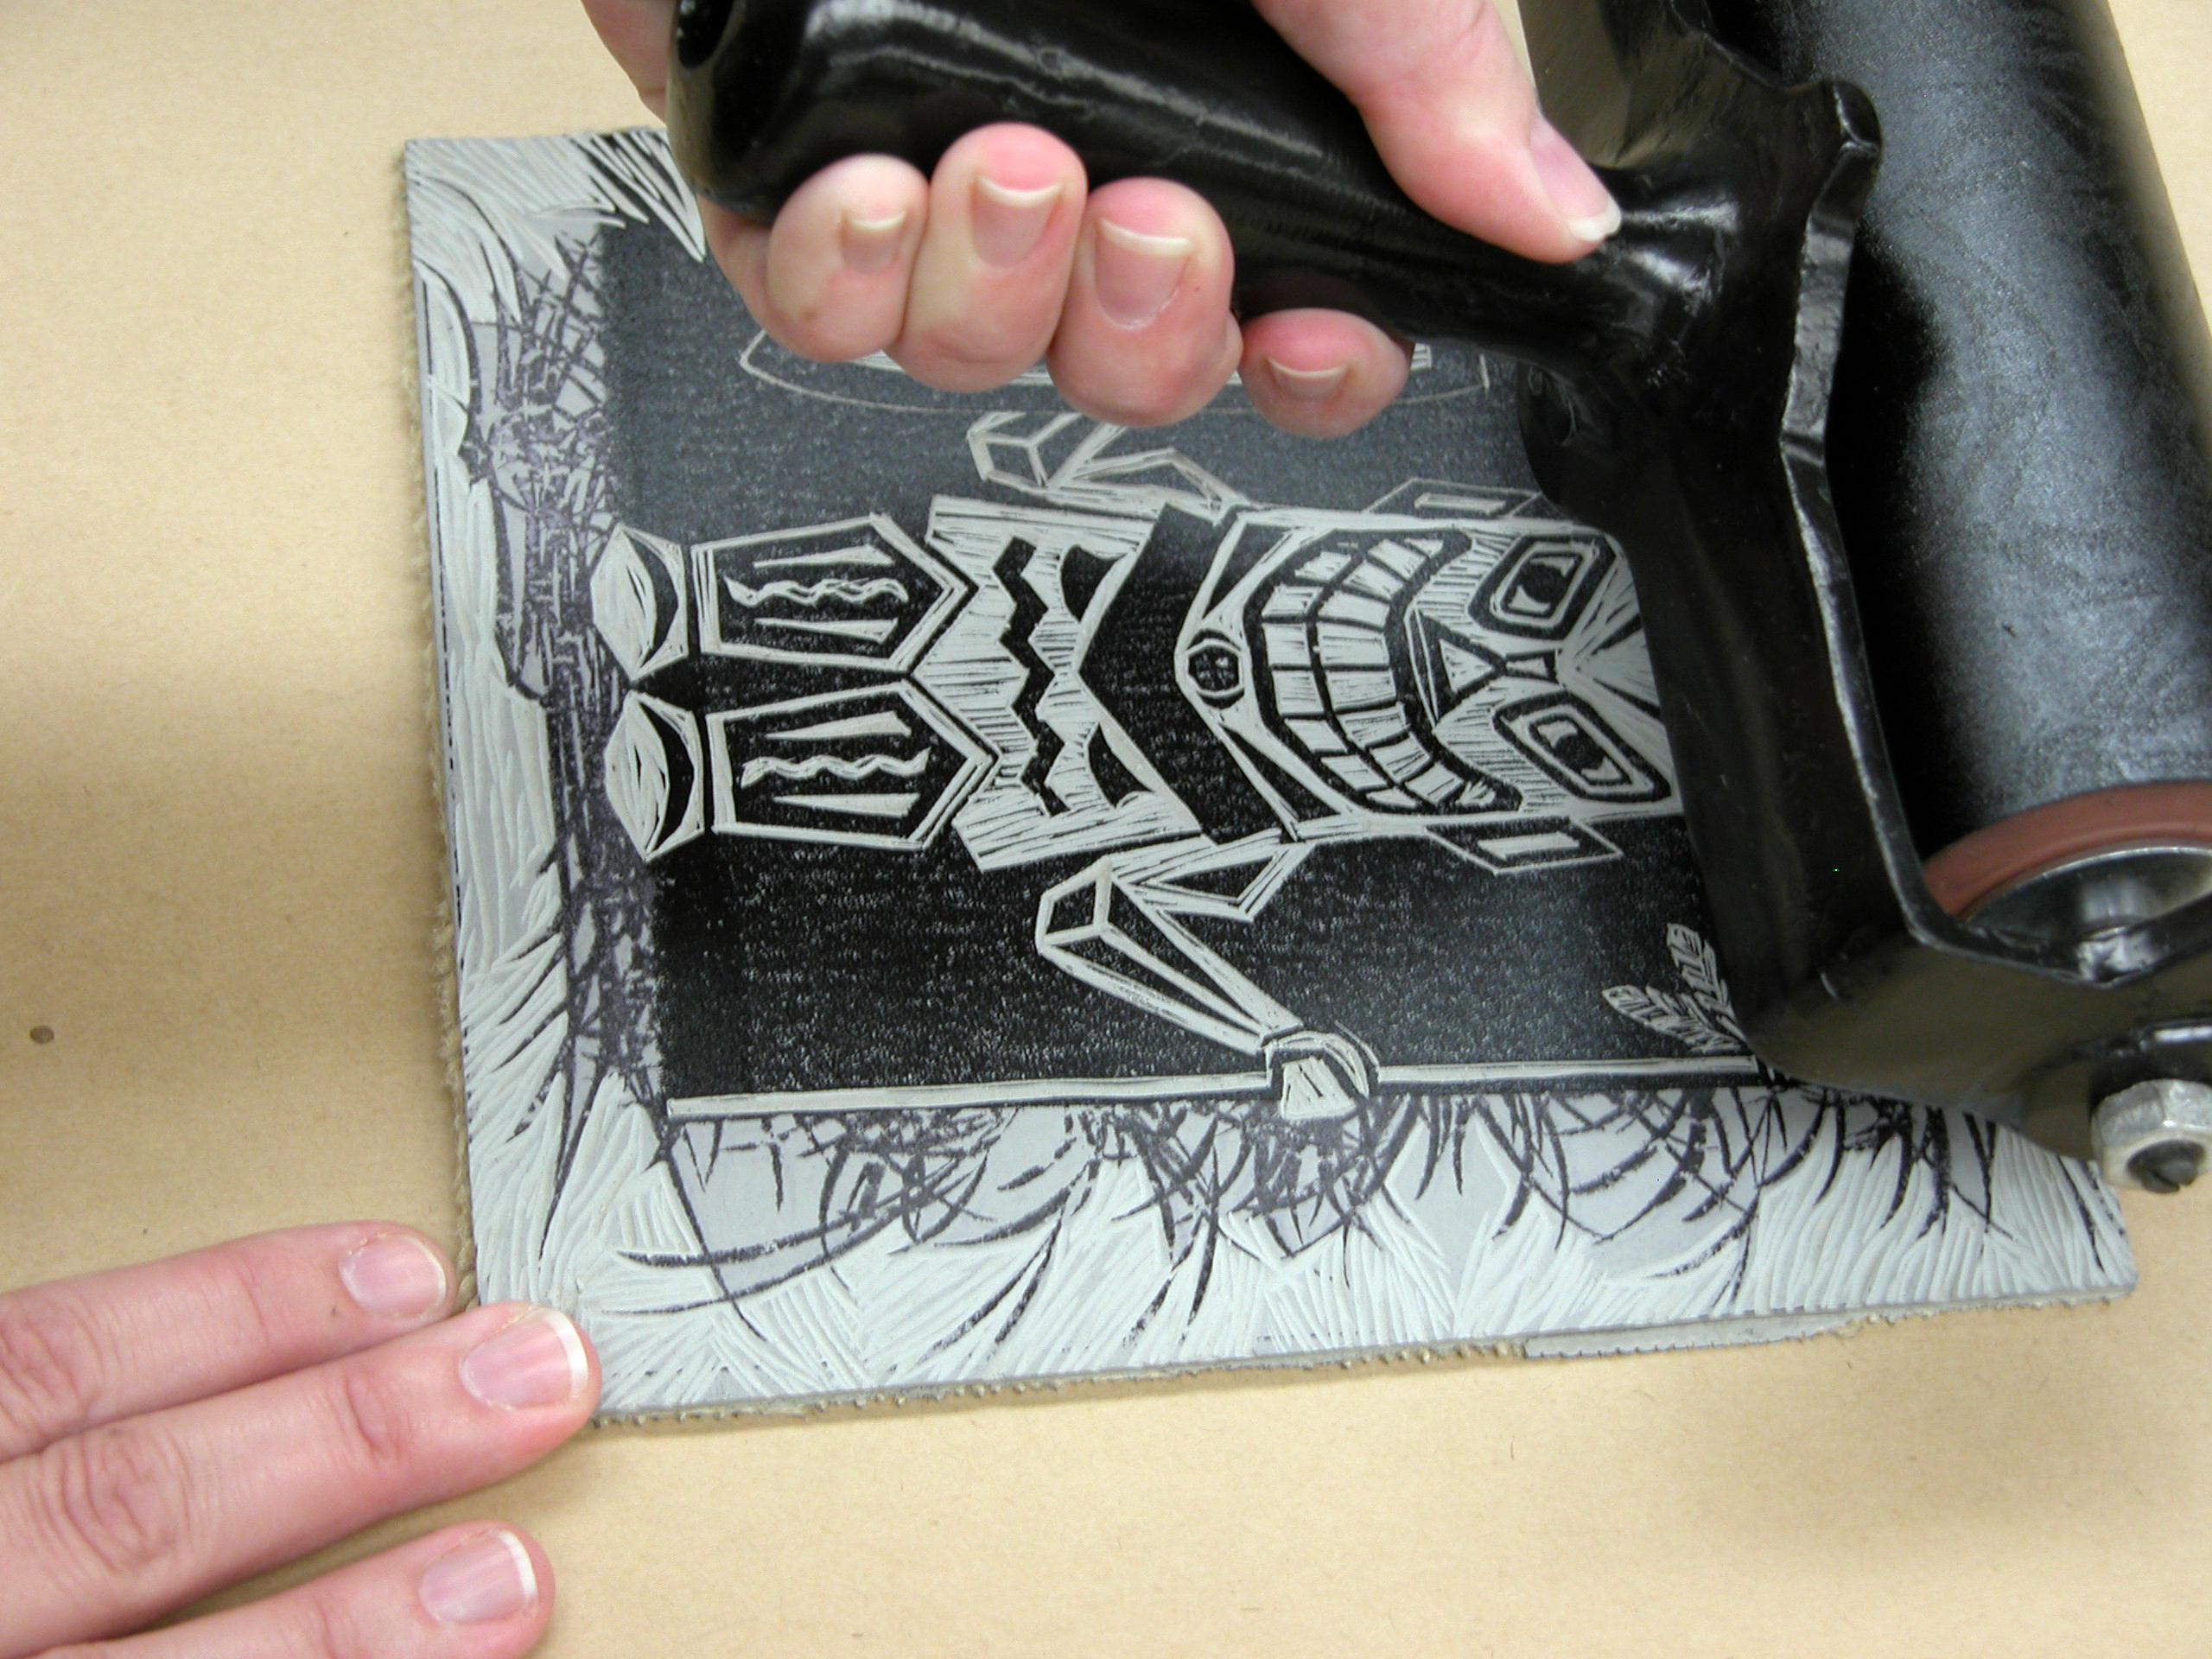
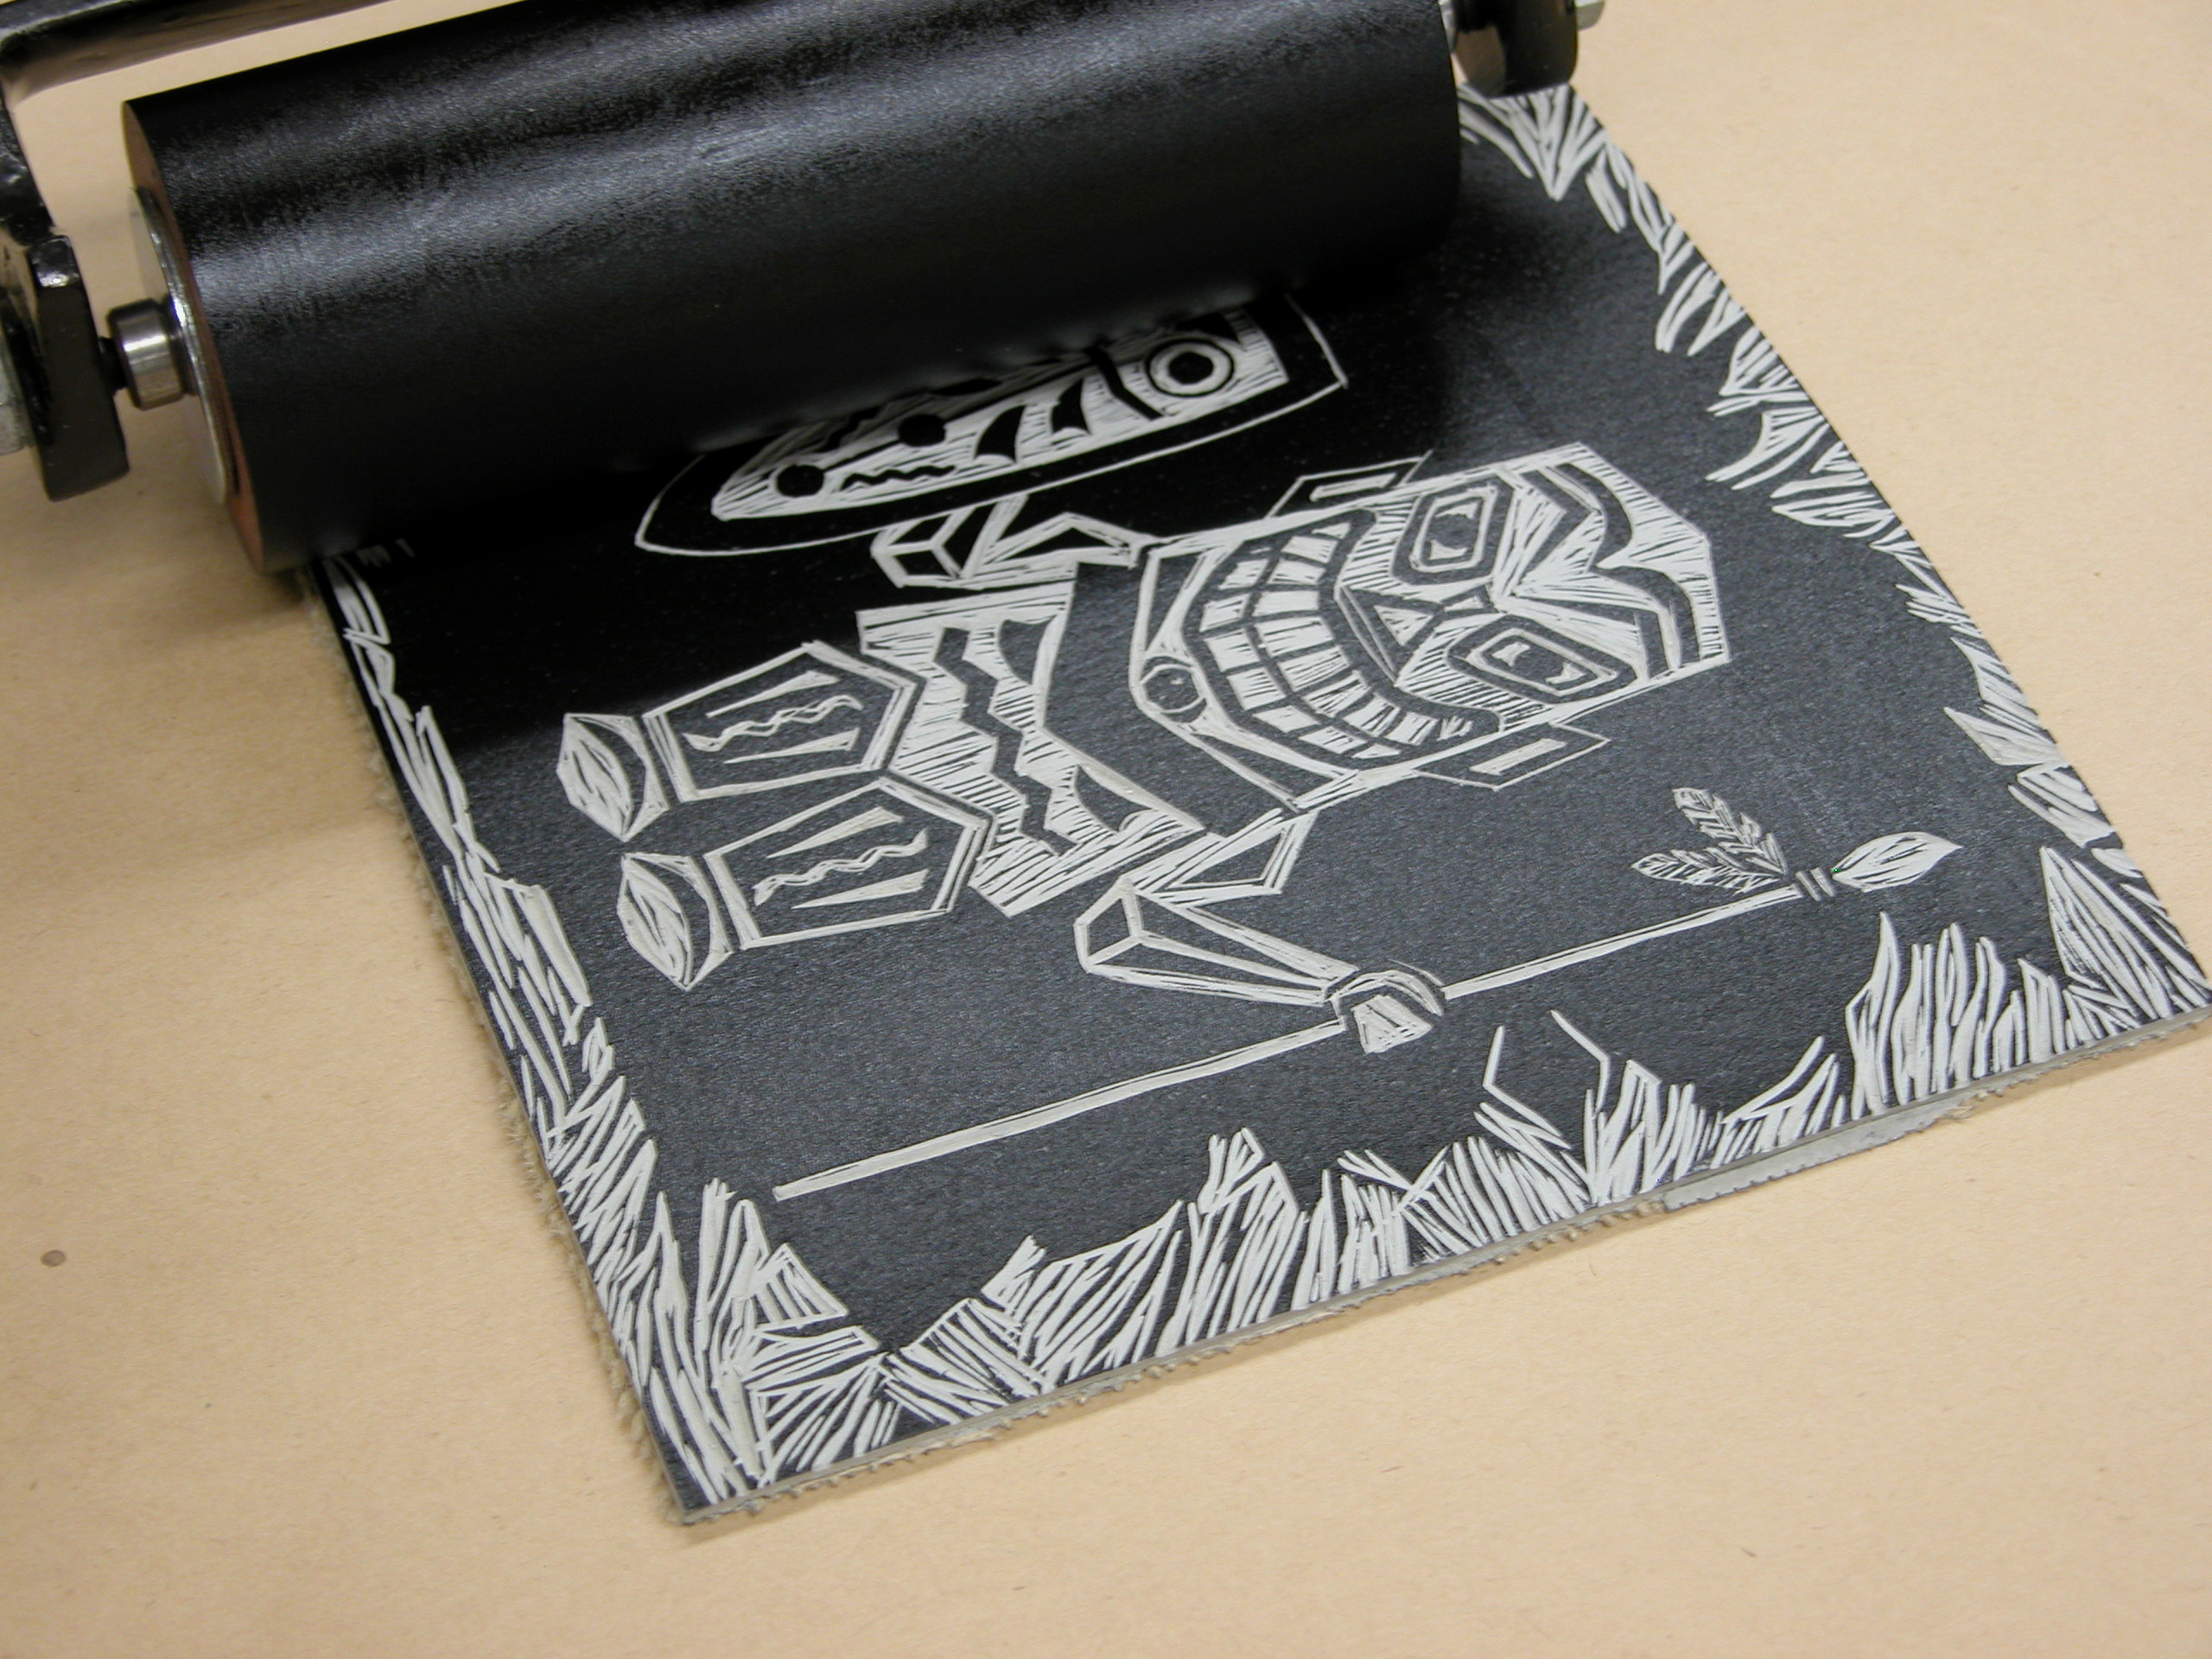
Once the brayer is fully charged with ink you can roll it onto the linoleum. It will take several passes to get the linoleum plate fully covered. You’ll need to charge the brayer several times during this initial inking. You want to find that happy medium of good coverage, but not too much ink.

You can try a test print on newsprint or another inexpensive paper if you’d like to test your ink coverage.

A really hard brayer will roll the ink right on top of the surface of the plate. A softer brayer will squish down slightly into some of the carved out areas and will deposit ink on more than one level. I use a softer brayer because I like some of the line work in the white areas to get inked.

Pull a print.

Hopefully your hands are still ink-free at this point, but if not, be sure to wipe them off before grabbing a sheet of paper. Use an L-shaped piece of mat board to align your paper correctly.

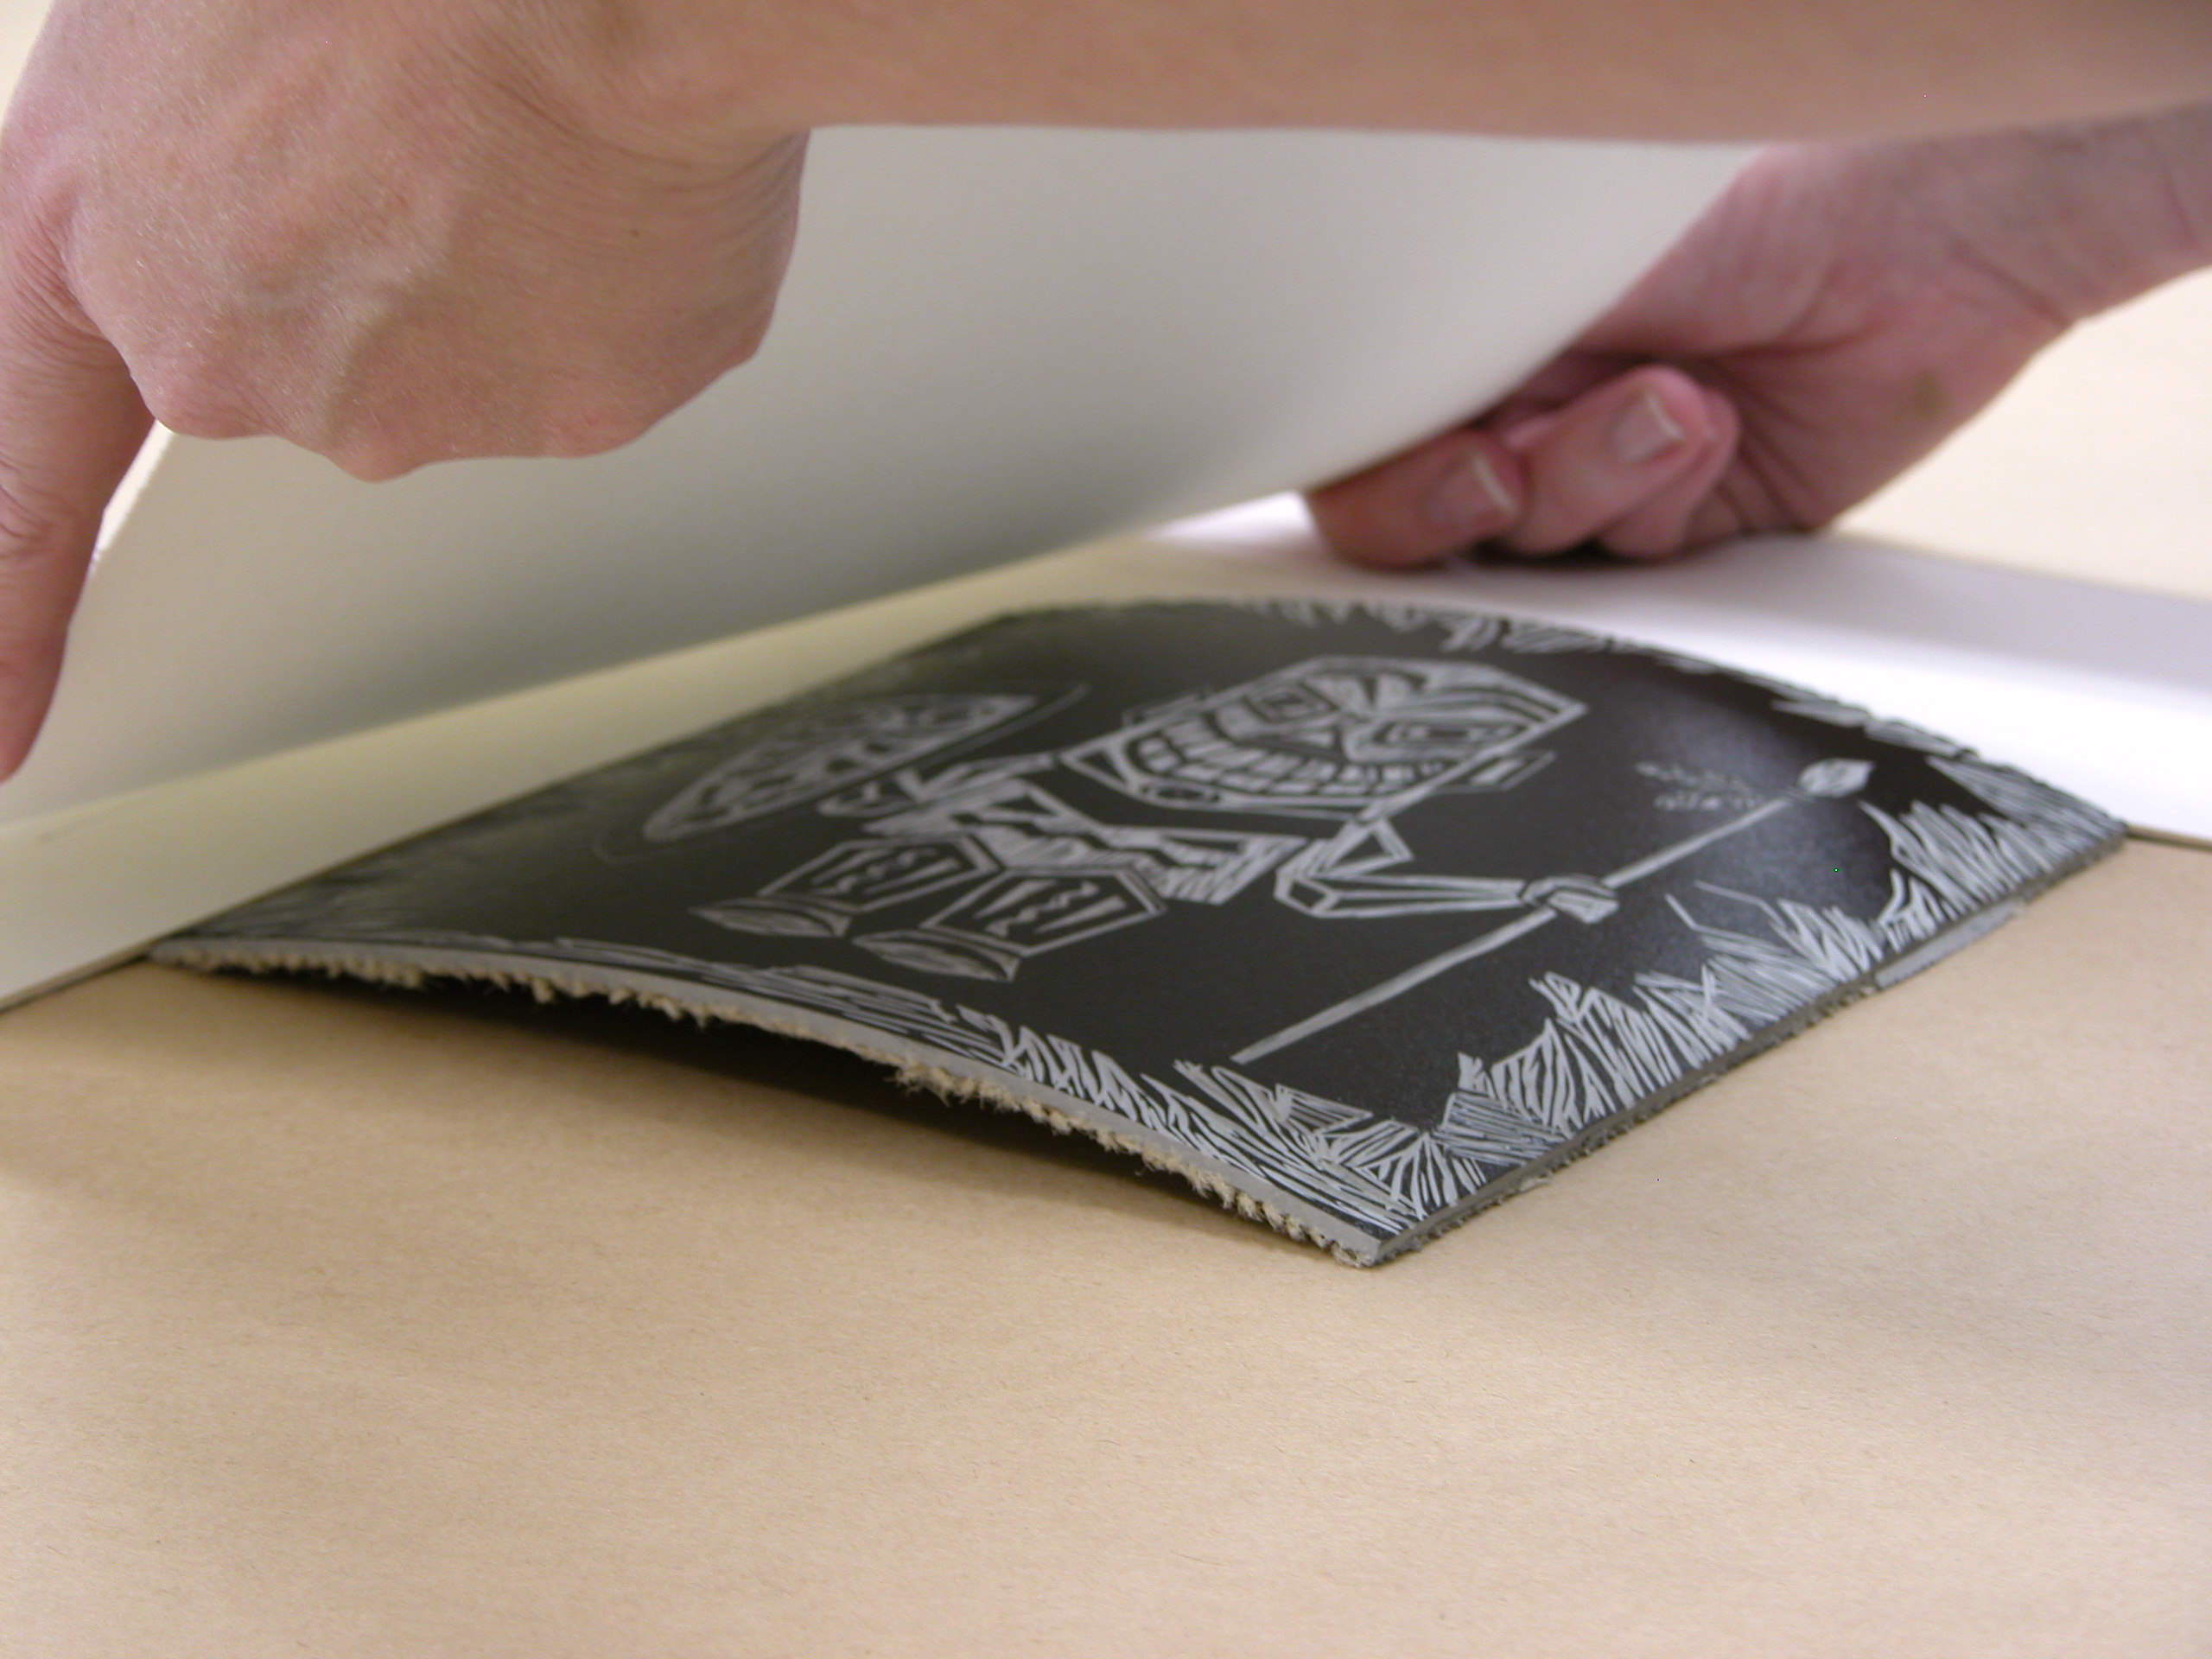
Once the paper is in place on top of the linoleum, carefully burnish it up to all the edges of the plate. The paper will be lightly held in place by the ink. You can use a printmaker’s baren, a spoon, or even just your hand for burnishing. You just need something that will slide smoothly and evenly across the surface of the paper without catching, tearing, or denting your paper. If you’re having problems getting the spoon or baren to slide properly, use a thin sheet of Mylar or acetate on top of the paper.

Check the print.

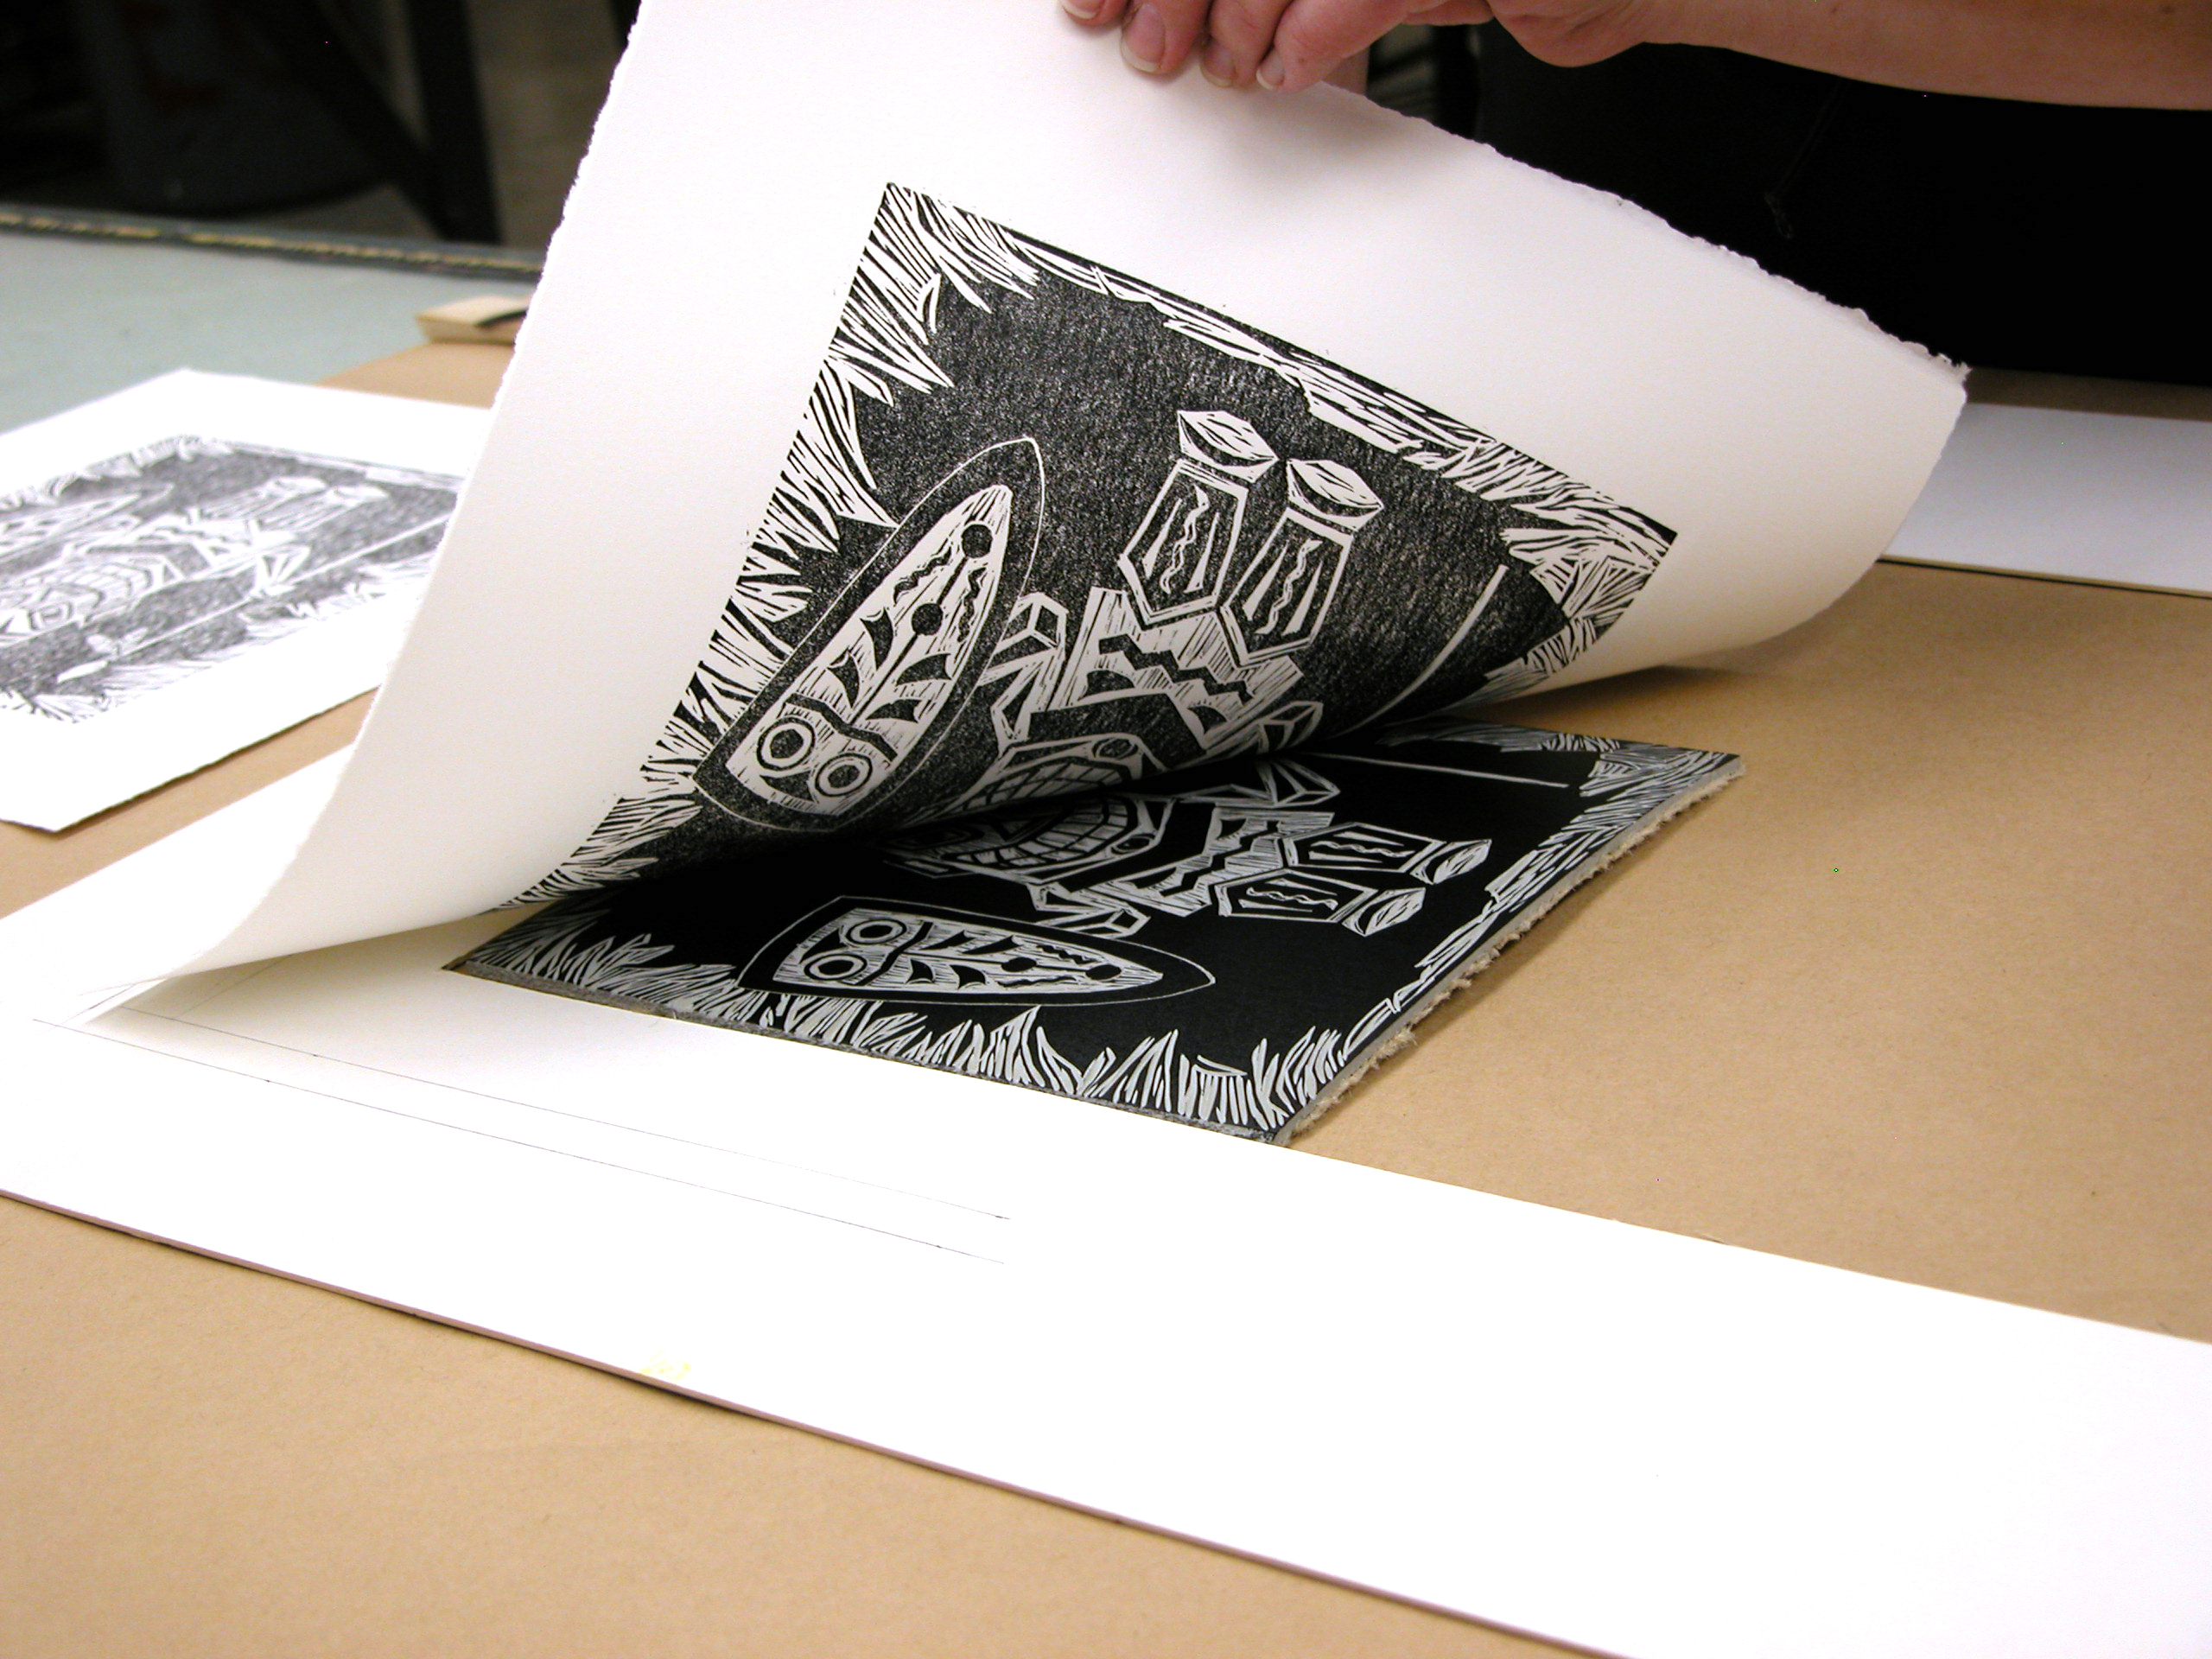
Once you’ve finished burnishing, carefully peel back the paper from the plate. At this point you can evaluate your image and decide if it needs more carving. If this is the case, simply clean off the ink, cut the areas that need work, and repeat the printing process to get another proof.

If you are happy with the outcome, you can continue to pull prints by re-inking the plate for each new print. You don’t need to clean the plate off in between prints. Lay out the prints to dry on clean newsprint, being careful not to let them overlap. If you’re using the oil-based ink, it could take 2 days or more for the print to dry completely. If you don’t have room to leave them sitting out, let them dry for an hour or so and then stack them with sheets of plain newsprint in between each print for the remainder of the drying time. You’re done!

Conclusion

This project first appeared in CRAFT Volume 02 pages 134-140.