Before the bow and arrow there was the atlatl*, or spear-thrower, an ancient weapon that could throw a spear or dart with enough force to penetrate a mammoth’s hide. It was used in North America for about 10,000 years, and used by native Australians and Aleuts as recently as 50 years ago.

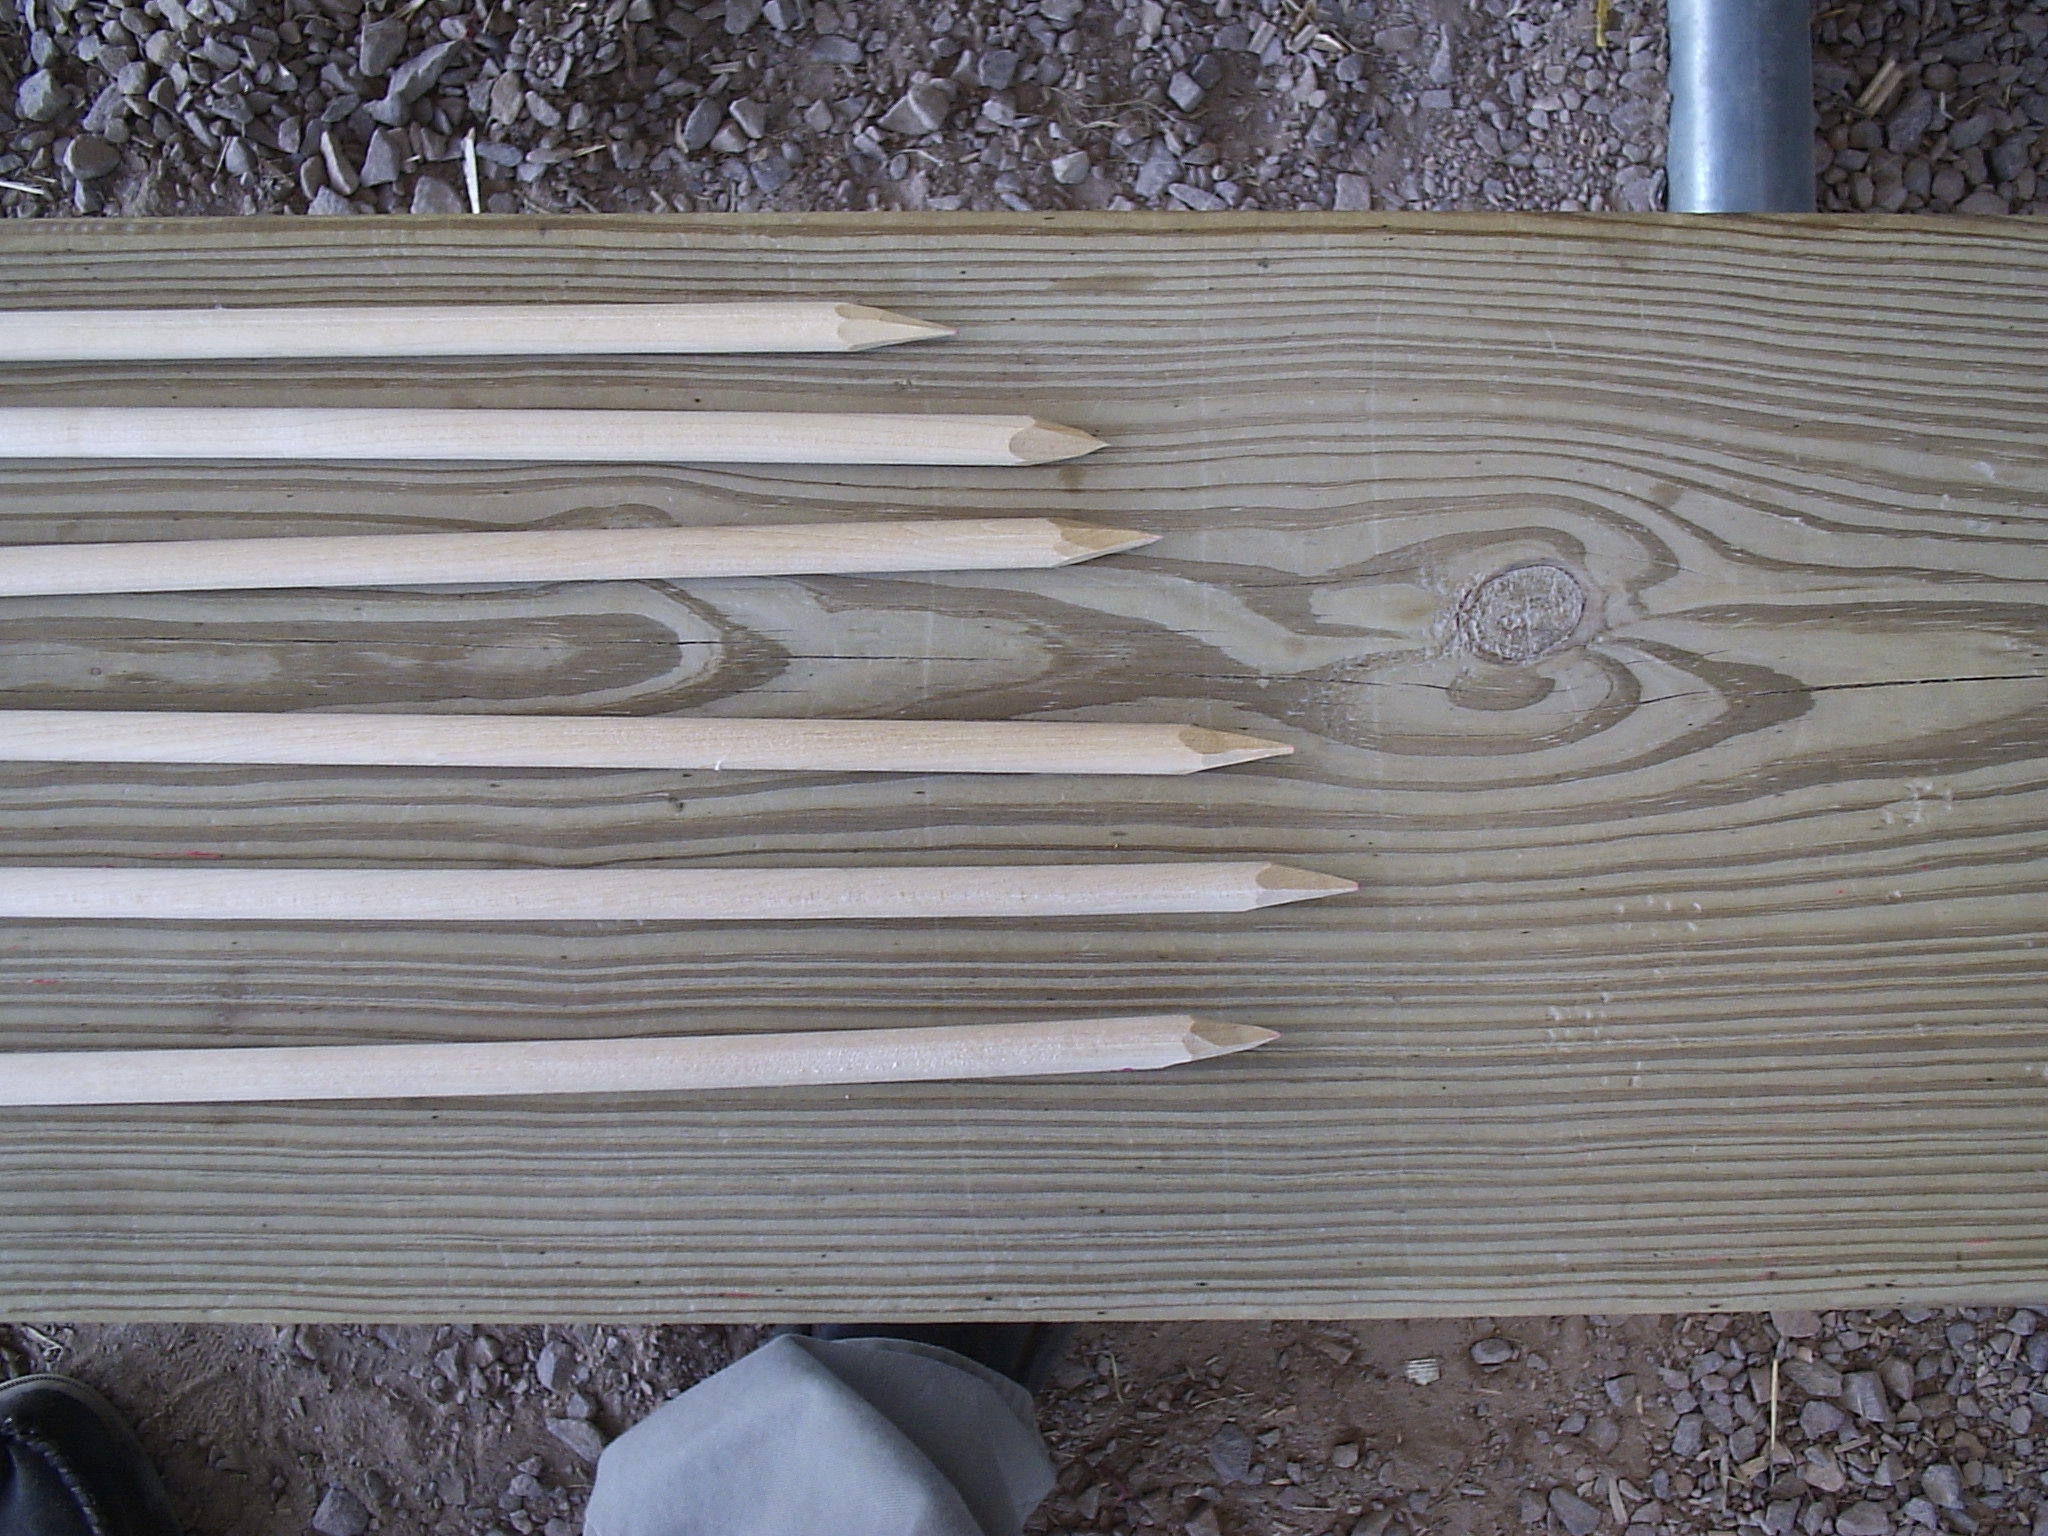
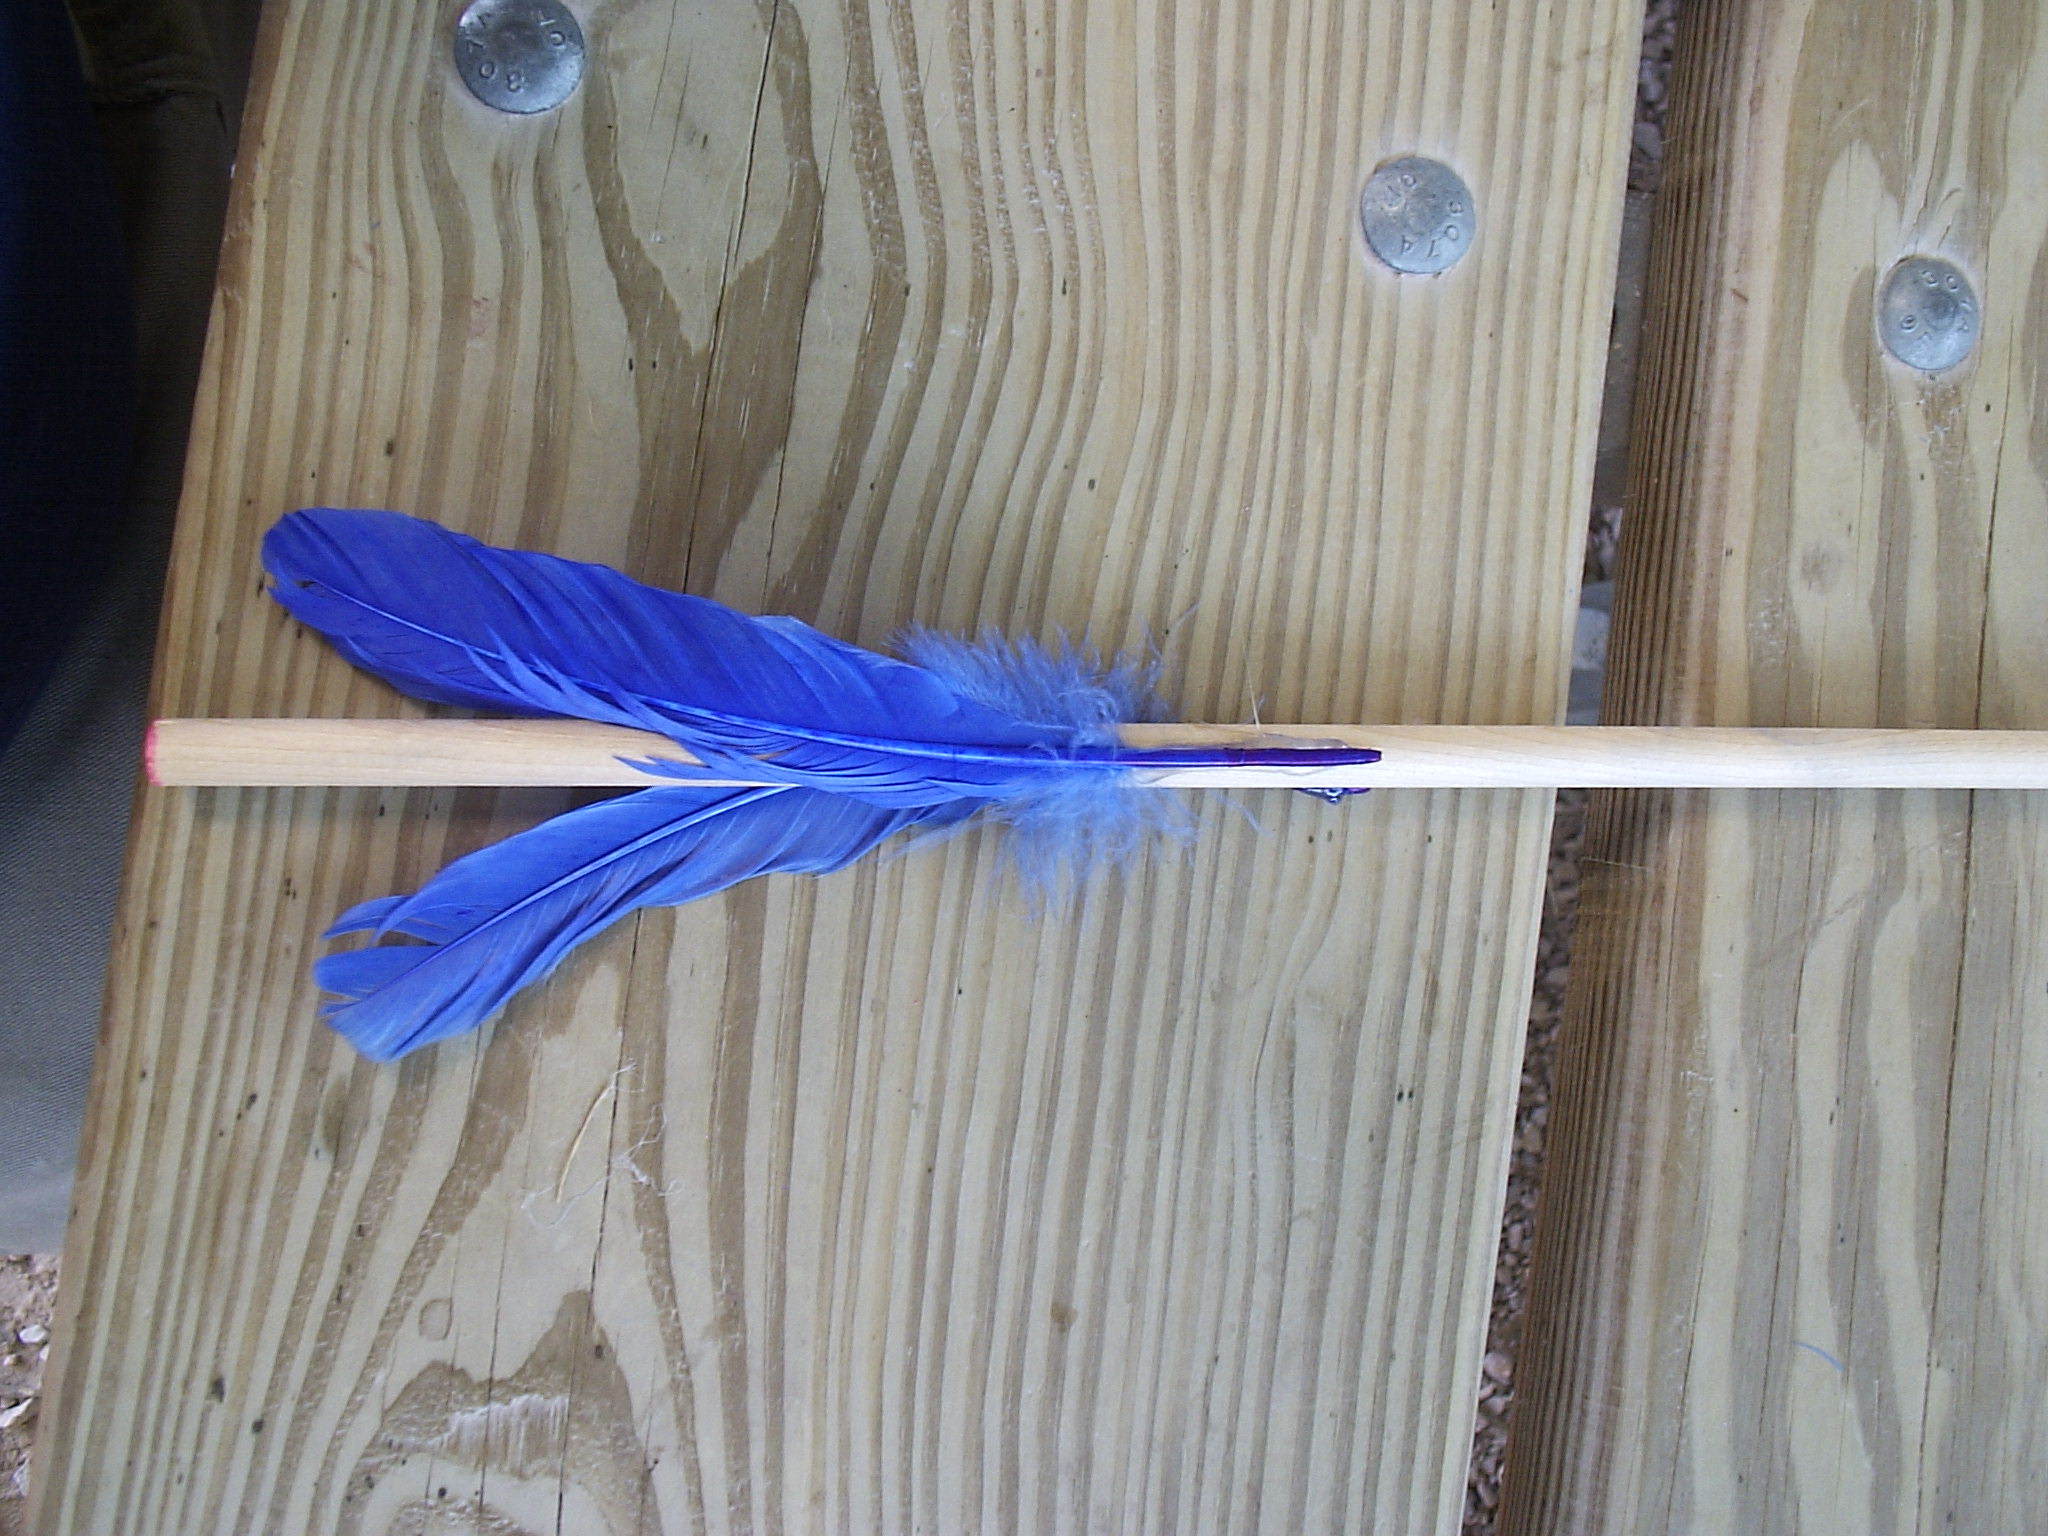
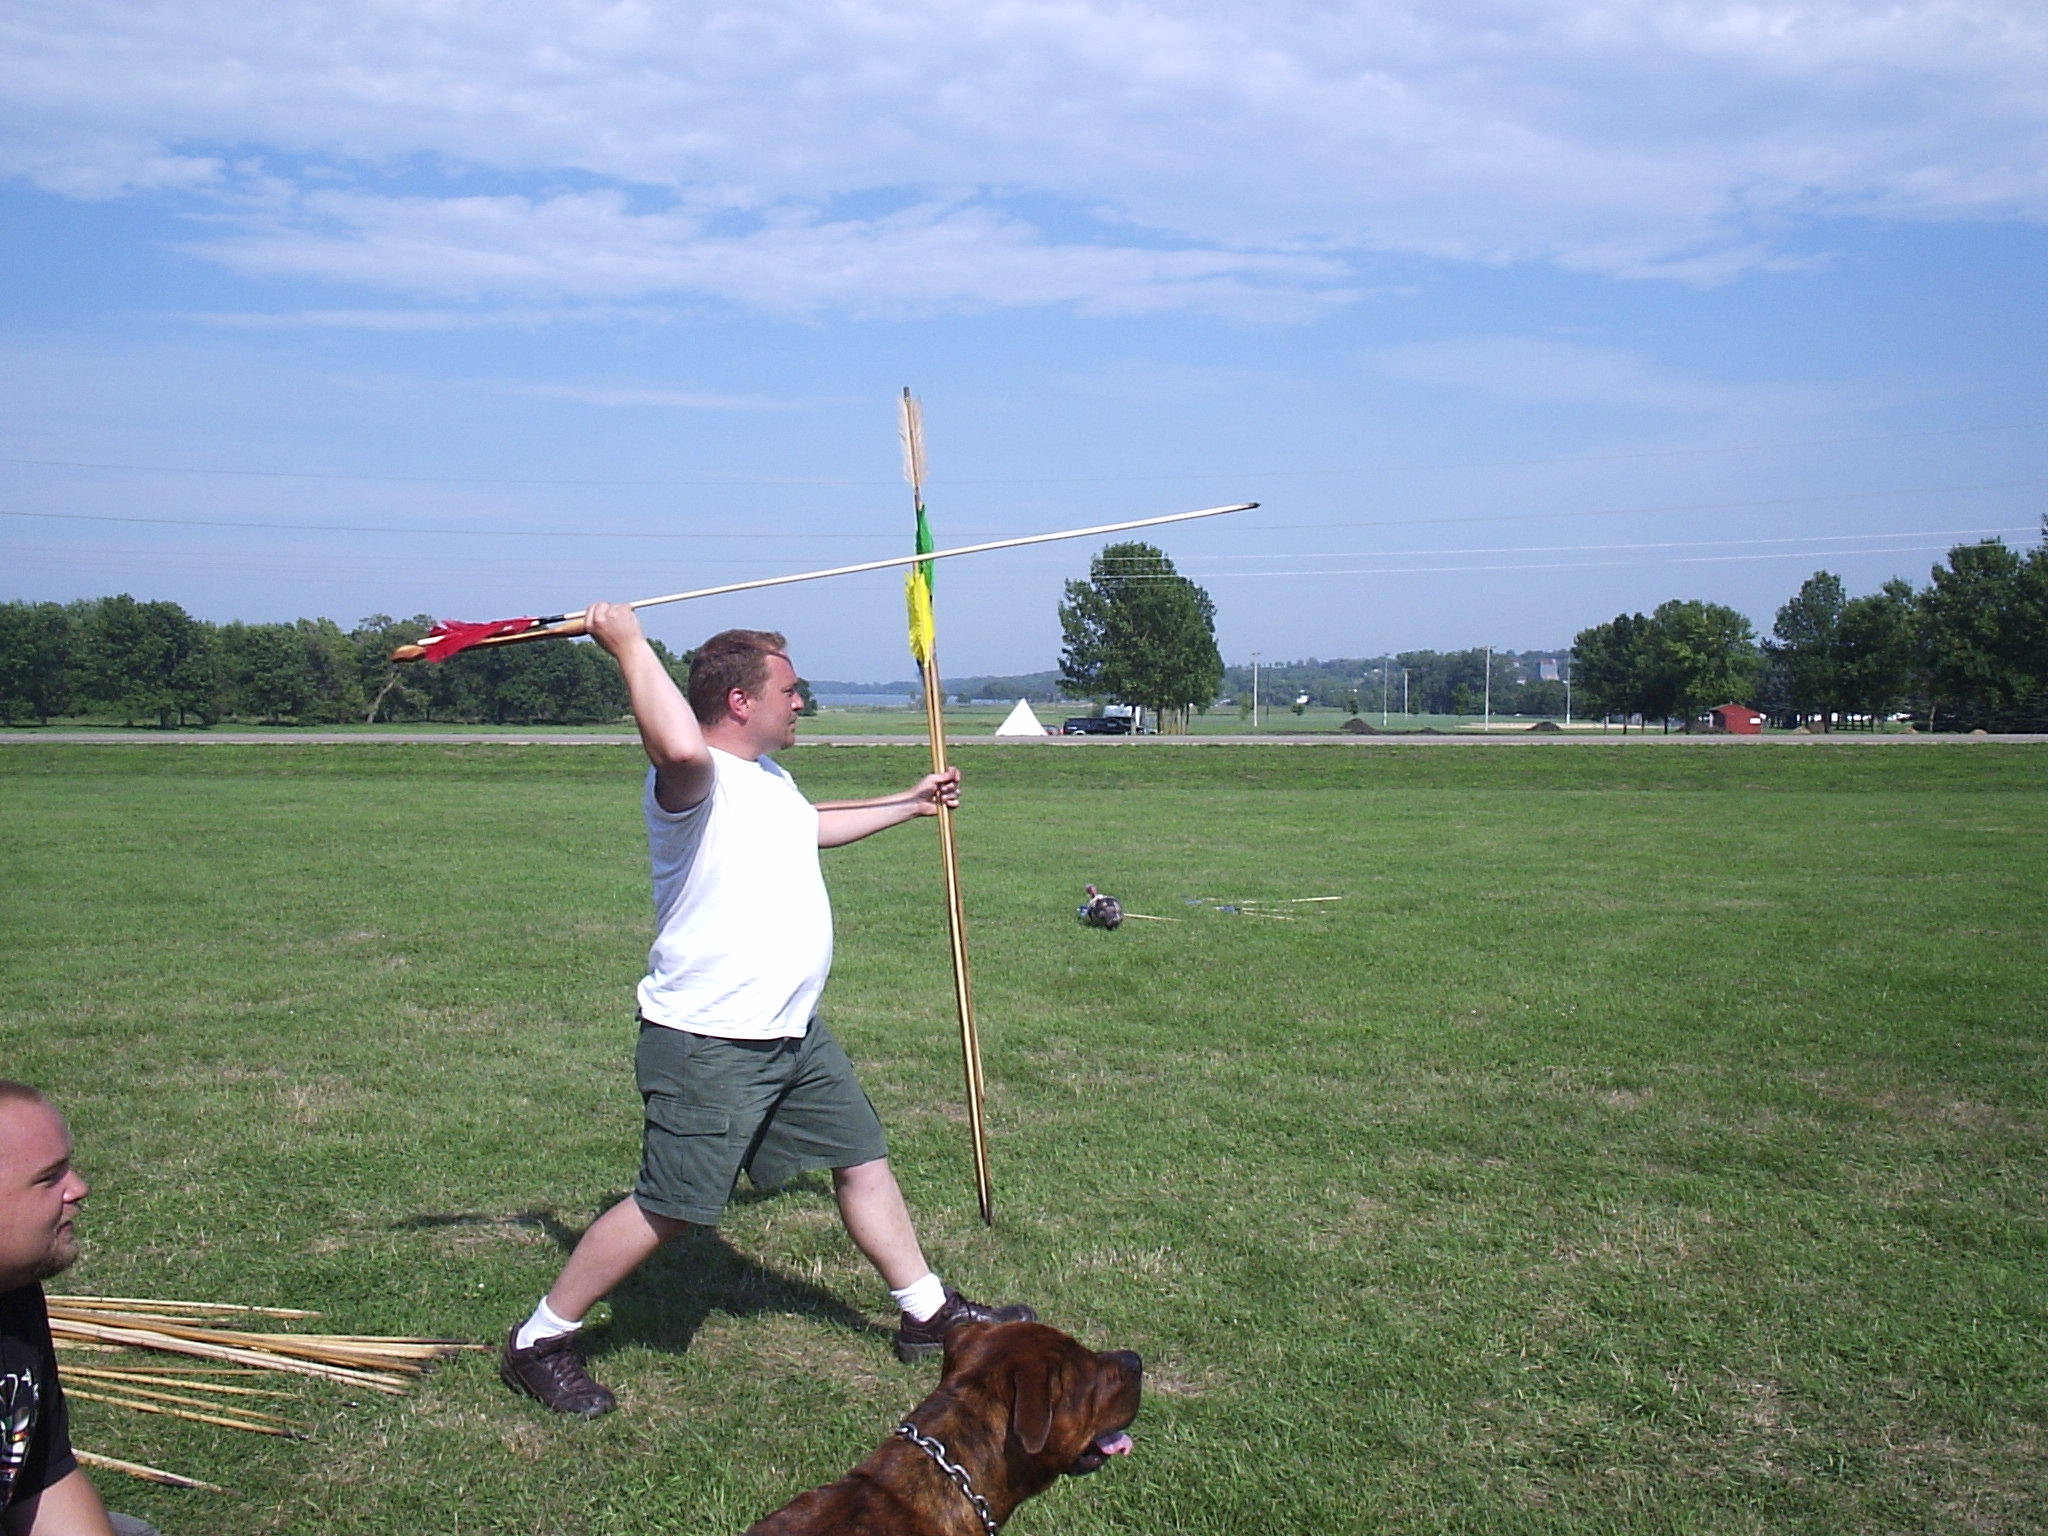
It’s easy to make your own atlatl, and throwing with it is fun and very satisfying. Here’s how to make one in the style of the Kuikuru (kwee-KOO-roo) of the Amazon Basin, who still use the spear-thrower today. I’ll also explain how to make darts for it, and how to throw. But never forget that the atlatl is a weapon. It is dangerous. A dart will go through a side of beef. So I’ll go through some precautions as well.

Atlatl Basics

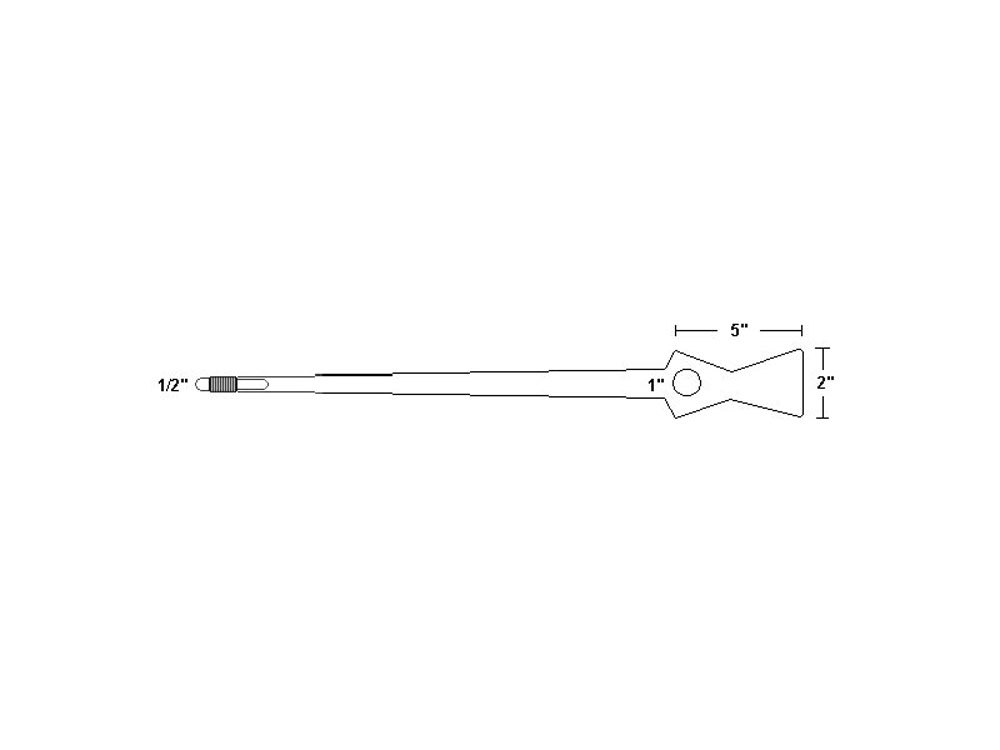
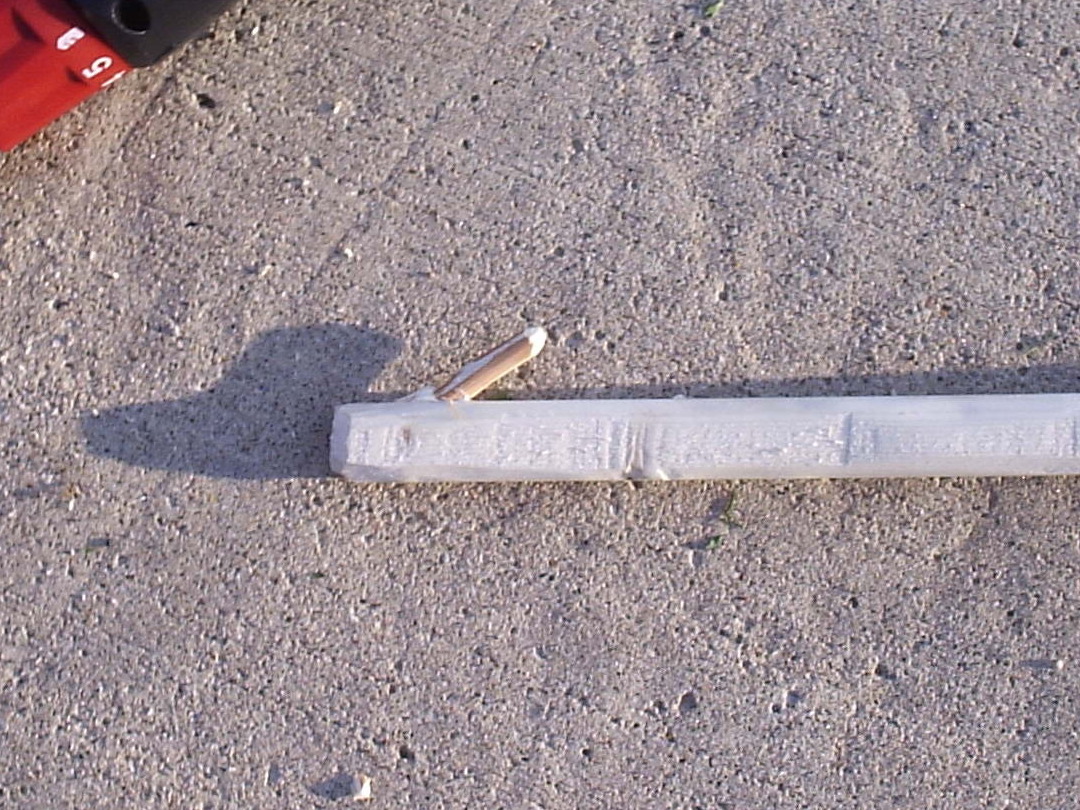
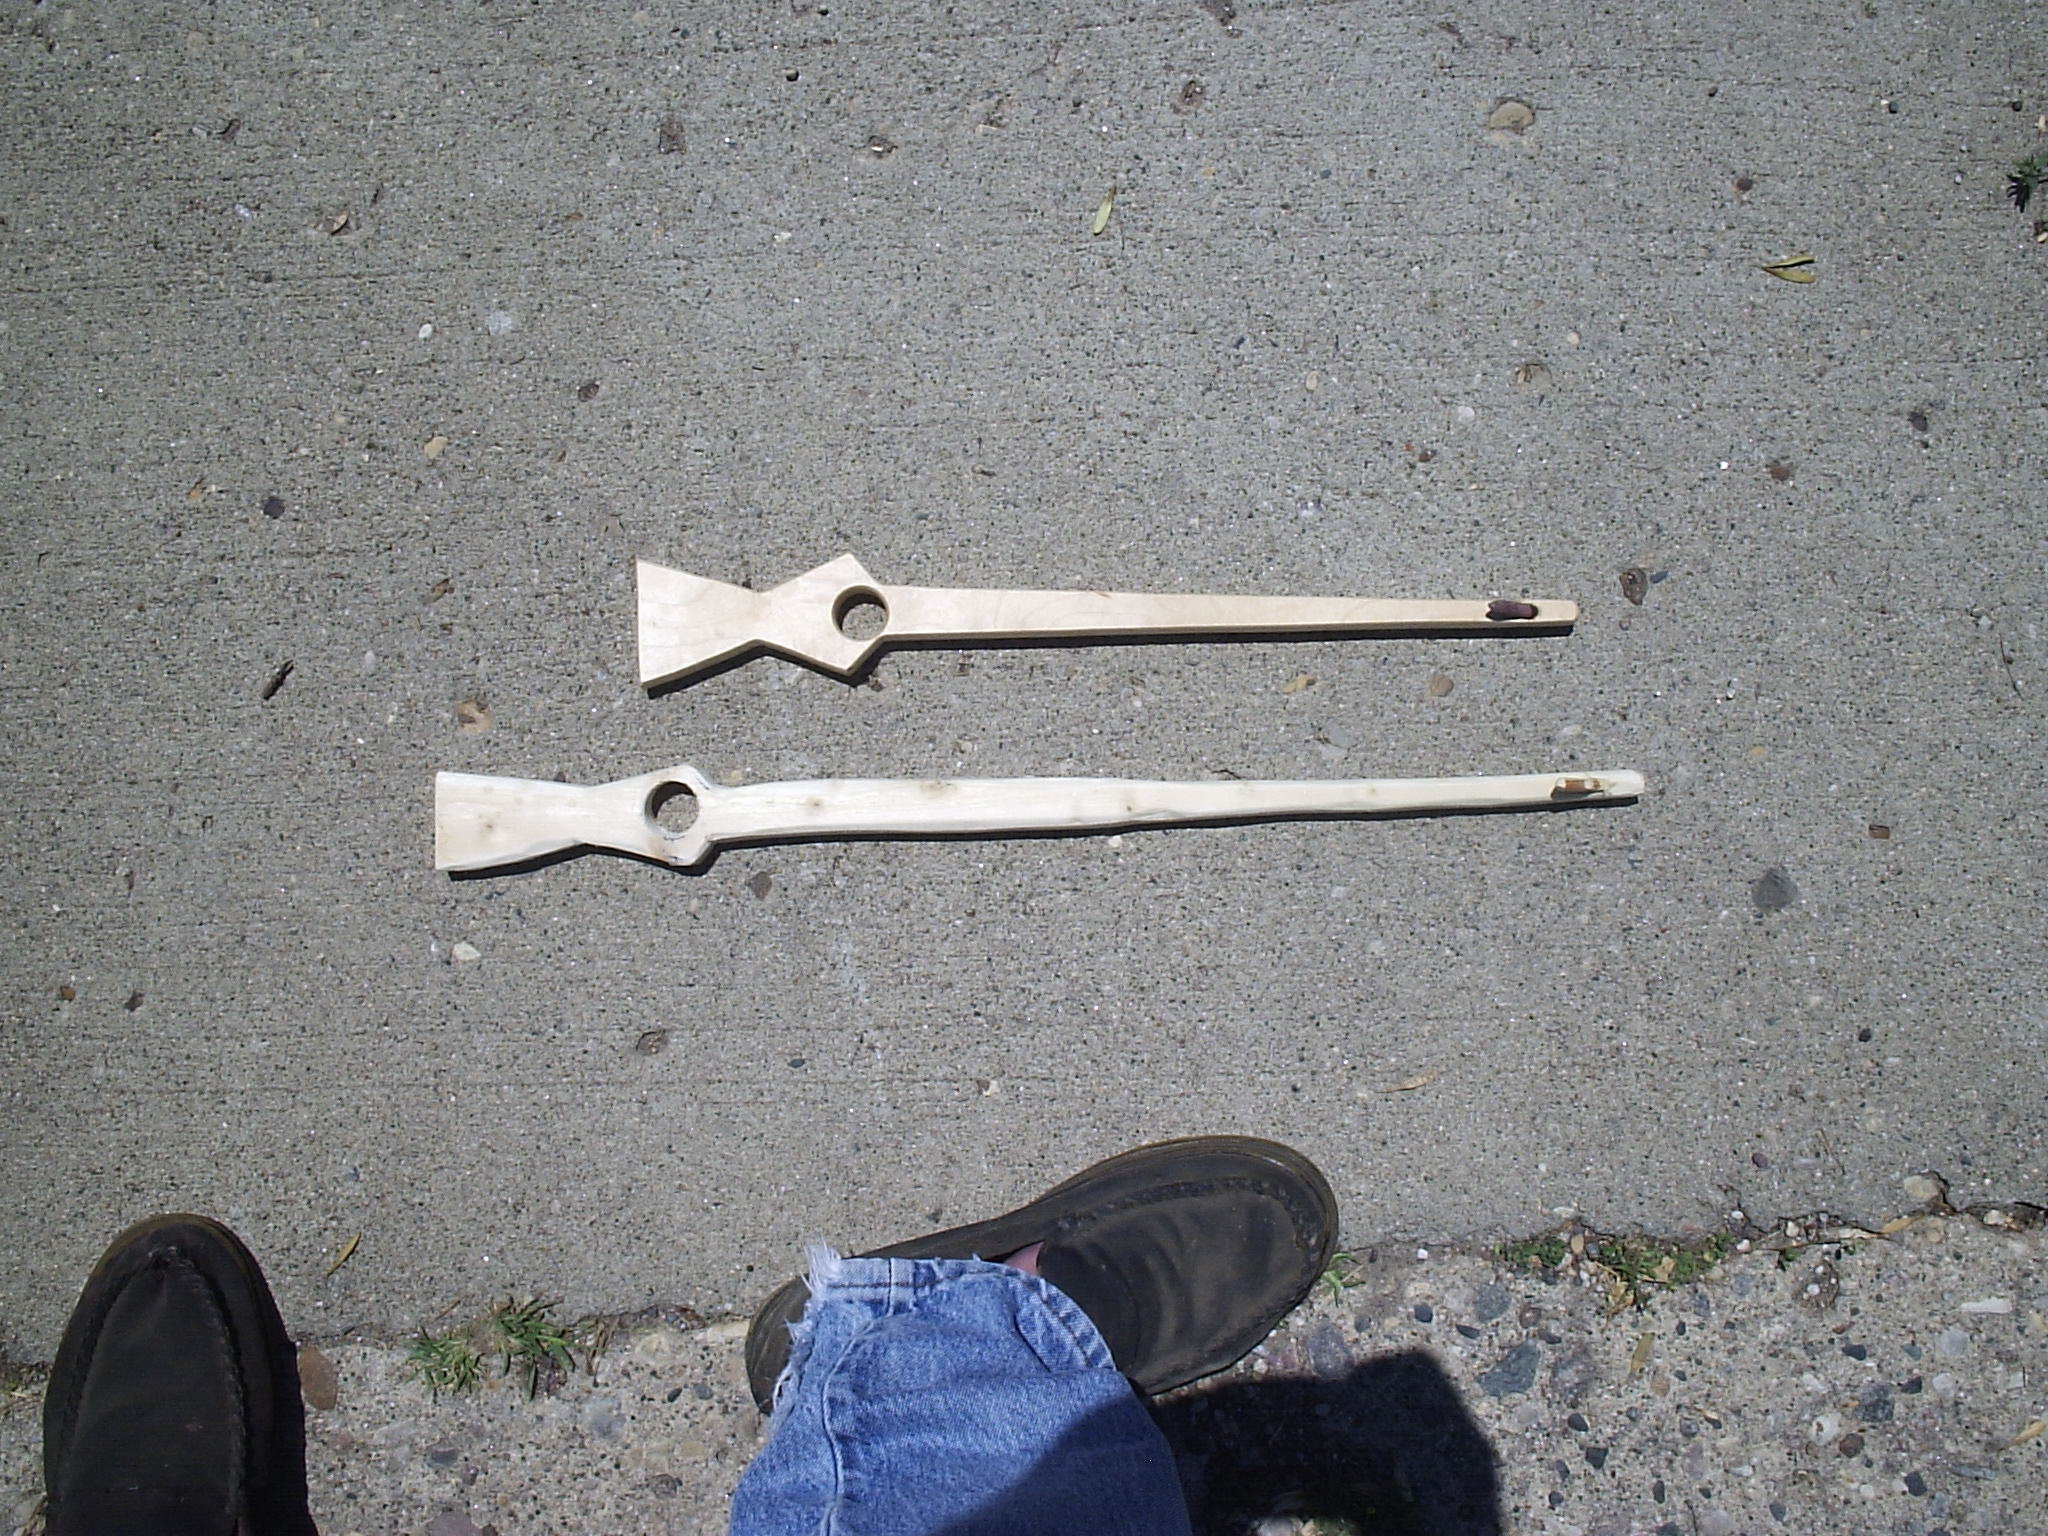
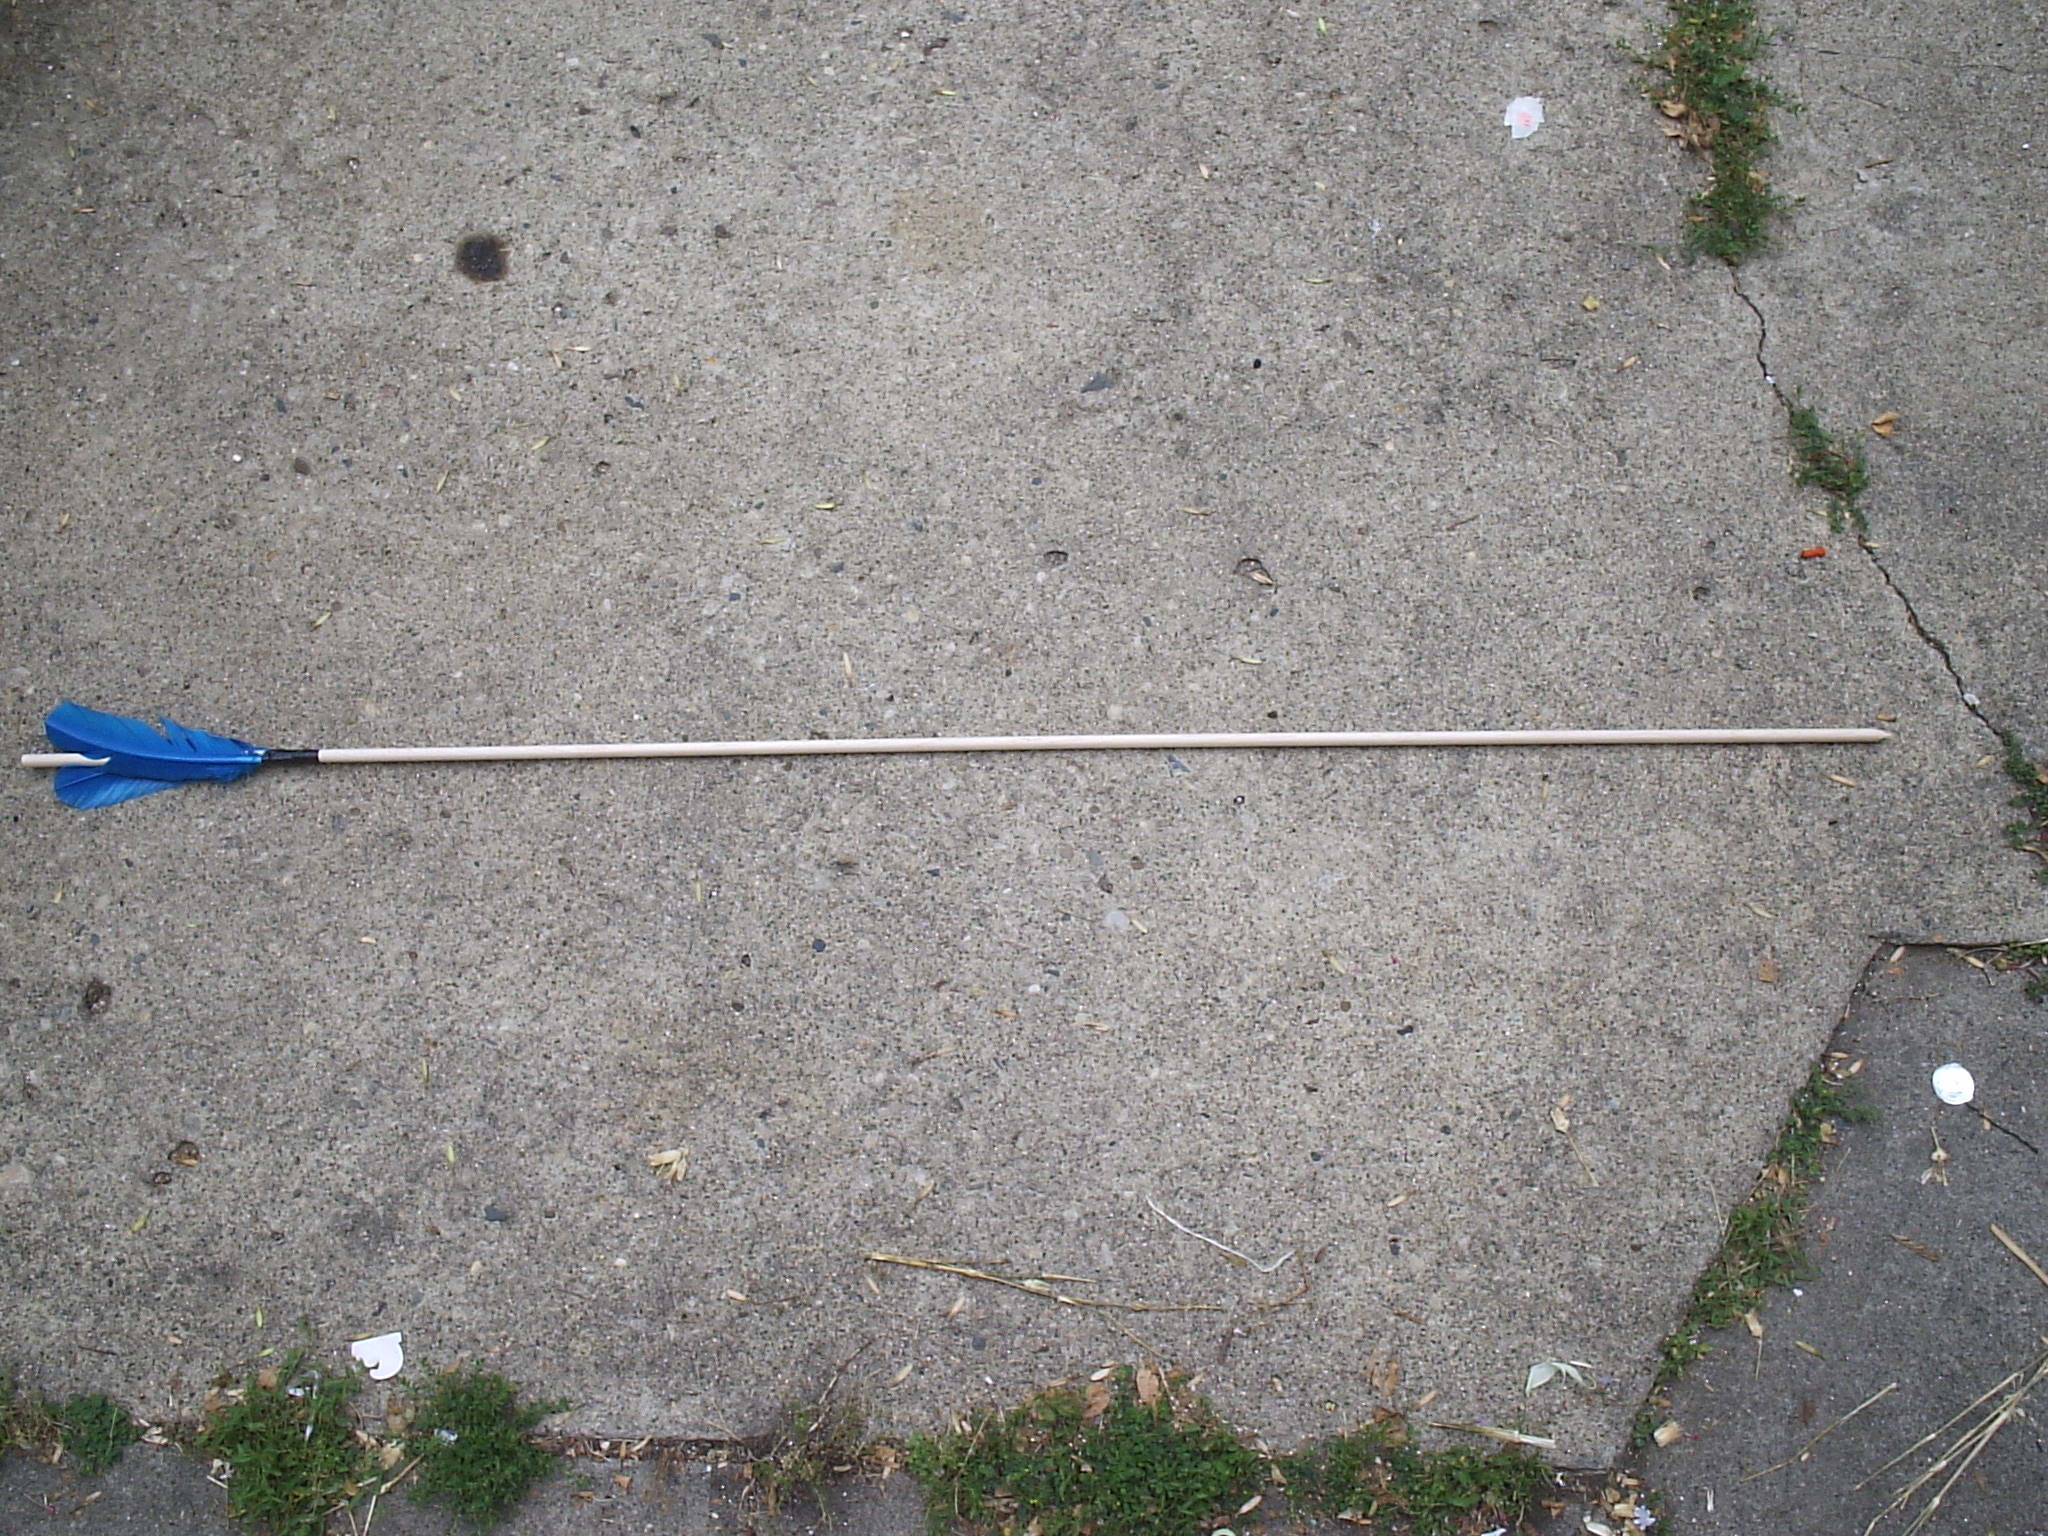
Atlatls range in form from the simple to the very ornate, but they all have the same 3 components: the hook, the grip, and the shaft. The grip is where you hold the atlatl, the hook engages the back of your projectile and propels it, and the shaft connects the two and acts as a lever to multiply the speed of your arm.

A typical length for an atlatl is 18″–24″, although some have been found as short as 6″ (in California) and as long as 48″ (in Australia). Length is mostly a matter of personal preference, but it needs to fit the length of your arm and of the dart you’re throwing.

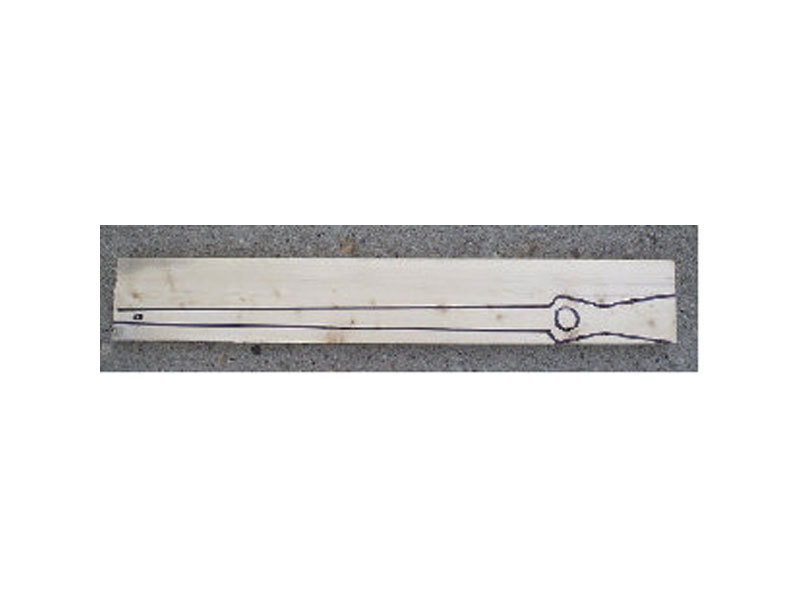
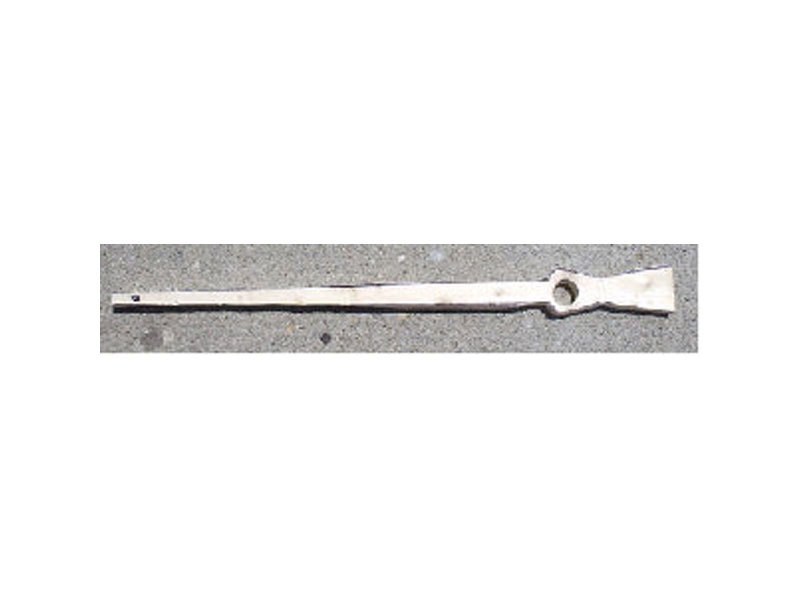
The simplest atlatl is the first kind ever used — the basic branch atlatl. To make one of these, just find a tree branch that measures about ¾” in diameter and has a smaller branch angling out of it. Cut it just below the smaller branch, clip off the other end about 18″ farther up, and then clip off the smaller branch. Now you have a functioning atlatl. To make it a little easier to handle and control, you can add a finger loop. Just attach a 10″×¾” strip of soft leather about 7″ from the narrow end, looping it around on the side opposite the branch stub.

Atlatl Safety — Where to Throw

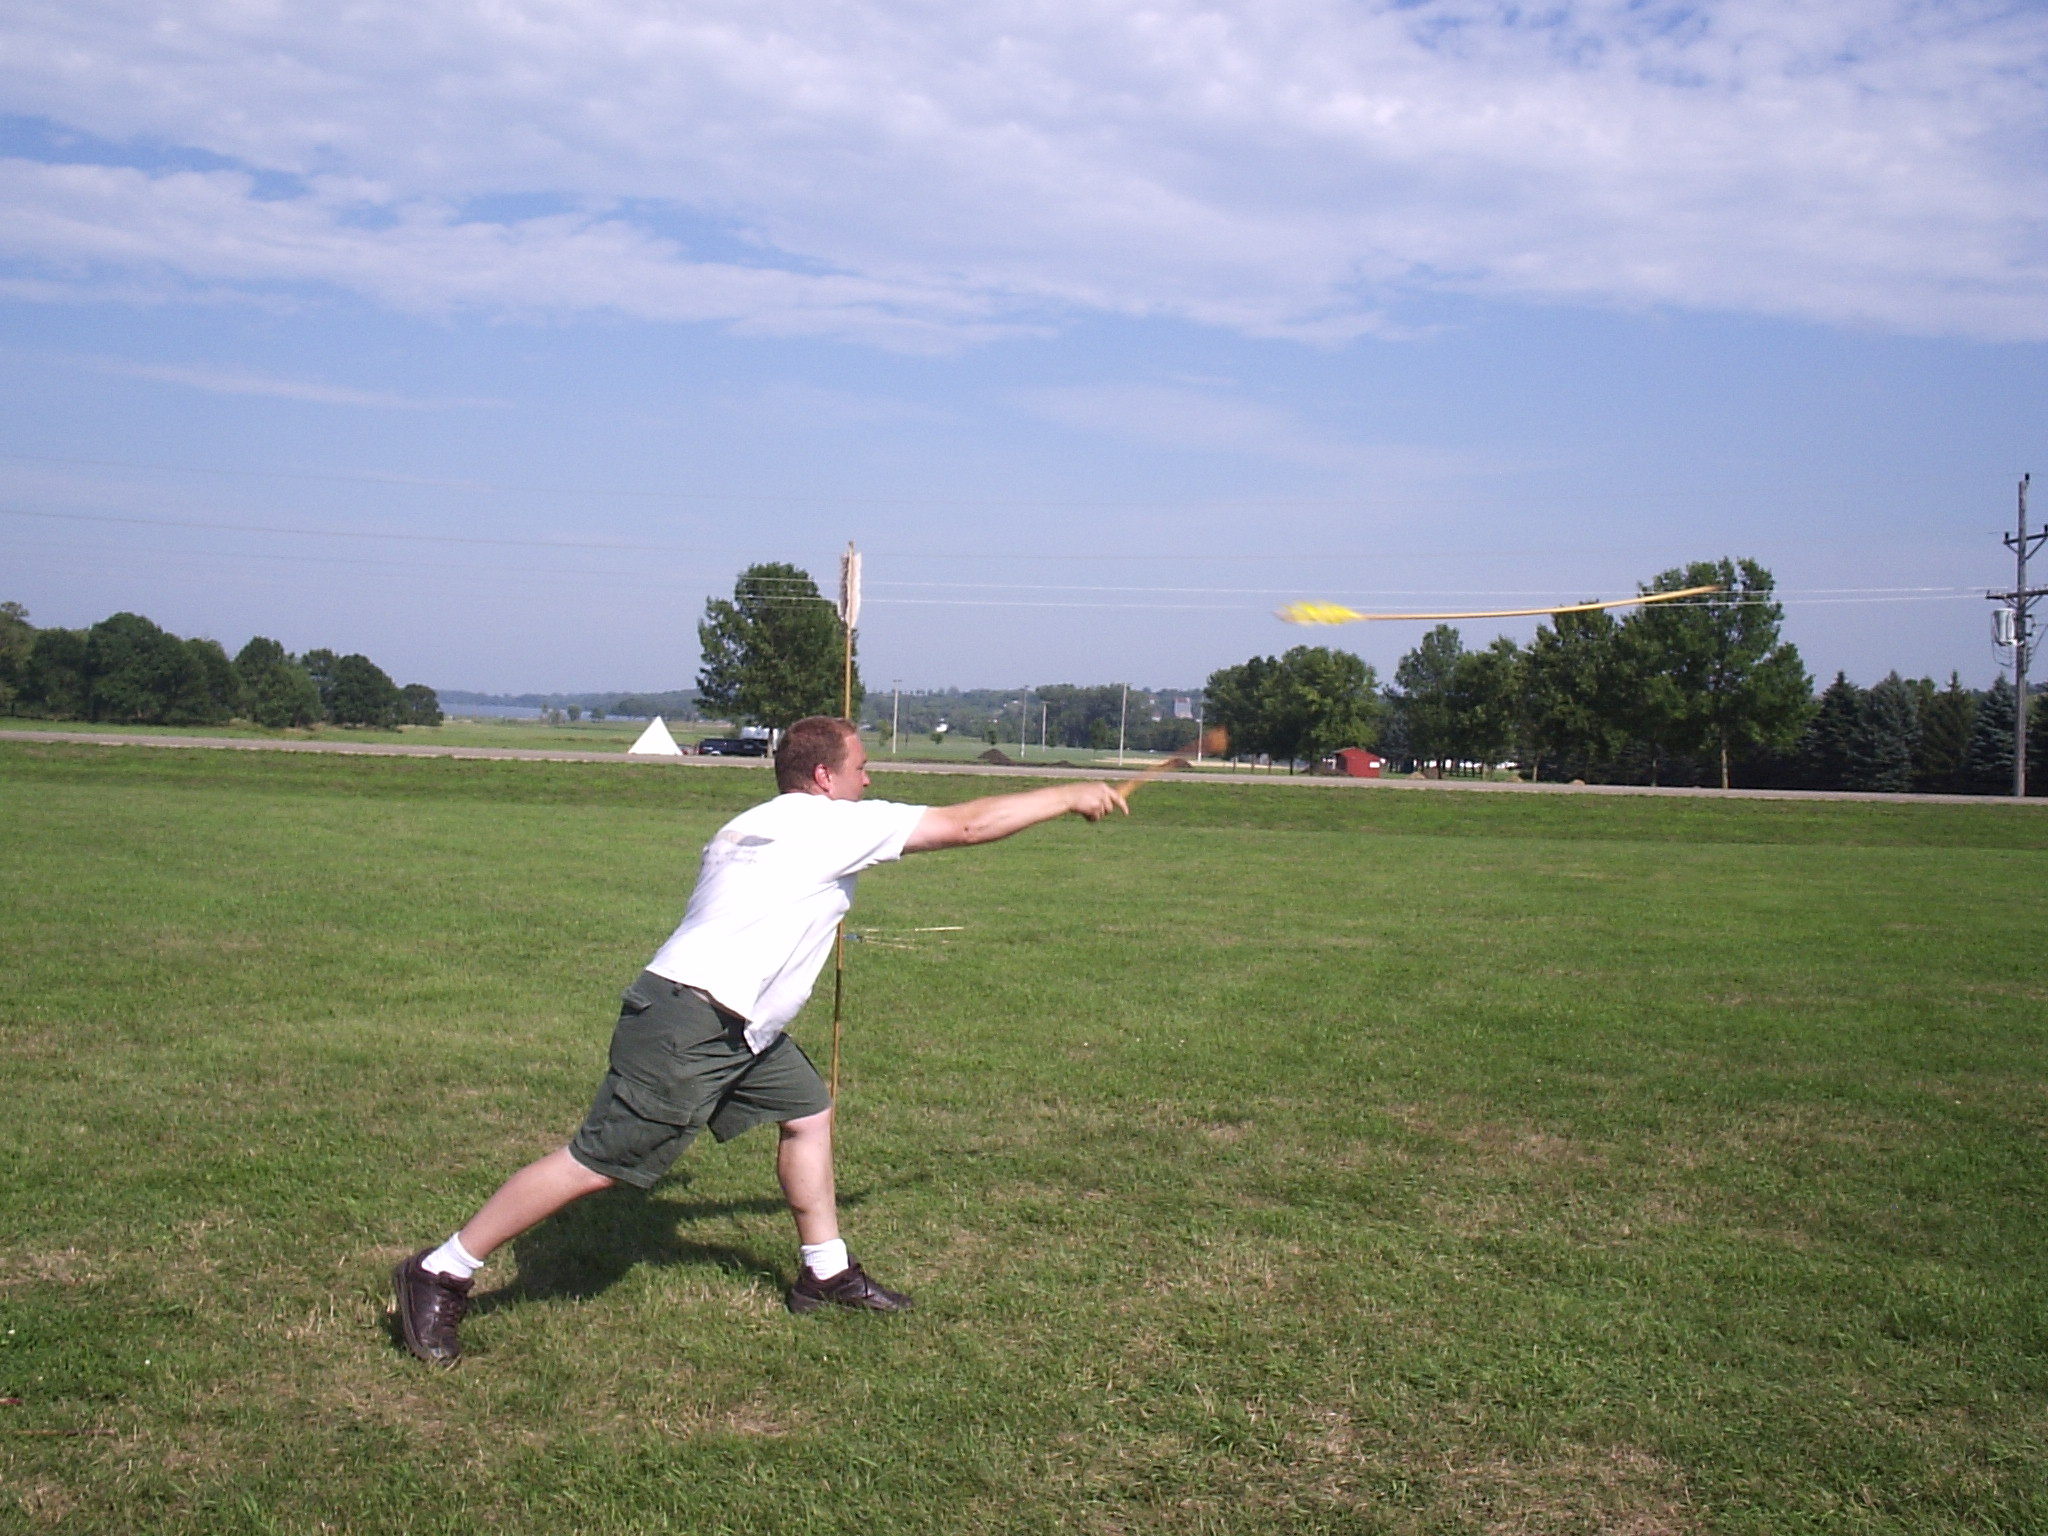
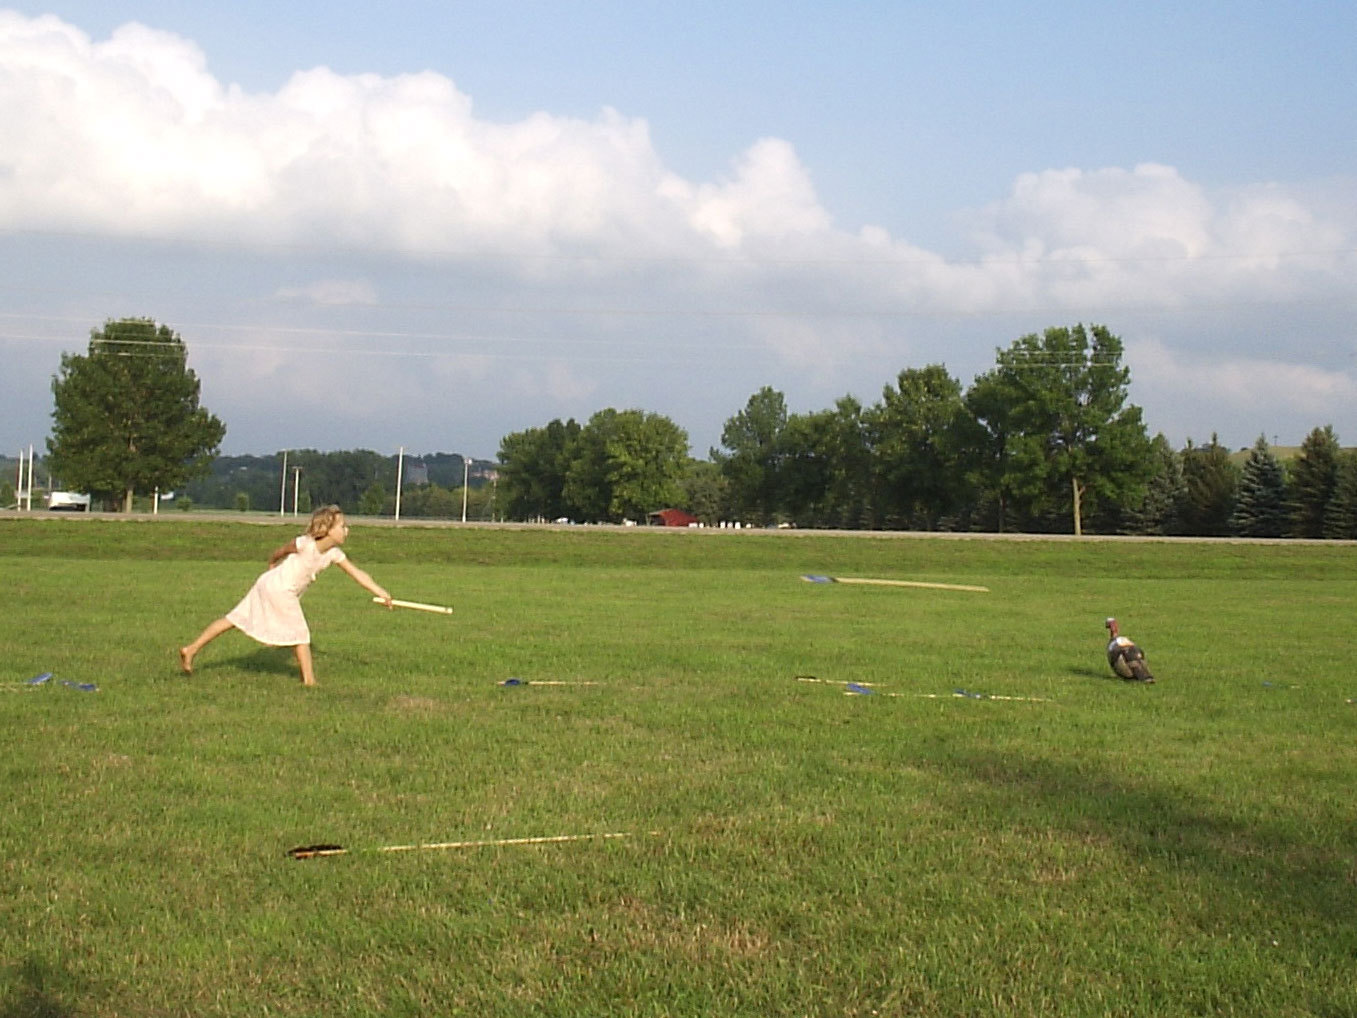
  • When you throw an atlatl, make sure you have an open area that’s at least 30yds long, with nothing breakable behind it.
  • There should never be anyone in front of you when you throw.
  • In spite of your aim, the dart can and will go out of control once in a while. It may go off to one side or go farther than you intended. Make allowances for this.

*Most people say “at-LAT-l,” or “AHT-laht-l” but pronunciations vary. Find one you like, get your friends to pronounce it the same way, and you’ll be right.

Project Steps

Make the spear-thrower.

Size and trace the template at left onto your piece of wood, and cut it out. Use the wood boring bit for the finger hole. I normally make a 1″ hole, because I have fairly large fingers and I share my atlatls a lot. People with smaller hands can use an atlatl with a 1″ hole, but ideally it should fit close around their index finger; my wife’s atlatl has a ¾” hole. I’d say start with 1″, and possibly adjust this for your next one.

Use the utility knife to round off the edges, then sand it all smooth.

Drill a hole in the end for the peg; this will act as the hook. Go in at about a 45° angle.

Put some wood glue in the hole and insert the peg. You’re done!

If you’re using a softwood, reinforce the peg joint by wrapping it with sinew or cordage. I normally use pine because it’s cheap and easy to shape, but it tends to break near the peg, so wrapping it helps. You don’t need reinforcement with a hardwood such as oak or maple, but those also require more skill and the proper tools to work effectively — two things I don’t have. For your first one, I recommend pine.

Make a dart.

Sharpen one end of the dowel. I just use a utility knife. You can also add stone, bone, or steel points to darts, but you should probably gain more experience before making your darts lethal.

Drill a dimple in the other end. This is the “nock” that the peg fits into. I usually drill with a ¼” bit and just touch the end, going in about 1/8″ or so.

Hot-glue the feathers on, one on each side, with the quills forward. Then wrap tape over the glue to help keep it on, or wrap it with artificial sinew if you want it to look better.

With large feathers, glue and tape down the trailing ends so that they don’t fray as fast.

Your dart is done! While you’re at it, you might as well make another 5 or so. Otherwise, you’ll get very tired chasing it after each throw, and you’ll get less practice. Since you’re using dowels, your darts will be closely matched, which will help you practice.

Conclusion

Two factors that govern your dart’s flight are its flex (also called its spine), and the feathers (its fletching). Flex is the amount of pressure it takes to make the shaft bend. An atlatl generates 6–10lbs of pressure (depending on your throw), so your darts need a spine of 6–10lbs. Less than that and you won’t be able to throw it; more, and it won’t fly right.

To measure the spine of a piece of wood or bamboo, press it lengthwise onto a bathroom scale. When the shaft begins to bend, look at the number. That’s it. Common 2"×48" dowels typically flex in our desired range, as do ½"×72" dowels, which are better for target practice. It’s satisfying to make a dart out of a natural piece of wood and hone it to the proper flex, but it’s also quite a bit of work. So to start with, I’d say use dowels.

Unlike with an arrow, the feathers on a dart don’t act as vanes. They add wind resistance, which slows the rear end so the sharp end stays in front. You can use other materials besides feathers, such as birch bark, cornhusks, cloth, and duct tape, but you can’t beat feathers for the look.

For our 48" dowel, a pair of 8" feathers should work fine. With less fletching, the dart will travel farther but won’t be as accurate. More fletching means the dart will be more accurate, but won’t go as far.

Using the Atlatl

Now let’s get out there and throw! The 3 basic steps are the grip, the stance, and the throw itself.

The Grip Slide your index finger through the hole from the side opposite the peg, and grip the handle with your other fingers. Put the point of the dart on the ground, then fit the atlatl peg into the nock and hold the dart with your thumb and index finger. Squeeze them, almost like you’re holding a pencil, but keep them on the sides of the dart, not over the back. The dart will come out of your hand at the proper moment, if you just let it.

The Stance Point your left foot at the target (if you’re right-handed) and angle your right foot away from it, about a shoulder’s-width back. You should feel comfortable and balanced. Turn your body sideways, in line with your left foot, and turn your head to look at the target. Point at the target with your left arm to help with accuracy and balance.

The Throw First, aim the dart by bringing your grip hand up by your ear and sighting along the shaft to your target. Next, bring your arm straight back as far as you comfortably can, but don’t twist your wrist on the way back, which will point the dart off to the side. Unless you’re a powerful thrower, tip your hand back so that the point rises up a few inches. This will give your throw an arc, making it travel farther. Pause to collect yourself and focus.

And now, the throwing motion itself: using an atlatl is like throwing a fastball — you need to put your whole body into it. Lean back, balancing on your back foot. Then step forward and shift your weight onto your other foot. Slide your arm forward, keeping the dart pointed at the target, and when it’s almost fully extended, snap your wrist forward hard. It should all be one fluid movement, and the atlatl should end up pointing at the target. For an example, watch the video clips of atlatl throwing on Bob Perkins’ website, atlatl.com.

Practice without a dart until you get used to it. And don’t worry about releasing the dart; it should come free on its own at the proper moment. Don’t try to throw it hard — this will just mess you up. Just concentrate on throwing smoothly, and your speed and power will develop. Everything will click at some point, and it will be a thing of beauty.

Target Practice

Throwing the atlatl purely for distance is fun, but after a while you get tired of chasing down all your darts. Besides, you’ll want to see what it would be like to hunt with one. You can use paper archery targets on hay bales, and 15yds is usually a good starting distance. If you switch to a heavier dart, you’ll want to double up the bales.

Standard bull's-eye targets are fine for accuracy competitions, but I personally don’t like them.

The atlatl is for hunting, so I prefer animal silhouettes; 3D targets, your basic foam animals, are my personal favorite. You really feel like the “mighty hunter,” and the first time your dart flies straight and true into the target, well, it’s indescribable. You need to experience it.

In a pinch, almost anything will make a decent target. A friend and I once used some styrofoam coolers. We ended up hunting those “sheep” for about 3 hours, until it got so dark we couldn’t even see them anymore! We were tied at the time (it’s always about competition, you know), so we had to keep going, listening to see whether we’d hit them or not. If I remember right, he won. Barely.

This project first appeared in MAKE Volume 12, page 117.