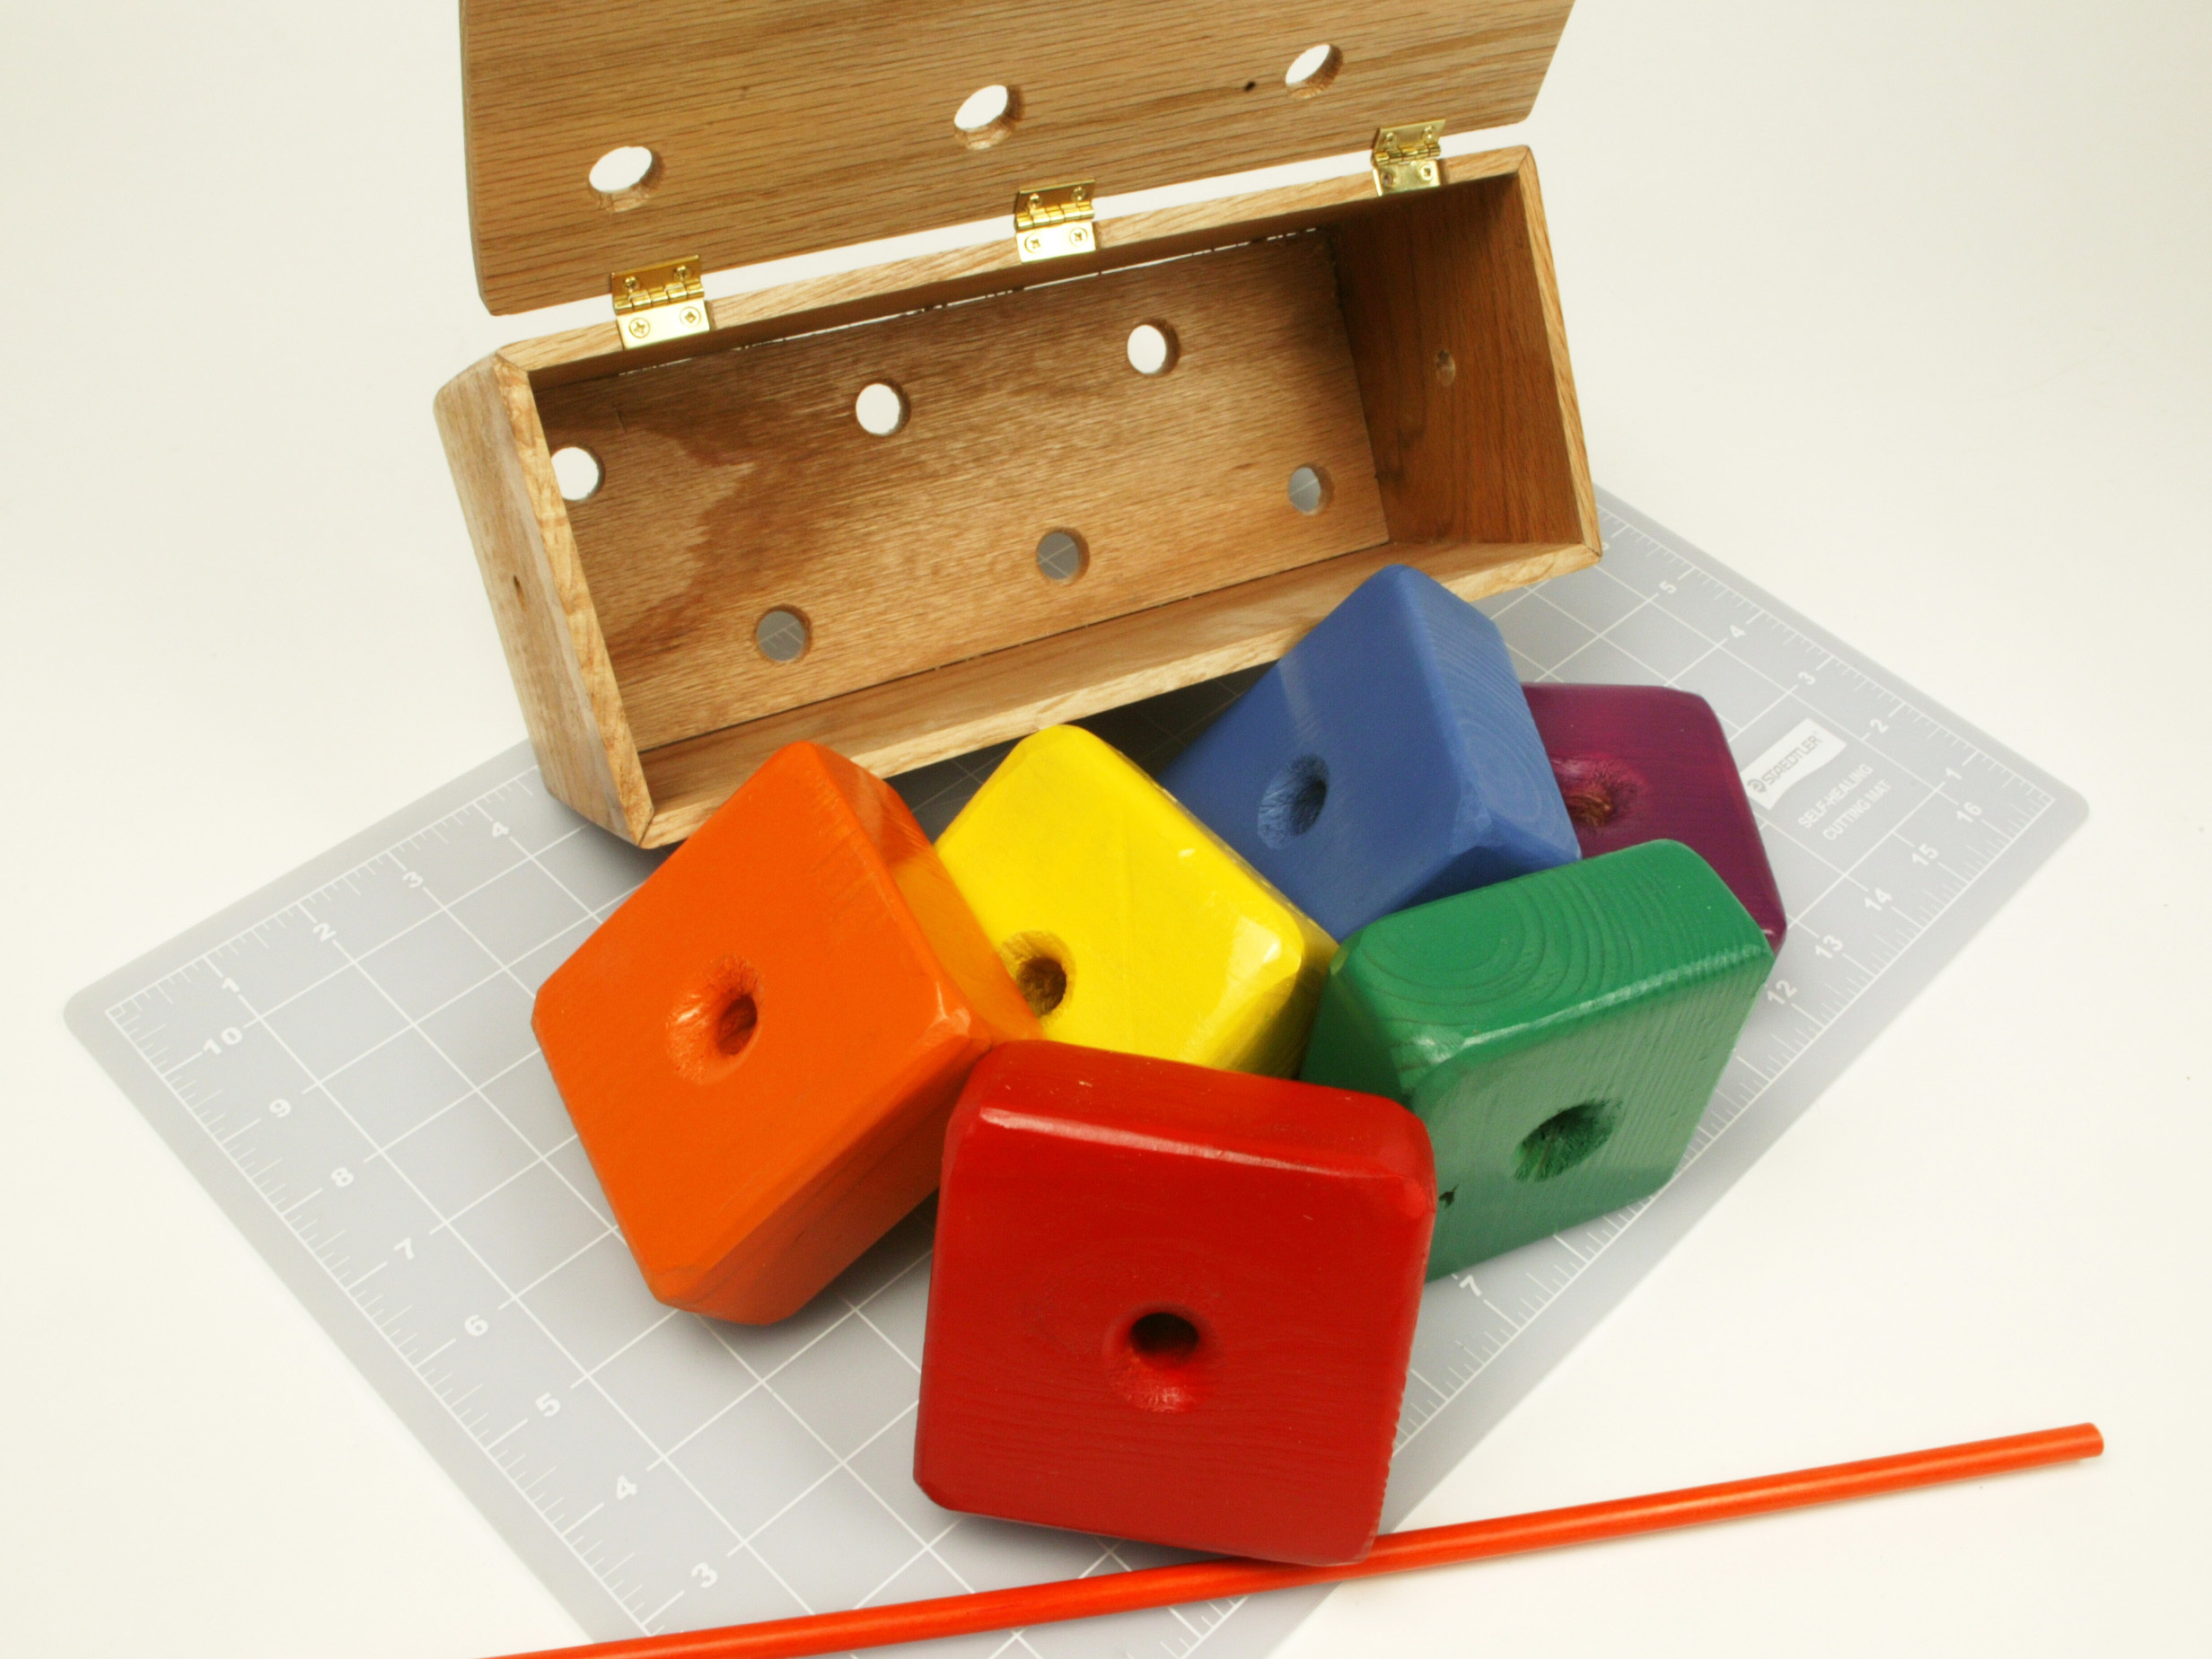
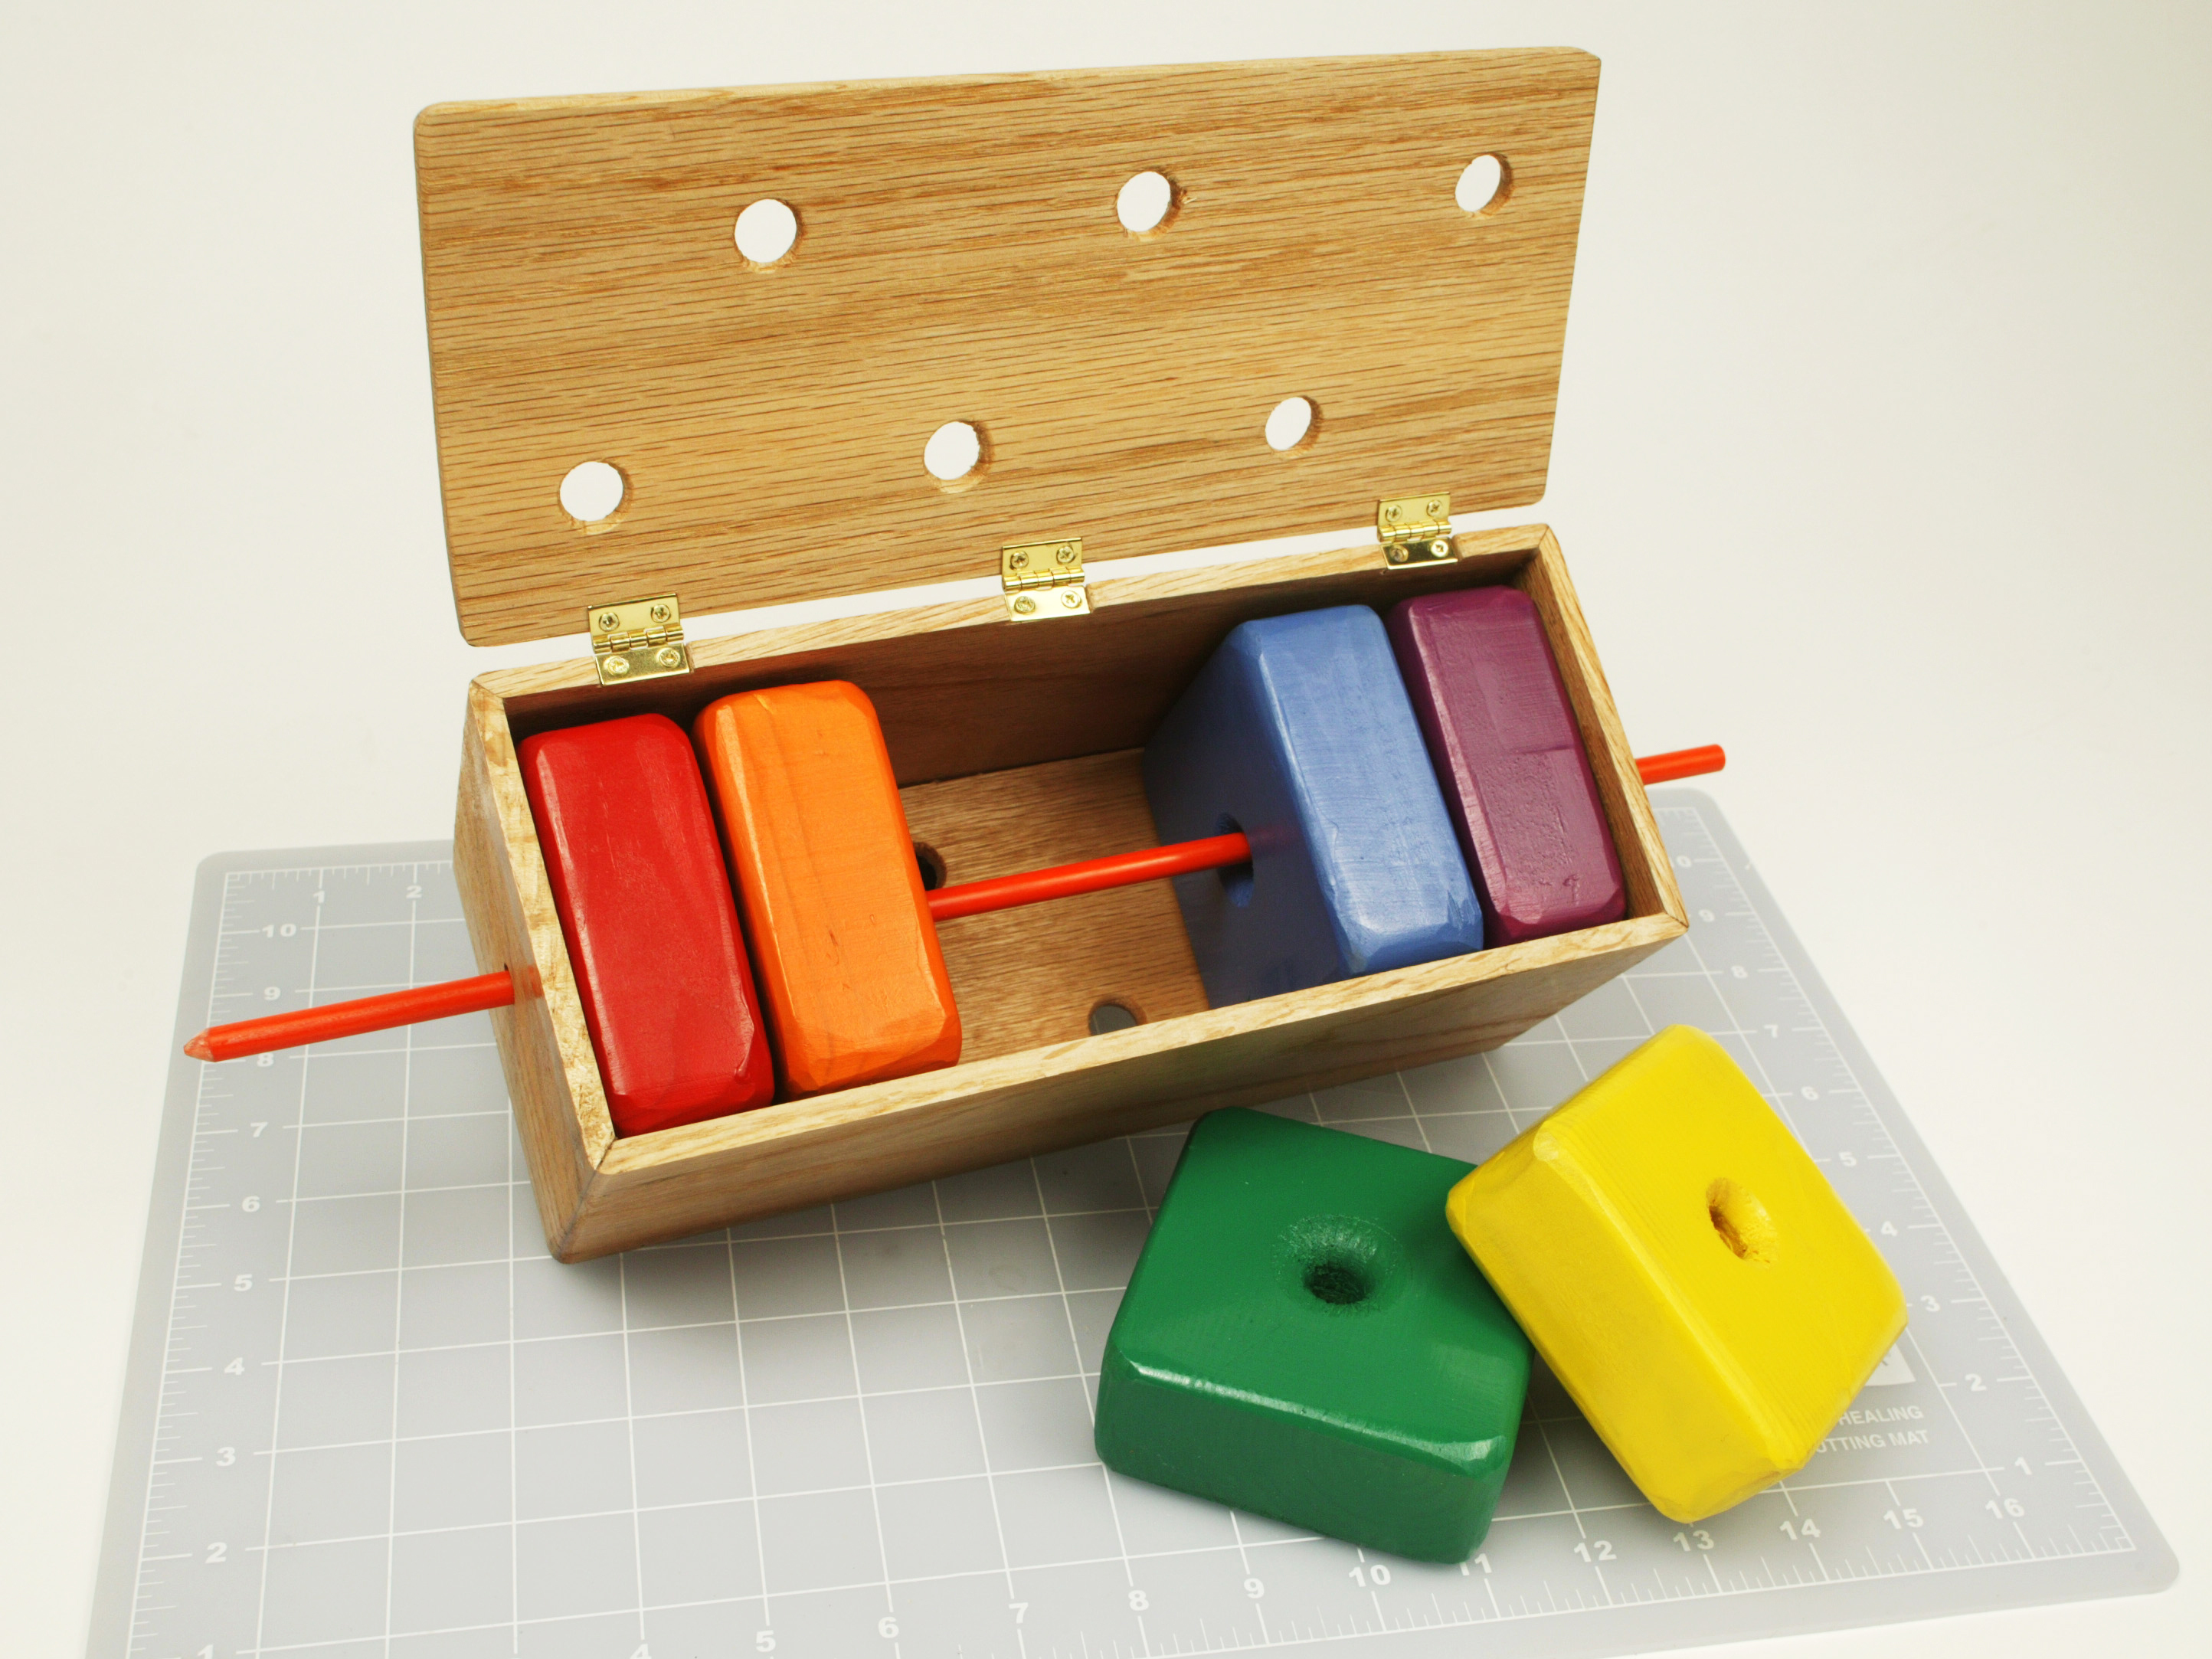
Imagine a handsome lacquered oak box with a lid mounted on brass hinges. The magician opens the box to reveal a row of 6 brightly painted, rainbow-colored wooden blocks nestled snugly inside. A long, rigid spike passes through a hole at one end of the box, through holes in the centers of the blocks, and out through another hole at the opposite end of the box. When the magician turns the box upside down, the spike holds the blocks securely in place.
The magician pulls the spike out, and all the blocks fall onto the table. He invites a member of the audience to inspect everything, then asks the volunteer to name his favorite 2 colors of any of the blocks.
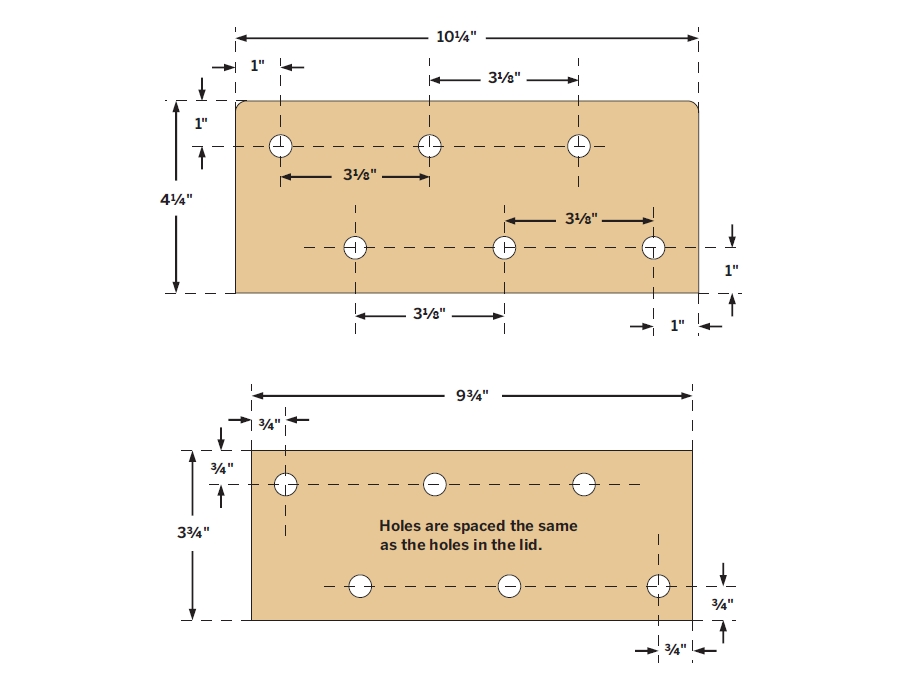
The magician stacks the blocks back in the box, closes the lid, and replaces the spike, pushing it from end to end. Holes in the lid reveal that the blocks still appear to be lined up in a row, as they were before. Yet when the magician raps twice on the lid with his knuckles and turns the box upside down, the 2 blocks that the volunteer selected fall out, while the other 4 remain inside, still impaled on the spike. How did the chosen blocks escape?
How It’s Done
The Escaping Blocks trick is many decades old but still can be a source of fascination and amazement to anyone who hasn’t seen it before.
The secret is simple. When the magician puts the blocks back into the box, he secretly turns 2 of them so that they lie to either side of the spike instead of being pierced by it. The lid conceals this act from the audience, but because we all saw the blocks stacked in an orderly row initially, our minds encourage us to imagine that we saw them go back into the box in exactly the same way that they came out. Thus, we are fooled by our expectations, and the cunningly arranged holes in the lid help to confirm what we believe to be true.
Remaking the Trick
This trick is still available in magic kits, but has suffered a terrible degradation in quality over the years. Instead of lacquered oak, the box is made from thin plastic, and has been downsized to less than 2″ long. The blocks are the size of Chiclets, and they aren’t very solid. The spike is barely more than a plastic toothpick.
I decided to re-create the original version using classic materials, and to construct the box on a scale that would enable a performance in front of an audience of 20 or more. In return for about $25 in consumables and a pleasant day in your workshop,
you too can have your own Escaping Blocks, and they will be sufficiently durable to last for many decades, creating a renewed sense of wonder in each new generation that encounters them for the first time.
Materials
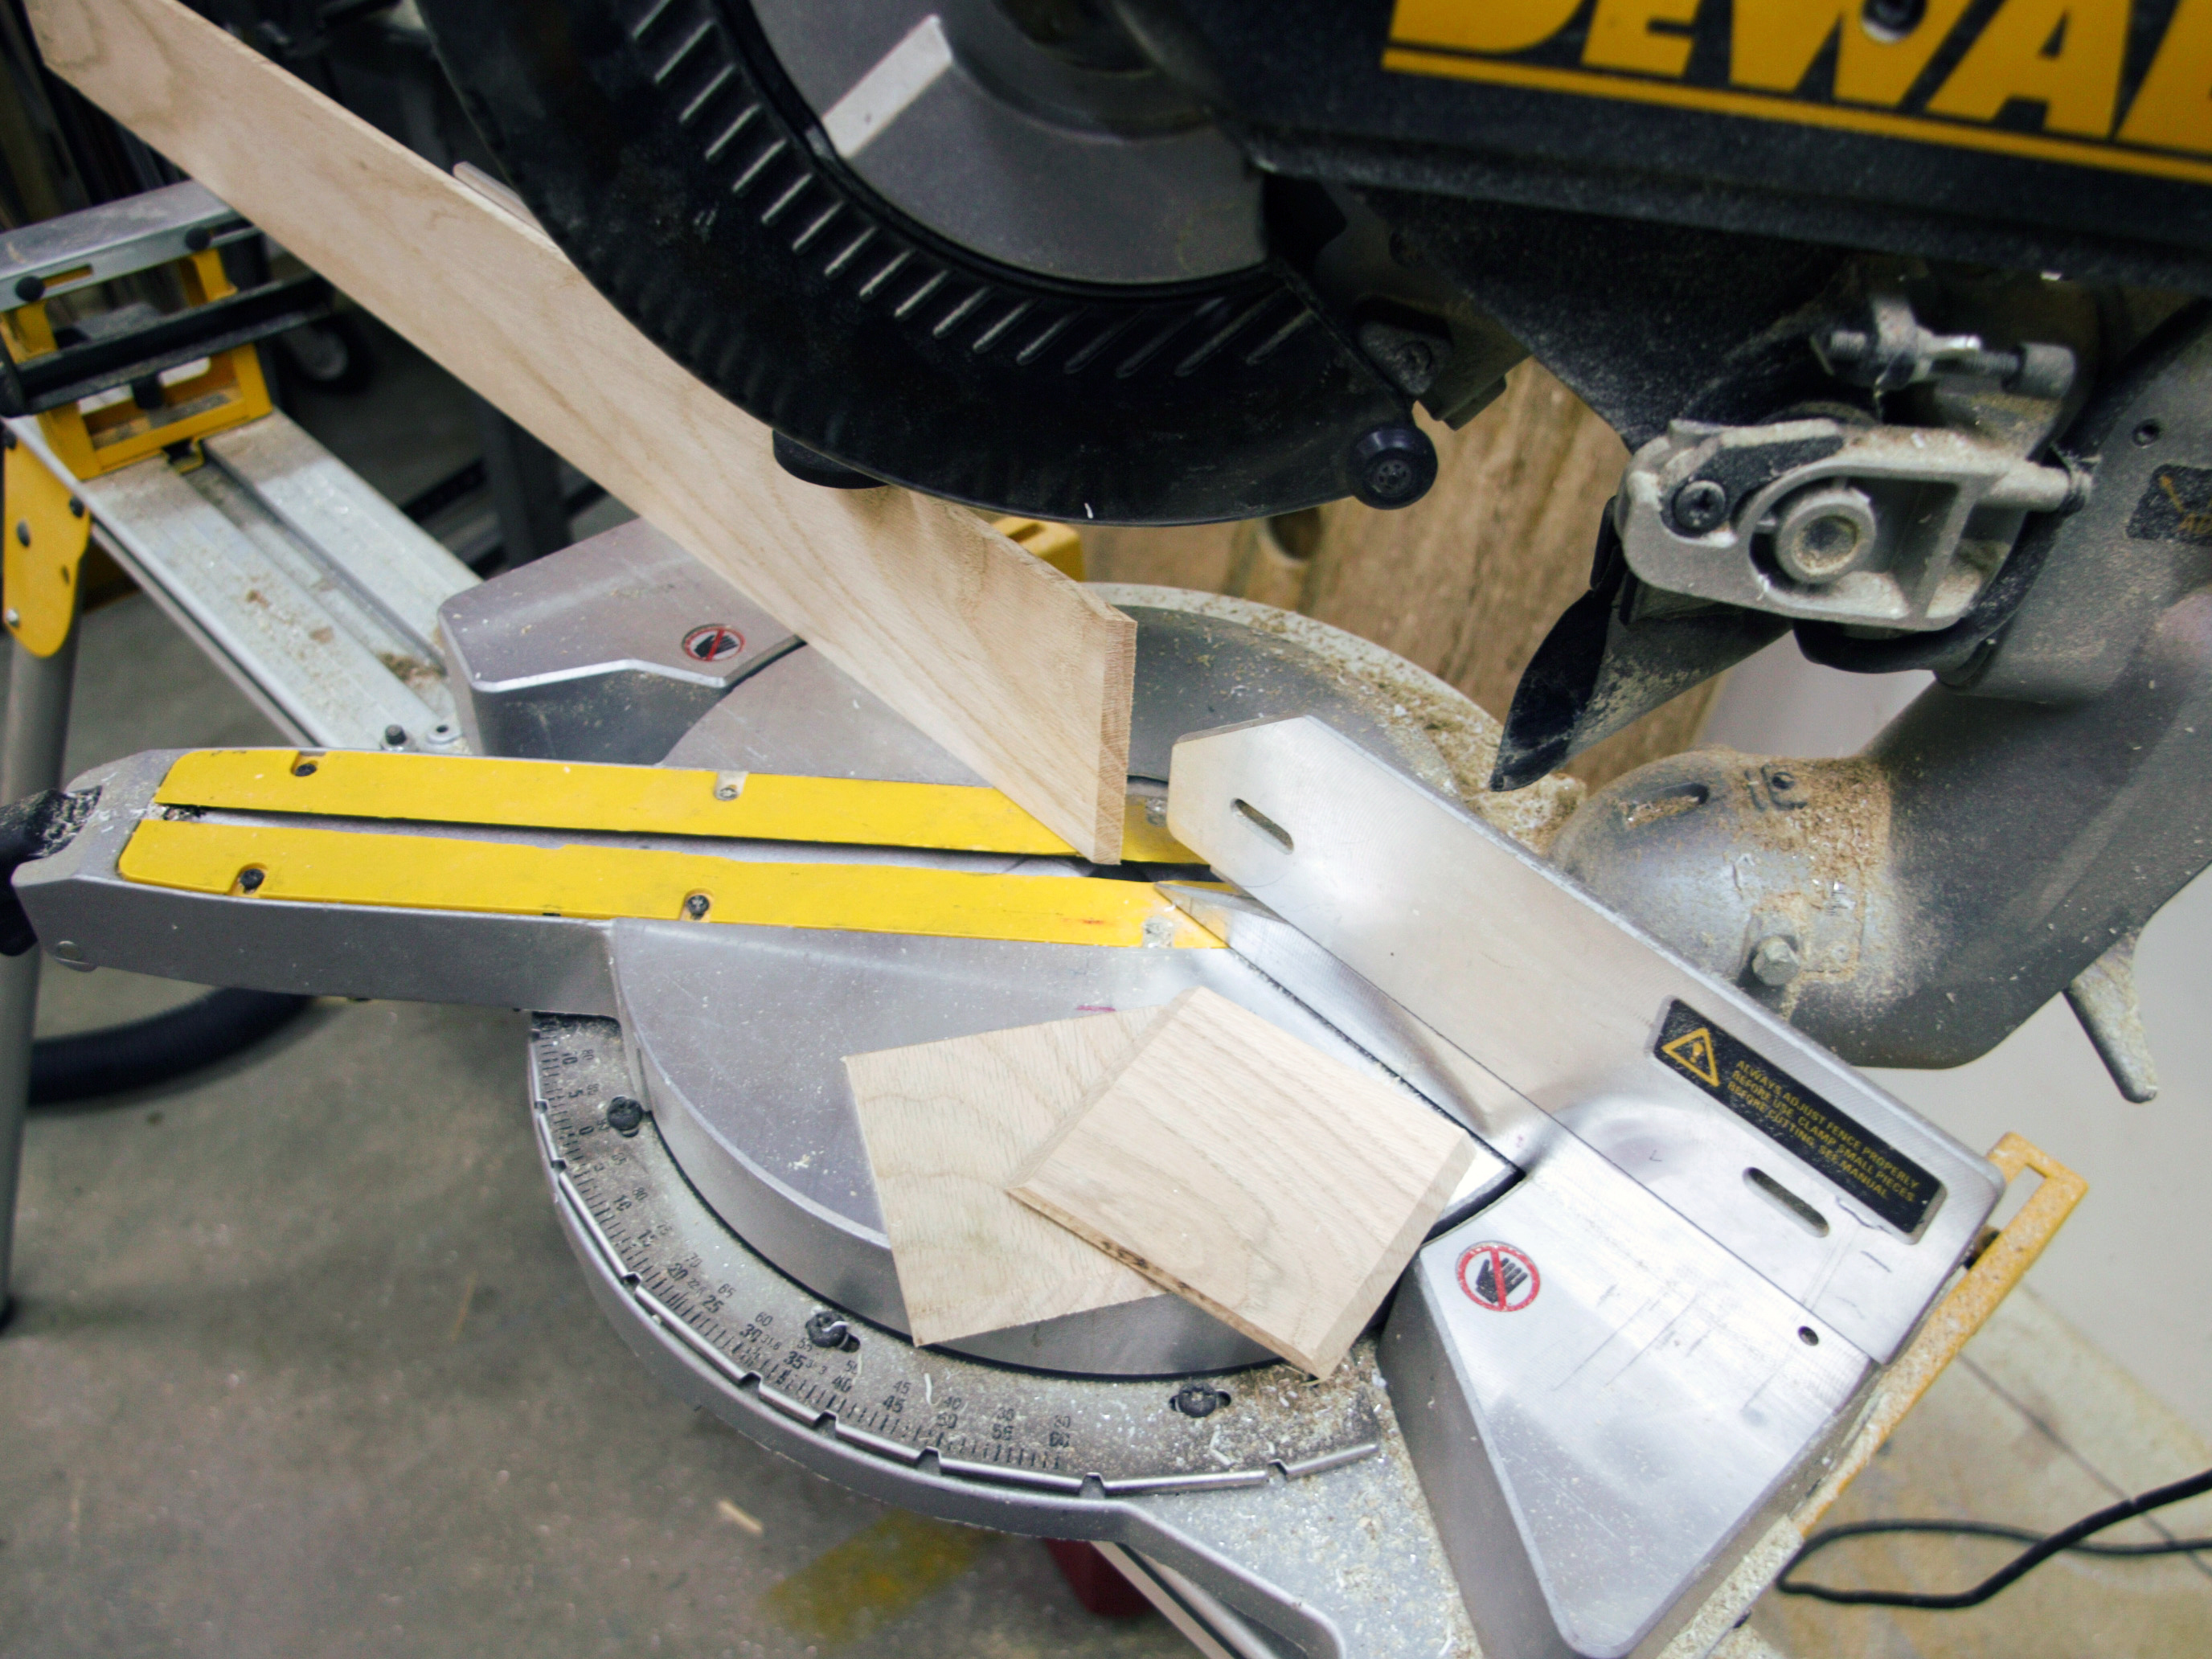
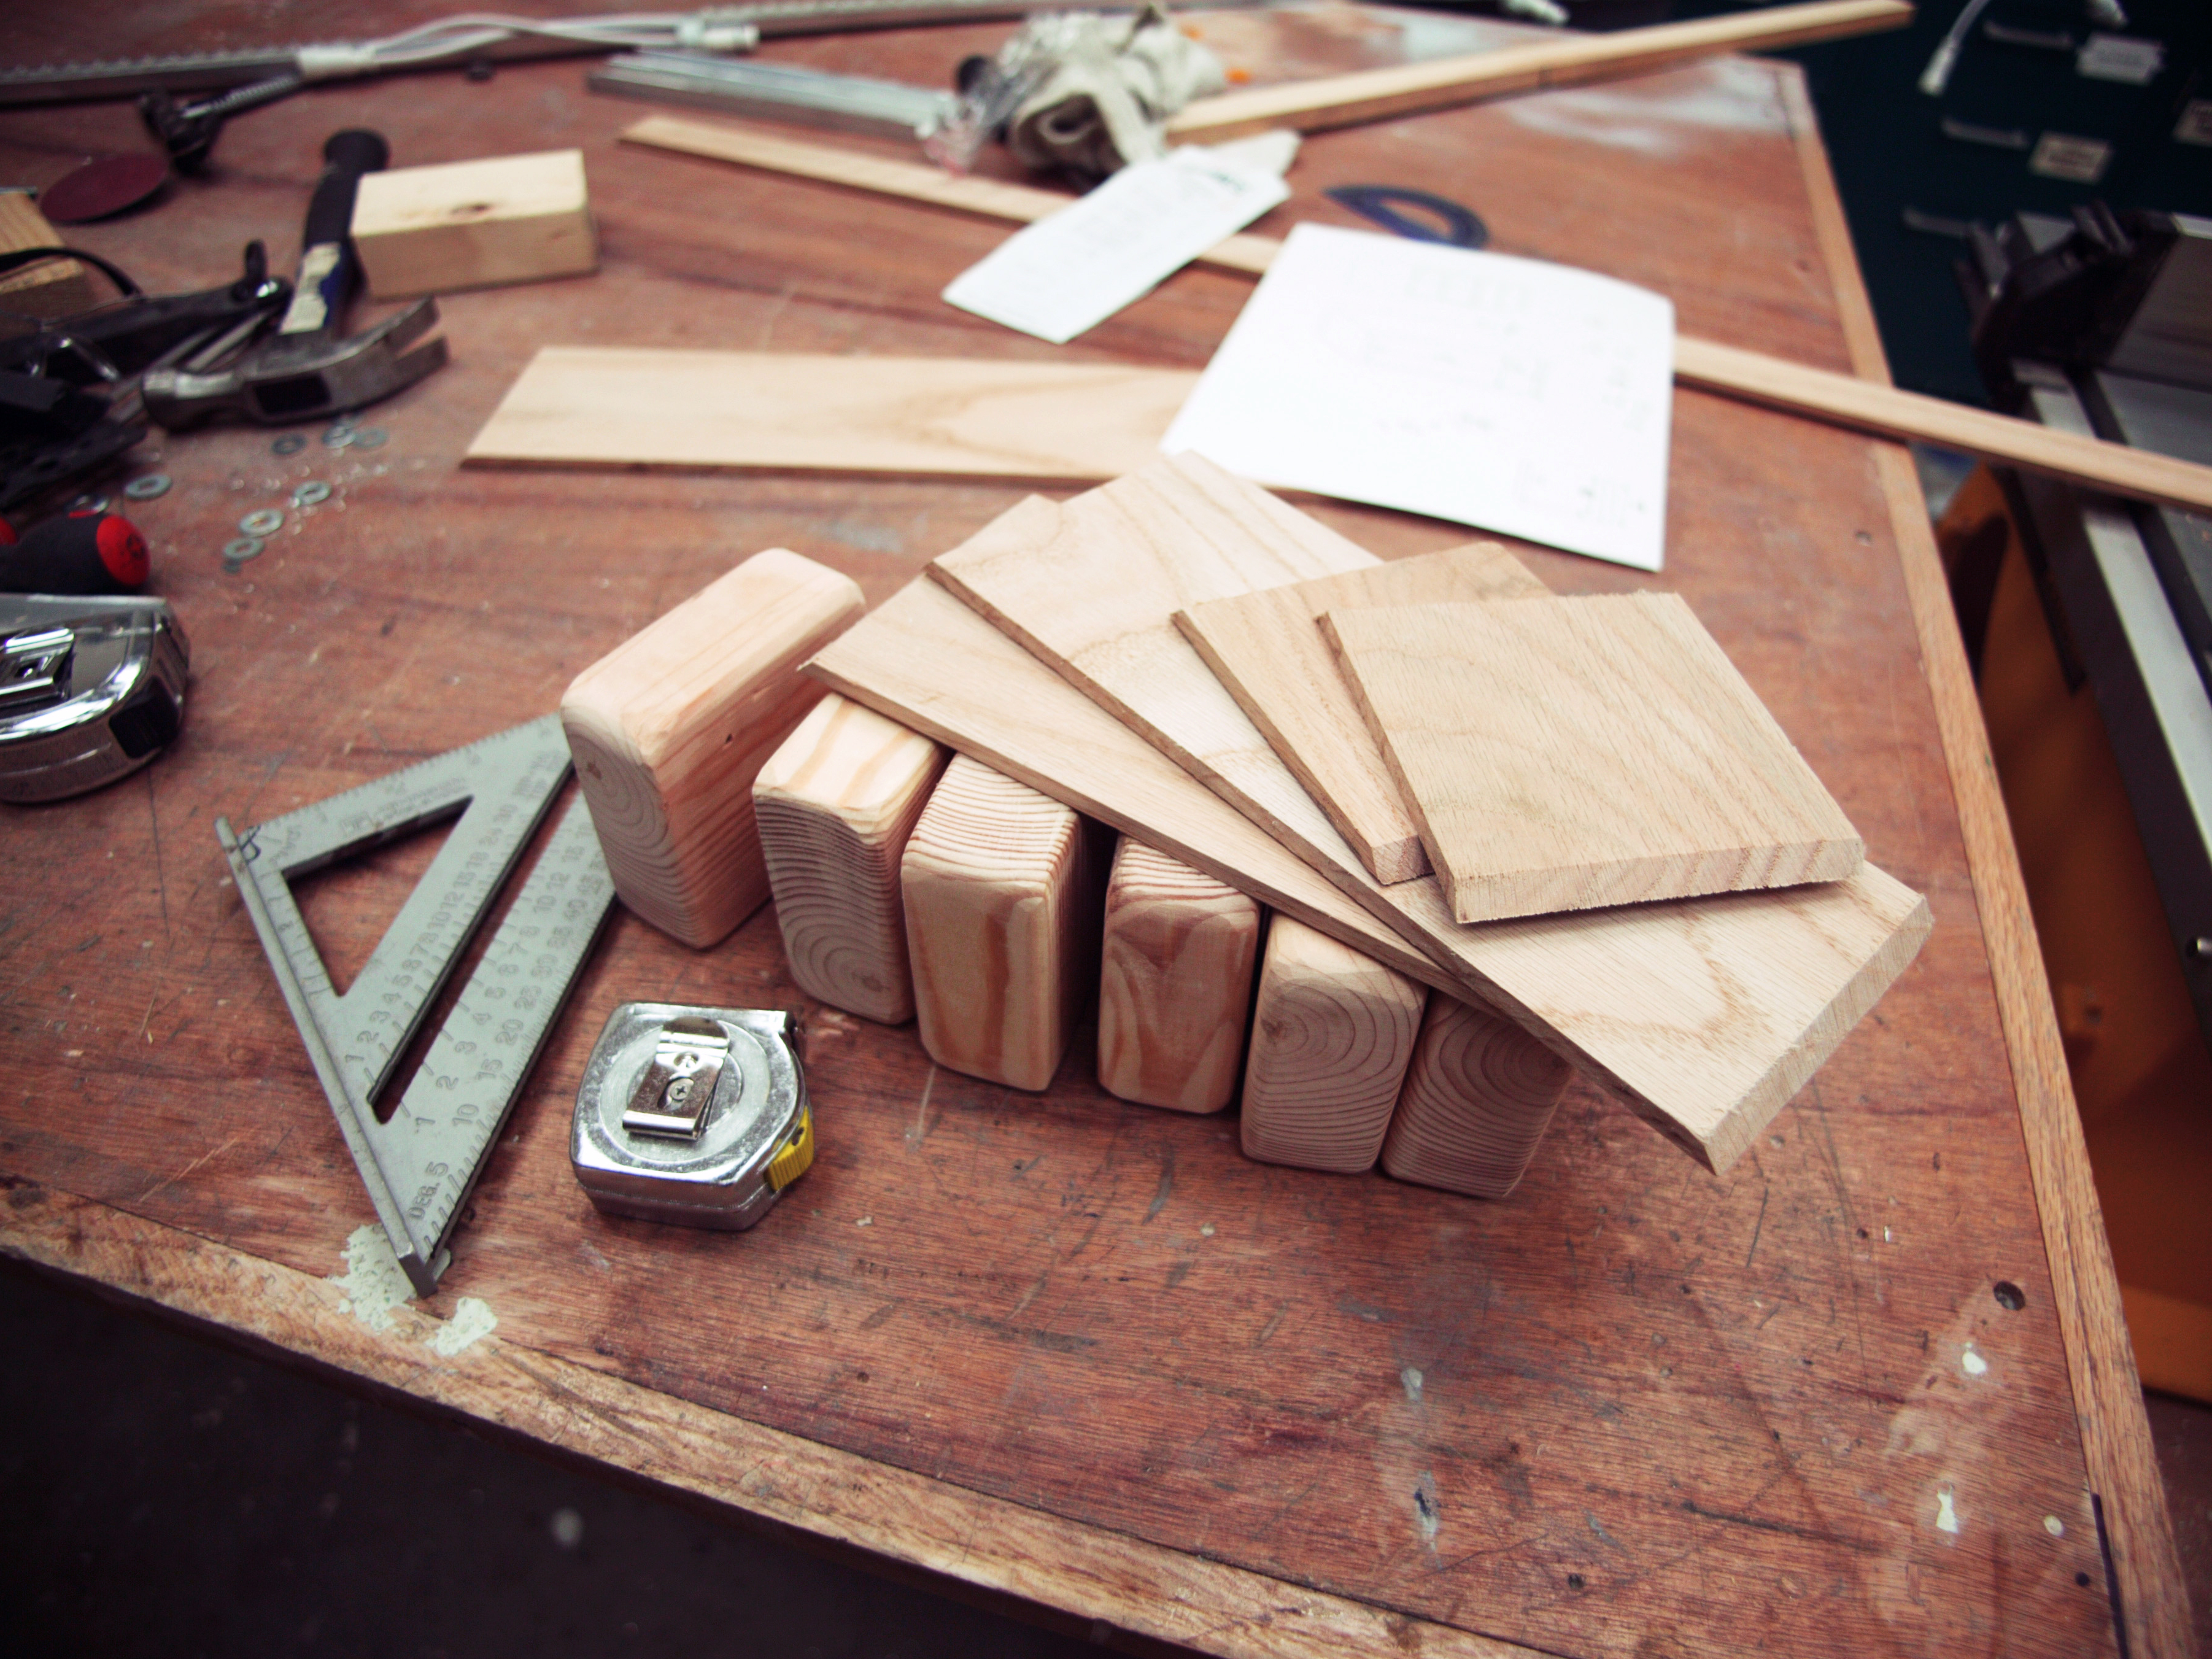
To build the box, I found some strips of oak, 6″ wide and ¼” thick, in the hardwood section of my local home improvement store. For the blocks, I wanted softer wood that would be easy to shape, so I bought a plain old 2×4 pine stud and cut some square sections from one end.
For the rod, I found a “driveway marker” — a solid plastic, orange stake, ¼” in diameter and pointed at one end. I could have used a wooden dowel, but the driveway marker was stronger, with a shiny finish that lets it slide easily through holes in the blocks.
Size
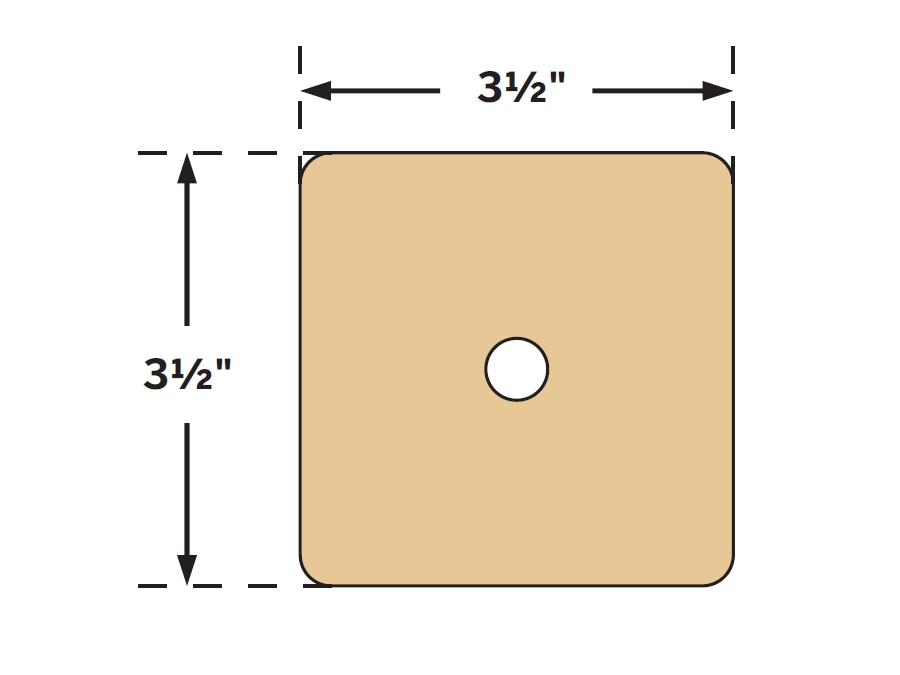
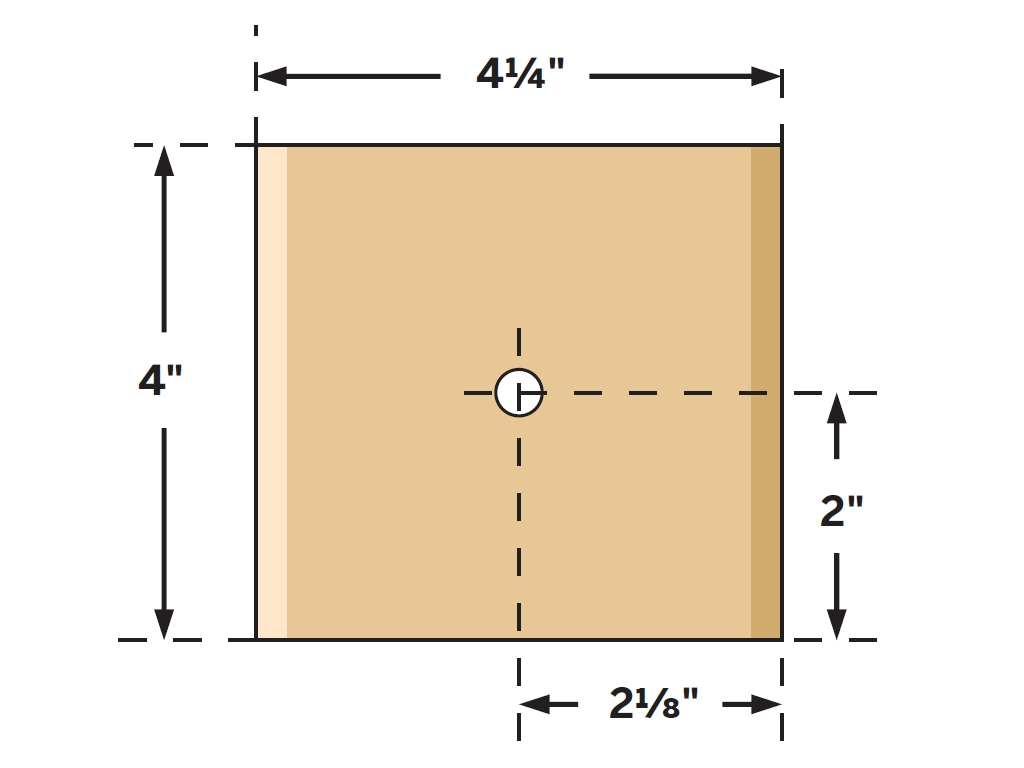
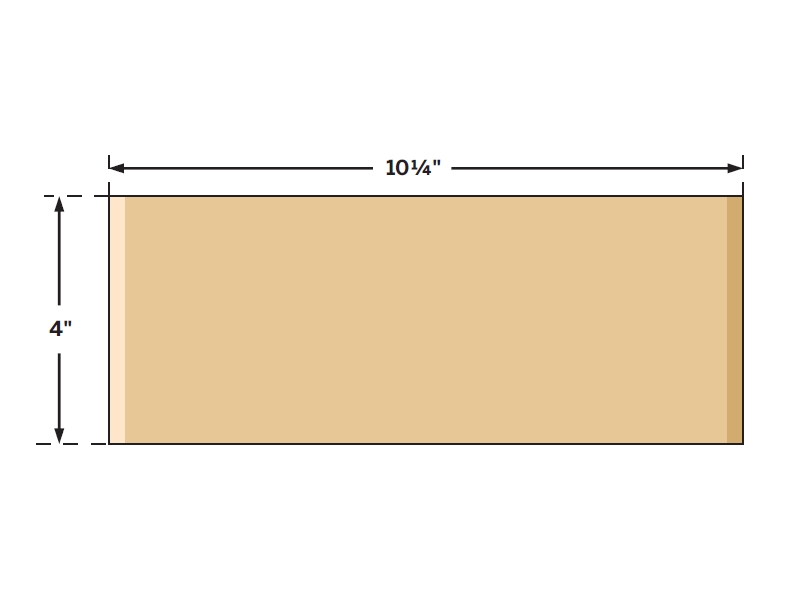
The geometry of this trick is crucial. When the magician secretly turns 2 of the blocks sideways, they must still fit in the box while allowing a gap just wide enough for the stake to slide between them. I found that the thickness-to-width ratio of each block should be about 3:7. Since a 2×4 stud is actually 1½”×3½”, it’s ideal for the job.
If you want to make a smaller version of the trick, you can scale it proportionally, but remember to add a thin space between the blocks and the box so that they don’t fit too tightly. Otherwise, they won’t fall out when they’re supposed to. In my version I allowed a total wiggle room of ¼” vertically and another ¼” horizontally.
Fabrication
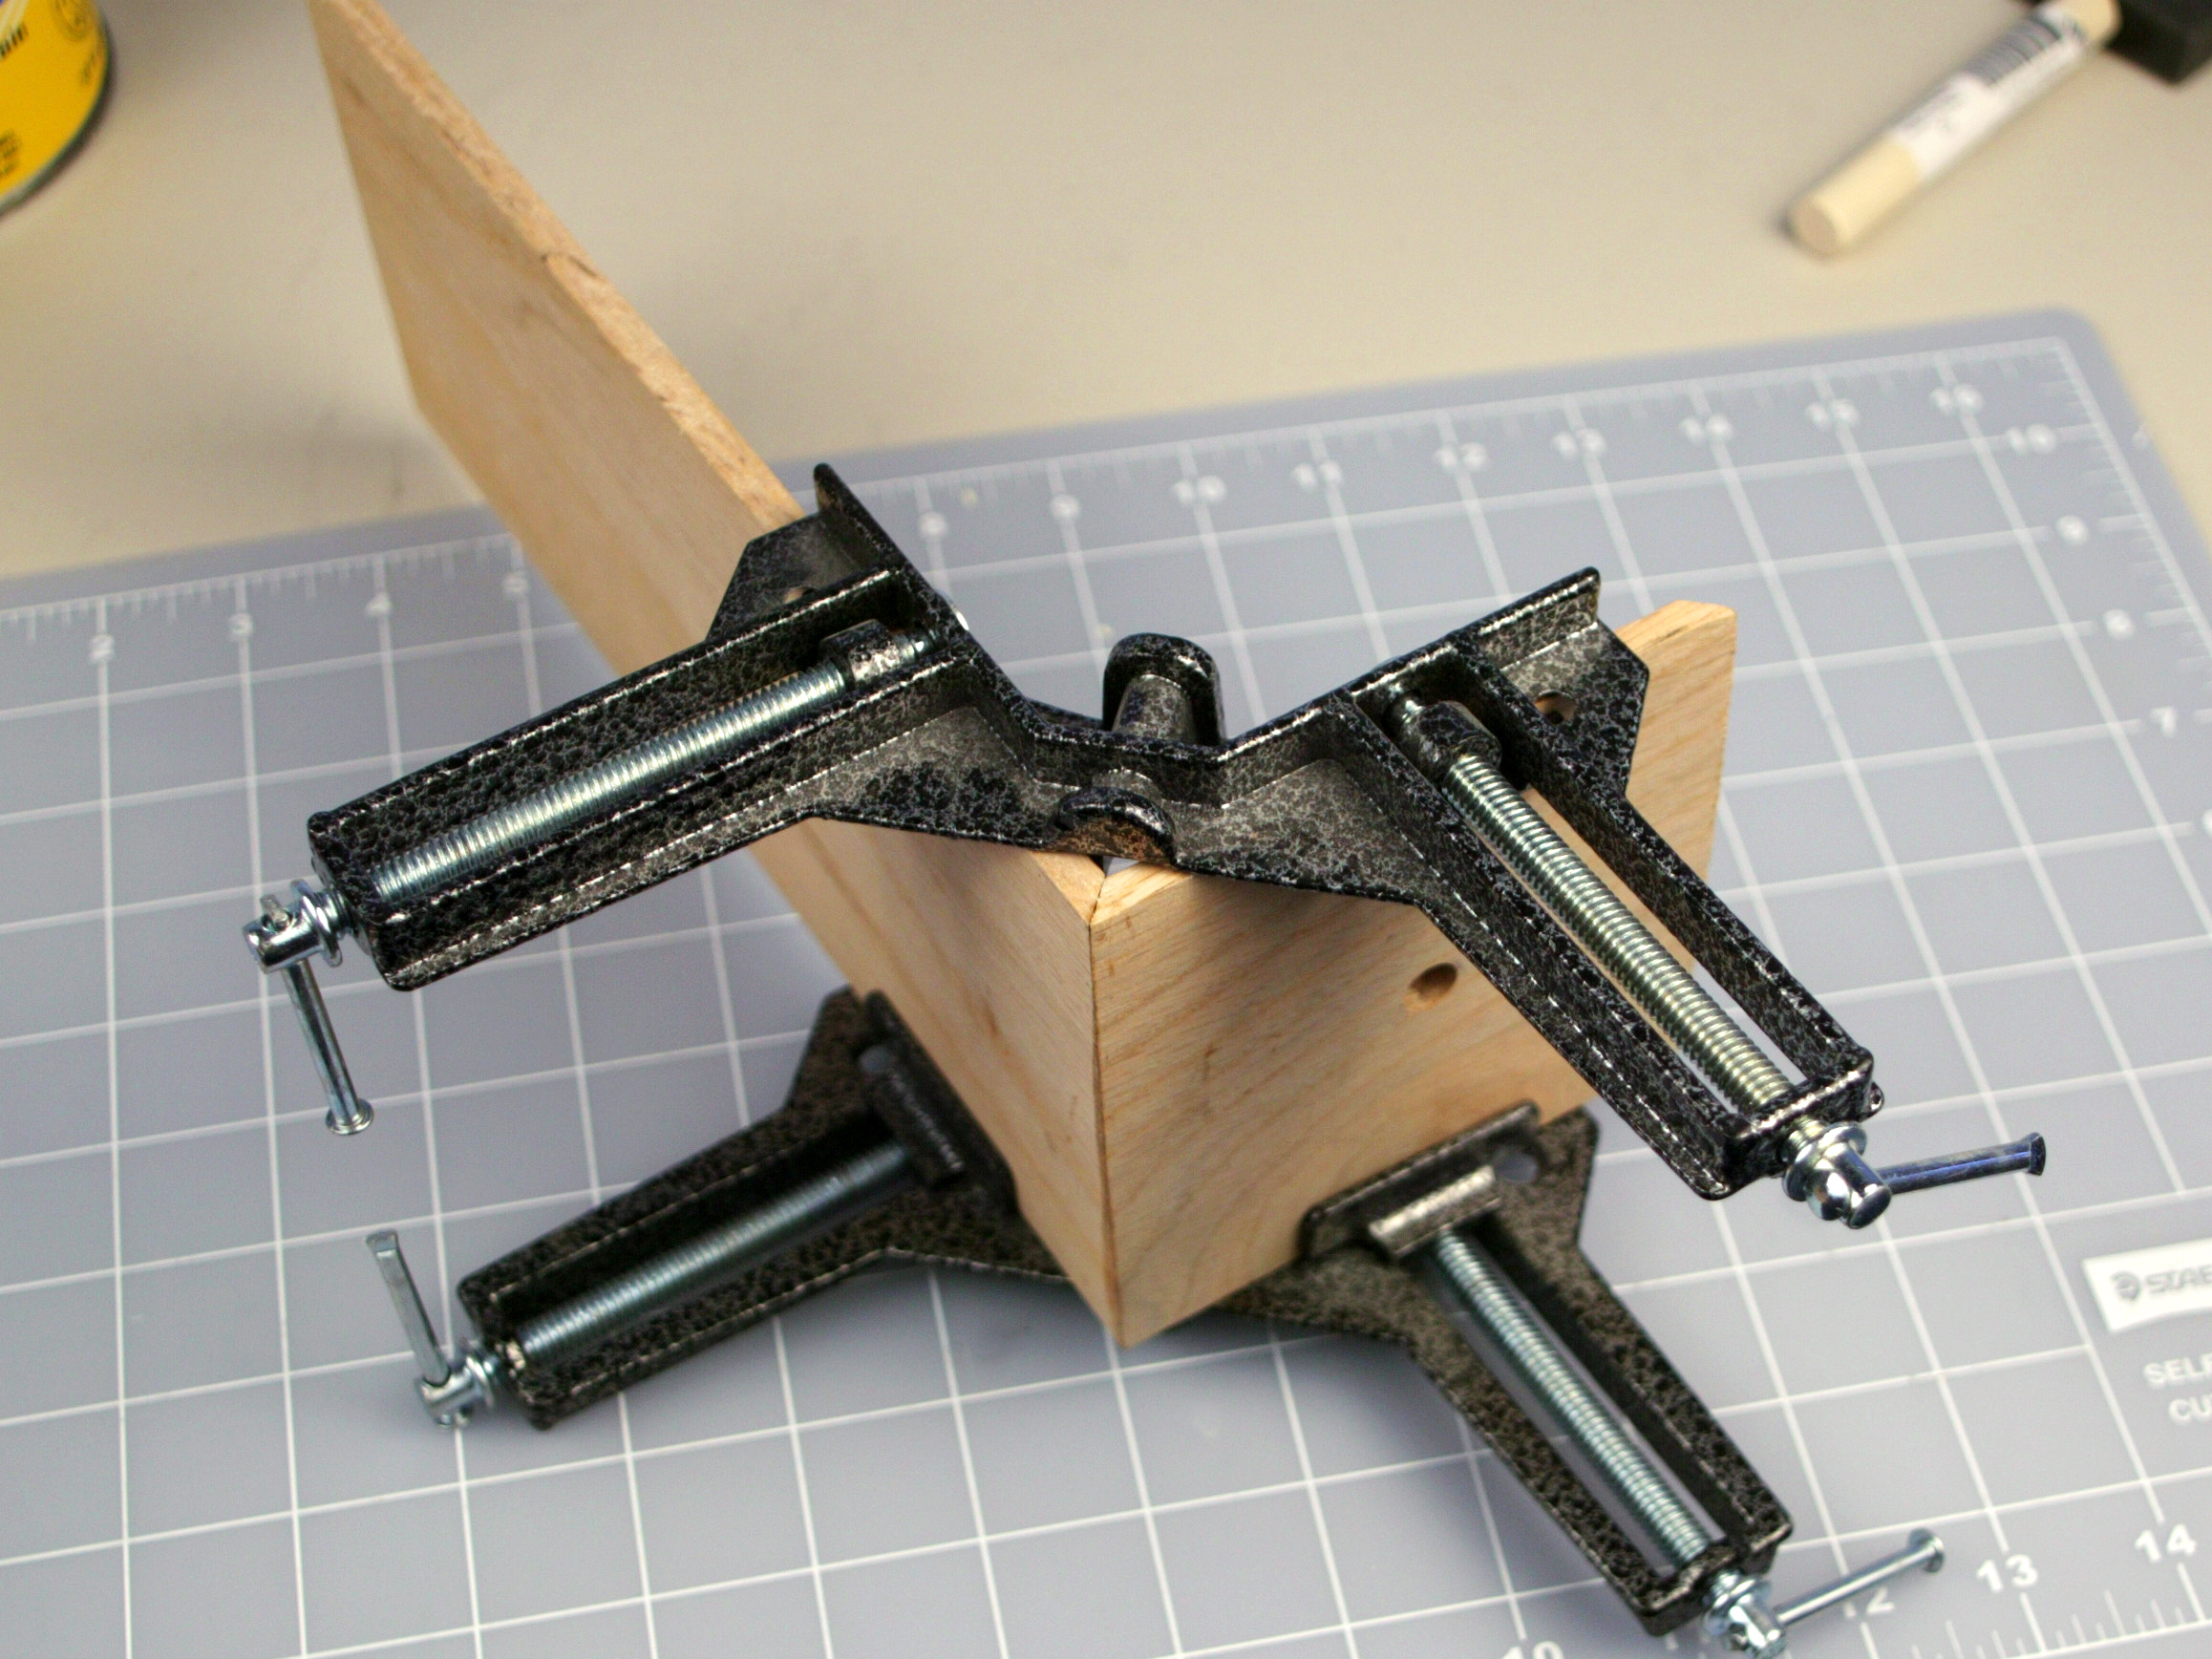
I used epoxy to glue the mitered joints at the corners of the box, with thin nails for extra strength, since the box may have to withstand some abuse if kids play with it. I didn’t use brads or finishing nails, because the slight extra width of their heads could have split the wood near its edges.
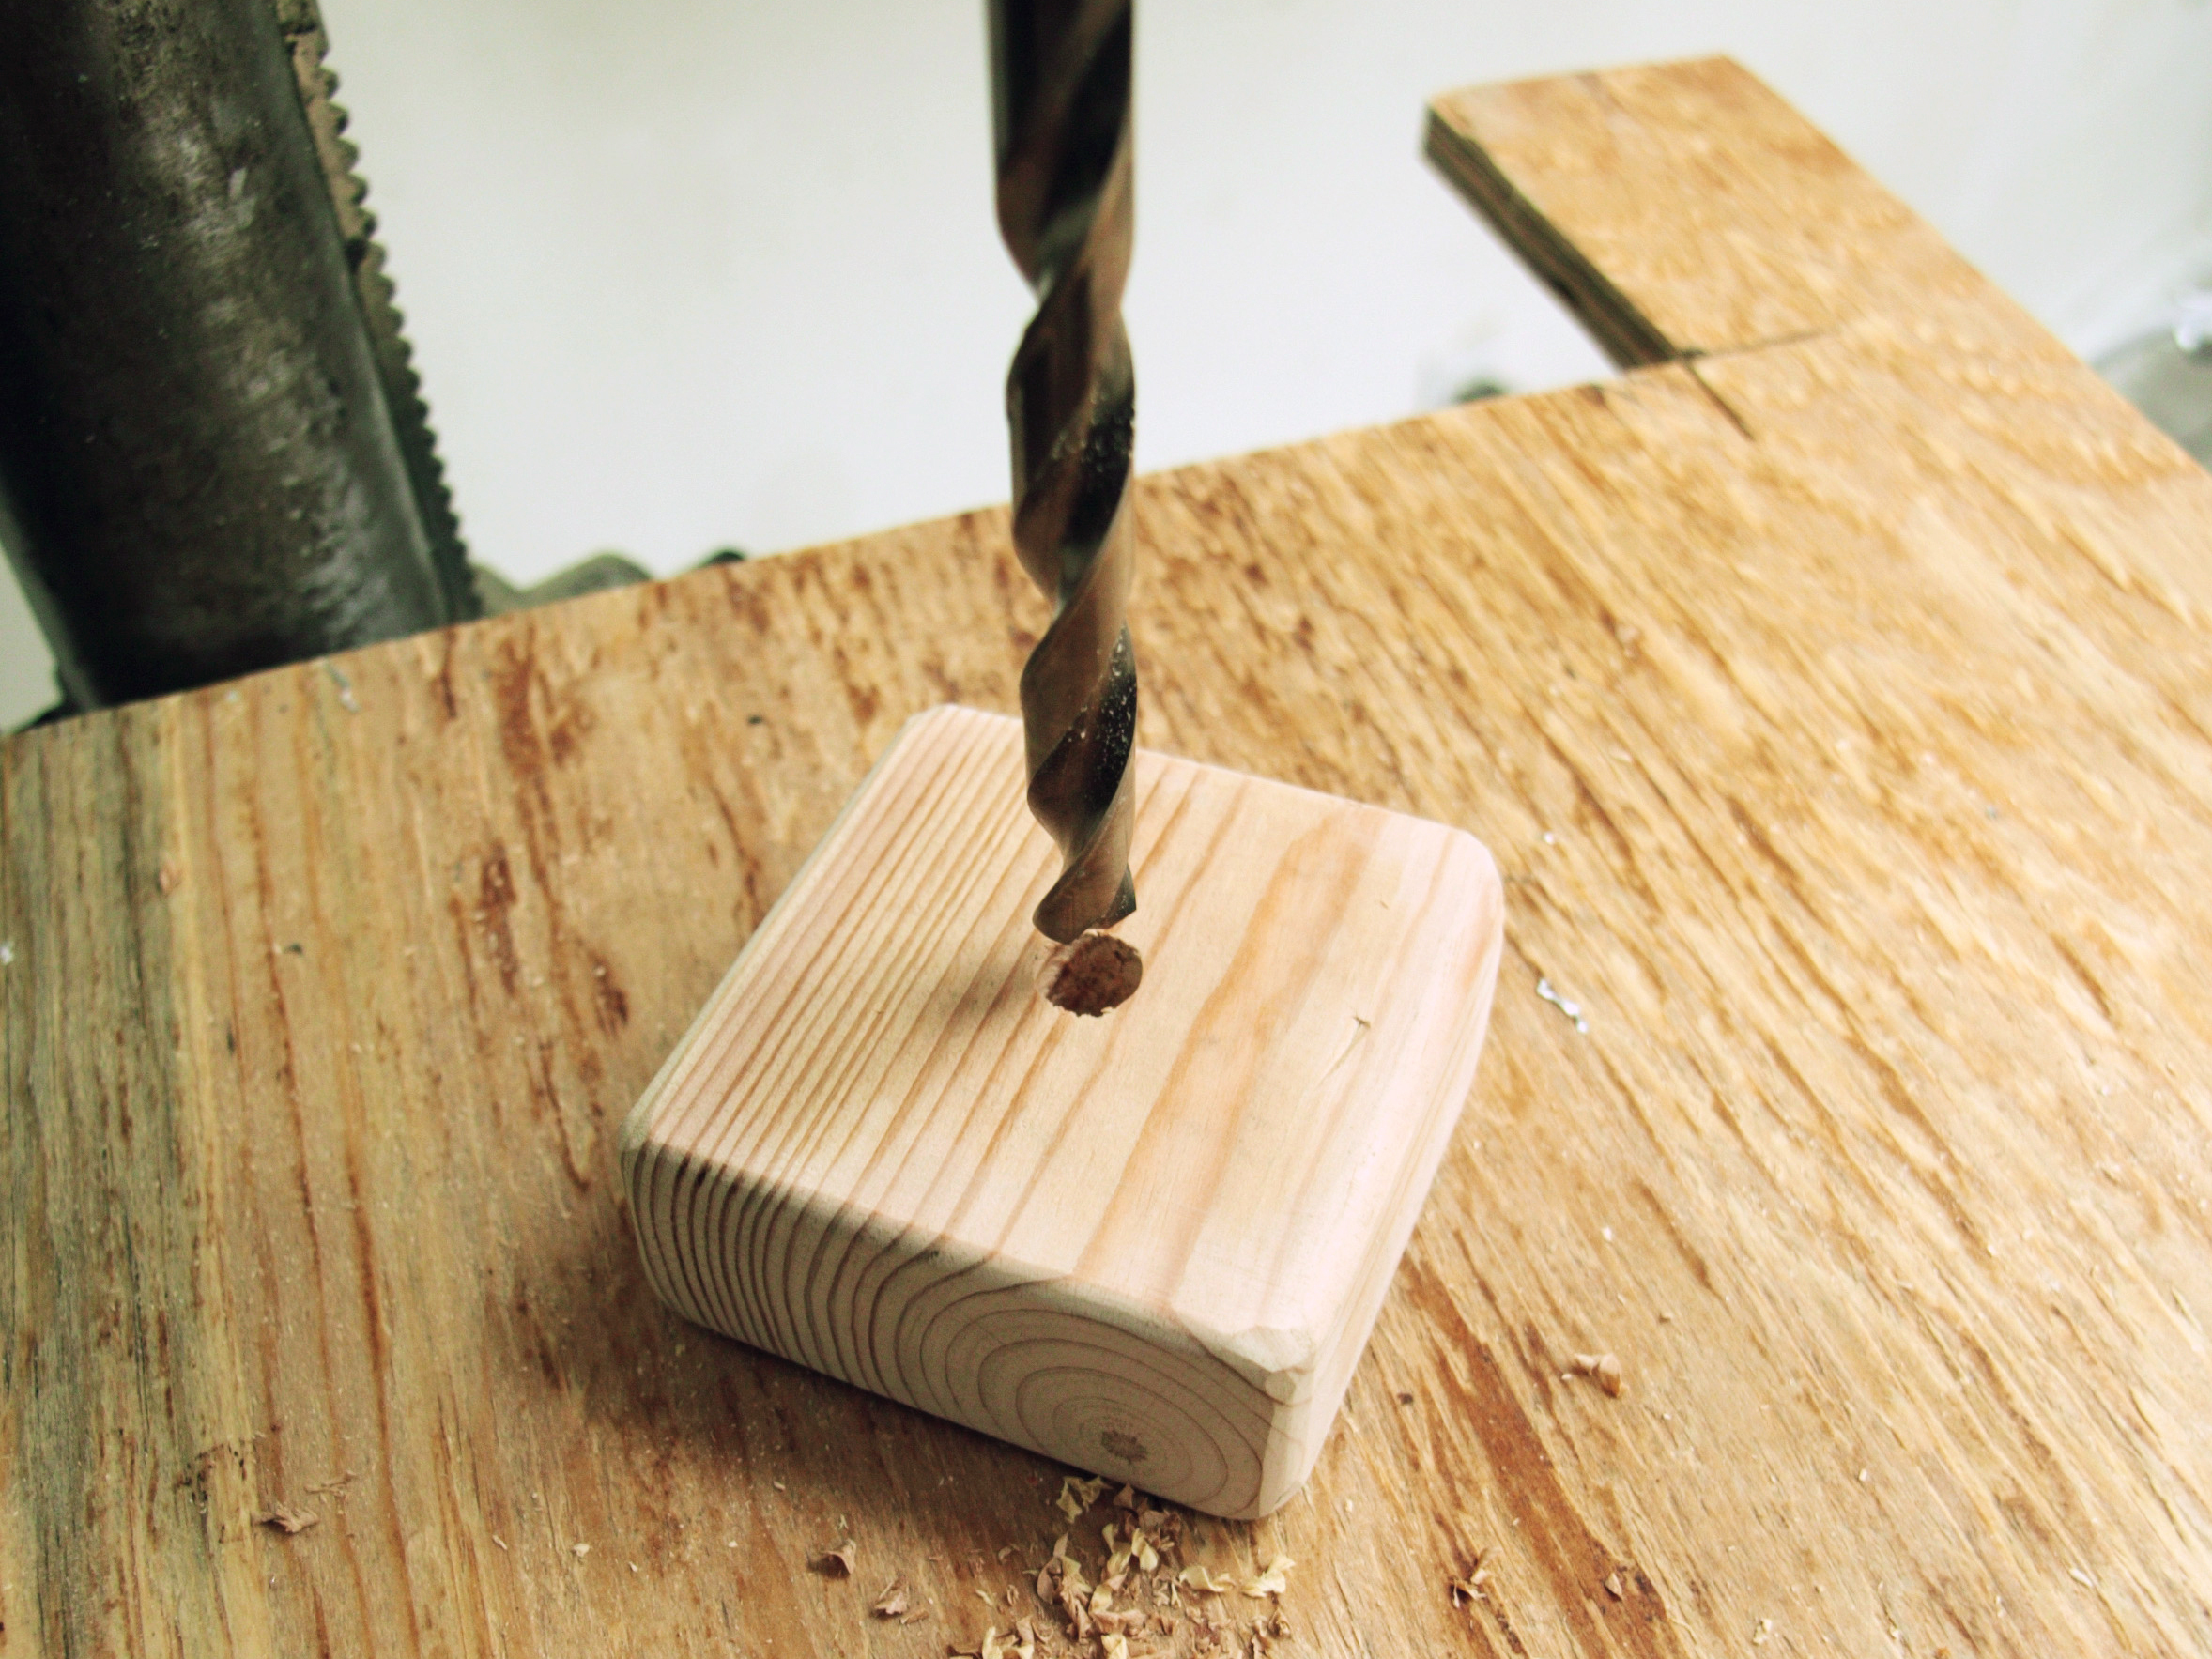
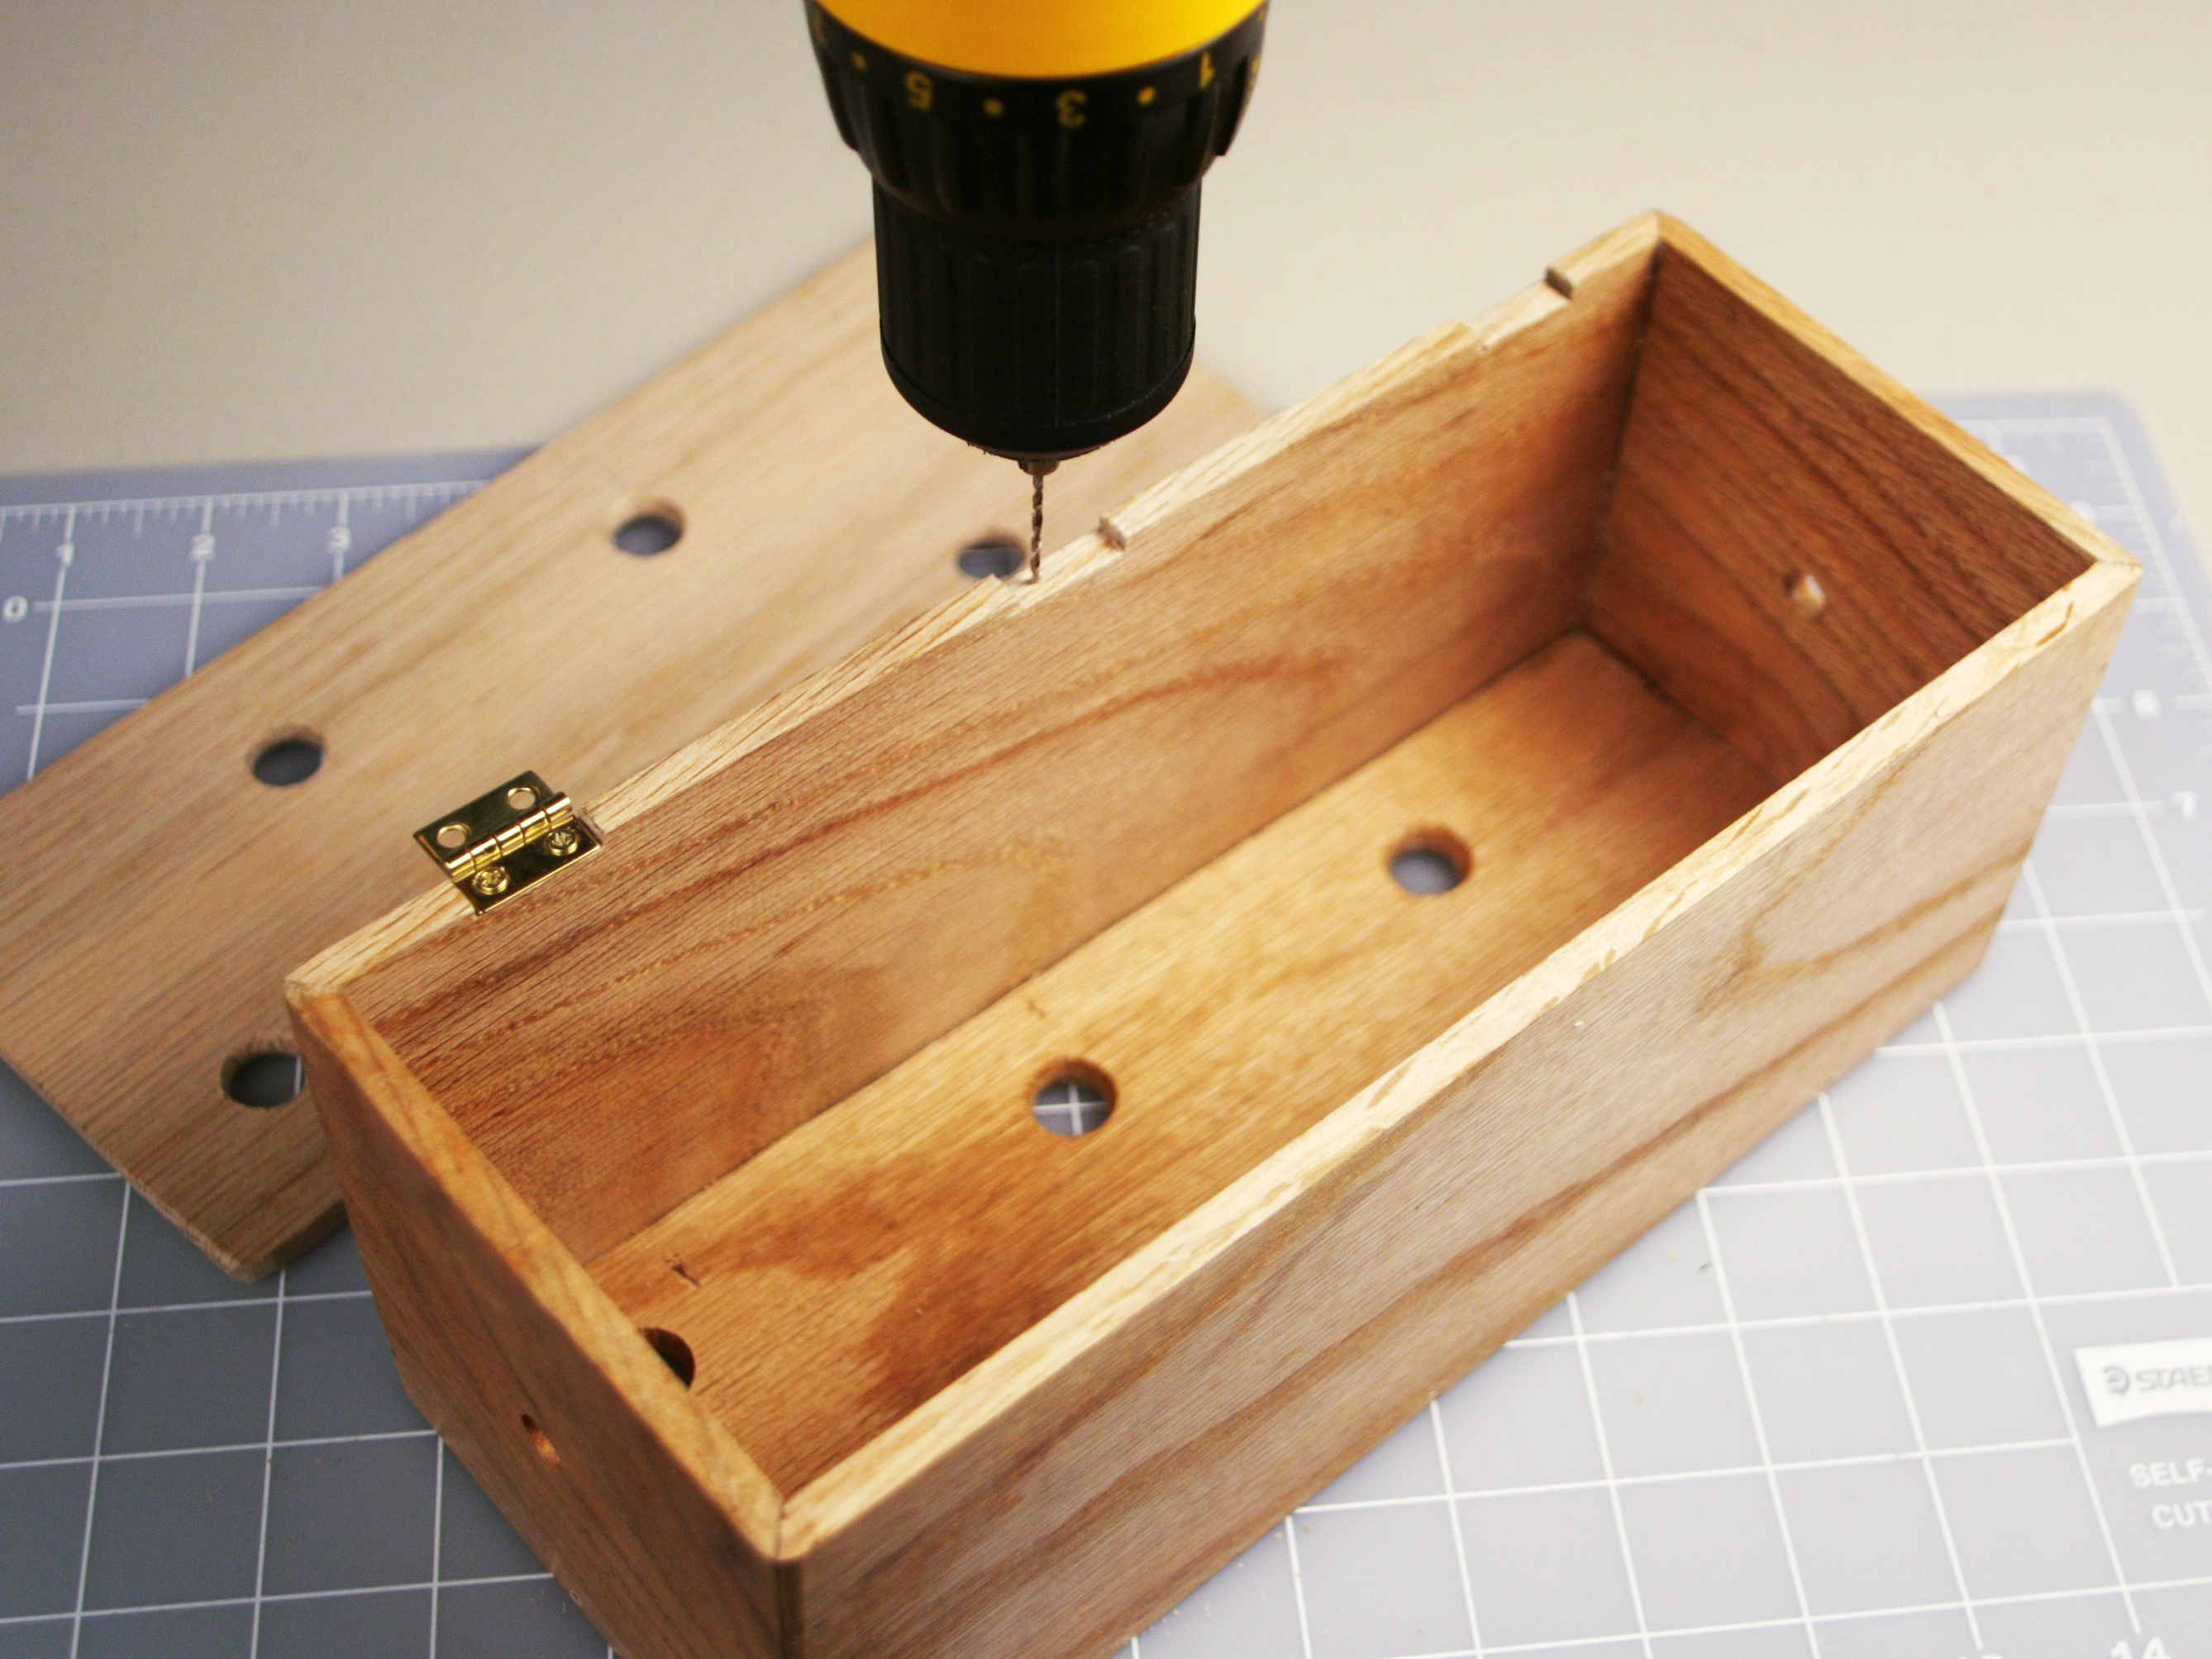
Instead I chose wire nails 1½” long, which were a nice tight fit in guide holes that I made with a 1/16″ drill. I chopped the heads off with side cutters before pushing them in with pliers (a hammer might have destroyed the mitered joints before I had a chance to strengthen them). I used a belt sander to make the nubs of the nails flush with the wood. I sprayed the oak box with several coats of semigloss lacquer, then coated the blocks with a sealer before I colored them with spray paint. The part of the job requiring greatest precision was mounting the hinges so that the lid would open and close nicely. The tiny screws that came with the hinges were a little too long, and protruded through the lid. They, too, were made flush with the wood by applying a belt sander.
Performance
After you finish your construction work, you’ll want to perform the trick — but naturally you should restrain that impulse until you’ve had a chance to practice it. The most important moment occurs when you put the blocks back into the box. You have to rotate the center pair without anyone noticing, and any hesitation or awkwardness will draw attention to what you are doing. Practice the action in front of a mirror until you can throw the blocks into the box without even looking at them.
This trick is so simple, you may feel tempted to tell people how it works. Just remember the great paradox of magic: everyone wants to know the secret, but if you reveal it, they may wish you hadn’t.


