


Draw your cookie shape outline to use as a same-size pattern. Keep it simple: small details are OK, but bold shapes work best.

For metal cookie cutters, use a 0.015" aluminum sheet, available at hardware stores. Measure 1"-wide strips, then score firmly with an X-Acto knife. Bend the score against the edge of a table, then bend it back and forth until it splits. Repeat to make as many strips as needed (Figure A). Sand the edges to remove any sharp burrs.

Use needlenose pliers to hold the strip and carefully make bends to match your pattern (Figure B). Use a pencil or dowel inside to form tight corners. The soft aluminum bends easily and holds its shape.

Keep your bends perpendicular to the strip! To make longer strips or join the ends, drill matching 1/8" holes. Use pop rivets with backing washers to fasten strips together (Figure C). Done!

To make plastic cookie cutters, first cut your shape out of wood (Figure D), then vacuum-form plastic over it (see MAKE Volume 11, “Kitchen Floor Vacuum Former,” makezine.com/go/vacuumformer). Cut out around the shape, leaving a generous rim, then cut or grind off the top (Figure E, F).

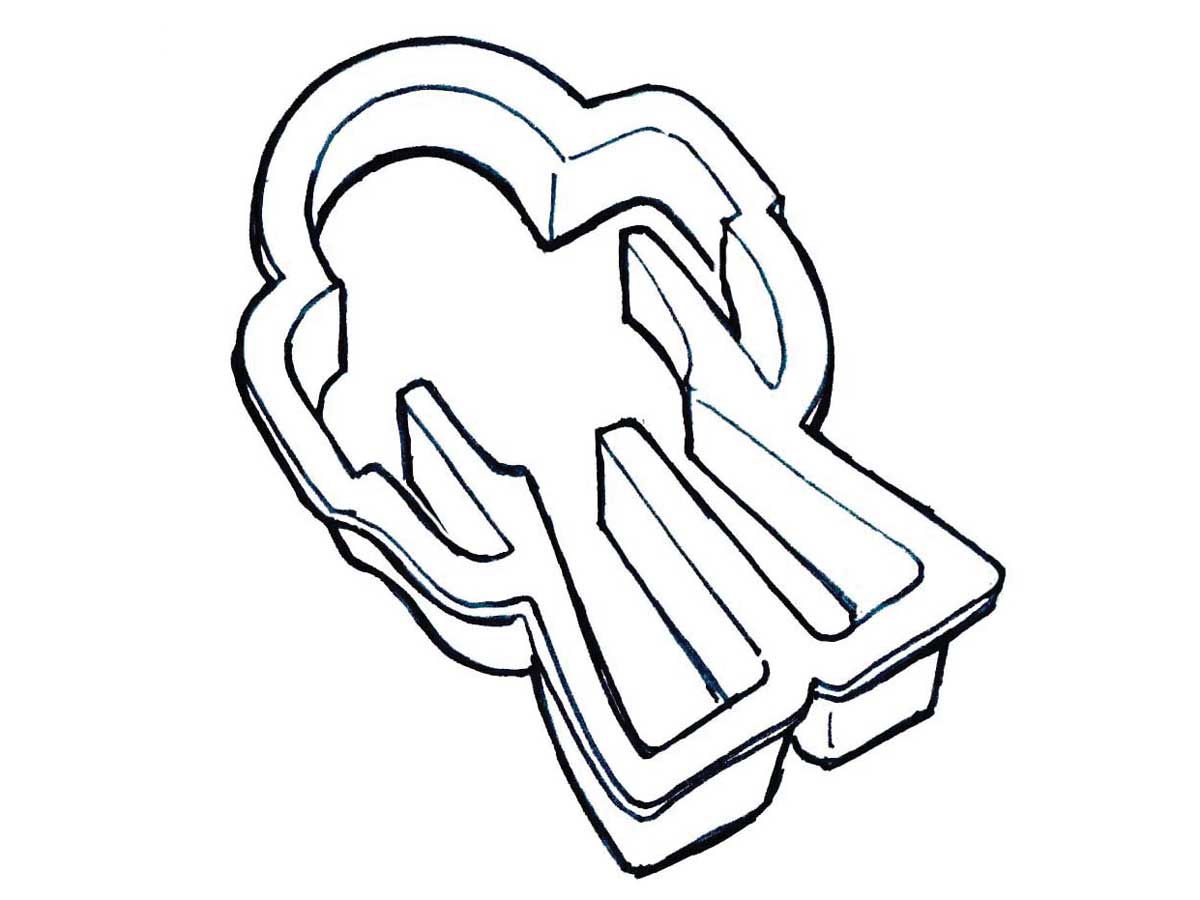
Completed cookie cutters!


