


Accurately monitoring the temperature outdoors is not easy. That’s because the temperature of the air is influenced by virtually anything heated by sunlight, and by motors, engines, and other equipment that generates heat. This is why the temperature near a boulder or an asphalt road exposed to full sunlight is much warmer than the temperature inside a typical thermometer shelter, with its louvered sides open to the air.
Bubbles of warmth are known as heat islands. They make major contributions to the temperature in and around towns and cities, which are usually warmer than the surrounding countryside. This is especially noticeable on clear nights, when the air is dry and cools more rapidly than when it’s moist. During such nights rural land usually cools much faster than networks of paved roads punctuated with buildings.
The National Weather Service has developed guidelines for the proper placement of weather instruments to avoid heat islands. NOAA’s Citizen Weather Observing Program provides good information on how to locate a personal weather station.
With the passage of time, comparatively few weather stations meet the guidelines, often because of the arrival of new buildings, sidewalks, and roads. Just paving a nearby gravel road with asphalt can artificially heat a weather station. The result is that formerly rural weather stations often become surrounded by artificial heat islands that warm the air and distort long-term temperature records used to study weather, climate, and agriculture.
Measuring Heat Islands
Over the years my children and I have devised various ways to measure the heat islands caused by towns and cities. Our simplest method was to use a digital thermometer with a remote temperature probe. While I drove, one of the kids would manually record the temperature outside the car at intersections, buildings, and open areas. When these data and the odometer readings were plotted on paper, the result was a bubble of warm air over towns through which we drove.
My daughter Sarah used an Onset temperature logger to study heat islands during middle school. She mounted the logger inside a white plastic tube taped to a window of our car and monitored temperature during a vacation trip across Texas and New Mexico. Each night she downloaded the data into a laptop computer. The towns through which we drove were all warmer than the adjacent country. The highways were also heat islands, and we confirmed this by driving a few miles along a gravel road parallel with a paved highway. The temperature along the gravel road was around 1°F cooler than the highway.
Suitable Electronic Thermometers
Stand-alone temperature loggers are available from Onset Computer, Lascar, Extech, and others. Data are downloaded through USB or optical ports; software converts the data into graphs.
You can modify an Onset Pendant logger for temperature transects by boring an entry hole through its cap and an exit hole in its base, to allow air to flow over the thermistor, a tiny resistor whose resistance varies rapidly with temperature.
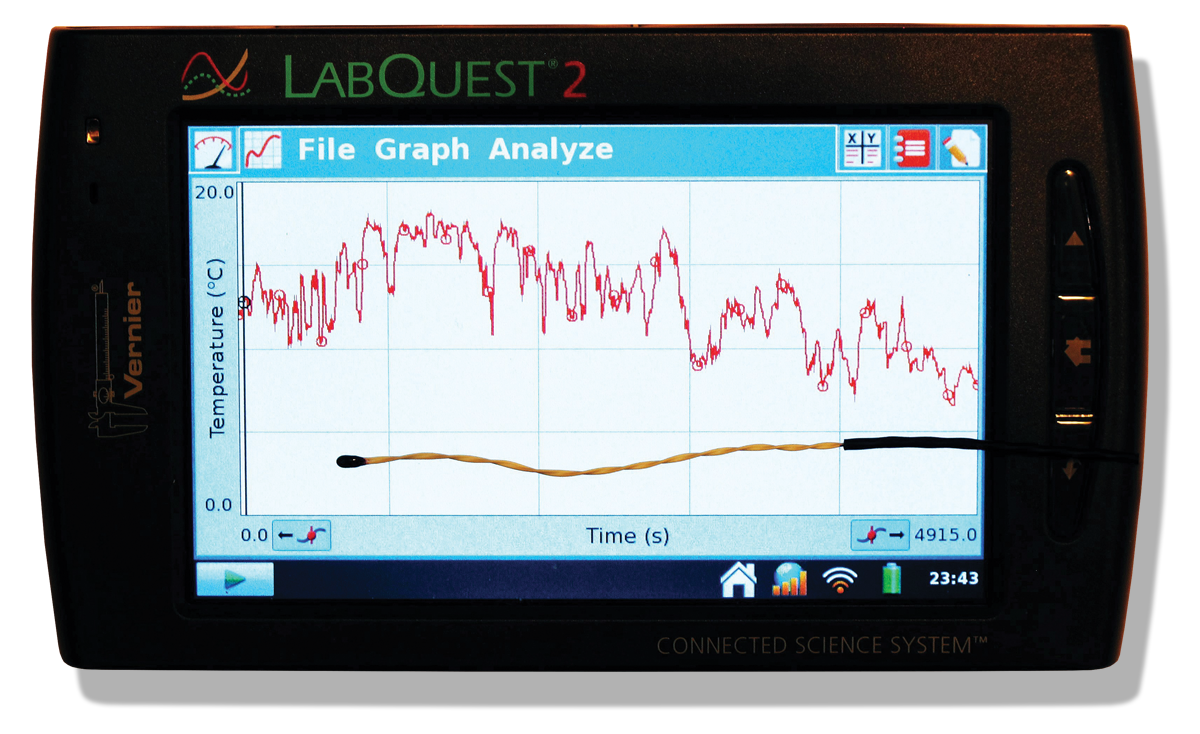
While temperature loggers work well, they require you to note times and locations during a transect so you can analyze the data. No notes are needed with a Vernier LabQuest 2 (vernier.com), my favorite data logger for serious heat island studies. This 12-bit resolution, fully programmable logger has three analog inputs suitable for numerous external sensors and a built-in GPS that records the location of every measurement. Best of all, it has a screen that displays a real-time graph of temperature as it’s measured. After making a temperature transect across a city, you can send up to 1,000 temperature measurements to Vernier, which will return a Google map with a color-coded line that indicates the temperature along the route (violet being the coolest and red the warmest). While the LabQuest 2 is expensive ($329), mine has become essential.

Pictured above is my Excel plot of 942 nocturnal temperature measurements across San Antonio, logged with my LabQuest 2 and a thermistor installed on my pickup, showing the same data on the map generated by Vernier:

Suitable Temperature Sensors
Dedicated temperature loggers have a built-in sensor. The LabQuest 2 works with many external sensors, including a Vernier temperature sensor ($23).
If you already have a voltage logger, you can use it to measure temperature with the help of a thermistor, a tiny resistor whose resistance varies rapidly with temperature.

Make a DIY temperature sensor by connecting a 10kΩ thermistor (Jameco #207037 or similar) in series with a 10kΩ resistor to form a voltage divider (pictured above). Connect the free end of the thermistor to the logger’s positive voltage and the free end of the resistor to ground. The voltage between the thermistor-resistor junction and ground will be directly proportional to the temperature. You can swap the resistor for a 20kΩ–50kΩ potentiometer to adjust the sensitivity of the probe for temperatures ranging from that of ice to room temperature.
Mounting Temperature Sensors
Many methods can be used to mount temperature loggers on a car. For daytime use, a temperature sensor must be shielded from sunlight. If the car will need to make stops at traffic signs or lights, the temperature sensor should be mounted away from the vehicle to avoid heat buildup from the engine or metal surfaces (these have little or no effect with the car is moving). The cable between an external sensor and a logger or readout must pass through a window, so be careful to avoid fully closing the window. Here are some mounting methods I’ve used:

Mount an Onset Pendant logger on a car roof with a pair of Adams suction cup clamps and a safety line. The logger has an internal thermistor, so there’s no need to pass a cable through a window.

An external sensor can be installed in a drinking straw or paper tube taped to the roof, over the door frame. Insert the sensor into the tube’s forward opening, tape its cable to the door frame, and run the cable through the window.

A car-window flag mount can be used for an external sensor. Remove the cap at the end of the mount, and the flag. Extend the sensor just beyond the upper end of the flagpole and secure it by wrapping a few inches of insulated, solid hookup wire around the sensor leads and the groove at the upper end of the flag mount. Use tape or binder clips to secure the sensor cable to the flagpole. (Before upgrading to a flag mount, I used a 24″ × 1/4″ wood dowel inserted into an opening in the hood of my pickup.)

A 24″ length of 1/2″ PVC pipe with a tee connection at one end can be used to make a sturdy sensor mount that’s shielded from direct sunlight. Bore a hole through a 3/4″×9/16″ rubber stopper and push the sensor through, so that it protrudes about 5/16″ from the large end. Insert the sensor cable into one end of the PVC tube and press the stopper in. Bend the free end of the cable back toward the sensor and use tape to secure it to the tube. Finally, place a 1/2″ tee connection over the end of the tube so the sensor is visible through both of its open ends (pictured above).
CAUTION: Make sure your temperature sensor is securely mounted to your vehicle and doesn’t pose a hazard to other drivers or become a distraction to your driver. Come to a complete stop in a safe area before making any changes to the experiment.
Study heat islands for a science fair project. Learn more at makezine.com/uhi
This article first appeared in MAKE Volume 37, page 84.


