MAKE Labs manager Sam Freeman suffers the attentions of a cuddly "headcrab" parasite extracted from Half-Life 2.
MAKE Labs manager Sam Freeman suffers the attentions of a cuddly “headcrab” parasite extracted from Half-Life 2.

This project first appeared in MAKE Volume 38, on pages 72–75.

I’ve played a lot of video games, in particular the multiplayer online battle arena (MOBA) called Dota 2. In Dota 2, there was a monster that I loved. I wanted a plushie of that monster, but to my dismay, the game’s makers didn’t sell any. So, I rolled up my sleeves and made my own, using the in-game 3D model to create the sewing pattern.

You too can make your own plushies of 3D characters exported from video games. In this guide, you’ll learn everything from the fundamentals of 3D models to running Python code to drafting a sewing pattern. This ambitious project will give you the experience to pattern-draft from any 3D model to create anything from car seat covers to custom-fitted clothing.

Project Steps

Obtain your 3D model.

There are a number of ways to obtain the 3D model of your video game character. You can download them from authorized websites, fan sites, or 3D repositories. You can also extract them yourself with tools such as GCFScape and StudioDecompiler. And for vintage games, Mikola Lysenko posted an ingenious method for making 3D models from 8-bit sprites (makezine.com/3d-8-bit).

The final model needs to be in an OBJ format (first photo) with the texture in a PNG format (second photo).

TIP: Characters that are “wiry,” with long, thin features, will be harder to sew.

Obtain your 3D model (cont'd).

GCFScape and StudioDecompiler are good for extracting assets from 3D games available on the Steam platform, such as Dota 2, Left 4 Dead, Portal, Team Fortress, Half-Life, and CounterStrike. I extracted the Baby Roshan monster from Dota 2.

Install GCFScape and locate the game folder. Unpack the file named pak01_dir.vpk. This will unpack all the assets of the game.

All the unpacked 3D models are MDL files, which you’ll need to decompile to SMD files using StudioDecompiler. A tutorial on decompiling MDL files can be found at wyksblog.com/getting-started-dota-2-cosmetics.

In your 3D modeling software, convert the SMD files to 3D mesh files in the OBJ format. This could require custom plugins such as Blender Source Tools for Blender or Wall Worm for 3ds Max (photo).

All the unpacked texture files are VMT files. Use StudioDecompiler to decompile your character’s VMT files to TGA files.

Then you can easily convert TGAs to PNG files. Just open the file in an image editor program like Photoshop or GIMP, click Save As, and select the PNG format.

Create seams for your model.

In the OBJ file format, a 3D model is represented as points in space, with faces connecting them. The OBJ format also includes UV maps. UVs are 2D projections of the 3D model onto a flat plane (first photo). They’re used to define how texture is applied to the 3D model (second photo).

In this project, the UVs will become the shapes that define your sewing pattern. Currently, they’re optimized for texture density, with several shells that are stacked on top of one another. So you need to create a new UV set to serve as the basis for your sewing pattern. I did mine in UVLayout, but if you want to do it in Blender, see Step 5.

Using UVLayout

In UVLayout, open the OBJ. Create a set of new UVs by creating seams (first image), and then flattening them (second image).

These seams will represent the final seams on the plushie — and as you can see in image 3, the more seams your mesh has, the better its 3D contours will be preserved in the plushie.

On the layout, drag the UV shells slightly apart so that there’s no possibility that they would overlap if the scales were changed slightly.

Export the new OBJ, with the same 3D mesh as the original, but with your new UVs instead of the old ones.

Using Blender

To do the same process in Blender, first download Blender Source Tools, then open Blender, select File → User Preferences, and in the Addons tab, click Install from File and choose the file you just downloaded. Once installed, it needs to be enabled: Type “source” in the search box to find it, then hit the checkbox and Save User Settings.

In the Outliner panel at top right, right-click and Delete the default Cube, Lamp, and Camera from the Scene.

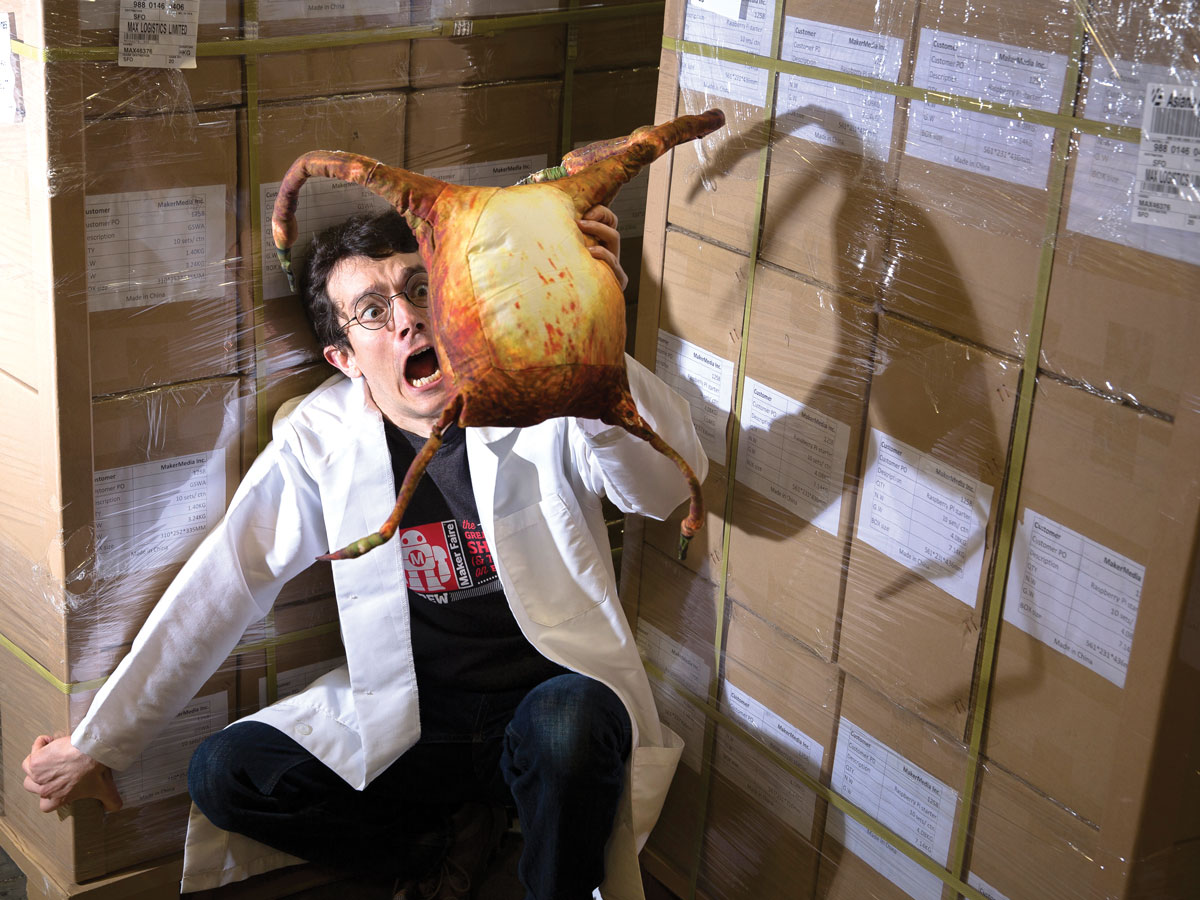
Go to File → Import → Source Engine and import the mdldecompiler.qc file that you output from Studio Decompiler. You’ll see your model in the 3D View panel. Here we’re making a cuddly “headcrab” parasite extracted from Half-Life 2.

Grab the panel’s top right corner and drag it toward the center to split the panel in two. In the bottom left corner, use the Editor drop-down menu (the little cube) to switch the second panel to UV/Image Editor view.

Use the Mode drop-down to change from Object Mode to Edit Mode. This mode allows you to manipulate the vertices of the model, as well as set UV seams.

To mark a seam, right-click to select a vertex, and hold down the Shift key to add more vertices (second image). You want fairly straight seams, to minimize the cinching around curved parts when you sew them later. Once you have a seam completely selected, use the Mark Seam button in the Mesh Tools at the left of the 3D View.

Repeat this process until you’ve marked all your seams, cutting the model up nicely.

Move the cursor to the 3D View panel and press the A key twice to select the entire model. Now click the Unwrap drop-down and select Unwrap. Blender will map the UV shells onto the grid in the UV/Image Editor panel (third image).

You may end up with some tiny shells made up of just a few small triangles. You want to avoid stitching more pieces than necessary, so you may have to clear and mark seams a few times to get them just right.

Blender likes to unwrap the UV shells close together on the texture map. You need to create at least 1″ of space between pieces to have adequate material to sew together. To move a piece, select all its vertices then press the G key to grab and move it. Left-click to put it back down.

Once the pieces are nicely spaced, hit File → Export → Wavefront (.obj) to save the modified model as an OBJ with a new name.

Create the sewing pattern.

Download my Python script, Patternfy, from github.com/caretdashcaret/Patternfy.

Put your original OBJ, original texture PNG, and your modified OBJ into the same directory as the script.

Open up Python and run the script. The output image is your final sewing pattern.

Factorh and factorw are the relative height and width of the new UV compared to the old UV. Try different factors to scale your UVs to approximately the size you want for sewing.

Print the sewing pattern.

Use your image editing software, such as GIMP or Photoshop, to clean up any unwanted artifacts on the image and rescale it for printing (first photo). The image should be scaled as large as possible to fill a yard of fabric, which requires 6,300×5,400 pixels.

Test-print the pattern on paper to check colors, and adjust the saturation if needed, for deeper blacks and richer colors.

Then upload the image to your custom fabric printer’s site and order 1yd of fabric. We used Basic Combed Cotton from Spoonflower.

Sew your plushie.

Once your fabric is delivered, cut each piece out with approximately a ½” border. This will be the seam allowance.

When sewing, face the printed side of the pieces toward the inside, and sew along the pattern edge. When done, turn the sewn piece inside out. This will hide the seams.

To figure out which pieces are connected, open the new OBJ file in your 3D modeling software. Open up a UV viewer as well, and select an edge or a shell. It should be highlighted on the 3D model. If two UV shells share the same edge in 3D, then sew them together.

  • In 3ds Max, bring up the UV viewer by selecting the 3D object and Modifiers –> Unwrap UVW modifier from the Modifiers drop-down menu.
  • In Blender, use the UV Select Sync tool.

Stuff the plushie and close it up.

Enjoy.

There you have it — your very own video game plushie. For my Baby Roshan, I didn’t create UVs for the wings, but free-formed them from a piece of purple fabric. The possibilities are endless!