20141008_163257

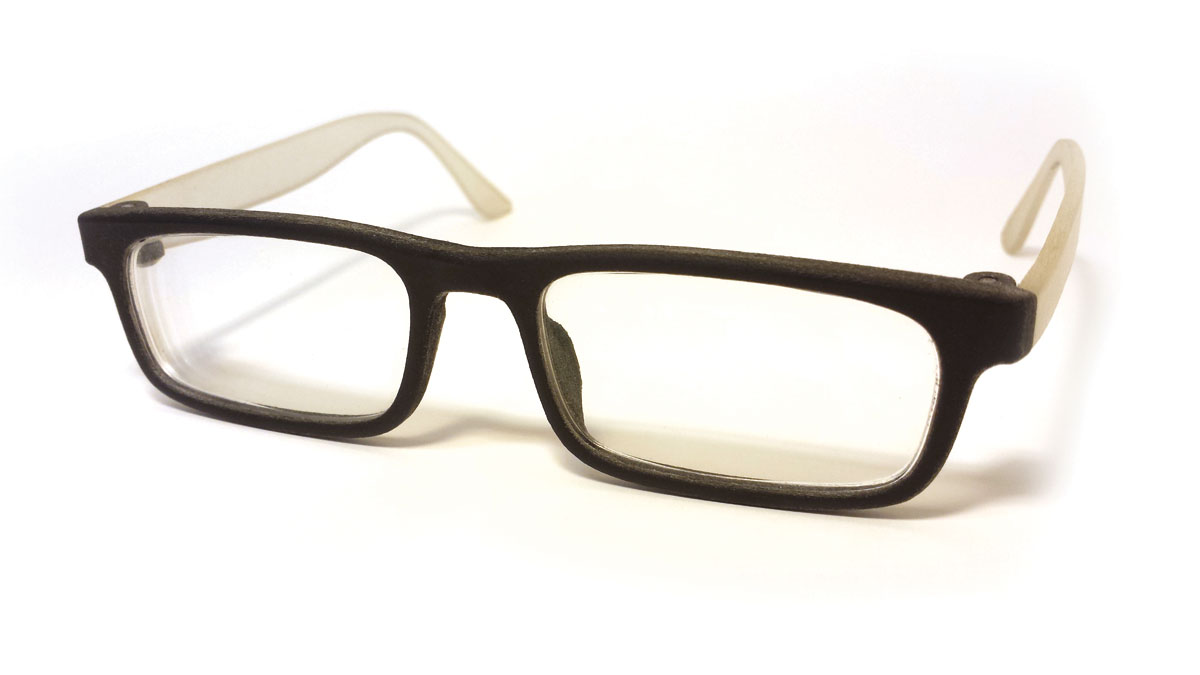
Here’s how I designed 3D-printed eyeglass frames, around lenses that can be made by any optometrist. Printing them on a MakerBot costs nothing compared to buying new frames.

First I 3D-scanned my lenses using my phone’s camera and Autodesk’s 123D Catch software (instructables.com/id/3d-scanning-a-glasses-lens). You can order new prescription lenses or replacement sunglass lenses and design around those, or — even easier —download readymade 3D lens models from eyewearkit.com.

Make it really simple by just grabbing my 3D frames (download the files here) and modifying them to save yourself a lot of design time!

Project Steps

Prep the 3D lens file

Scale the lens in your CAD program, using calipers or the width dimension stamped on your old frames. For example, 50-18-135 means 50mm lens width, 18mm distance between lenses (DBL), and 135mm temple length. (If you downloaded a lens model, you can skip this step.)

Offset the lens from your centerline exactly half the DBL (9mm in this example). Since glasses are symmetrical, you only have to model one half.

Match the lens curvature

Orient the lens so that when mirrored it will have a consistent curvature around your face. Draw that curve along the top surface, extending to your centerline.

Design your frame shape

Offset your curvature line by the thickness of your lens, then offset each of those curves by 1.5mm–2mm to create the thickness of your frame.

Here’s the fun part: draw the outline of your frame using 2 curves, top and bottom. Make a swept surface for each of those curves, then project your lens curve onto each of them.

Fit your lens

My lenses have a V-shaped edge; I created a corresponding groove in the frame. Match whatever lenses or models you’re using.

Surface your frames

Connect and fill in your frame surfaces. For the nose bridge, draw 2 curves to split the inside surfaces, then drag control points on those curves to shape the bridge.

Shape the temple arms

Draw the temple curves tangent to the frame, offset them, and use the frame edges as profile curves.

Model the hinges

I did a simple extrusion and Boolean union, sized for a 2mm screw.

Mirror

Now mirror your design to make a whole pair of glasses.

Print and assemble

I’ve tried a variety of materials: Stratasys Vero materials have the best resolution, but natural PLA has better durability. Most services also offer an SLS nylon material; you may need to make some parts thicker, especially the hinges.

Finish your print to your liking by sanding or polishing. Then try pressing your lenses in. It was a very tight fit for me. (Optometrists warm the frames first, but I haven’t tried that yet.)

Screw in your temple arms and enjoy!