

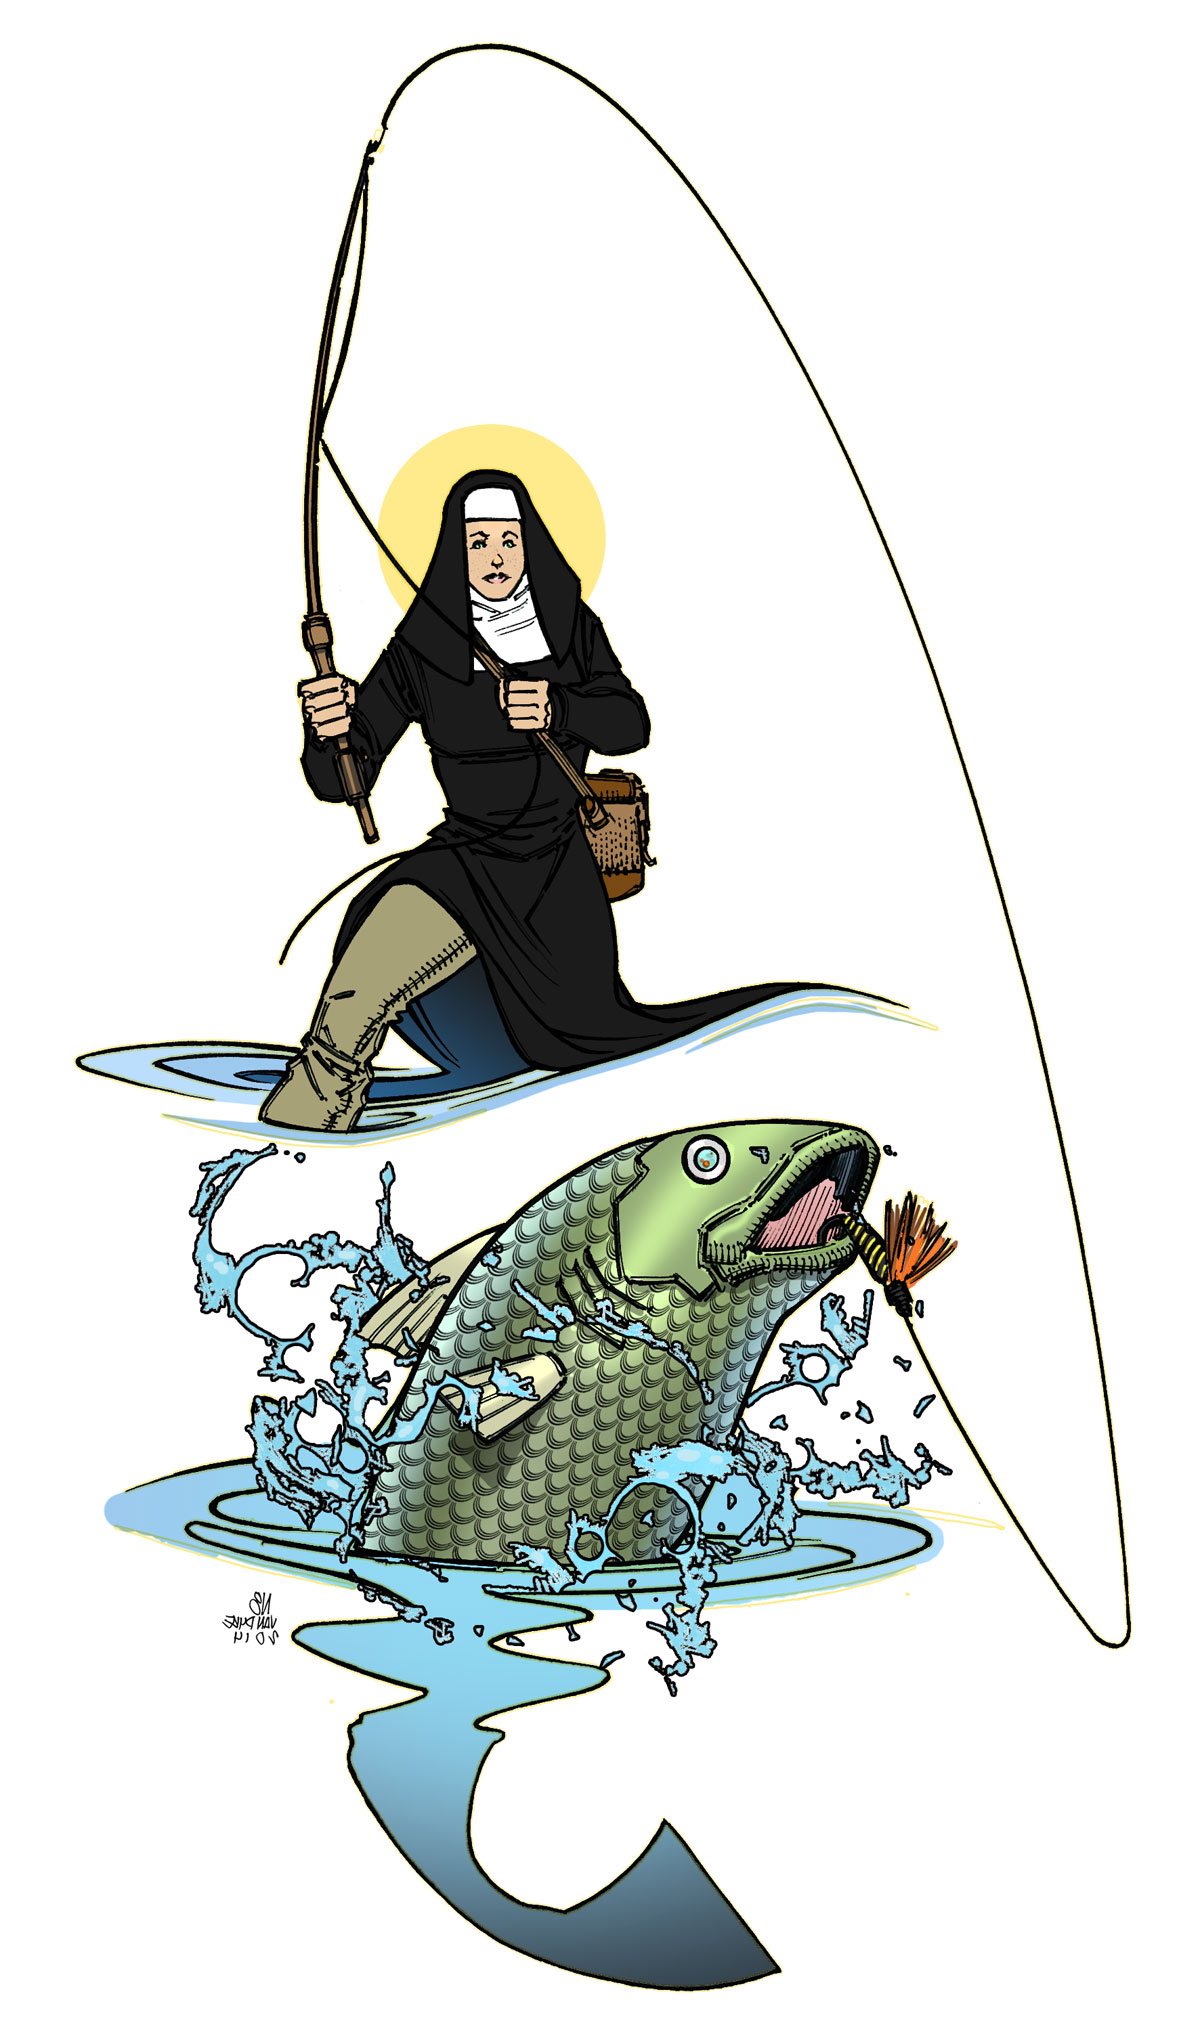

Recreational fishing has been around for a long, long time. Ancient writers Plutarch, Plato, and Aristotle, to name a few, make references to this pastime. But the first real fishing guide, with instructions on how to make fishing tackle, was a straightforward little manual called A Treatyse of Fysshynge wyth an Angle, published in 1496. Perhaps a bit surprisingly, its author was an English nun.
Dame Juliana Berners, prioress of the Priory of St. Mary of Sopwell, was the Ernest Hemingway of her day — she wrote about outdoorsy, adventurous subjects. She’s best known for her DIY compendium on hunting, hawking (falconry), and emblazoning coats of arms, The Boke of Saint Albans, in which Fysshynge appears.
“Ye can not brynge a hoke into a fyssh mouth without a bayte,” she begins, and then goes on in 25 pages or so to concisely explain how to use hand tools (hamour, knyfe, and fyle, for example) to make rods, line, and fishing lures. (You can read a modern English translation at flyfishinghistory.com/treatise_prologue.htm.)
There’s little reliable information about Dame Juliana’s life, and a few modern fishing historians are skeptical she actually wrote the book. But plenty of others are convinced she did, and so to her belongs the title of Mother of Recre-ational Fishing. Her work has influenced every major fishing writer from Izaak Walton to Gadabout Gaddis.
Goin’ Fishin’
How easy it is in our modern world to go fishing! Just visit a sporting goods store and head off to the lake. But preparing for a day of fishing was a complicated task in Dame Juliana’s day.
First, you had to make a telescoping rod. Dame Juliana recommends hiking into the woods, preferably between the holidays of Michaelmas and Candlemas, to cut a staff of hazel, willow, or ash. Soak it in a hot oven and straighten it, dry it for a month, burn out a tapering hole using a red-hot roasting spit, then fit a smaller hazel rod within the tapering hole.
Making fishing line was even harder: Yank hair from a white horse’s tail, weave it into a thin cord, and color it with dyes made from walnuts, soot, and ale. Thankfully, the section on how to make bobbers (floats) is quite simple, requiring only a cork and a quill.
Lure making, mostly tying flies, concludes Dame Juliana’s Treatyse. Her descriptions of 12 different artificial flies — yellow flies, stoneflies, wasps, and drake flies, to name a few — provided centuries of fisherfolk with excellent advice on making lures that actually caught fish.
The Lure of Making Lures
Few modern makers would invest the time and effort to wind their own line out of linen or carve a rod from wood. But making one’s own lure is an altogether different story. Lure making is straightforward, and just imagine the satisfaction — and bragging rights — that come from catching a trophy fish on a self-made lure.
The key to a successful lure is to mimic the motion of bait animals:
- A jig is a weighted hook made to bounce or “jig” at the end of a fisherman’s line.
- A plug is an irregularly moving lure in the shape of a small fish.
- And a fly is a tied and feathered hook that alights at the water’s surface like a bug, as discussed in Dame Juliana’s treatise.
Among the most popular modern lures is the spoon — a concave metal oval with a hook at the back. Spoons dart and wobble as they’re pulled through the water, exciting game fish and enticing them to bite.
Spoons were not known to Dame Juliana — fishing historians credit J.T. Buel of Castleton, Vt., with designing and crafting the first spoon lure in about 1820. Apocryphally, at least, Buel came up with the idea when he saw a large fish swallow a spoon he accidentally dropped into a lake.
Making a Spoon Lure
You have a great deal of latitude in choosing spoon size and shape, hook size, and so on. This version is big enough for bass and pike; make a smaller one for pan fish.


