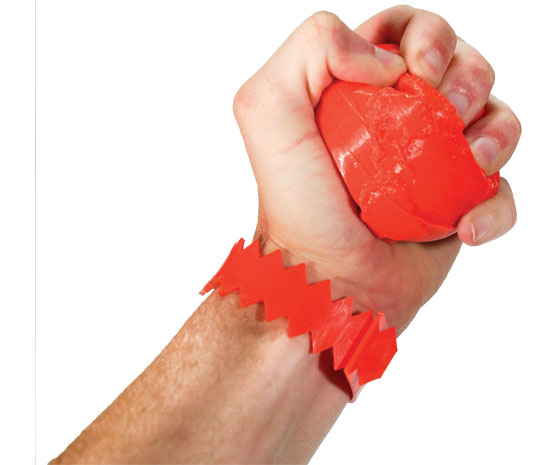
In the past few years, a flurry of new materials has hit the desktop 3D-printing market, enabling makers to do much more with their machines. We now have dissolvable support materials, plastics that simulate wood, stone, and metal, and even the start of conductive filaments. Flexible materials are another popular option, enabling stretchy, bendy, and rubber-like creations. As with all filaments, there are many different manufacturers and variations. Here’s what it takes to get printing with flexible filaments.

Constrained Path Needed
The primary requirement for printing with flexibles is an extruder with a direct path that keeps the filament firmly in place from the time it leaves the drive gear until it enters the barrel of the hot end. This type of setup can be seen on the Printrbot Alu Extruder, which has a metal guide after the drive gear to pass the filament directly into the heater barrel.
Most extruders have been designed for use with stiff filaments that are pushed through the hot end by placing pressure on the filament itself. This is problematic with flexible filaments, because their elastic nature makes it difficult to create the backpressure needed for extrusion.

Extruder Upgrades
Many extruders can be upgraded with parts found on YouMagine and Thingiverse that will allow you to print using your existing setup. In addition, LulzBot has created their own swappable Flexystruder.
Print Hot
To help reduce the pressure required to push pliable filament through your hot end, it helps to run your extruder a little hot. Although vendors’ suggested print temperatures vary, I tend to lean towards the higher numbers. Increased temperature makes the materials more liquid-like, allowing them to flow more easily through the nozzle. The downside is that the materials tend to ooze more when traveling. To solve this, increase the retraction distance in your slicer settings.
Take It Slow
Finally, make sure you print slowly (around 30mm/s). Printing fast can cause pressure to build up in your extruder. Flexible prints can also easily bend out of the way when a rapidly moving extruder passes by them, causing errors and poor print quality.

Testing and Measuring Flexibility
We tested four filaments that cover a great range of flex properties. The materials tested were, from left to right: Zen Toolworks Flexible Filament, NinjaFlex, Filaflex, and Flex EcoPLA.
To better understand what “flexible” means in each case, we printed identical test objects using each filament, then conducted two experiments to measure different aspects of flex.

Crush Test
A cylinder measuring 20mm in diameter and 50mm tall was printed with two shells and a 10% infill. These were each placed in a sample holder attached on one side to a beam and on the other side to a scale and a weight. A bucket (acting as the weight) was slowly filled with water to increase the load until the print buckled and was crushed. Those weights were then recorded and the process was repeated to ensure accuracy.

Stretch Test
In this test a “dog bone” was printed with a 30mm×5mm×5mm center section. Each dog bone was loaded into a holder and a fixed weight of either 10kg or 4kg was placed onto the bottom holder to stretch the sample piece. After the weight was applied, the distance stretched was measured and the percentage stretched was calculated.
Final Thoughts
In the stretch test, both NinjaFlex and Filaflex stretched our test rig beyond its capabilities with 10kg, making them perfect choices for when you want super squishy and stretchy items.
The new Zen Toolworks filament and FlexPLA are great for printing objects that are bendable, but not very stretchy (such as timing belts).
While NinjaFlex seems to be the most popular currently (and adds some fun features, like being able to bond to PLA and ABS), all four of these materials could be useful to the resourceful tinkerer.


