Here is a video summarizing the project

What will the next generation of Make: look like? We’re inviting you to shape the future by investing in Make:. By becoming an investor, you help decide what’s next. The future of Make: is in your hands. Learn More.

Project Steps

Why cook with power tools?

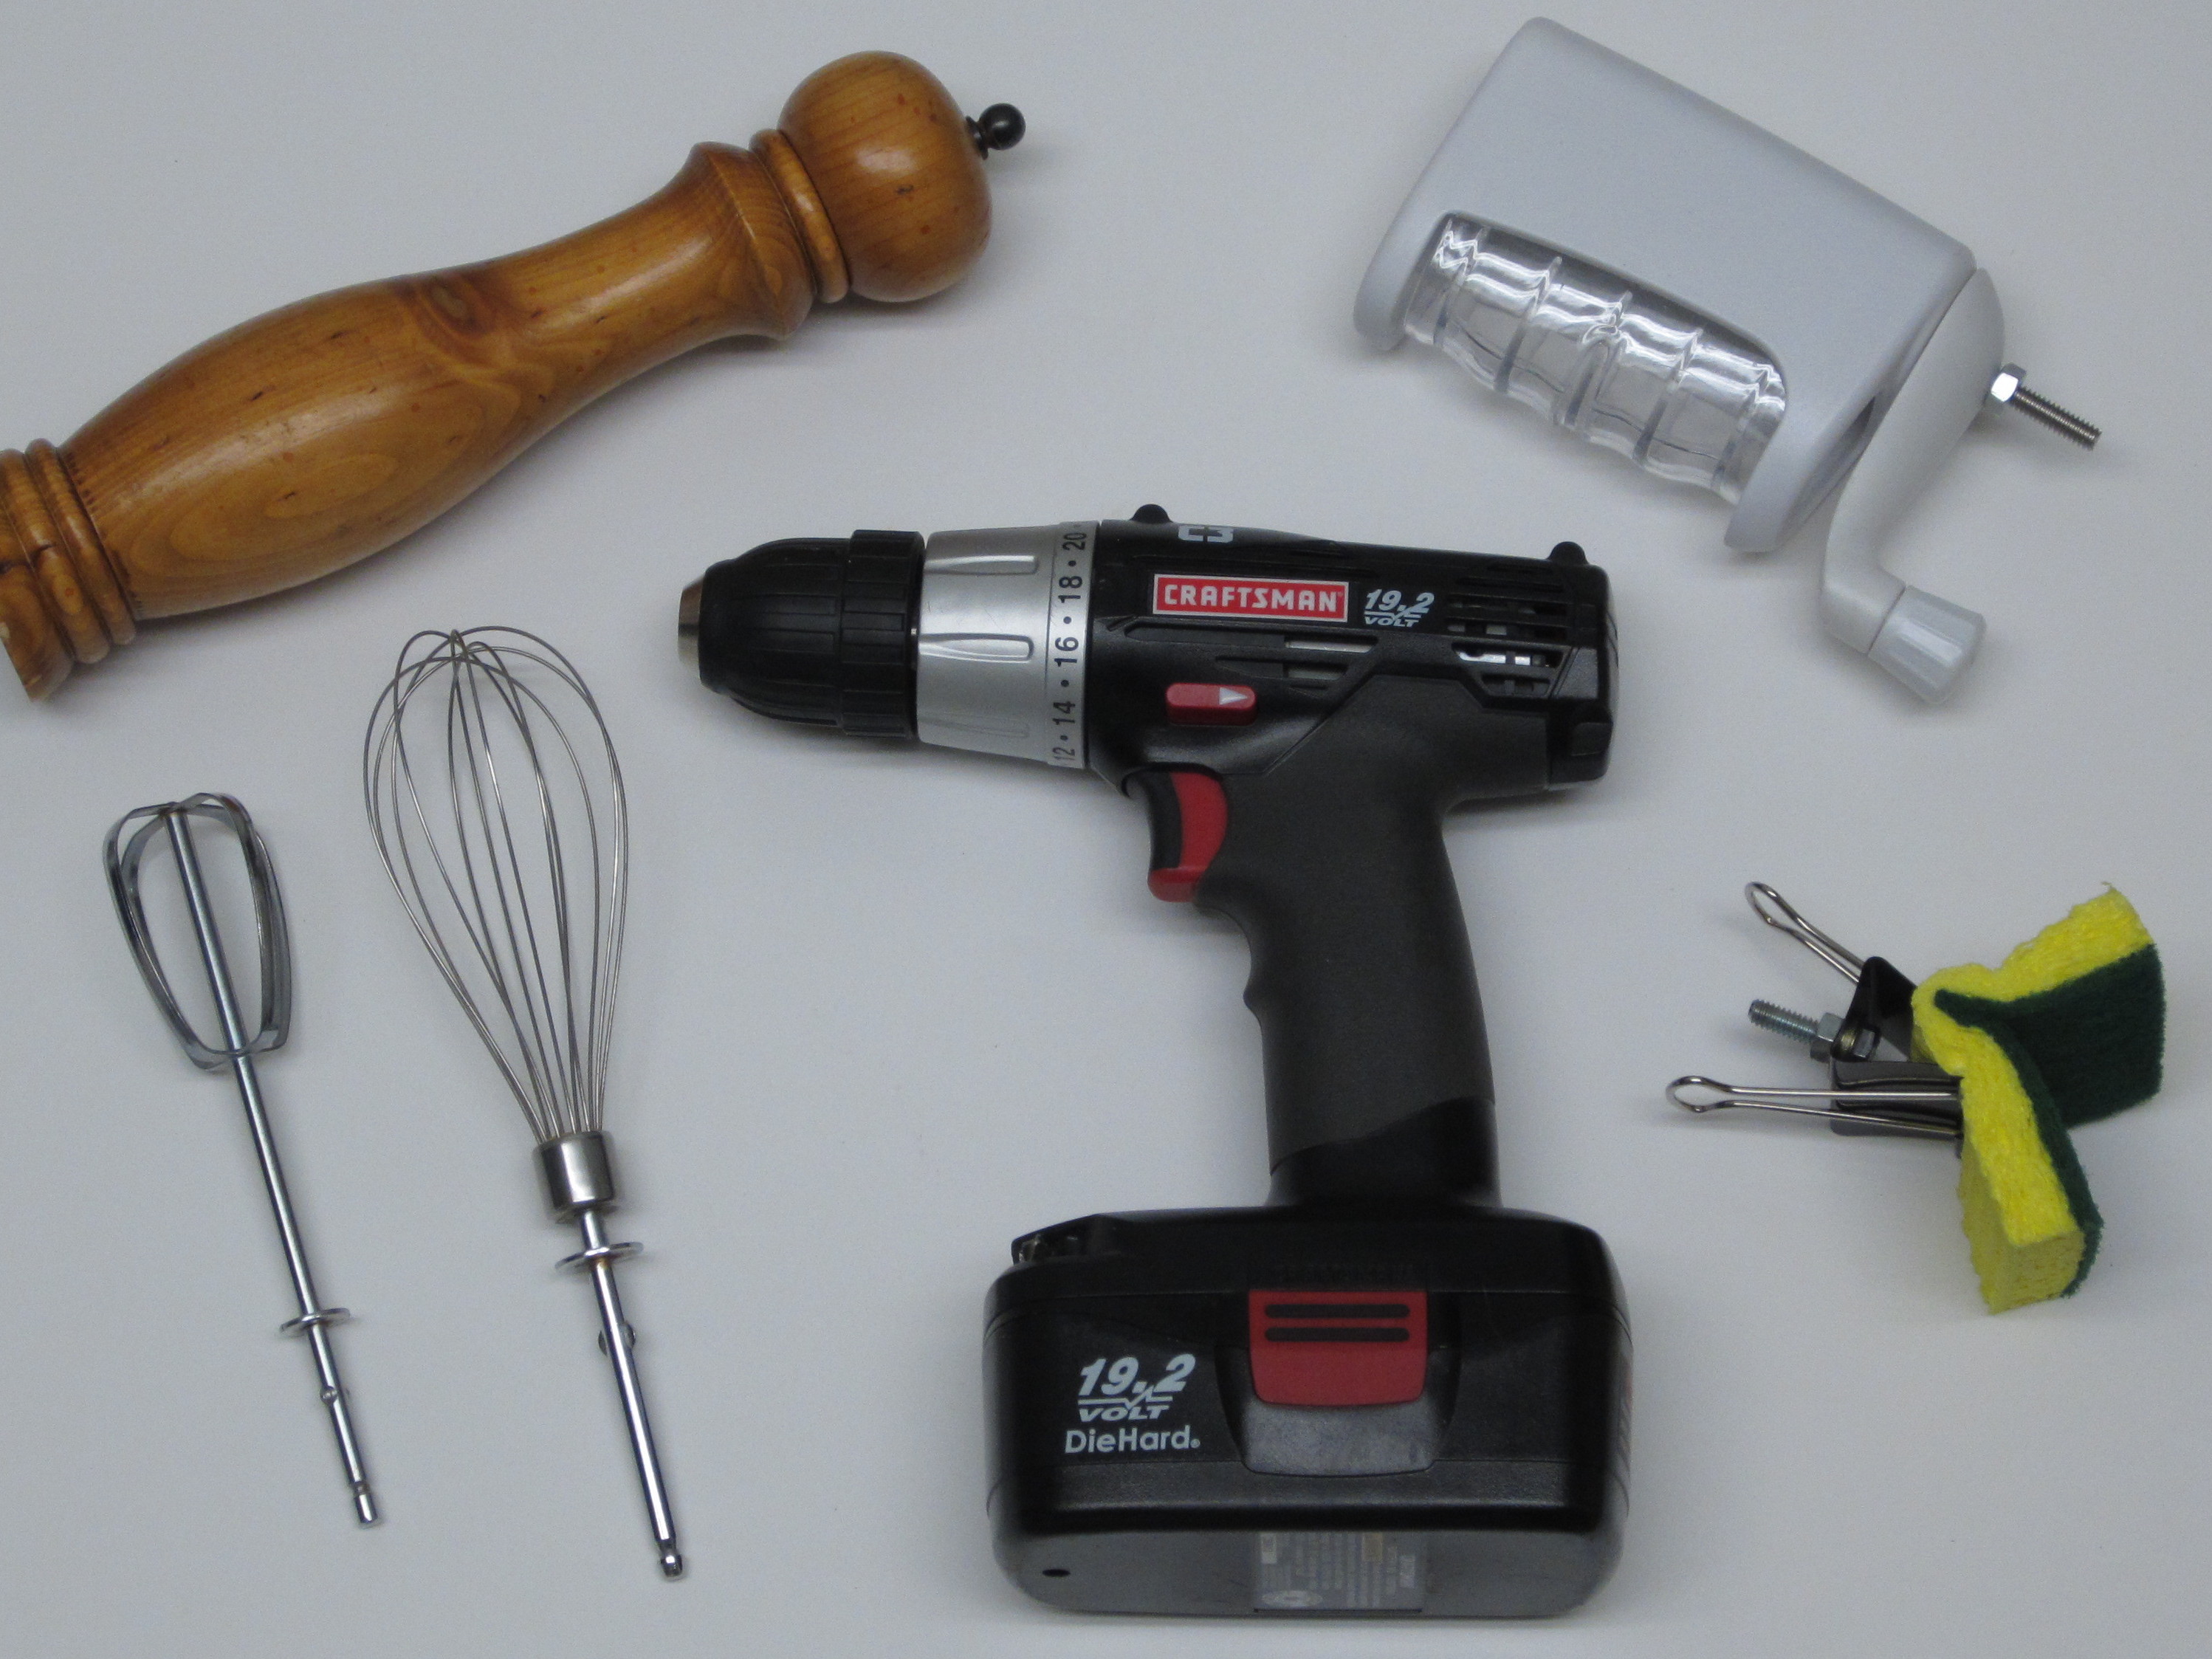
When you think of power tools in the kitchen, you generally picture renovations and remodeling projects. However, they can also be quite useful in food preparation. But why would you ever want to use a cordless drill while cooking? Simply because it is fun.

And making a task fun is a great way to get the whole family involved.

Mixer/Whisk Attachment

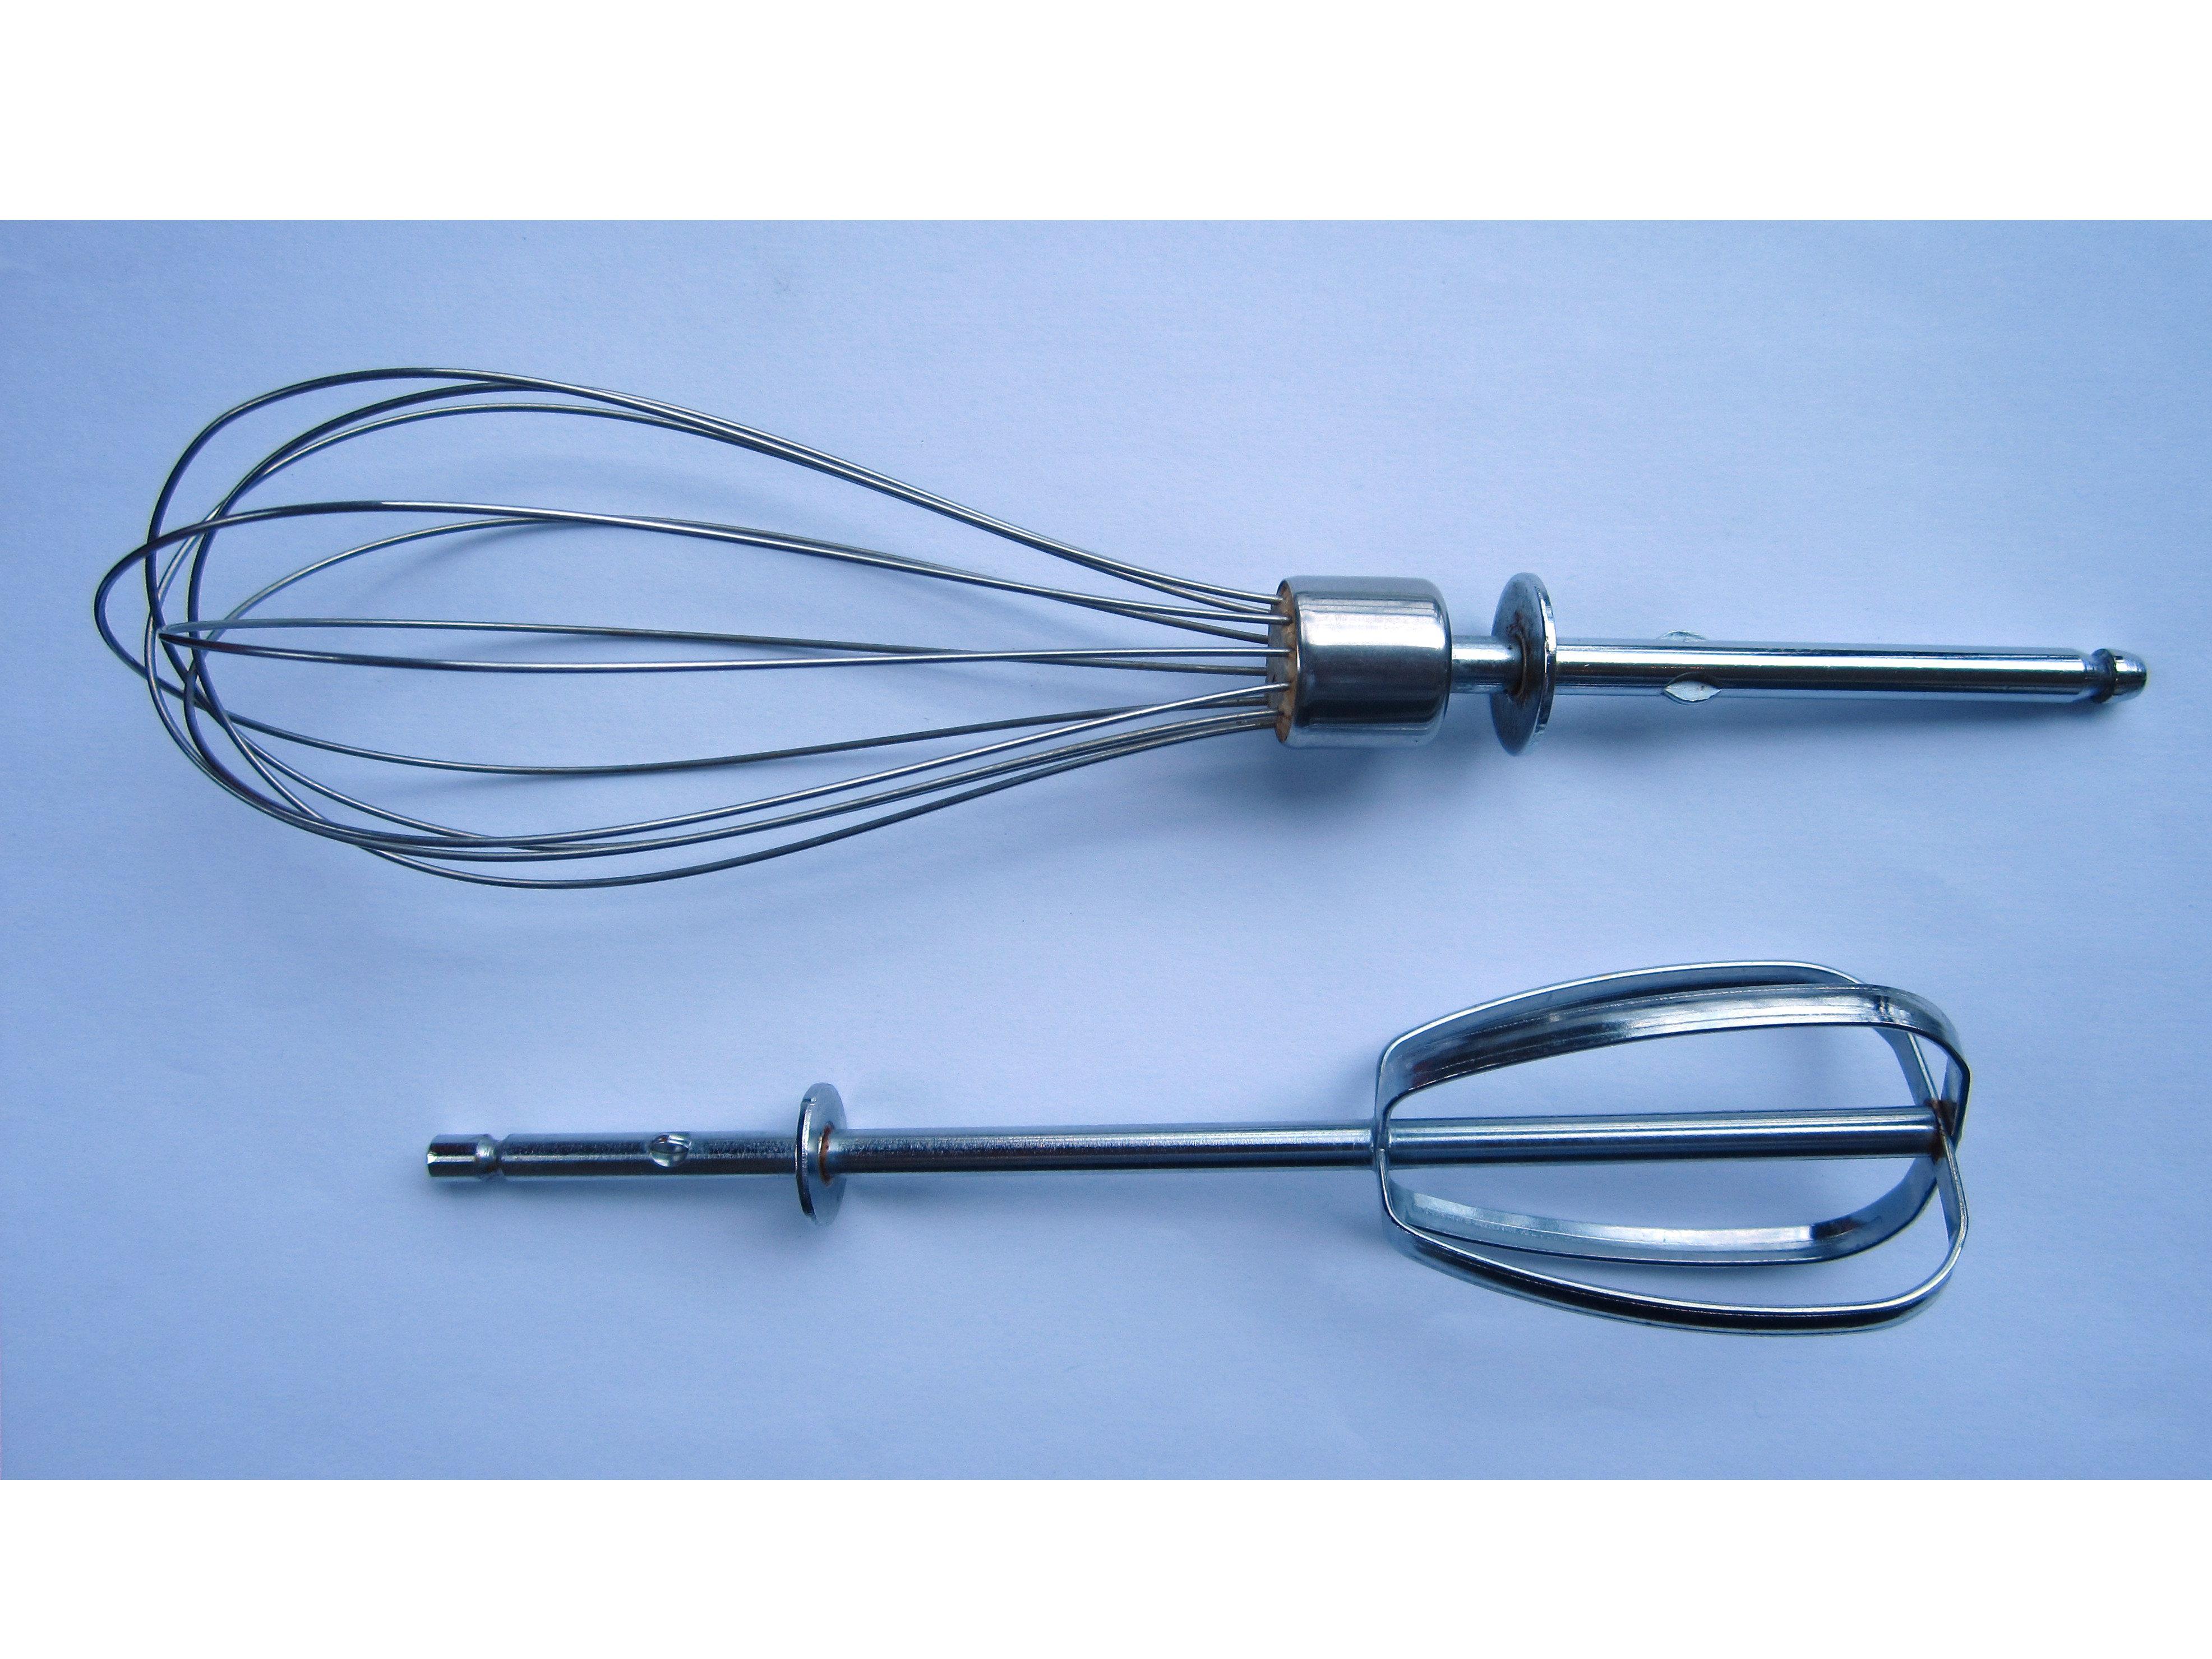
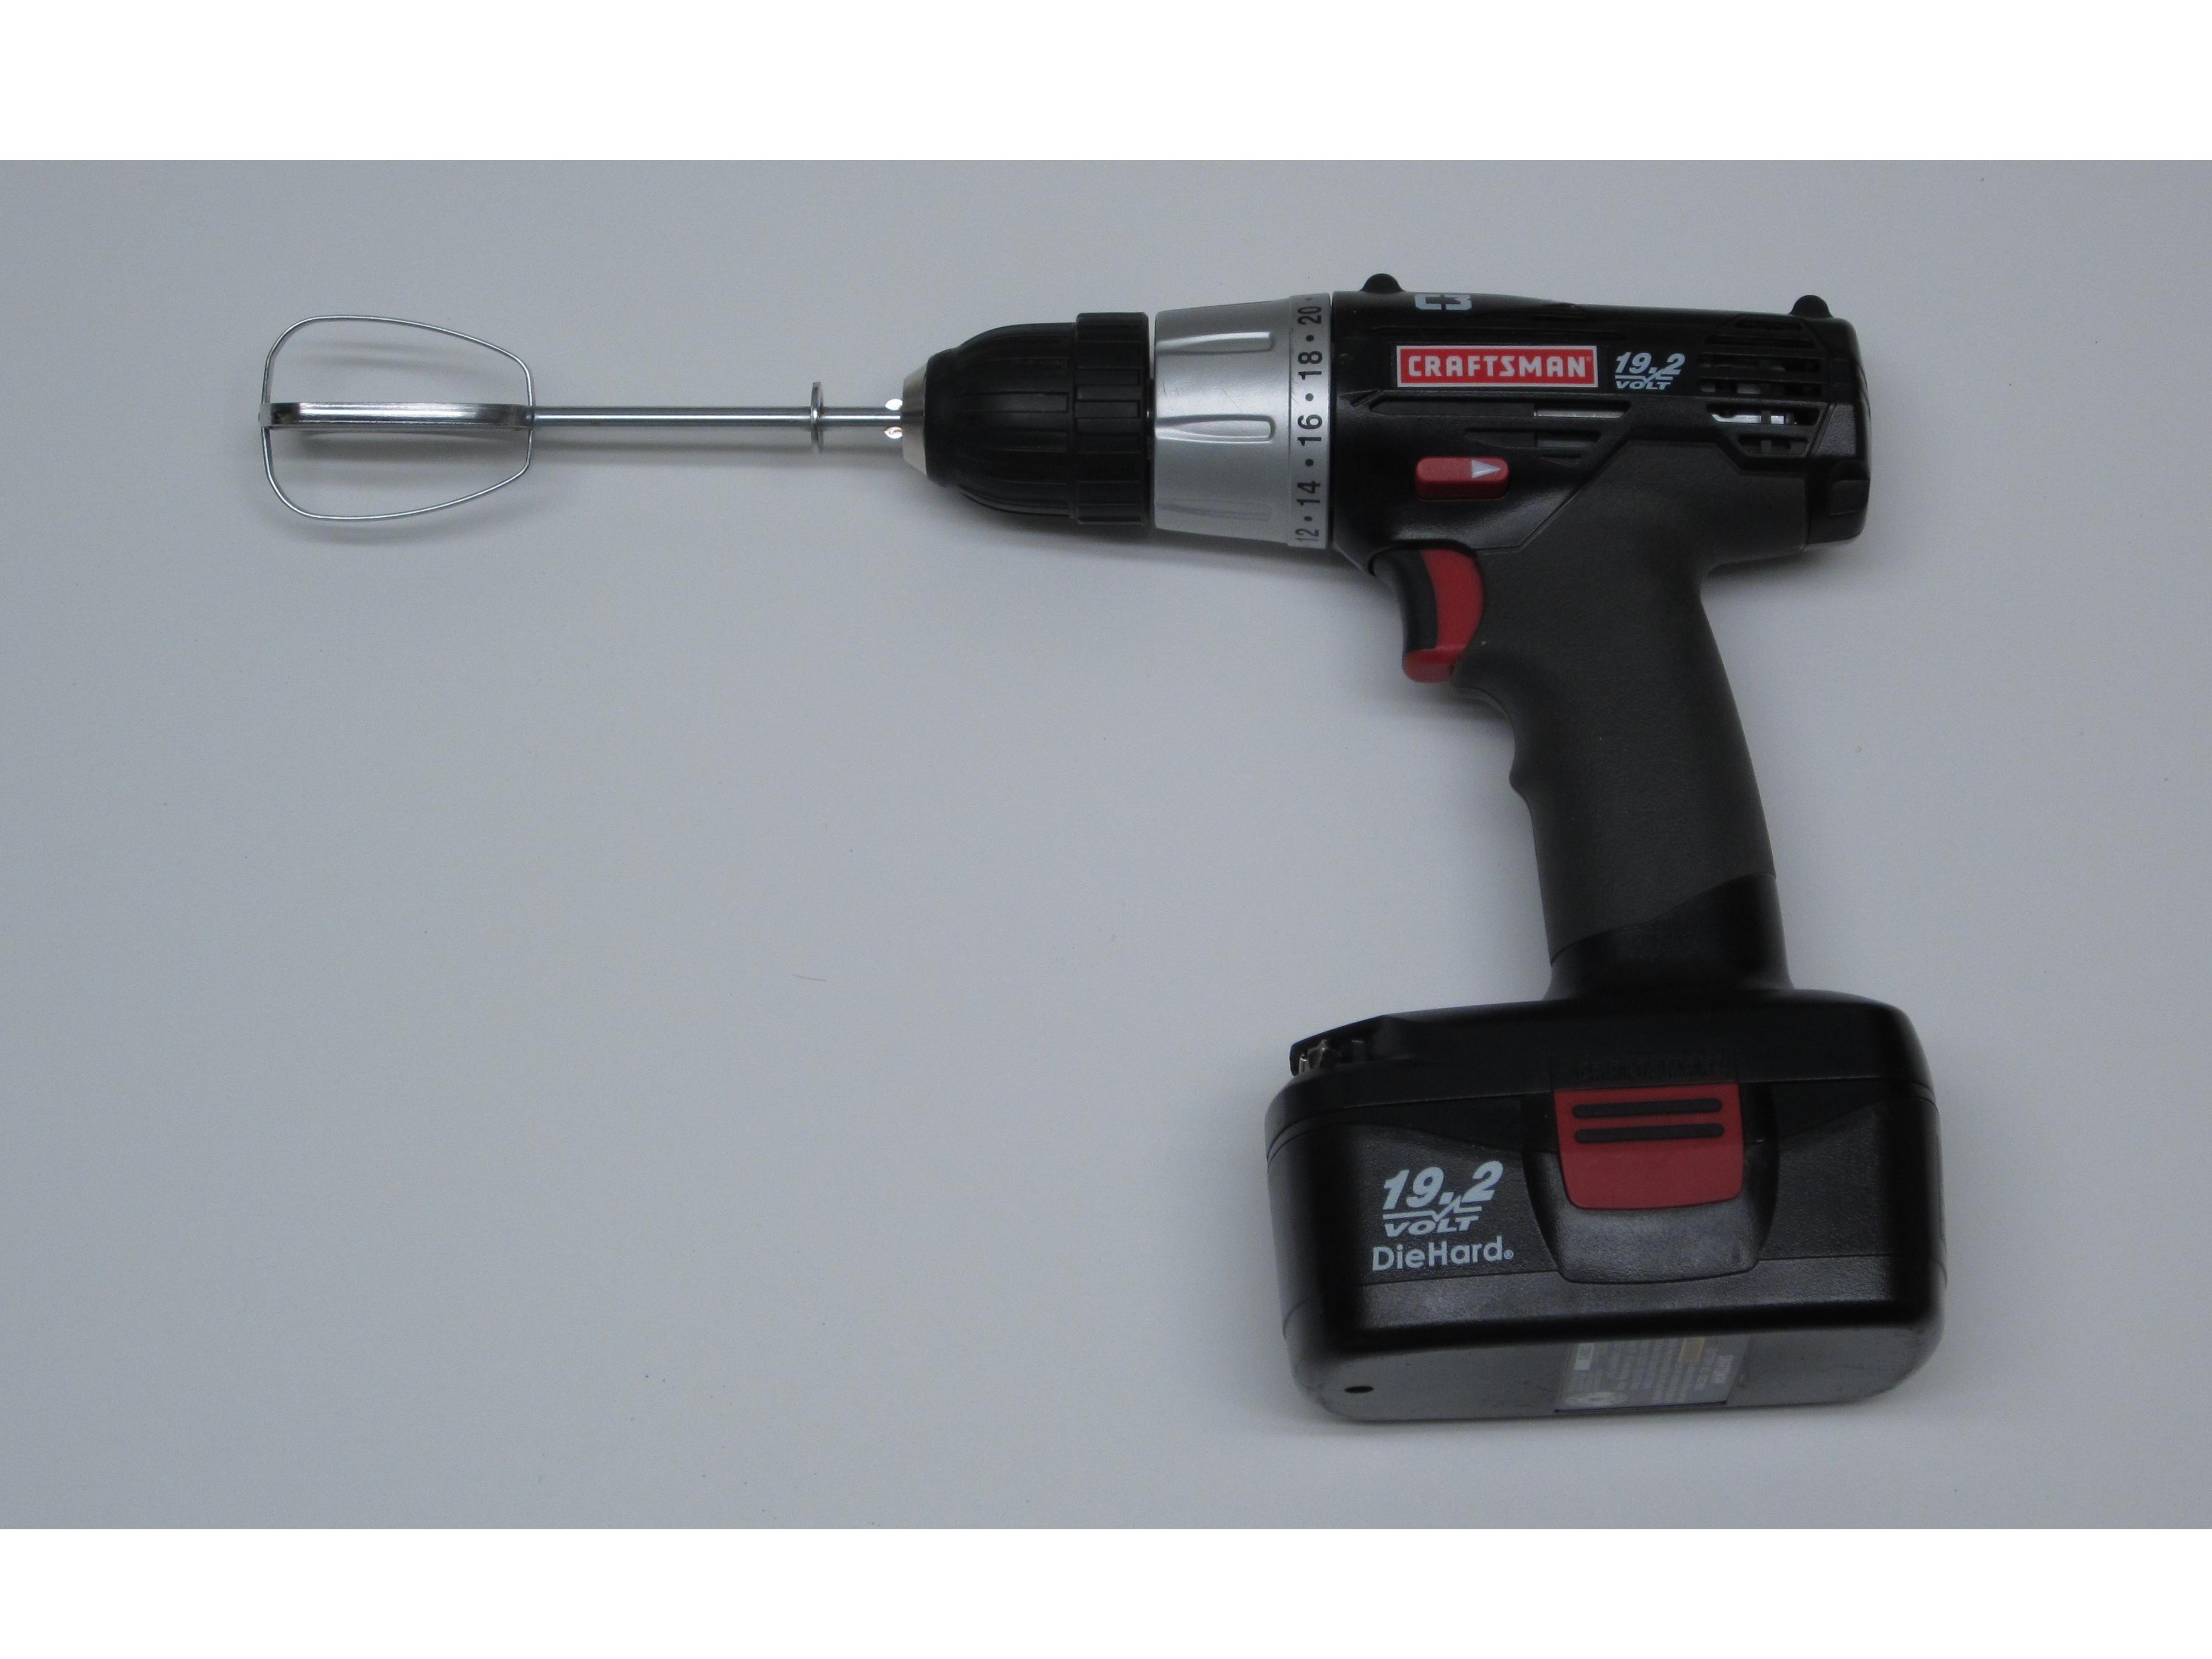
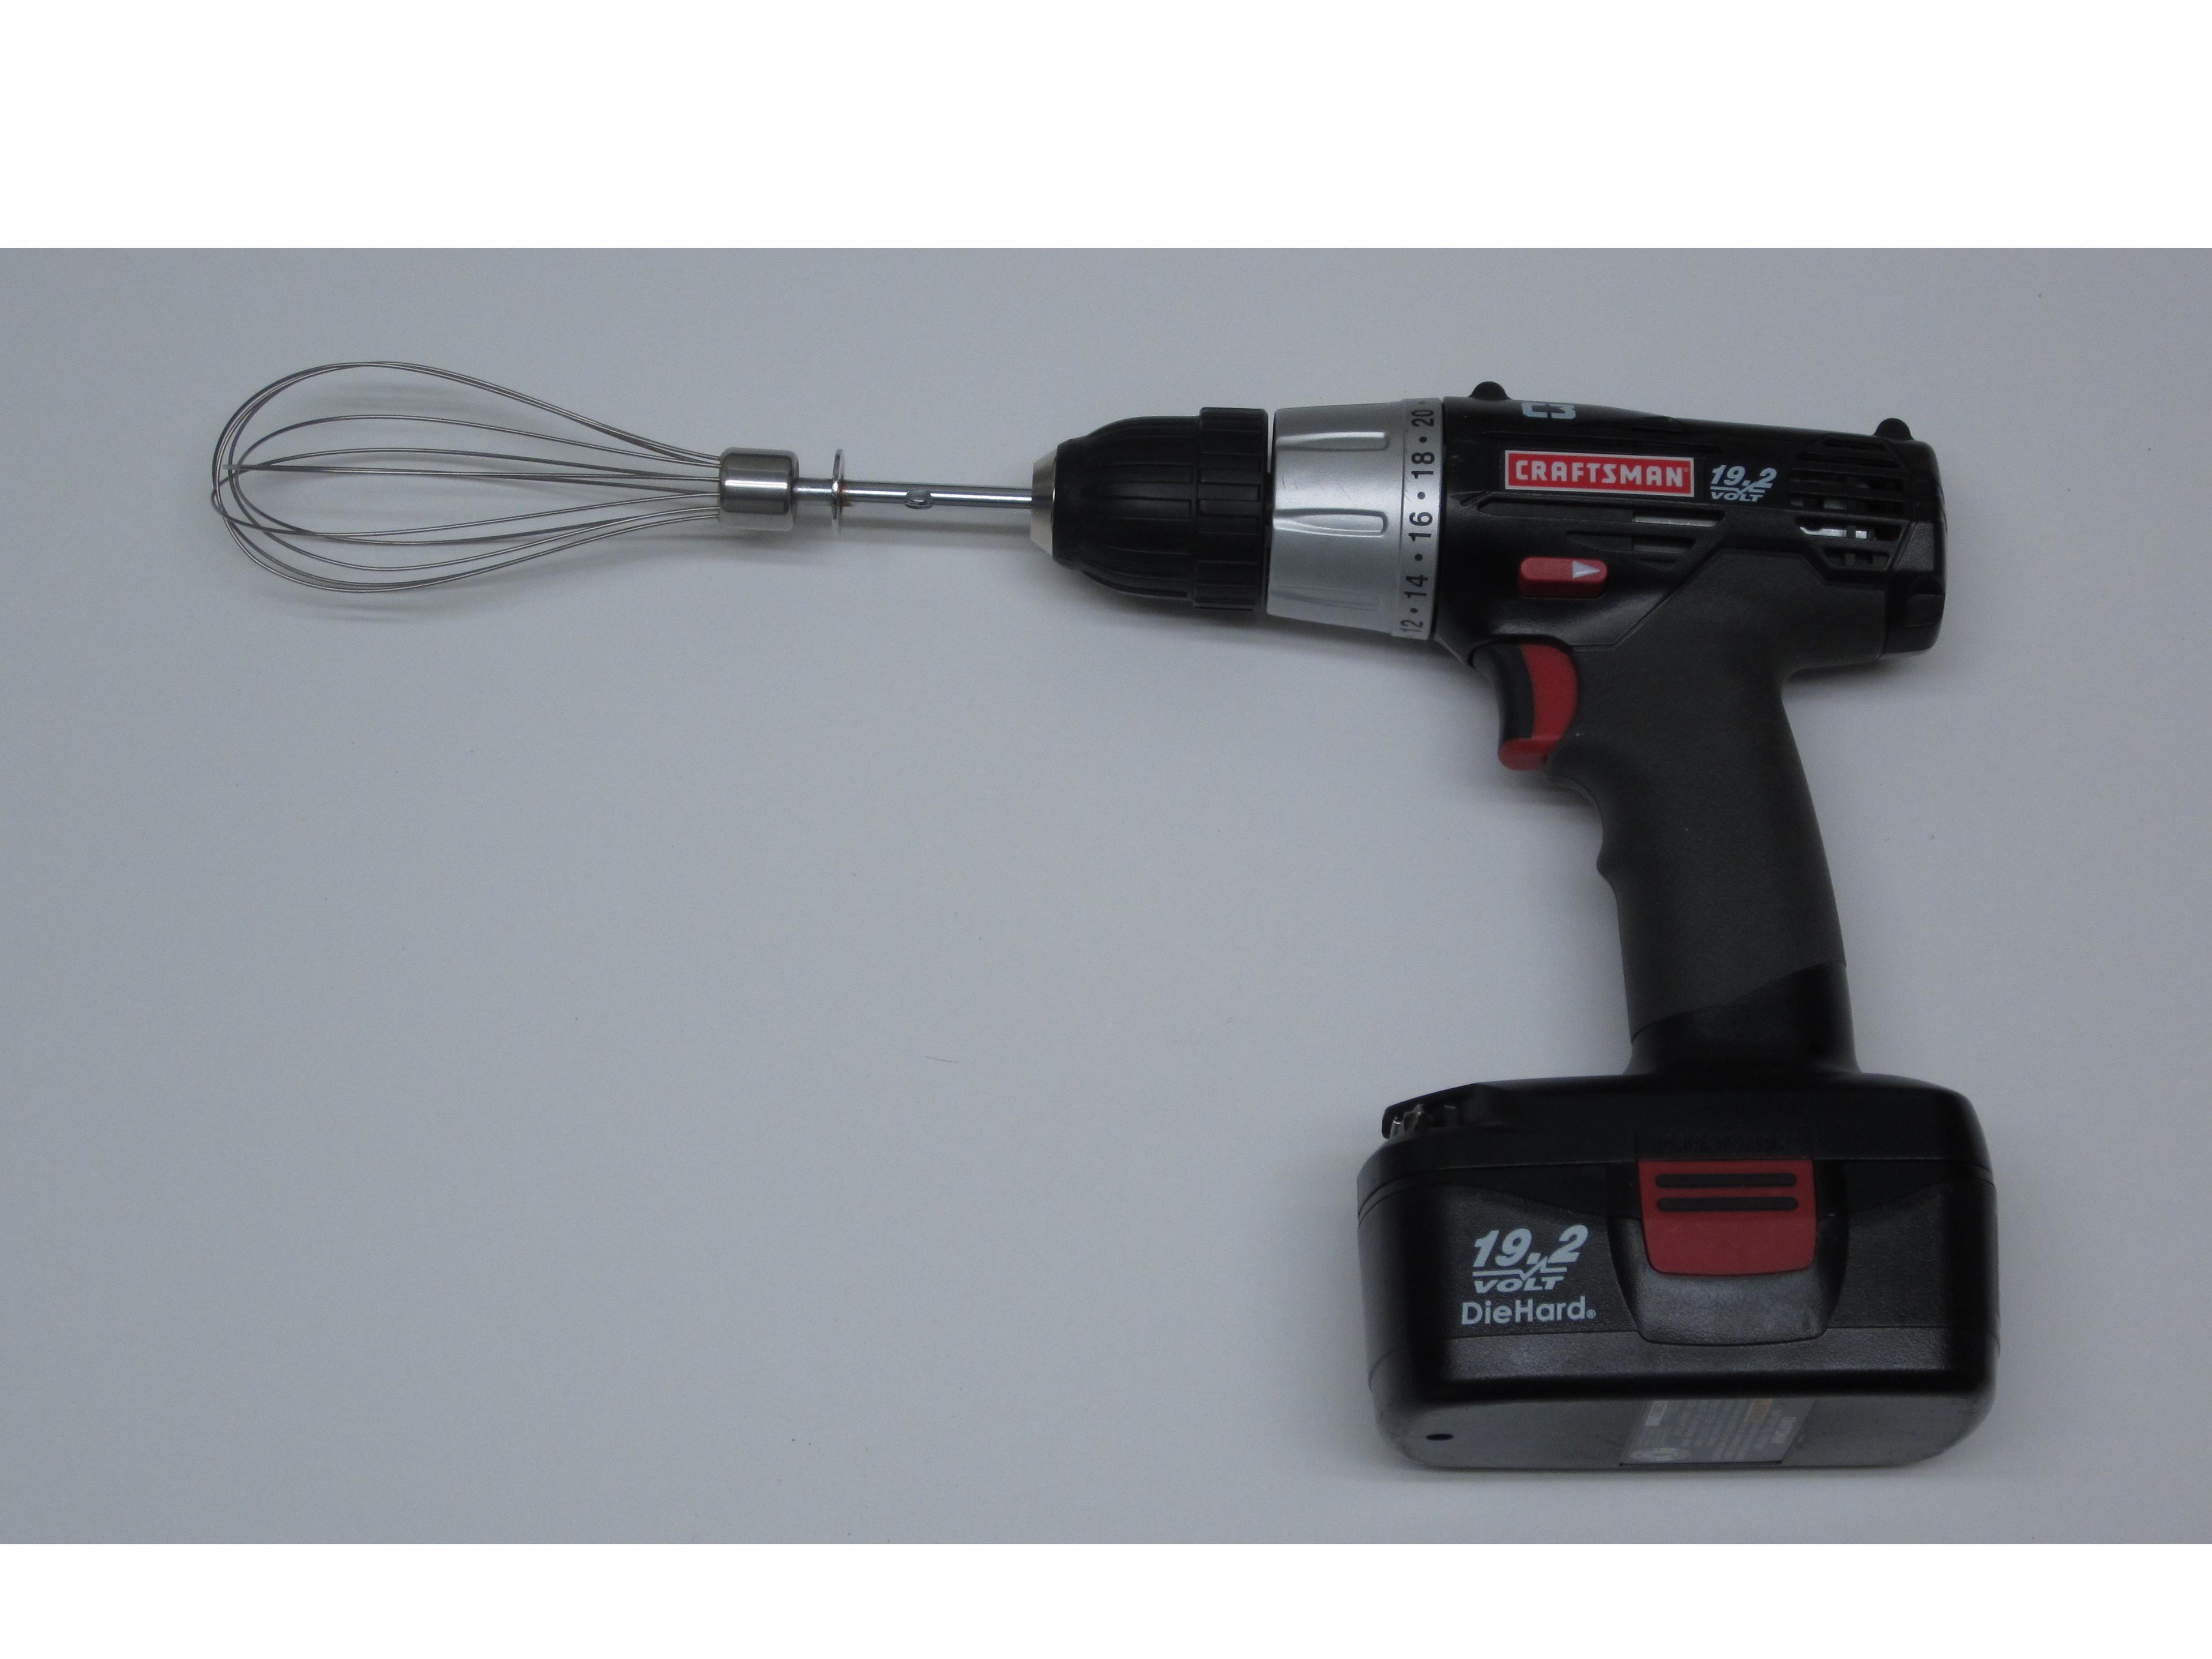
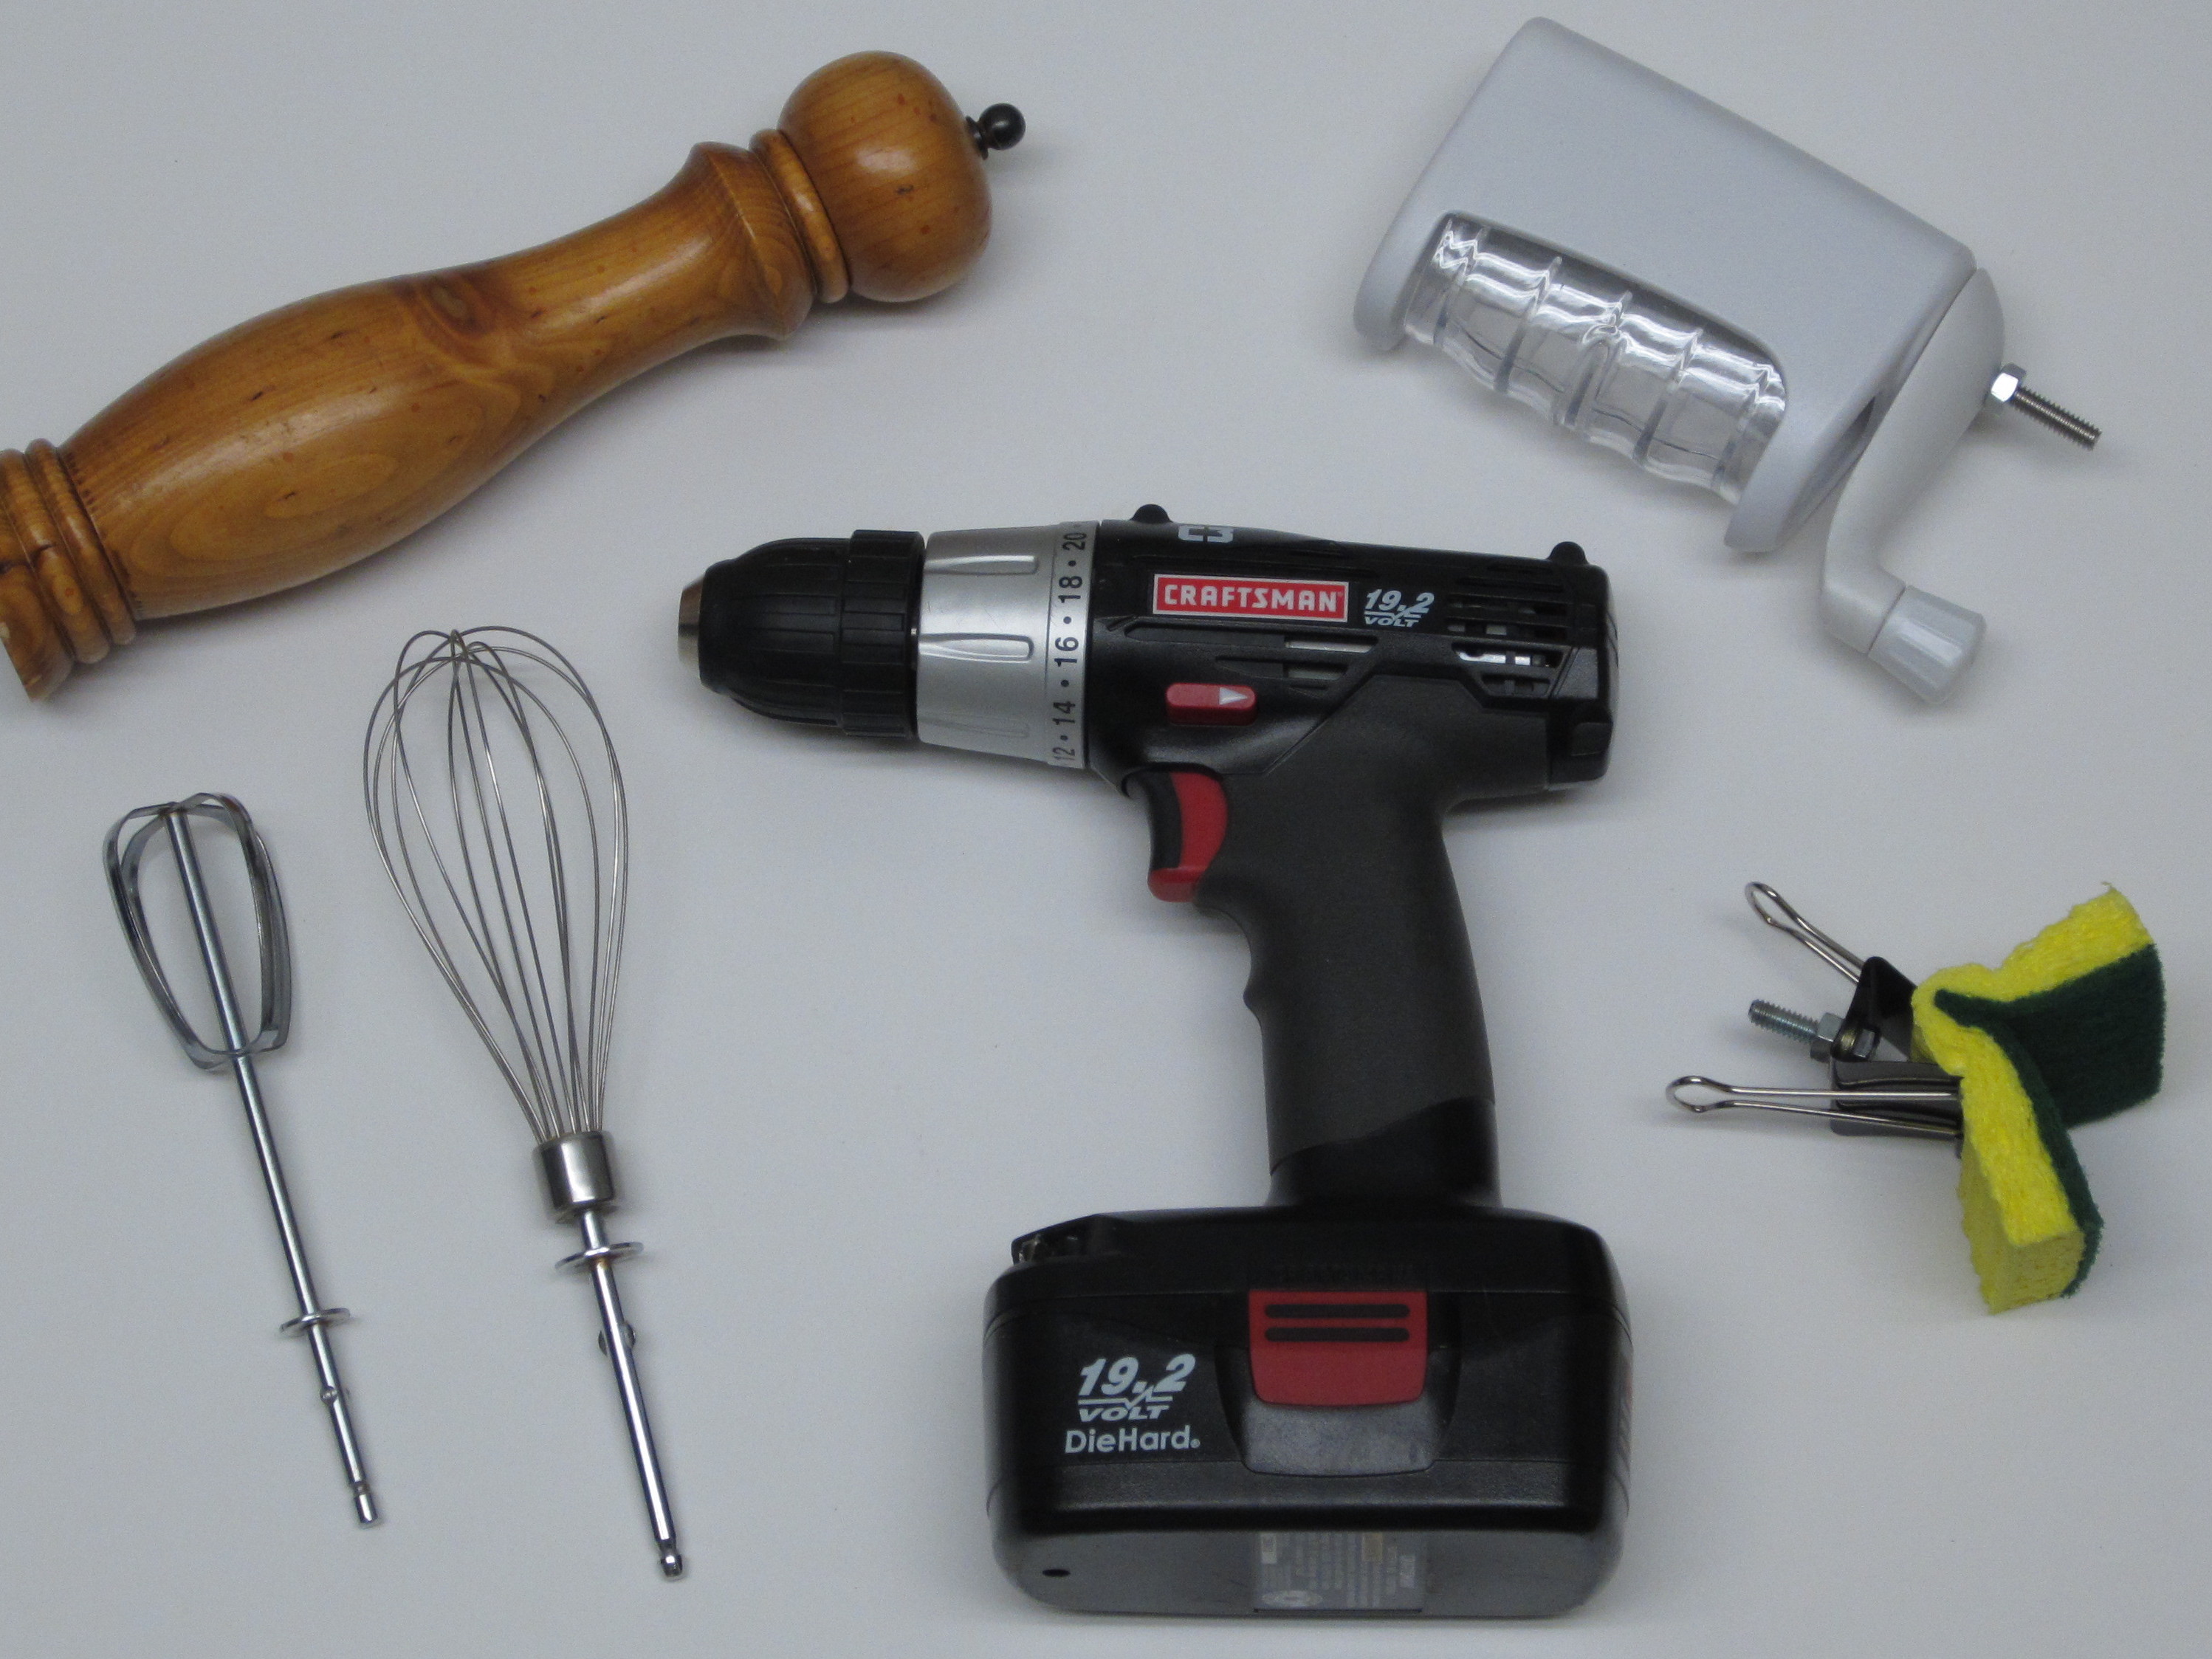
Probably the simplest and most straightforward application for a power drill is as a mixer or a whisk. After all, a drill and an electric mixer are pretty similar in both form and function. Just insert a standard mixing or whisk attachment into your drill and you have a power mixer.

This drill mixer performs adequately and has one major advantage over a standard mixer. It’s cordless. The standard mixer keeps you tethered to the wall and doesn’t let you wander more than a few feet from the outlet. But with this cordless drill mixer, you can take the bowl with you and mix as you walk from one side of the kitchen to the other.

Pepper Mill Attachment

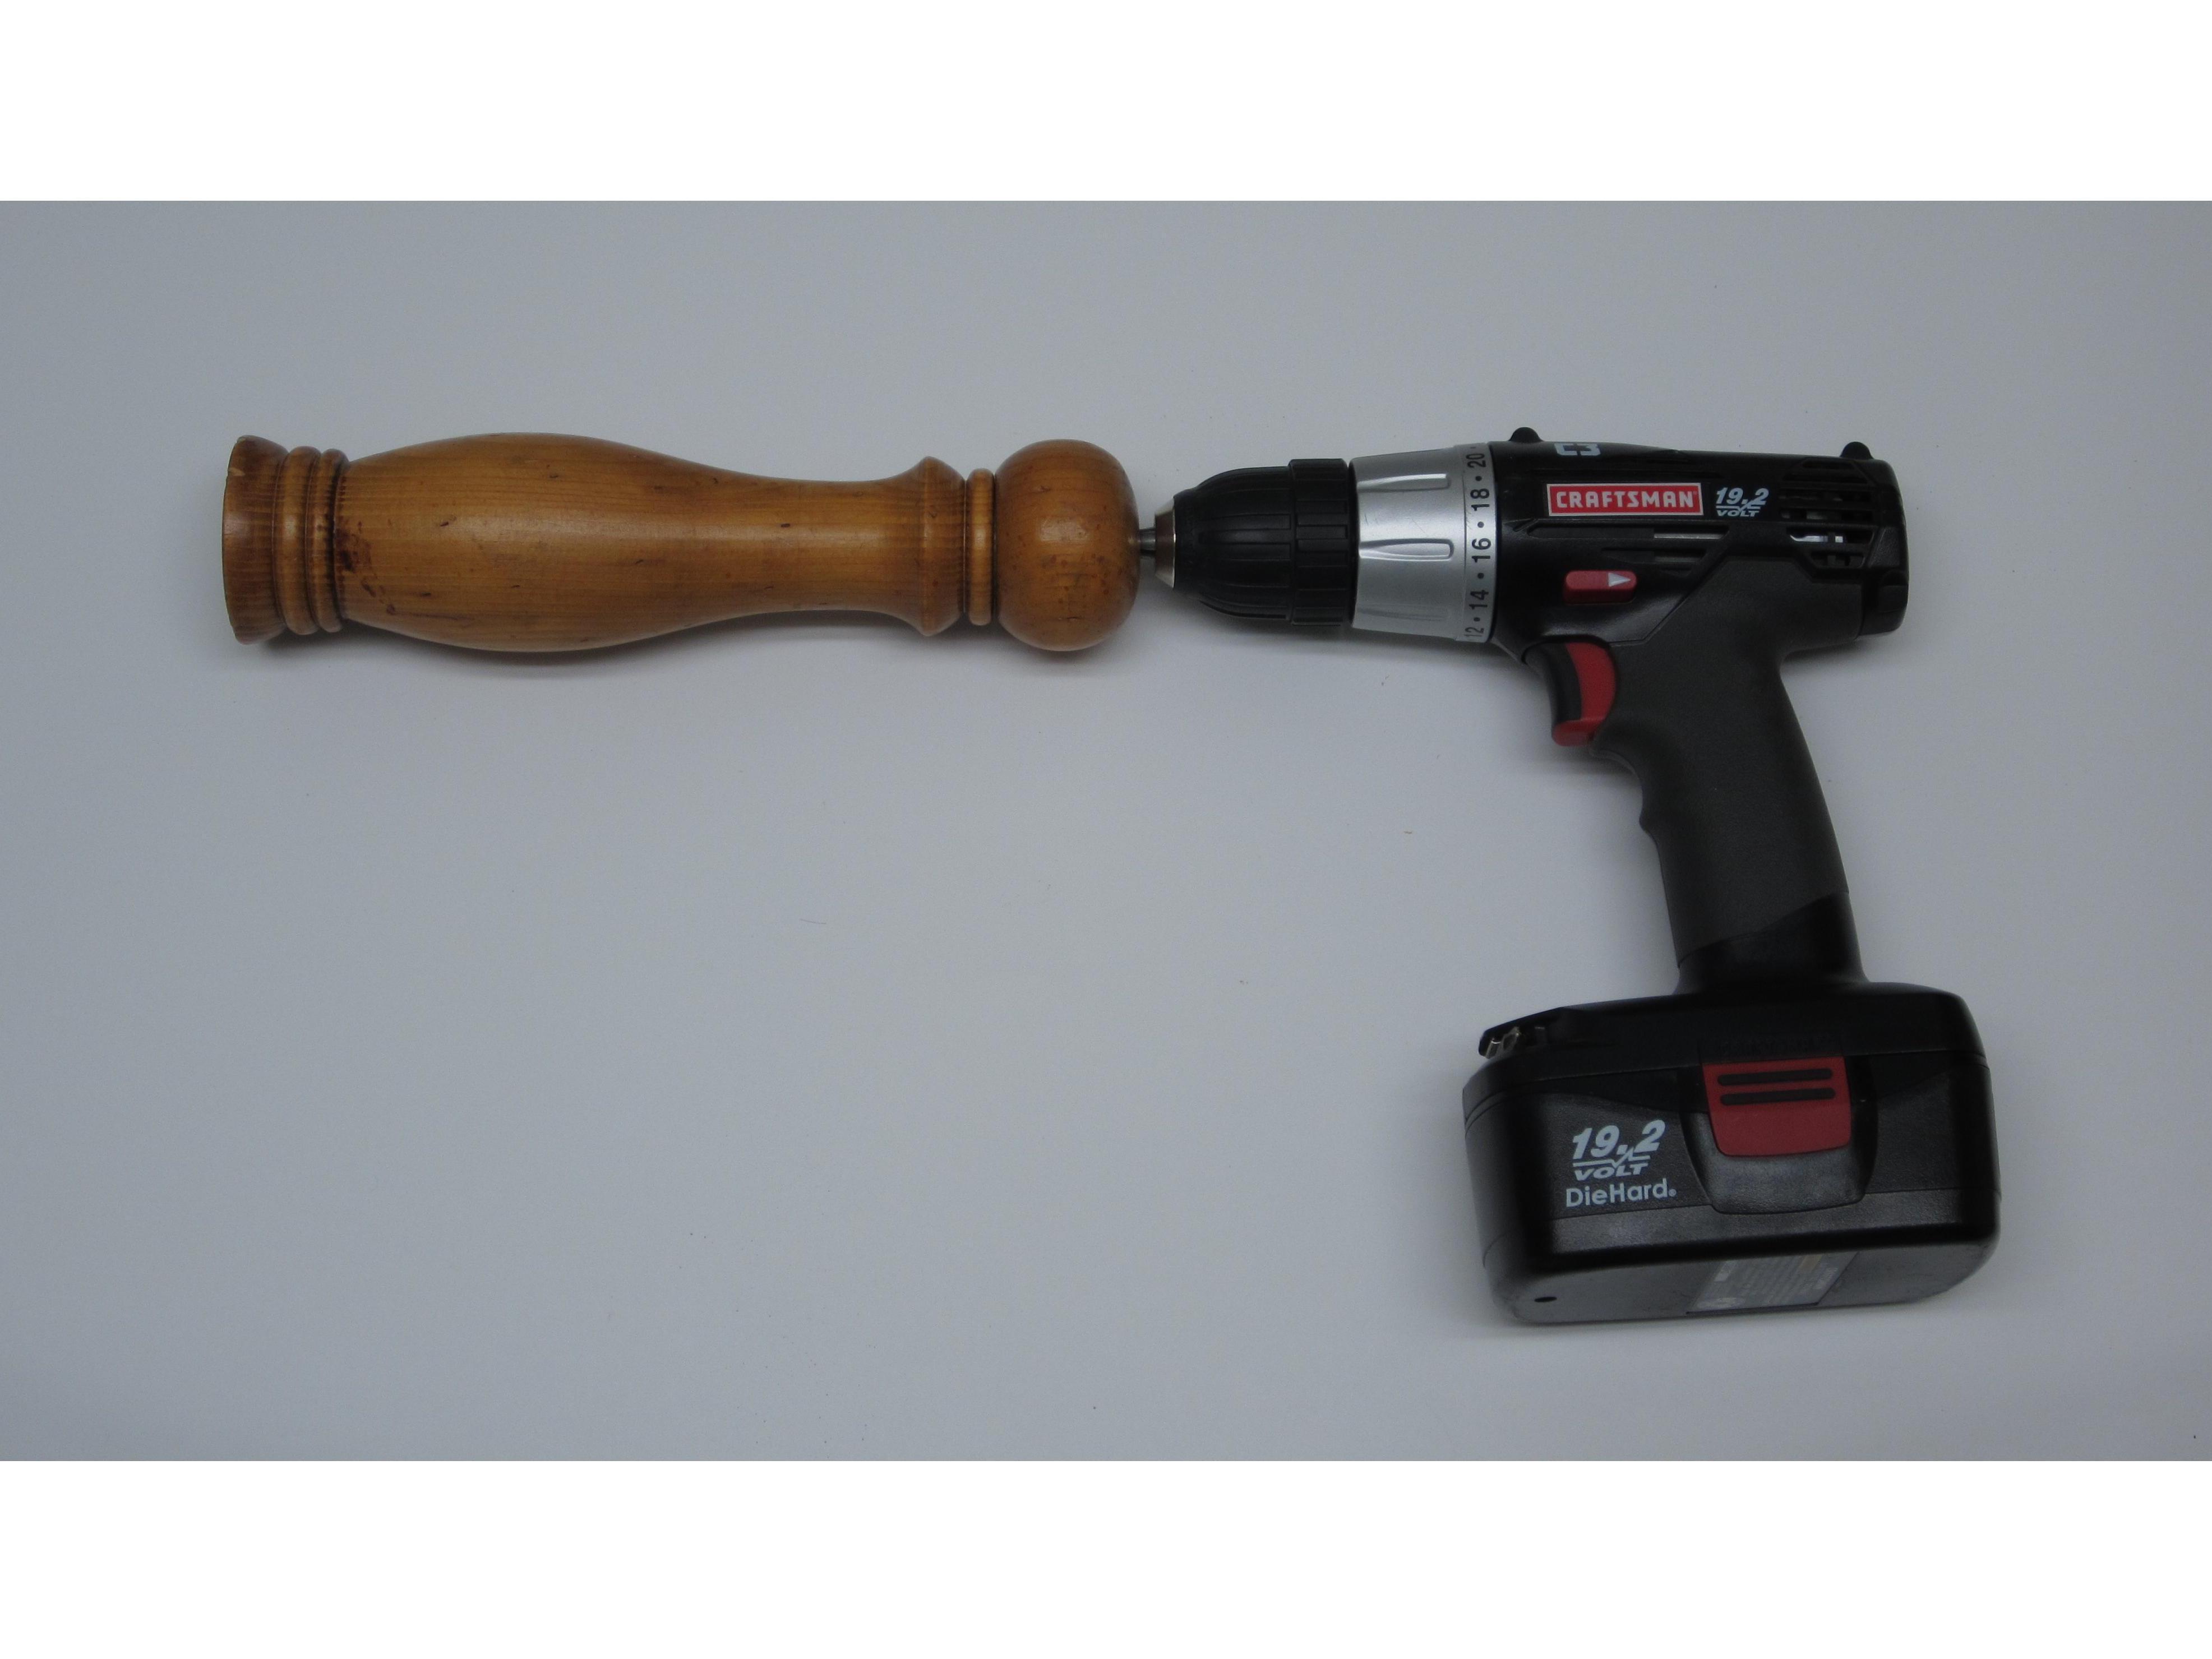
Freshly ground spices always taste better than pre-ground spices. But grinding pepper by hand is slow and can be hard on your wrist. By adding a power drill we can make it substantially faster and easier. Here is how to attach a pepper mill to your drill.

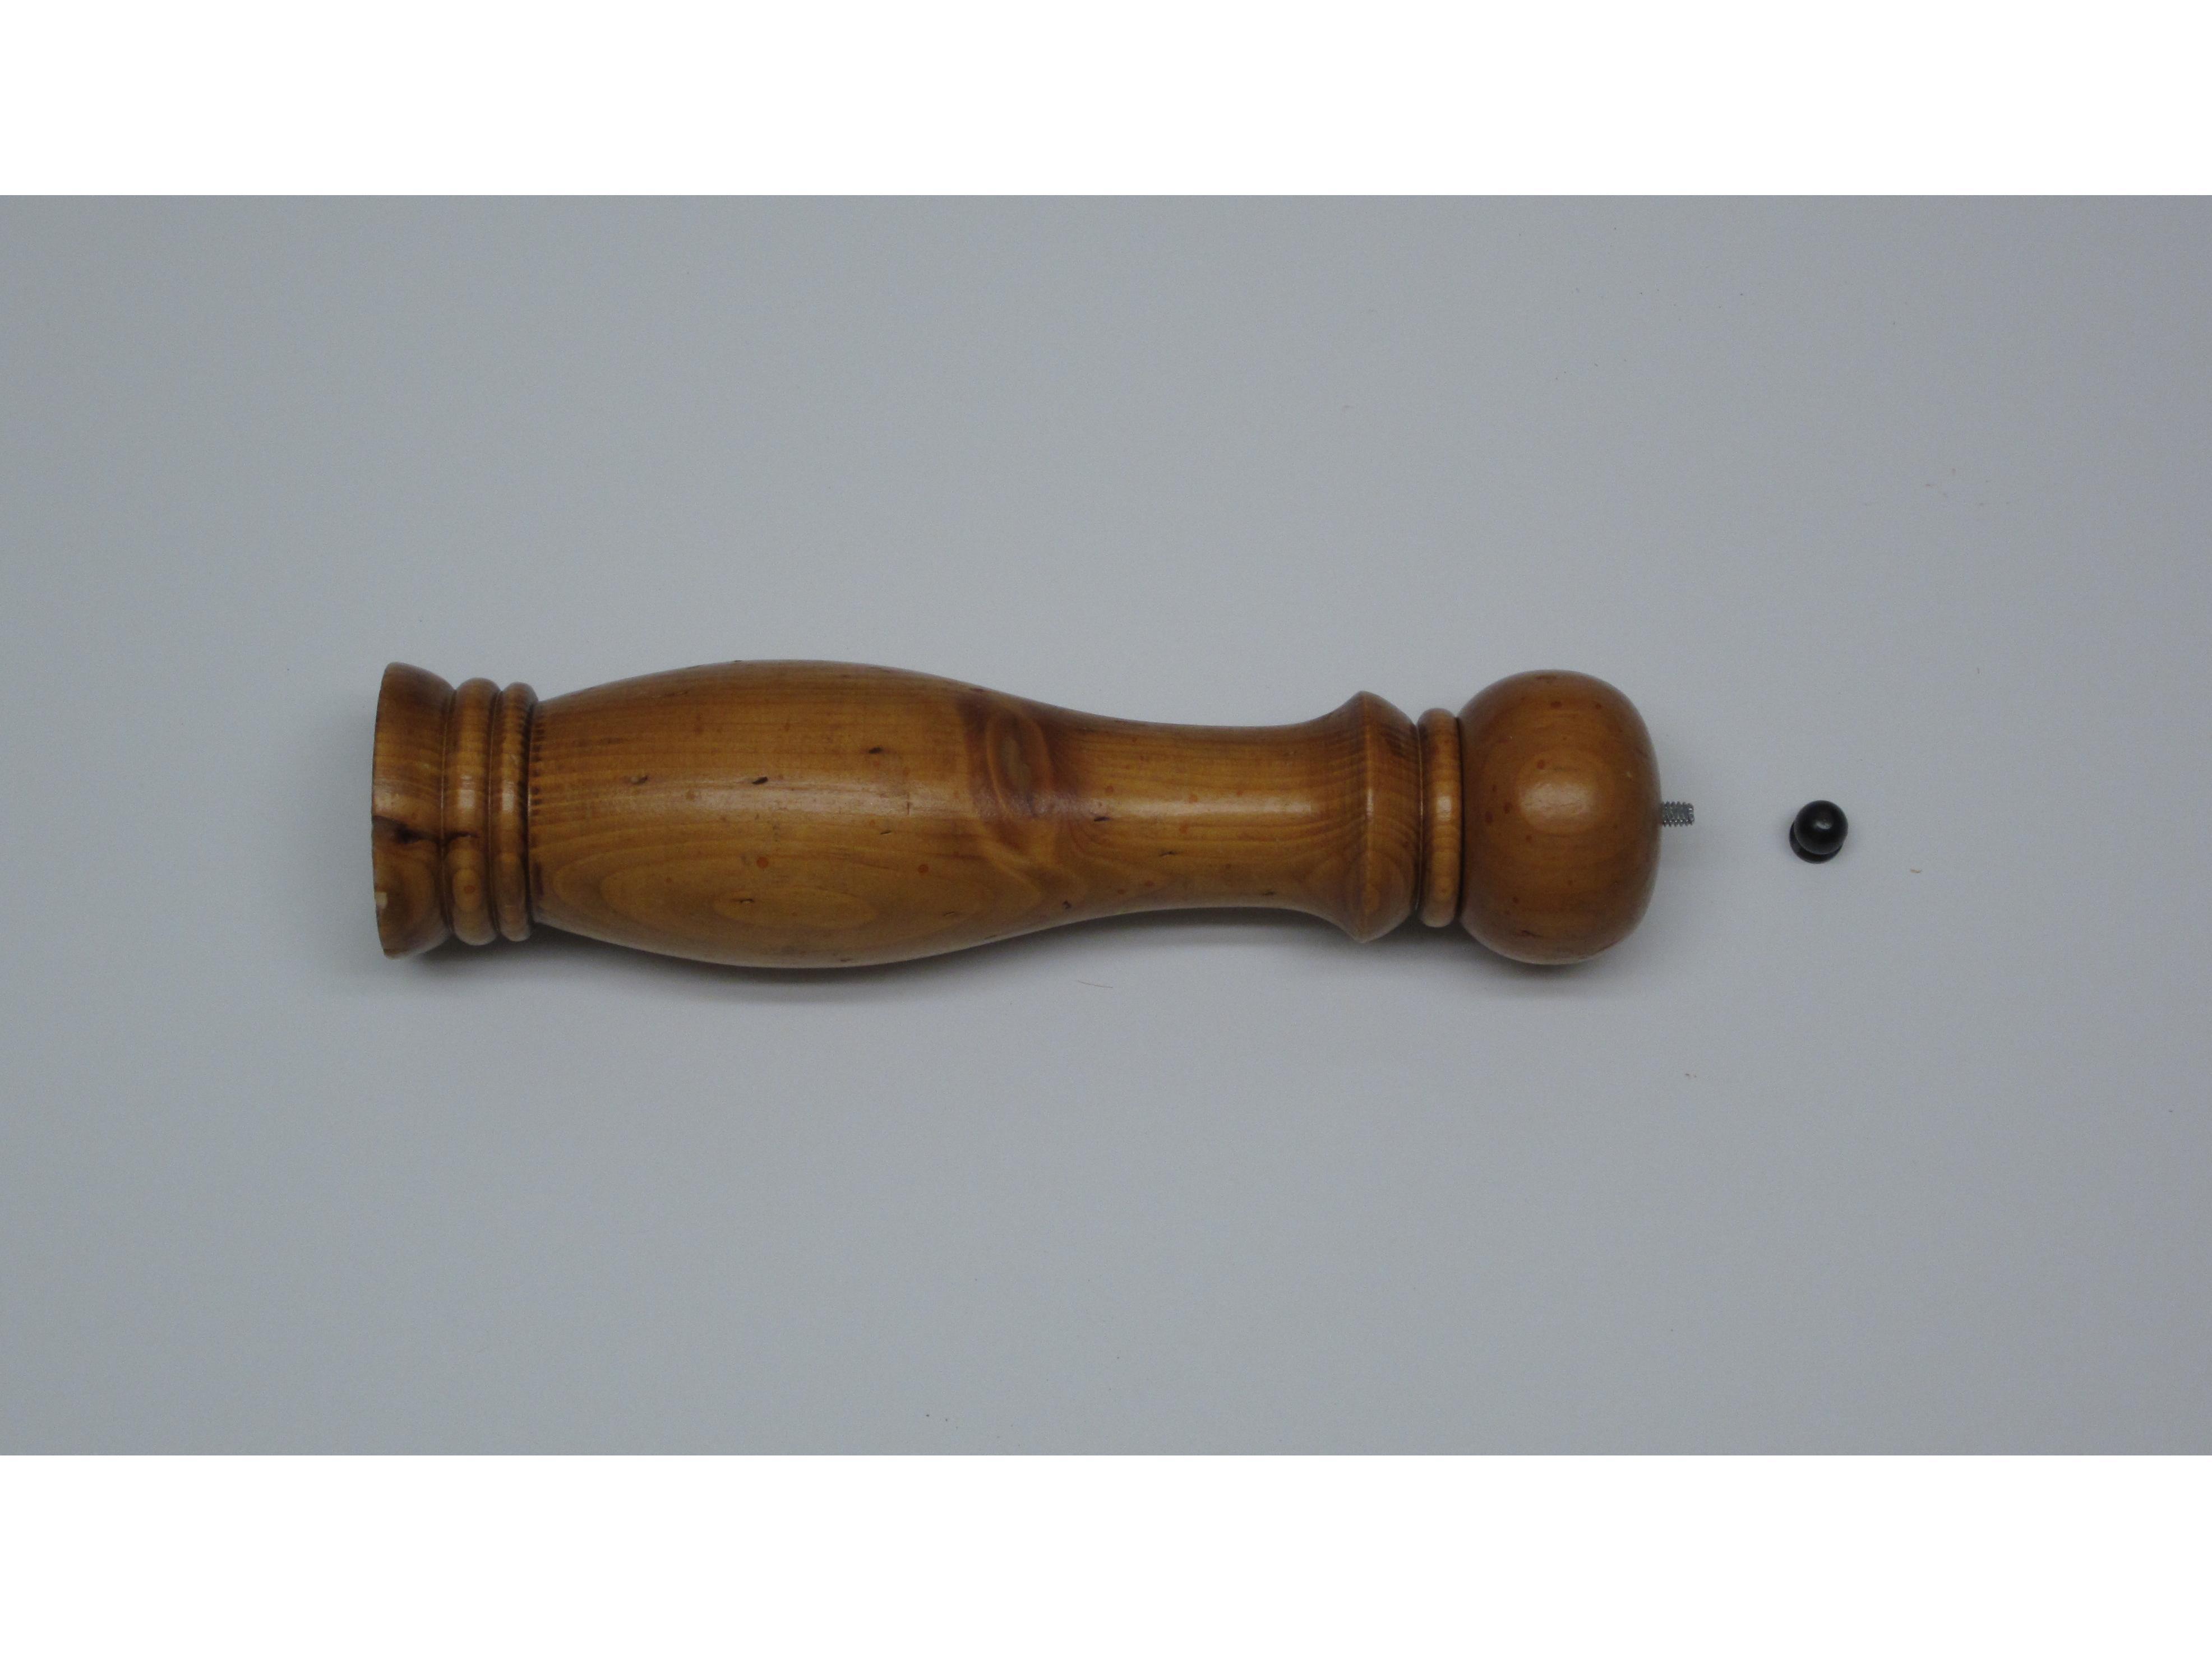
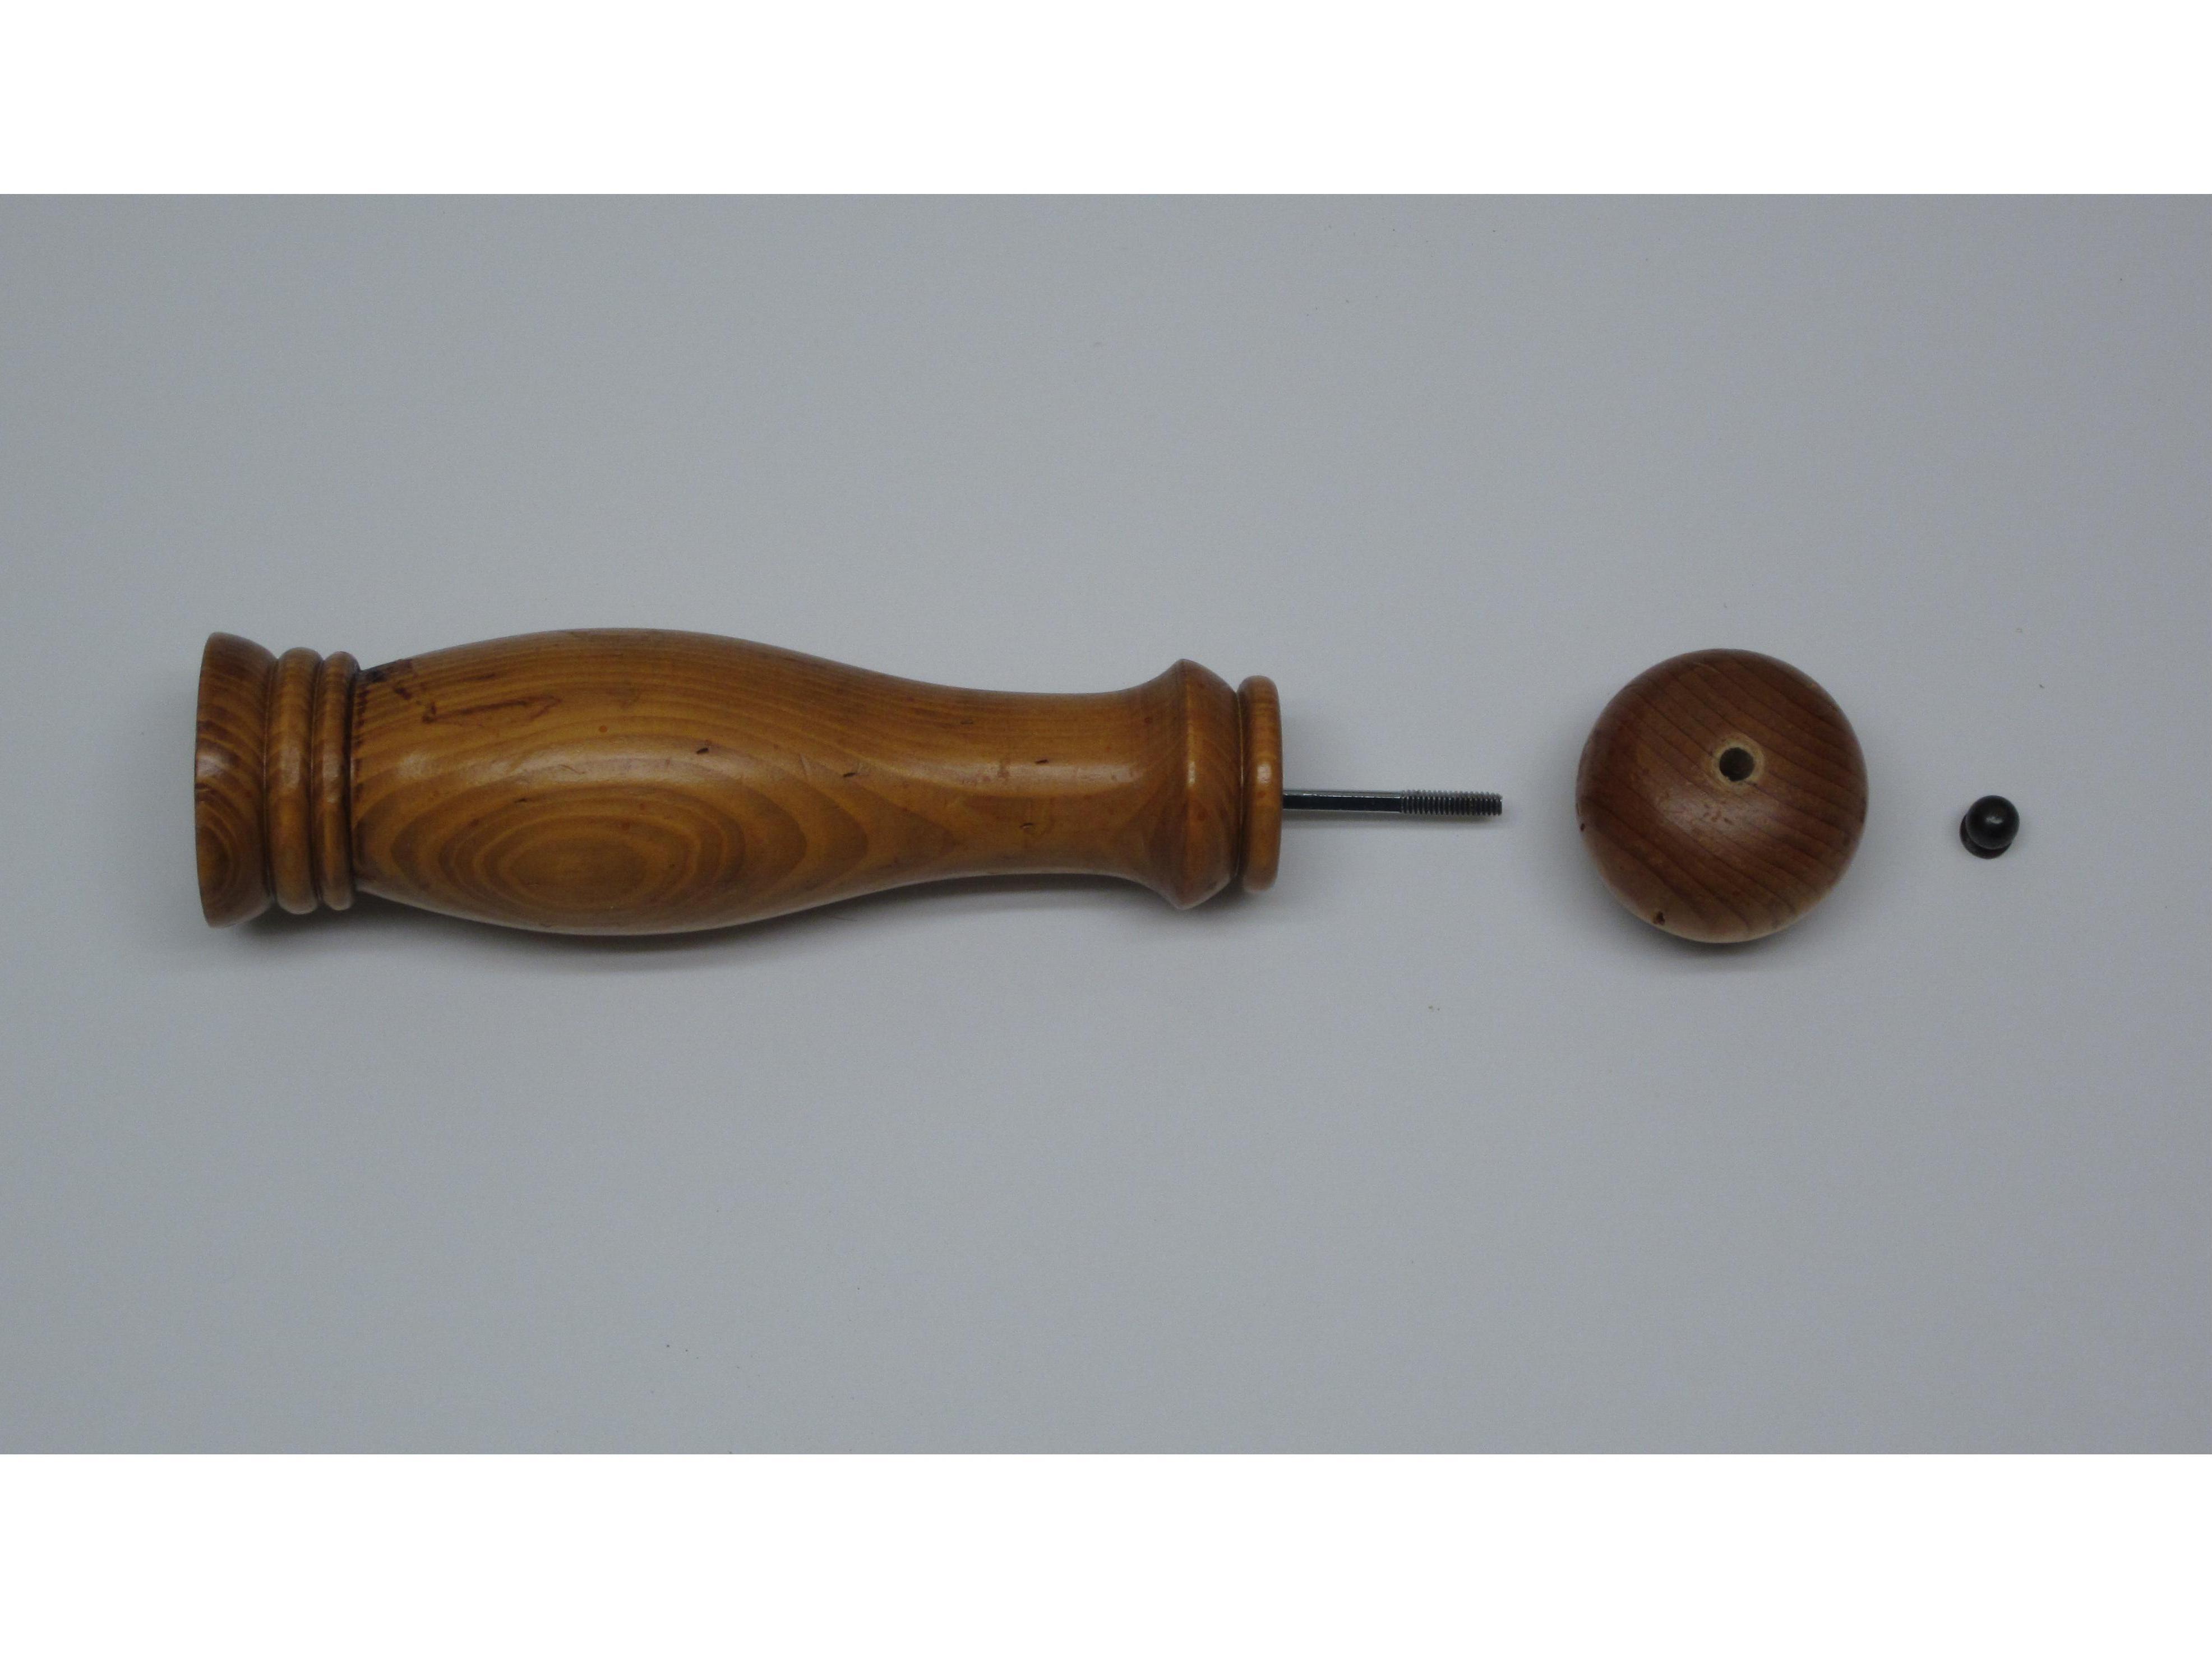
Begin by removing the threaded metal knob from the top of the mill. This will expose the drive shaft. The drive shaft is what will be attached to the drill. If you are worried about damaging the threading on the end of the drive shaft, you can wrap it in tape before fastening your drill onto it.

If there is not enough of the drive shaft accessible to attach to the drill, you can also remove the top cap/turn crank. This will give you more drive shaft to work with but leaves the pepper chamber open. So if you remove the top cap, be careful not to spill the peppercorns.

Some pepper mill designs rely on the top knob to set the proper tension for grinding. Since we removed this part, you may need to apply this tension manually. If this is the case, all you need to do is gently pull the mill away from the drill during grinding.

You may wish to spend a few seconds practicing in order to get a feel for it. This lets you work out how to get the desired grind before attempting it on your actual dish.

Now that your power pepper grinder is complete, you are ready to make more fresh pepper than you will ever need.
Cheese Grater Attachment

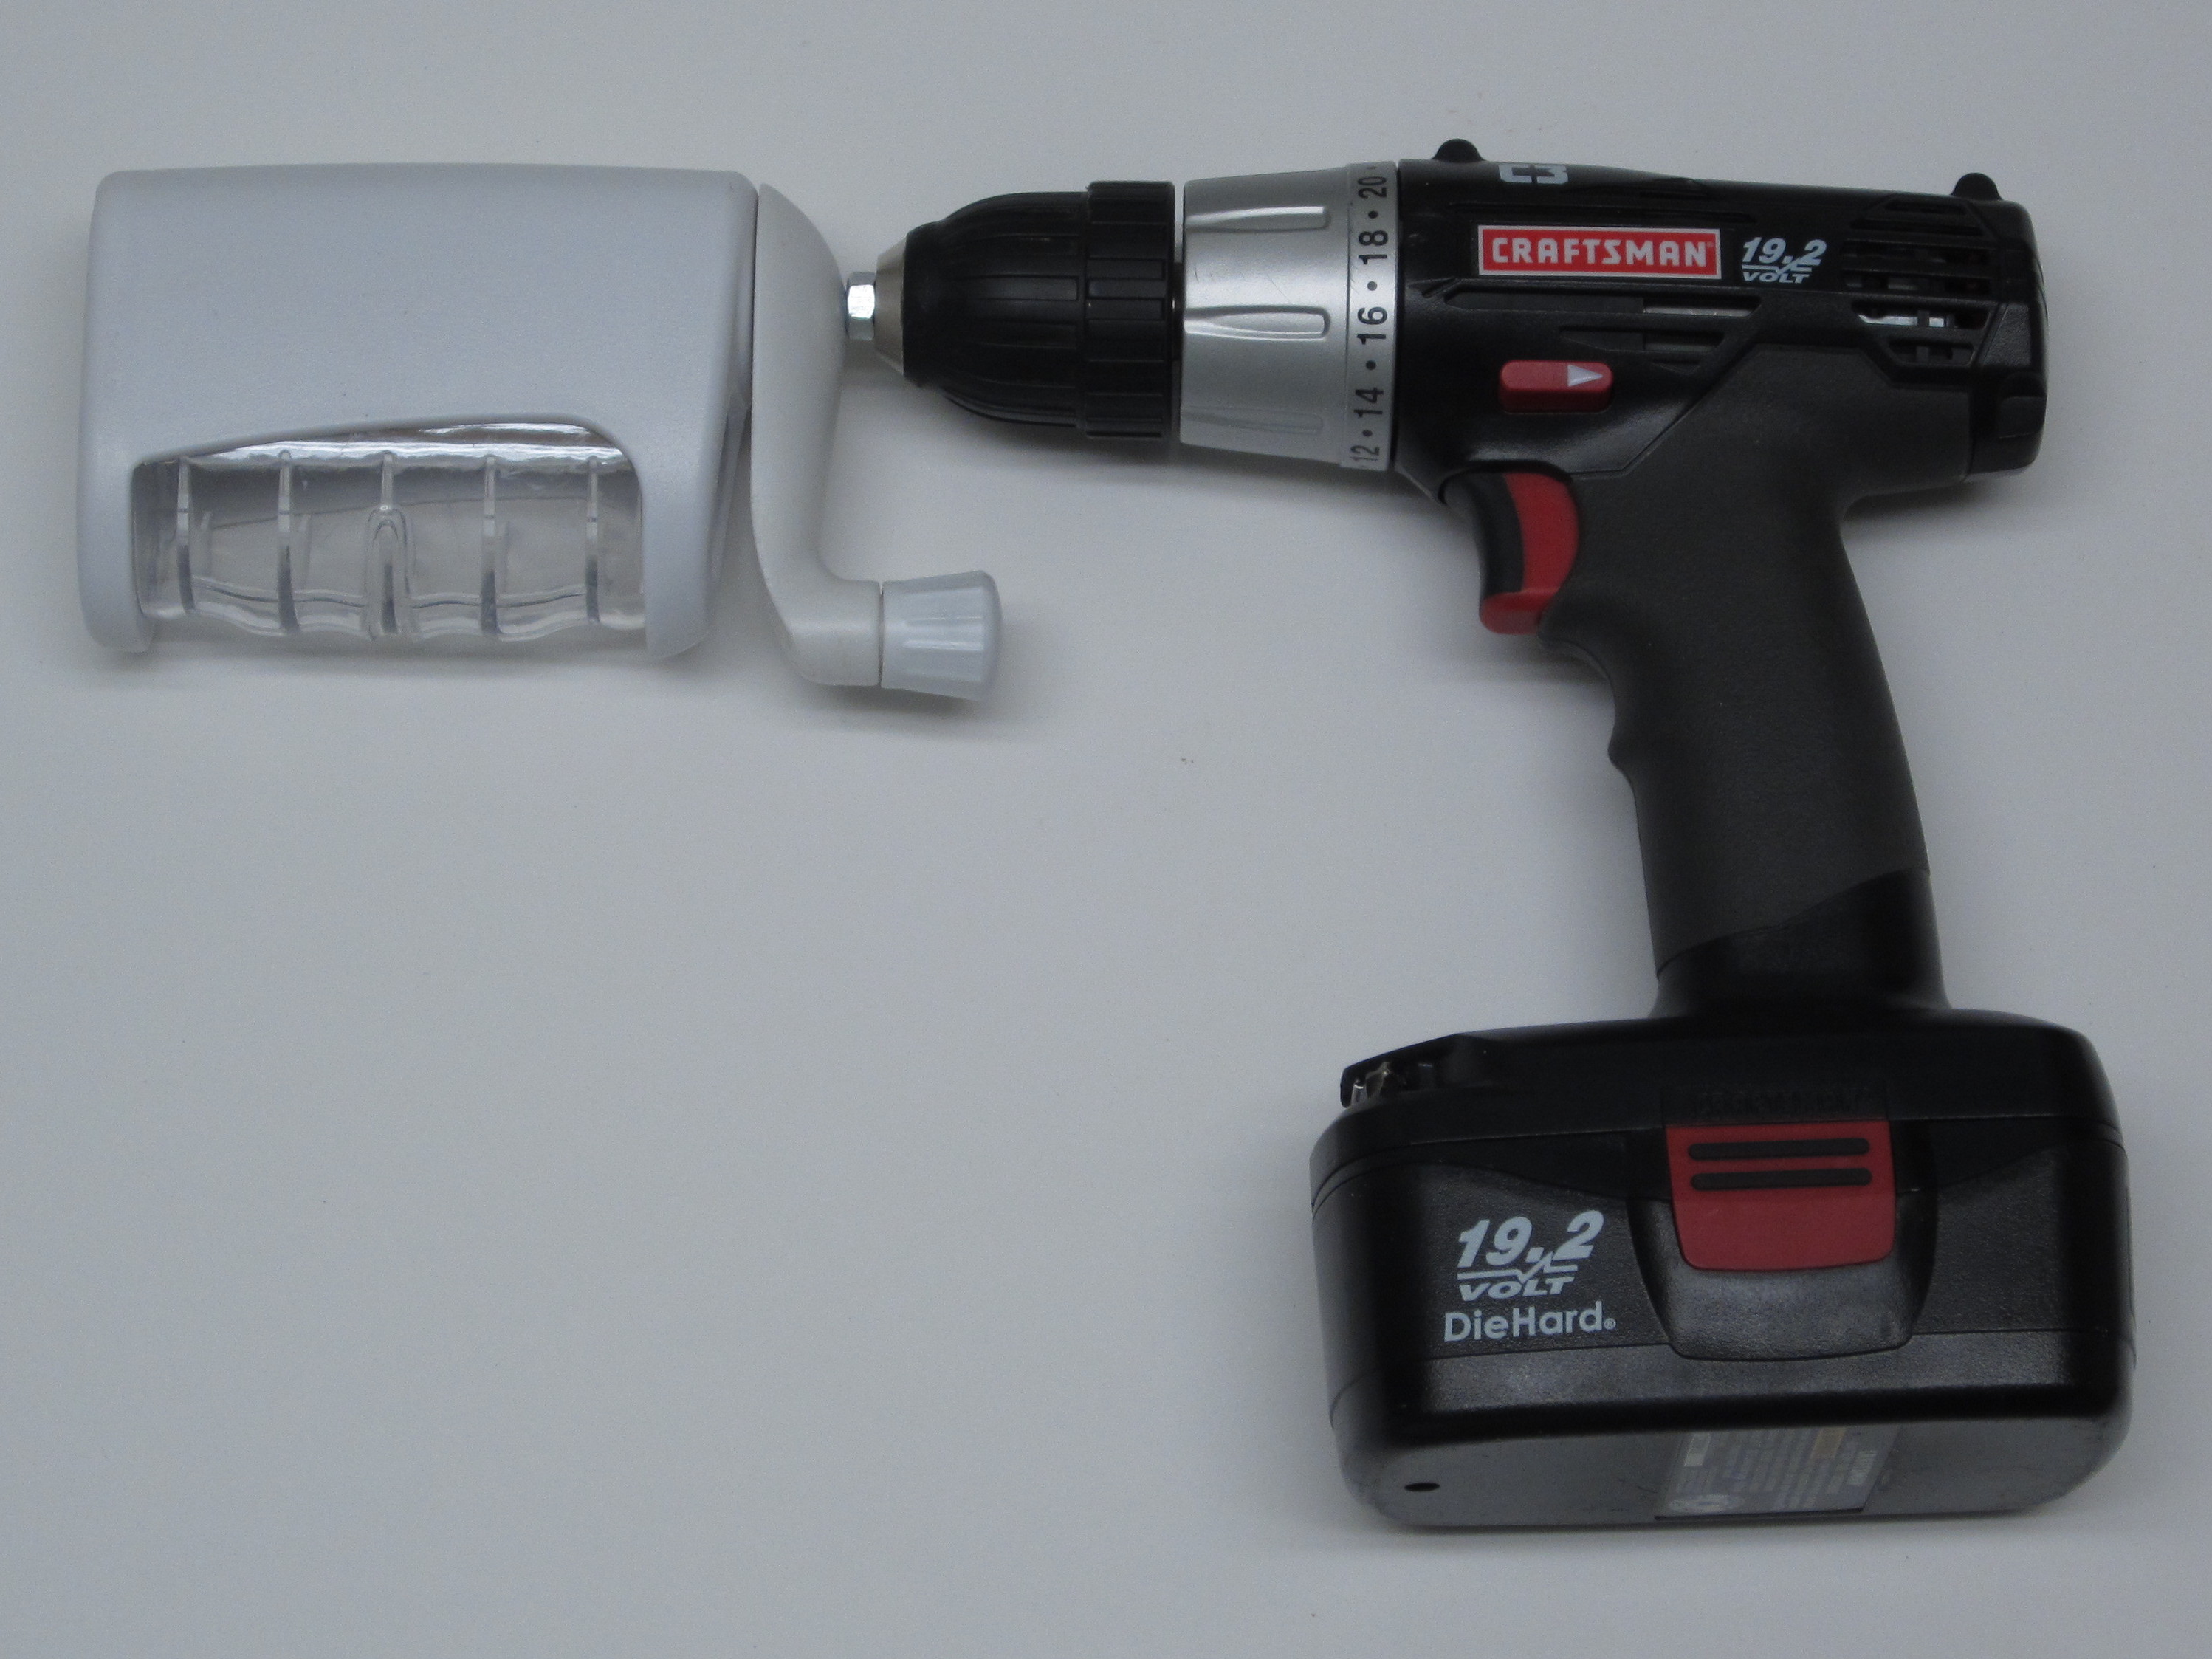
What if you want to add some freshly grated cheese to your dish? No problem. Making a power cheese grater is easy. Start by disassembling a standard rotary cheese grater. The crank handle is the part that we will be modifying. Find and mark the center of rotation on the handle.

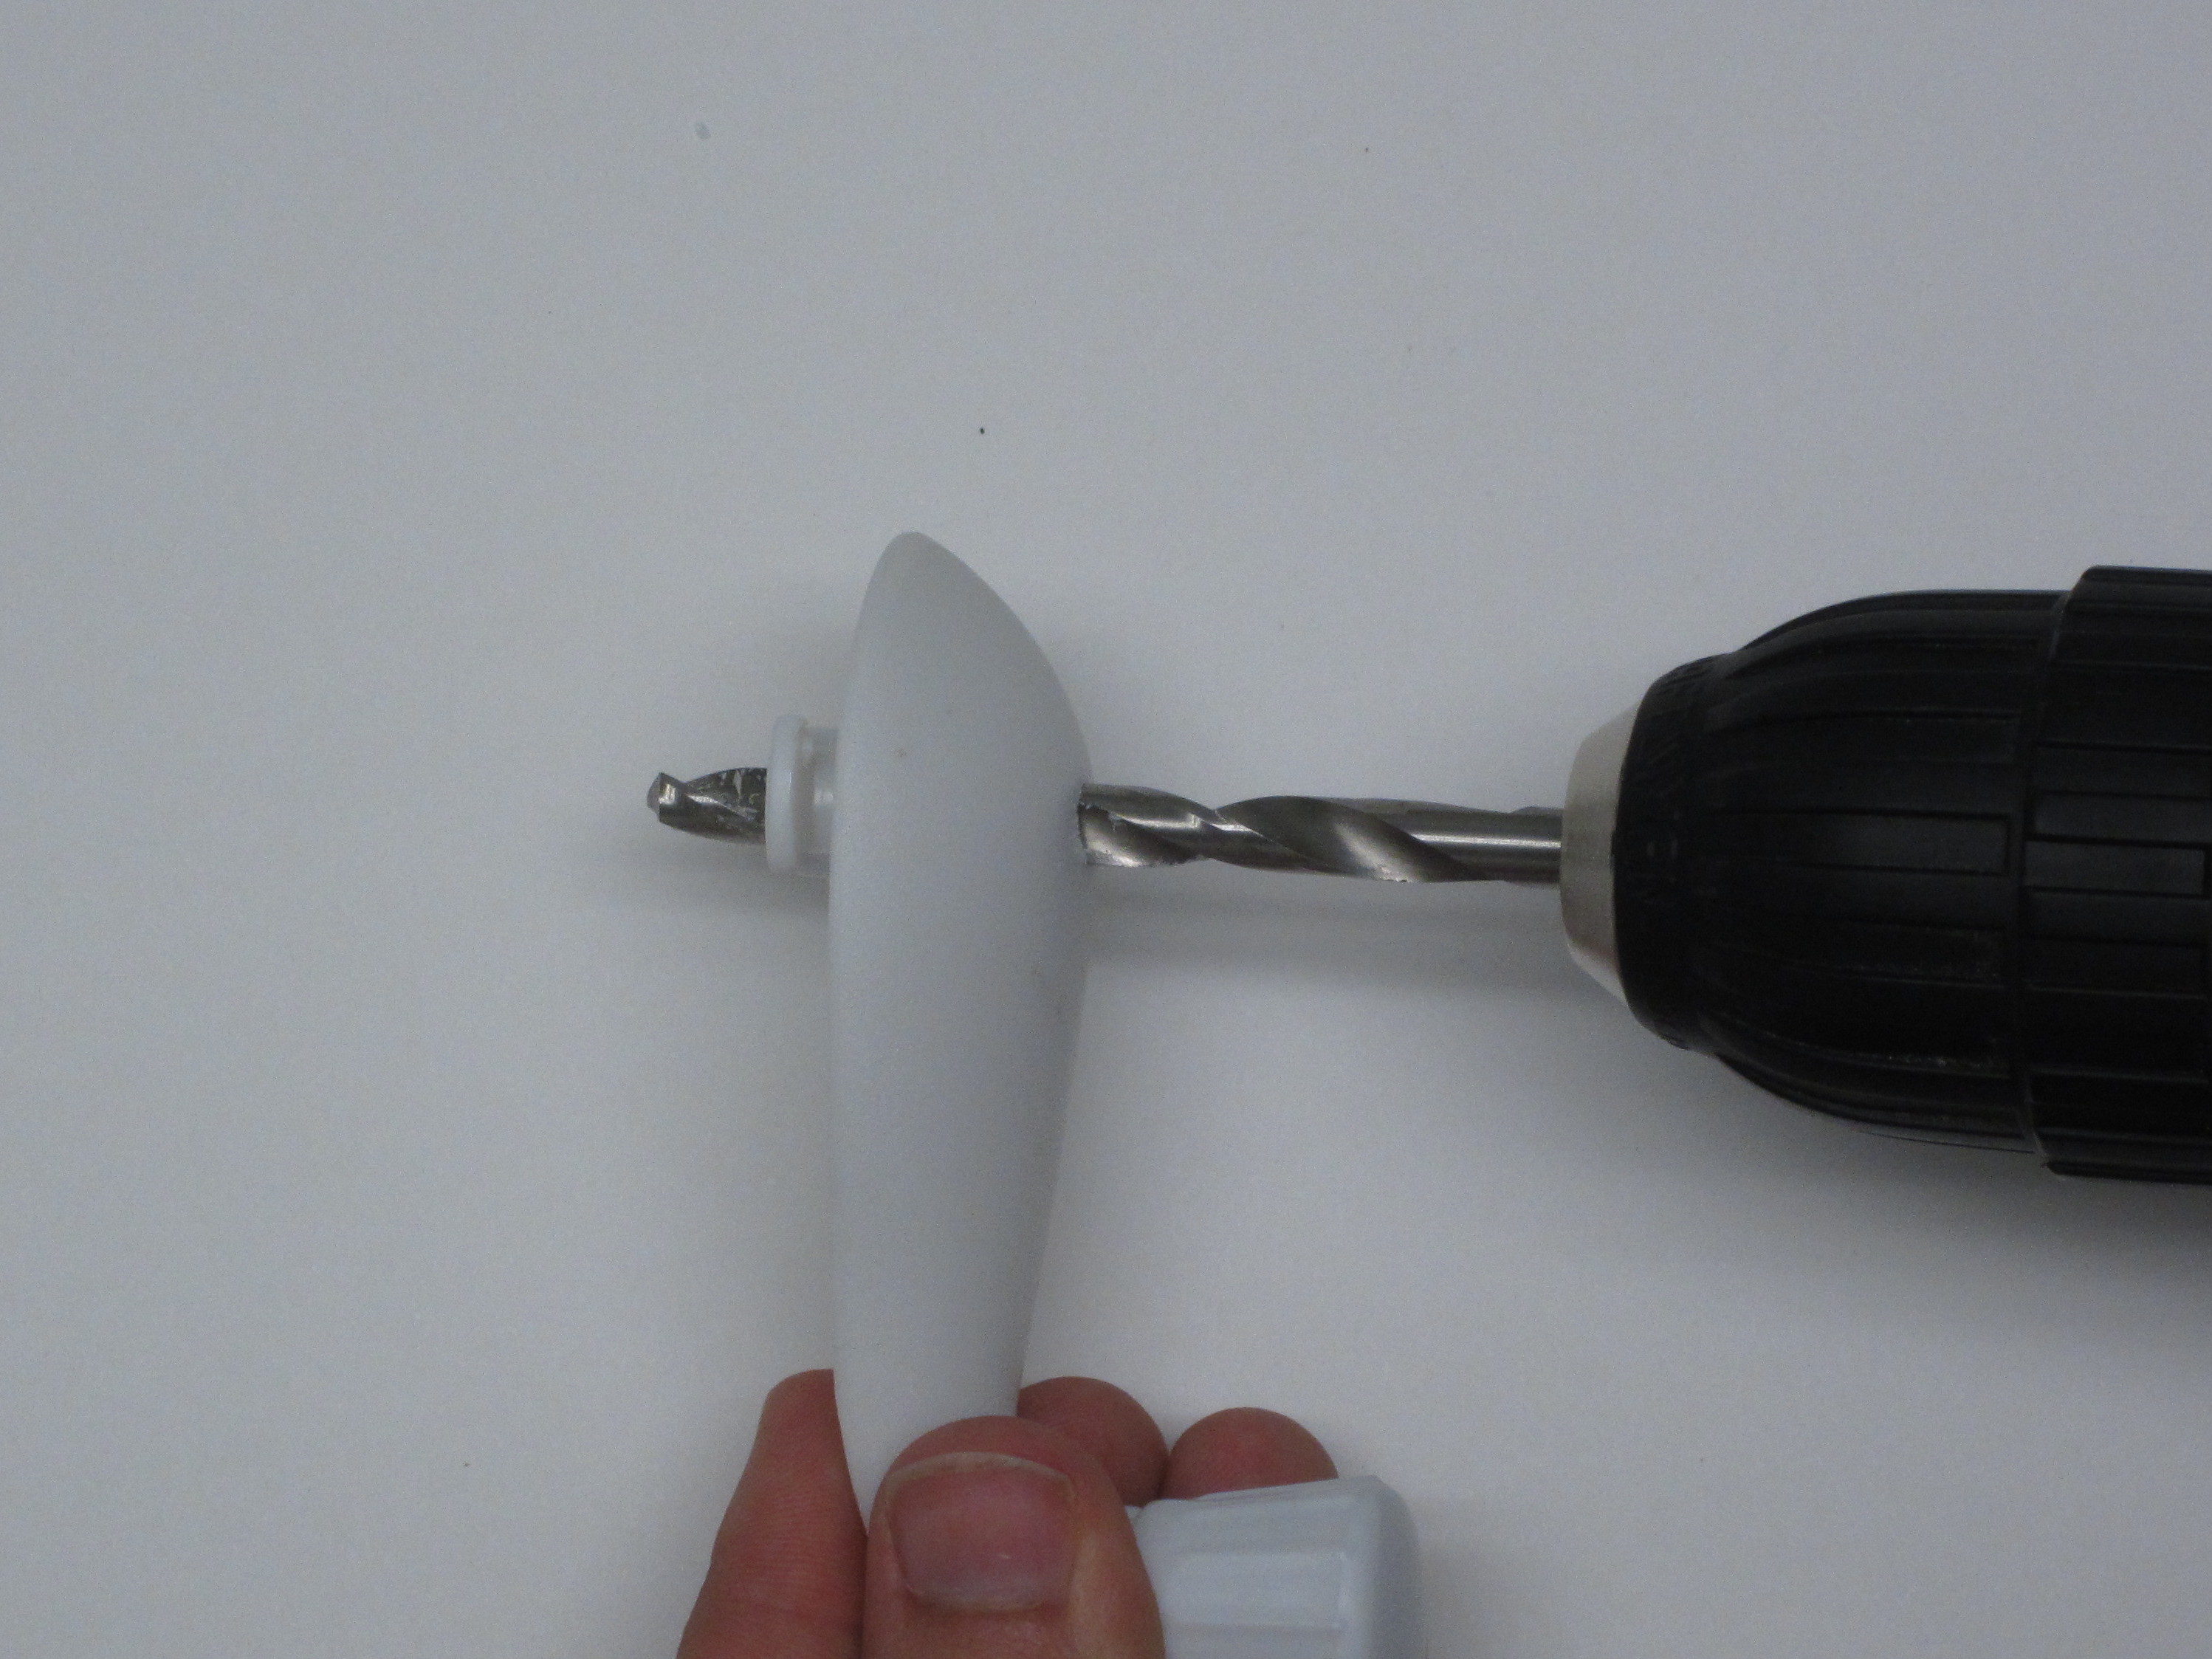
The drill a 1/4″ hole all the way through the handle. Be careful to keep it lined up with the center point. If the attachment point isn’t lined up with grater it will cause the whole thing to wobble during use.

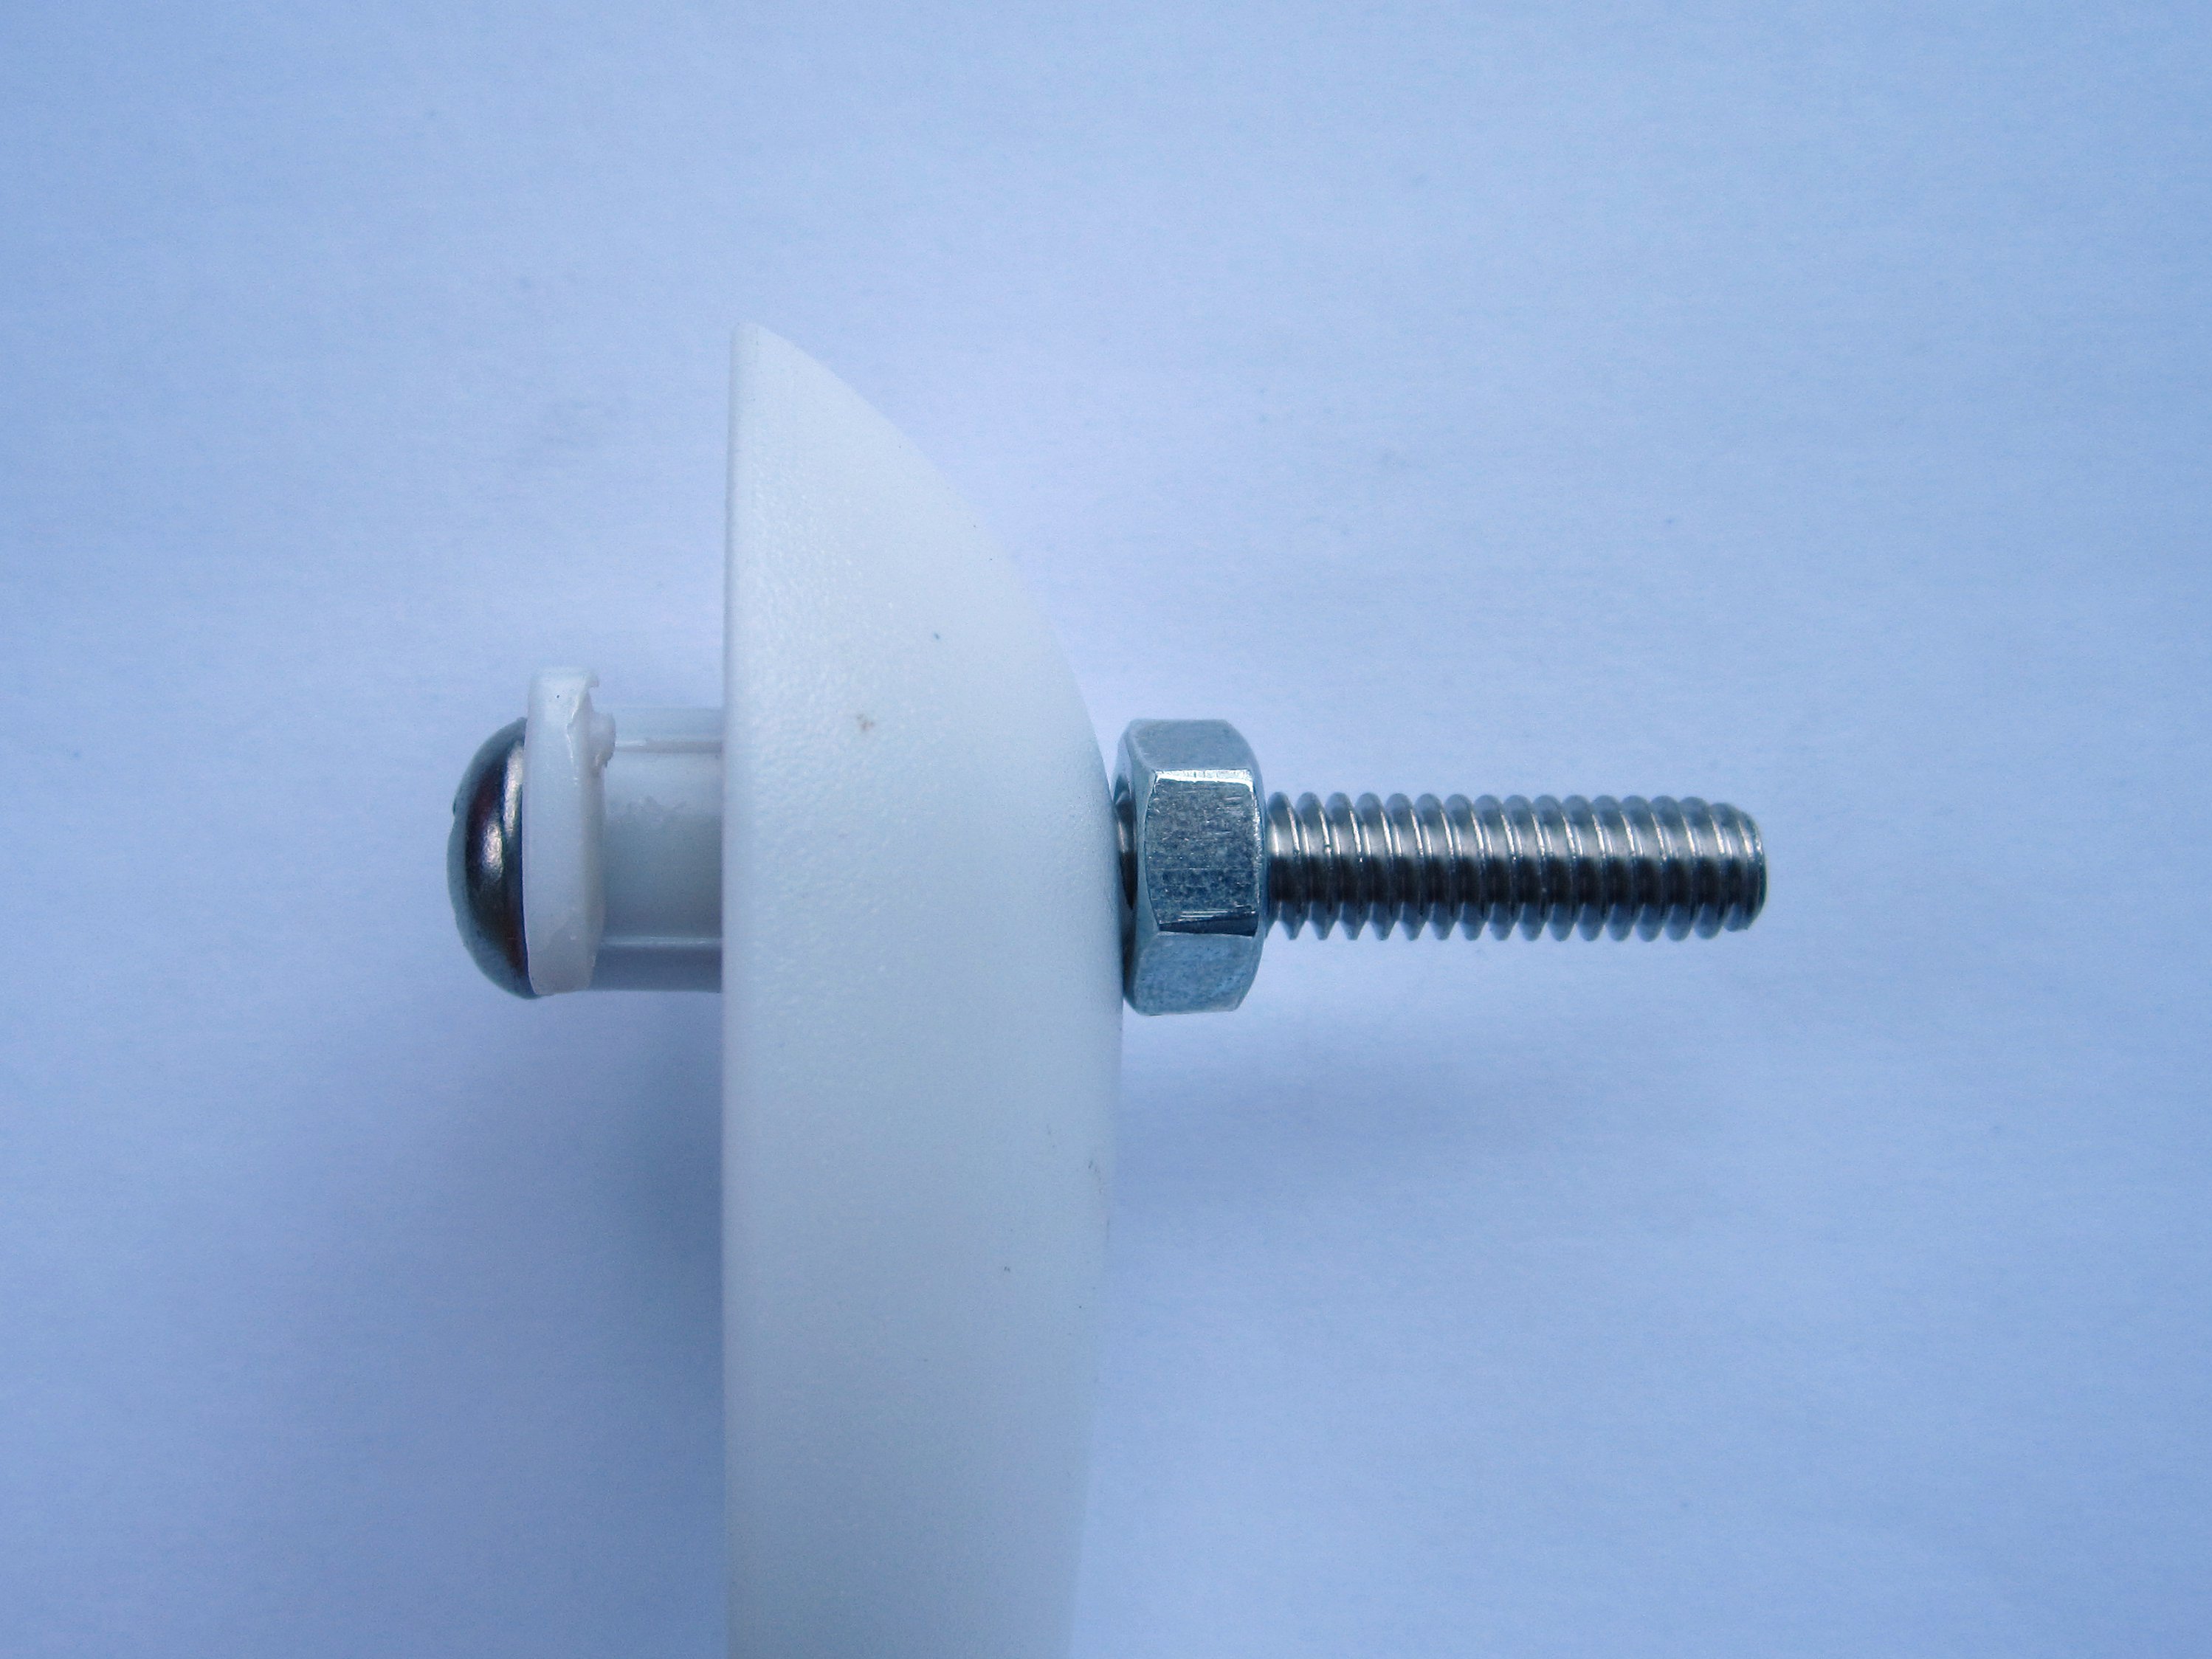
Then insert a 1/4″ bolt through the drilled hole with the head of the bolt on the inside of the grater. The length of the bolt isn’t critical. It just needs to be long enough to stick out past the end of the handle by at least 1/2″.

Then tighten a 1/4″ nut onto the outside of the bolt and reassemble the cheese grater. Just attach the drill to the exposed bolt and you have a power cheese grater. If the bolt spins free of the handle during use, you need to tighten the nut more firmly until the handle and bolt spin together.

With your power cheese grater, you can make a mountain of freshly grated cheese in seconds.

Dish Scrubber Attachment

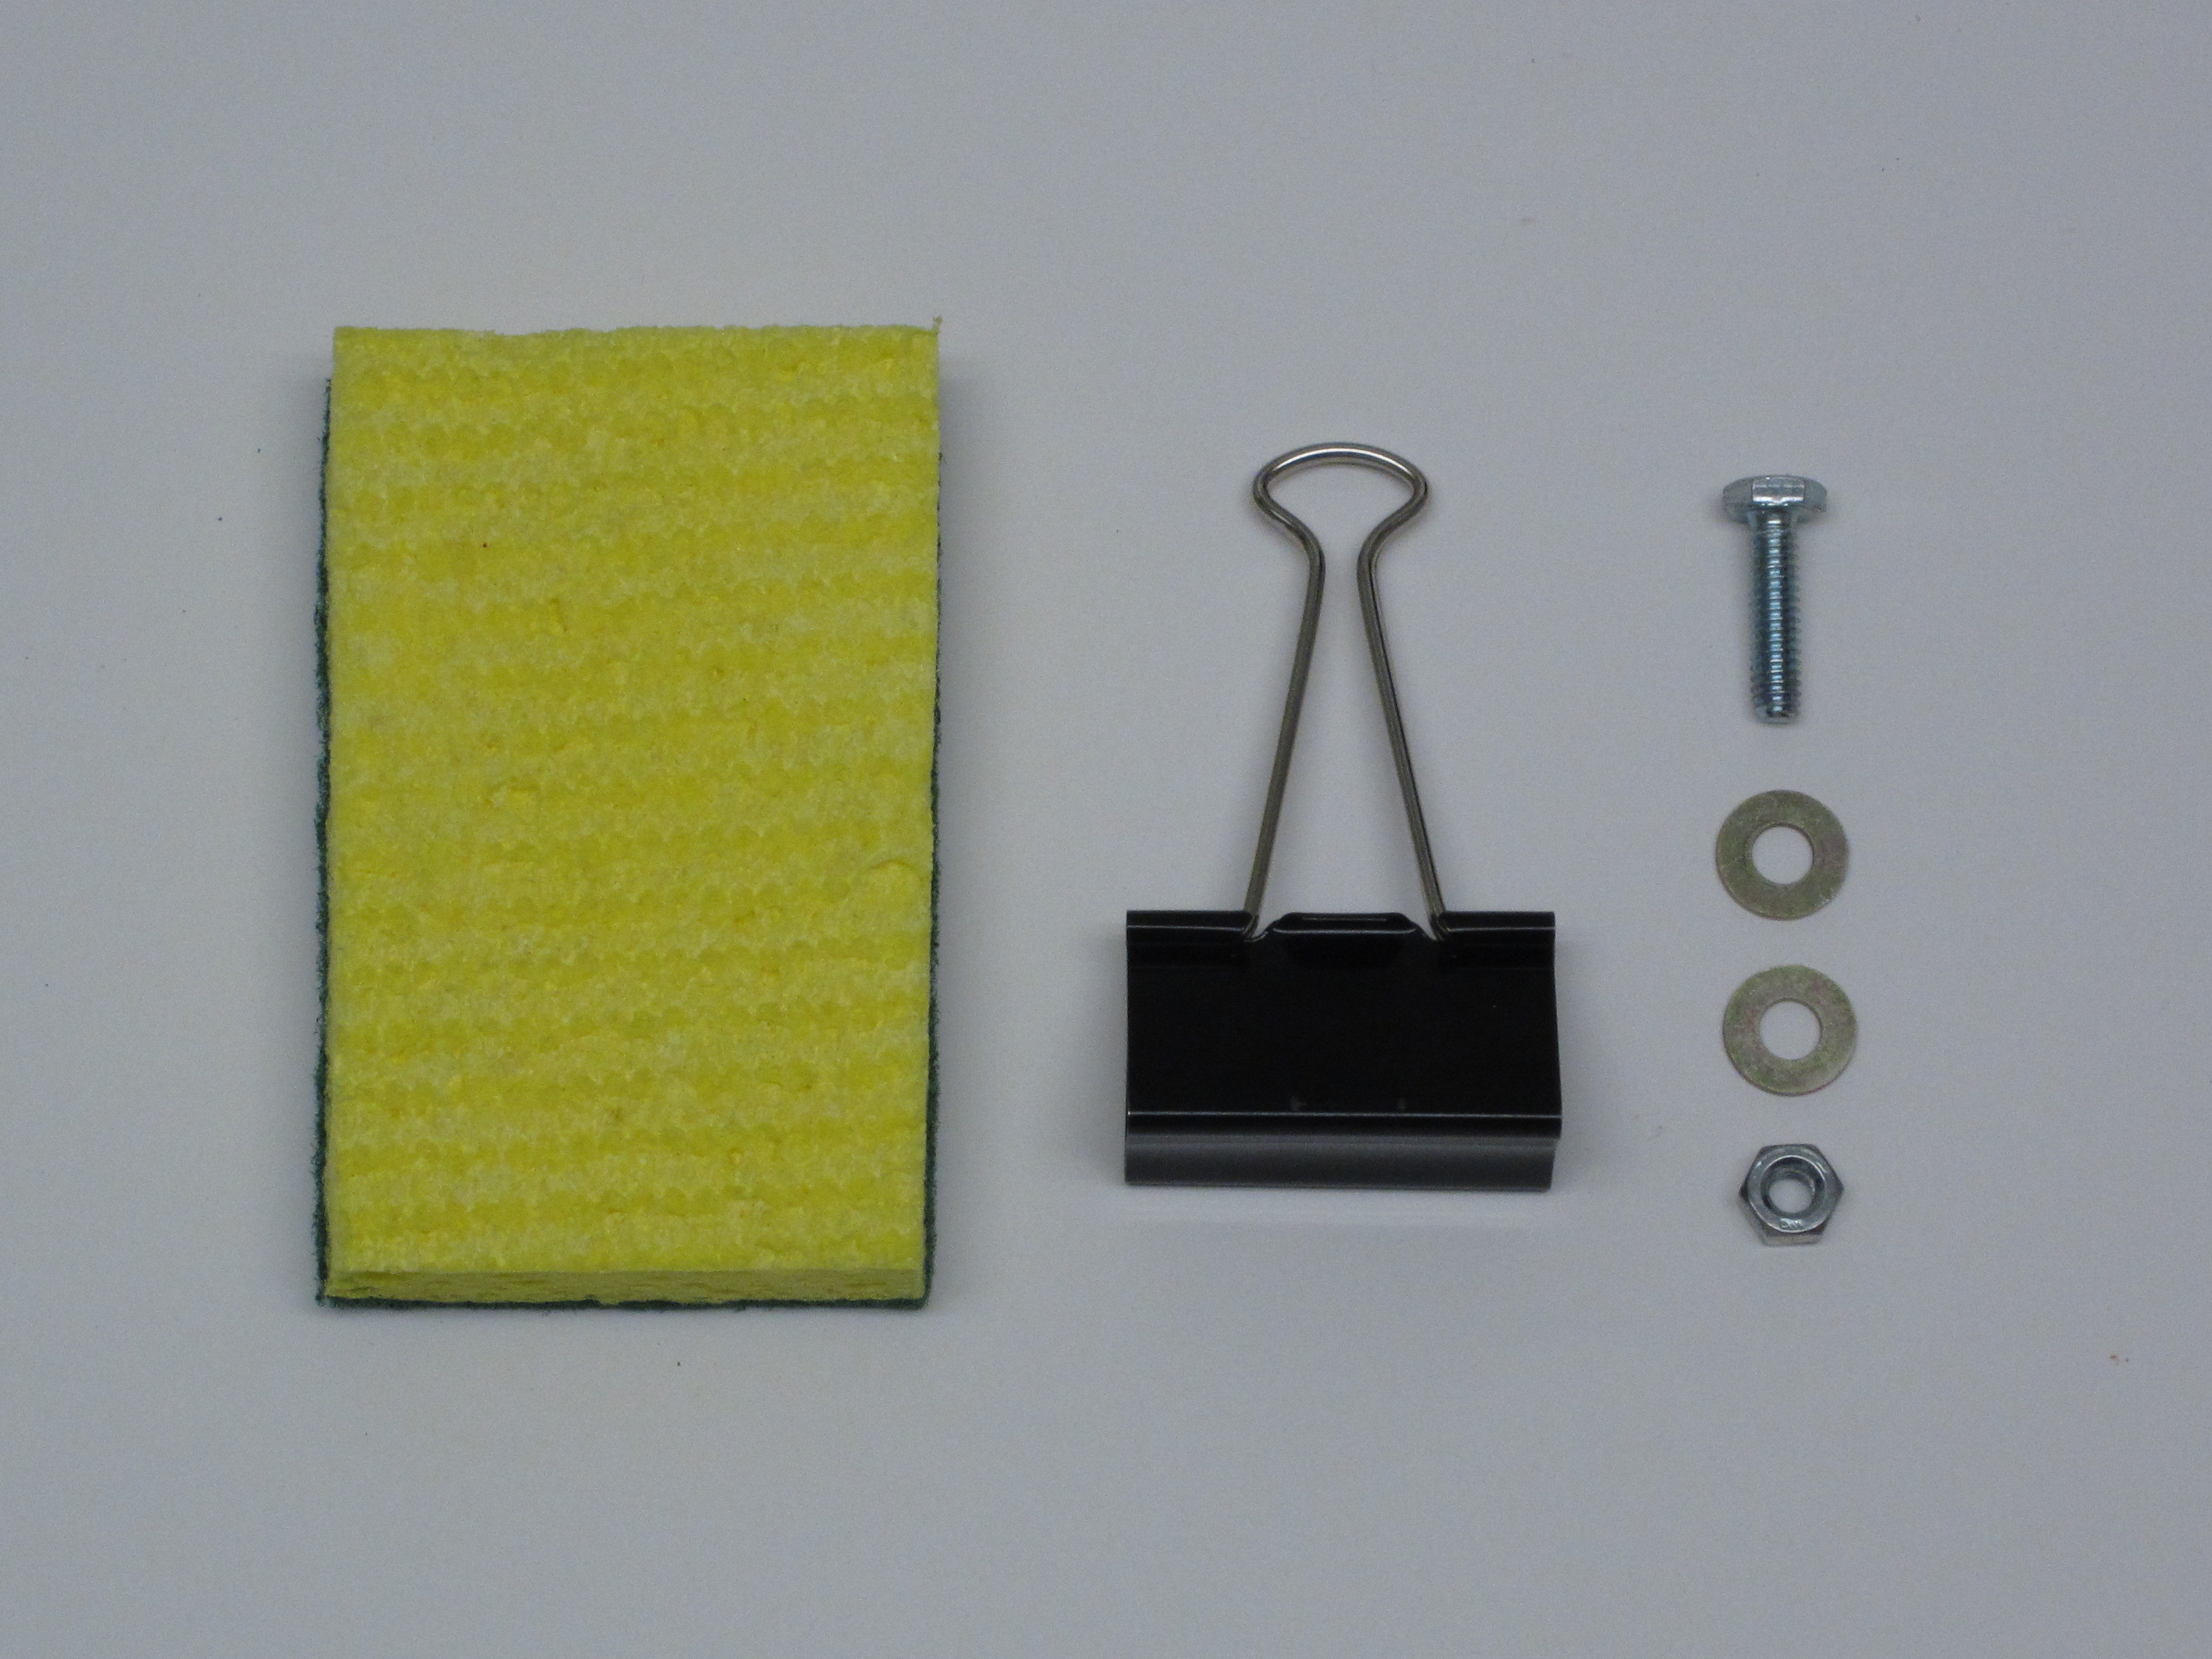
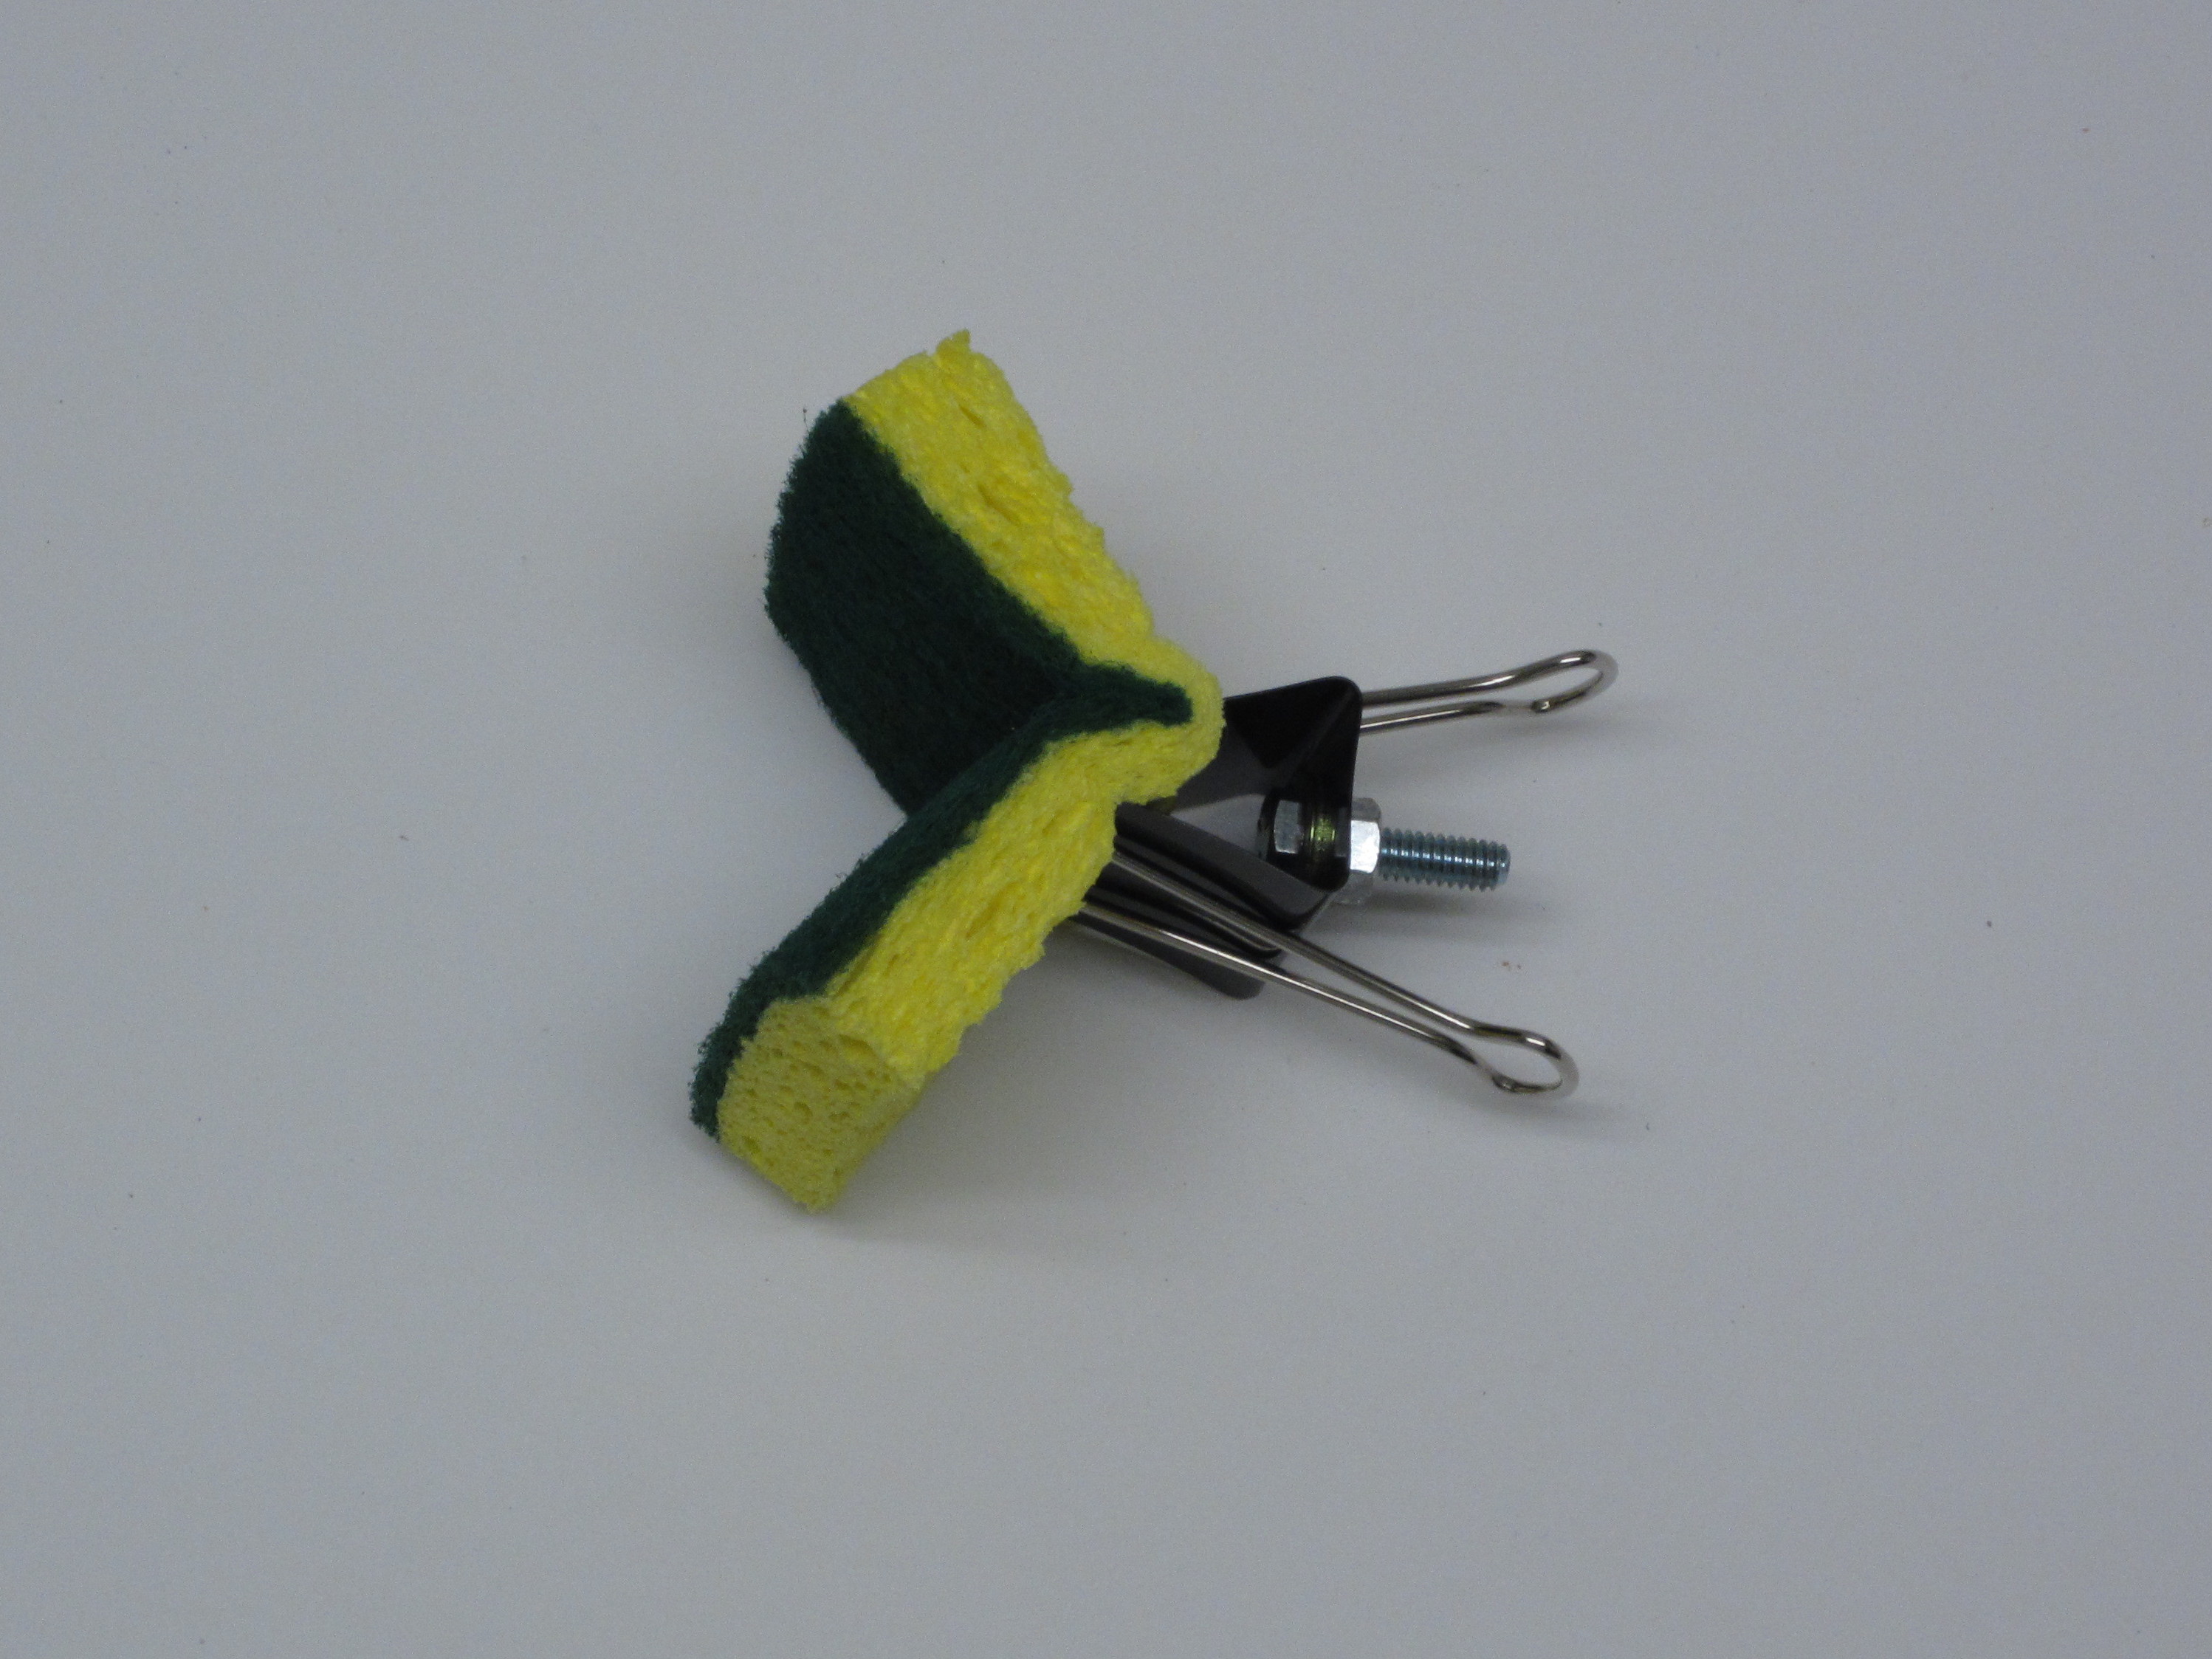
When you are done cooking, your drill can even help you clean up. All you need is a simple dish scrubber attachment. To make one you will need the following materials: A large binder clamp; a 1/4 inch bolt that is at least 1 inch long; a 1/4 inch nut; two 1/4 inch washers; (optional) a dish sponge.

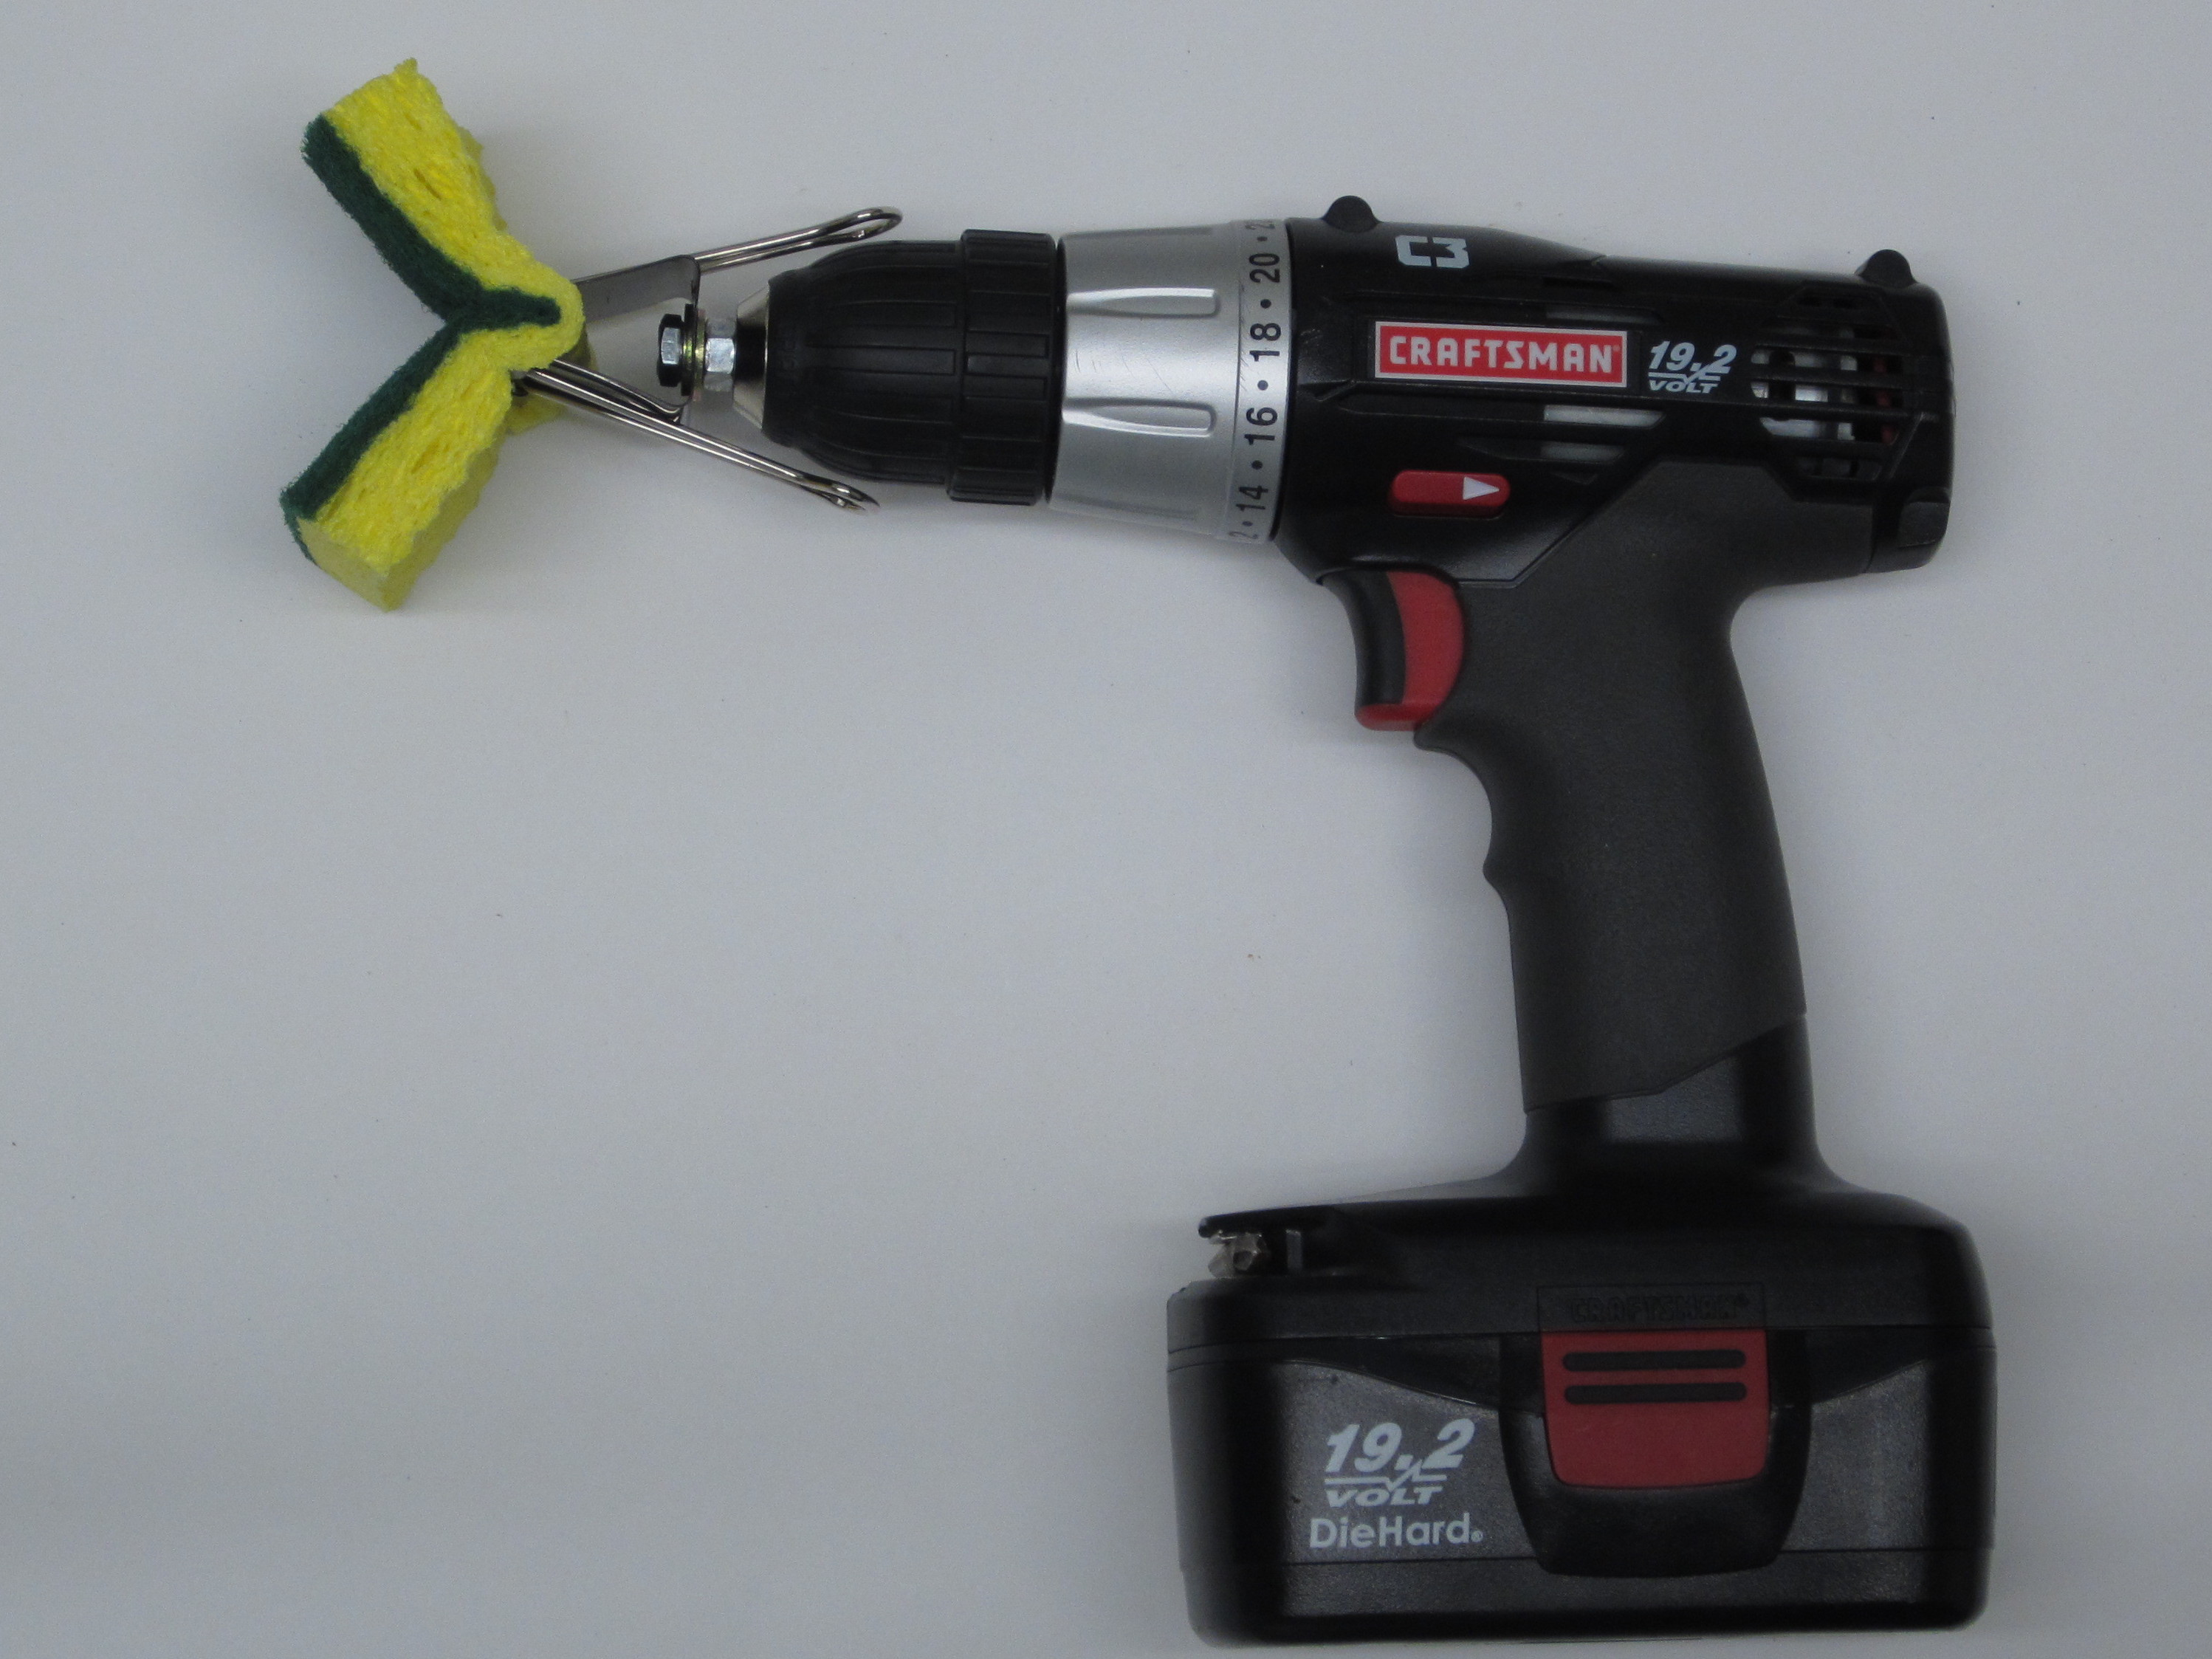
Start by drilling a 1/4 inch hole in the back of the binder clamp. Try to keep the hole as centered as possible. Insert the bolt through the hole so that the threads stick out of the back of the binder clamp. Then tighten a nut on the bolt (add washers if desired). Clamp a sponge into the binder clamp and the dish scrubbing attachment is complete.

Make sure that there is no point where the binder clamp might be exposed to the dishes. This can quickly scratch up and ruin a dish. Insert the dish scrubber attachment into your drill and you are ready to clean dishes with more power.

Conclusion

By adding a power drill to everyday cooking tasks, you can make them more fun. It's a great way to get the family involved.