Read articles from the magazine right here on Make:. Don’t have a subscription yet? Get one today.

The Tech Studio in the Tech Museum of Innovation is a flexible interactive space intended to inspire the maker in everyone through design challenge learning.

In creating Just Wing It, our most recent studio project, I wanted to draw out the wonder that flight inspires in all of us.

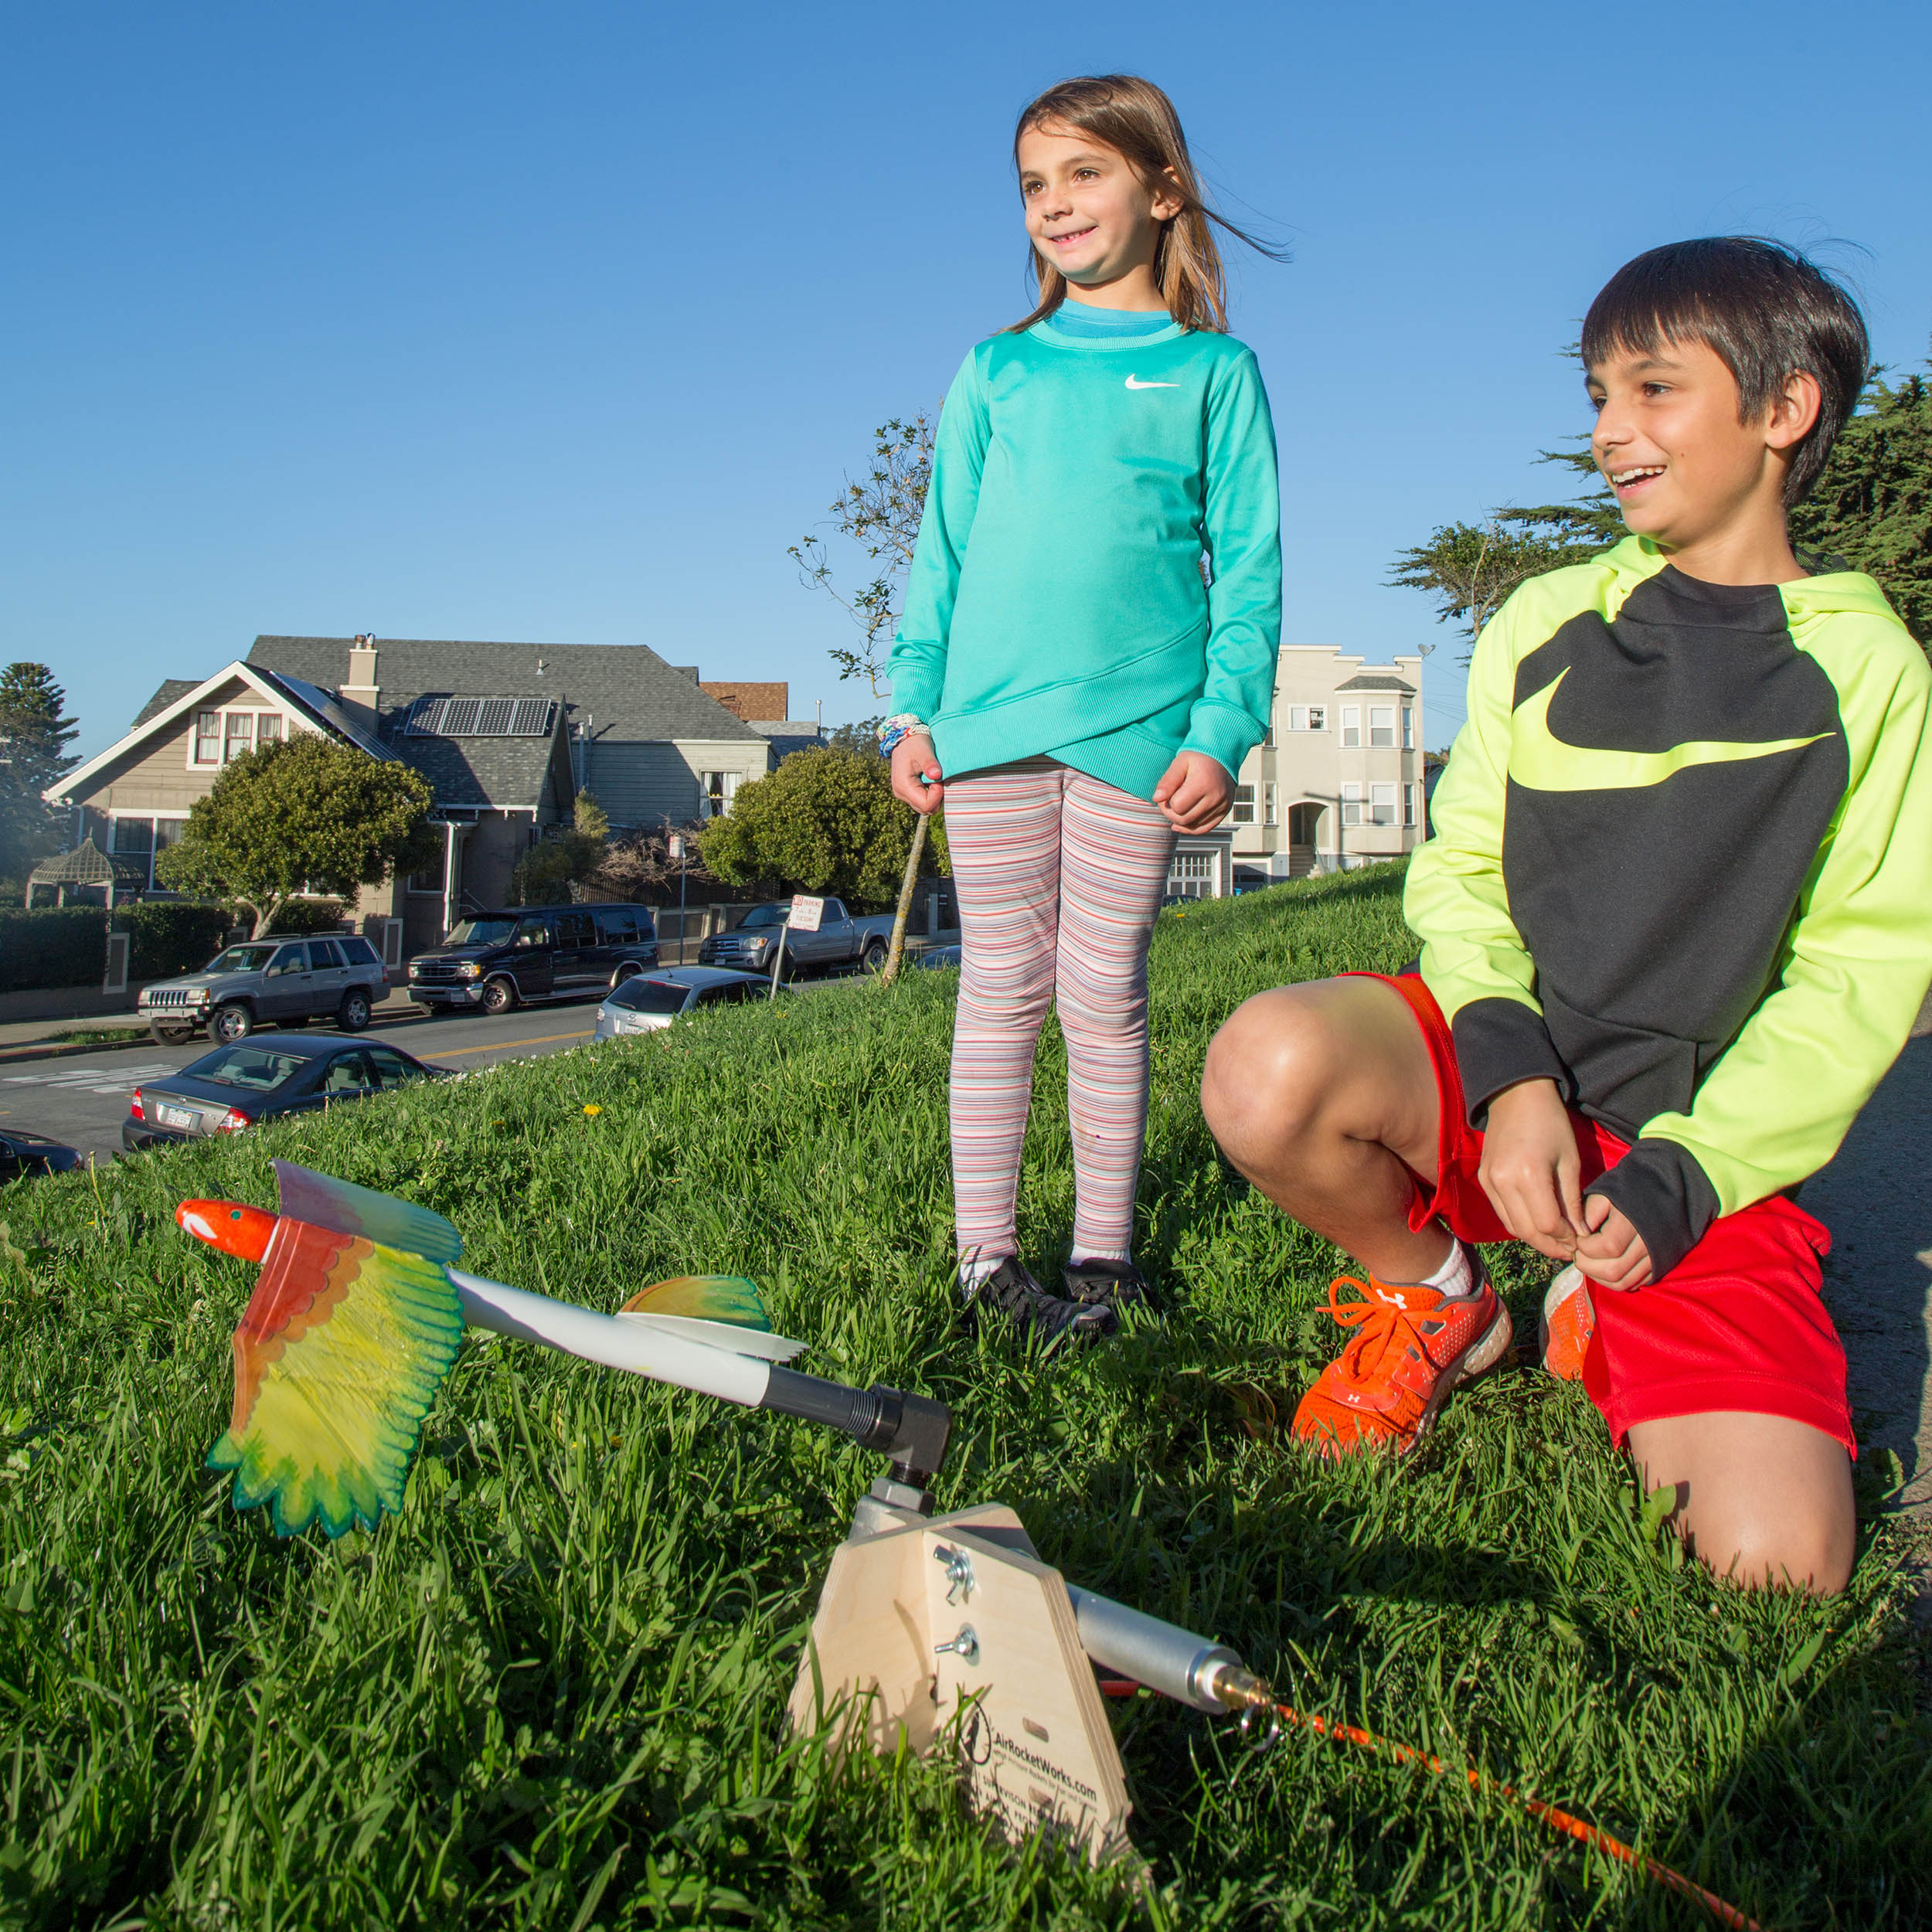
In Just Wing It, guests can choose from a variety of components to design unique flying contraptions. In order to encourage creative design, the exhibit contains a wide library of biomimetic and whimsical wings. These wings are added to fuselages that were built off of Rick’s nylon Air Rocket Gliders.

image (5)

For the testing rig, I took the Compressed Air Rocket Launcher and expanded it to create a two-person rig where guests can see their creations fly simultaneously. The modular glider design ensures that guests can quickly iterate after each launch to test multiple design ideas during the experience.

The best part of the Just Wing It has been seeing guests go from a less than successful design, to gliders that reach the ceiling. It’s not uncommon to hear cheering from that section of the museum floor!

-Katherine

What will the next generation of Make: look like? We’re inviting you to shape the future by investing in Make:. By becoming an investor, you help decide what’s next. The future of Make: is in your hands. Learn More.

Project Steps

Compressed Air Glider Launcher

Since I first introduced the Compressed Air Rocket Launcher to the world in Make: Issue 15 in 2008, it’s been incredibly popular. After a while, I realized the launcher could be used not just as a rocket launcher, but a launch rig for other things as well. I finally had a chance to try this out when approached by The Tech Museum to help with a new exhibit this past year.

This glider launch rig utilizes our latest version of the Compressed Air Rocket Launcher made a solid wood and metal industrial design. I give a huge amount of credit to my partner at AirRocketWorks.com, Keith Violette, for his design and manufacturing brilliance. Since designing the exhibit for The Tech Museum, we now have a custom ABS tube and squishy foam nose cone that fit on the standard ½” PVC launch tube, making this project even more accessible to individuals, teachers, and Maker Camp directors.

Follow these simple steps to create a whole new design and prototyping experience using the Compressed Air Rocket Launcher.

STEP 1

Build the Compressed Air Rocket Launcher but don’t add the ½” launch tube

Compressed Air Rocket Launcher

STEP 2

Add pipe seal (teflon) tape to the threaded male side of the NPT street elbow, then thread it into the top of the QEV valve — the port labeled “R”. The street elbow is necessary because the QEV needs to operate at a vertical angle so the rubber diaphragm inside resets after each launch.

Photo Mar 16, 4 40 17 PM

STEP 3

Tighten the street elbow into the QEV valve so it points away from the launcher.

STEP 4

Now screw the ½” gray PVC launch tube to the street elbow so that it sticks out at a 90° angle. The connection between the street elbow and PVC tube does not need any pipe sealing tape. You can adjust the angle of the launch tube by loosening and then tightening the wing nut on the launcher that holds the aluminum pressure chamber in place.

STEP 5

Attach a bicycle pump or compressor with a pressure gauge to the launcher. Slide your glider prototype onto the launch tube. Set the slide valve to the “Pressurize” position and add 10psi–15psi of pressure. This should be plenty for launches of 50’–100′. Move the slide valve back to the “Launch” position and watch your glider shoot off!

This is a prototype rig, so adjust your glider as you go. Experiment with different wing sizes and materials, using the ABS tube and foam nose as your building platform.

-Rick

Build the Gliders — Quick Build with Velcro

Several types can be built. The velcro model was used at The Tech Museum for quick iterations for museum guests.

STEP 1

Insert and tape the squishy nose cone to the precut lightweight ABS tube. If you don’t tape it on securely, it will blow off when your glider is launched, even at 10psi or 15psi. If you forget to tape it on, you can also glue it on with super glue or a hot glue gun.

STEP 2

Cut four 10″ lengths of adhesive velcro tape and stick to the fuselage.

STEP 3

Attach the other half of the velcro tape onto your wings of choice. Pictured below are the durable plastic wings used for thousands of launches at The Tech Museum exhibit. Now kids can quickly swap a variety of wings on and off for rapid experimentation.

Build the Gliders — Mixed Materials - STEP 1

Insert and tape the squishy nose cone to the precut lightweight ABS tube, as in the previous project.

STEP 2

Build your wings out of a variety of materials. You can use the template or laser cut files, or design one with your own shape.

STEP 3

To make the main wing, you can hot-glue the two pieces together with a dihedral angle.

STEP 4

Glue the rudder to the elevator.

STEP 5

Rubber-band the wings to the fuselage. With the force at launch, you might find the fuselage firing off and leaving the wings behind. If so, you might need to make some tweaks.

STEP 6

Your finished glider is ready for launch!

This project has tons of flexibility in both materials and scale. If you’re building with younger kids, the velcro works great because kids can add and swap out various wings and materials. Simply pre-make lots of fuselages and wing materials and then let the kids go to town! This is how it ran at The Tech Museum with hundreds of gliders being built and flown each day.

-Katherine

Adjusting your gliders to fly better

Your glider should fly level with a gentle climb. If it stalls or dives, try the following:

  • If your glider noses up, stalls, and then falls to the ground, you can try moving the main wings forward or adding weight to the nose. A neat and clean way to add weight is to take off the nose cone and tape one or more ¼” washers inside the nose cone before putting it back on again.
  • If your glider goes right into a dive, you need to move the main wings back and/or add weight to the back of the glider.
  • If your glider flies level, but banks to the right or left, try adding a moveable cardboard (or post-it note) rudder or ailerons.

Your glider is all about trial and error and learning what it takes to get it to fly straight and level.