biketrailer-1
Photo by Hep Svadja

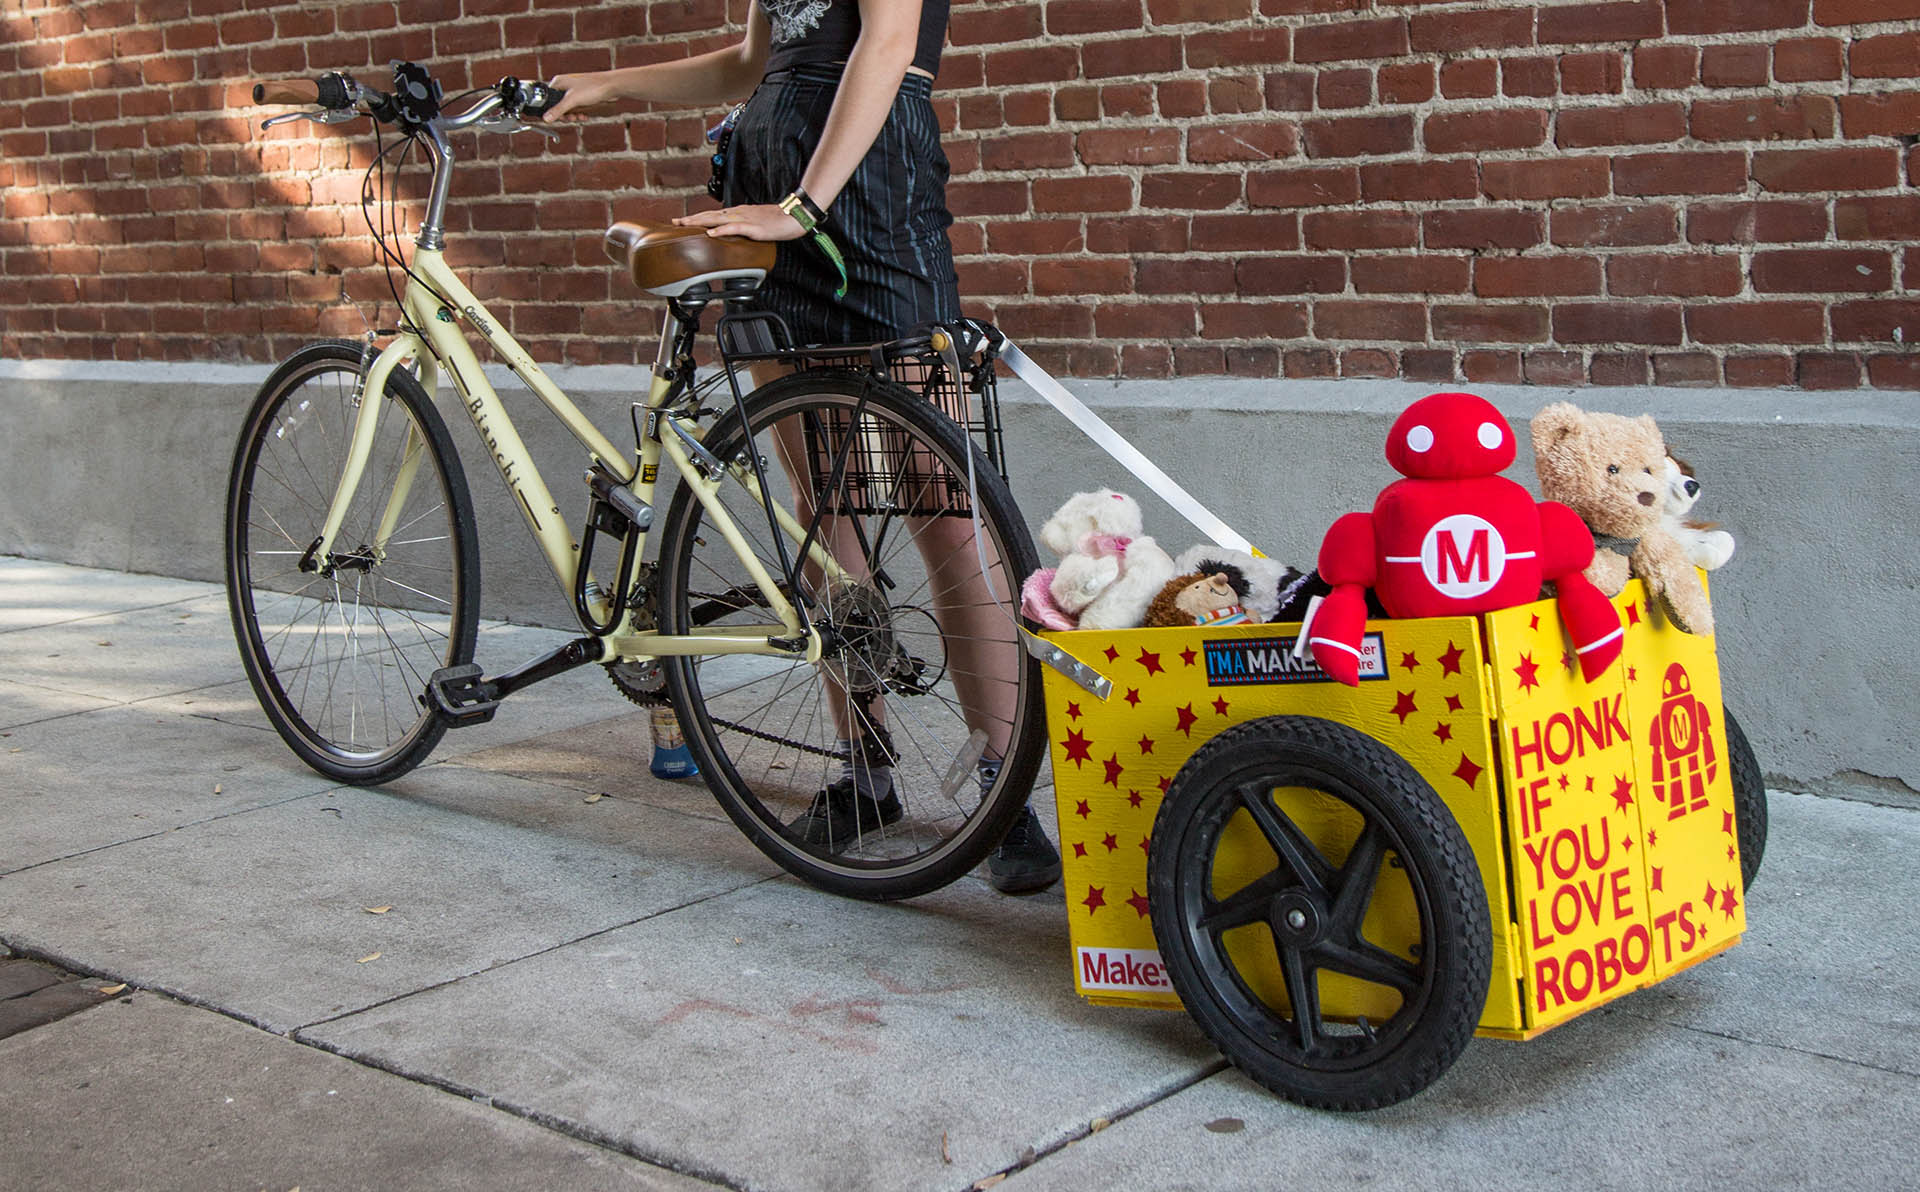
After looking for bike trailers, I wasn’t thrilled with the choices. Spend $250 for one I sort of like? It was just too much. So I built this folding, origami-ish trailer on the fly with what I had at hand. In New York City space is at a premium, so it had to fold up so that I can store it in my squish-box of an apartment. I decided right away to use ½” plywood; I knew ¾” would be too much weight.

Here are the results of my tinkering. There’s lots of room for improvement, but it easily carries 100+ pounds. Plus I can stick my monstrous Chevy Volt battery inside — really extending the range of my electric bike!

With the handle I designed, it also works as a simple cart. I drew up some rudimentary plans to help you build one too.

Project Steps

1. BUILD THE FOLDING BOX

Click for larger version. Diagram by James Burke
Figure A. Click for larger version. Diagrams by James Burke

Follow the assembly diagrams and photos here (Figure A), then test the folding action. I found that the folds worked fairly well. If the box sags, you can keep it nice and square by adding 2 hasps inside, to lock each bottom panel to a front or back panel.

2. ADD THE WHEELS

The axles are ½” bolts attached directly to the plywood with large flange washers. I used a 5/8″ spade bit for the axle holes.

trailersteps-7
Figure B. Photo by Hep Svadja

Test-fold the trailer again and mark where the wheel bolts touch the bottom panels. Then drill 1″ clearance holes for the axle nuts to fit into (Figure B), so it’s narrower when it’s folded (Figure C).

Figure C. Photo by Hep Svadja

3. ADD THE TOP COVER

Since it all has to collapse, the top cover is removable for storage. I used 3 hasps to attach it; the 2 inside hasps I had to bend for a better fit. I locked mine with little carabiners (Figure D) but you could also just use a twist-lock style hasp.

Figure D
Figure D. Photo by Ray T. Lam
Photo by Ray T. Lam
Photo by Ray T. Lam

4. PAINT

Remove the wheels and paint the trailer. I used Boeing green epoxy primer.

5. MAKE THE TOW BAR

Figure E
Figure E

For the tow arms (Figure E), I used 1/8″ flat steel bar from Home Depot and bent it to the configuration you see here. For the handle I used 1″ aluminum pipe. Threaded rod (¼”) holds the pipe between the bars.

6. FINAL ASSEMBLY

Figure F. Photo by Ray T. Lam

I used four 5/16″ bolts with wingnuts to attach the tow bar to the trailer, because I want it to be removable. If you remove only the 2 rear bolts it folds down neatly (Figure F).

I’m using a bungee cord right now to attach it to my rear bike rack. Just haven’t gotten around to building a better coupling yet — stay tuned.

There you have it. It still needs lots of minor modifications but it’s very usable — and foldable!

Photo by Ray T. Lam
Photo by Ray T. Lam