SmartphoneGarage-6

Old garage doors often have large, clunky remote control clickers. While purchasing additional remotes for old systems is possible, it’s a bit of an affront to my Maker spirit.

Rather than buy, I decided to brainstorm a DIY solution. I have a few basic system requirements.

  • Use in multiple vehicles
  • Small remote clicker so I can stash it in my pocket
  • Low cost
  • Secure
  • Minimal effort

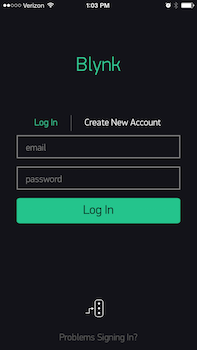
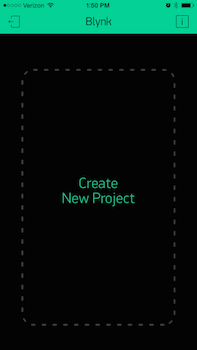
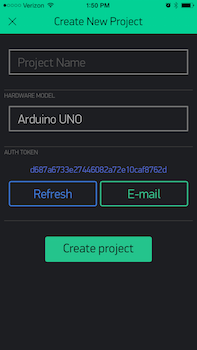
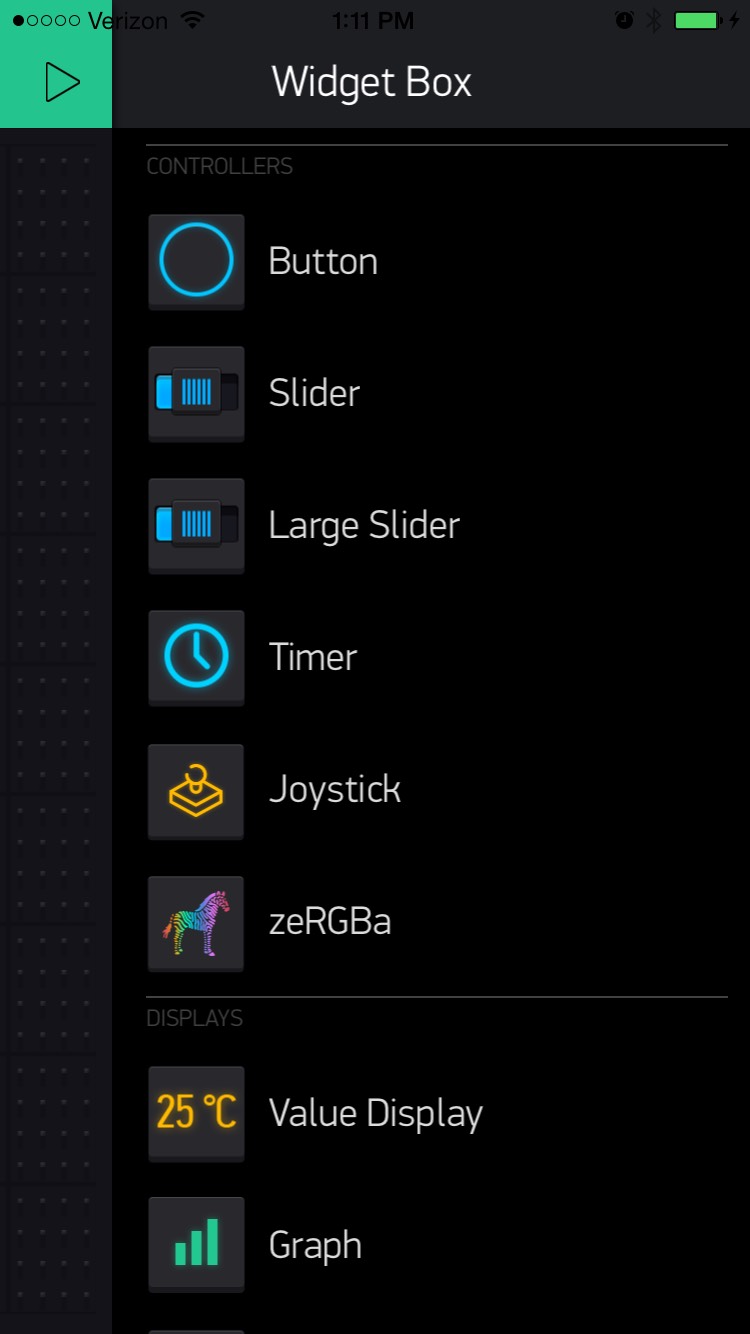
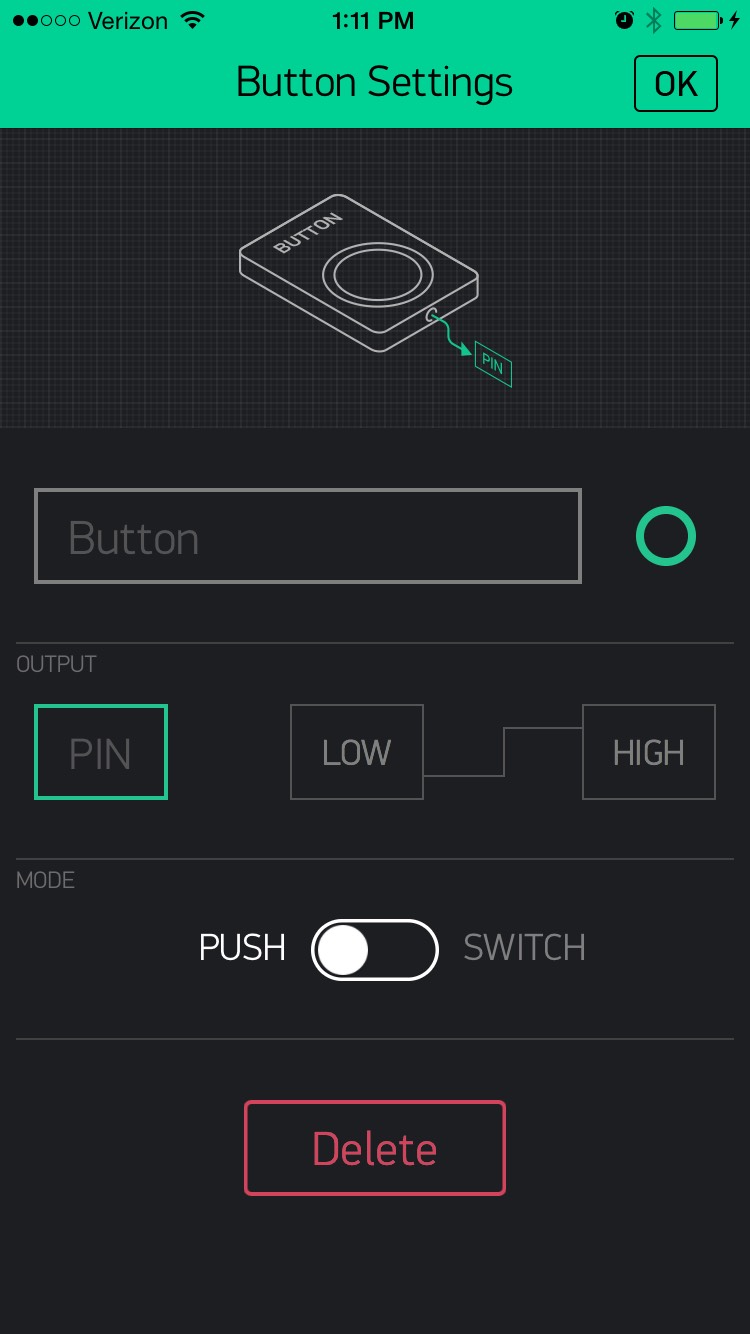
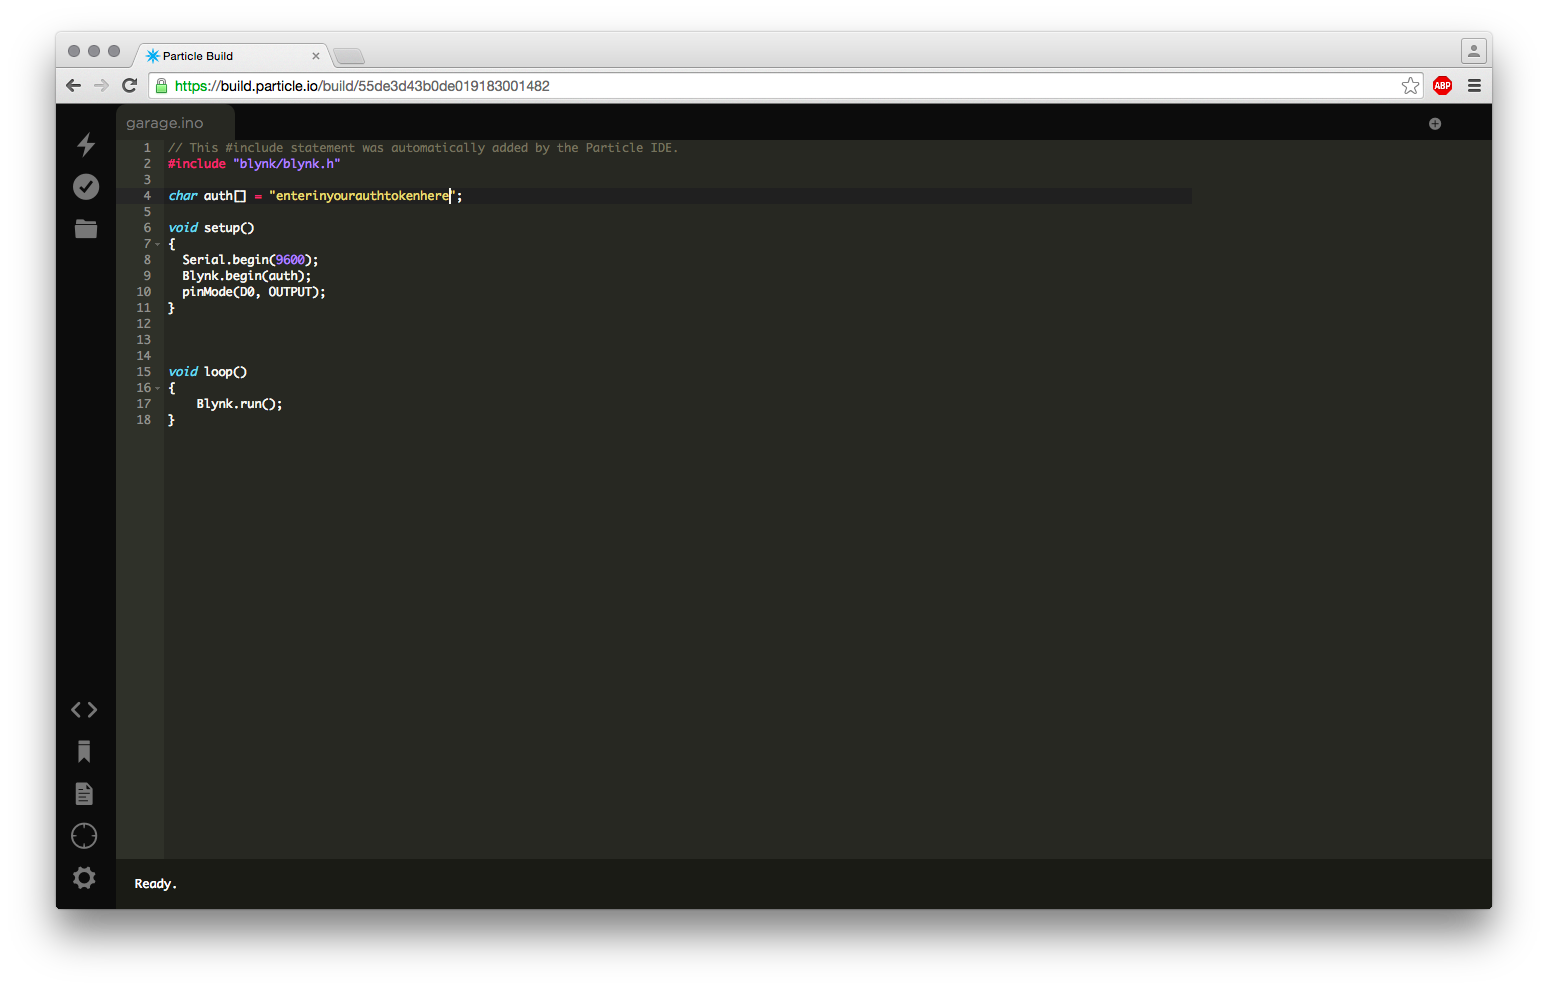
Then it hit me! I always have my phone with me and perhaps I could leverage the phone’s built-in Wi-Fi or Bluetooth to communicate with the door. That’s when I stumbled on Blynk, a cloud platform that facilitates connection of development boards with their customizable iOS or Android app interface.

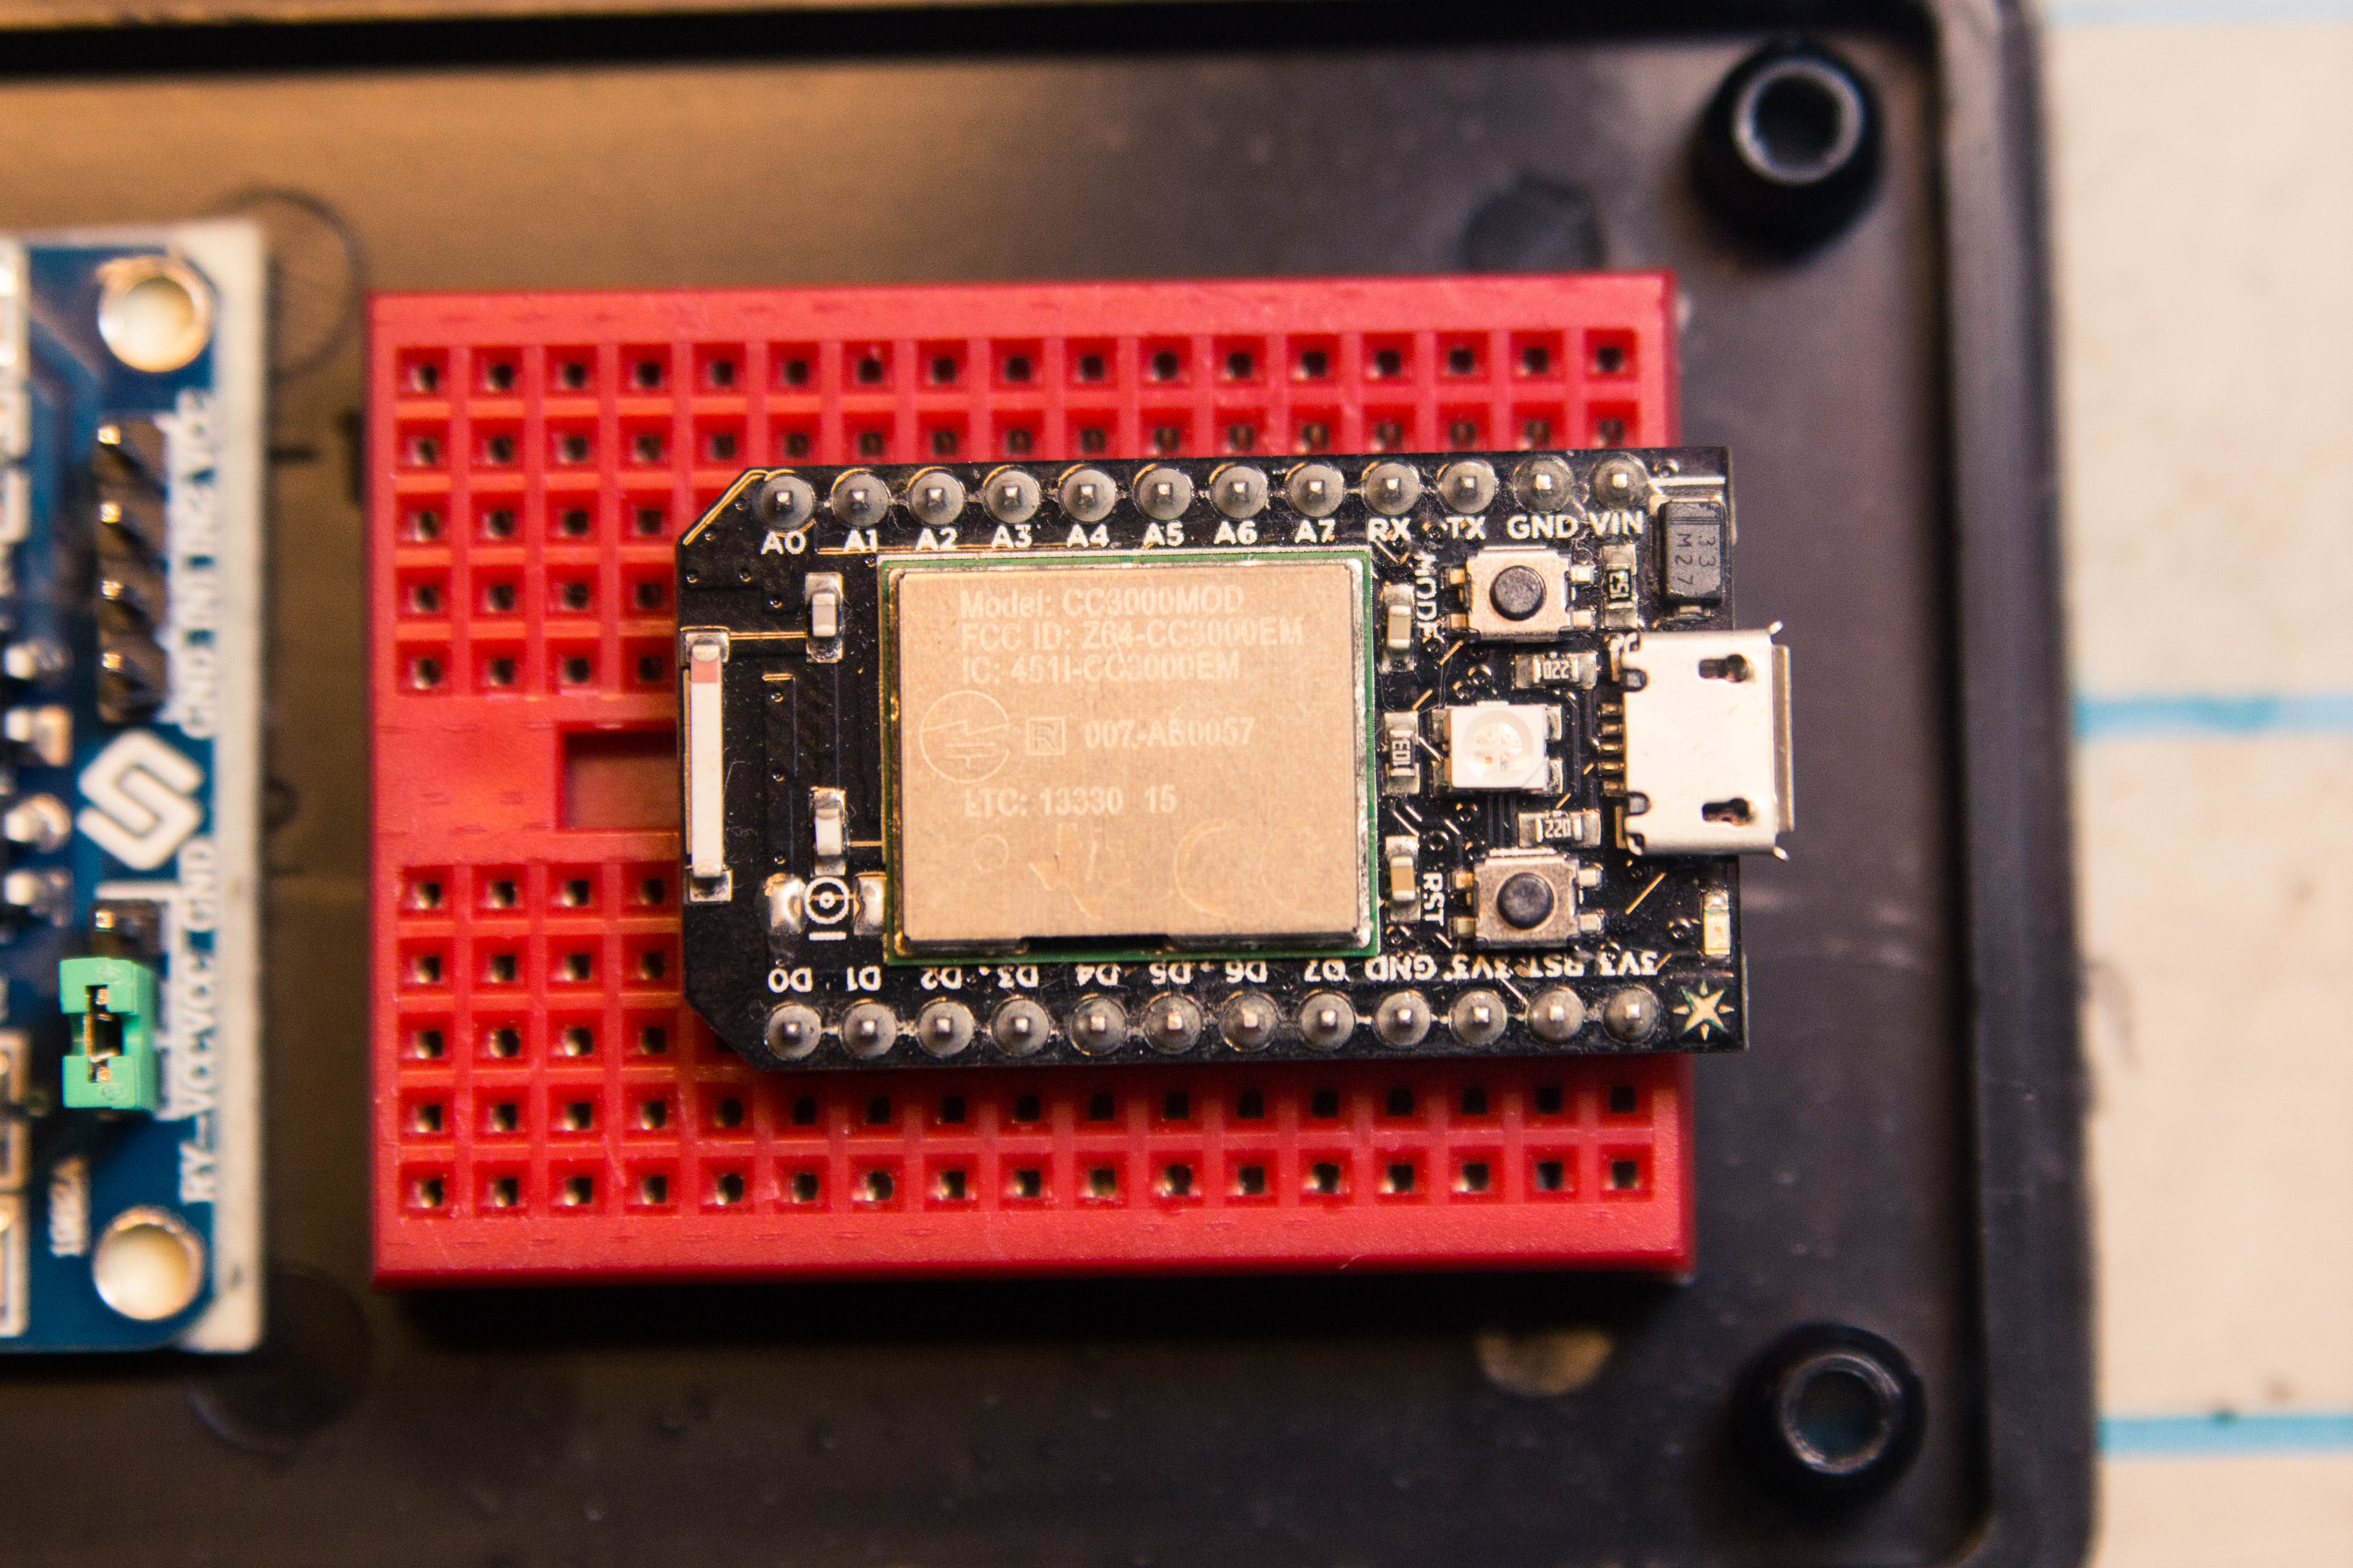
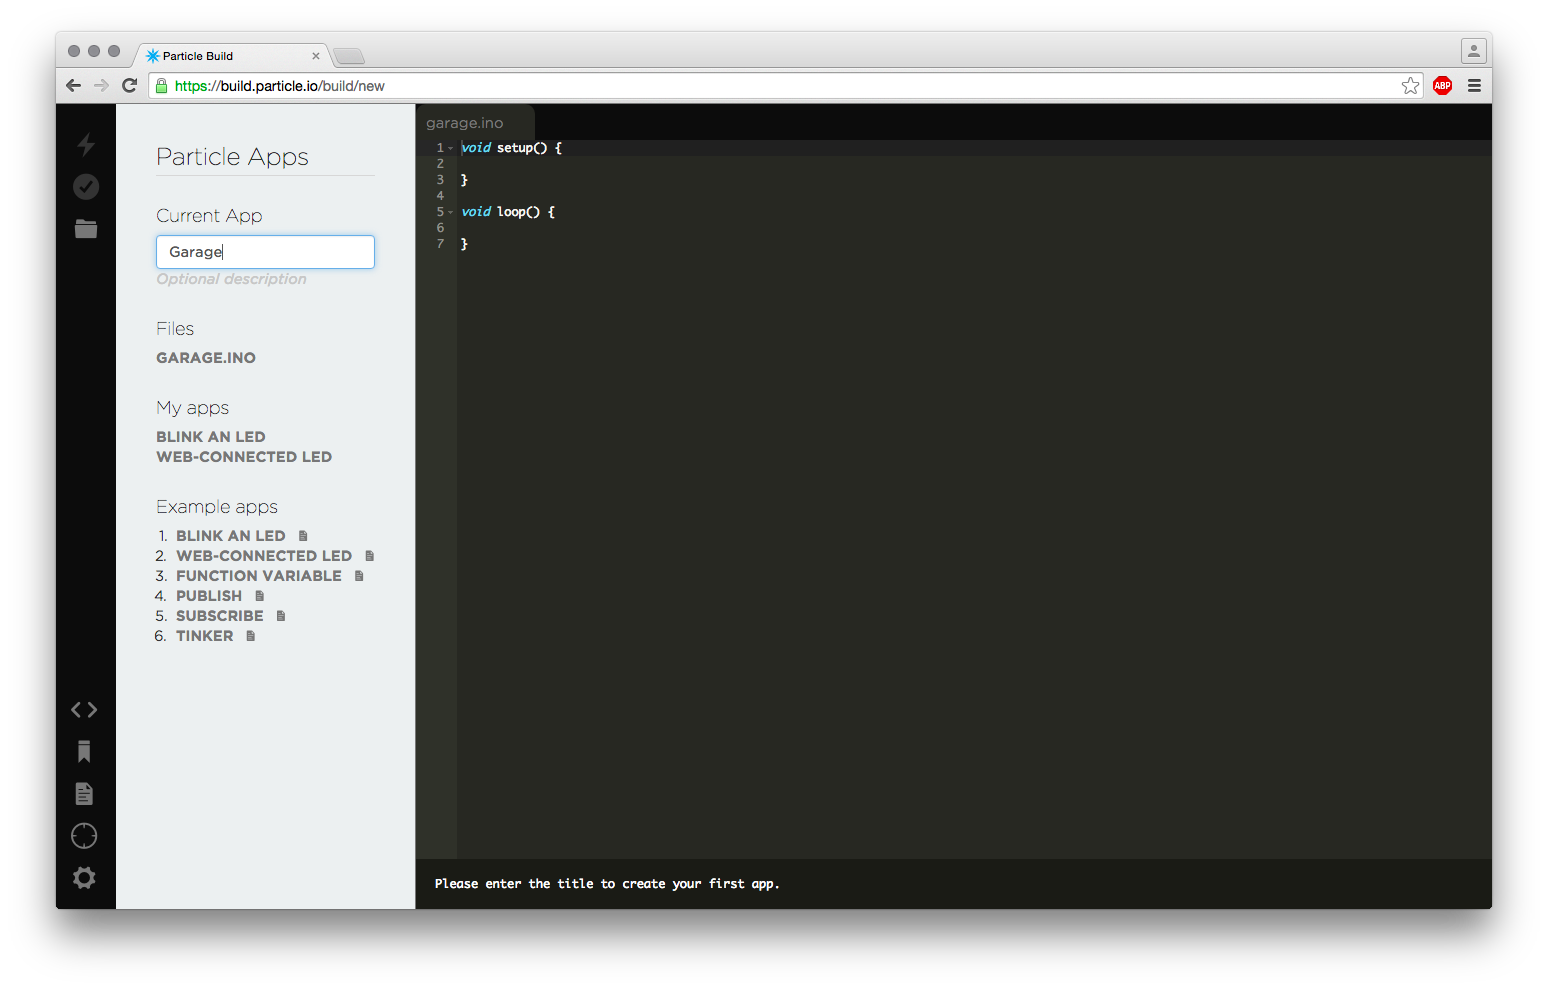
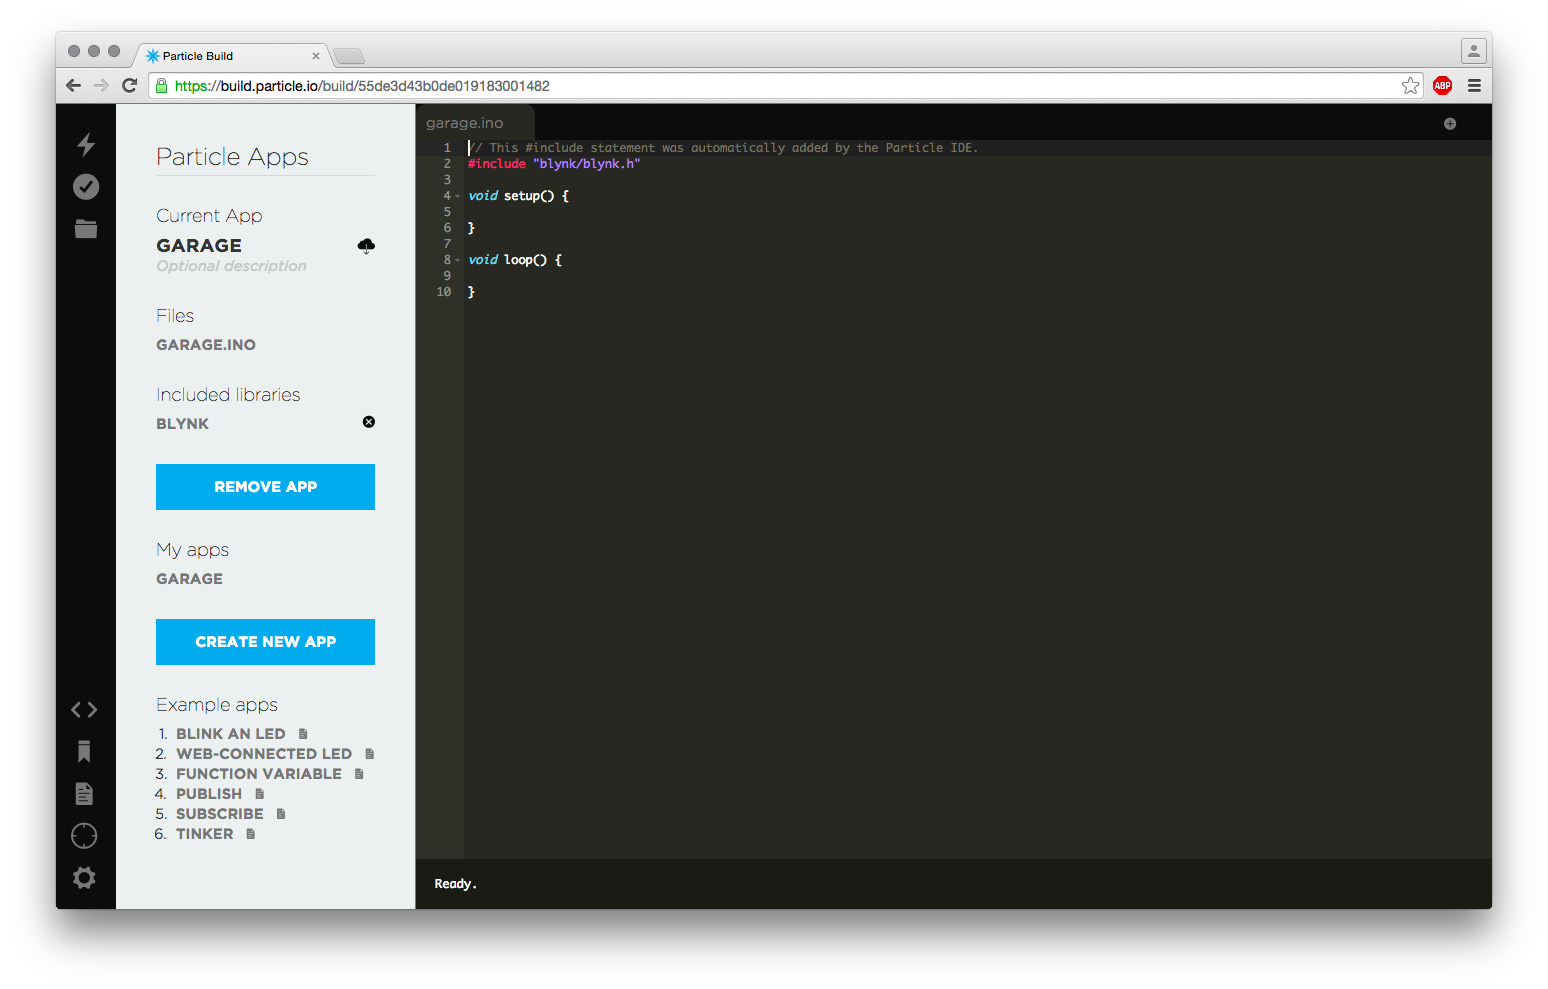
Deciding on the development board to use with Blynk was the easy part: The Particle Core! Unlike many of the supported Blynk devices, the Particle Core has built-in Wi-Fi and doesn’t require any extra, expensive shields to get online. Many devices on Blynk’s site support architectures that do not natively have Wi-Fi, Bluetooth, or on-board ethernet, but the Core is basically a Wi-Fi chip first.

Project Steps

Modify the enclosure

First we’ll cut two holes in the project enclosure to allow for wiring your relay and powering the Particle Core.

On one of the small sides of the project enclosure mark a 1/2″ square with masking tape or feel free to freehand cut with the rotary tool. Then do the same on the opposite side of the enclosure.

Mount the boards

Layer the bottom of the relay breakout board with double-sided foam tape and adhere the board to the top of the enclosure. Make sure that the screw terminals on the relay board are facing the edge of the enclosure.

Tape the mini breadboard to the enclosure top. Most mini breadboards come with an adhesive backing, but if yours does not, simply use the foam tape as you did with the relay board.

Stick the Particle Core in the middle of the mini breadboard and allow access for wiring to the GPIO pins.

Cut off one end of four female-to-female jumper wires. If you prefer, you could use a row of header pins and then you’d not have to cut your jumper wires at all.

Then wire the relay module to the Particle Core in the following way:

  • GND to GND (violet wire)
  • IN1 to D0 (yellow wire)
  • IN2 to D3 (purple wire)
  • VCC to 3V3 (red wire)

Install Blynk on your smart phone

Grab your smart phone and install a copy of the Blynk app. Basically, the software makes a connection between your phone and your development board by sharing an auth token between the two devices. Once you flash your device with the Blynk code and auth token, it’s easy to control the GPIO pins on your board from your phone.

Note: If you’re worried about the security of a cloud-based service, you’ll be happy to learn that it’s possible to roll your own Blynk server. While that’s way beyond the scope of this Weekend Project, it’s a nice bonus that not all cloud platforms offer.

For iOS devices grab the software here.

For Android devices use this link.

Once the software is installed on your phone, load the application and create a Blynk account using your phone.

Blynk project configuration

Once you login, tap on Create New Project, give it a name, and select Particle Core from the hardware model field.

Take a quick look at the Auth Token field below. Don’t worry, you don’t need to memorize the token. Instead, quickly hit the e-mail to send the token to the e-mail address associated with your Blynk account.

Finally, tap the Create Project button to save your configuration.

Configure your garage program

Tap the screen to open the Blynk widget box. There are four types of actions available in Blynk: controllers, displays, notifications, and other. You’ll only be using a controller action, but you can quickly see how extensible and easy it is to use Blynk to extend a program’s functionality.

Click on the Button, change the pin assignment to D0, and ensure that momentary is toggled. When all that is configured, hit OK to save the configuration.

Particle programming

Fire up your web browser and point it to the Particle IDE. If you’ve not setup a Particle Core before, check out their solid documentation.

Create a new sketch and give it a memorable title — I used “garage”.

On the left side of the Build system, click the icon that looks like a bookmark or chimney — it all just depends on your perspective. This loads the library browser that’s built into the Particle system.

Scroll down to the Community Libraries section and input Blynk in the search field. Then click on the Blynk result.

Tons of libraries will populate your browser, but don’t worry. Look for the Include in App button and click it. All this does is adds the #include "blynk/blynk.h" to your sketch.

Copy the following code into the sketch or download it, but make sure you don’t remove the include line.

// This #include statement was automatically added by the Particle IDE.
#include "blynk/blynk.h"

char auth[] = "authtoken";

void setup()
{
Serial.begin(9600);
Blynk.begin(auth);
pinMode(D0, OUTPUT);
}

void loop()
{
Blynk.run();
}

Replace authtoken with the custom auth token generated by your cell phone app. Check out Step 4 if you need a reminder on how to get the auth token.

Once the sketch is completely input into the Build system, click the lightning bolt icon on the left to flash the Particle Core.

Install the project

Cut one small length of wire and bridge the two relays on their common pin. With this particular relay breakout it’s not possible to simply wire one relay. If you did, anytime that the power went out to your Particle Core, the garage door would open. While it’s an unlikely scenario, it’s not so far fetched to not provide a solution. No unannounced free garage sales!

Then connect a red wire to the outside most left terminal of the relay and a black wire to the outside most right terminal. Refer to the first image of the step for visual explanation.

Note: The red and black wires should be long enough to run from the project enclosure and connect to the garage door motor terminals.

Turn off the power to your garage door either by throwing the breaker or unplugging the entire motor unit. Once power is safely off, open the motor house of your garage door and take out any bulbs that might prevent you from seeing the wiring terminals.

Wire the black wire from your relay to the ground wire in your garage motor and the red wire from the relay to the antenna terminal.

Mount your project box on the door opener using velcro tape, then plug your Photon into wall-wart power.

Now whenever you roll up to your garage door, just hit your Garage button in the Blynk app and you’re in!