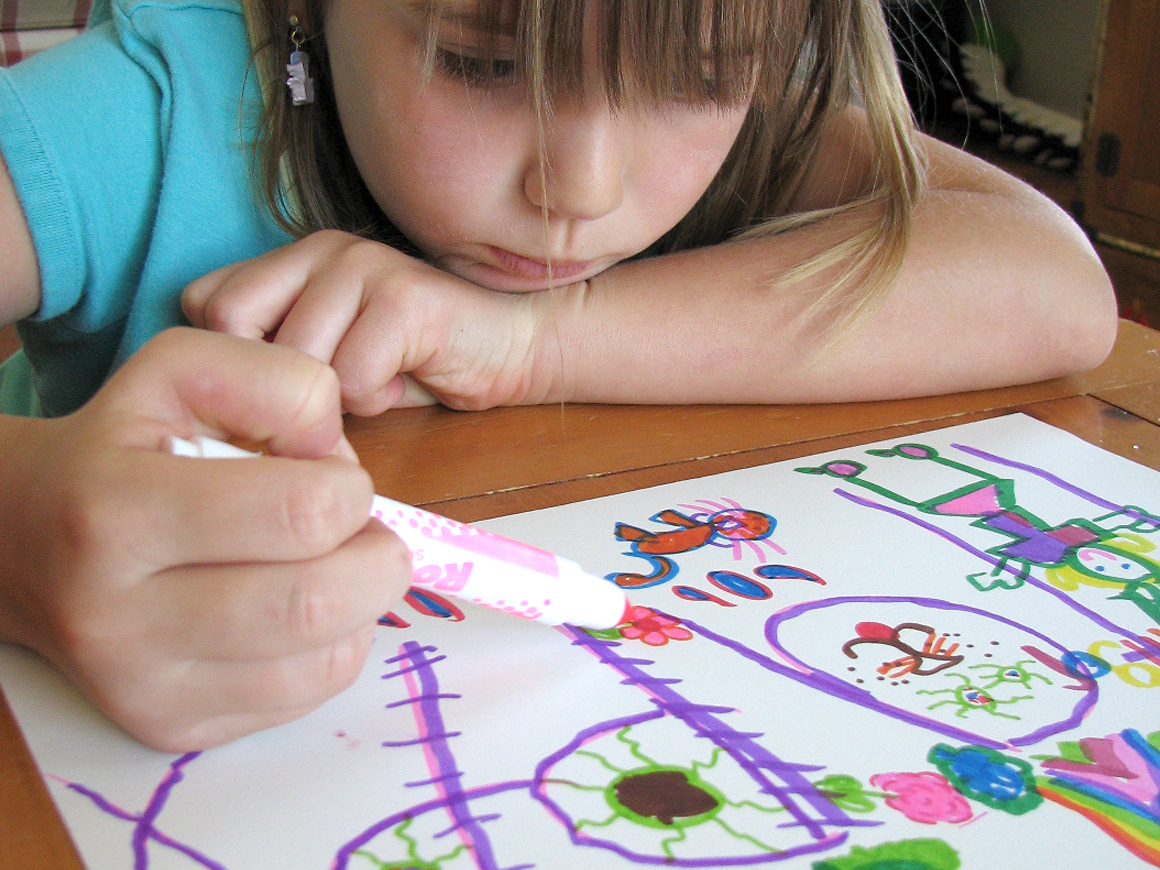
One of my fondest memories of being a kid is my dad teaching me how to make animations. We’d take a notebook and draw pictures in the top margin of each page. Each picture would be one frame of the animation, so that when you flipped the pages, you could see the object in motion. Having been a Royal Australian Air Force pilot, Dad’s animations were of biplanes invariably crashing in a big explosion, while mine were of horses rearing up and galloping across the pages.

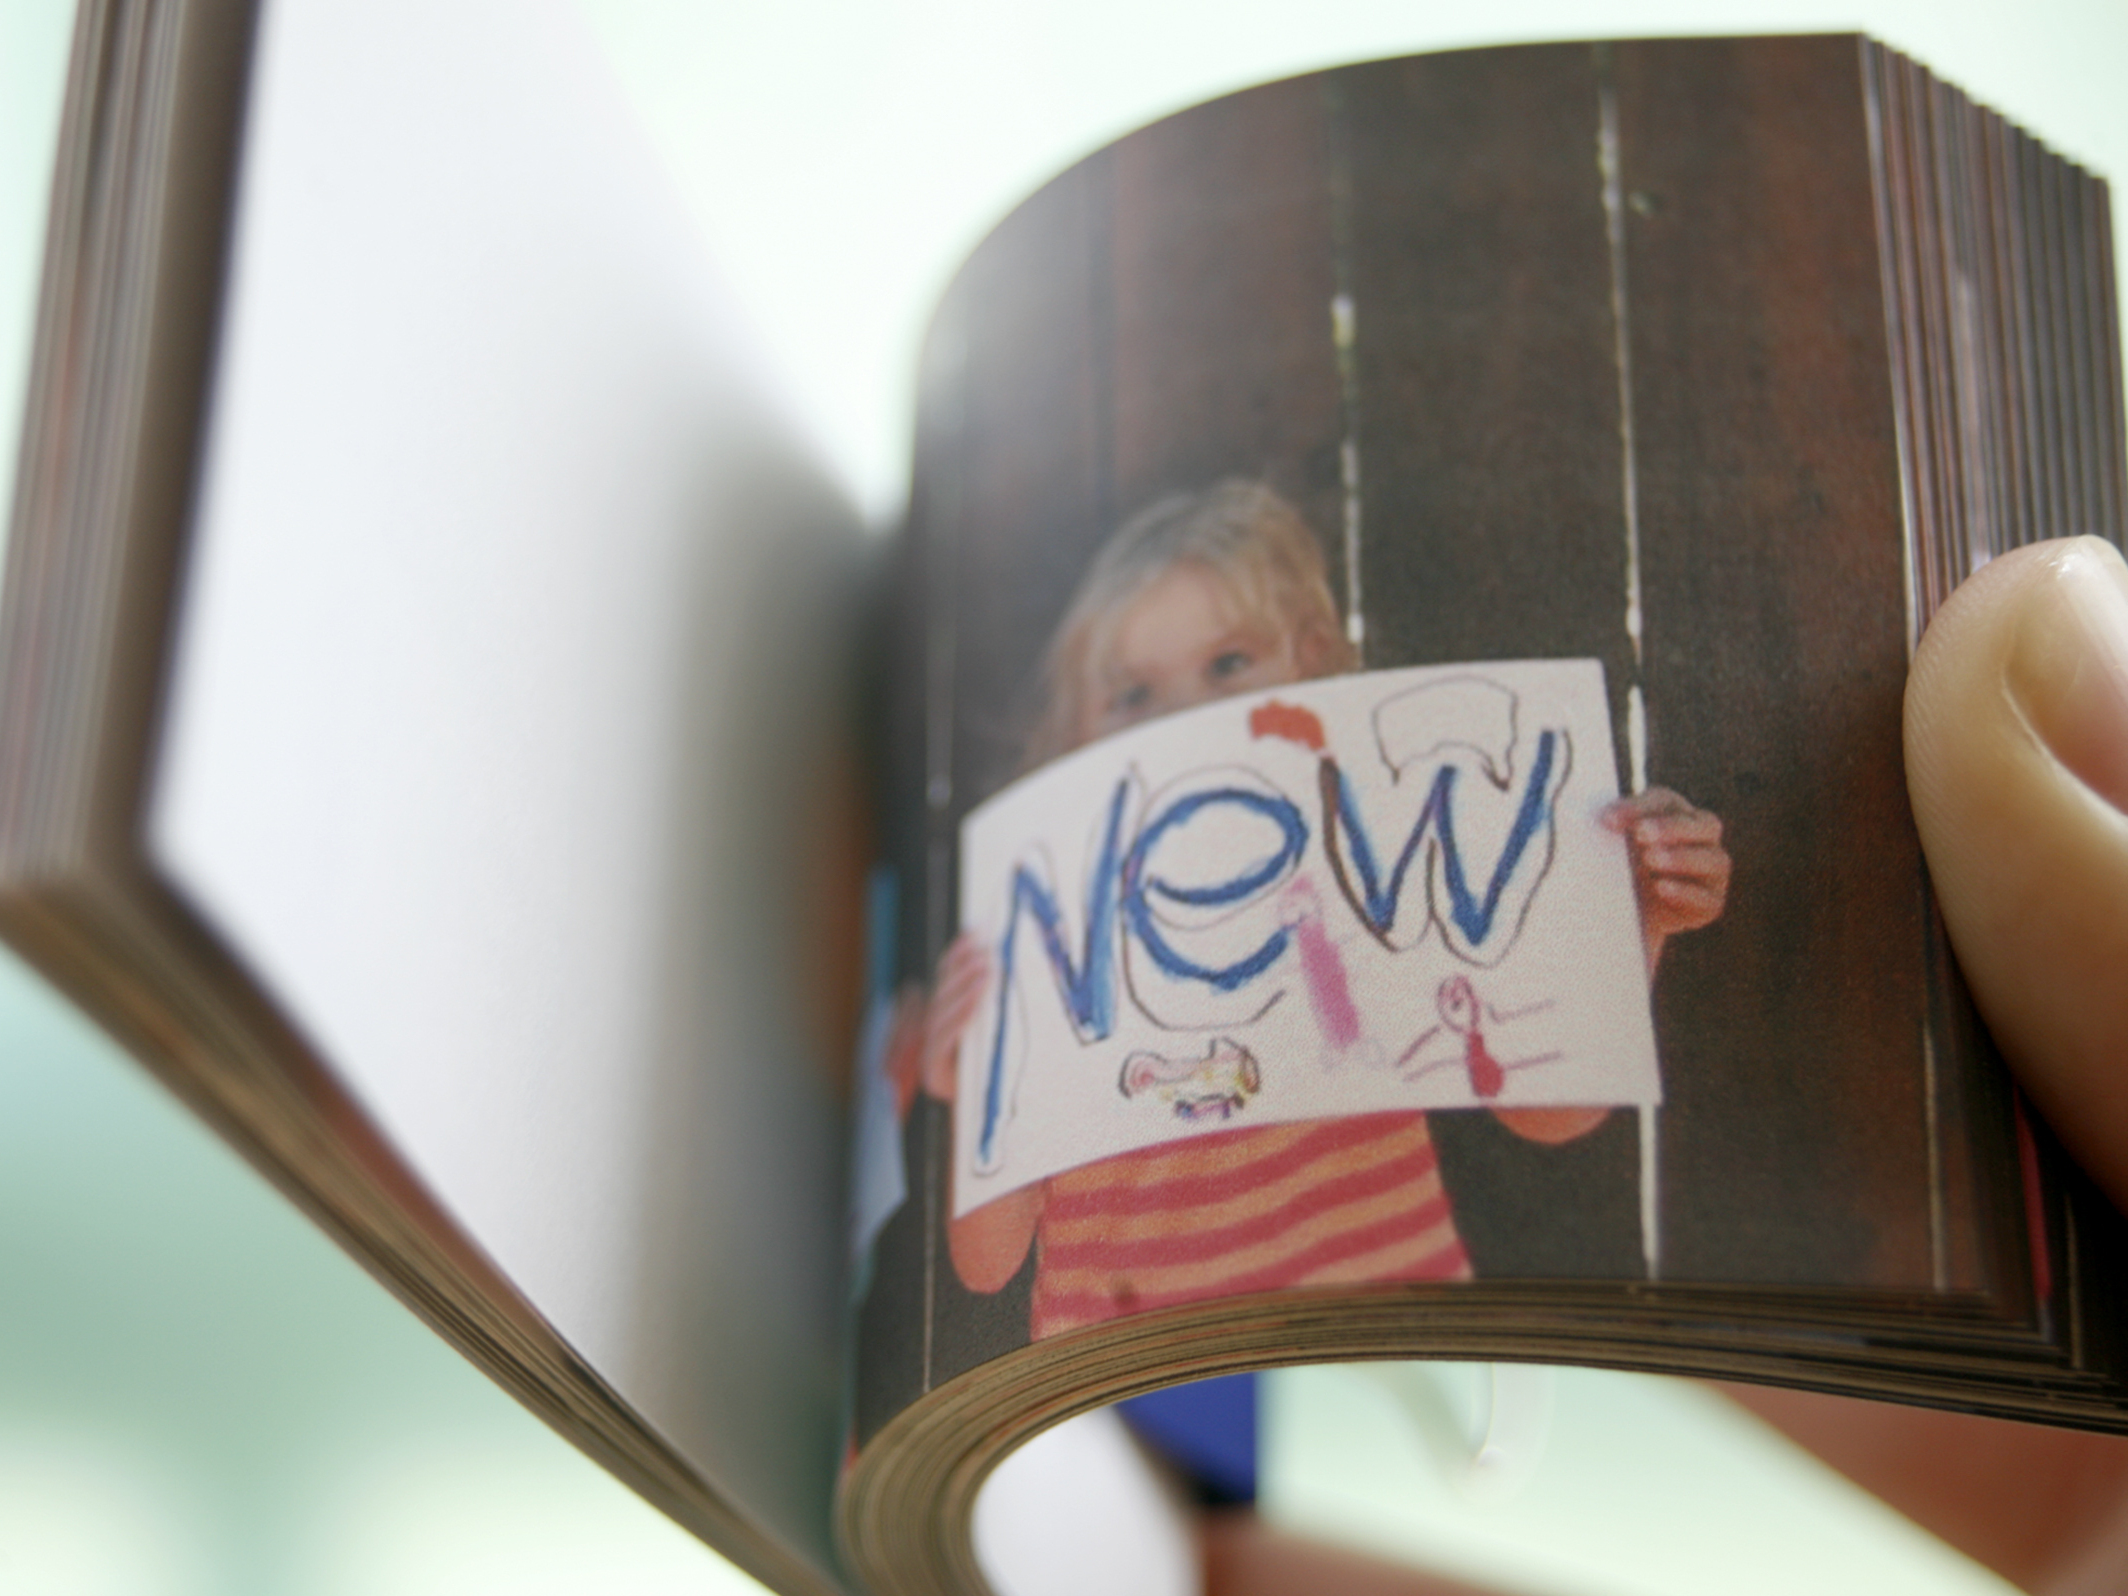
These days, I make animations in the form of flipbooks rather than in notebooks. Flipbooks use the same theory as the notebook animations: lots of small images stacked on top of one another, whose subject changes position from one image to the next. They’re easy to make and fun to give.

Project Steps

Gather your images.

You can either use a set of individual photos you take in a sequence or extract clips from a short video. You’ll need 30–40 individual images in total.

For this flipbook I enlisted the help of sisters Allison, Ginger, and Katyann Lewallen. Allison wrote the words “Happy New Year” on 3 sheets of cardstock, and each of the girls took 1 page and decorated it with markers to create a colorful message. We rehearsed the sequence out on the deck, which had a nice, neutral background, so they knew what they needed to do. Then I captured a short, 20-second film with each girl showing her word, then finishing with a wave and everyone yelling “Happy New Year!”

If you’re shooting still images, use a tripod to keep the camera steady, and take the photos as your subject goes through the moves. Take more photos than you need so you have plenty to choose from.

Choose and save your images.

To extract clips from a movie on a Windows PC, use Windows Movie Maker, which comes installed with Windows XP and Vista. Launch Windows Movie Maker, choose File → Import into Collections, and select your movie clip. Then click Play.

Click Pause at the first frame you want to save, and click Take Picture under the playback window. Type a name for the image. It’s easier to assemble the book if you add a sequence number to the images, so call them something like flipbook01.jpg, flipbook02.jpg, and so on. Click Next Frame a few times and save another image. Continue to move through the clip, taking pictures every few frames until you have 30–40 frames saved as individual images.

The process on a Mac is similar: use iMovie to open the clip and locate the frame to capture. Choose File → Save Frame As and use the JPEG format.

Import the photos.

To print the still images, you need software that will lay out and print a series of small images. Photoshop Elements is one program that can do this. Launch the program and select Organize.

Click File → Get Photos and Videos → From Files and Folders, and find and open the folder containing the photos. Select the images, disable the “Automatically Fix Red Eyes” checkbox and the “Automatically Suggest Photo Stacks” checkbox, and click Get Photos to load the photos into the collection. If you get an import error, open the photos in the Photoshop Elements editor, save them by choosing File → Save As and click the “Include in the Organizer” checkbox before saving.

Print the photos.

In the Organizer, select all the photos you just imported: click on the first photo and then Shift + click on the last. Choose File → Print to open the “Print Photos” dialog. From the “Select Type of Print” list, choose Contact Sheet or Labels and select a layout that gives you 9 or more photos per sheet and some white space on the left side of each image. Disable the Date, Caption, Filename, and Page Numbers options if you’re creating a Contact Sheet. Print the images onto lightweight photo paper or light cardstock.

NOTE: As an alternative to using Photoshop Elements, Picasa has a good printing tool for folks using PCs. Select the photos you want to use, click Print, and from the Tools → Options → Printing tab, select 5cm×8cm as the printing size. Picasa is free and available from http://picasa.google.com. Unfortunately, Picasa isn’t yet available for the Mac.

Ideas for flipbooks: Make a flipbook to celebrate an event such as a birthday, to record an activity such as your child walking or dancing, or just to say hello to someone. The books can be as simple or as complex as you like.

Assemble the flipbook.

Use scissors or a paper trimmer to cut out the photos, leaving an equal amount of white space on the left side of each photo. Assemble the photos in order, with the first in the series on top and the last on the bottom.

If desired, select a special image to use as the front cover. Use a large business stapler to secure the images or clip them with a binder clip. To view the animation, bend the right-hand side of the book back and flip through the images.

Visit http://www.flipbook.info/index_en.php to learn about the history of flipbooks and to see some of the more than 4,000 flipbooks the site has cataloged.

Conclusion

This project first appeared in CRAFT Volume 09, page 120.