
Papercraft is a fantastic way to explore model making. Generally speaking, paper models are cheap and relatively easy to assemble. You may need a steady hand, and a decent amount of time to devote, but the results can be quite stunning.
One person particularly astute in this area is Rob Ives (@robives). Once a classroom teacher, Ives has been making paper models professionally since around 2000. He has authored two books: Paper Locksmith and Paper Automata, both of which incorporate models that function mechanically as well as look good.
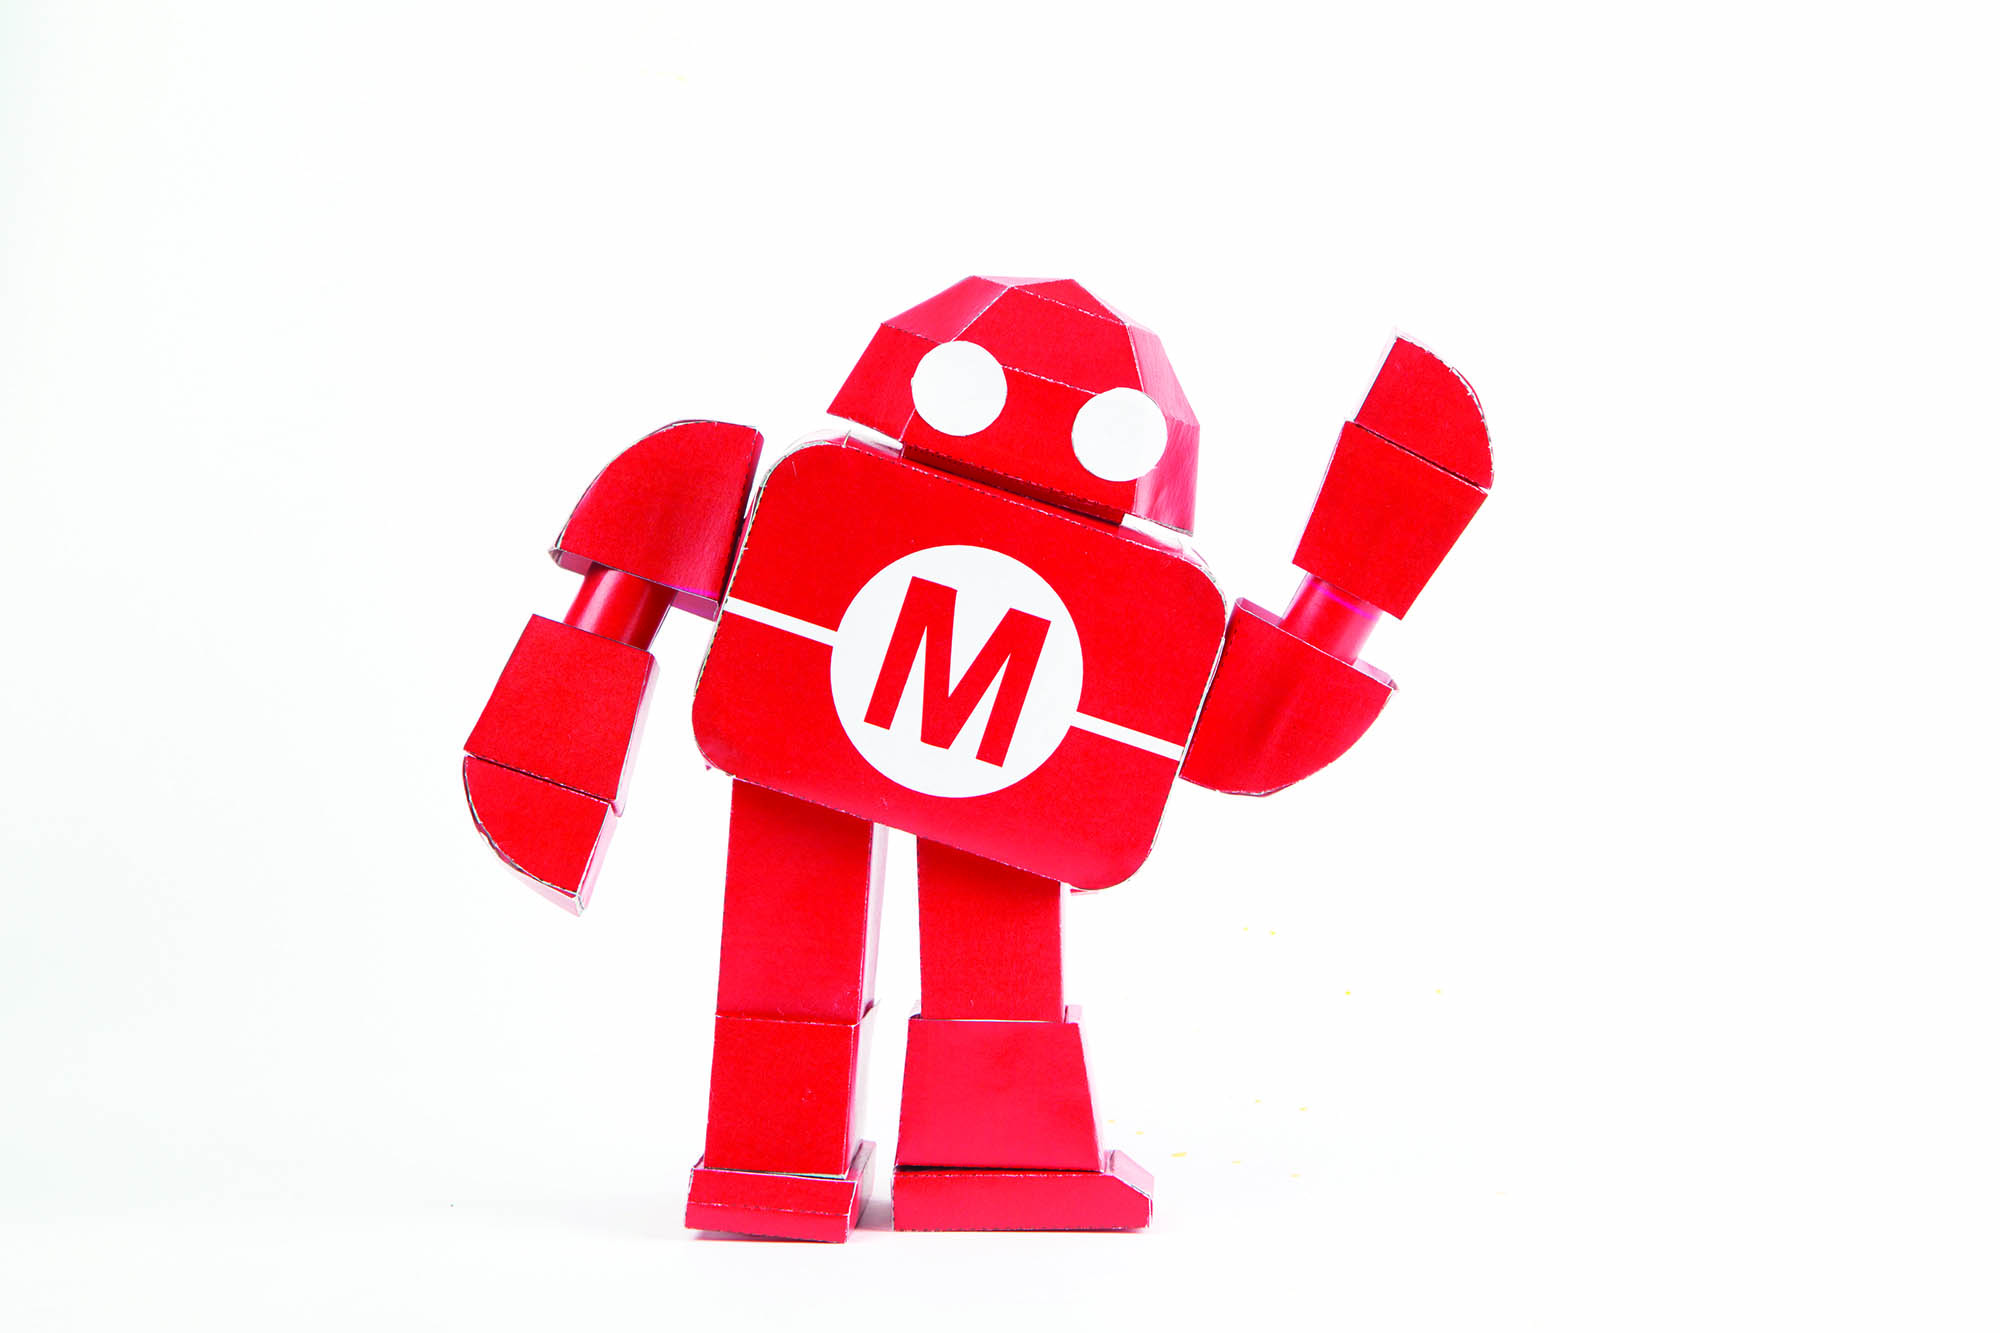
We asked Ives if he would be up to the task of making us a poseable version of our Makey robot mascot and he jumped on the opportunity. Every new model and every new job is a chance to obtain a new skill.

In this case, Ives saw an opportunity to learn the common papercrafting software Pepakura. Previously he had done all of his work in Illustrator and by hand, with an expert’s eye. He figured it was about time to give this software, which unwraps 3D models for paper re-creation, a try.
He started by modeling the basic shape in Blender (Figure A), an open source and free 3D modeling software. Then he brought this model into Pepakura (Figure B) and began playing with settings. Once he was happy with the template that was dynamically generated, he was able to bring it into Illustrator for coloring and further refinement (Figure C).