Preserve Data in a Mason Jar

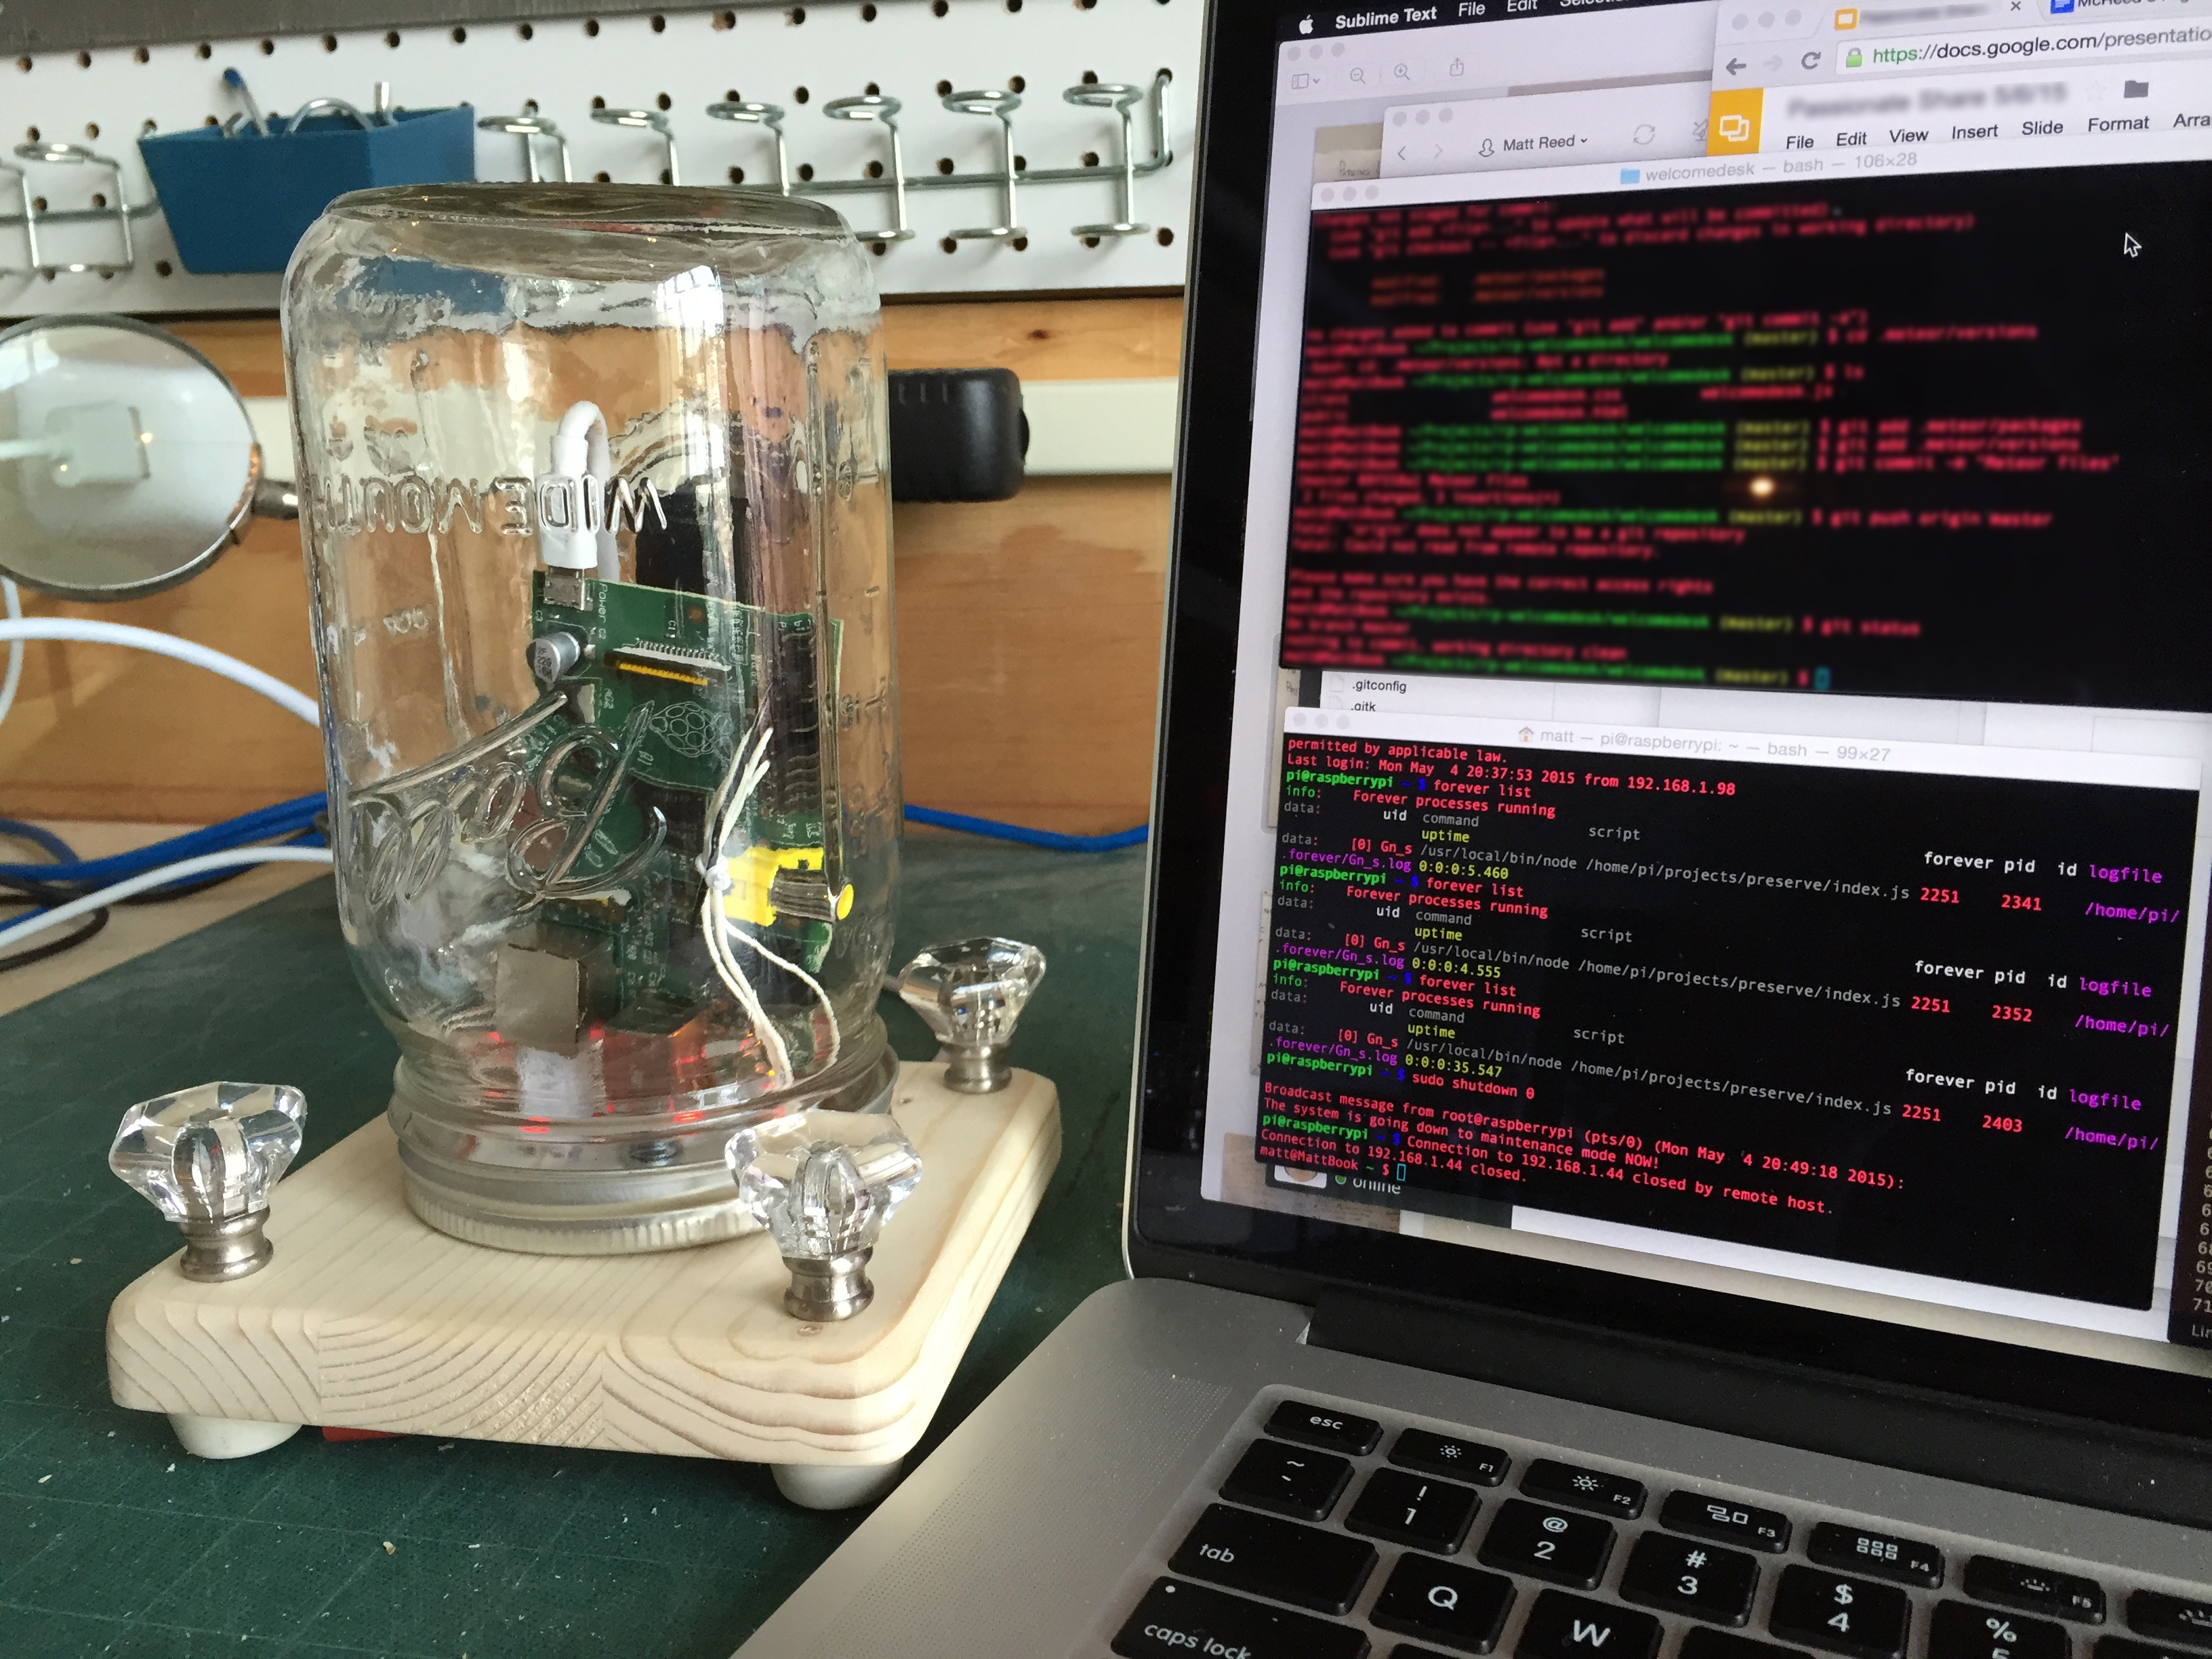
Living in the South I’ve had a lifelong fascination with Mason jars. They’re used to preserve everything and have a uniquely nostalgic aesthetic.

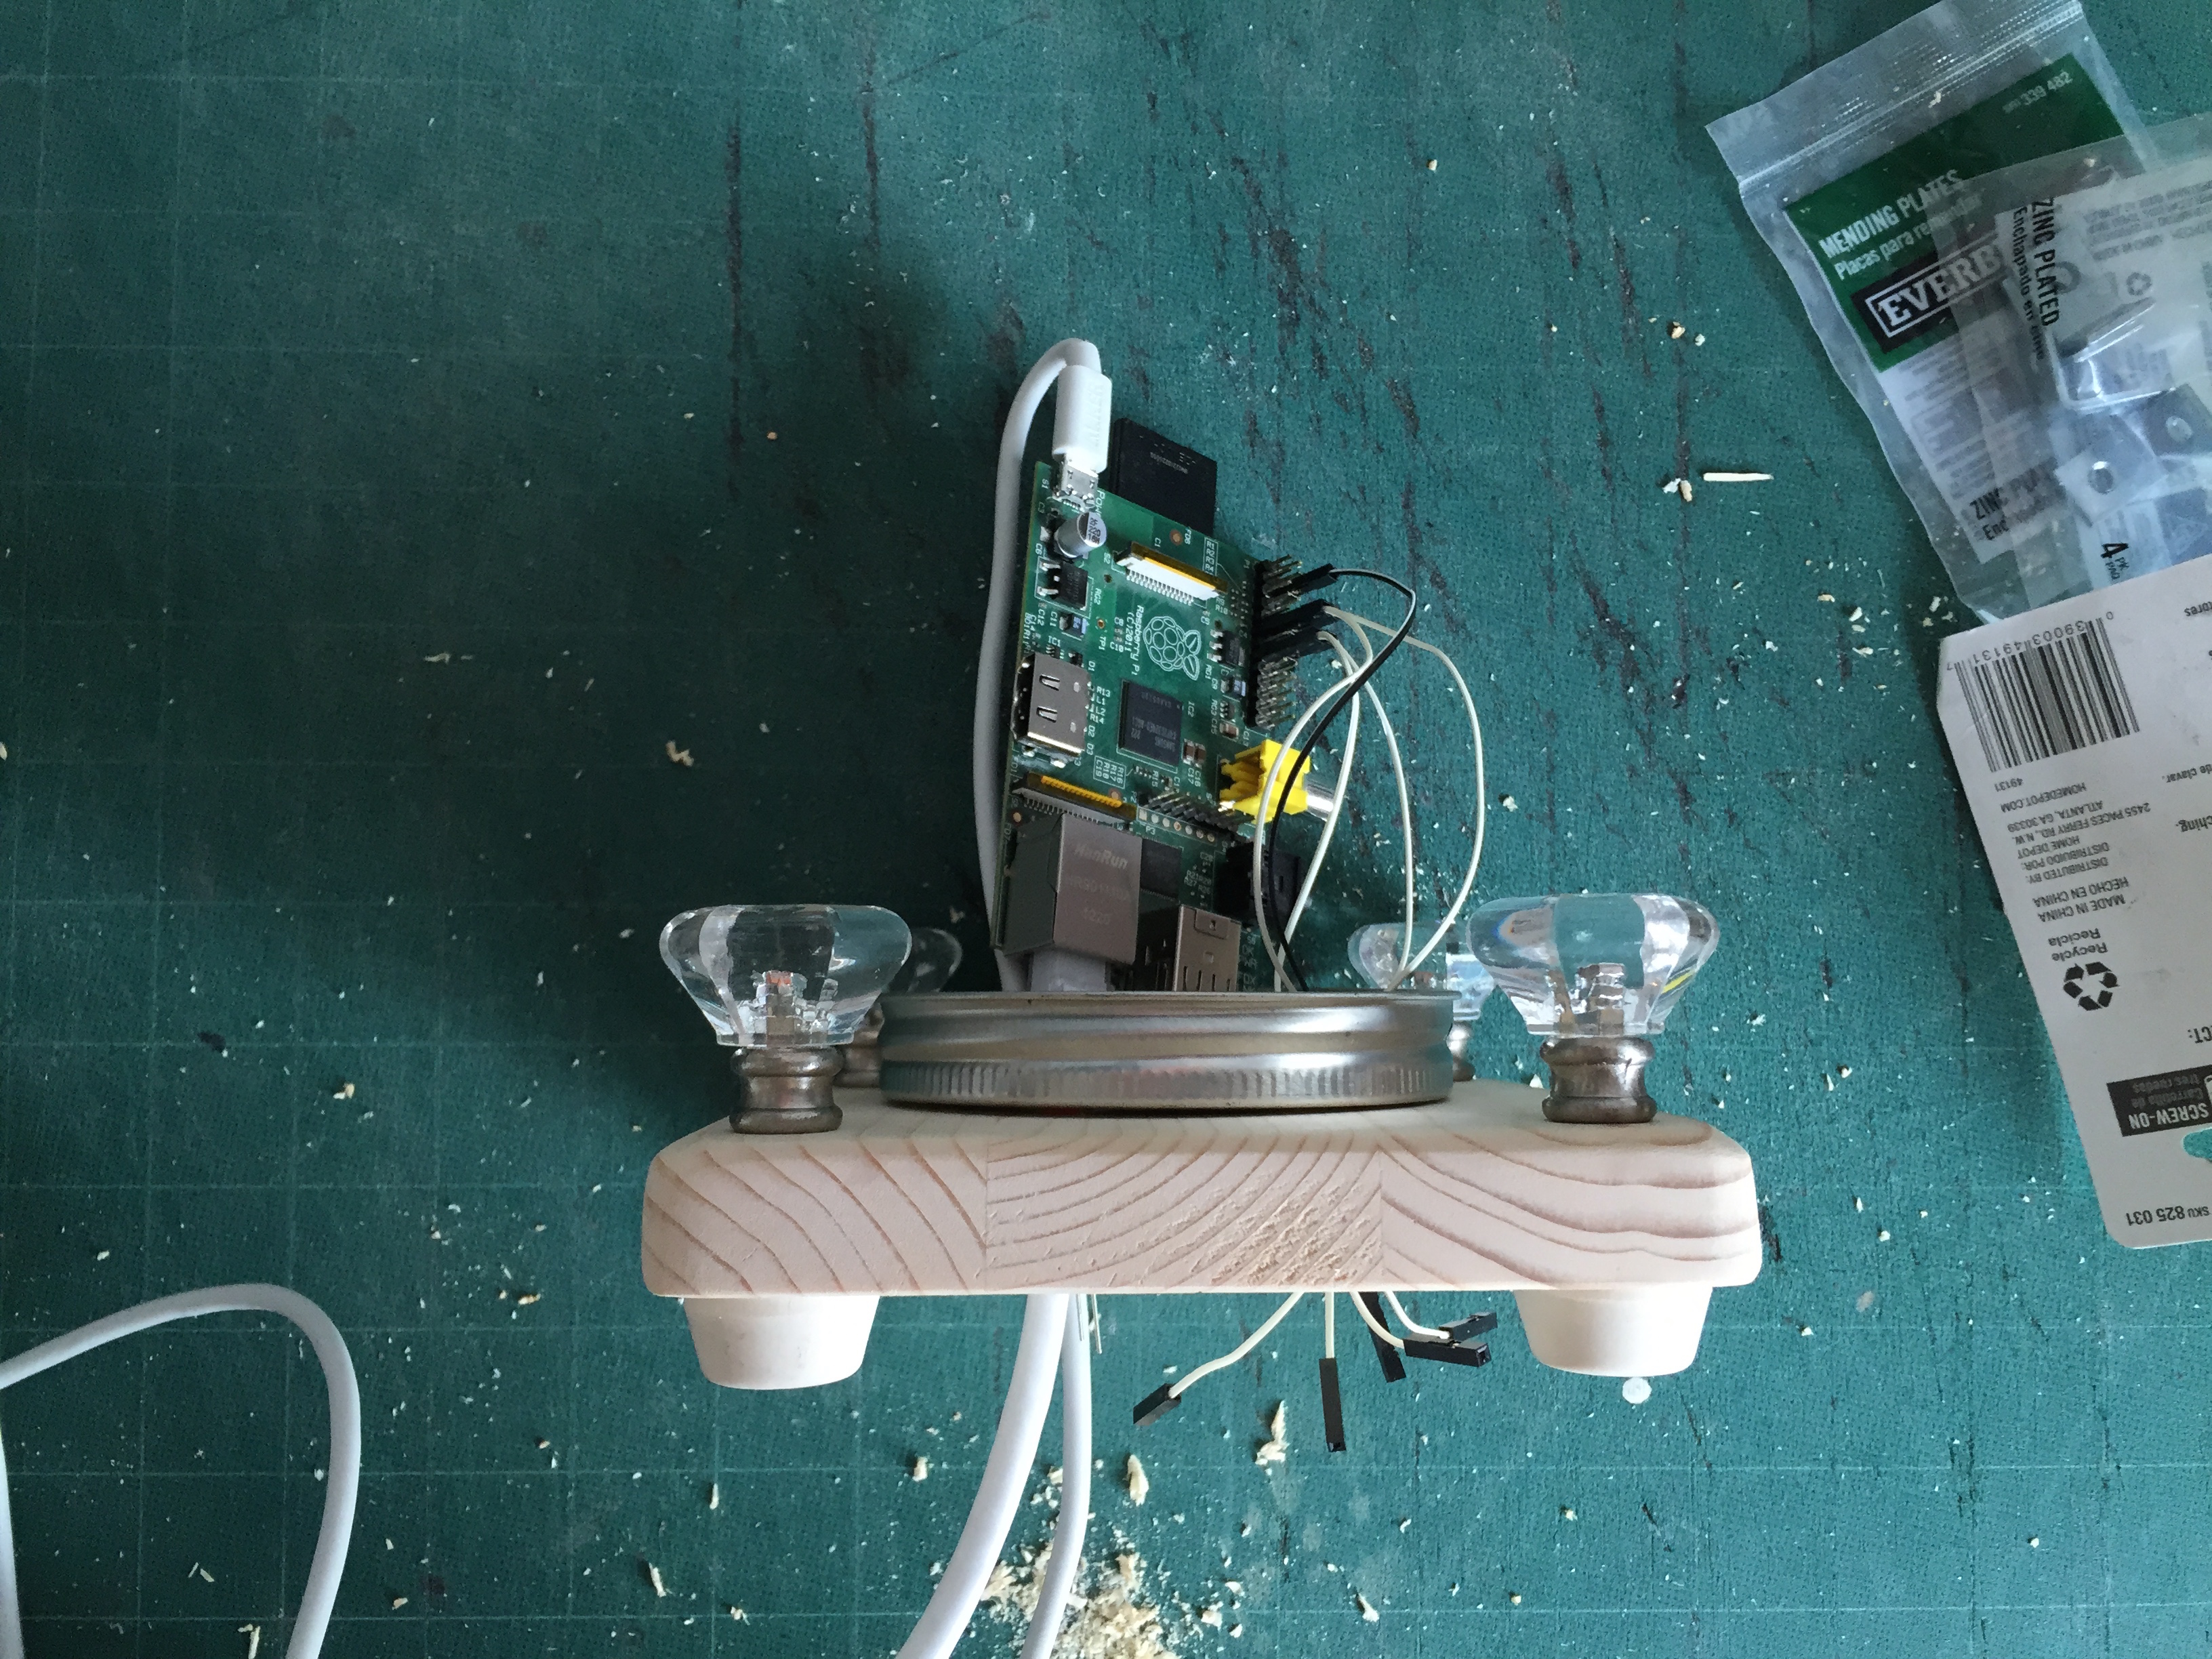
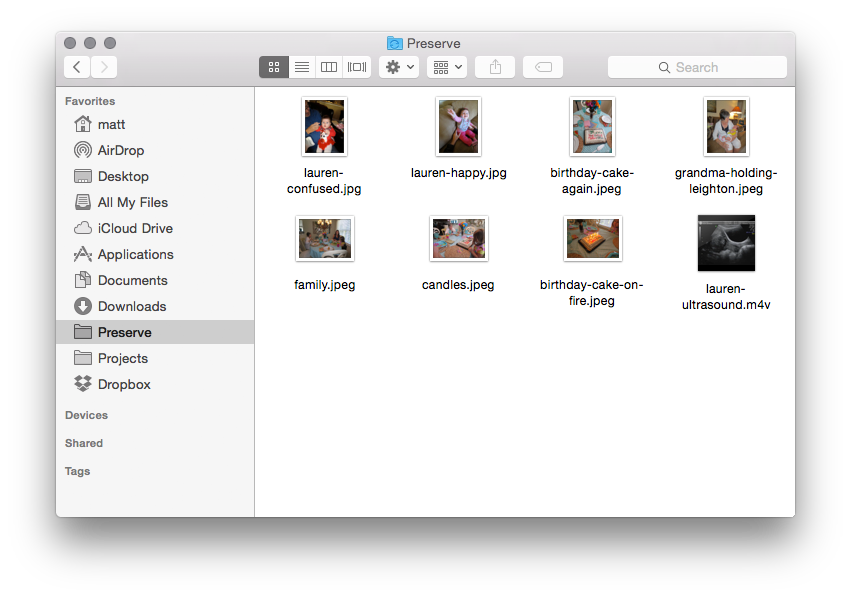
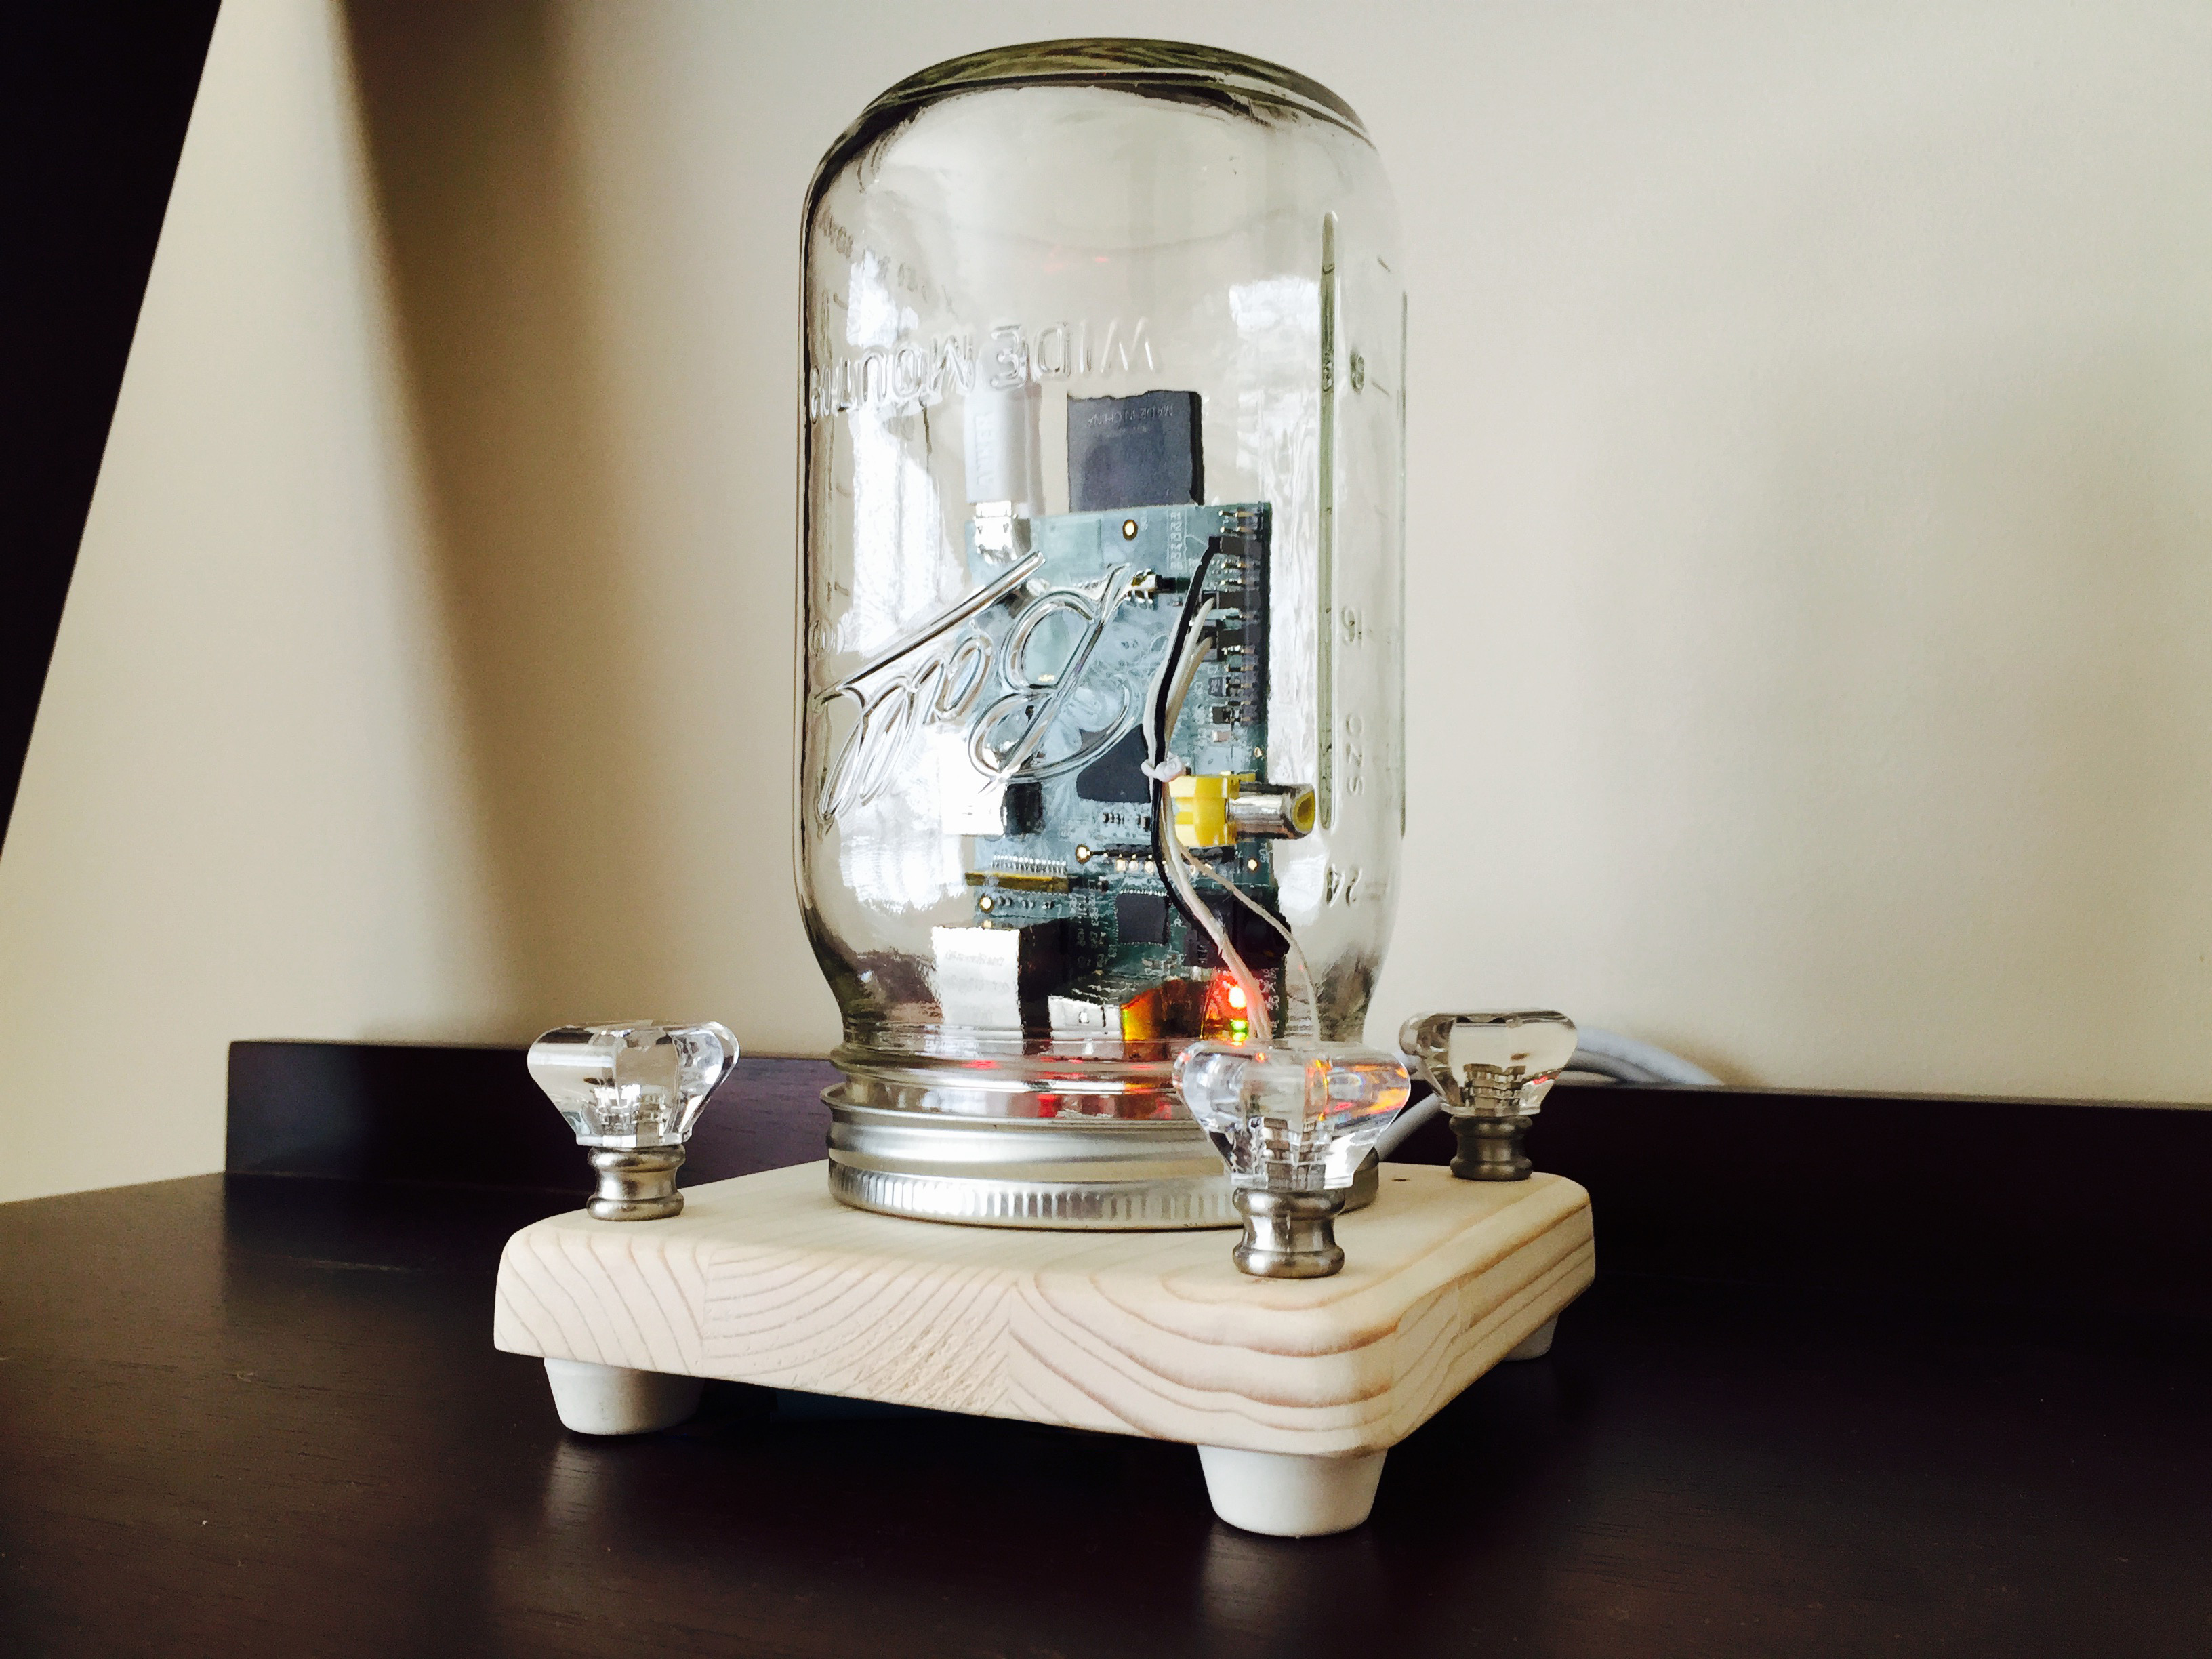
Once I realized a Raspberry Pi would fit perfectly inside one, I decided the obvious use for it was preserving digital content. Having run BitTorrent Sync on a Raspberry Pi before, I knew it would be a stable platform to provide a synced backup of media from my MacBook and phone, and my wife’s MacBook and phone. In essence, we’d have a Mason jar that preserves our most cherished family memories: a Raspberry Preserve.

Raspberry Pi Preserve

By making this you’ll create a custom Raspberry Pi enclosure that runs BitTorrent Sync and uses Node.js to controls some LEDs. BitTorrent Sync works like Dropbox but doesn’t use a centralized server and is free dollars and freedy free cents.

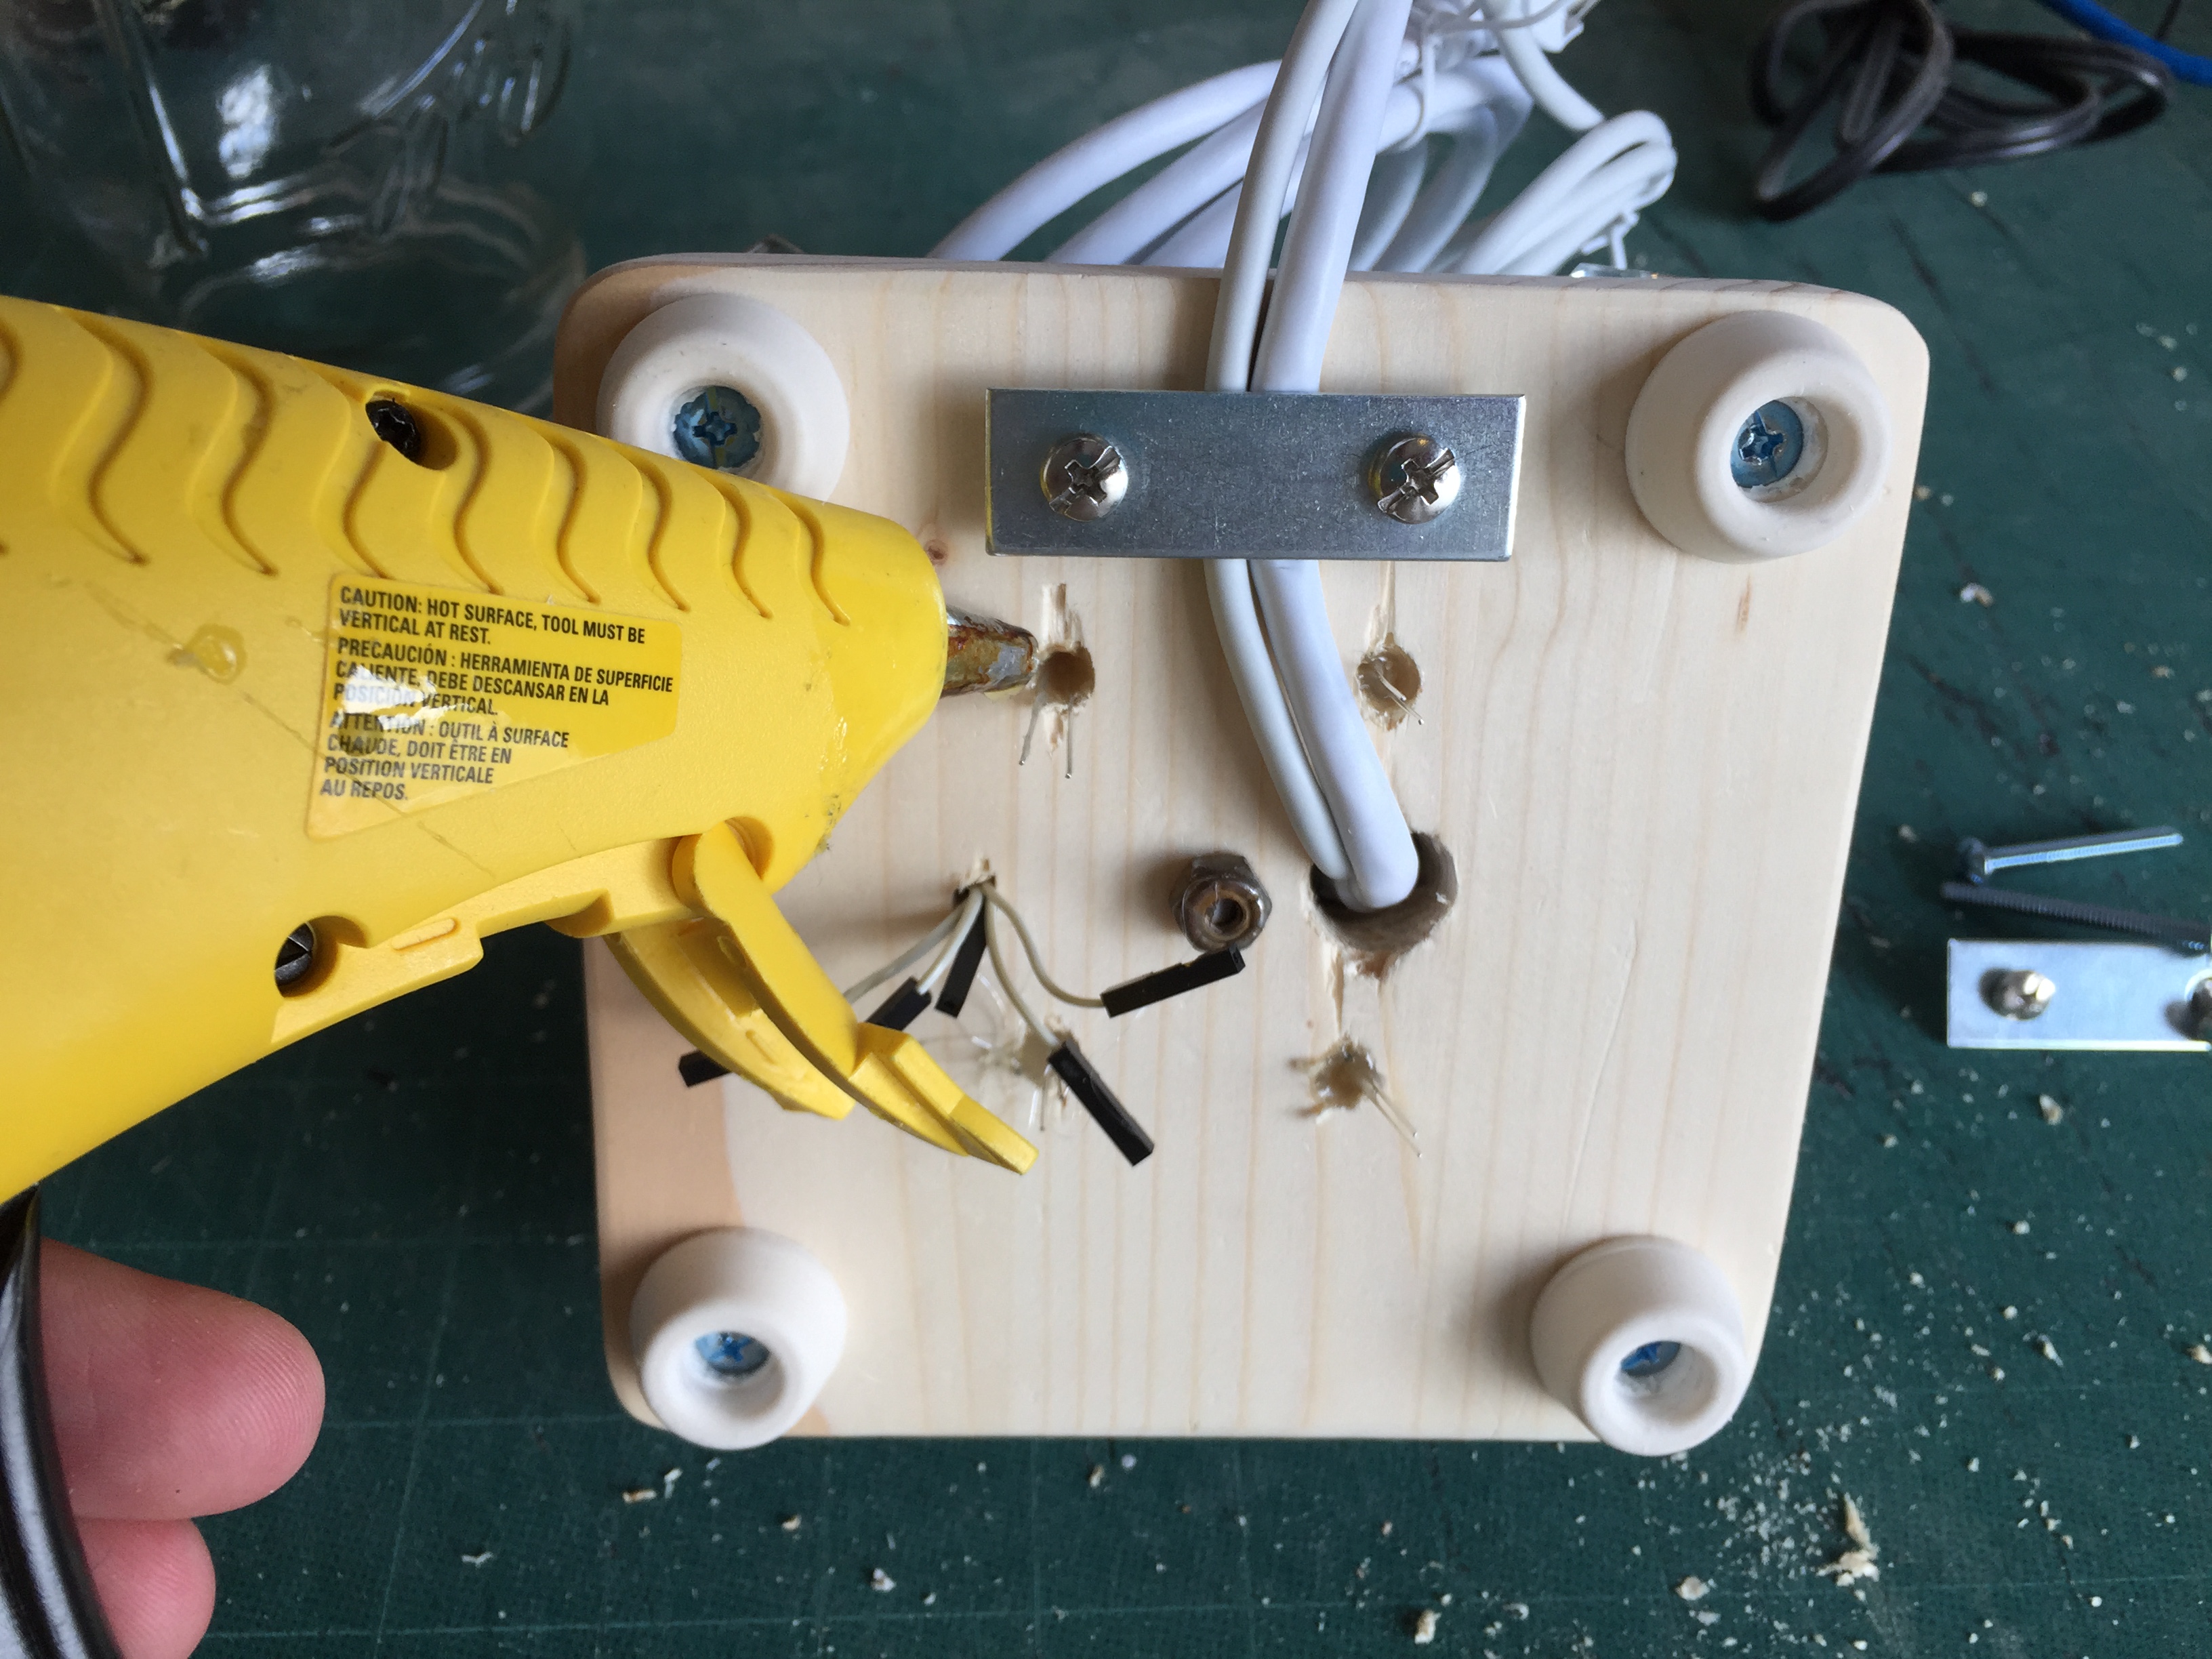
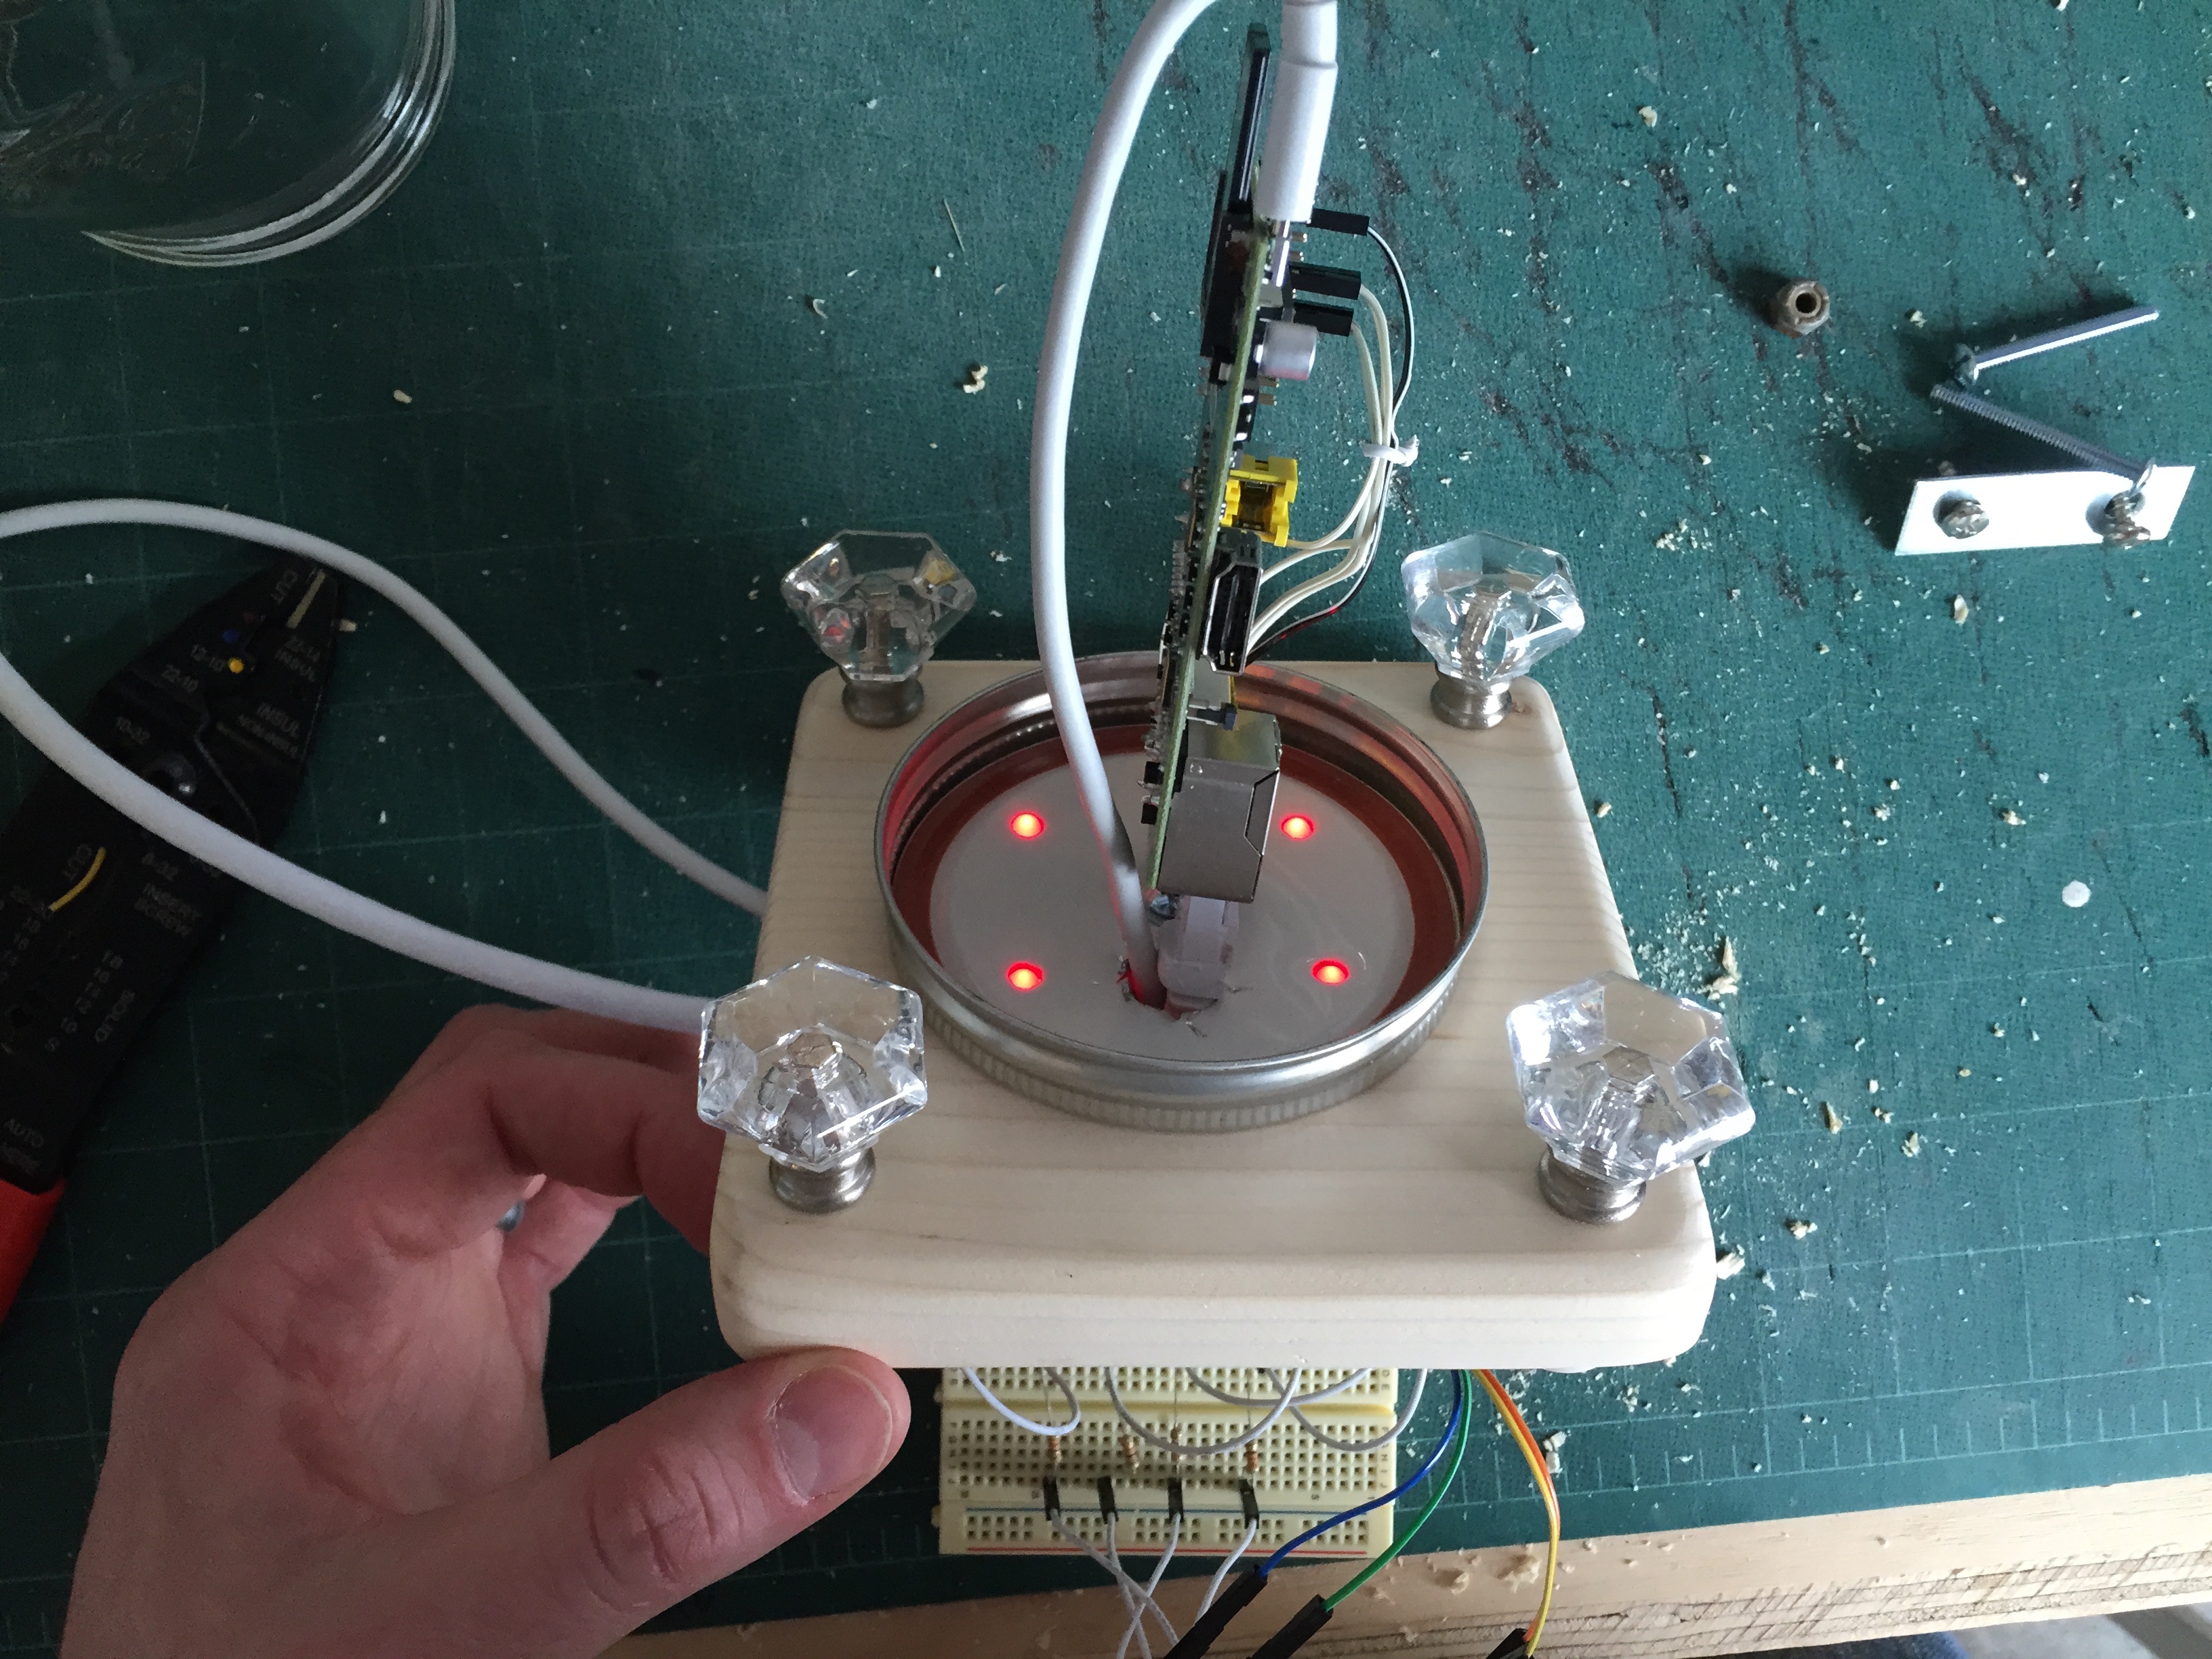
If you are comfortable with configuring a Raspberry Pi via command line that’s probably the most technical part of the build. It basically involves getting NOOBS running, wiring up a few LEDs, and installing BitTorrent Sync plus Node.js with a few packages.

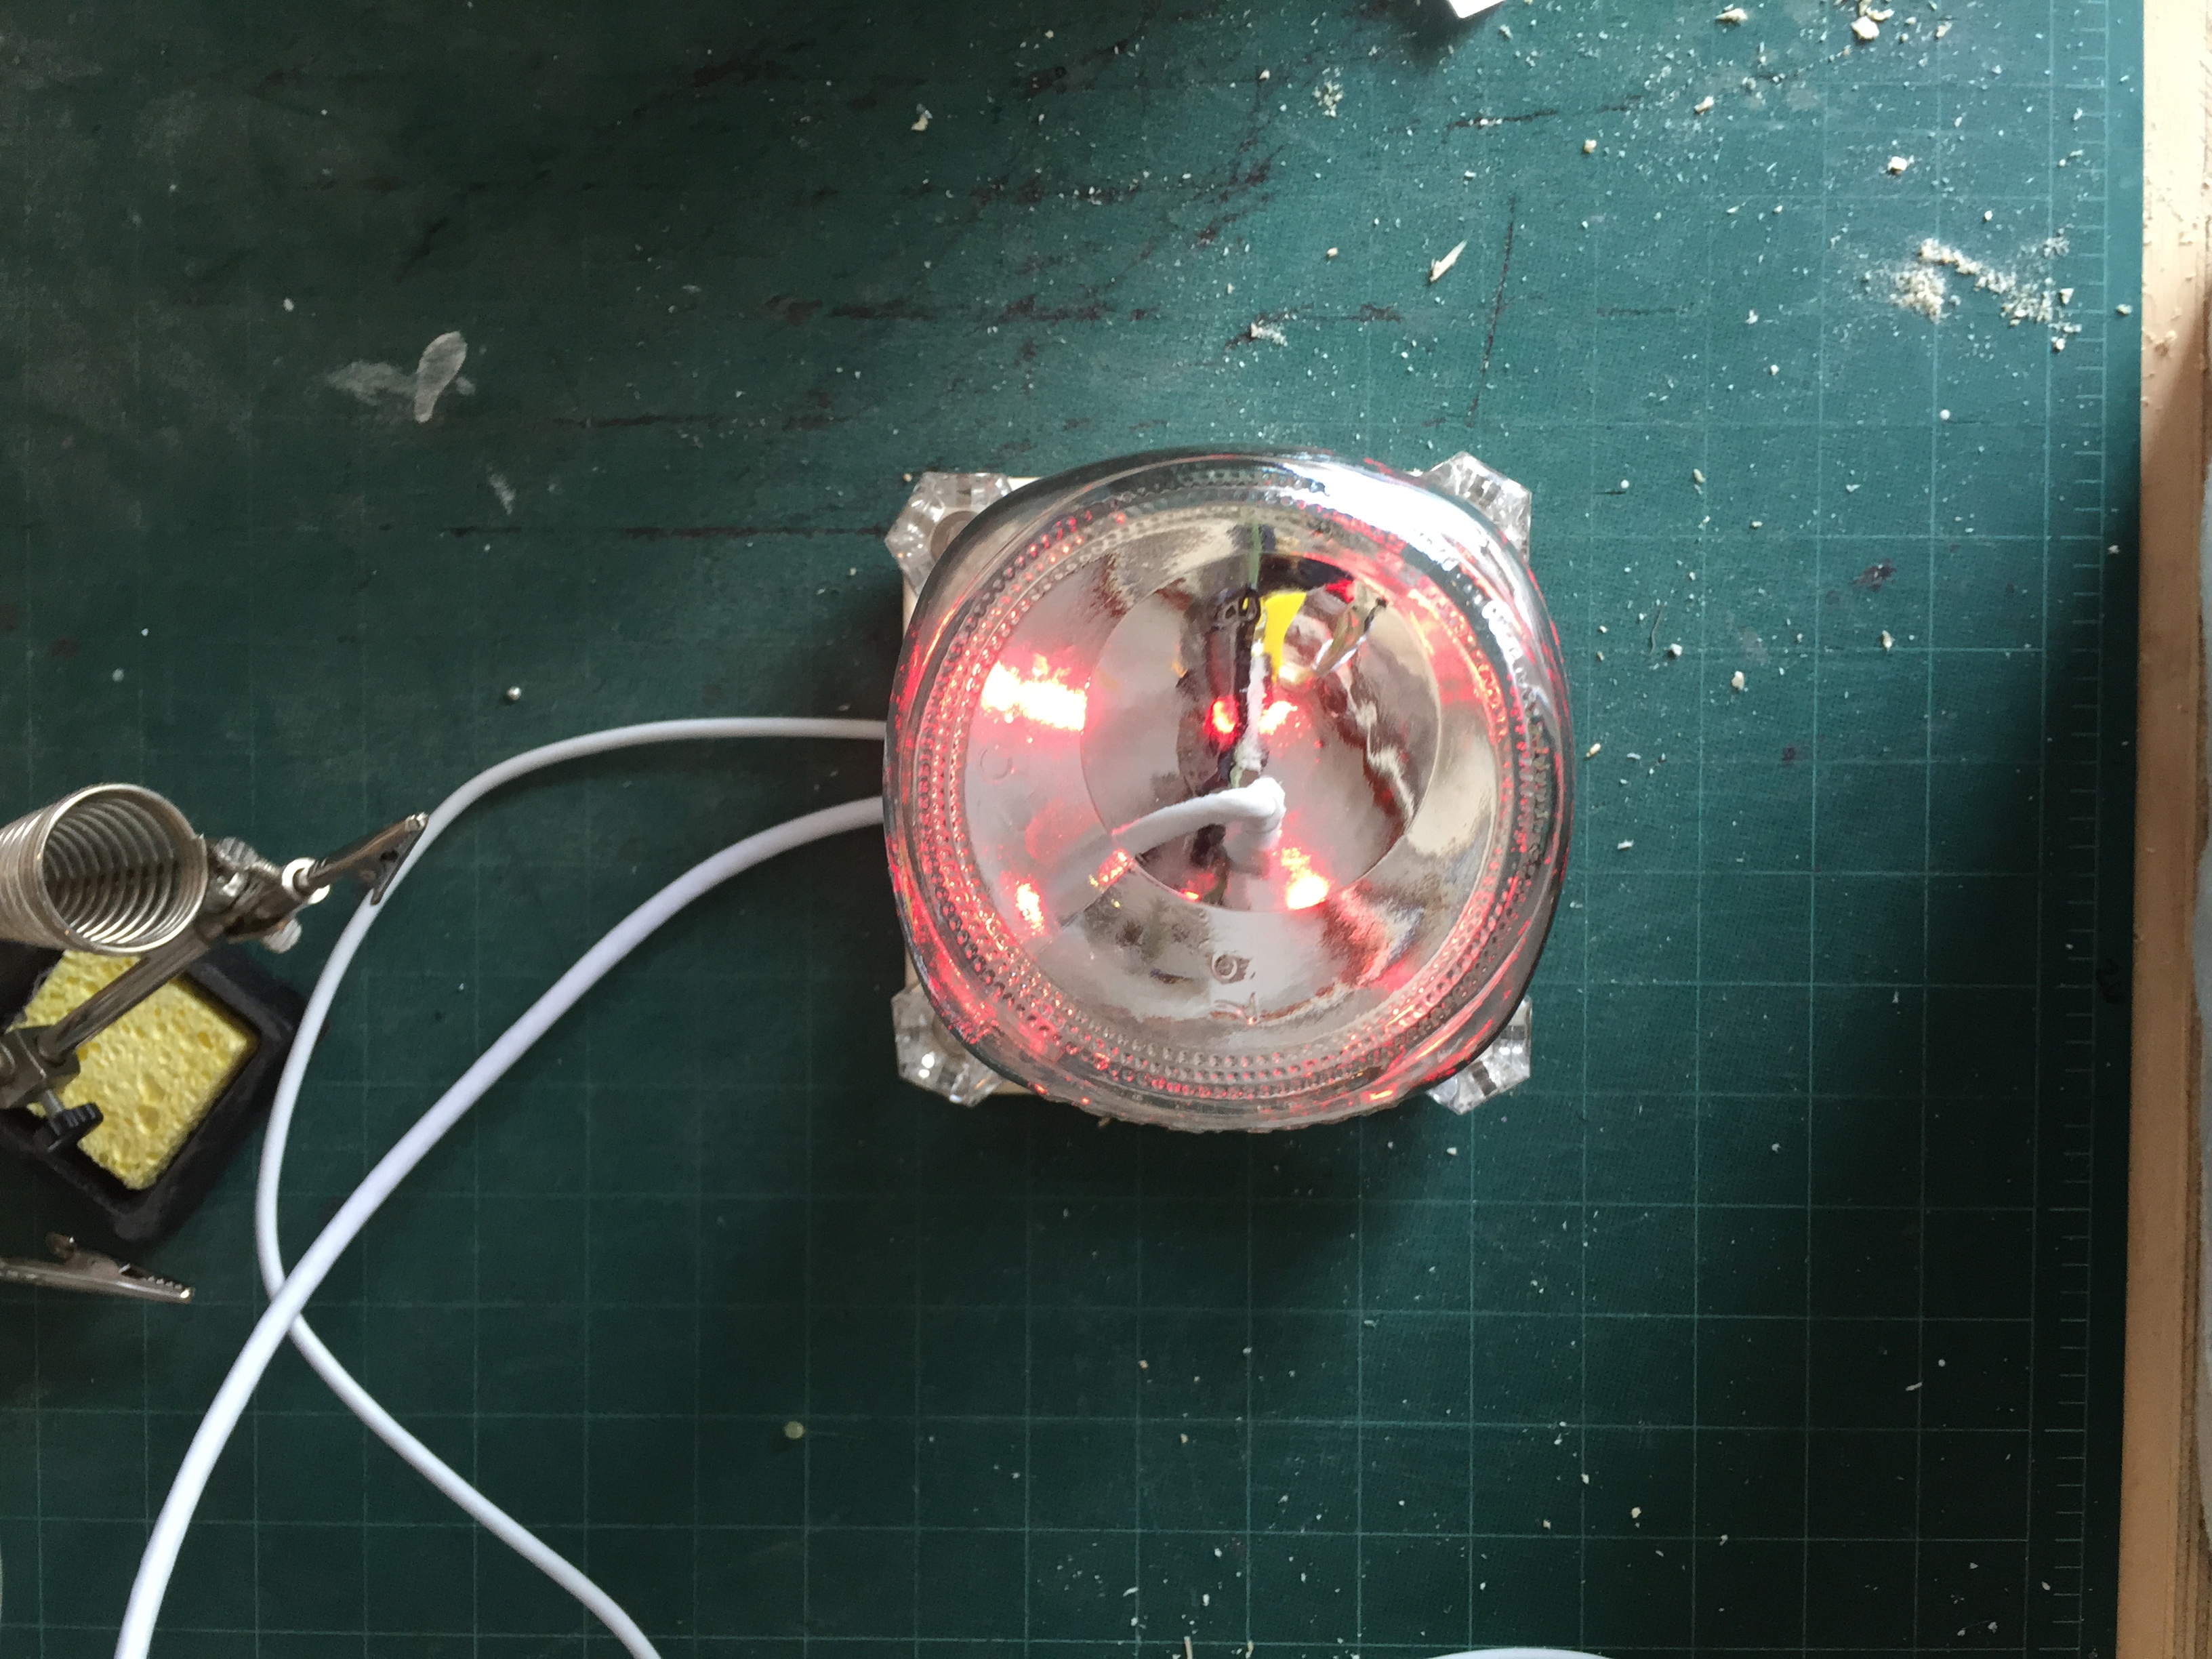
When you’re all done, just place your Raspberry Preserve somewhere on a shelf and relax knowing there is a copy of your most important memories right next to the tomatoes and cucumbers.

If you want to upgrade this project you could add a WiFi dongle to the Pi so there is one less cable to run and also to allow you to place it in locations that don’t have an Ethernet jack nearby.

Project Steps

Create a Base

Start with a nice looking board that’s around ¾” thick and cut a 6” square. Sand it up and make it look kind of like a wooden Apple TV.

At each corner, come in about ½” to make a hole for the corner drawer knobs.

Take the lid of the Mason jar and place it top down in the center of the base. Drill a hole in the center of the lid into the base and secure it with a nut, bolt, and washer. About 1 ½” from the center drill a ¾” hole to run your wiring through.

The last thing you’ll need to drill are holes for the LEDs. Those can be just wherever you like. I placed them evenly apart in the remaining parts of the lid that didn’t already have holes in it.

Attach Hardware

Attach the corner knobs and the rubber feet to the corners.

Run the Ethernet cable, micro USB power cable, and hookup wire for the LEDs inside through the ¾” hole you drilled in Step 1.

Just hook up your Raspberry Pi to the micro USB power cable, the Ethernet cable, the 4 LED hookup wires to GPIO (general-purpose input/output) pins 17/18/22/23, and the shared LED ground wire to a ground GPIO pin.

Wire up LEDs

Insert the four LEDs into their respective holes and secure them with a hit of hot glue.

You can also secure the Ethernet and micro USB cables with a metal bracket at this point.

You should have four GPIO pin control wires and one shared GPIO ground wire sticking out the bottom. Take your 330 Ohm resistors and wire one in between each GPIO control pin wire and the positive lead of an LED.

Do that for all four LEDs. All that’s left is to run the ground lead of all four LEDs back to the single ground wire that leads back into the Raspberry Pi’s ground GPIO pin.

Install Software

On your laptop install BitTorrent Sync and set up a directory to share with your Raspberry Preserve.

Once the Raspberry Pi is powered up and connected to the network just SSH into it and install BitTorrent Sync and Node.js with a few packages. Detailed instructions can be found on GitHub.

The short of it is that you’ll have to manually add the latest BitTorrent Sync repo and then install and configure it through the built-in web GUI.

You’ll also need to install the latest Node.js in order for the BitTorrent Sync Node packages to work. To make use of the BitTorrent Sync package you’ll need to apply for a BitTorrent Sync API key.

Test it out

Now that you’ve got BitTorrent Sync configured and your Node script listening for transfer activity it’s time to test it all out.

On any another device connected to the same BitTorrent Sync folder just drag a few files in and BitTorrent Sync should start making a copy.

The Node script should have noticed and started blinking LEDs too. When the transfer is complete the LEDs should just glow solid. That’s it!