vlcsnap-2015-06-03-08h45m02s118

There are all kinds of locks and alarms that you can make. You can make alarms that are controlled with keys, keypads, remote controls, scanners, or anything else that you can think of. Just for fun, I designed an alarm that is controlled by resistors.

This is a basic motion-sensing alarm that detects when someone enters the area. When an intruder is detected, it activates a siren. But what makes this system unique is that it is activated and deactivated by touching a resistor to a pair of metal contacts on the housing. This makes for an interesting kind of security system.

YouTube player

Project Steps

How the System Works

This system is a basic motion activated alarm. It is built around an Arduino microcontroller. It is connected to a PIR motion sensor, a buzzer, a resistor, and a pair of external terminals. The whole system is battery powered so that it is easily portable. The system is activated and deactivated by touching a certain value resistor to the contacts on the housing.

When a certain value resistor is connected to the terminals for a few seconds, the system arms itself. After a ten second delay, the motion sensor is activated. If it detects motion, it makes a brief warning beep. After this, if the alarm is not deactivated within ten seconds, the siren will go off. To deactivate the alarm, all you have to do is touch the resistor to the contacts for a few seconds.

The resistor makes a very unique kind of key. The resistance must be within a very small range in order to activate the system. Because the resistance must be within this window for several seconds, you can’t disable it with a variable resistor (potentiometer). By covering up the colored stripes on the resistor, other people won’t be able to tell what resistance it is by looking at it. This makes the resistor lock very secure.

Microcontroller Code

Here is some sample code that you can use to start the project.

You can either copy and paste it into a new sketch or you can download the attached file.

Then upload it to your board.


int alarmPin = 2; // Piezo buzzer connected to digital pin 2
int motionSensorPin = 13; // Motion sensor connected to digital pin 13
int resistanceSensorPin = 5; // Center pin of resistors connected to analog pin 5
//
//
int sensorHoldTime = 2000; // Time that resistance must be within range to activate the alarm
int resistanceSetValue = 512; // Setting for resistor value
int resistanceSensorValue = 0; // Input resistance reading
int motionSensorState = LOW; // Store whether motion is detected
int armState = LOW; // Is the alarm armed
int triggerState = LOW; // Has the alarm been triggered
unsigned long currentTime = 0; // current time
int delayTime = 10000; // Delay between detecting motion and alarm
unsigned long activateTime = 0; // stores time that the alarm is triggered
//
void setup()
{
pinMode(alarmPin, OUTPUT); // sets the digital pin 2 as output
pinMode(motionSensorPin, INPUT); // sets the digital pin 13 as input
Serial.begin(9600);
}
//
void loop()
{
currentTime = millis();
//
resistanceSensorValue = analogRead(resistanceSensorPin); // reads resistor value
//
if (abs(resistanceSensorValue - resistanceSetValue) activateTime + delayTime)) //sound alarm if it is not deactivated in time
{
Serial.println("Alarm");
digitalWrite(alarmPin, HIGH);
delay(500);
digitalWrite(alarmPin, LOW);
delay(500);
}
}

Prototype the System on a Breadboard

Once you have the code, you can connect all the external parts. The easiest way to do this is with a breadboard. This will let you make temporary connections to test everything out.

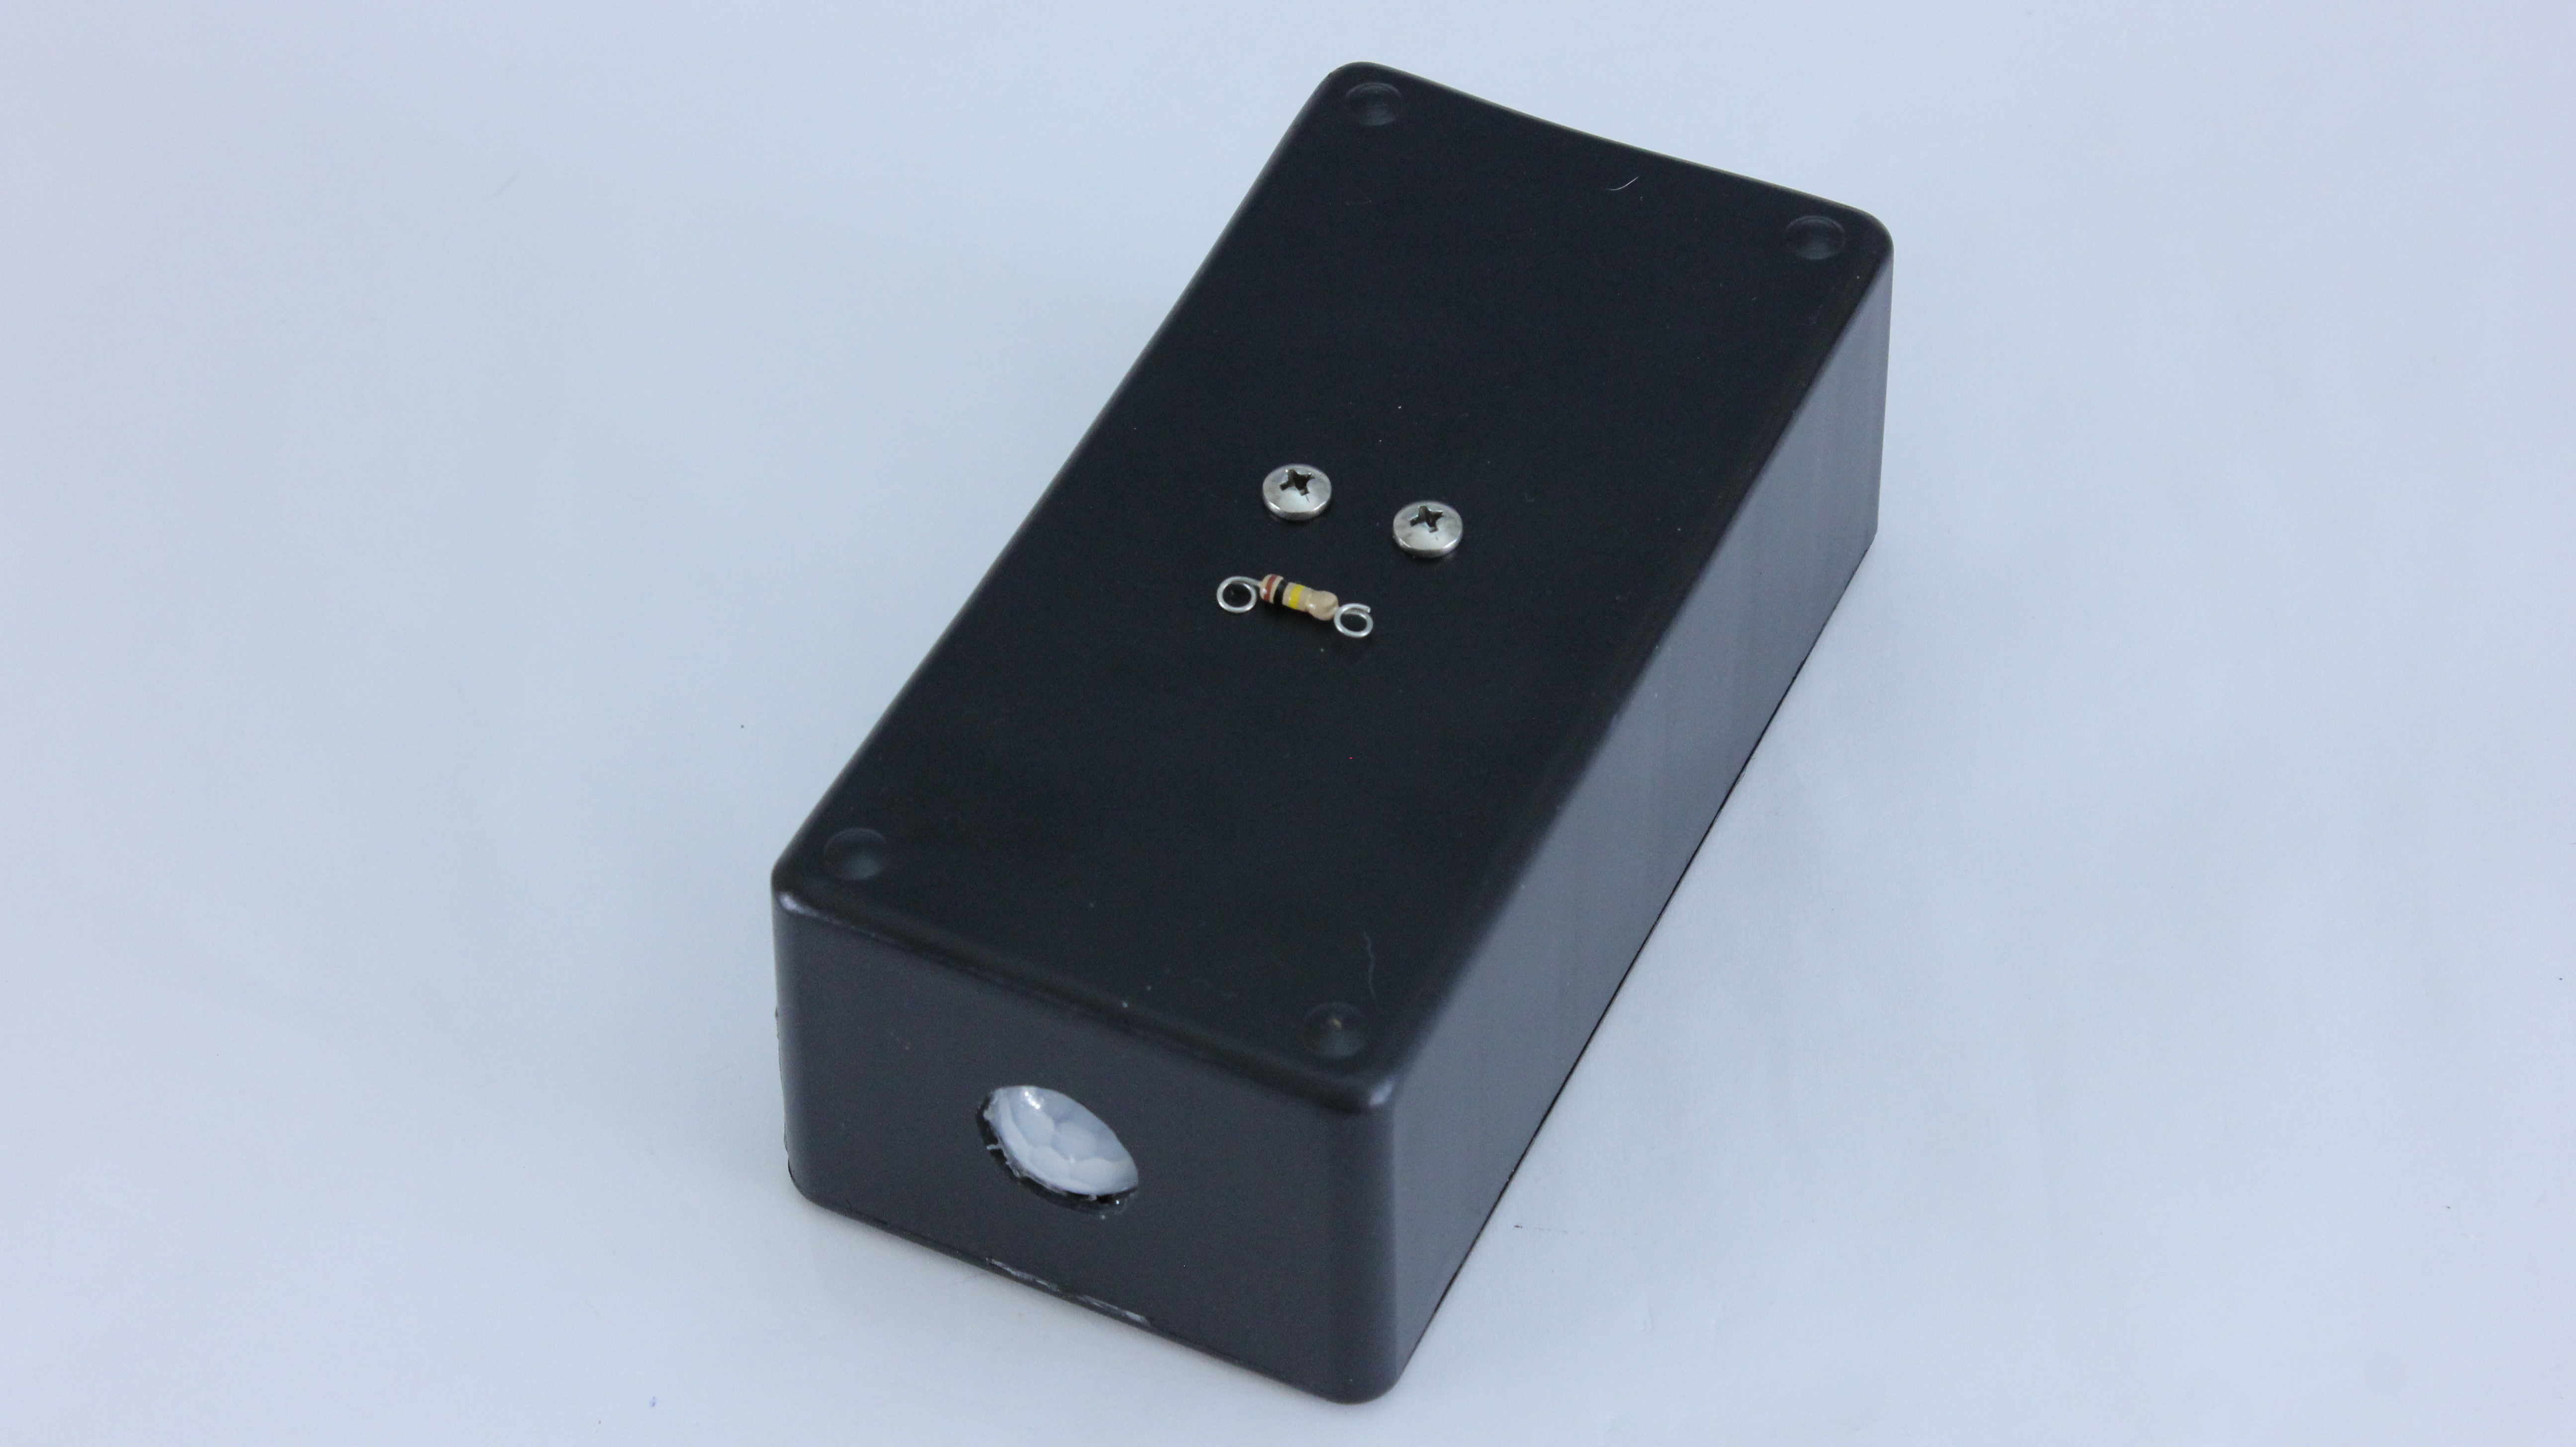
Connect the motion sensor to the 5V pin, the GND pin, and to digital pin 13. Connect the black wire of the buzzer to GND and connect the red wire to digital pin 2. Lastly, connect one of the resistors to the 5V pin and analog pin 5. Connect the other resistor to GND and analog pin 5.

Before plugging in the Arduino board remove one of the resistors from the breadboard. Then connect the Arduino board to your computer with a USB connector cable, and upload the code. Once the upload is complete the system should immediately begin functioning.

To arm the system, insert the resistor back into the board where it was. After it has been securely fit in place, remove it again. As soon as the Arduino detects the resistor, it will begin activating the alarm. After a ten second delay, the motion sensor will be activated. When motion is sensed, there will be a brief warning beep and ten seconds later the alarm will sound. To deactivate the alarm, insert the resistor back into the breadboard. The alarm should stop immediately, and after two seconds, the alarm will be deactivated. You can now either remove the resistor and the alarm will go into standby mode (de-activated) or you can leave the resistor in and the system will reset.

Solder the Parts Together on a Perf Board

The simplest way to solder the wires and components together is with a piece of perf board. This lets you fit the components wherever they need to be and make custom solder connections between them. The perf board can then be connected to the Arduino board with either jumper wires or header pins.

I decided to make a basic DIY protoshield that would plug directly into the Arduino board. I lined up the holes on the perf board with the pin holes on the Arduino and I marked the location of the holes that I would be connecting to.

Now you need some connector leads. You can use header pin connectors or you can make your own with wire or paperclips or the clipped leads of other electrical components. Solder these to the pin holes where you will connect to the Arduino.

Then solder on the jumper wires, the 9V battery connector, the buzzer, and one of the resistors. In place of the second resistor, add two more jumper wires that will be connected to terminals on the housing.

Connect the Perf Board to the Arduino and Test it

Carefully line up the pins on the bottom side of the perf board with the pin holes on the Arduino. Then carefully fit the two together. If you are using wire as the connecting pins, it is really easy for the pins to get bent and misaligned.

Once everything is connected, test the system again. The separate resistor can be connected by touching it to the end or the jumper wires.

Drill Holes in the Housing

Next we need to drill a few holes in the housing so that we can mount all the parts. Start by using a ¼” hole in one end of the housing. This will be where we mount the buzzer. Then use a ¾” hole saw to drill a hole in the other side of the housing. This will be where we mount the motion sensor. Lastly, drill two holes in the top side of the housing that are a little bigger than the machine screws.

Glue the Motion Sensor and the Buzzer in Place

Apply a small amount of hot glue around the motion sensor where it lines up with the hole in the housing. Then press the motion sensor into the hole. Apply more hot glue around the outside and hold it in place until the glue cools.

Then apply a small amount of hot glue to the face of the buzzer. Align the hole in the buzzer with the hole in the housing and press it in place. Hold the buzzer in this position until the glue dries.

Mount the Connecting Screws and Attach the Wires

Insert the machine screws through the holes in the top of the housing. Screw one nut onto the back side of each one and tighten them in place. Then wrap the resistor jumper wires around the screws and tighten a second nut on top of each one. This should hold them securely in place.

Close Up the Housing

The last thing that you need to do is connect the battery and close up the housing.

Disguise the Key Resistor (optional)

The security of this alarm depends on no one else knowing the value of the resistor that will deactivate it, so you may wish to hide this in some way. The easiest way to do this is to cover up the color indicator stripes on the resistor. You can do this with a sharpie, with paint, or with white out. You can also hide it inside a small key chain ornament.

Finished Resistance Controlled Alarm

Now your resistance controlled alarm is complete. Set it up in any place that you want to protect. The alarm will begin in standby mode. To activate it, just touch the key resistor to the screws on top of the housing. You now have ten seconds to get out of the room (or at least out of the view of the motion sensor). The alarm will then be armed. When someone walks in view of the motion sensor, it will give a brief warning beep. You then have ten seconds to disarm the alarm before the siren goes off. All this makes for a very unique kind of portable alarm.