Projects from Make: Magazine
Self-Guide Golf Club Carrier
This guide provides a step by step process for building a self-guided golf club carrier using an arduino, sensors, and a kids electric car.

This guide provides a step by step process for building a self-guided golf club carrier using an arduino, sensors, and a kids electric car.


Disassembly of Kids Elecric Car: Motors
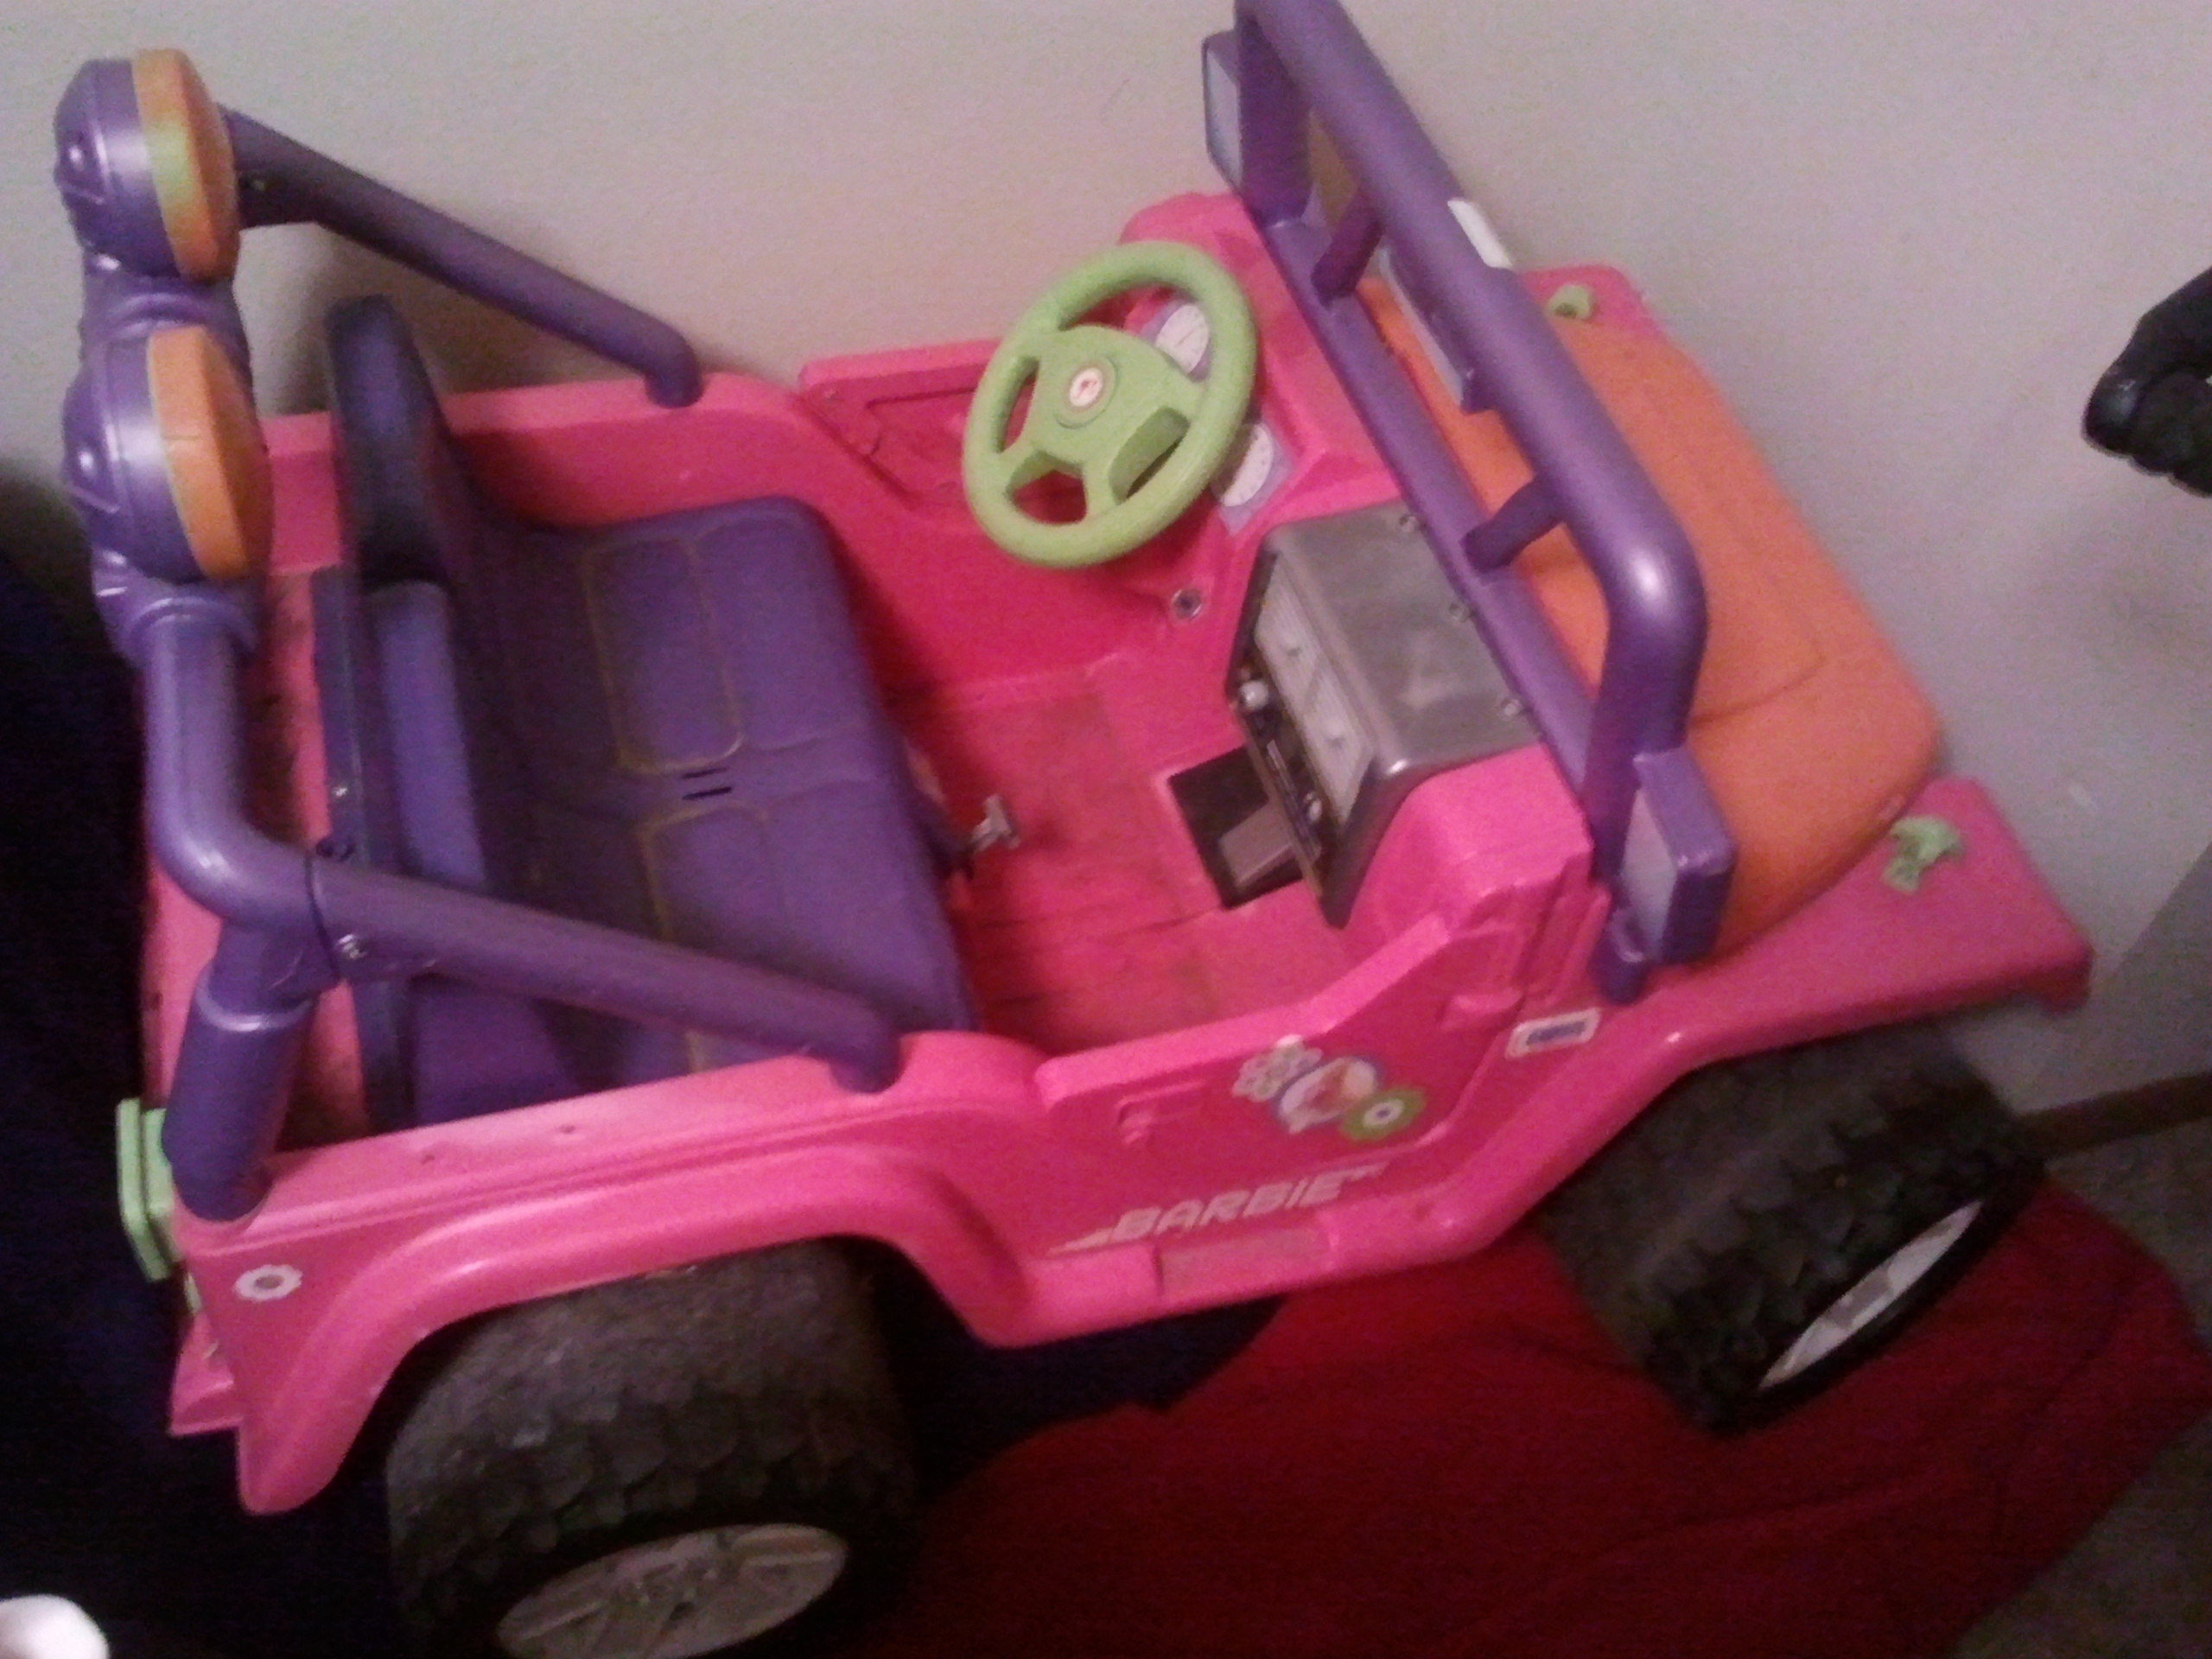
Take a Phillips screwdriver and remove the back purple frame. Take one screw out of the back of the seat to reach the motors.
After unhinging the seat, two motors connected to a switch can be found underneath. The switch controls the speed of the toy car.
Take apart the back axle and wheels to remove the motors from the car.

Disassembly of Toy Car: Wiring
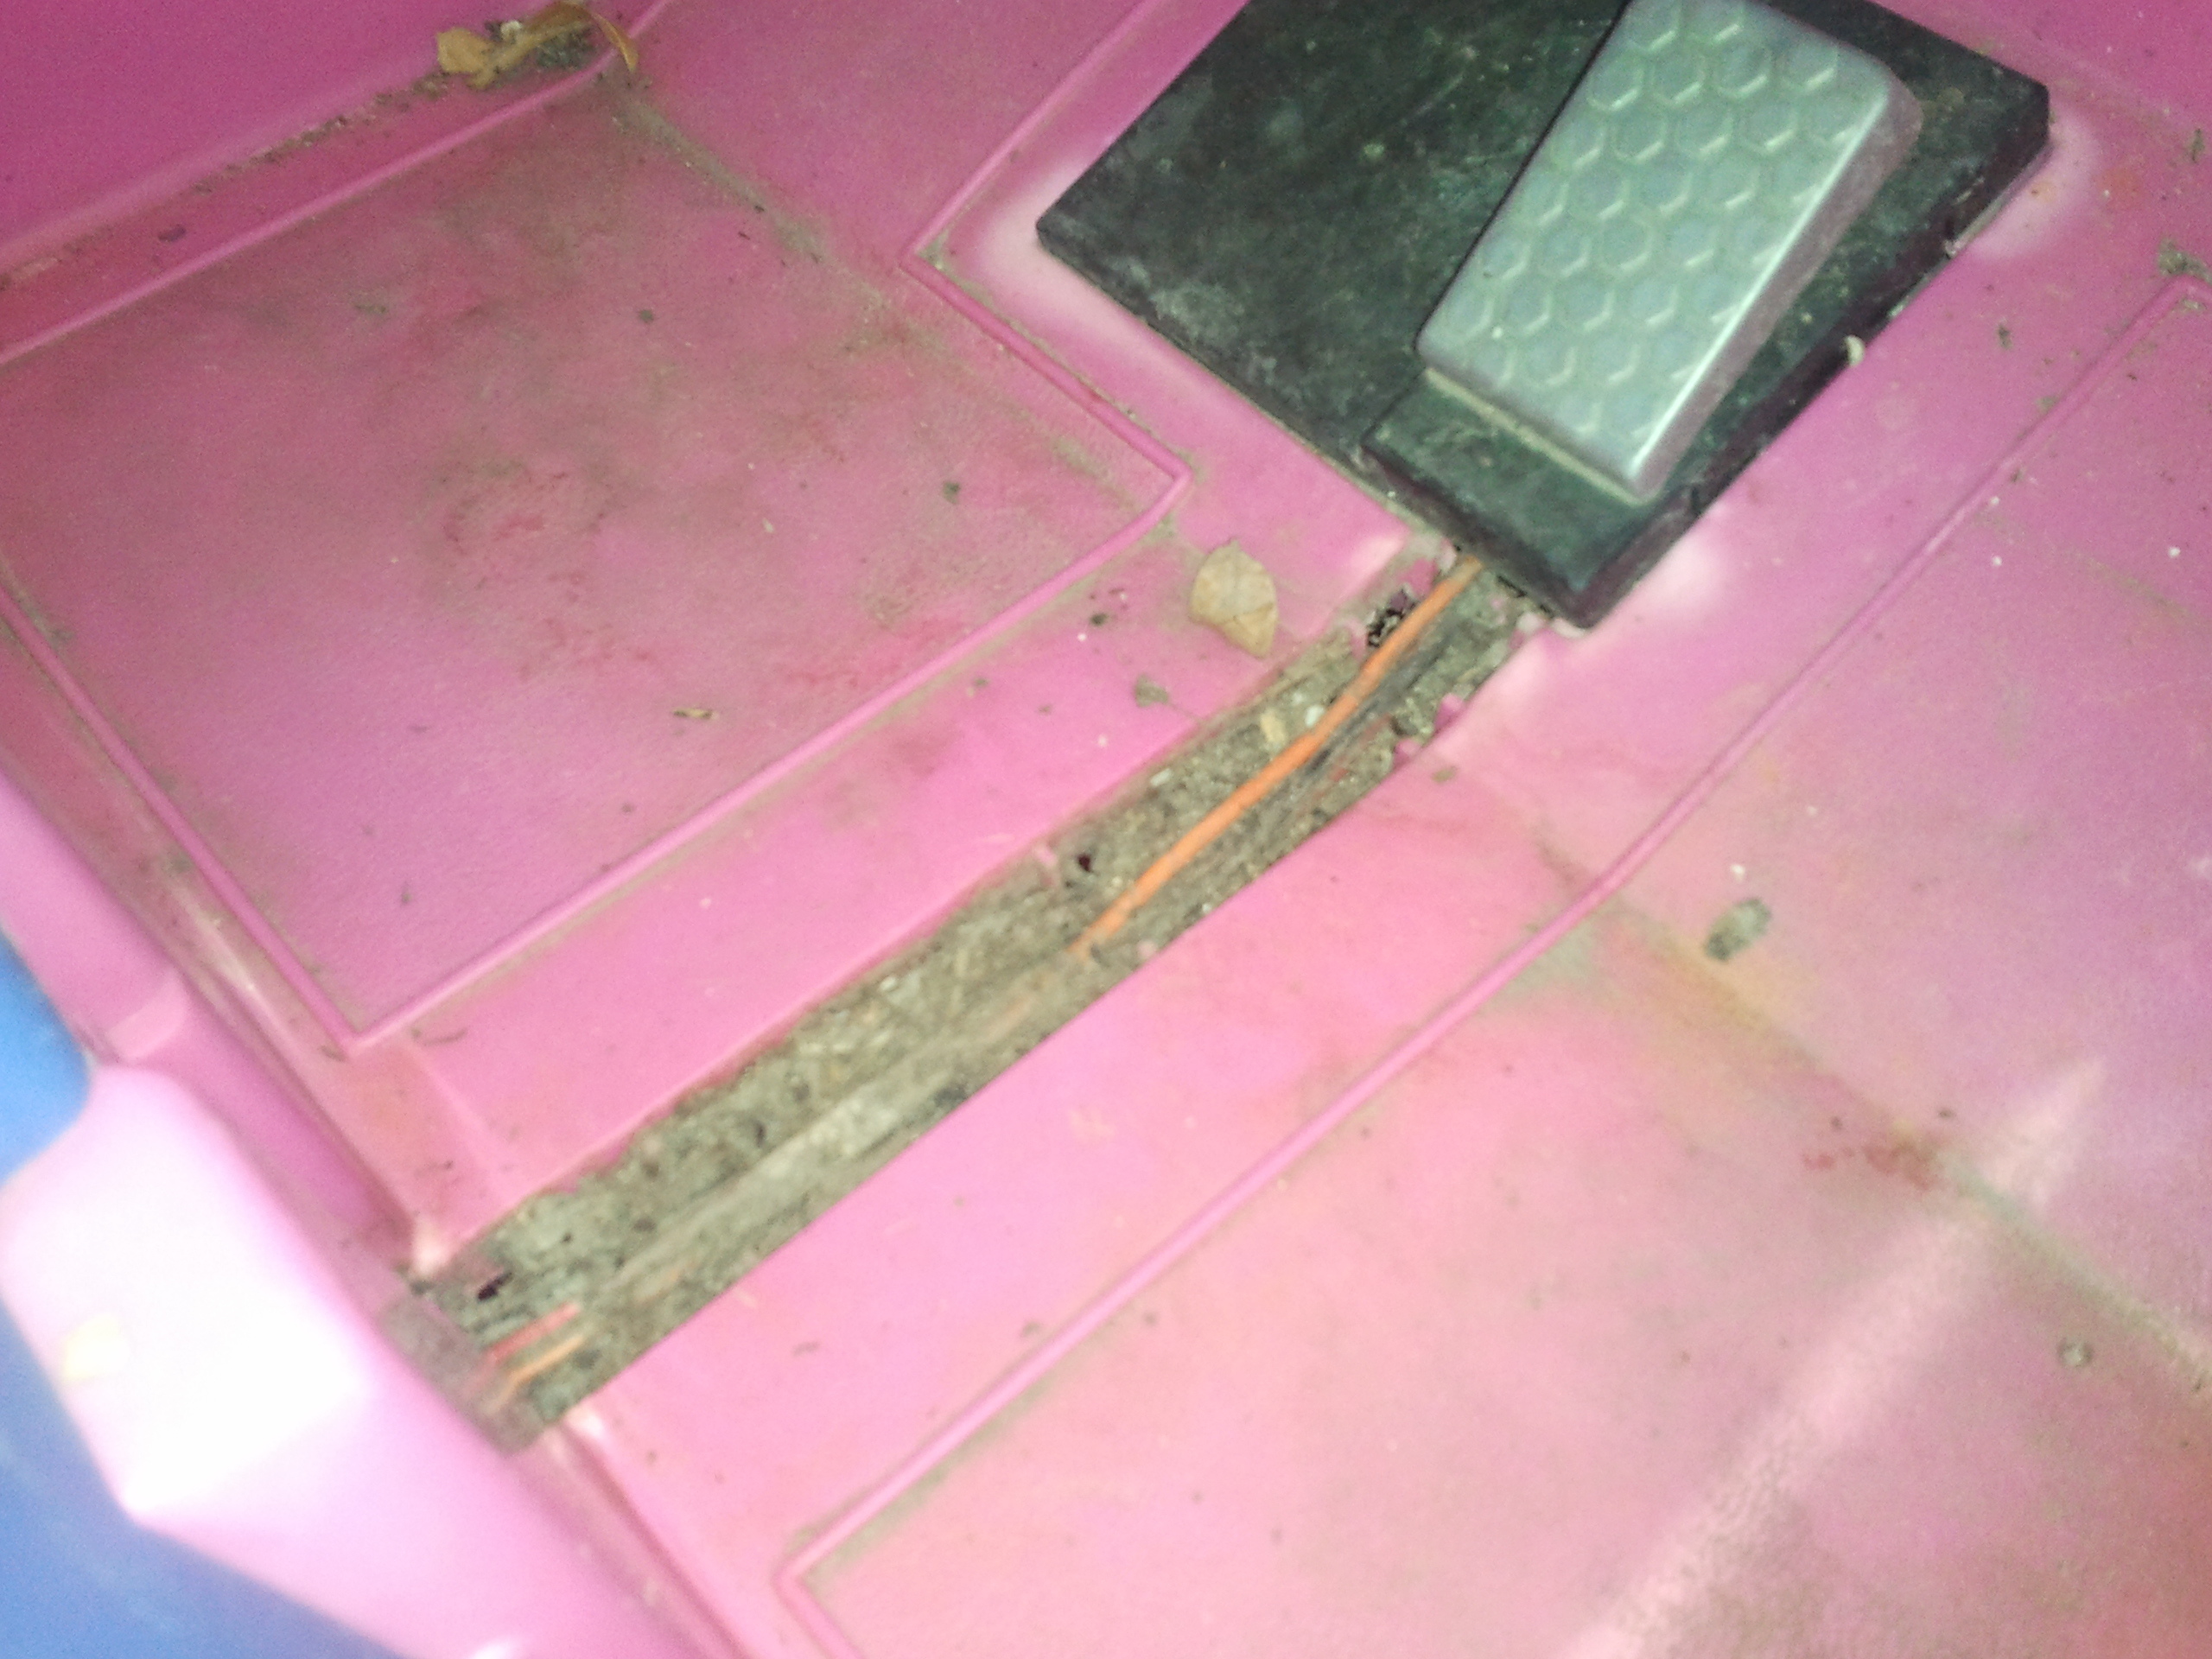
Open up the floor of the jeep to reveal the wire connecting the battery and pedal to the motors.
Unscrew the hood of the car and slip the battery wire through to the backside, where the motors are.
The final disassembly should include the two motors, speed control, battery connector, and the go switch all connected to each other.
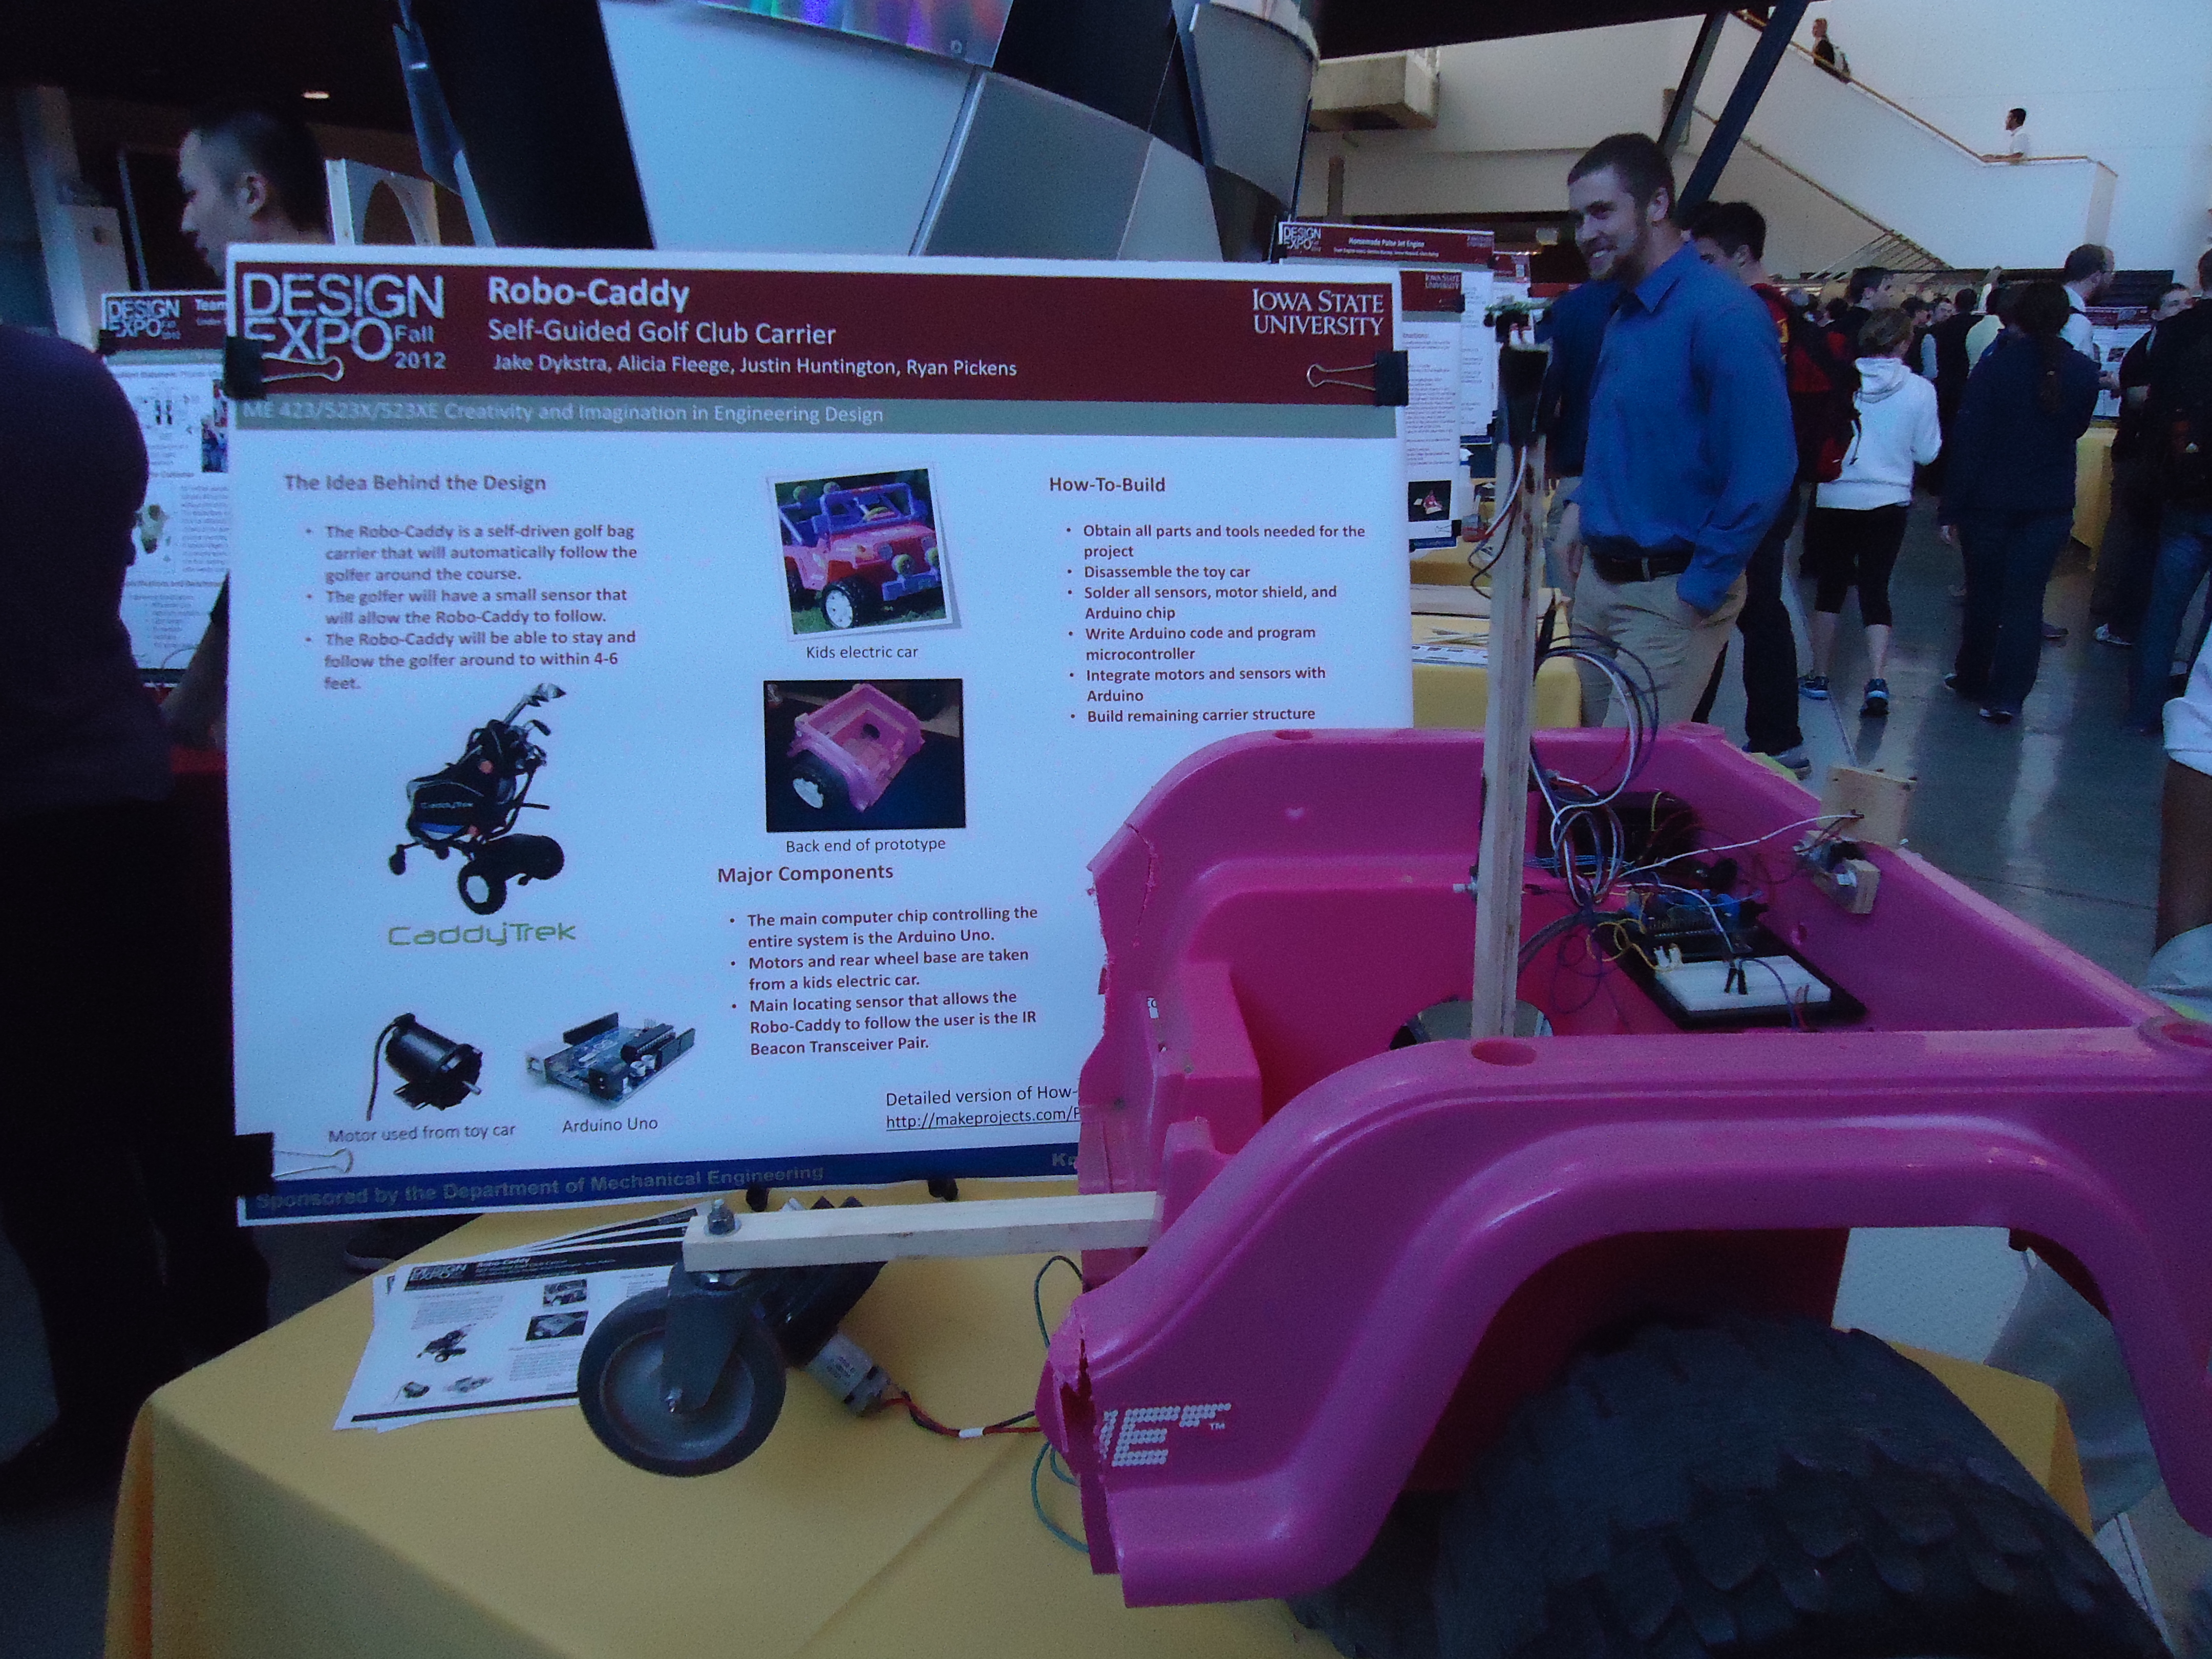
Using a jigsaw, remove the front half of the vehicle as shown in the third picture for this step.

Soder All Necessary Parts
Use the diagrams provided by the sensor manufacturer to properly place the electrical components on the sensor board.
Use the medium heat setting on the soldering gun to melt down the solder to secure the components.

Obtain Arduino Code and Program Arduino
After purchasing the arduino, download the free arduino software to your computer from http://www.arduino.cc/
Attach the arduino to your computer using the usb connector included in the starter kit. Program the arduino using the arduino code found on the following website. http://www.robotishappy.com/2009/12/beac…

Integration of Motors and Sensors with Ardiuno
The following website provides details for attaching the sensors, microcontroller and motors. https://github.com/chazlett/beacon_locat…

Build Remaining Carrier Structure
Use the back half of the kid’s car and some scrap material (such as lumber or plastic if it’s available) to create a support frame for the front end of the carrier.
Secure the material to the kid’s car (via bolts and screws) and build outward to produce a frame (bringing the front end to a point is suggested because it will allow for a single pivot wheel and it will provide a strong structure).
Add a Wheel/Wheels
Attach a pivot wheel at the front end of your newly created structure.