IMG_5887

If there’s one thing that’s the same about everyone’s broadband connection, it’s that it’s slow. Usually slower than it was advertised to be when you got it. But slow isn’t as irritating as sporadic, when you get constant drops and outages in your internet connection, it can drive you to frustration.

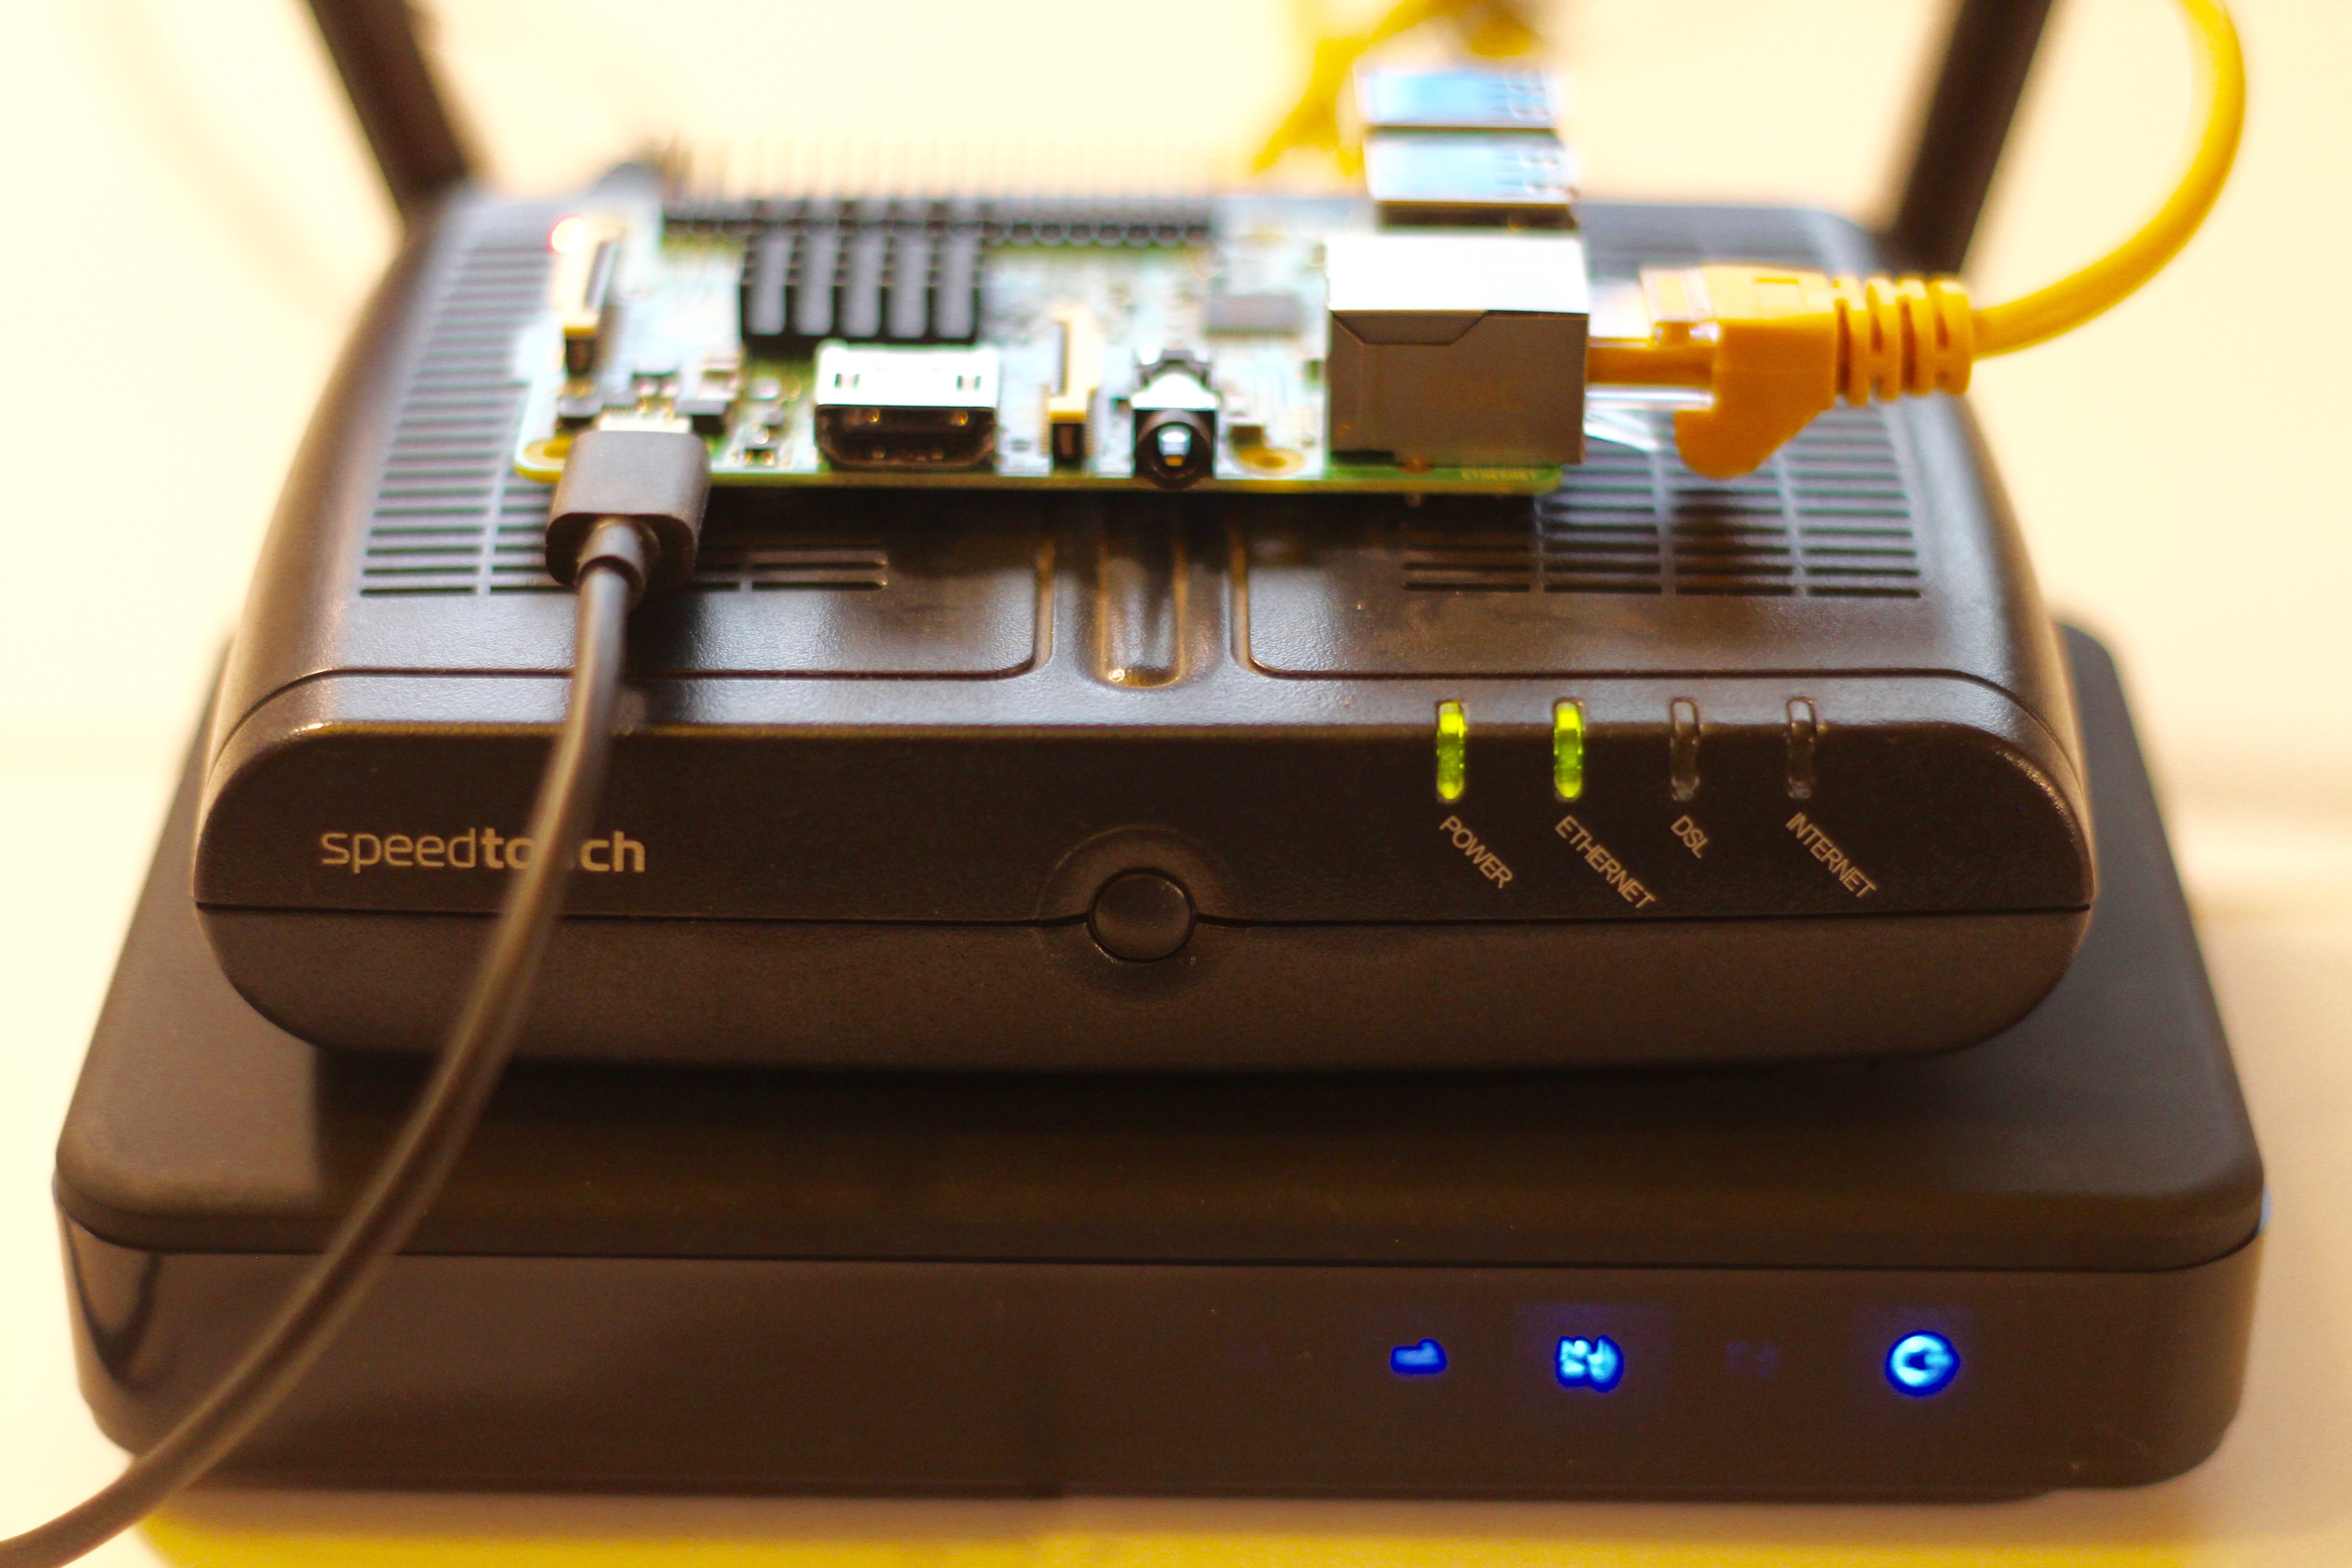
It drove one man in Washington D.C. to monitor his broadband connection with a Raspberry Pi, and automatically tweet Comcast when his connection drops to a fraction of advertised speed.

This is actually something I’ve been doing myself for a couple of years, also using a Raspberry Pi stuffed in a corner of my network closet. Well, not the bit where I tweet my broadband provider. Instead my script is a bit more direct: It automatically submits a trouble ticket into their support queue.

Over the time I’ve been doing this I’ve used various methods to measure the latency and speed of my broadband connection. Most recently I’ve switched to using speedtest-cli, a command line interface to the speedtest.net servers written in Python.

Not sure if Raspberry Pi is right for you? Make:’s interactive Board Guide lets you dial into the field to find the best board for your needs.

Project Steps

1.

It’s really easy to install. Just open up a terminal window on your Raspberry Pi and type the following at the command line,

$ sudo apt-get install python-pip
$ sudo pip install speedtest-cli

this will install pip — a package management system for Python — if you don’t already have it installed, and then the speedtest-cli package from the pip repositories.

2.

Once installed it’s rather easy to grab and measure your broadband speed.

$ speedtest-cli
Retrieving speedtest.net configuration...
Retrieving speedtest.net server list...
Testing from Acme Broadband Provider. (XXX.XXX.XXX.XXX)...
Selecting best server based on latency...
Hosted by Foo Limited (Metropolis) [2.52 km]: 35.27 ms
Testing download speed........................................
Download: 14.47 Mbit/s
Testing upload speed..................................................
Upload: 1.46 Mbit/s
$

Although I’ve disguised other details, that really is my average reported broadband speed. I have an ADSL2+ Annex M connection, unfortunately FTTC hasn’t quite made it to my parts of the world.

While this is my average speed, it’s well below what I’m paying for, which is 25 Mbit/s down and 2.5 Mbit/s up. However I’ve more or less given up on obtaining that… these days I’m just happy if it’s stable. Because, every so often, I go through patches where my latency rises to several hundred milliseconds, and my bandwidth drops to 1 or 2 Mbit/s. These periods can go on for days.

Which makes me rather jealous of our friend in Washington, who is complaining to Comcast when his 150Mbit/s connection drops to a low of 50Mbit/s.

3.

In any case, now that we have our command line tool installed, we can run it automatically using cron, which allows you to schedule commands to run at specified times (every hour), and log the output to a file.

The easiest way to do this is to create a quick script, let’s call it speedtest-cron.sh, which will log the date and the output of the test to a file,

#!/bin/bash
 
date >> /home/pi/speedtest.log
/usr/local/bin/speedtest --simple >> /home/pi/speedtest.log

4.

Then go ahead and edit your crontab file, adding an entry to run the script test once an hour. You can do that by typing,

$ crontab -e

at the command line, and then adding the line,

0 * * * * /home/pi/speedtest-cron.sh

to the crontab file before saving it. This will run the test once an hour, at the top of the hour, appending the date-stamped output of the speedtest command to a log file.

$ cat speedtest.log 
Sun Jan 31 19:49:01 GMT 2016
Ping: 34.961 ms
Download: 14.44 Mbit/s
Upload: 1.41 Mbit/s
$

However the output of the speedtest-cli package, even in its “simple” mode, is pretty messy. We could go into the package and fix things so that the output is somewhat more useful, CSV format perhaps, or we could rewrite the whole thing in Perl. But since this is a quick hack, it’s probably easiest just to fix things with a bash script.

Which is exactly what the speedtest-cli-extras script does. It captures the output of the script, reformats it, and outputs it on a single line with time stamps and values separated by semicolons,

$ git clone https://github.com/HenrikBengtsson/speedtest-cli-extras.git
$ cd speedtest-cli-extras/bin
$ ./speedtest-csv 
2016-01-31 17:00:33;2016-01-31 17:01:27;Acme Broadband Provider;XXX.XXX.XXX.XXX;Foo Limited (Metropolis);2.52 km;34.768 ms;14.43 Mbit/s;1.31 Mbit/s;http://www.speedtest.net/result/XXXXXXXXXX.png
$

again with names changed to protect the guilty. As you can see the output is much more useful, especially if we want to create graphs, than we had previously. Running this every hour from cron is going to start to pile up evidence in a nicely formatted data file, hopefully allowing us to have a satisfying argument with our broadband provider inside a few days.

Except that, while I’m on the road, I don’t want to have to SSH into the Raspberry Pi connected to my ADSL modem, grab the CSV file, and manually post the trouble ticket I’ve filed with my broadband provider.

5.

This is where IFTTT‘s Maker Channel, introduced towards the middle of last year, comes in handy. I went ahead and created a recipe on IFTTT to take the data passed to a Maker Channel event called “speedtest” and automatically fill a Google Sheet with the output of speedtest-cli script.

Screenshot 2016-01-31 16.33.31

The easiest way to get the data from our Raspberry Pi to IFTTT at this point is to modify the speedtest-cli-extras script. Instead of printing out the output to a log file, we’ll make a POST web request with the event name and our secret key — the key is assigned when you connect the channel — of the form,

https://maker.ifttt.com/trigger/speedtest/with/key/{secret_key}

with a JSON body consisting of  three values — the latency, download, and upload speeds — to be passed on to the action in the recipe.

https://gist.github.com/aallan/bafc70a347f3b9526d30

6.

After you download it you should go ahead and substitute your own SECRET_KEY before testing it out by running the modified script manually at the command line. If all goes well you should see something like this,

$ ./speedtest-ifttt.sh 
Congratulations! You've fired the speedtest event
$

Go ahead and check your Google Drive, there should be a new Sheet called “Speedtest.”

Screenshot 2016-01-31 22.39.14

This Sheet should have a single row with four columns populated. The first is the date stamp on the IFTTT Maker Channel event, the second is the ping time in ms (latency of the connection), the third the download speed in Mbit/s, with the final column being the upload speed in Mbit/s.

January 26, 2016 at 02:49AM 34.039 12.56 1.32

If that’s worked, all we have to do is modify our speedtest-cron.sh script to run our new script when it’s called at the top of the hour by cron,

#!/bin/bash
 
date >> /home/pi/speedtest.log
/home/pi/speedtest-ifttt.sh >> /home/pi/speedtest.log
echo "" >> /home/pi/speedtest.log

and each hour we’ll now add another row to the Google Sheet.

Screenshot 2016-01-31 22.02.04

At this point you now have a Raspberry Pi-based monitoring system in place to measure your broadband speed once an hour, and automatically log it to the cloud. This should hopefully give you enough evidence to wave at your broadband provider when things are, let’s say, less than optimal with your connection.

In my own case if I have three low (<2Mbit/s) download speed measurements in a row, the script also goes on to make a second HTTP POST request to my broadband provider’s helpdesk system, and files an automated trouble ticket — containing a pointer to my Google Sheet — to tell them my connection is having problems. But, since your broadband provider almost certainly uses an entirely different helpdesk system than mine, we’ll leave that as an exercise for the reader.