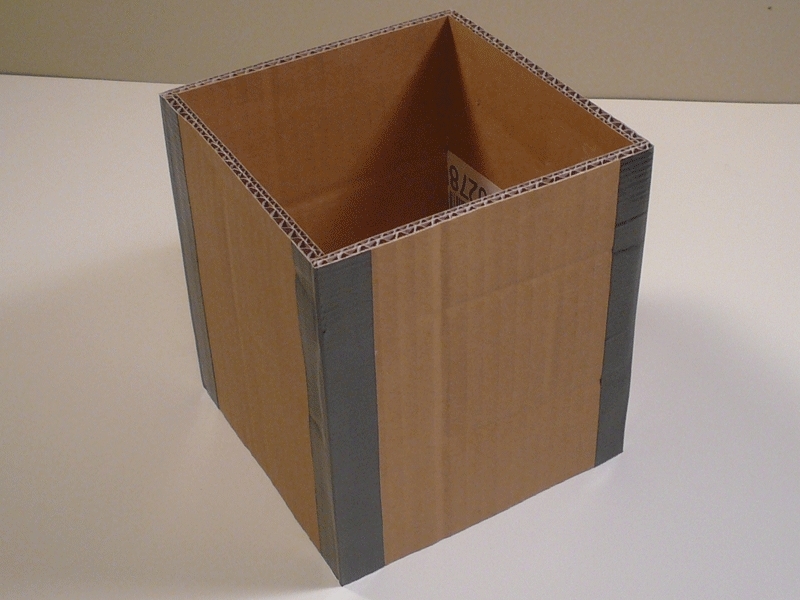
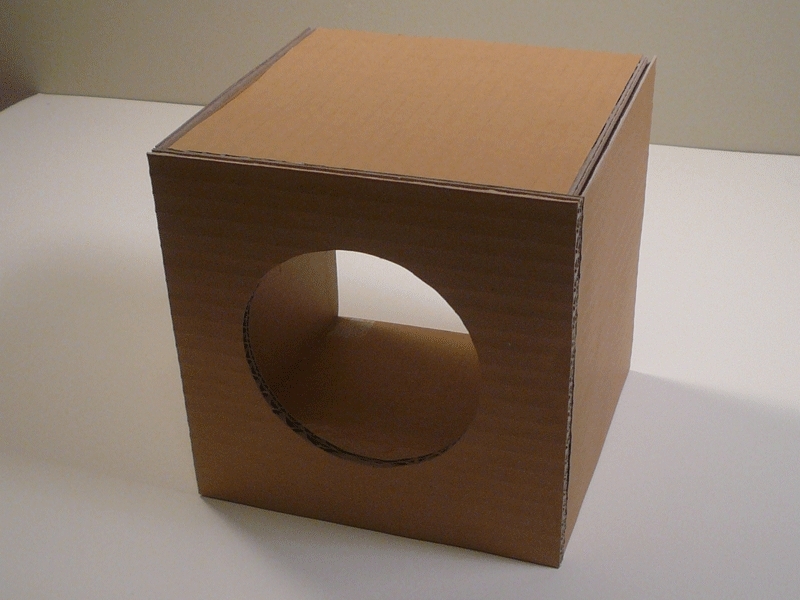
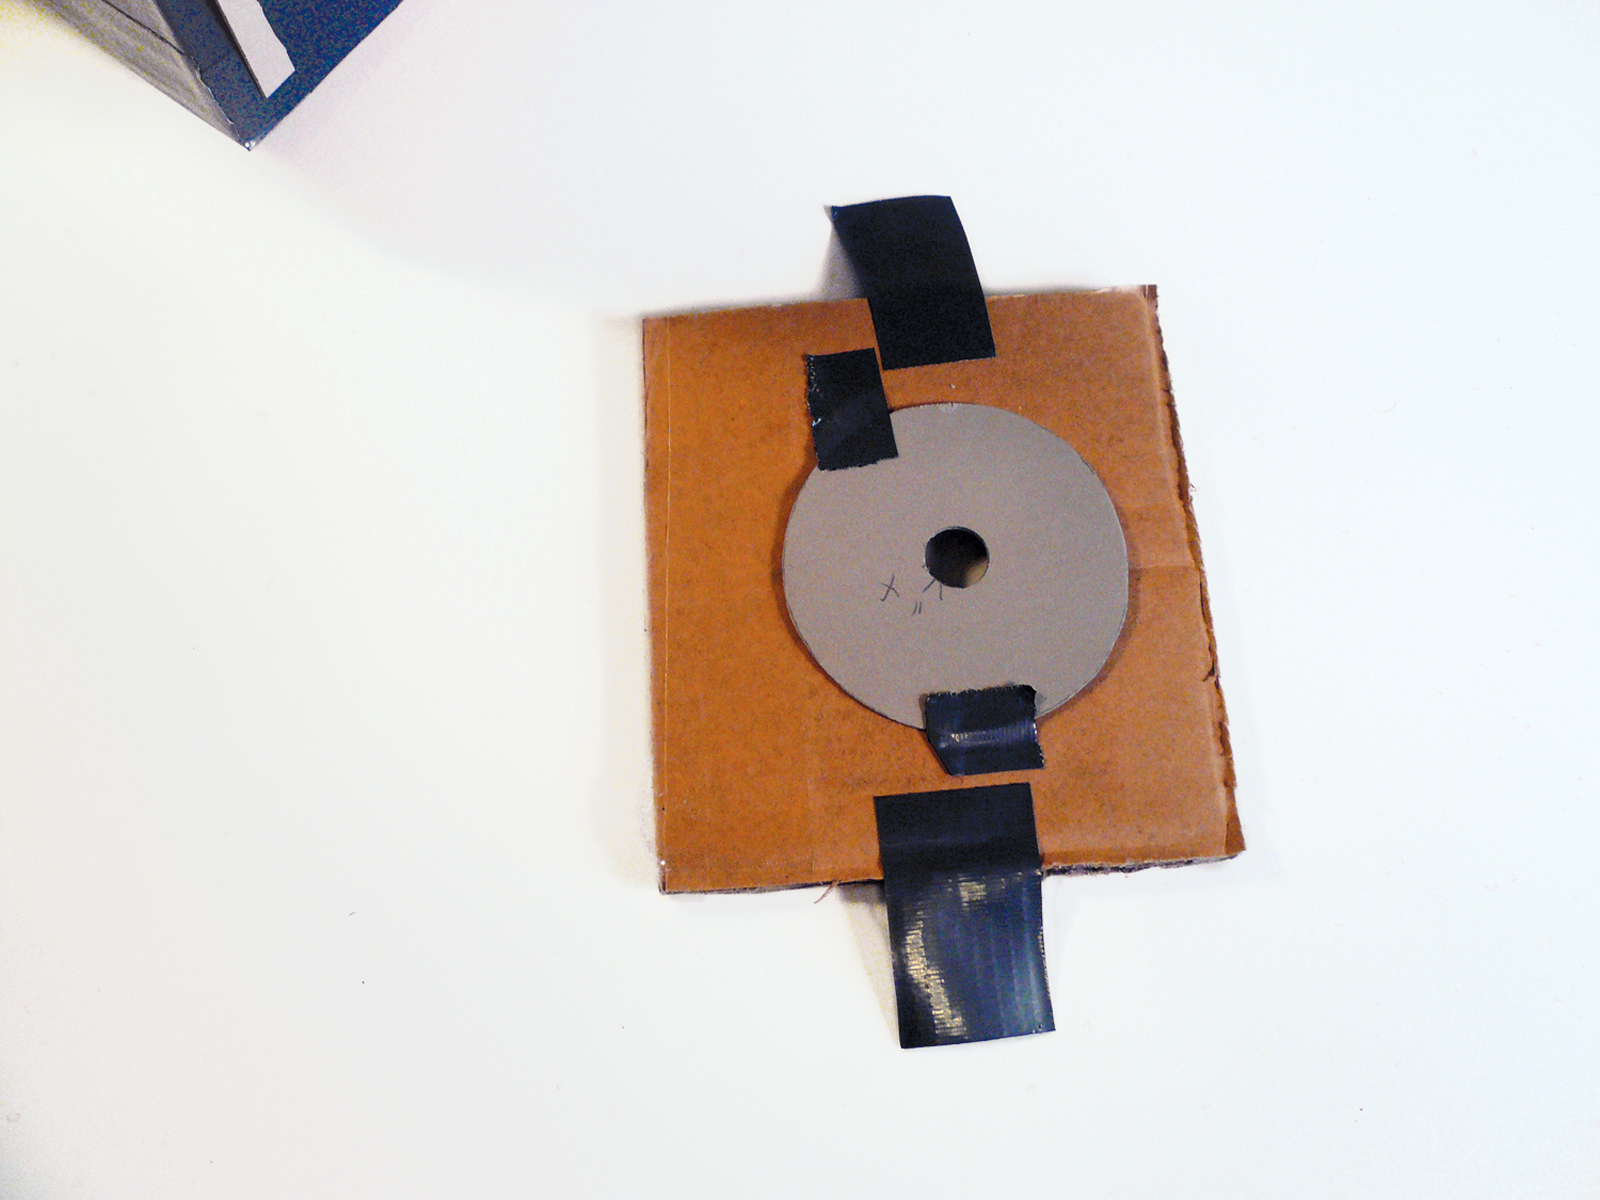
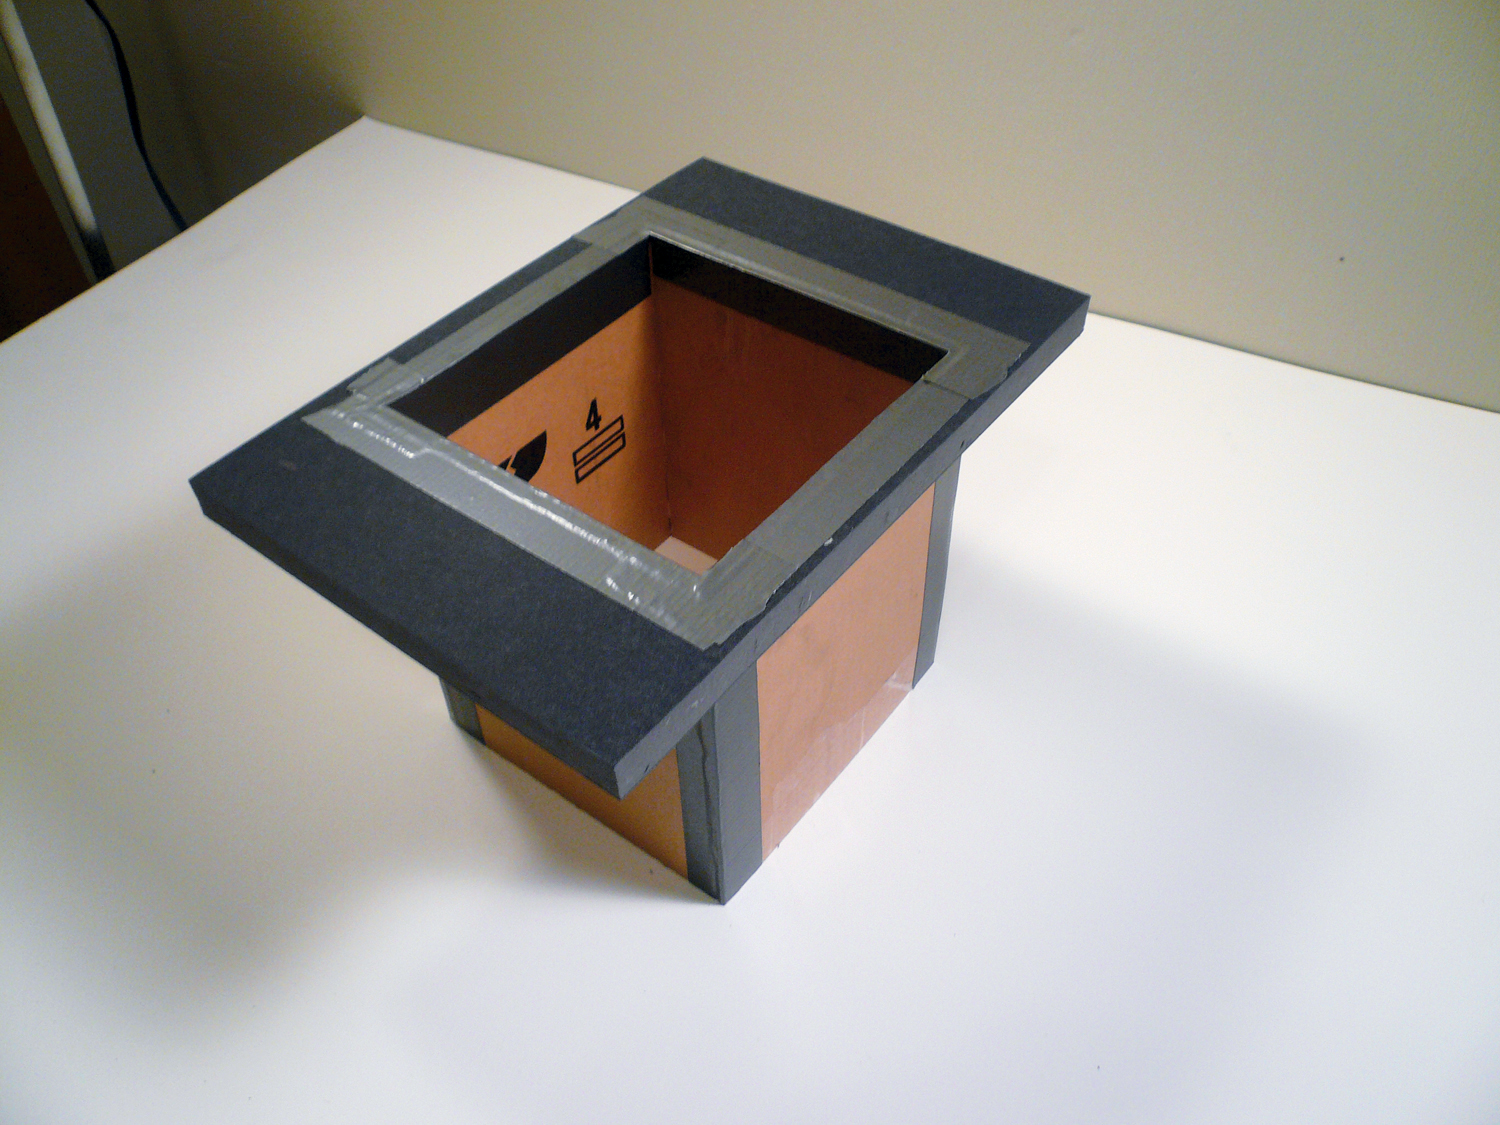
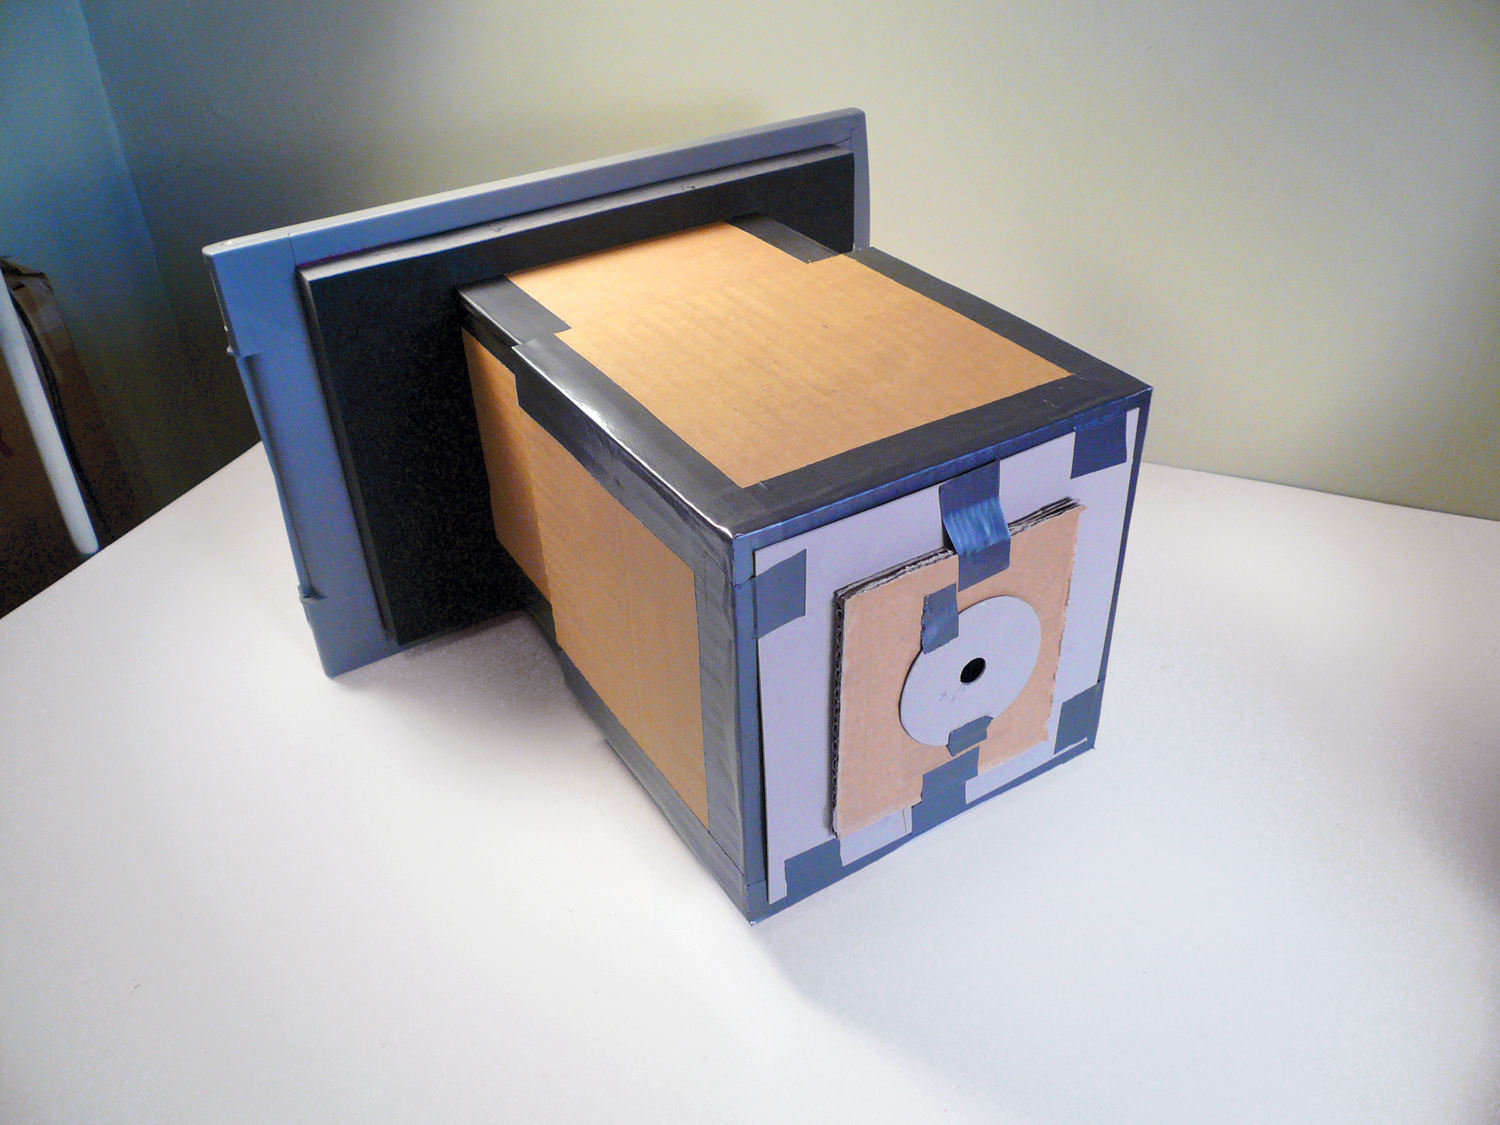
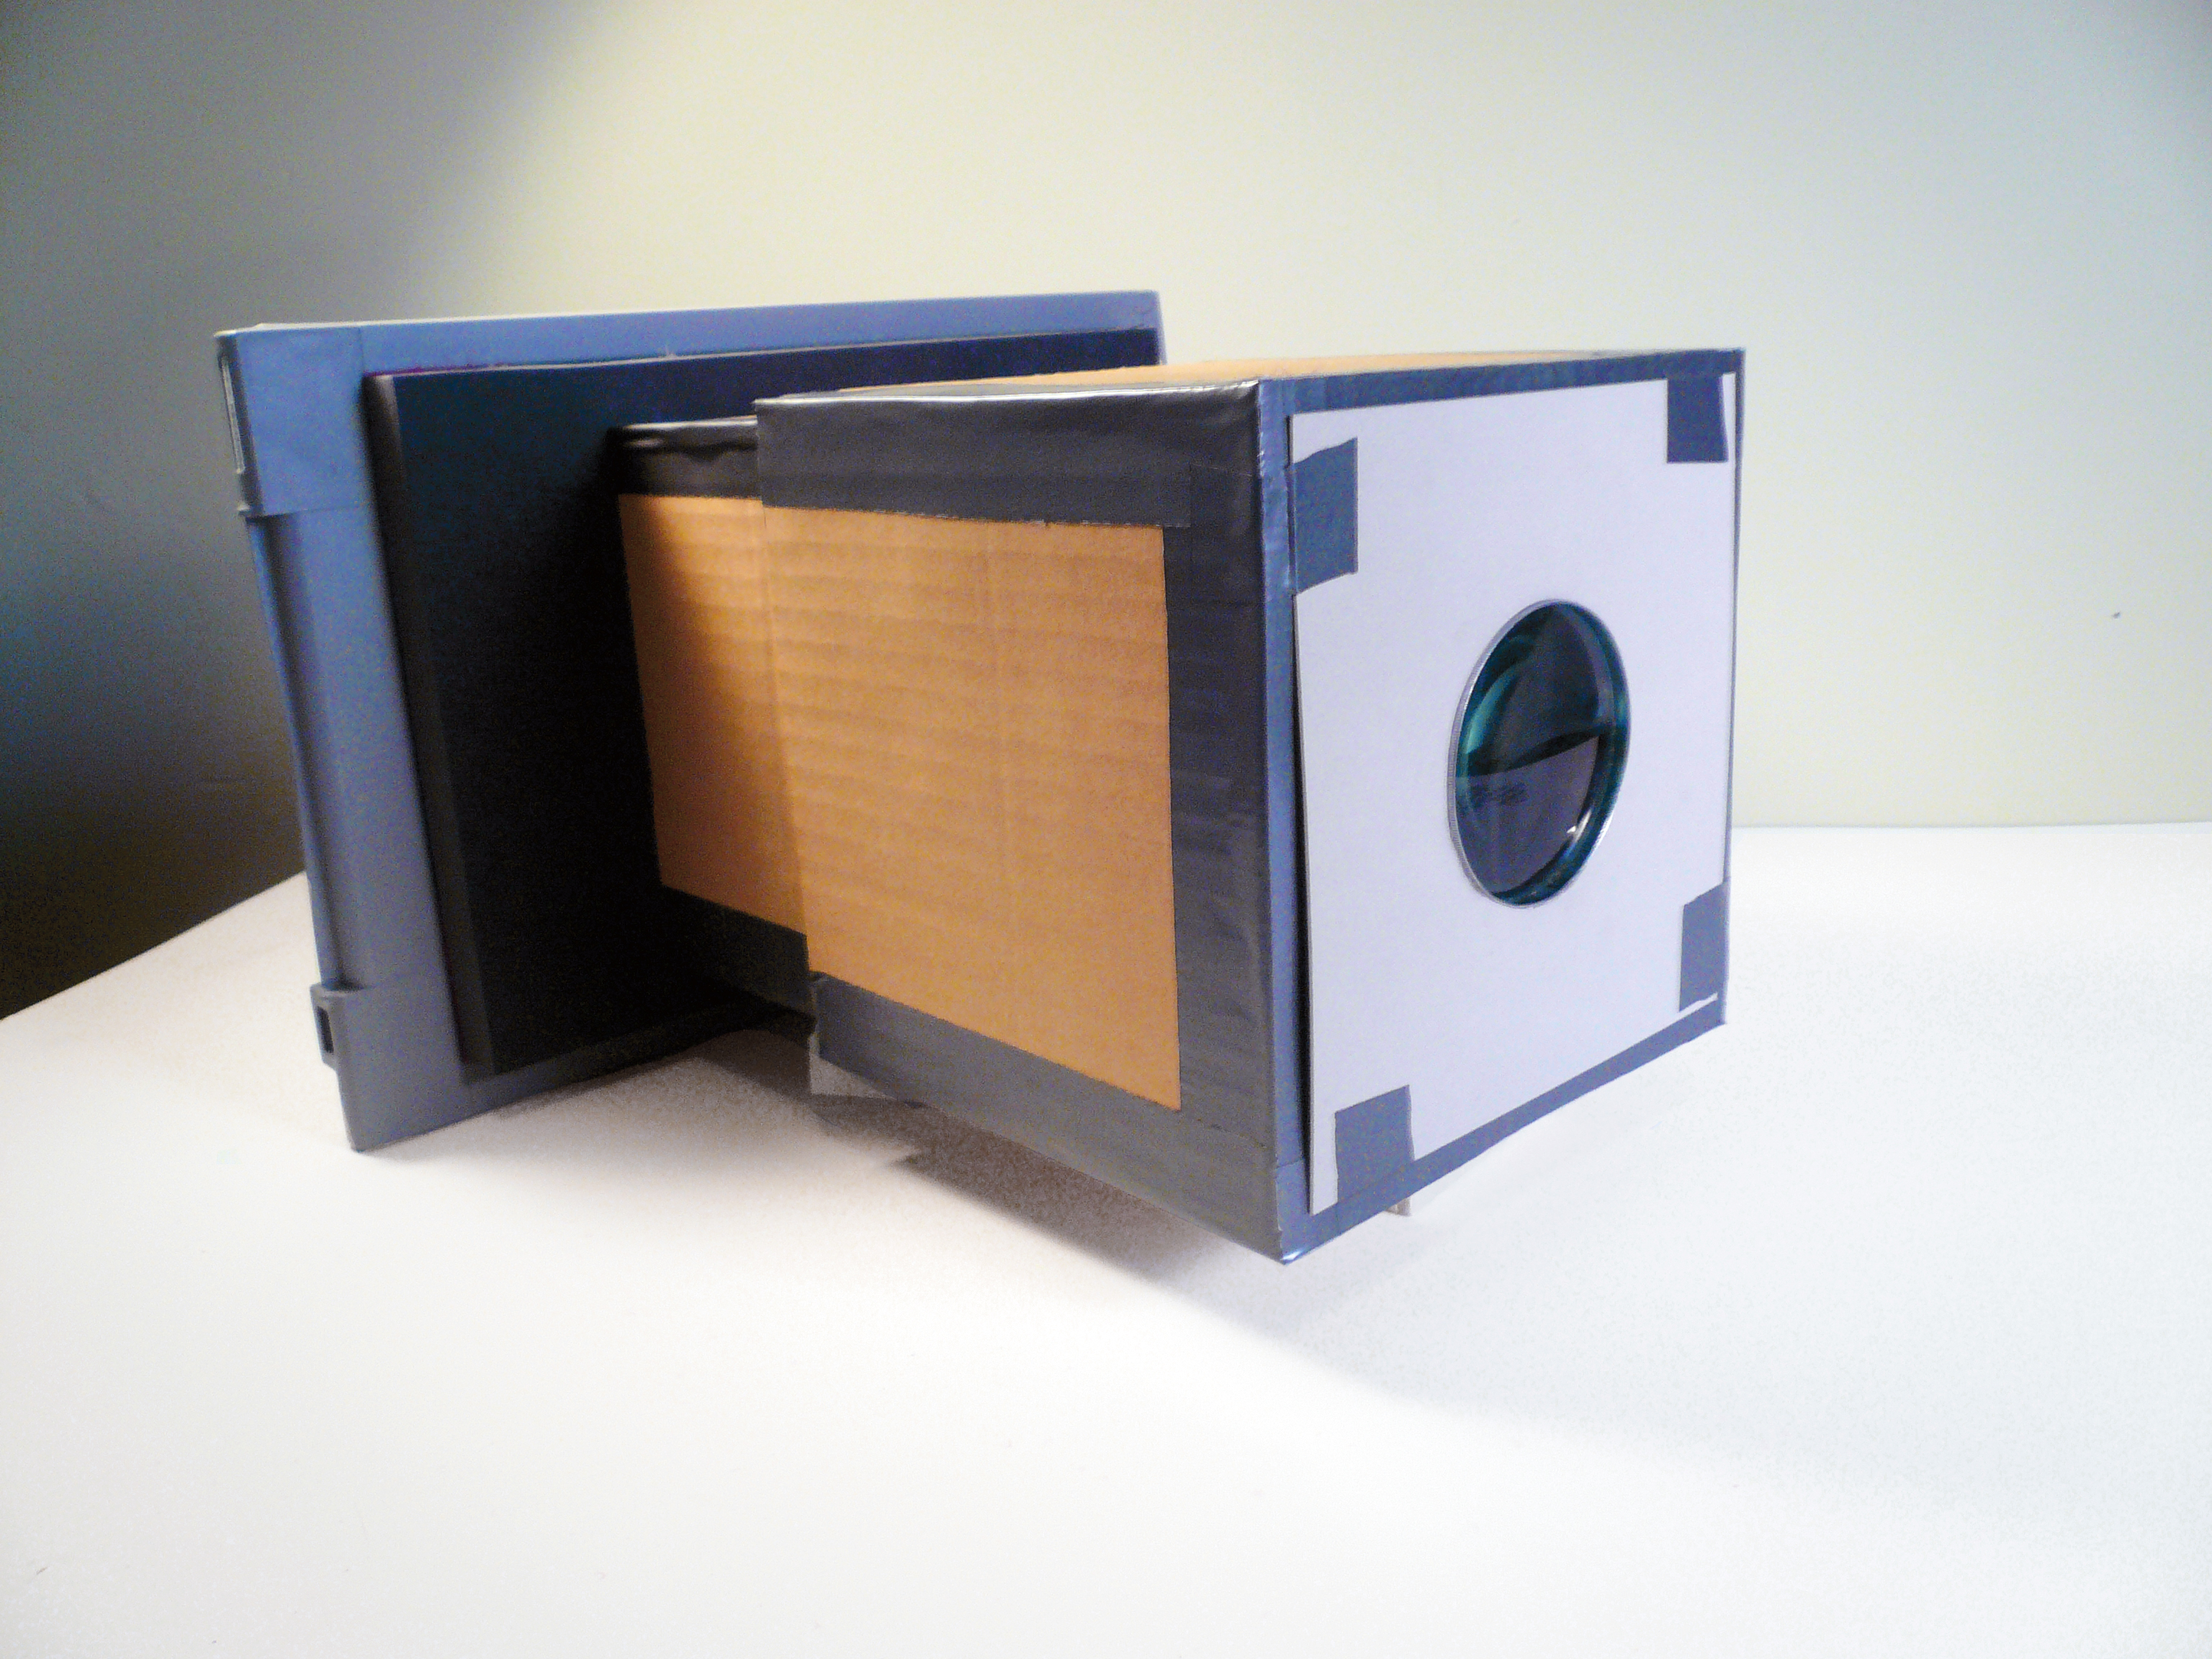
Several years ago, I built my first scanner camera. The idea was simple: I would use an ordinary flatbed scanner with a homemade large-format camera. The camera would focus the image onto the scanner bed in place of photo paper or film. I expected this to be a quick little art project made with a cardboard box, the cheapest flatbed scanner I could find, and lots of duct tape.

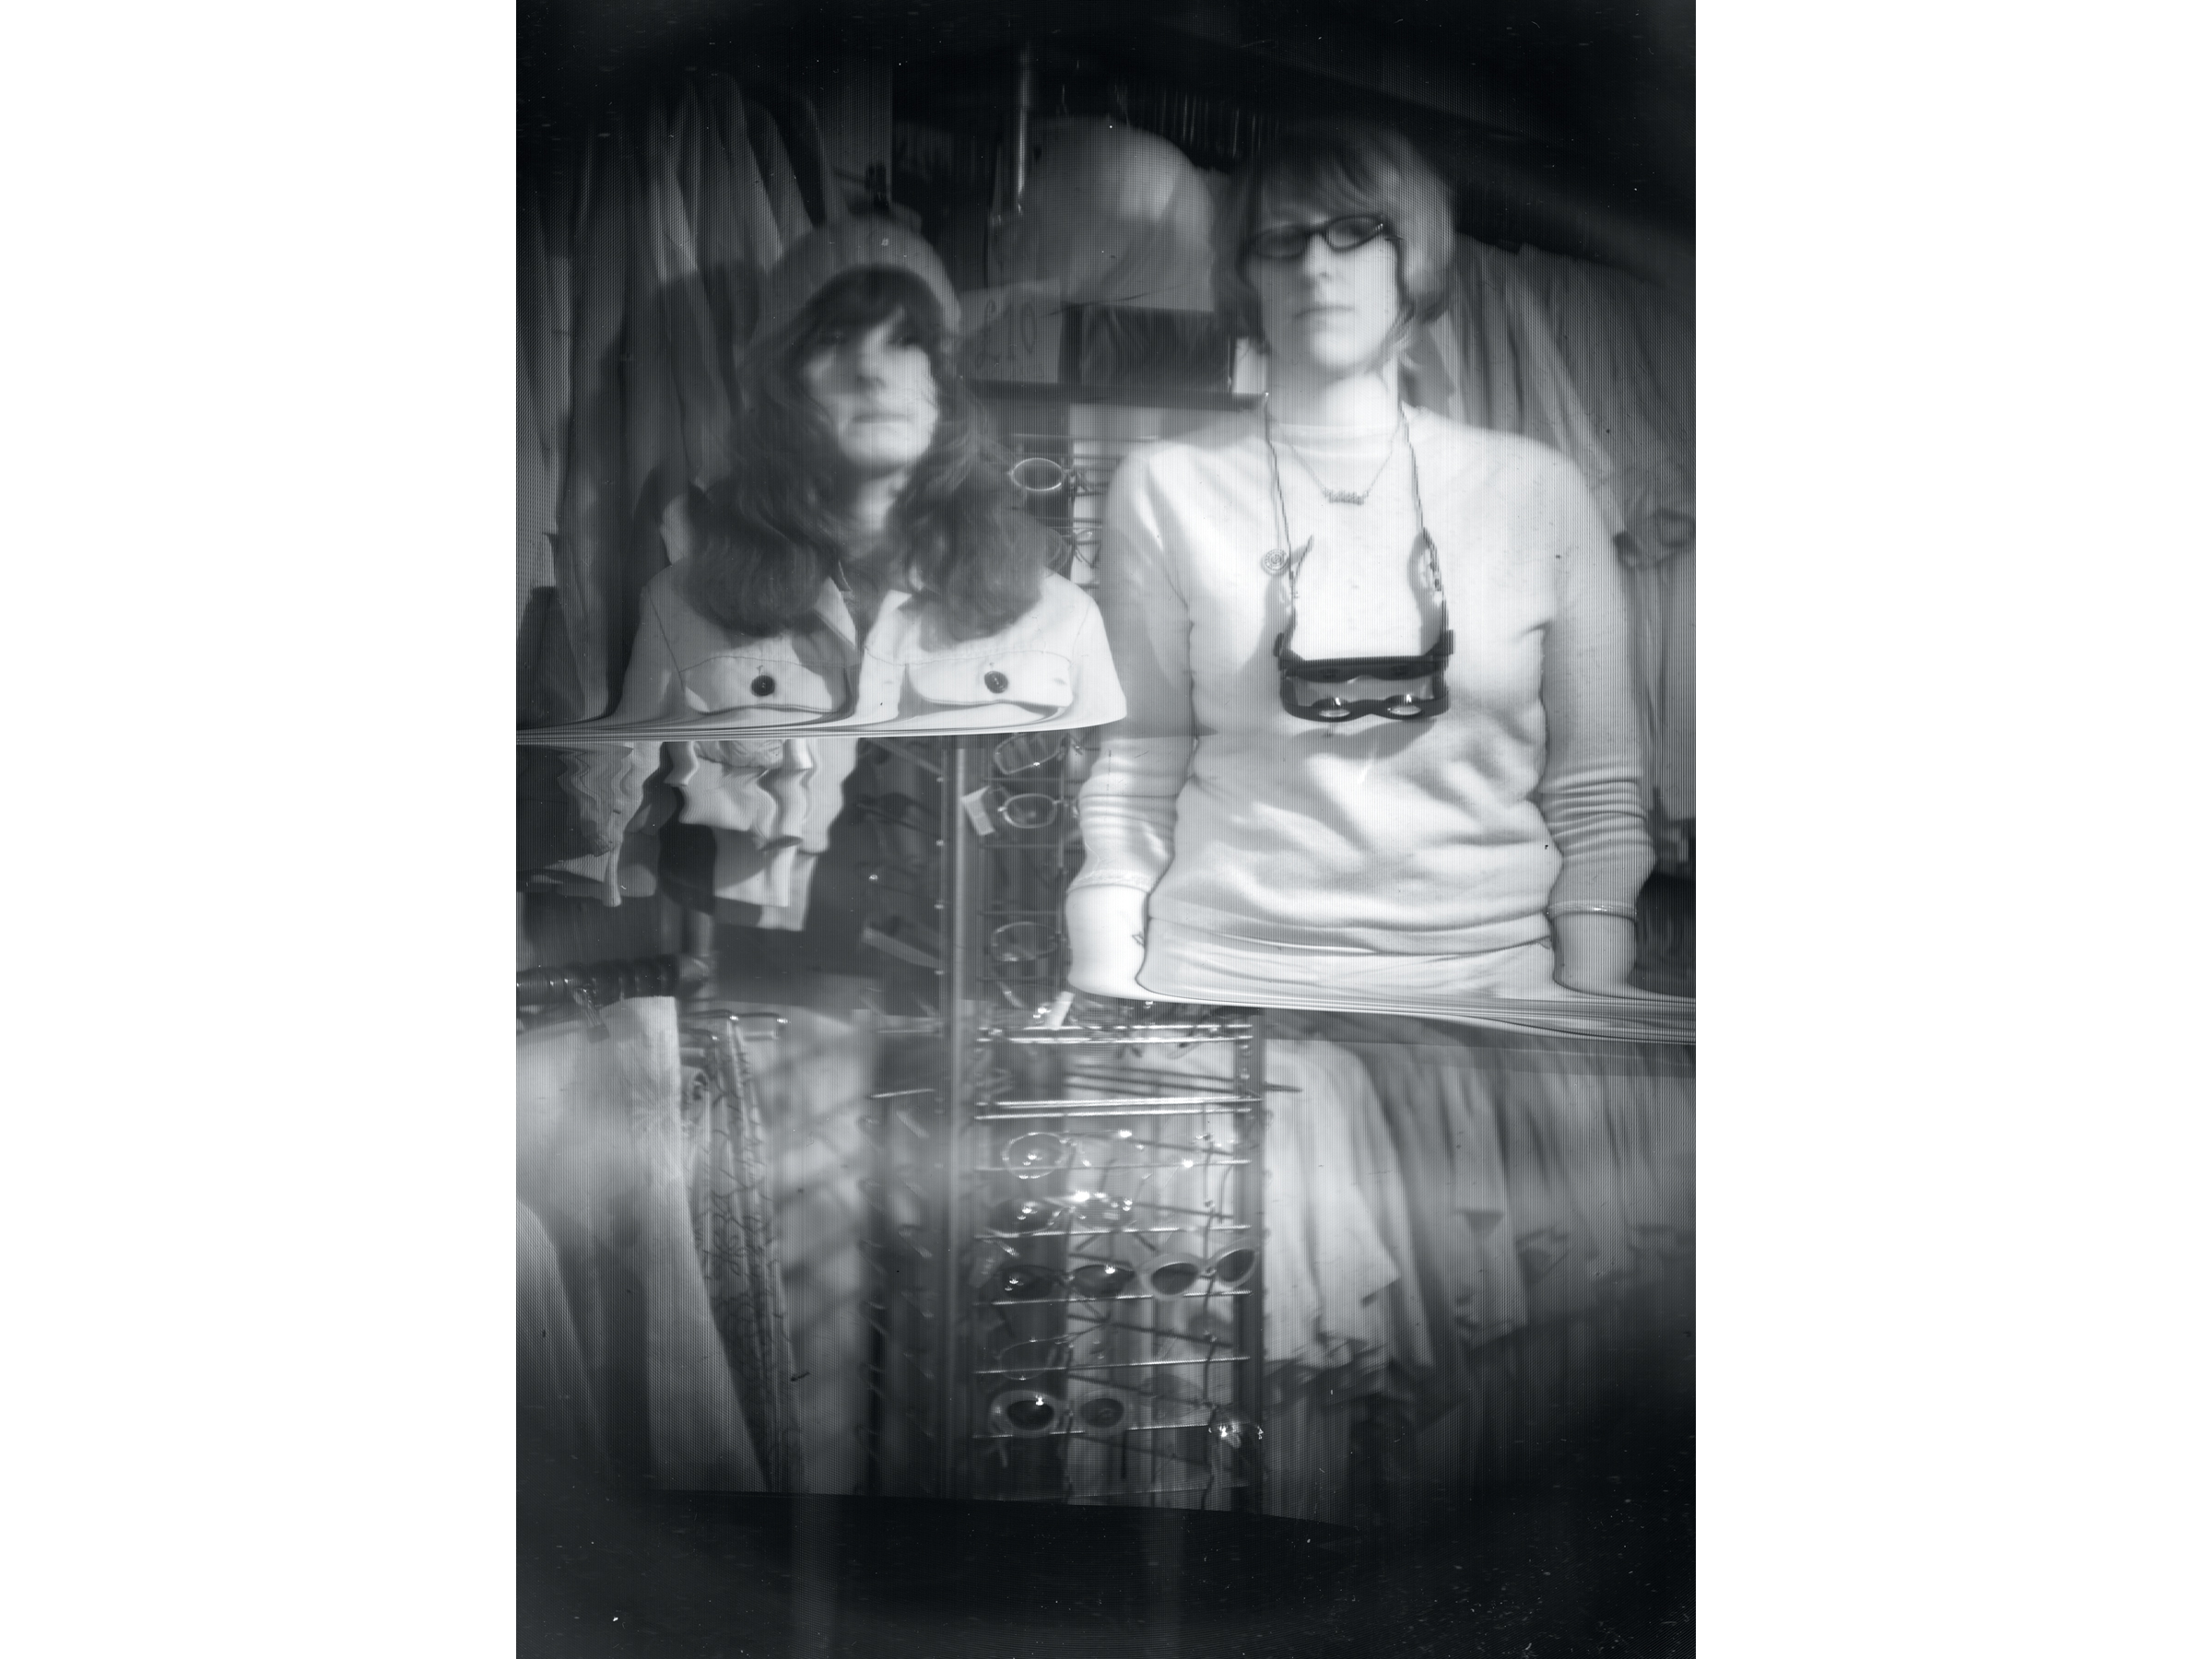
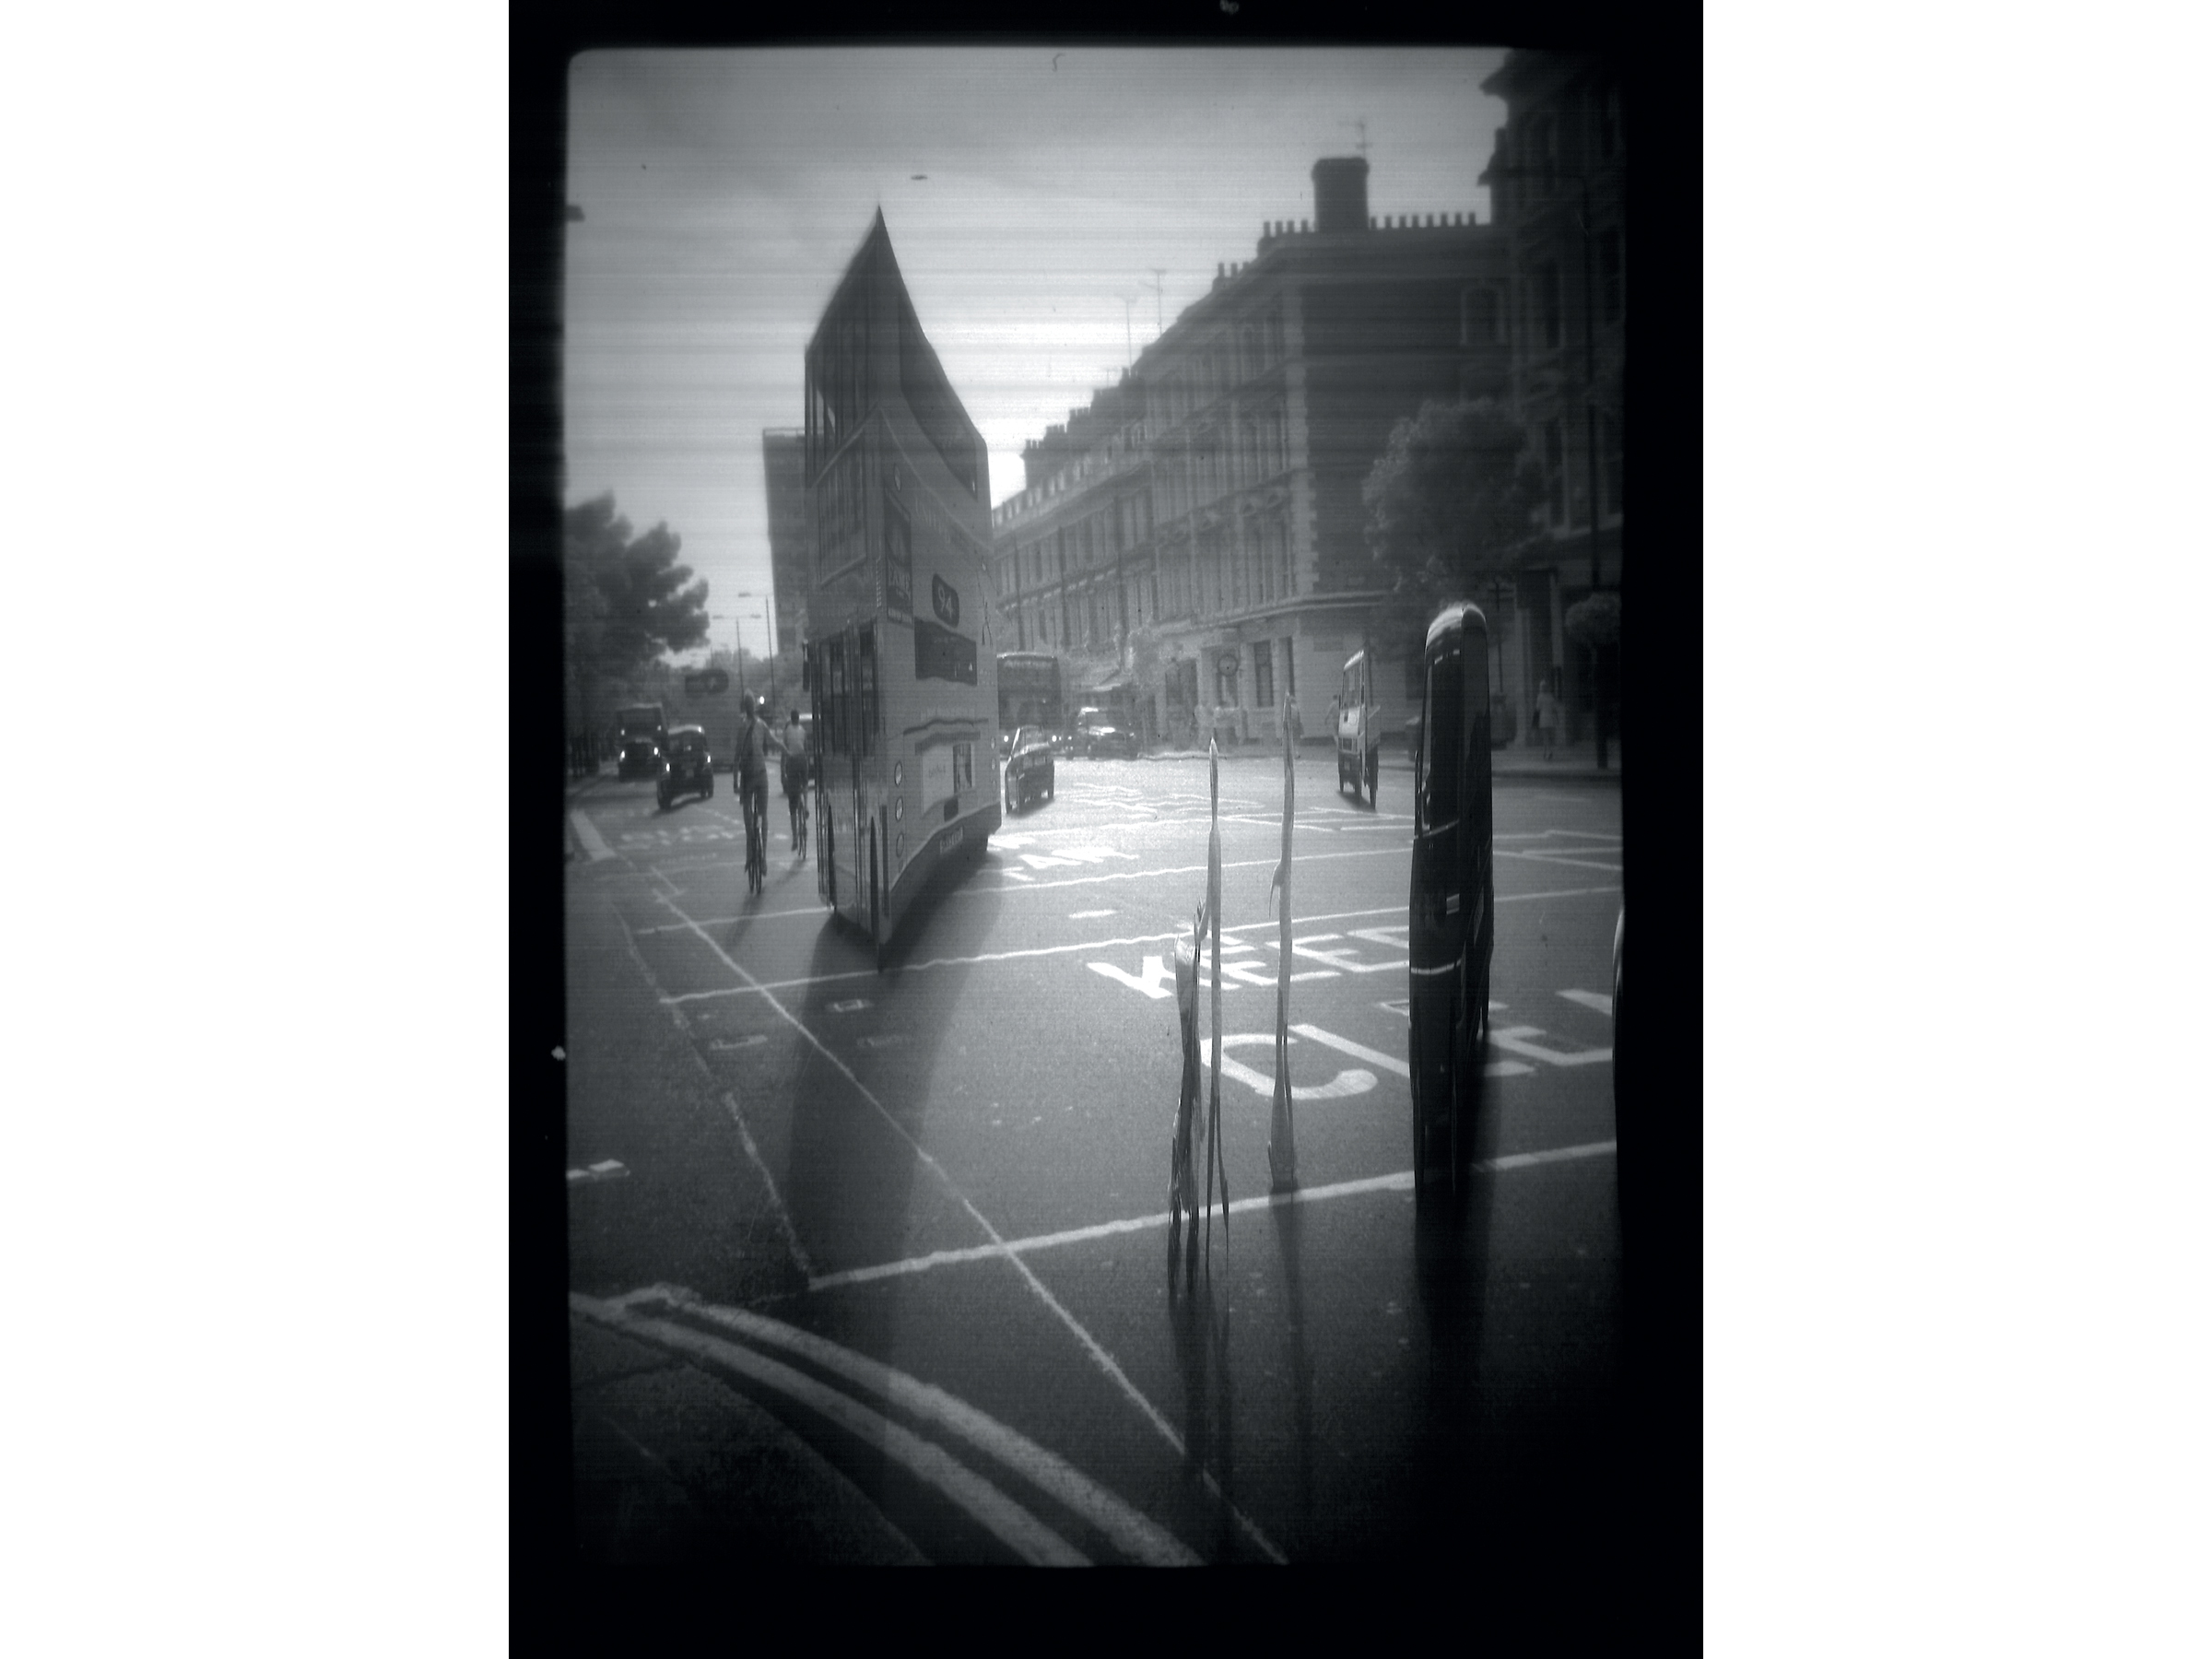
A scanner’s image sensor captures a scene slowly, line by line. But when I got it all to work, the results were wonderful.

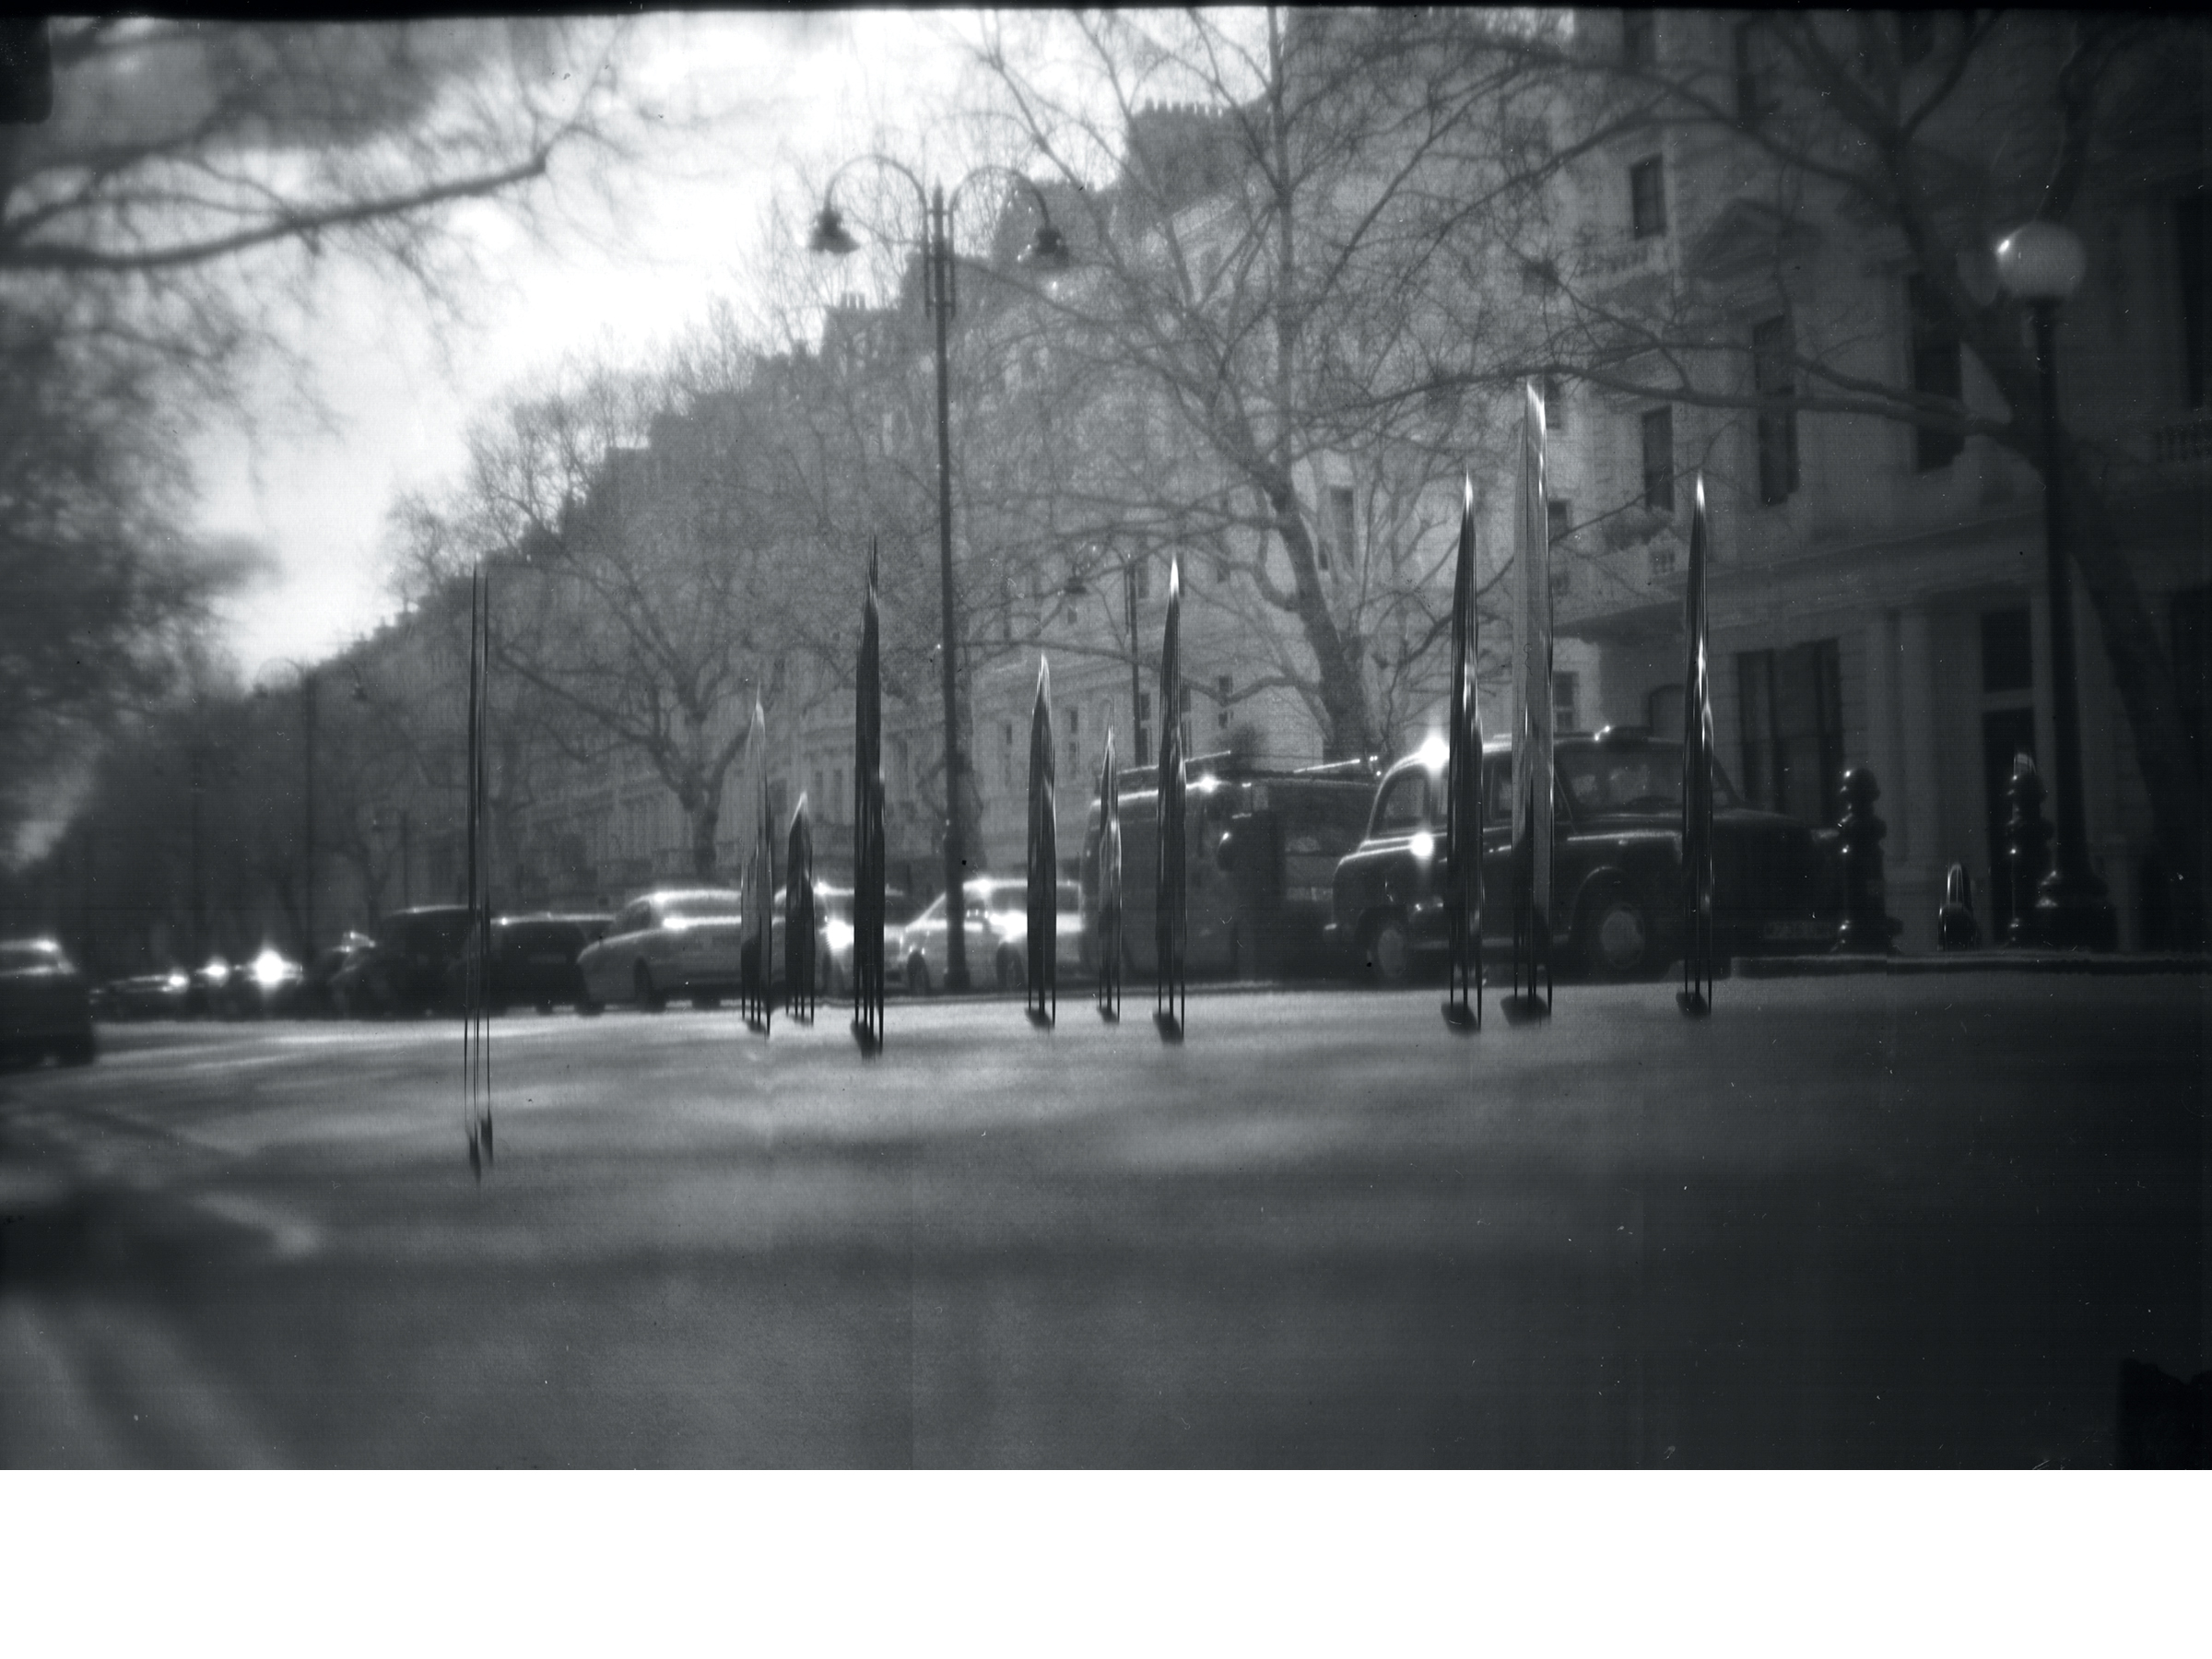
Stationary objects photographed normally, but moving objects appeared twisted and distorted into fascinating shapes. At first I thought there was something wrong with my contraption, but then I realized that the movement of the scan head was meshing with the movement in the recorded scene.

The distortion is similar to the effect created by moving an original on a photocopier mid-copy, but extended into the real world.

Making and using a scanner camera is a lot of fun as a technical exercise, but more importantly to me, it provides an interesting photographic perspective on time and movement.

Here’s how to build 2 versions: a simple cardboard-and-duct-tape one that keeps the scanner intact, and a warranty-voider version that’s more portable and flexible, and takes sharper pictures.

Project Steps

Build the baseboard.

Cut a piece of black foamcore that fits exactly over your scanner’s glass bed, then cut a 7″ square hole out of the center. This will be the baseboard for your camera.

Make the boxes.

Make 2 boxes that slide together for focusing. Using cardboard and glue, make a 7″×7″ inner box with both ends open, and then an outer box with a lid on top, slightly larger than the inner box, so that they nest snugly together. Line all box edges with duct tape.

Cut a 3½”-diameter hole in the lid of the outer box.

Make the lens board and aperture cards.

Remove the lens from your magnifying glass and cut a hole in the center of a 6″×6″ cardboard square to hold it. Tape the edges of the lens securely into place on the cardboard. This is your lens board. Out of heavy cardstock, cut a set of covers for the lens, with different-sized holes in the middle.

These are the aperture cards, which you’ll tape over the lens to control how much light gets into the camera, just like an iris in a regular camera.

Assemble the camera.

Fit one end of the inner box into the baseboard and duct tape it in place from the inside.

Slip the outer box over the inner box and make sure you can slide it back and forth. Tape the lens board to the outer box with the lens centered over the 3½” hole.

Take some photos.

Your scanner camera is ready to go! To focus it, tape

a piece of tracing paper over the hole at the back of the baseboard, then point the lens toward a brightly lit scene. Slide the outer box back and forth until the image comes into focus on the tracing paper. With my 2½” magnifying glass lens, I needed a focal distance (distance between lens and image) of about 7″ to 12″ for objects in the same room.

Tape the camera to the front of your scanner and start up your imaging application. Use the Preview button for fine-tuning the focus, and when you’re ready, click Scan to take a picture. To adjust the image brightness, try different lens aperture cards.

Simple scanner camera photographs: Traffic study at Notting Hill Gate, London; Moreen and Rowan, Brighton; traffic study at Queensgate, London.

Conclusion

This project first appeared in MAKE Volume 14, page 78.