AdobeStock/Kitja

This winter I went to Utah with some friends, and explored some of the most remote and beautiful places in the world. I hiked through Star Wars looking terrains, and was in awe at the bright red canyons. However, there was one problem: we were in such remote places, the cellular connection was usually 2G at best.

2G is just enough to send a text message, but it cannot load The Weather Channel. This was very annoying, as we were often not prepared for rainy or cold weather hikes. This does not only happen in remote places either. In my school’s gym locker room, the connection is usually nonexistent. It makes getting important pre-running-practice data, such as the windchill, hard to get. This got me thinking about making my own SMS bot that would get me the information that I needed without the need for a strong 3G or LTE connection.

Build the Bot

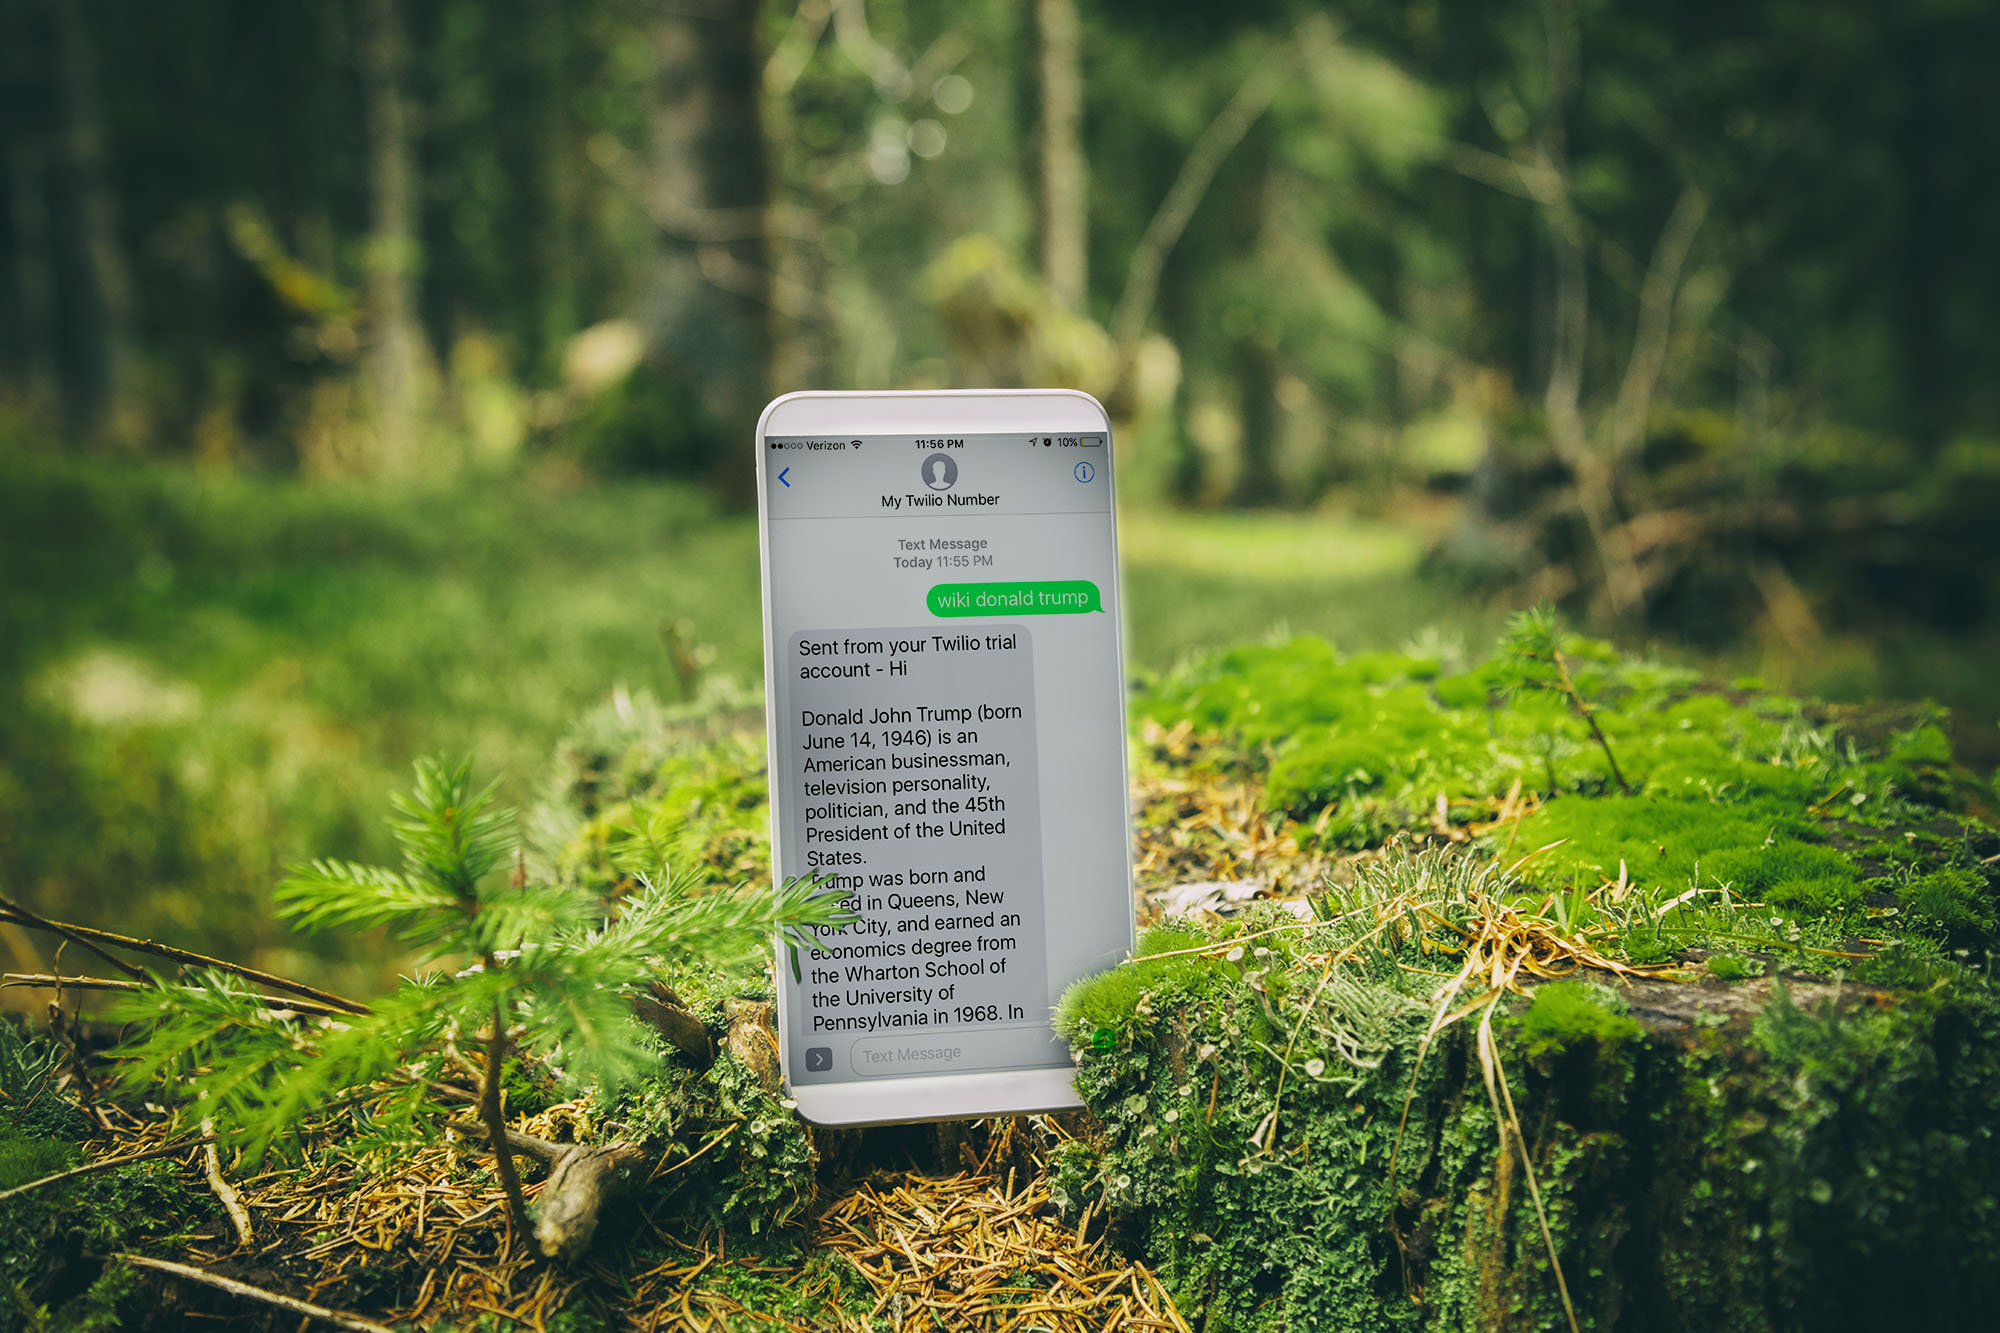
I built the SMS bot using the Twilio API and Python, which allows you to send a Twilio number messages and get answers back. Though this project may seem daunting at first, do not worry! You will learn how to use command prompt/terminal, how to set up and host a server, and how to manipulate strings and then query data from different APIs.

Twilio makes it really easy to install everything you need, Using Python and tools such as PIP (a Python package manager), you can easily get ready to start creating your own SMS server in no time. Just follow these steps to get your development environment setup, and do not be daunted by the complicated looking commands. You do not need to understand exactly what everything does. Just know that if you follow these steps correctly, everything you will need will be installed.

AdobeStock/lzf

Project Steps

STEP 1

First, because we are going to be using Python for this project, you will need to have Python installed. To check if you have Python installed already, open up command prompt or terminal and type in:

python --version

You should get a response that says something like “python -2.7.0” The version number doesn’t matter. If you don’t have Python installed, go install it. There are countless resources online to install the compiler.

STEP 2

Now that you have Python installed, you need to install PIP, a Python package manager. PIP will allow you to easily install a myriad of libraries, including Twilio. Instead of searching up online how to install every single SDK you want to use, with PIP you can just type “pip [package name]” into terminal. Chances are if you are a Python developer you already have this installed. If not, no worries.

We also have to install something called Virtual Environment (virtualenv), which allows us to run a program that will run the specific versions of tools we need. It also conveniently includes PIP, which is great! Think of it as a tool that separates your program into a separate sandbox, and if you play around with PIP and update different packages your code will still run correctly. Sometimes with coding, you’ll do random things that you don’t completely understand. Virtualenv makes sure this doesn’t break your program.

To install, first move to the folder where you will store your program and type in one of these commands until you see it install (these are meant for different Python versions):

easy_install virtualenv

or

easy_install-2.7 virtualenv

or

pip install virtualenv

If at any time you get a “permission denied” text, type in “sudo” before the command and enter your laptop password. Now run your virtualenv to start installing tools specific to our project into this “sandbox.” It should say your folder name in parentheses in the beginning of the terminal line when activated by this command:

source bin/activate

STEP 3

Now that we have installed the more widely used Python development tools PIP and virtualenv, we have to install the libraries that are specific to our SMS project: Twilio and Flask. The Twilio library allows for you to send and receive messages, and Flask allows your Python program to connect to a local server.

We are going to install specific versions of each into our sandbox (note that virtualenv is still running from the step before), ensuring our program will always run correctly. To install them all at once, open up a random text file and rename it to requirements.txt. To ensure the correct versions of each are installed, in the txt file type:

 Flask>=0.8
 twilio>=3.3.6

Install it to your computer by typing “bin/pip install -r requirements.txt” into terminal.

STEP 4

We have one final program to install, Ngrok (download it from their website). When running, Ngrok will connect our local host running program (our program will run locally through Flask) to the world wide web, and will provide us with an http address. Twilio will use this address to send us incoming messages.

STEP 5

Now that we have all the programs we need, we can start setting up our bot. Go to Twilio’s website and press “Get a Free API Key.” Create an account (select the free account option) and go to the dashboard.

STEP 6

Now that we have everything set up we can start coding. Open up your favorite text editor, save the file as “run.py” (or whatever name you wish) and type the following (I have commented next to the code to explain each line):

# import all the libraries we will be using
from flask import Flask, request
from twilio import twiml

# set up Flask to connect this code to the local host, which will
# later be connected to the internet through Ngrok
app = Flask(__name__)
    
# Main method. When a POST request is sent to our local host through Ngrok 
# (which creates a tunnel to the web), this code will run. The Twilio service # sends the POST request - we will set this up on the Twilio website. So when # a message is sent over SMS to our Twilio number, this code will run
@app.route('/', methods=['POST'])
def sms():
    # Get the text in the message sent
    message_body = request.form['Body']
    
    # Create a Twilio response object to be able to send a reply back (as per         # Twilio docs)
    resp = twiml.Response()
    
    # Send the message body to the getReply message, where 
    # we will query the String and formulate a response
    replyText = getReply(message_body)

	# Text back our response!
    resp.message('Hi\n\n' + replyText )
    return str(resp)
	
# when you run the code through terminal, this will allow Flask to work
if __name__ == '__main__':
    app.run()

STEP 7

Now we need to create a getReply method. This method will simply look through our text message body and figure out the type of information we want. It will then get the information from different APIs and return a response. Assuming our text message will be formatted as “keyword_request,” a simple format that we can use to identify what is requested in the message is as follows:

# Function to formulate a response based on message input.
def getReply(message):
    
    # Make the message lower case and without spaces on the end for easier handling
    message = message.lower().strip()
    # This is the variable where we will store our response
    answer = ""
    
    if "weather" in message:
        answer = “get the weather using a weather API”
            
    # is the keyword "wolfram" in the message? Ex: "wolfram integral of x + 1"
    elif "wolfram" in message:
	  answer = “get a response from the Wolfram Alpha API”
    
    # is the keyword "wiki" in the message? Ex: "wiki donald trump"
    elif "wiki" in message:
	  answer = “get a response from the Wikipedia API” 

    # is the keyword “some_keyword” in the message? You can create your own custom  
    # requests! Ex: “schedule Monday”
    elif “some_keyword” in message:
	  answer = “some response”

    # the message contains no keyword. Display a help prompt to identify possible 
    # commands
    else:
        answer = "\n Welcome! These are the commands you may use: \nWOLFRAM \"wolframalpha request\" \nWIKI \"wikipedia request\"\nWEATHER \"place\"\nSOME_KEYWORD \"some custom request\"\n"
    
    # Twilio can not send messages over 1600 characters in one message. Wikipedia
    # summaries may have way more than this. 
    # So shortening is required (1500 chars is a good bet):
    if len(answer) > 1500:
        answer = answer[0:1500] + "..."
    
    # return the formulated answer
    return answer

STEP 8

Now our message format is as follows: “Keyword_request”. However, you cannot put in “wolfram calories in bread” into wolfram alpha. However, you can put in “calories in bread”. So now we have to take out “wolfram” from the message to isolate the request. We can do so with the following method:

# Function for editing input text. Ex: If you send the message "wolfram calories in bread", 
# the program will recognize "wolfram" and call this function and will 
# change the text to "calories in bread", which will then be sent to wolfram.
def removeHead(fromThis, removeThis):
    if fromThis.endswith(removeThis):
        fromThis = fromThis[:-len(removeThis)].strip()
    elif fromThis.startswith(removeThis):
        fromThis = fromThis[len(removeThis):].strip()
    
    return fromThis

STEP 9

It’s time to put in the APIs. We will be using Wolfram Alpha, Wikipedia, and yWeather. All have amazing documentation online, so I won’t be going much into how to formulate each “if statement” in the getReply method. For Wolfram Alpha you will need to go to their API site to get an API key. Wikipedia and yWeather do not require keys.

STEP 10

Let’s set up the Wikipedia API. Go to terminal and type in “pip install wikipedia”. Now go to the Wikipedia if statement in the getReply method and add the following:

# is the keyword "wiki" in the message? Ex: "wiki donald trump"
    elif "wiki" in message:
        # remove the keyword "wiki" from the message
        message = removeHead(message, "wiki")
        
        # Get the wikipedia summary for the request
        Try:
	     # Get the summary off wikipedia
            answer = wikipedia.summary(message)
        except:
            # handle errors or non specificity errors (ex: there are many people
     # named donald)
            answer = "Request was not found using wiki. Be more specific?"

Yep, it’s that easy.

STEP 11

Let’s test out our code so far with Wikipedia. Go to terminal, locate your Python file, make sure your virtual environment is running (enter “source bin/activate”), and then run your program by typing “python run.py”. You should see a message that Flask is running on some sort of number. Keep the port number in mind. My terminal screen is shown below, and the port number is 5000 in my case:

Now open another terminal window and enter the following command: “ngrok http [port number]”. You should see the screen turn black:

Copy either one of the forwarding http addresses. Now go to your Twilio dashboard and press the “#” on the left. Click on your Twilio number, scroll down and enter the http address into the space that says “A message comes in”. Make sure the dropdown is set to “webhook”:

Click save. You are ready to go!

STEP 12

Text your twilio number, and see if you get a response!

Conclusion

You have now created your own SMS bot. You can keep your program running for as long as you like, and can restart it by following Step 11. Now that you have the outline of how the code should be written, feel free to add whatever requests you want!

For example, I added a way to get my schedule for the corresponding day. So if I text my Twilio number, “A day schedule”, it will return my class schedule. Be as creative as you wish, and add as many APIs as you want. Just read their docs on how to use them and you should be fine. Happy coding!