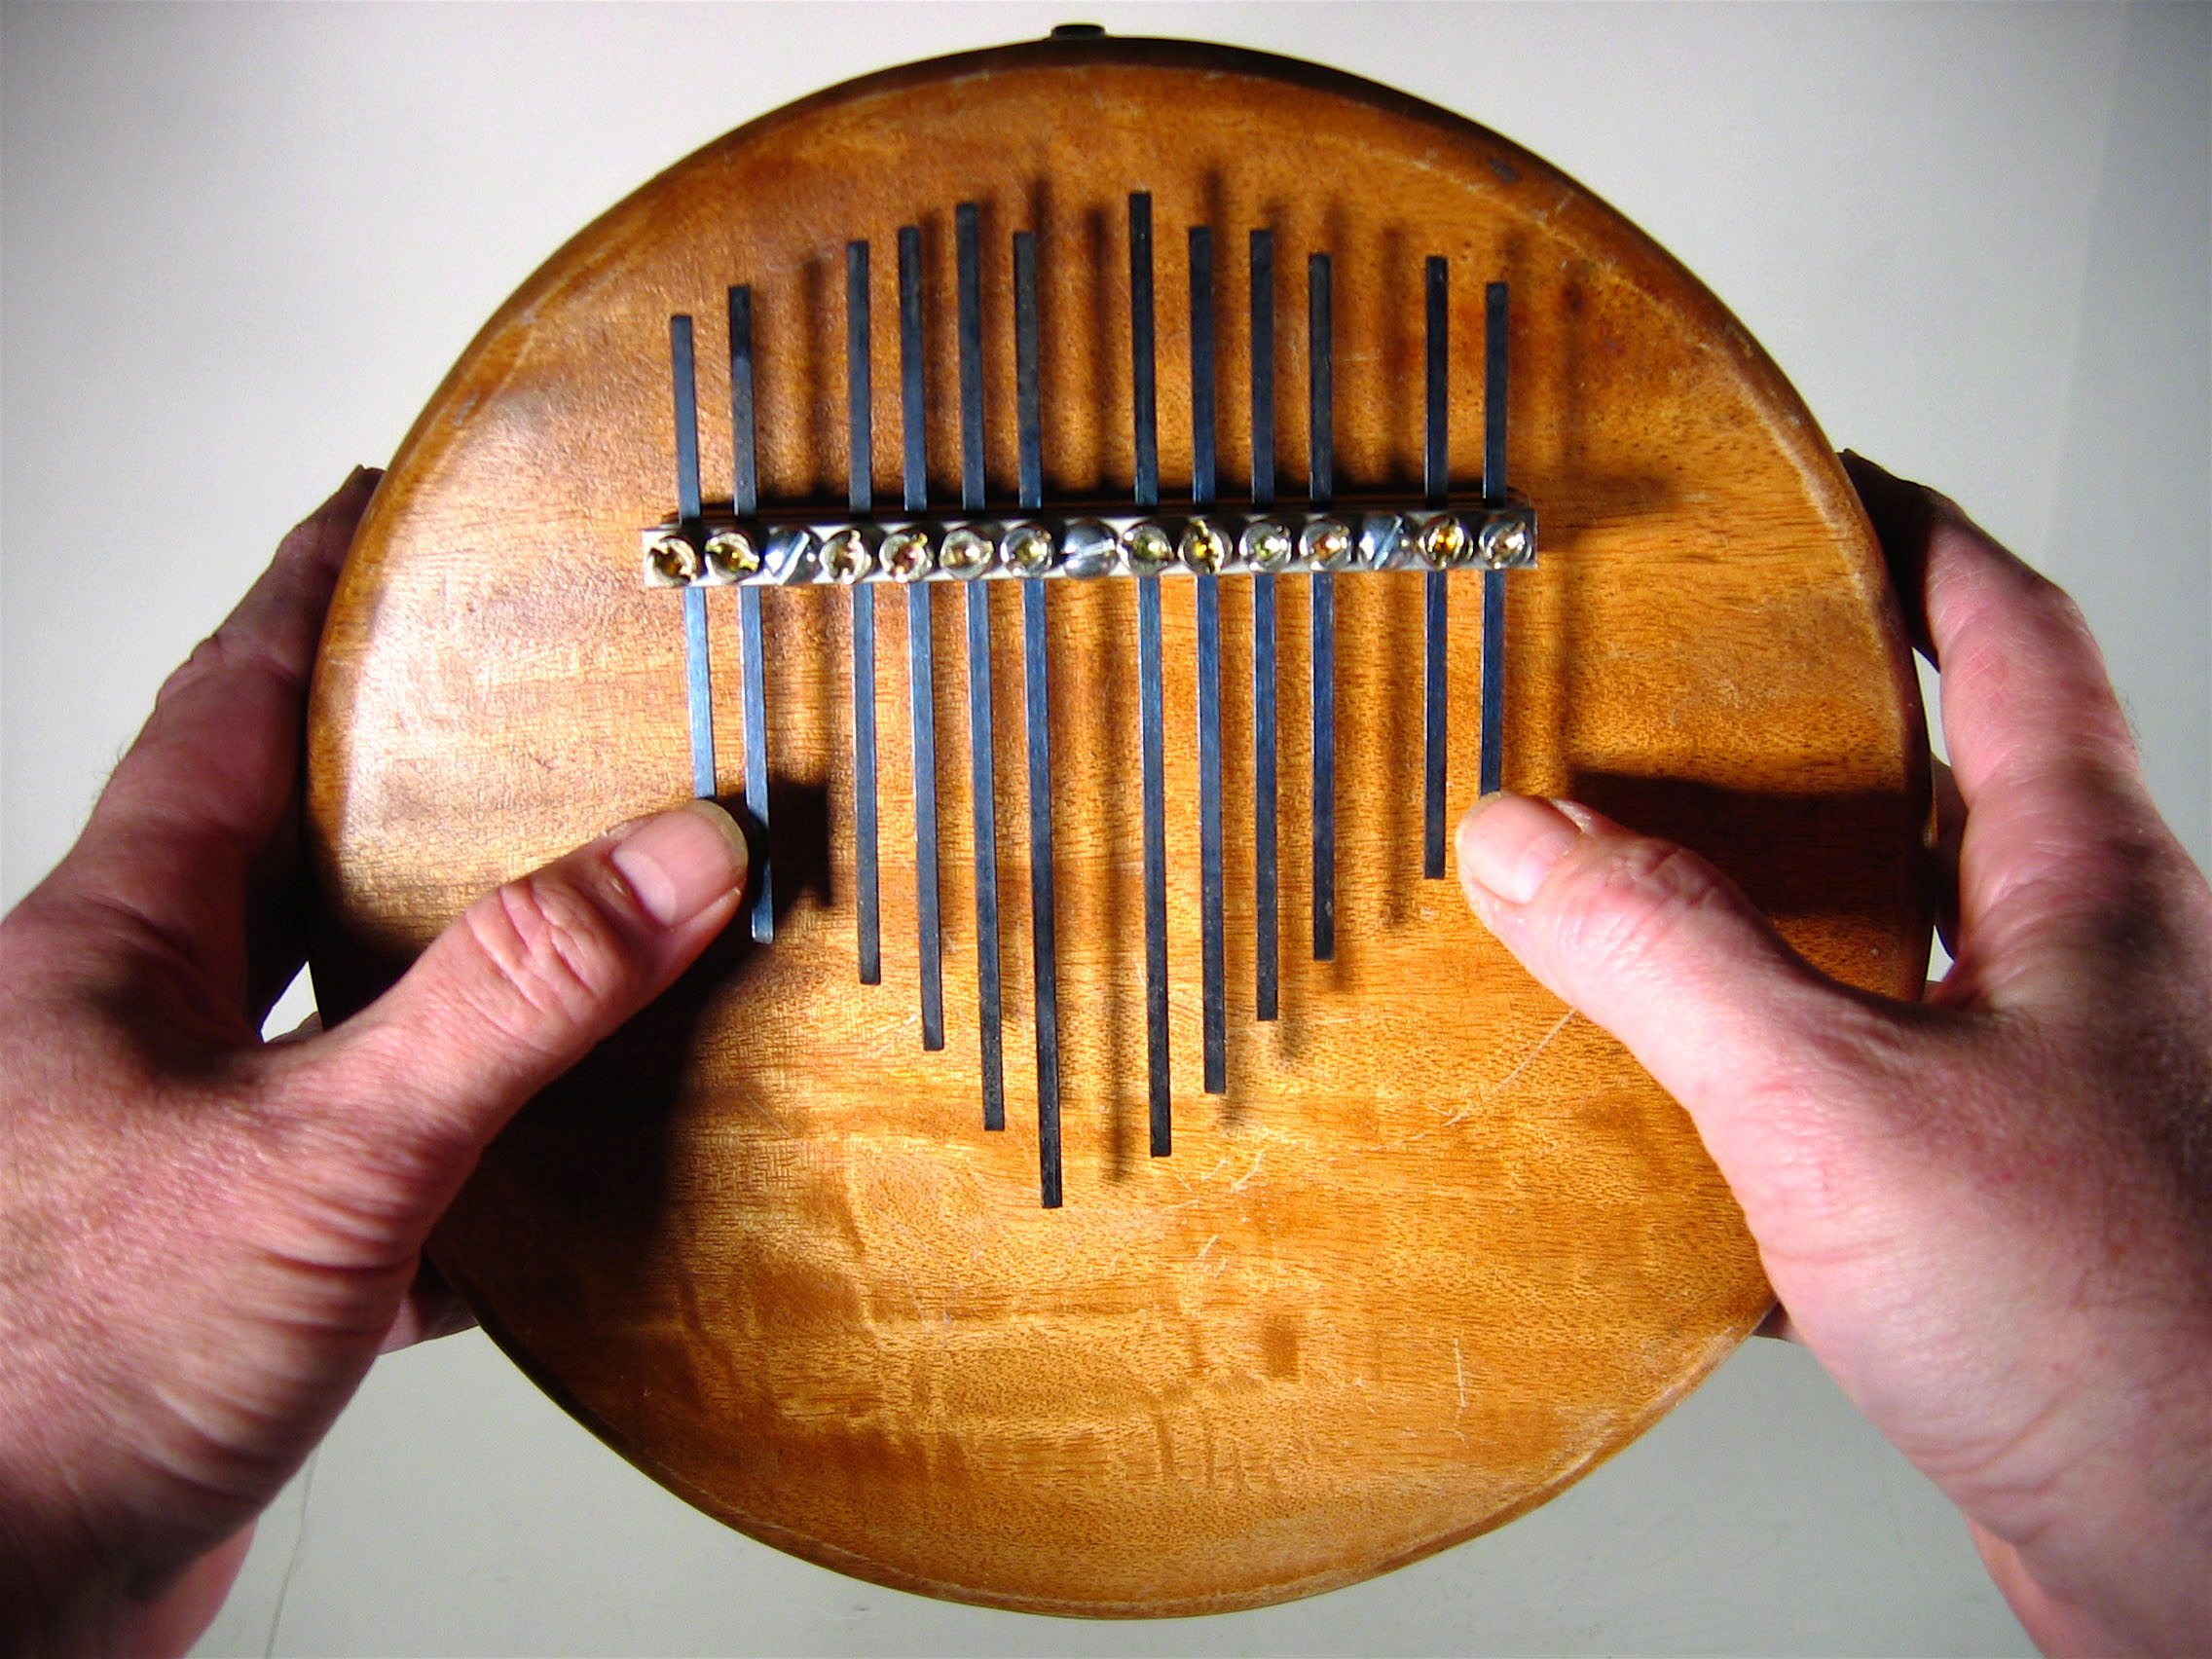
The thumb piano, known as a kalimba, mbira, and by many other names, is a lamellaphone that uses prongs called tongues, keys, or tines that you pluck to generate acoustic vibrations. The length of the tine determines the pitch.
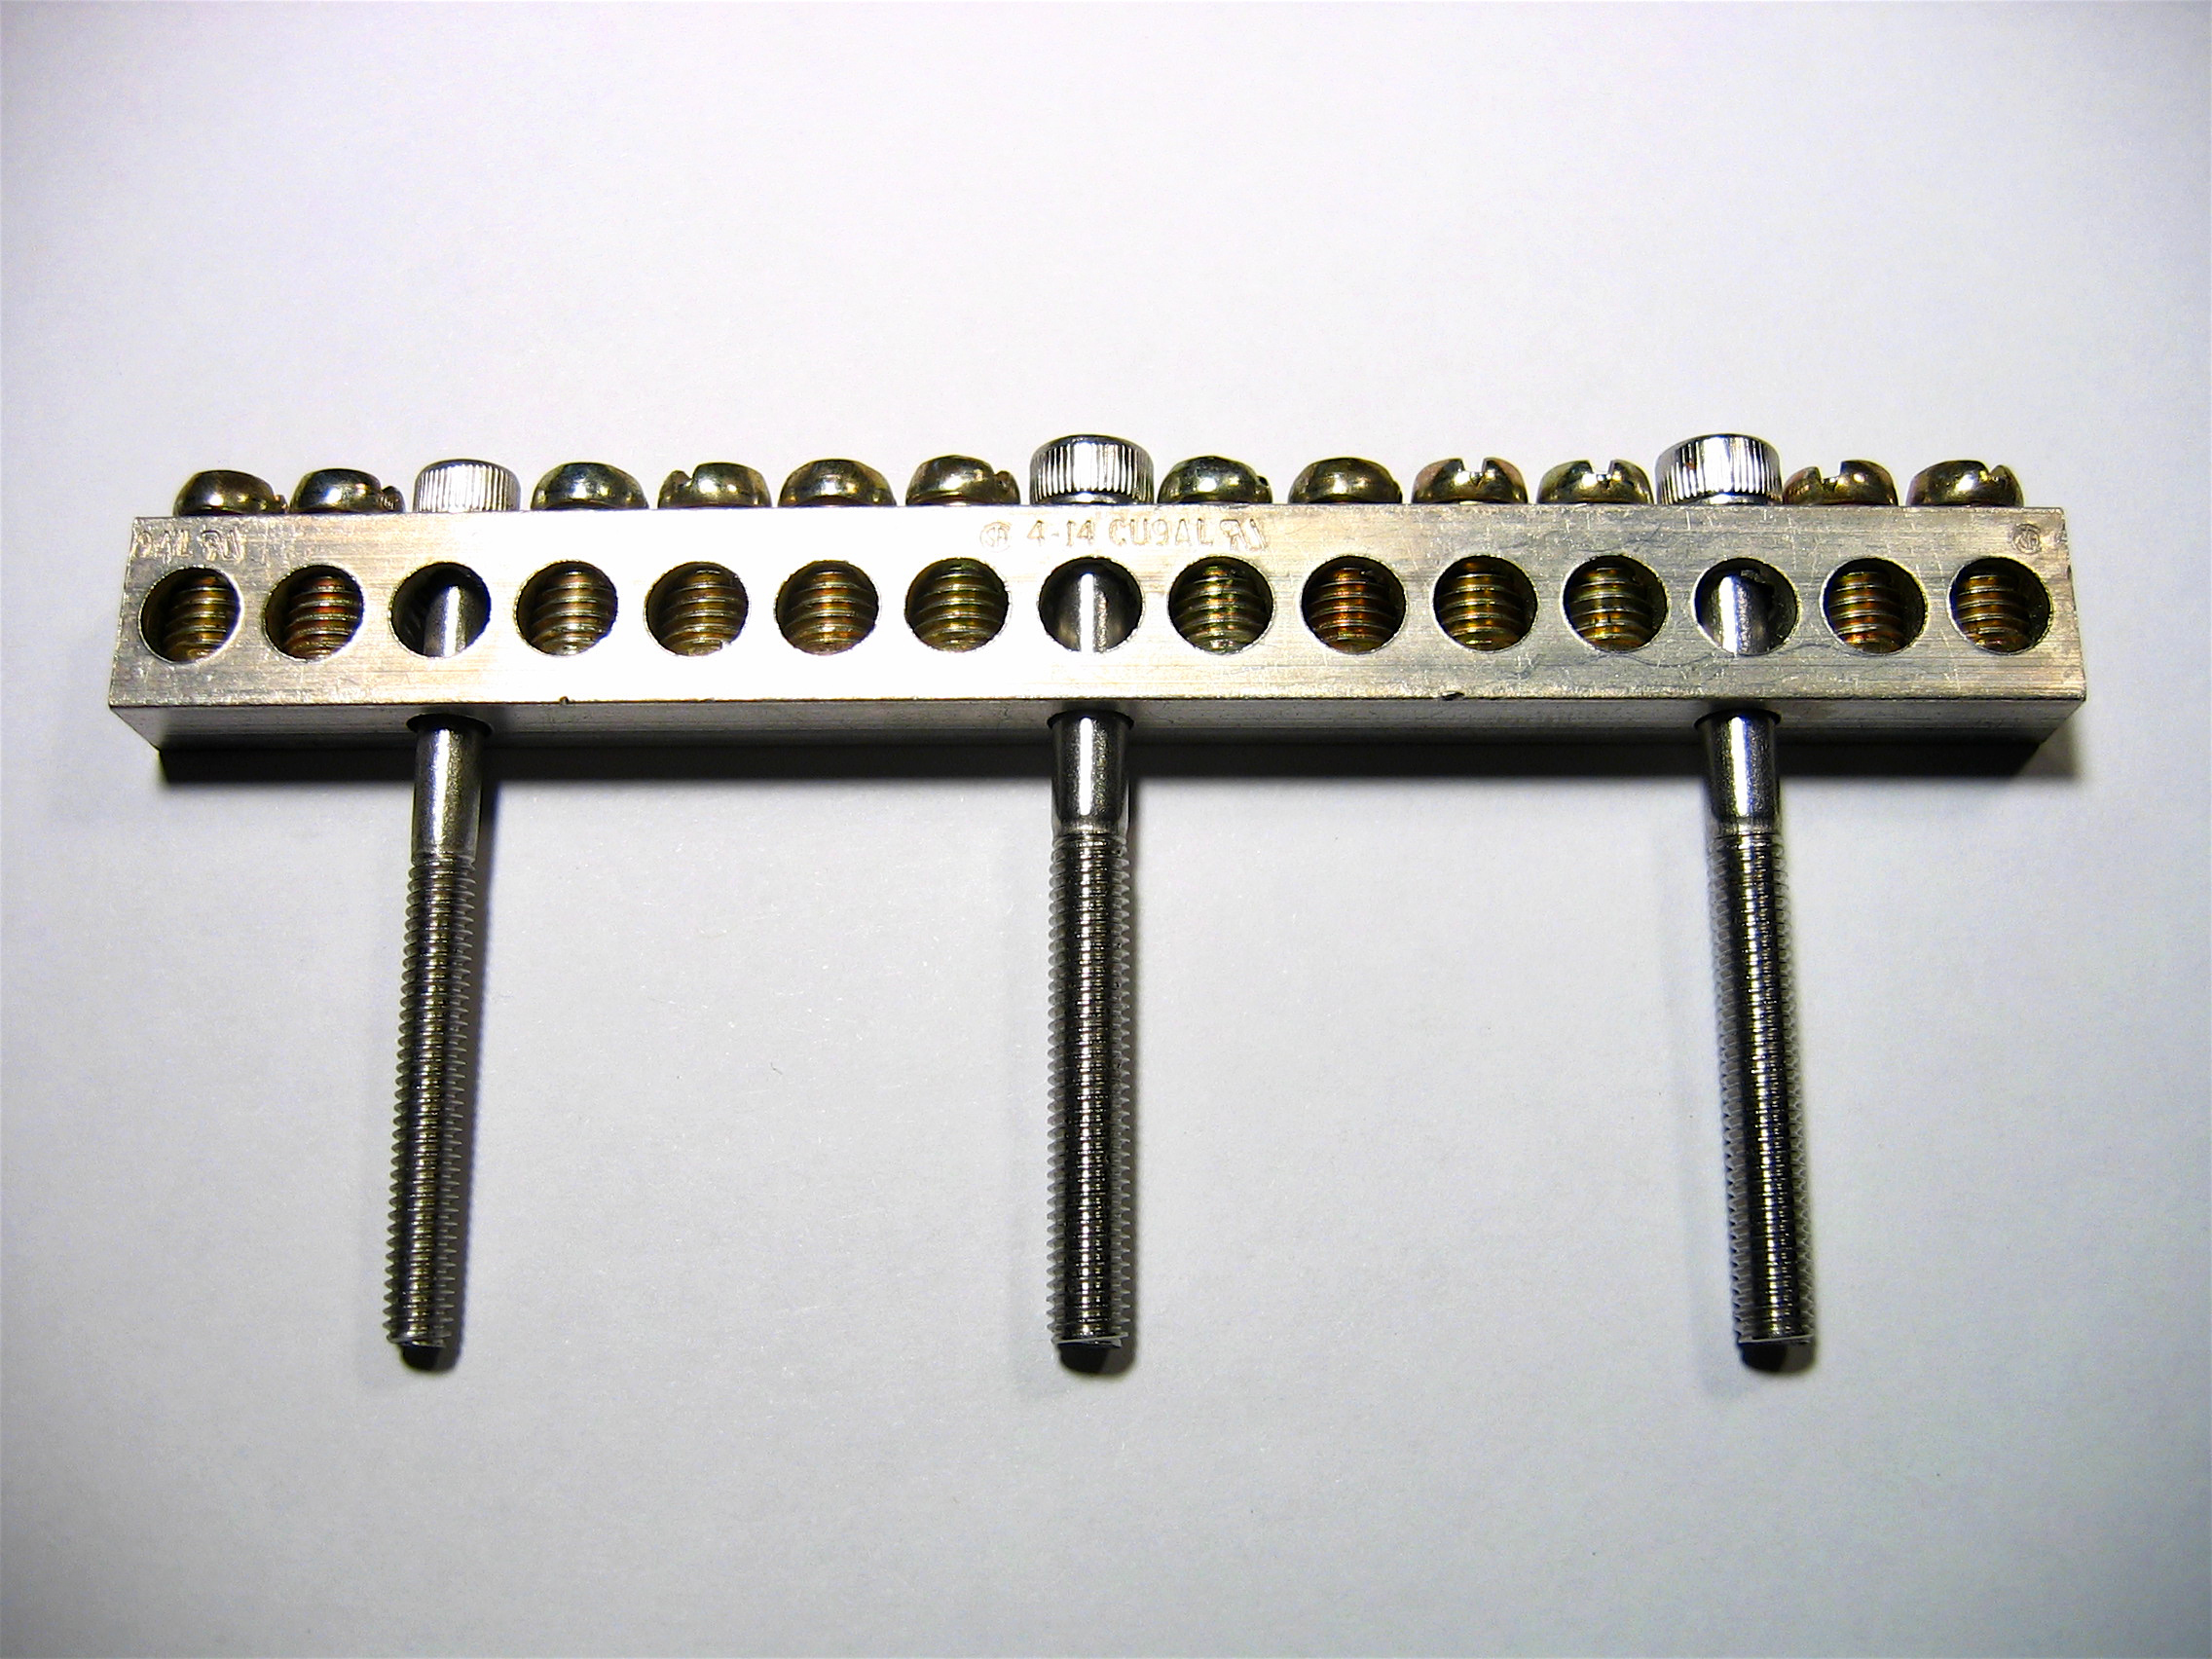
Generally, the thumb piano uses some kind of mechanism as an anchor that puts a great deal of pressure over the tines and across 2 bridges, leaving the free lengths of the tines room to vibrate. The tines are usually of the same material and gauge (thickness) to ensure that the pressure is distributed equally, holding everything in place and in tune.
The method shown here is simplified and wonderfully versatile. It allows the use of more fragile, delicate, and unusual materials for the body of the instrument, and it provides a way to use oddly shaped tines of different materials while at the same time permitting the tines to be swapped out and tuned with ease.
I’ve included 2 materials lists: a generic list and one that is specific to the salad bowl kalimba shown here. Experiment, explore, and find configurations that work for you.
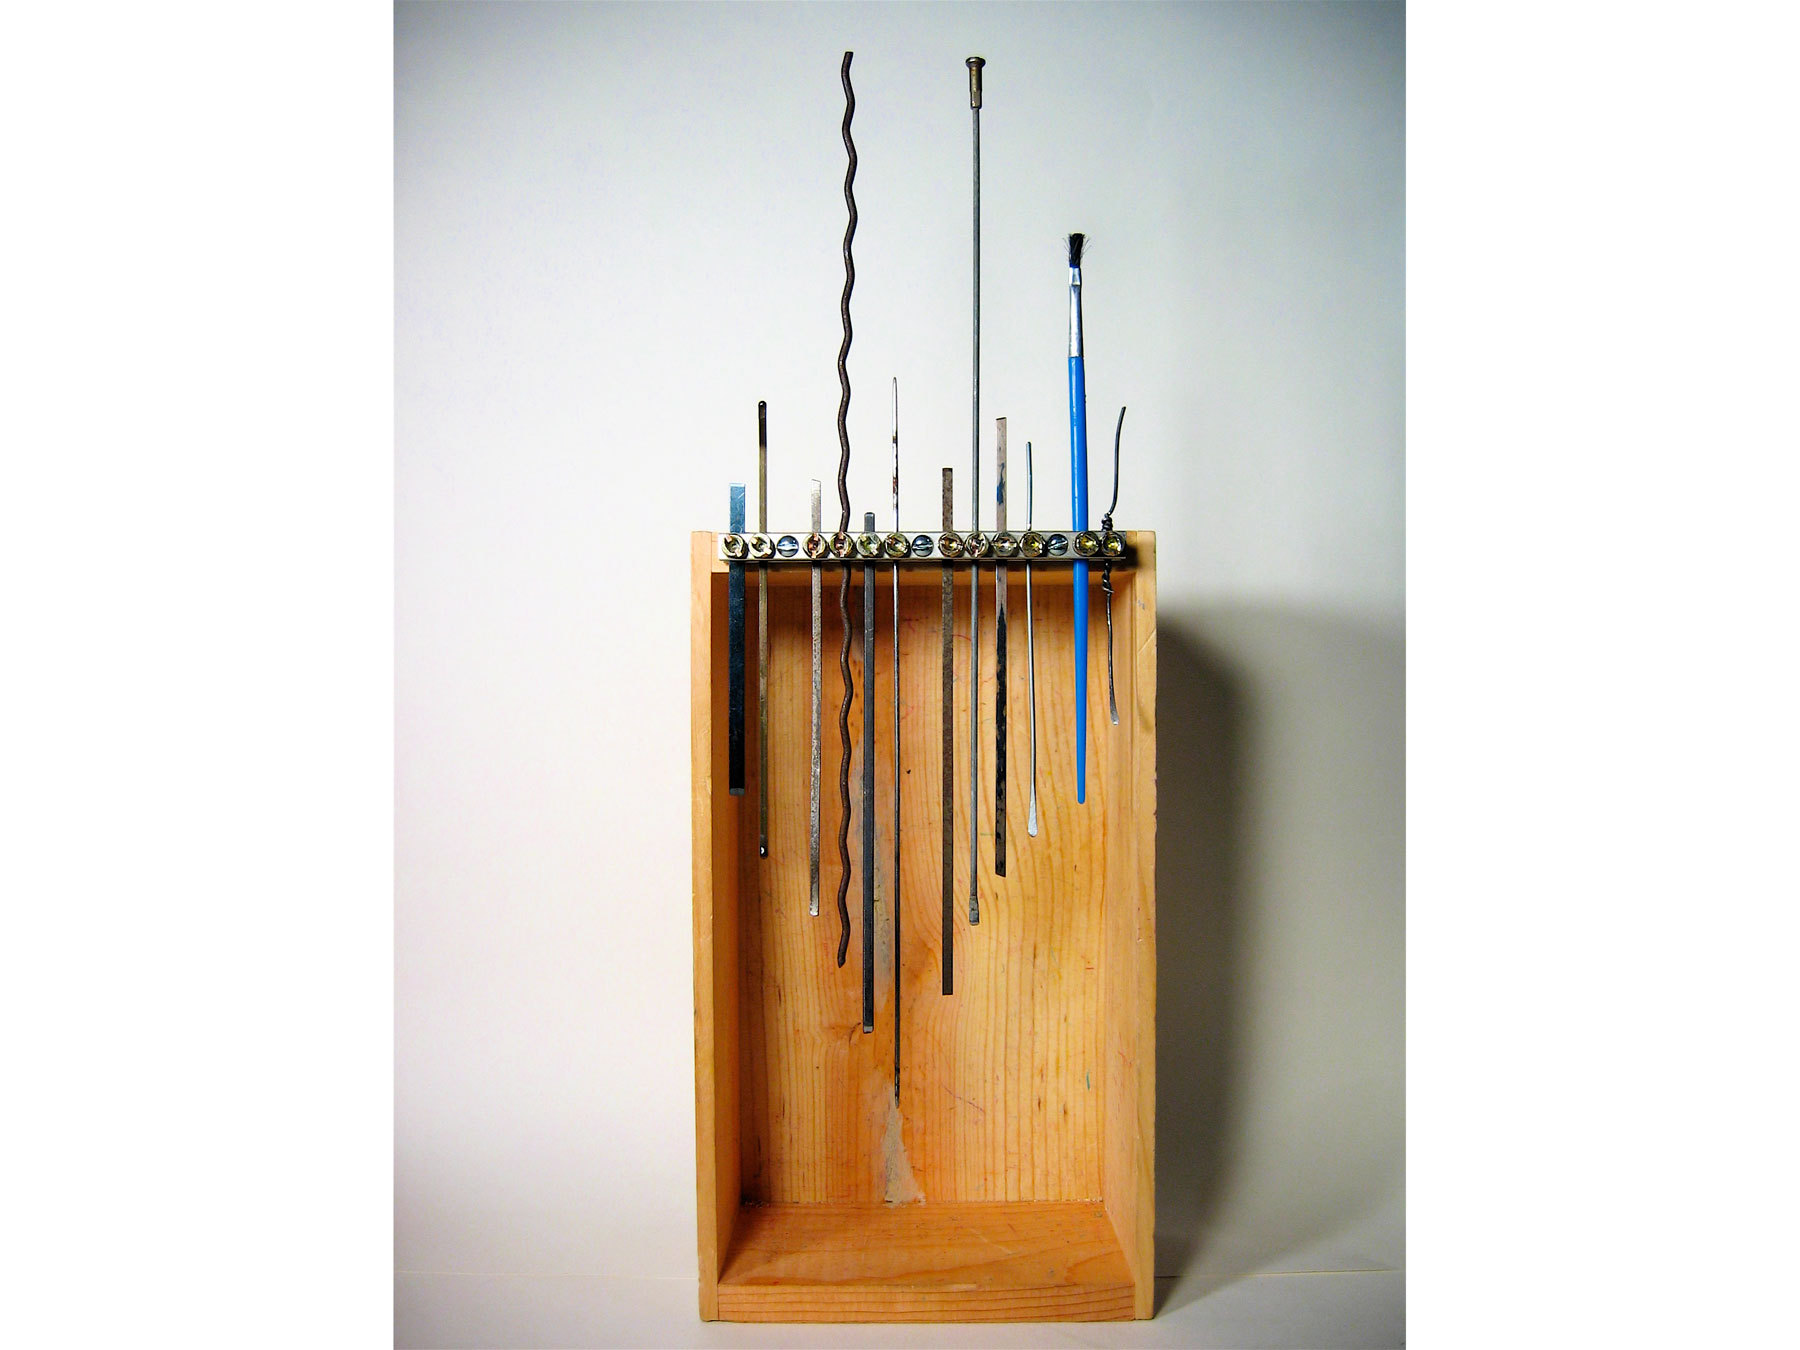
The tines in the video are made of (from left to right): blue tempered spring steel, hairpin, street sweeper bristle, unknown steel lattice debris, electrician’s snake, knitting needle, street sweeper bristle, bicycle spoke, spring steel, umbrella rib, plastic hobby/craft brush, and plain steel wire with the end splayed by hammering.
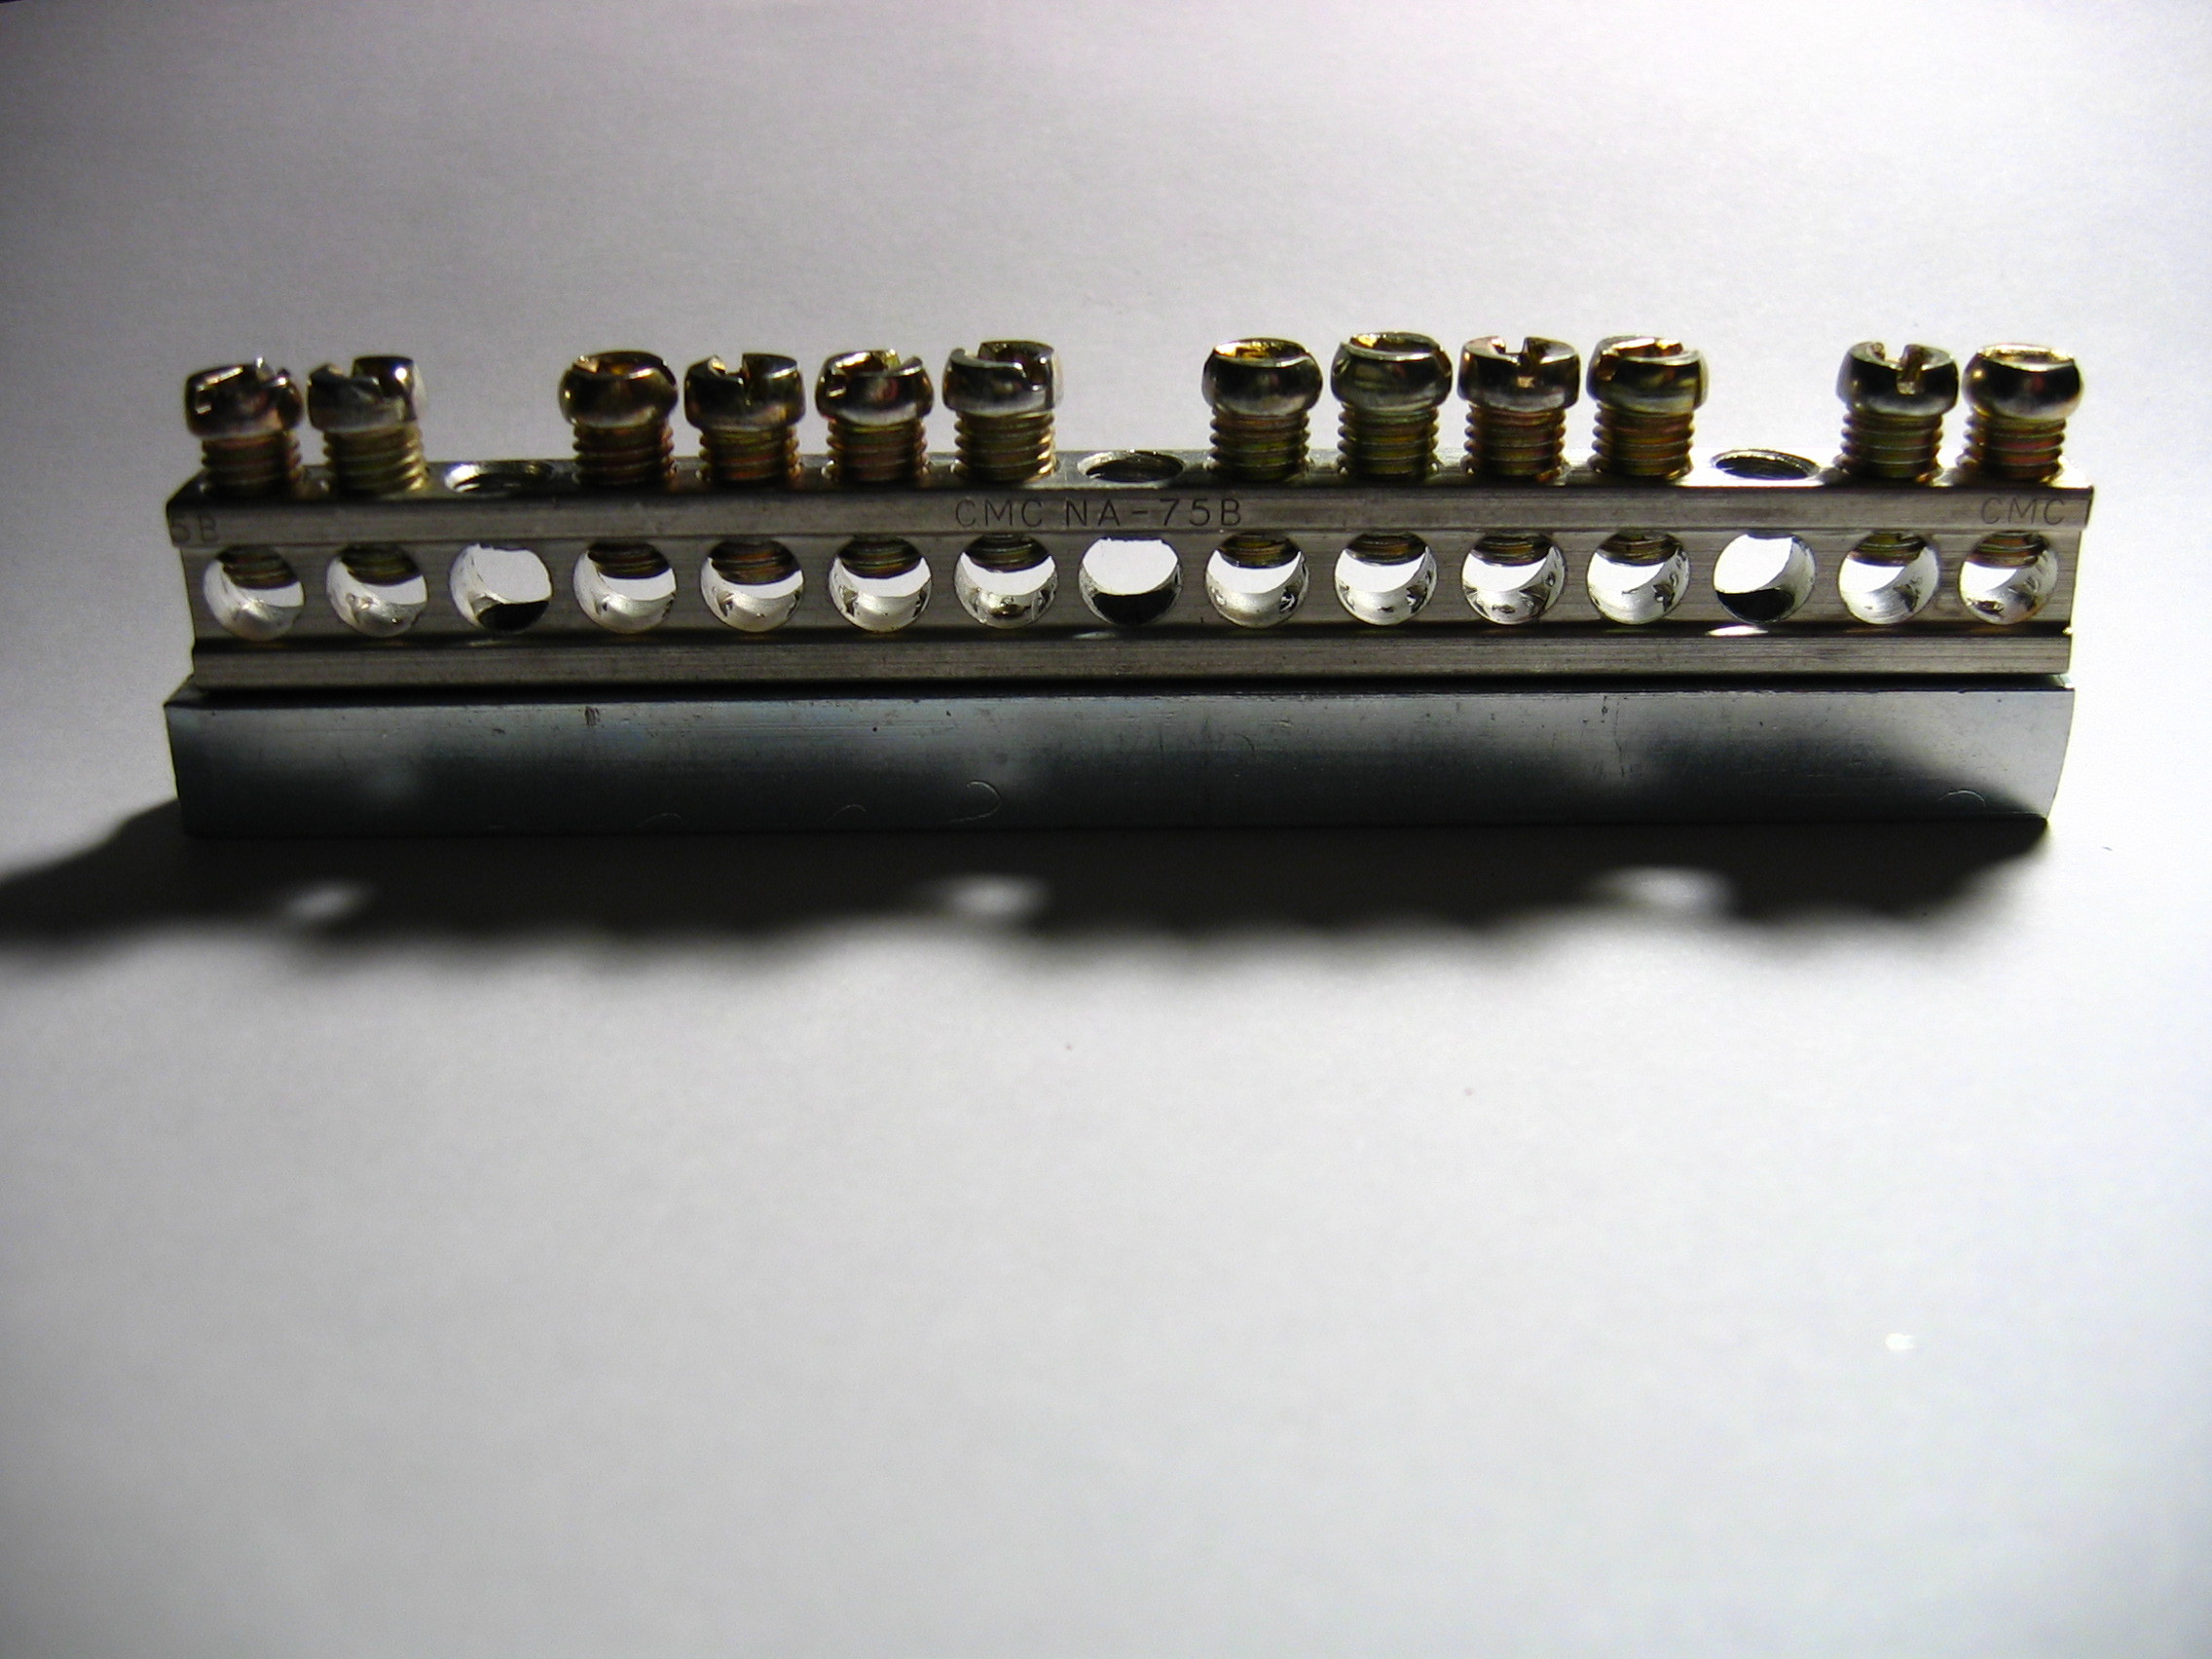
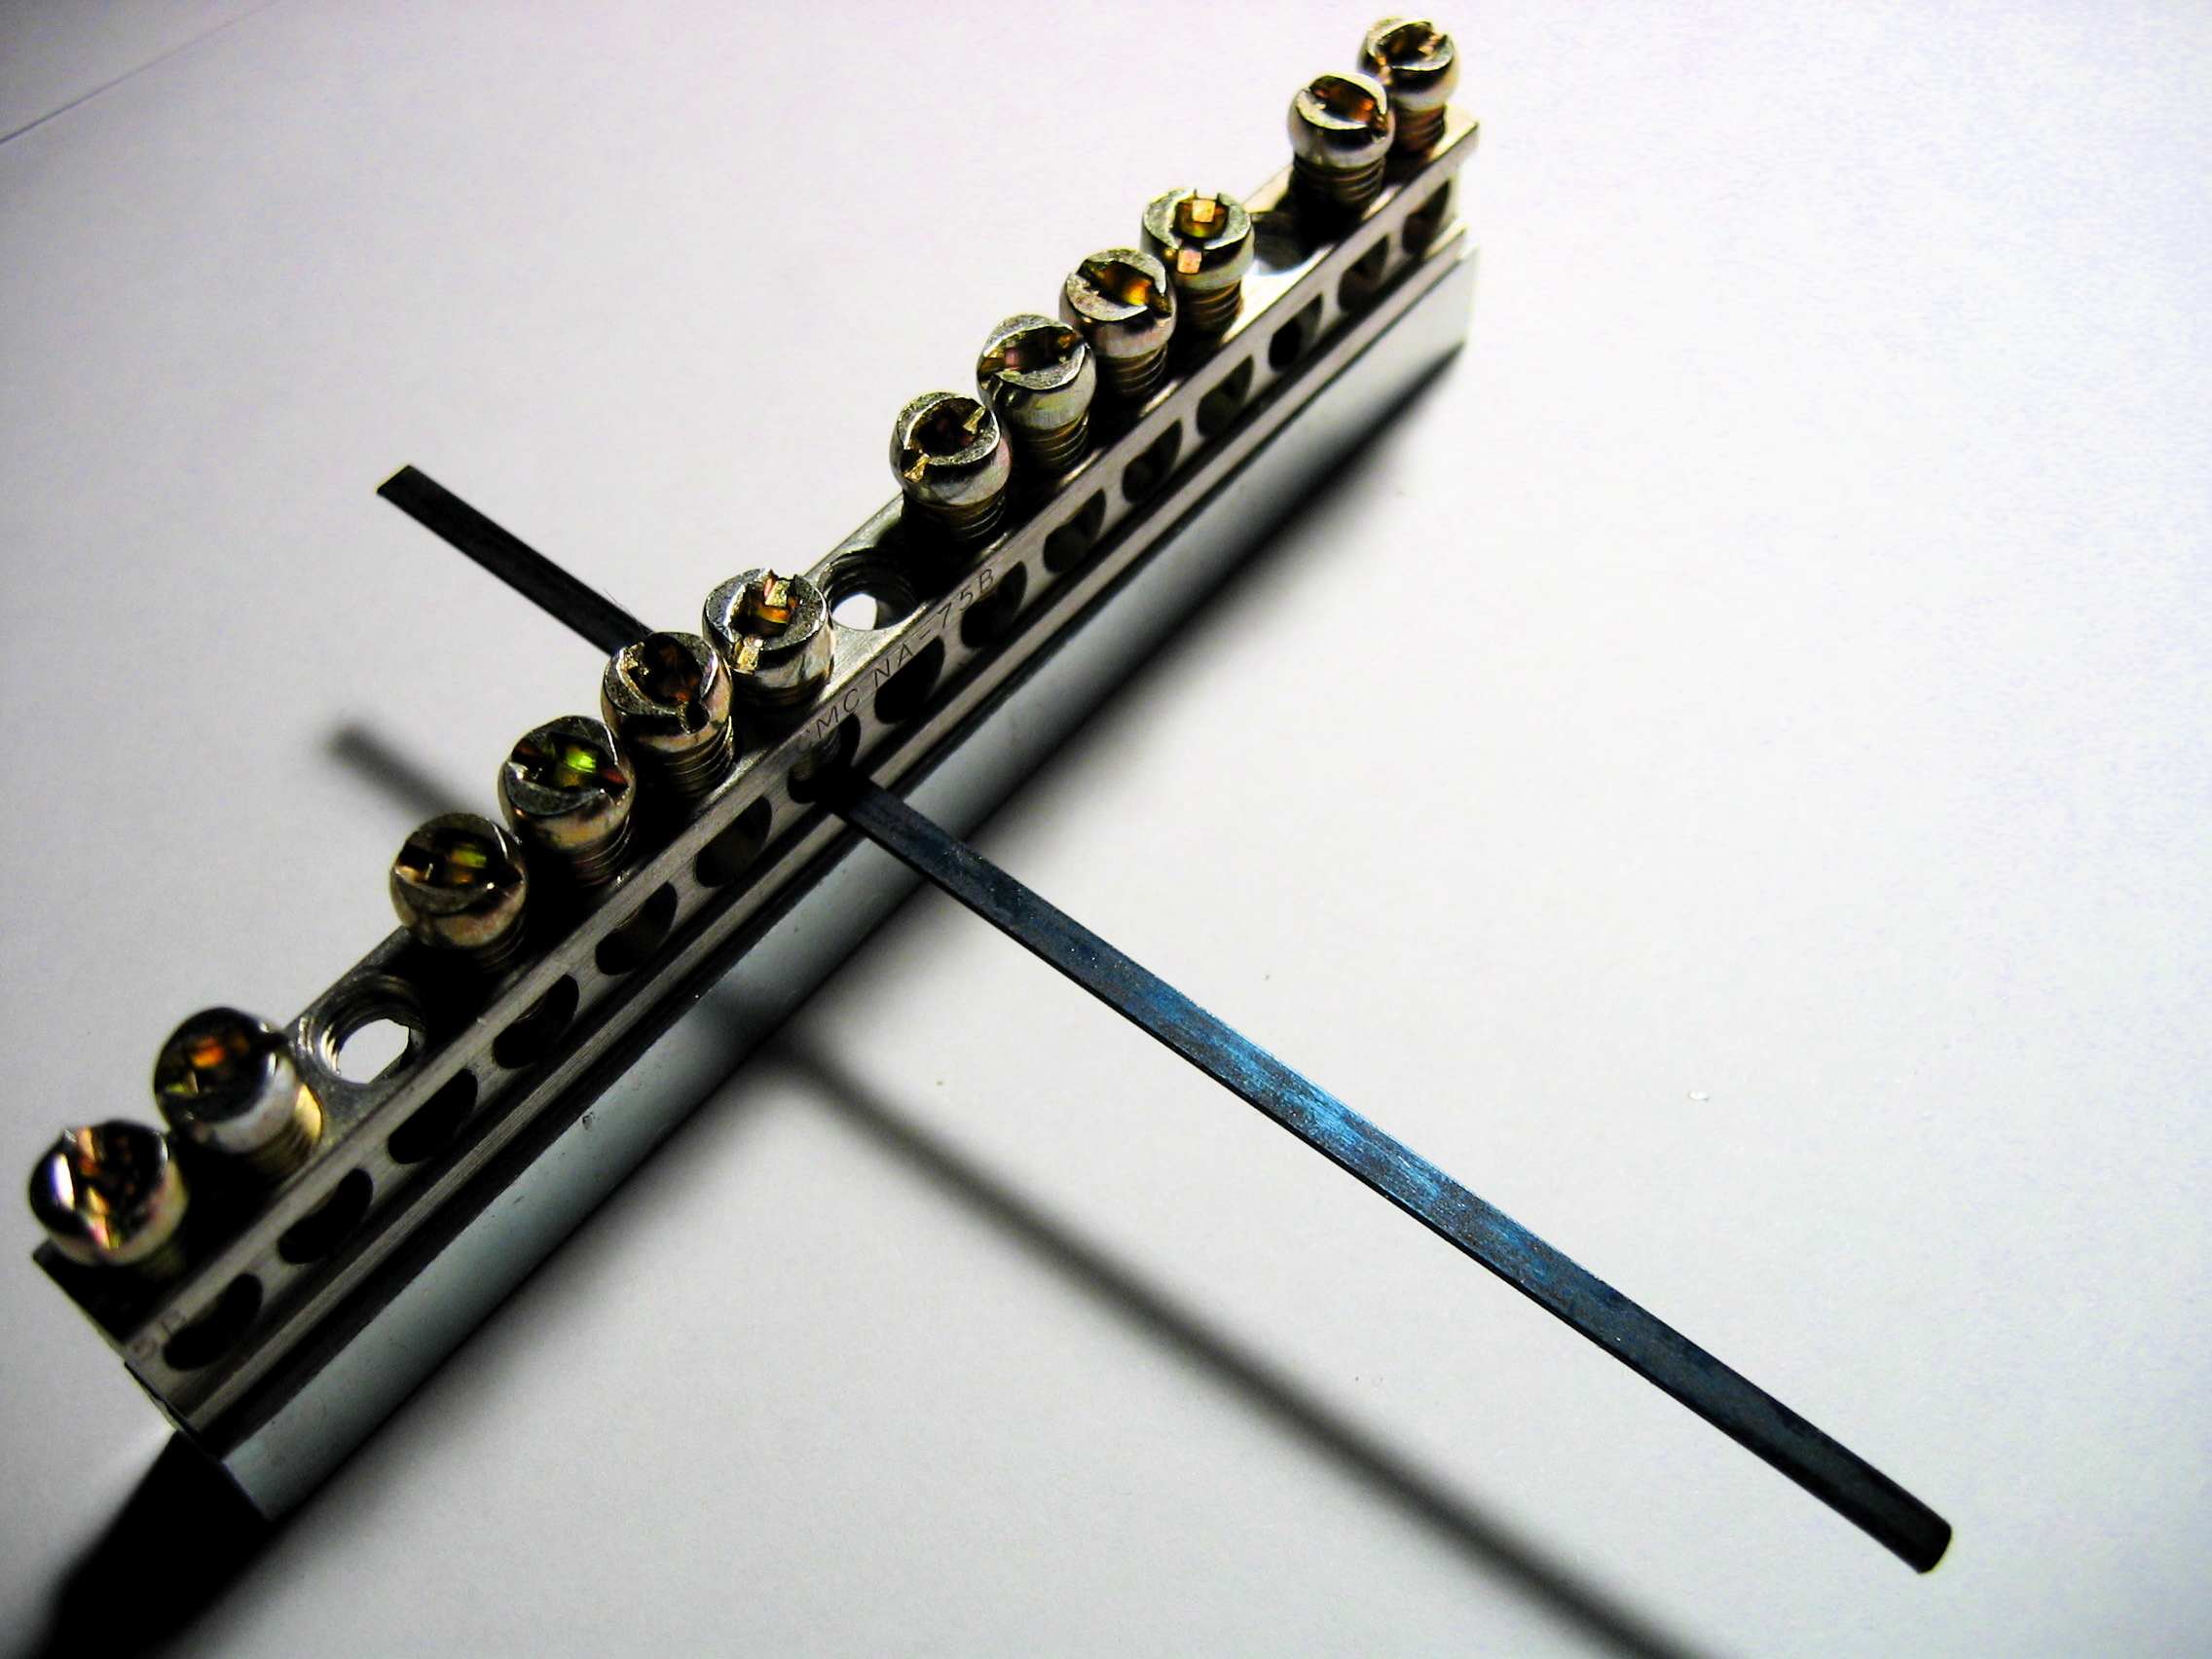
The length of a tine determines its pitch. To tune a tine, loosen its screw, scoot it forward or backward a bit, retighten, and plunk.