


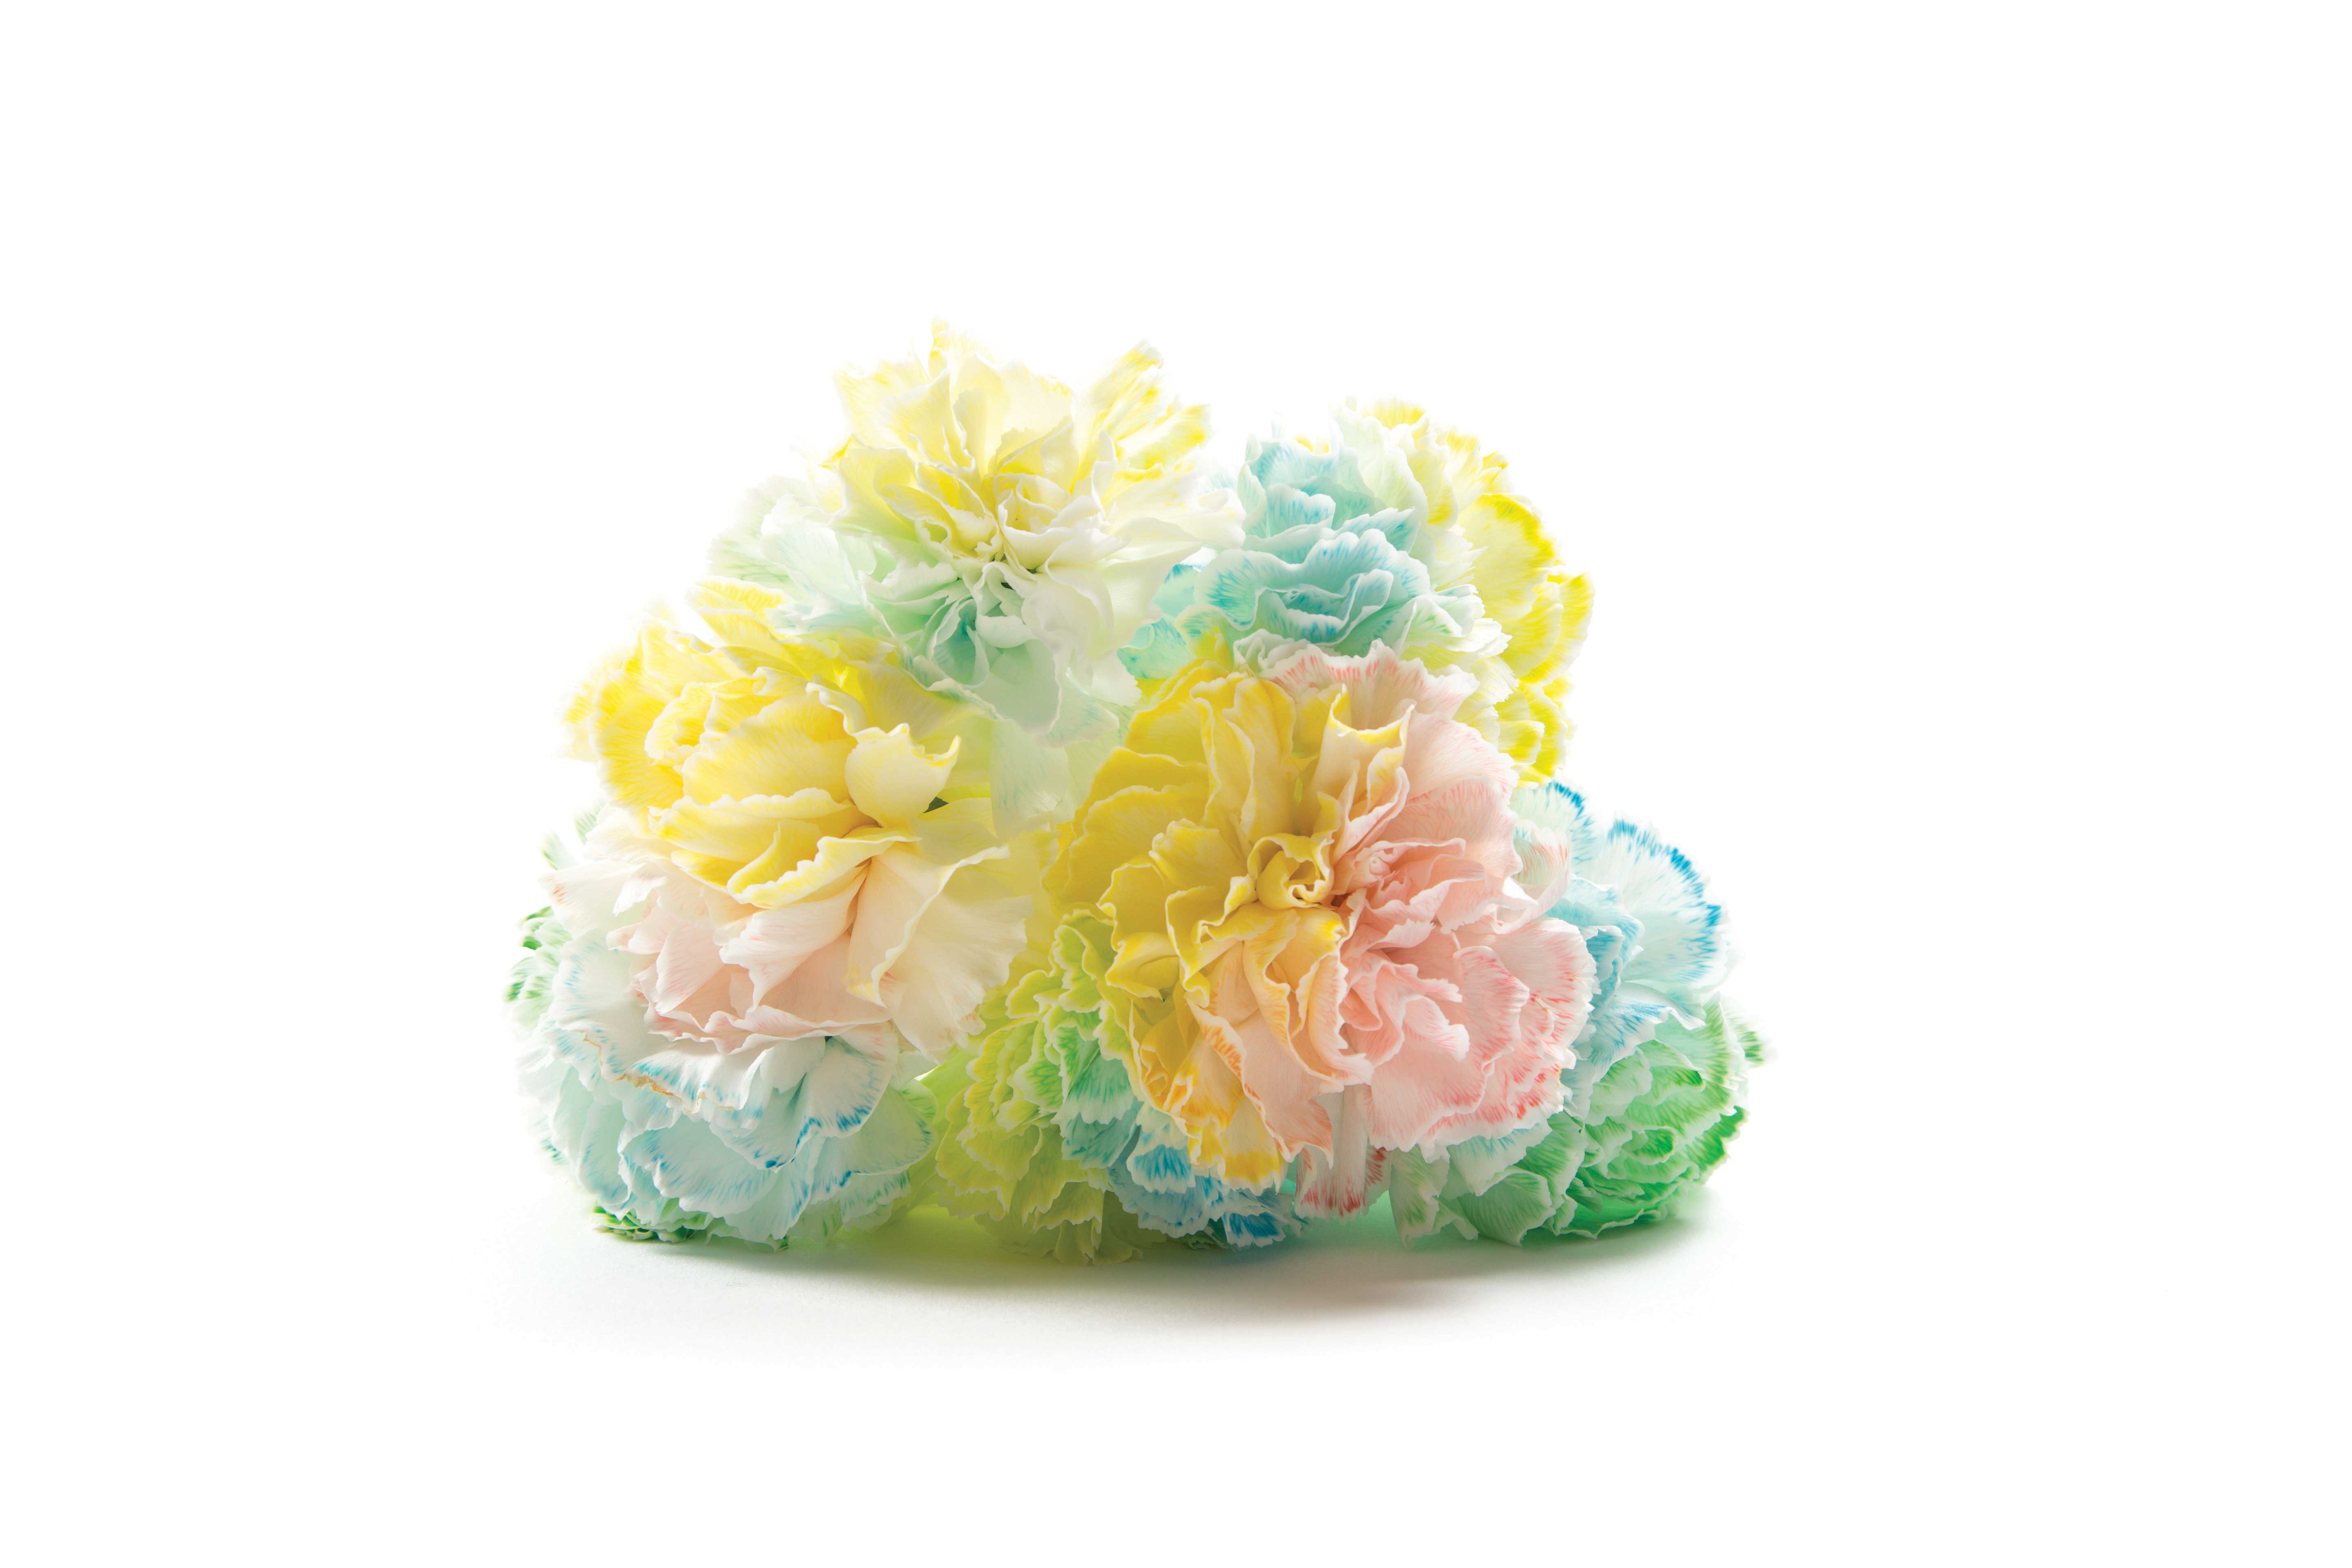
If you want to get creative with flowers, there’s another option besides simple arranging: tie-dye! You can dye white blooms to create multi-colored blossoms.
If you want to get creative with flowers, there’s another option besides simple arranging: tie-dye! You can dye white blooms to create multi-colored blossoms.


Cut the stems of the flowers so they’re between 12″–18″ tall (the shorter the stem, the faster the color change).
Remove any large leaves.
Using a sharp knife, cut a 6″ slit that bisects the very bottom of the stem. You should now have 2 sections of stem at the bottom of your flower.
If you’re using more than two colors of dye, cut one or both of these stem sections in half. Keep these cut edges moist since exposure to oxygen can make the flowers wilt at a faster rate.

Set up a container for each color you plan to use and fill with enough water to cover the slit you cut in the stems. Use roughly 20-30 drops of dye per cup. If your bouquet came with a little packet of flower food, you can divide it equally among the cups. Place each separate stem end into a cup of colored water and prop up the flowers so they don’t fall over.

You should begin to see the first hints of color in the petals after a couple of hours, but wait a full 24 hours to see an even more vibrant color change. Don’t wait too long though — these flowers won’t last forever. Cut off the frayed bottom edges and gift your tie-dye bouquet to someone special.
Science! As the flower releases moisture through a process known as transpiration, more water gets pulled up through tiny tubes within the stems known as xylem. Water has a tendency to “stick” to water, so as a water molecule leaves the plant it drags the next water molecule up to take its place.


