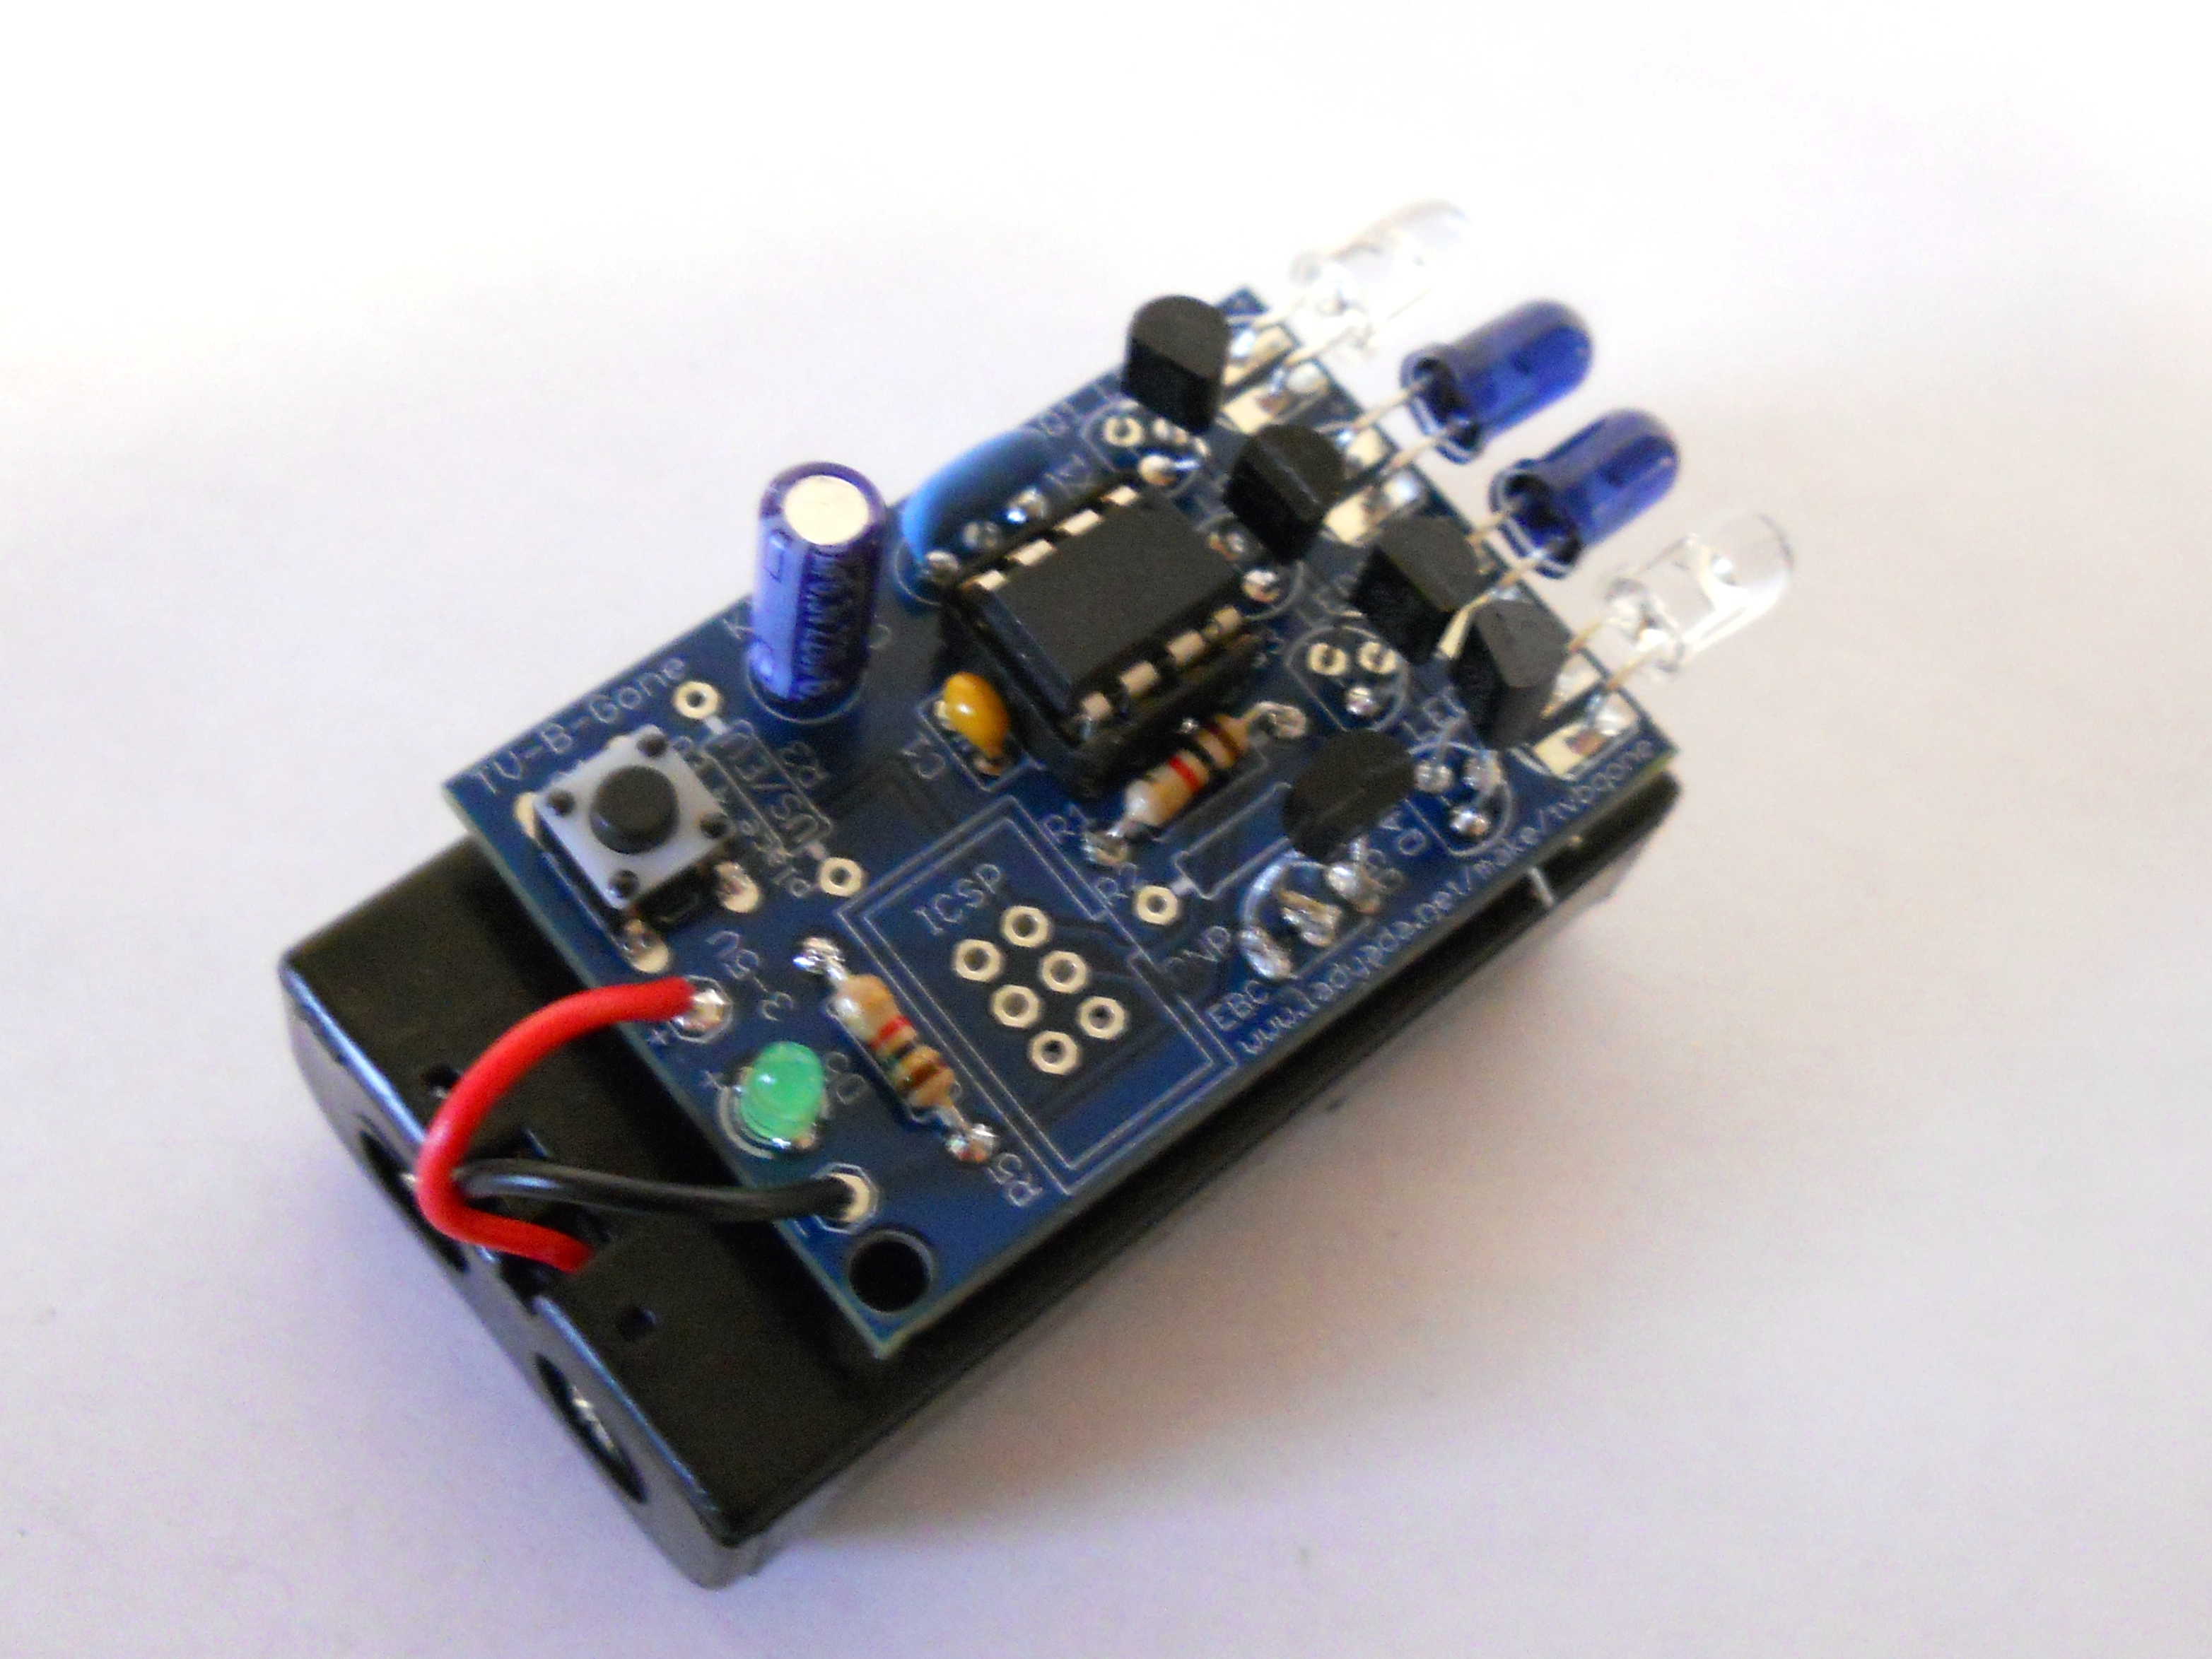
Tired of all those LCD TVs everywhere? Want a break from advertisements while you’re trying to eat? Want to zap screens from across the street? The TV-B-Gone kit is just what you need. With just a simple click of the button you can turn off any TV from 100’s of feet away. Zap!

This project was originally published Dec. 18, 2012.

Project Steps

Parts Check!

On the first slide for this guide, you will find a list of the supplied parts to build this kit.

Make sure you have all of the required parts. If you are missing any parts, check under your chair!

Insert the Tactile Switch

The tactile switch should be soldered into the S1 spot.

It does not matter which way you put it in.

Once it is flush with the board, turn it over and solder the connection.

Brown-Black-Red Resistor

Insert one of the Brown-Black-Red Resistors into the R5 position.

It does not matter which way you put the resistor in.

Turn the board over and solder the leads.

Tips!

To make sure the leads stay in when you turn the board over, bend the leads outwards a little bit after inserting them into the PCB.

To ensure that there are no shorts, be sure to clip the leads of the resistors after they are soldered. Do this for all the components after soldering.

Insert the Small Green LED at D5

LEDs have one longer lead and one shorter lead. The longer lead is the positive lead, and the shorter one is the negative lead.

Insert the longer lead into the hole marked with the (+) sign, and the shorter lead (-) goes into the other hole on the PCB.

Turn the board over, and solder the LED in.

Insert the Yellow Capacitor

The small yellow .1uF capacitor (marked 104) is to be inserted into C1.

This capacitor is not polarized, so it doesn’t matter which direction you put it in. Push it through, bend the leads, and solder.

Insert the Blue Ceramic Oscillator

The ceramic oscillator should be inserted into X1 on the circuit board.

The direction of insertion for this component doesn’t matter.

Turn it over, and solder it in.

Insert the 8-PIN IC Socket

The 8-Pin Socket must be inserted into the PCB by matching the silkscreened ‘notch’ printed on the circuit board to the ‘notch’ on the socket.

Make sure the socket is flush with the board, turn it over and solder it in.

Attaching the Battery Holder

Begin by trimming the leads on the battery holder until there is only about a quarter of the wire remaining.

Strip the ends of the wires so there is about about 1/4 ” exposed.

The red wire is inserted into the positive (+) hole, the black wire is inserted into the negative (-) hole in the PCB.

Turn the board over and solder it in place.

To test, put the chip in the 8-Pin socket, add two AA batteries, and your LED light should be blinking. The chip should be inserted with the dot on the IC facing the notched end of the 8-Pin socket. Before moving on, remove the batteries from the holder.

Inserting the Next Resistor

In position R1, insert the other Brown-Black-Red Resistor. Like before, the orientation of the resistor on the PCB does not matter.

Turn the board over and solder it in.

Inserting the 220uF Capacitor

The blue capacitor has a longer lead, which is positive (+), and the shorter lead is the negative (-).

Insert this capacitor into C2, where the longer lead is inserted into the hole marked with a (+).

Turn the board over, and solder the leads in.

Insert the first transistor.

The transistor marked 2907 should be inserted into Q5.

The flat end should be facing outward on the PCB, matching the silkscreen. Push the transistor through the hole, and solder the leads in.

Inserting the 4 Transistors

Included in the kit are four NPN (2N2222) transistors. They are soldered into Q1, Q2, Q3, and Q4.

Insert each transistor matching the silkscreen on the PCB.

Turn the board over, and solder the joints. Be sure to snip the leads to avoid anything shorting out.

Inserting the LEDs

Each IR LED has a longer lead and a smaller lead. The longer lead is the positive (+)

You will want the LEDs to face forward, so leave some room when you insert the LED into the PCB. (see pictures for LED orientation)

The two ‘clear’ LEDs go on the outside of the PCB, and the two ‘blue’ LEDs go on the inside as pictured.

After you solder the LEDs in, bend them forward.

Finished!

Now add two fresh AA batteries you’re good to go! Keep in mind that the LED will blink continously if your batteries are low.

All done! Take this anywhere you need to zap a TV. Just point and press!

After hitting the button, the TV-B-Gone will continue to transmit for around 2 minutes, sending all the codes stored in the chip.

Enjoy!