IMG_1814

Wind chimes are a great way to improve the atmosphere of a garden. But I wanted to see if I could find a way to make the wind play a melody instead of just random notes, so I designed a simple wind-powered music box. Now whenever the wind blows, it plays a whole song.

[youtube:http://youtu.be/RxacsDqvT3g]

Project Steps

Find a Good Crank-Operated Music Box

The first and most important step in this project is finding a good crank-operated music box. The song will play over and over, so you want to find a music box with a song that isn’t annoying (unless you really want to annoy your neighbors).

You can find a lot of different crank music boxes at Amazon. I am using one that plays the song “Frère Jacques”.

Cut the Plastic Balls in Half

The wind will be harnessed using a turbine made from four cups. This is similar in design to an anemometer. The cups will be made by cutting two plastic balls in half. Using a sharp knife, carefully cut a slit all the way around the middle of each plastic ball and separate the two halves.

Cut the Small Wooden Poles

The cups will be held together with two small wooden poles. You can just use whatever small pieces of scrap wood that you have lying around. Cut the wood pieces so that they are about one foot long each.

Glue the Two Wood Pieces Together Into an X

Now you need to glue the two wood pieces together. Start by marking the center of each wood piece, then line up the two pieces center to center and mark where they overlap. Apply hot glue to the center of one board and stick the two together.

Hot Glue the Cups to the Wood Pieces

To complete the turbine, you need to attach the cups to the wooden arms. Apply a large drop of hot glue to the back of each cup, then stick it onto the end of one arm. Hold the cup in place until the glue has set. Repeat this process to attach the other three cups. Make sure that all the cups are facing the same direction.

Attach the Turbine to the Music Box

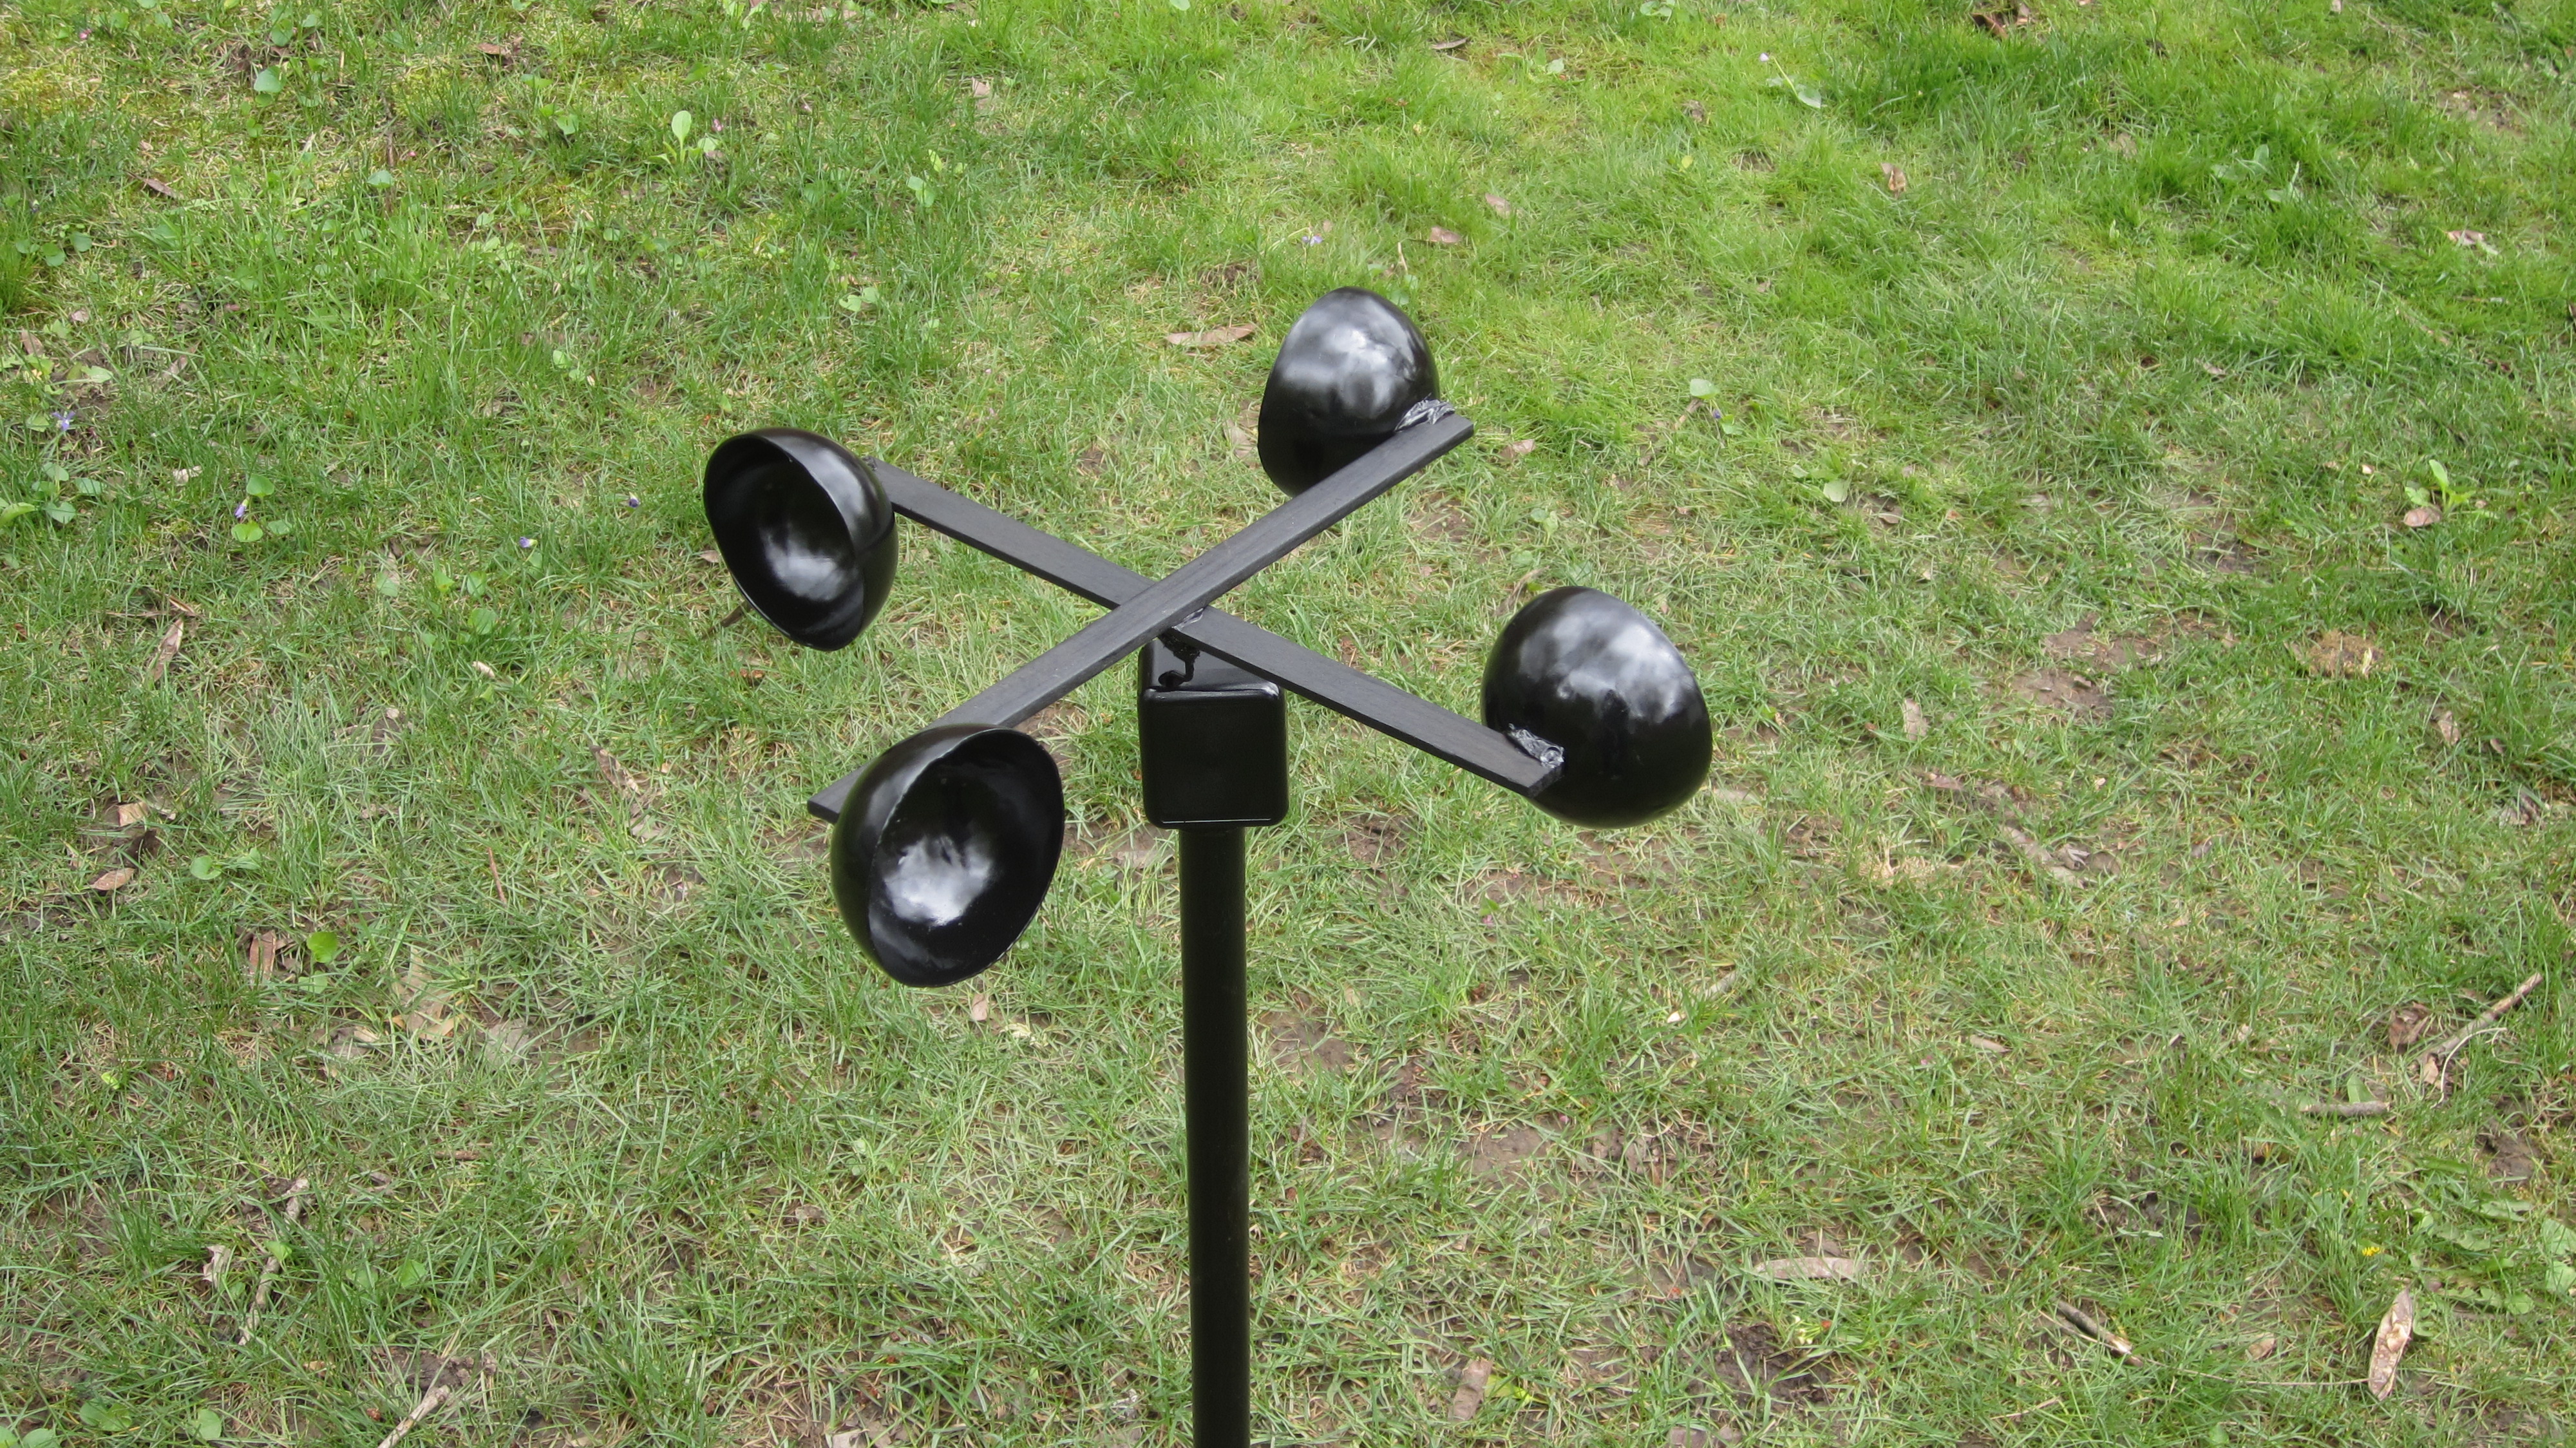
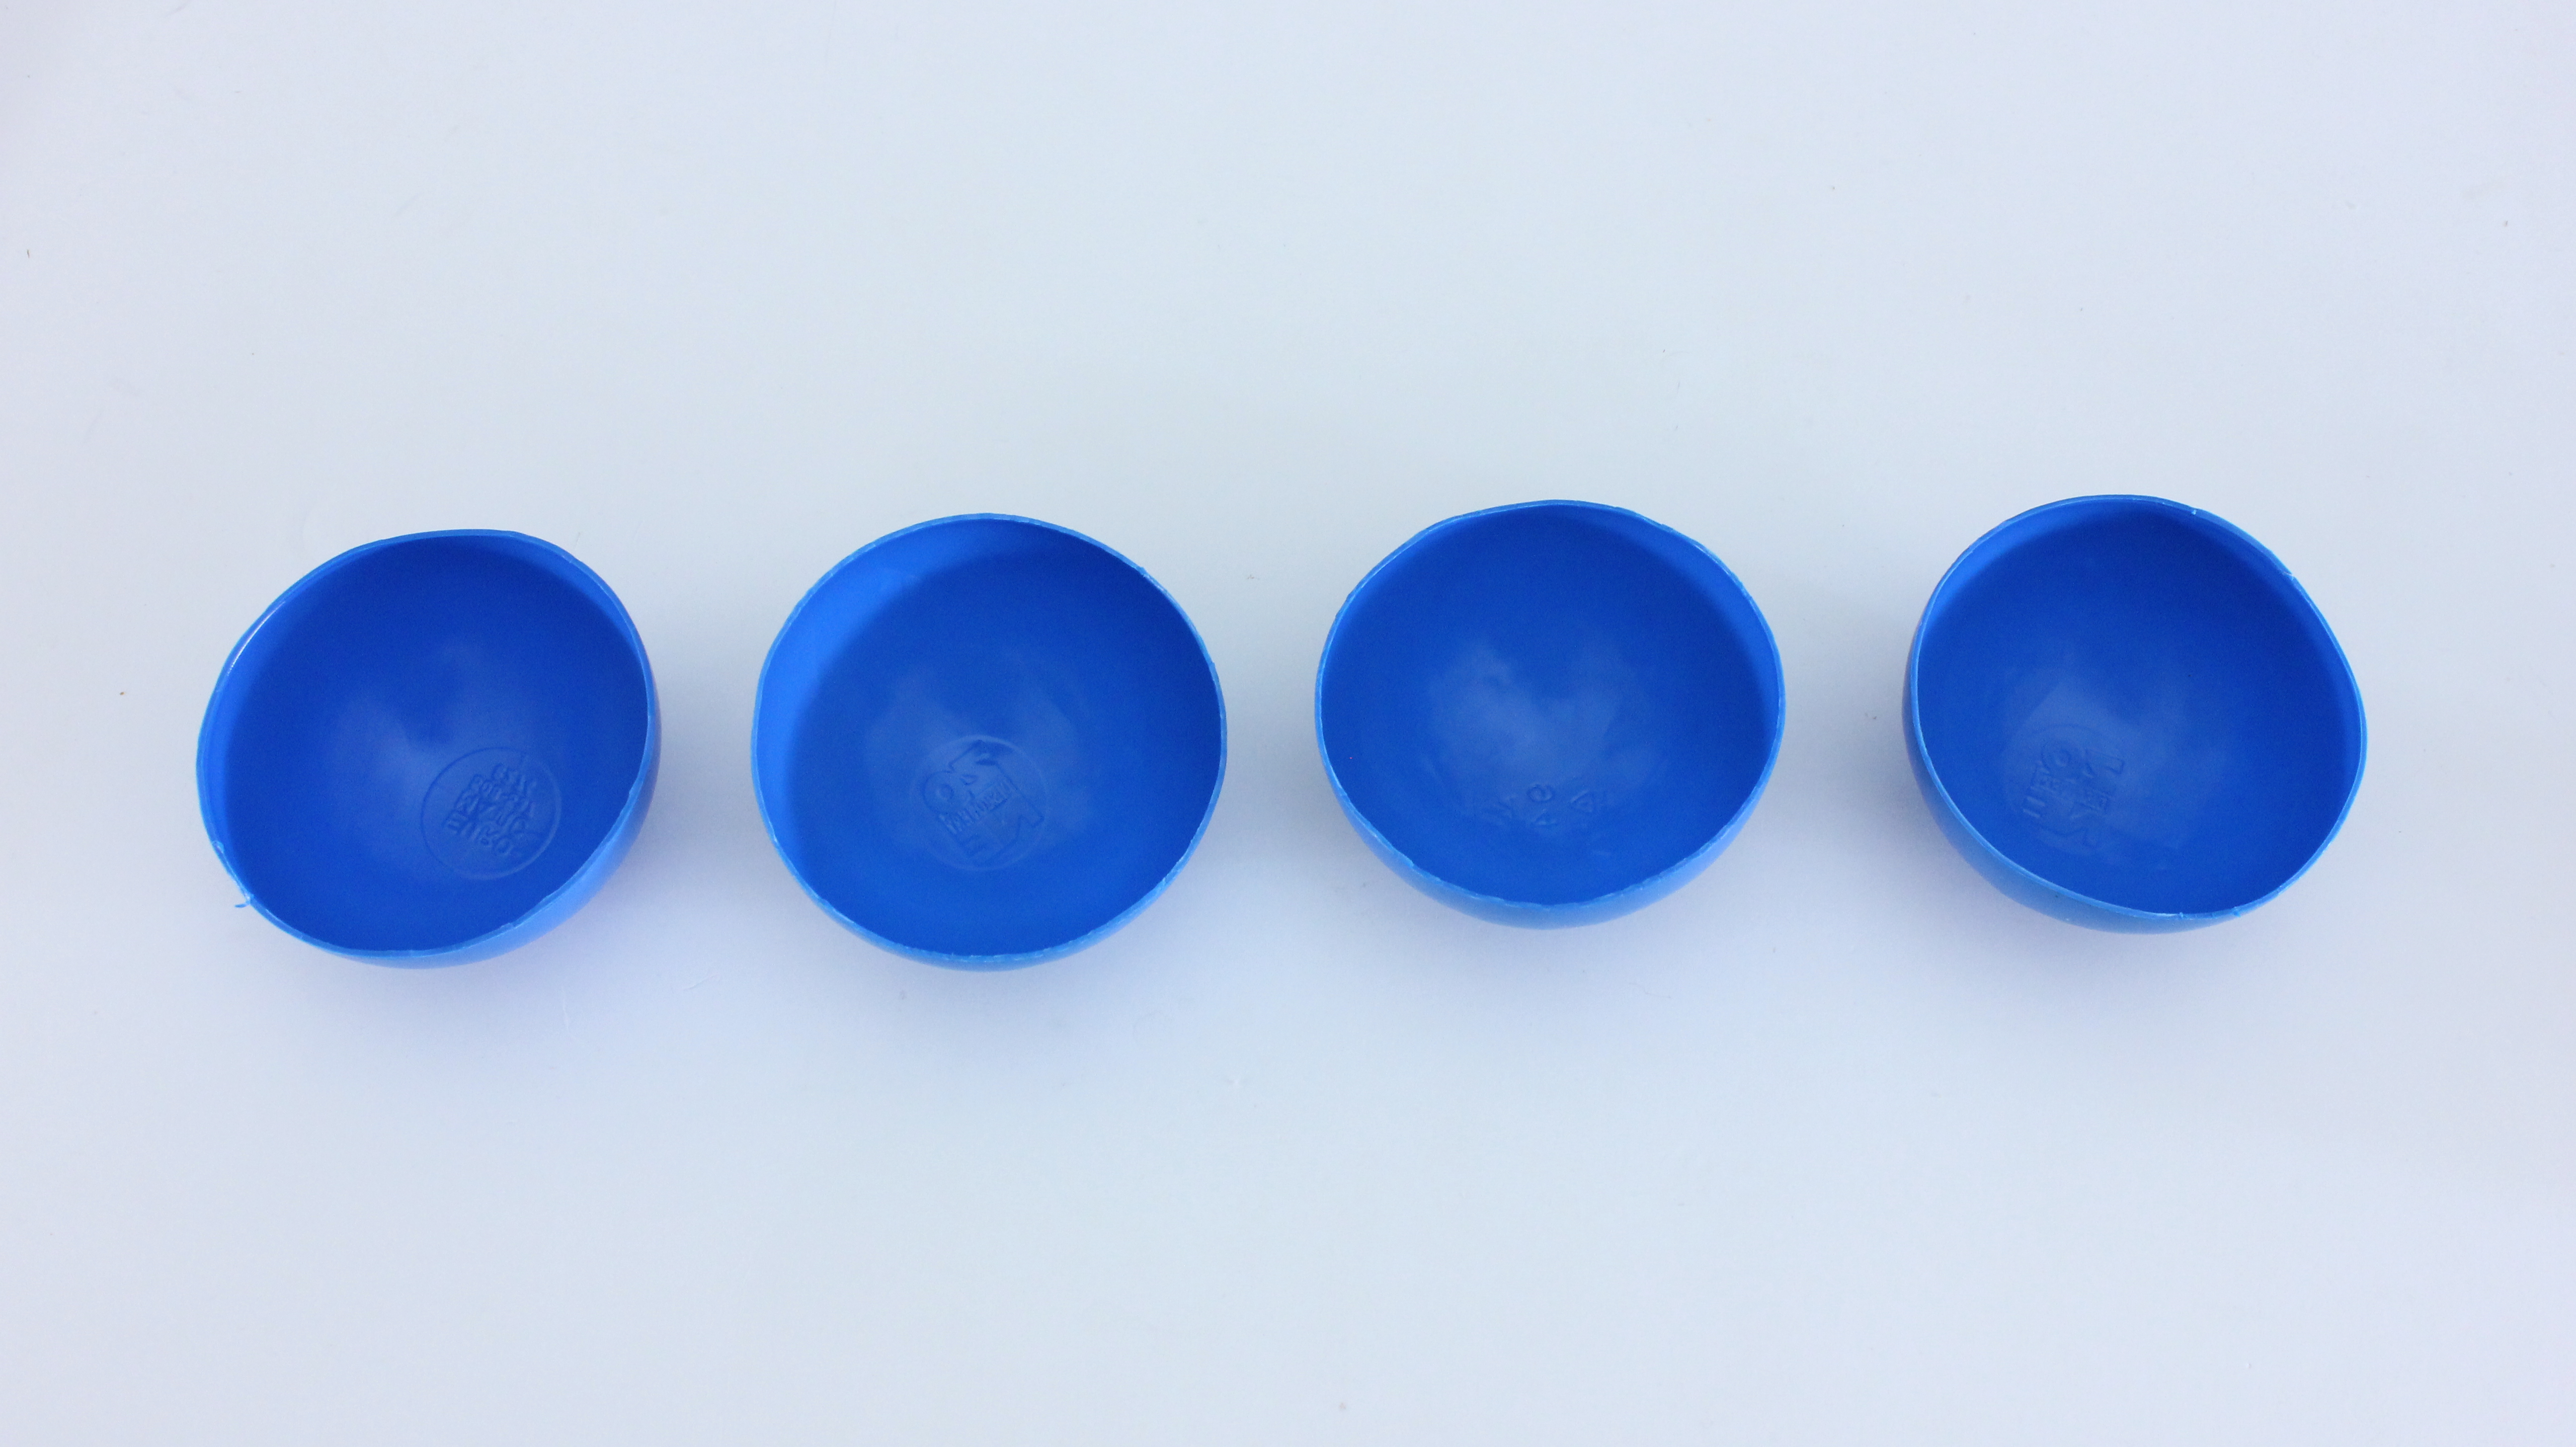
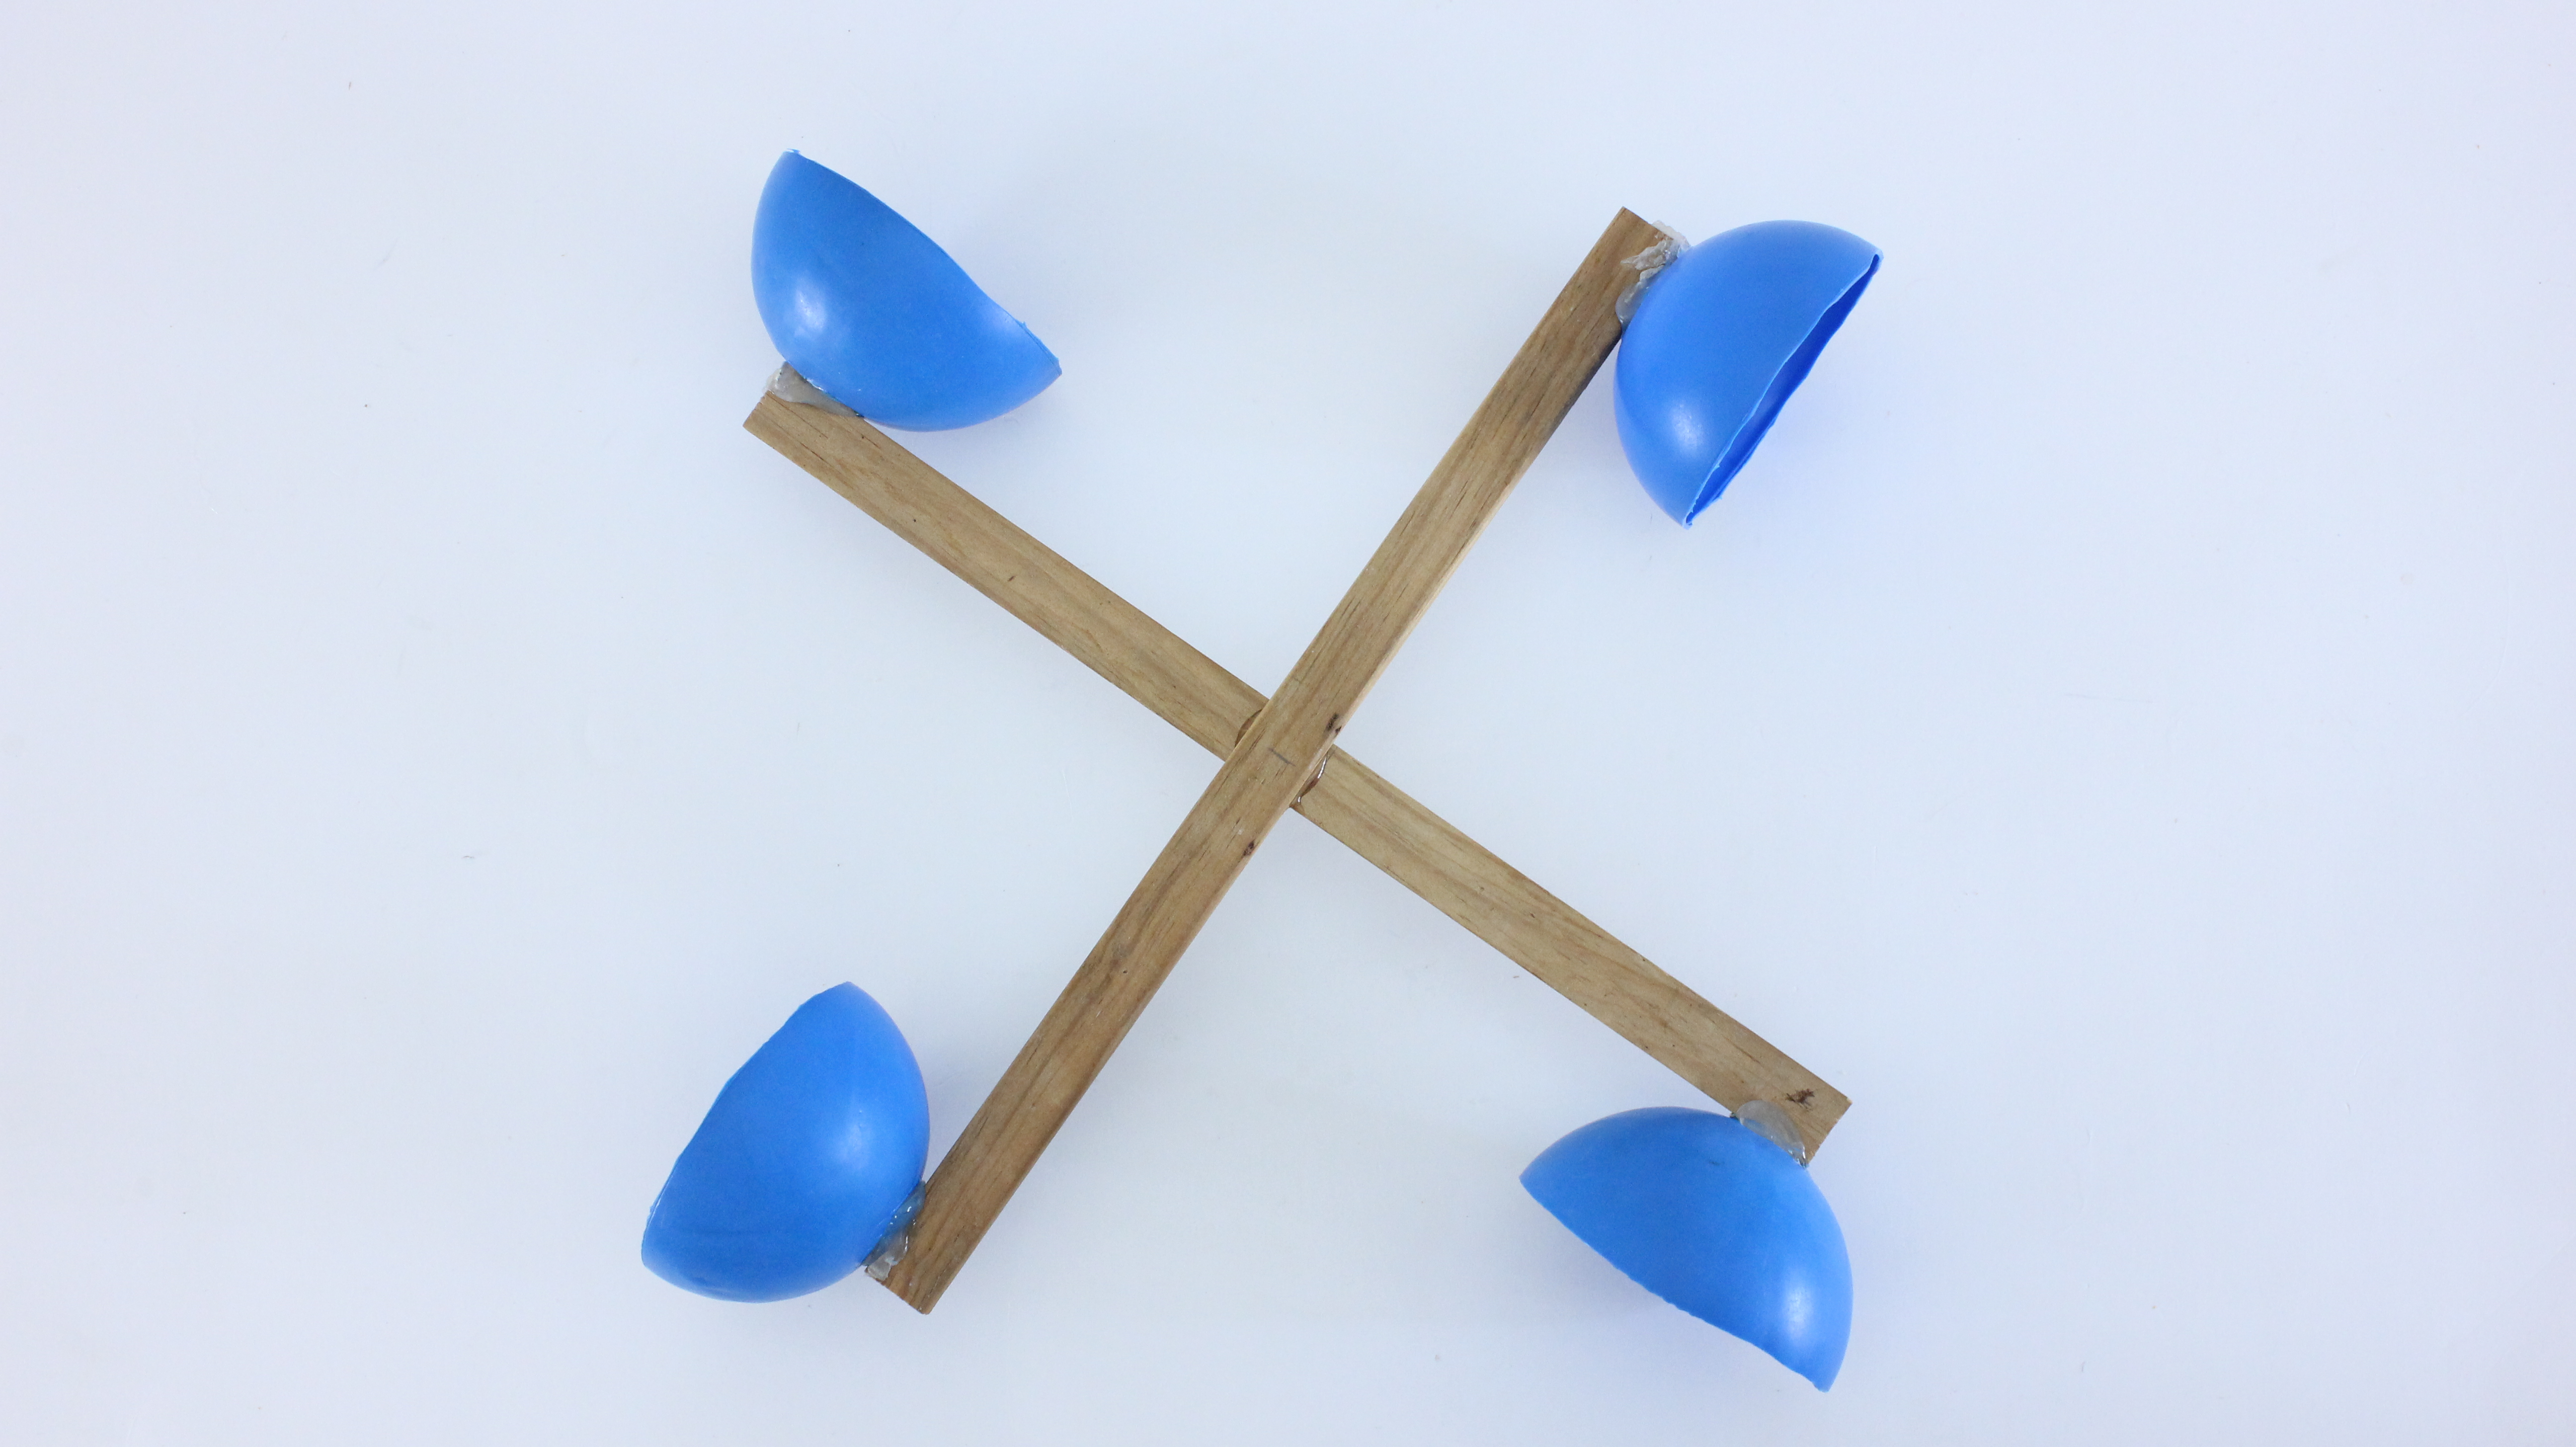
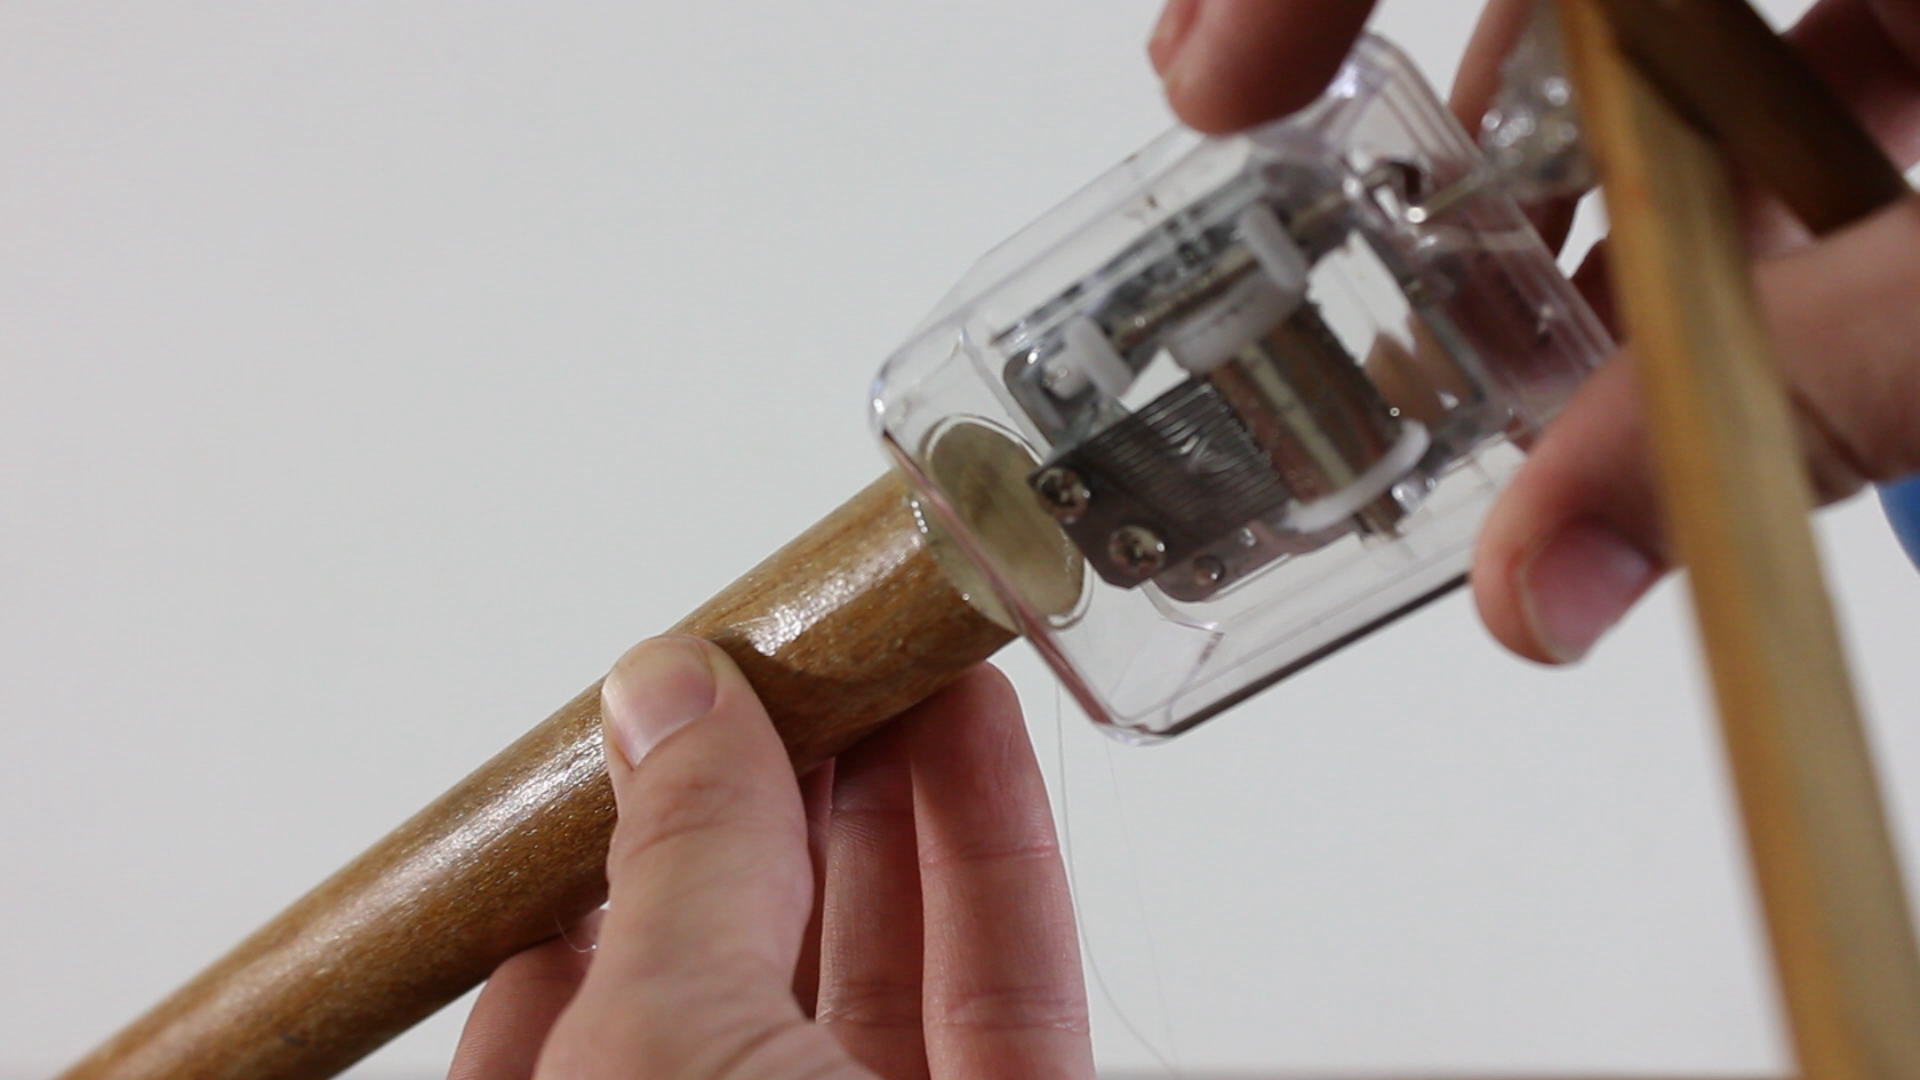
Before attaching the turbine, you need to make sure that you position it in the correct orientation. When the wind blows, the turbine will turn in the direction away from the cup opening. So you want to match this up with direction that the music box crank needs to turn to play the music. If the cups are facing the wrong direction, it will not work.

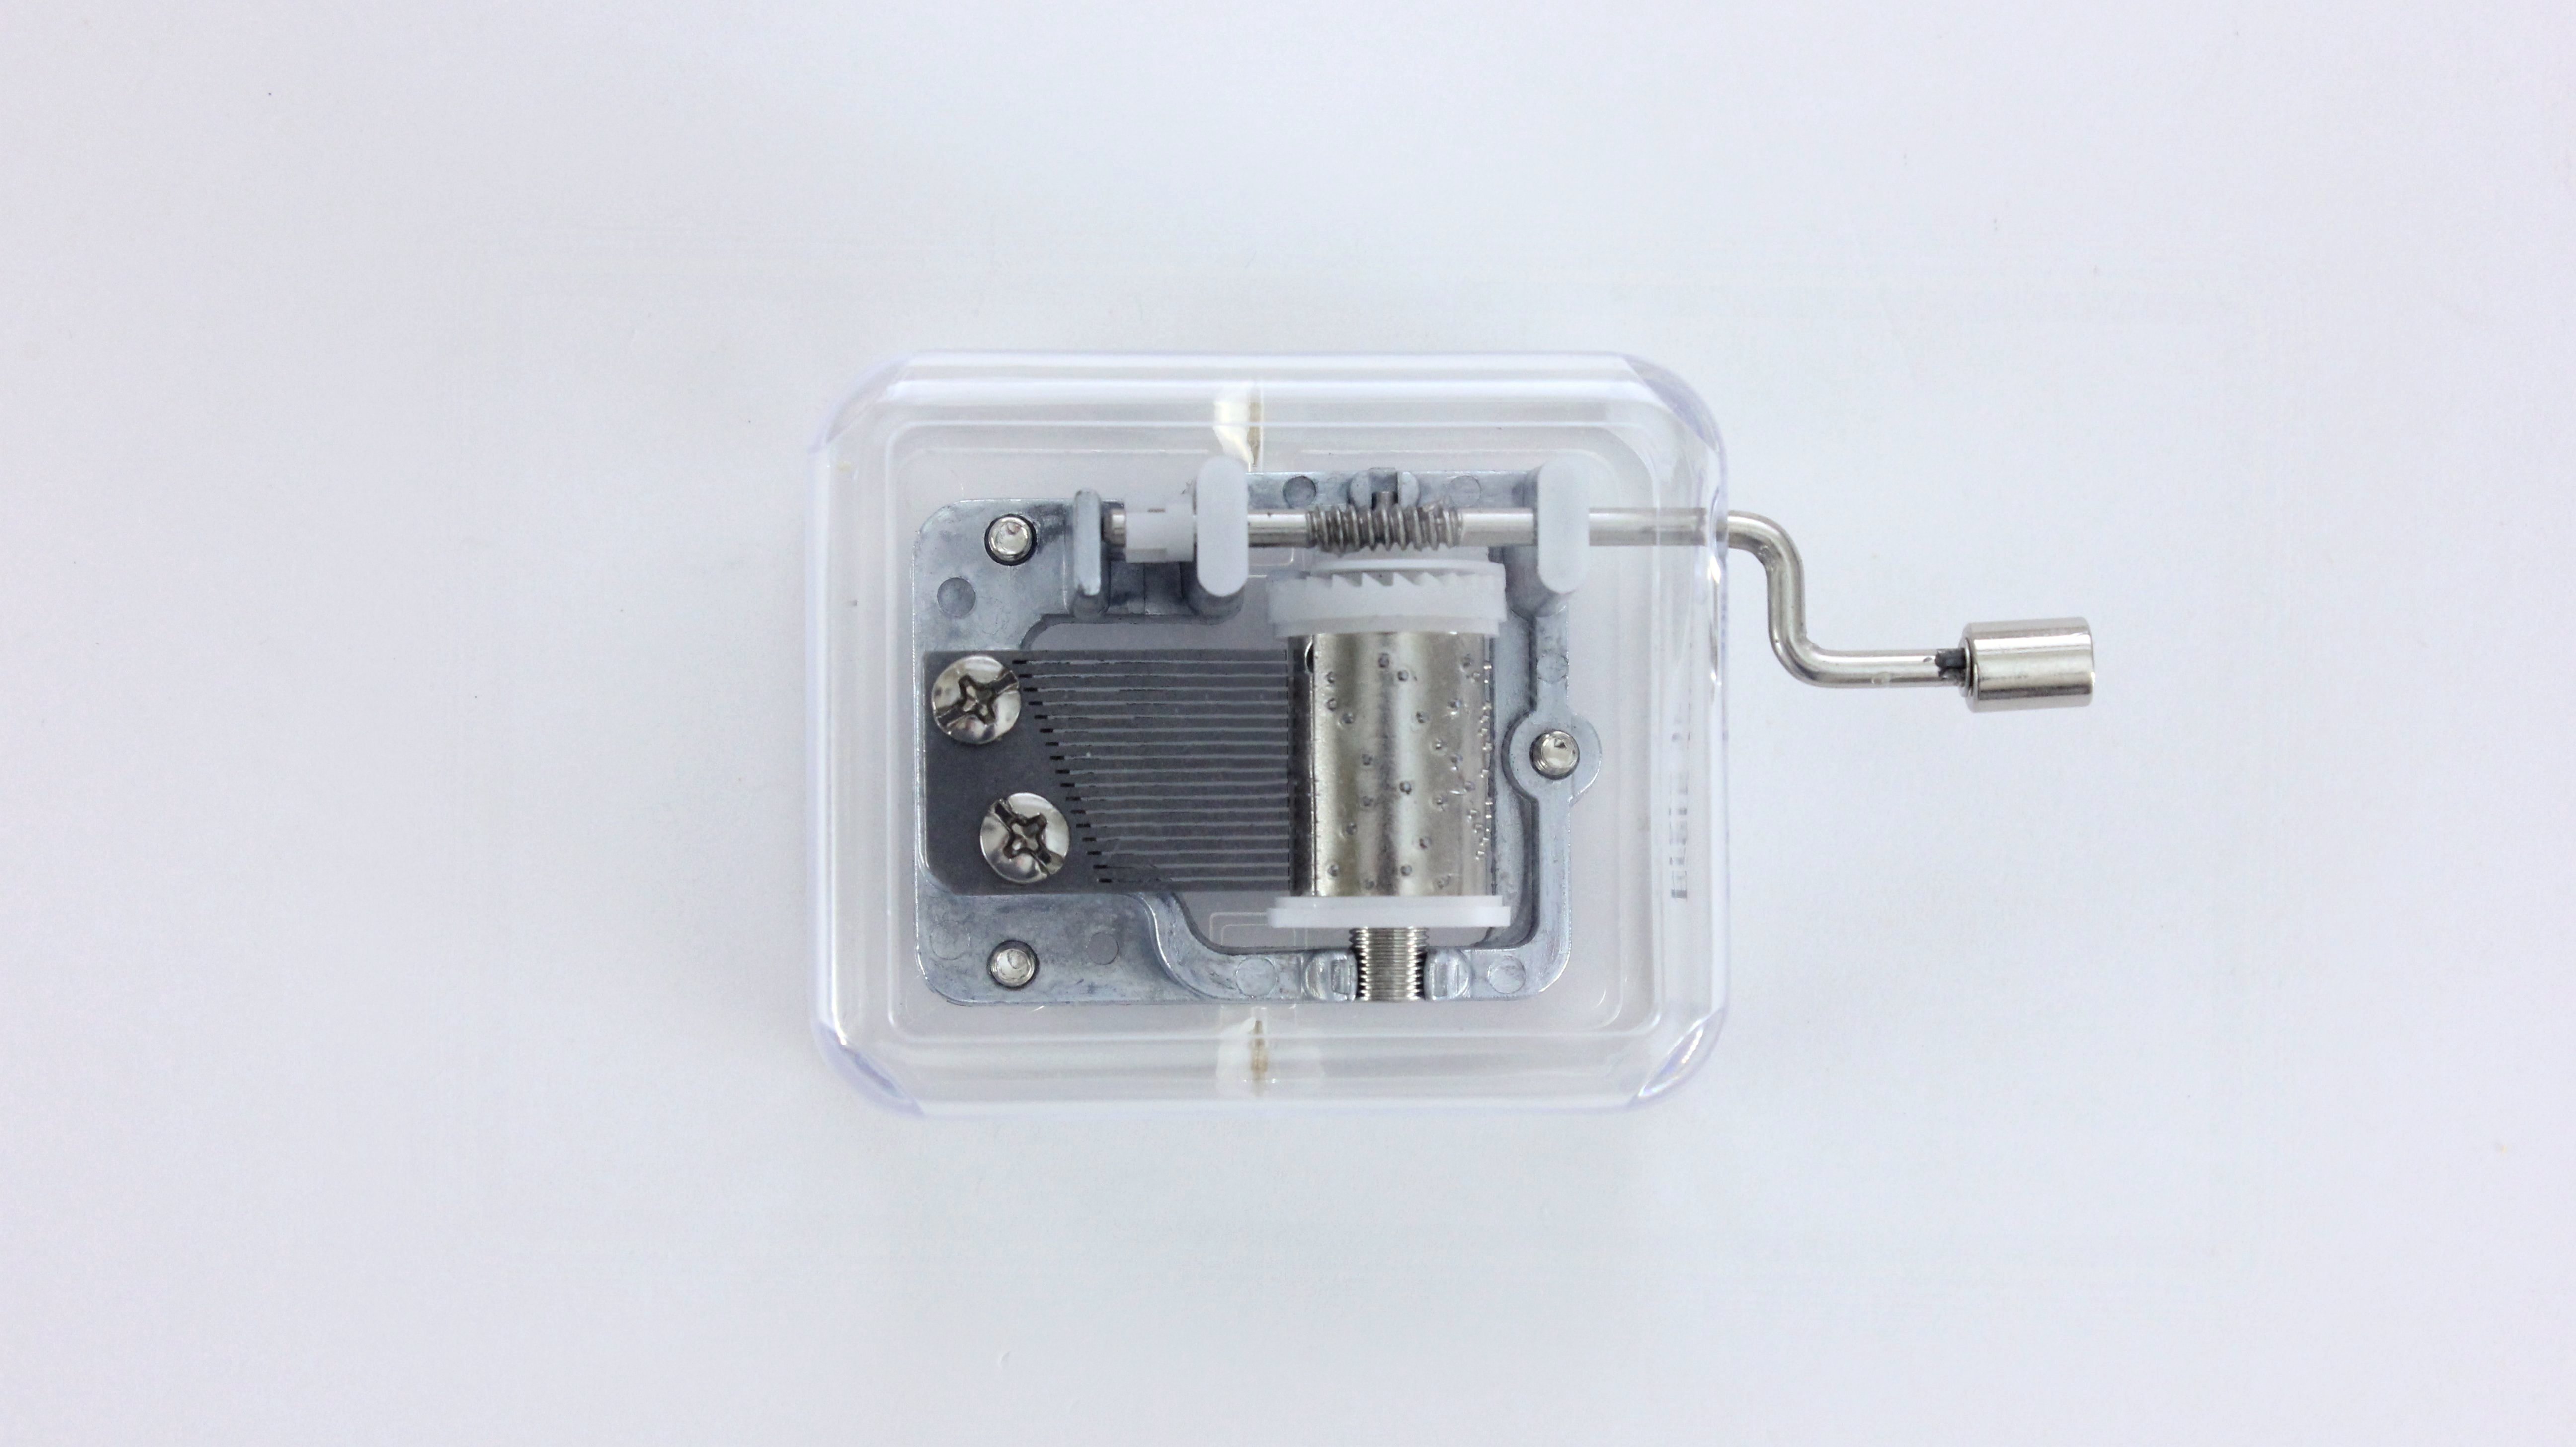
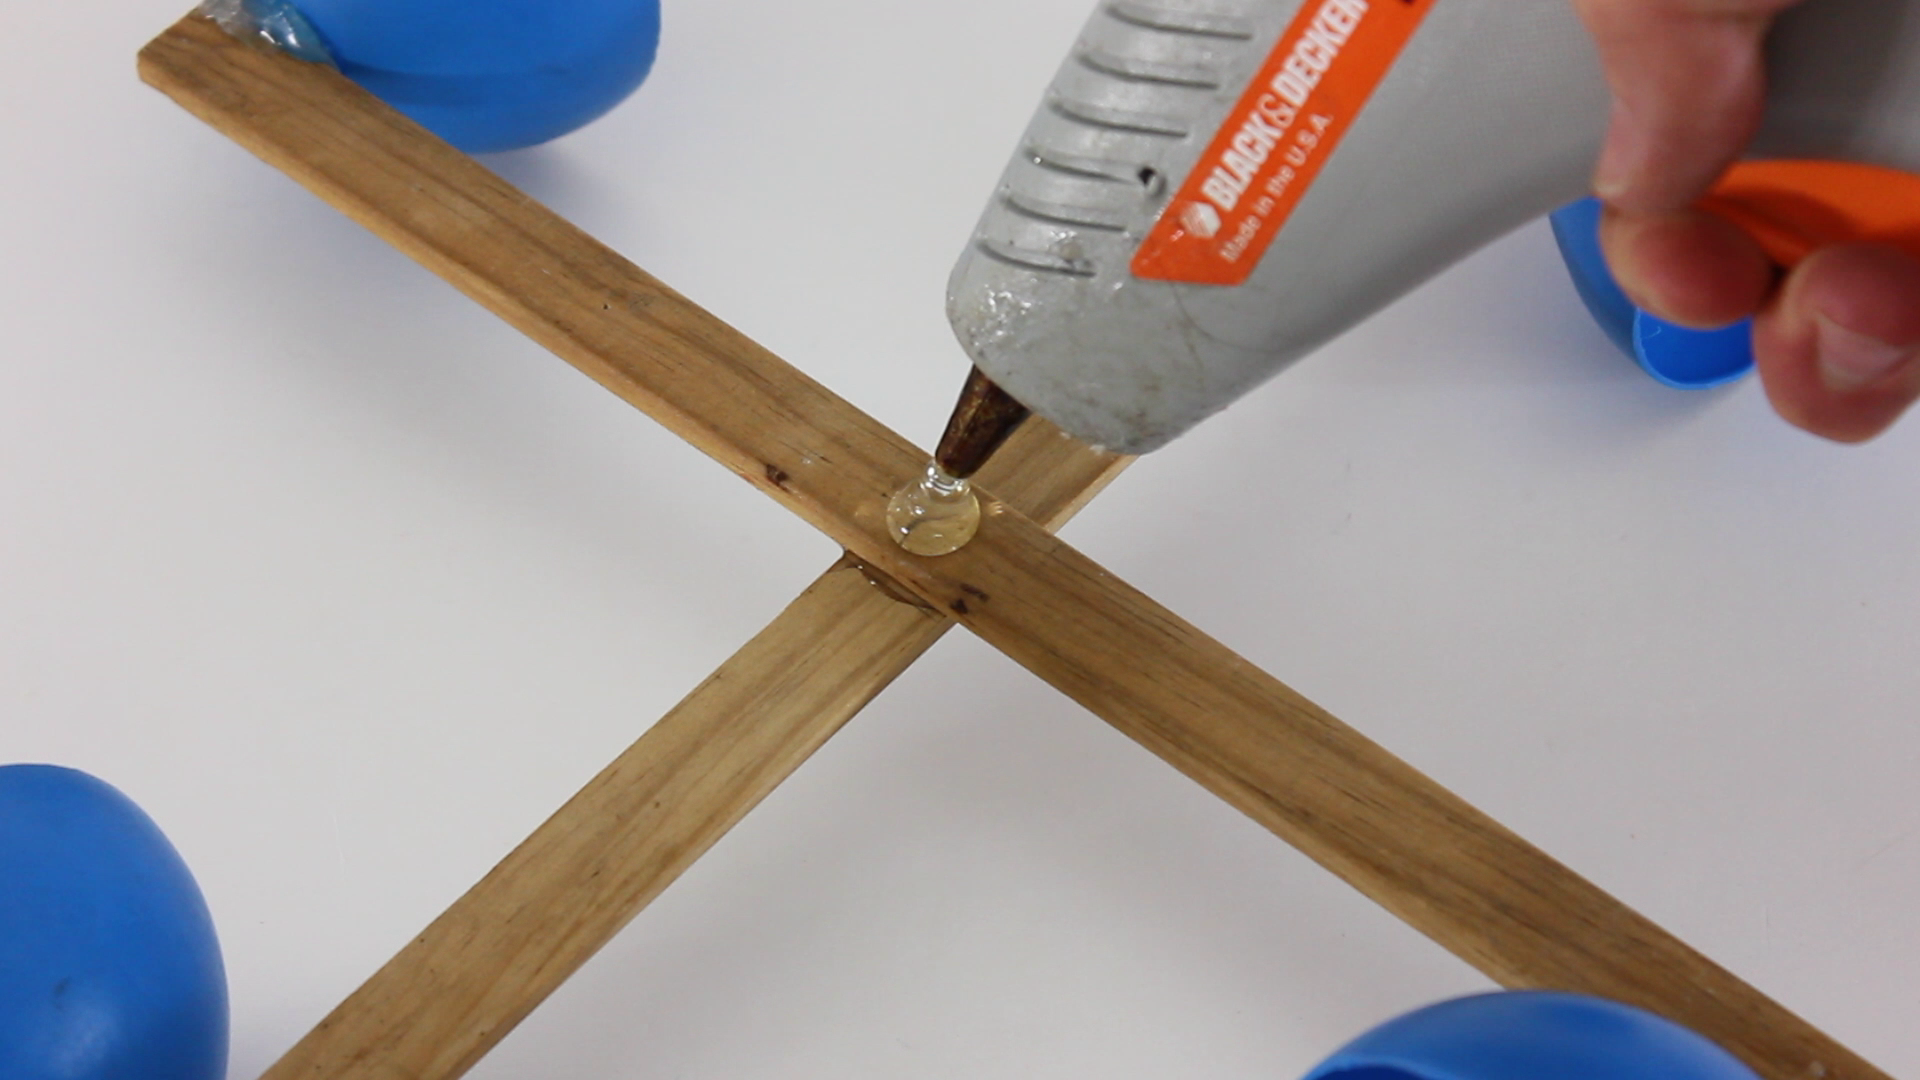
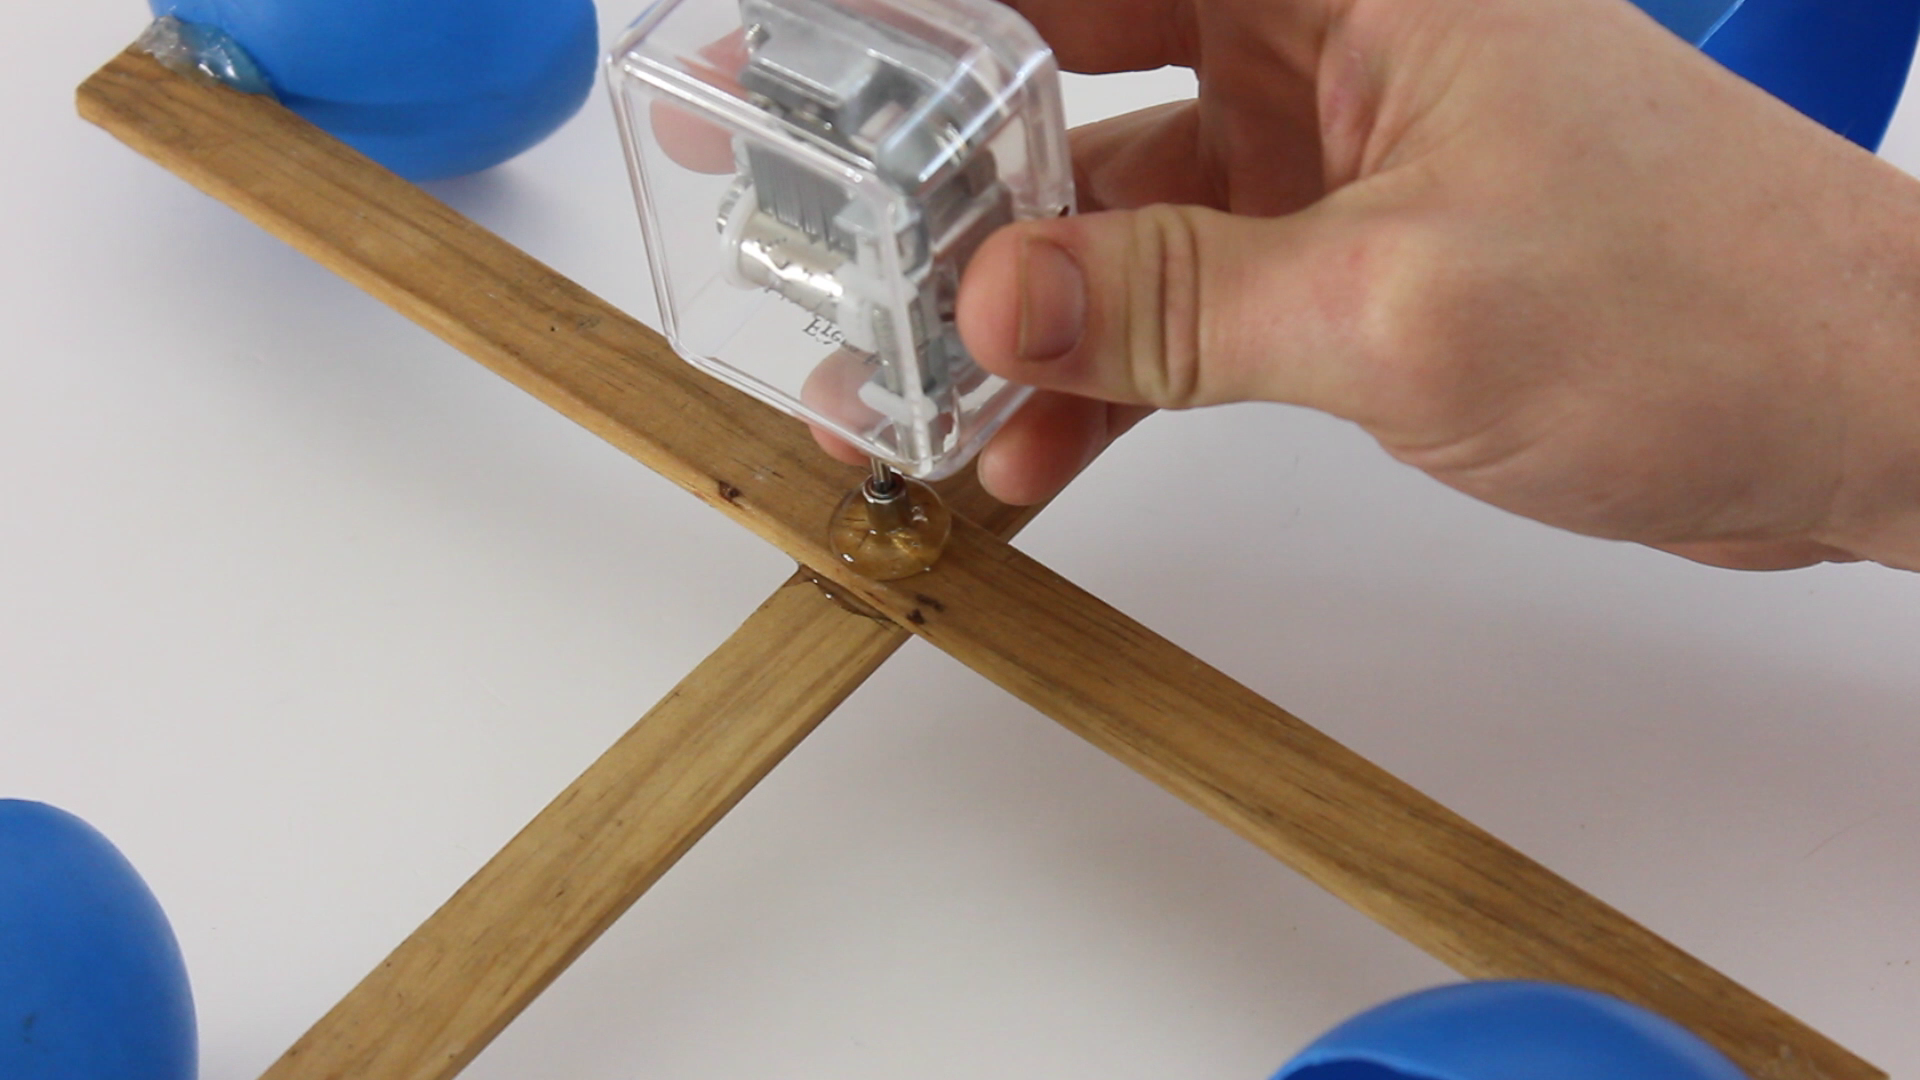
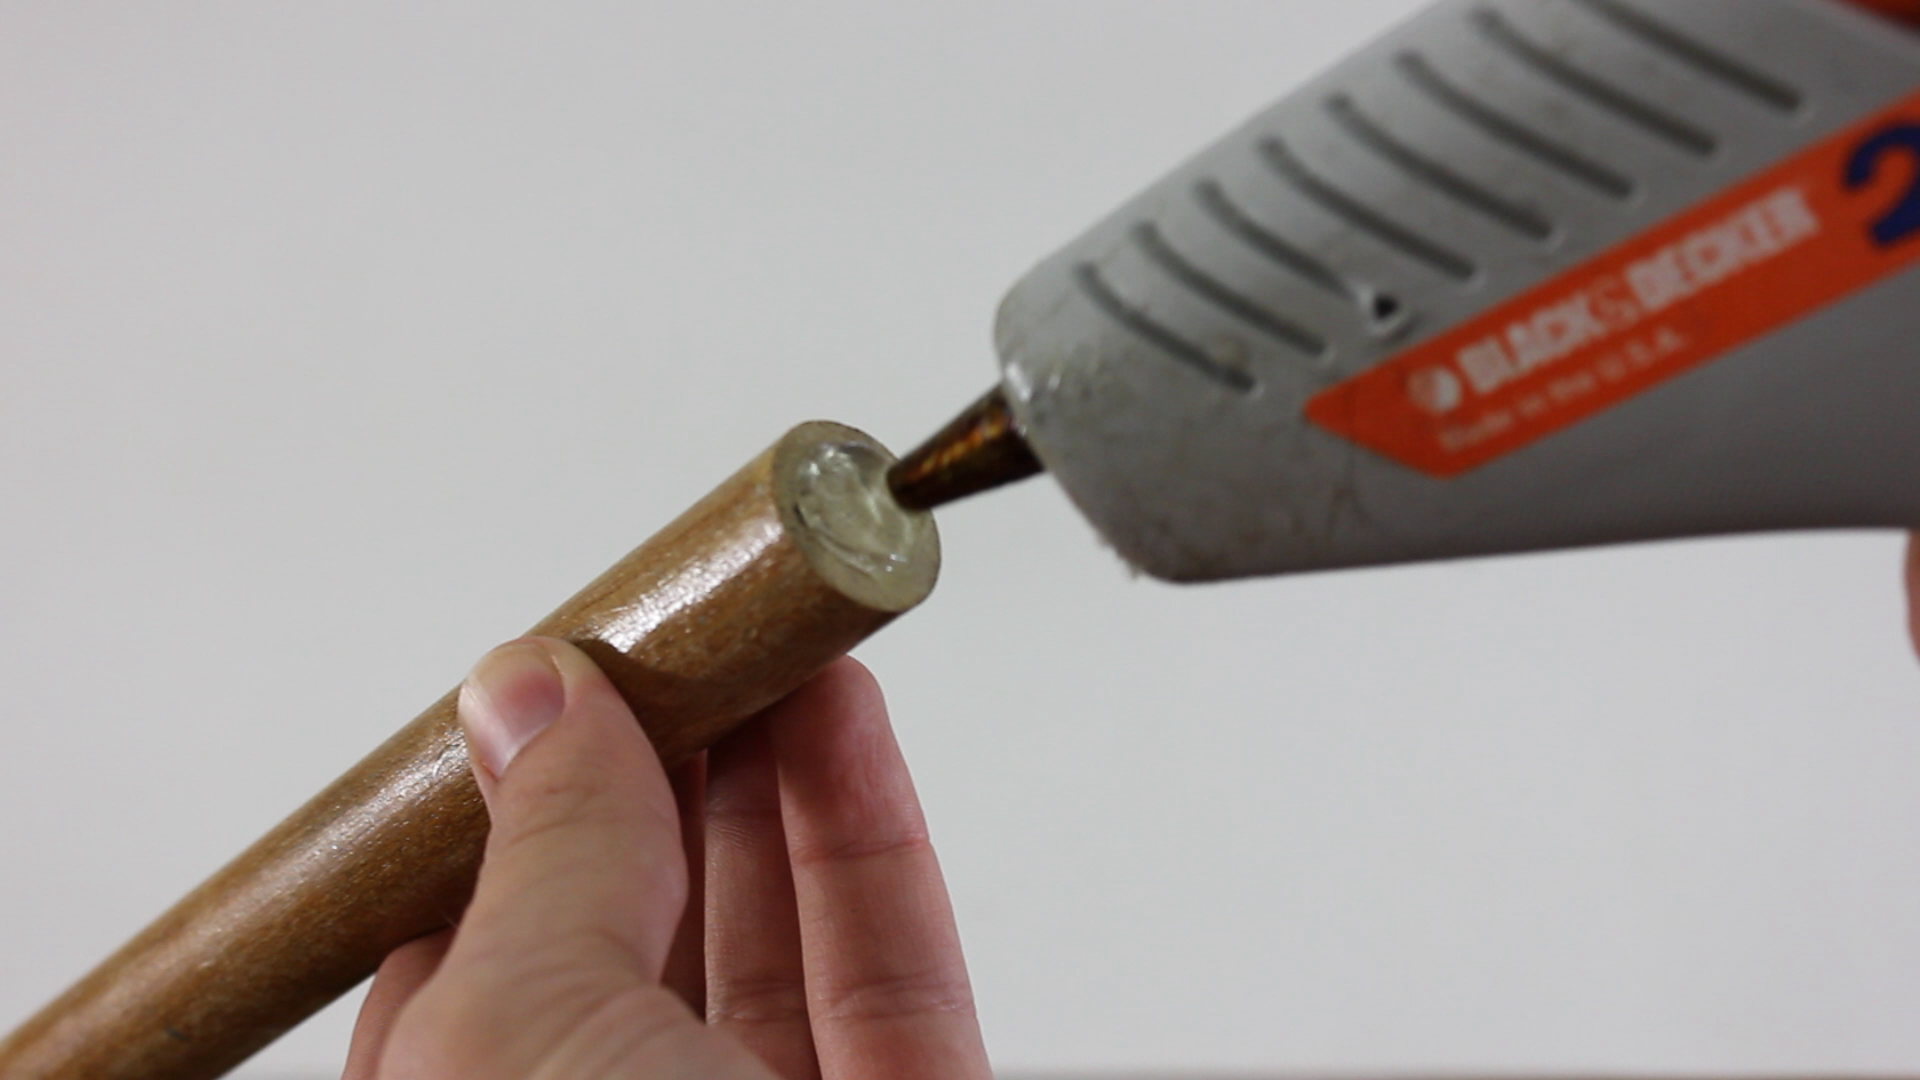
Set the turbine down on the table. Make a large drop of hot glue on the center of the top board. Press on the crank handle of the music box. You want the drive shaft to be centered where the two boards intersect. The end of the crank will need to be offset a little so that the drive shaft will line up properly. Hold the music box in place while the glue cools. Once this first bit of glue has solidified, add more hot glue around the sides to help strengthen the joint. Again, hold the music box in place while the glue is setting. When all the glue has cooled, turn it right side up and try spinning the turbine. It should spin easily and play music.

Attach a Pole for Mounting the Music Box

There are a lot of ways that you can set up the music box in your garden. I decided to just mount it to a wooden pole that I stuck into the ground. So find a wooden pole of the appropriate length. If the end of the pole is rounded, cut it so that the end is flat.

Apply a large drop of hot glue to the end of the pole and attach it to the bottom of your music box. Hold it in place while the glue sets. Add more glue around the edges if necessary.

Paint Everything

At this point your wind powered music box is working and ready to install. But I decided to paint it so that it had a more uniform appearance. Spray paint was the easiest way to do this. Select a paint that is appropriate for your materials and the outdoor weather conditions where you will set it up.

The Finished Wind Powered Music Box

Now your wind powered music box is complete. Set it up in your garden and wait for the wind to blow. As the wind blows, the turbine will turn the crank on the music box and play the song. The faster the wind blows, the faster the song will play.