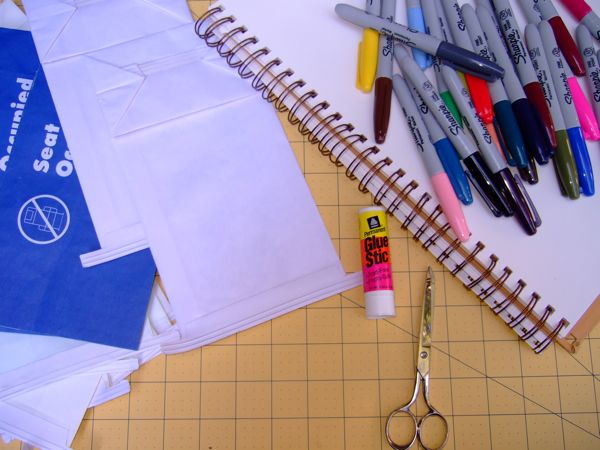
Airplane rides can be really long and really boring. Make the most of your surroundings. Dig into the seat back in front of you, pull out the barf bag, and craft up a puppet to play with. The barf bag holds more fun than you might imagine. The puffer fish is covered in colorful spines. And when you fill the bag with air, he comes to life with a goofy smile.
Oh, and don’t give TSA a reason to confiscate your tools. Be sure you only bring scissors with a blade less than 4″ long.
Materials:
Barf bag
Small scissors TSA allows scissors with a blade length of less than 4″
Markers
Glue stick
Blank notebook paper
Step 1: Fold a piece of blank paper into an accordion 2″ wide. This way you can cut out multiple spines at once. Draw some wide and some narrow spines on the top of the folded paper. Cut along the lines, then cut apart the triangles.
Step 2: Color the spines. Make patterns, draw scales, add textures. Use lots of color. This is the part that will occupy small hands the longest. Encourage lots of detail to keep them coloring! You can even have them color the bag after you’ve drawn on the face in the next step.
Step 3: Draw a mouth and eyes on the fish. The bottom part of the bag that is folded flat is very anthropomorphic, so work with it! Turn the bag so the bottom flap looks like a mouth. Draw half the mouth on the top part of the flap, and the other half of the mouth on the bottom of the flap. Continue the bottom lips of the mouth under the flap, to the crease. Add a tongue, but make is short enough to be concealed by the flap, so that it is only revealed when you puff up the fish. Draw the eyes above the mouth, on the corners of the folds, on the bottom of the bag.
Step 4: Fold over a tiny bit of the flat (bottom) end of each spine. Glue the spine to the bag by pressing just the folded edge onto the glue stick, and then against the bag. Glue the spines all over the inside folds, the back of the “head,” and along the body, top and below. Make sure you don’t glue the whole spine down to the bag, just the folded edge.
Step 5: Puff up the fish! Blow air into the barf bag. The spines poke out everywhere and the fish sticks out his tongue.
ADVERTISEMENT


