

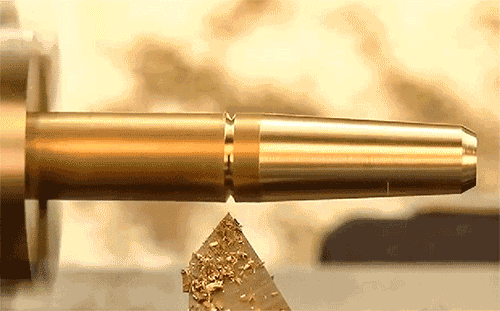

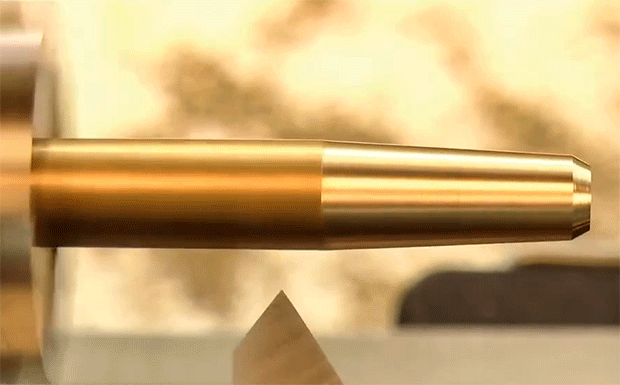
A metal scriber is one of those shop tools that you reach for all the time, without thinking. It’s essential for marking out your project lines on metal, and it comes in very handy as a pick or scraper too.
It also makes a great first project for your new metal lathe. You will get a bit of practice facing and turning some brass, as well as drilling with the tailstock and using a metal adhesive. I will also show you a neat little trick for making your own small drill bits from common sewing needles. The scribing tool you’ll make is also nearly infinitely reusable, even if you wear out the tip. I’ll also show you how to trim down another needle, then release the glue to replace the scribing tip.

The supplies to make metal scriber:
Parts:
- Brass rod (somewhere between 3/8” and 1/4” in diameter)
- Metal adhesive
- Steel sewing needle (approximately 1mm in diameter)
Tools:
- Grinder or belt sander (if not available, use a vice, triangular file, and pliers)
- Metal lathe
- Cutting tools (as described in the video)
- Drill bit (a little wider than your needle)
ADVERTISEMENT


