


I have been experimenting with knife making! There is a science involved in the hardening, and I am slowly learning the various techniques. This is a piece of O-1 oil hardening tooling steel I purchased from OnlineMetals.
To shape the piece I used an angle grinder. To refine the shape I am using my 2″×72″ Beaumont belt grinder. Making the bevel consistent on both sides is important, so I used a plank of wood with a 5° angled face to keep the steel at the same angle. I keep the steel against the face of the board with a screw clamp. On the plank, I use two screw clamps as a stoppers against the sander’s plate; this keeps the grind consistent and neat.
I take the grind to 95% before hardening, and after hardening I sharpen and polish. The belts start at 60 grit and by the end of the grind I have moved through 100-250-600-1000 grits. For the final sharpening I polished the cutting edge until it is razor sharp. Thank you for watching!

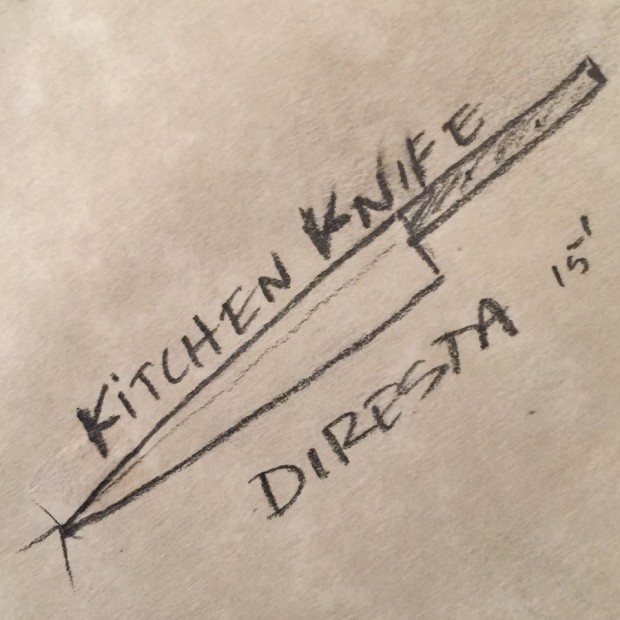
I like a large, sharp knife when I cook so I decided to design something sexy for my kitchen. I began by freestyling a shape on a piece of O1 oil-hardening tool steel. I have some cool knives whose shape I mimicked, but I gave this one an extra long handle for better control.
CUT
With a cutoff wheel on an angle grinder, I removed the negative space on the handle and the taper to get a vague shape. I went way off the sketched line and cut more of a taper than I expected, but it gave me a long, sleek look that I was happy with.

Shape
I refined the shape using a 60 grit belt on my belt grinder. The combination of a top-curve down and a bottom-curve up gives it a nice centered look.
CAUTION: Wear a respirator when grinding metal to avoid breathing in the super-fine particles. They’ll stay in your lungs and get rusty.
Bevel
To keep the blade’s bevel balanced on both sides, I coated the blade edge with machinist’s blue layout fluid, allowing me to scratch a line for the blade’s center. Next I took a chunk of wood with a 4° or 5° bevel to use as my sled. I attached the knife blank to it with a screw clamp placed just a few inches beyond the back of the blade. The clamp served as a stop against the back edge of the grinder table, creating an unground part so my knuckles wouldn’t hit that very sharp back and get cut.
To get the bulk of the bevel shaped, I slid the knife blank — first one side and then the other — slowly back and forth across a 36-grit belt, letting the blade cool from time to time so as not to burn the wood.

I ground a steep, long bevel about 2″ from the very sharp cutting edge to the wider back of the blade. This took a long time.
Once I got almost all the way to the other end, maybe about ¾” before the back of the blade, I unclamped the knife from the slide and switched to a 250-grit belt. Using a piece of wood to press the blade against the belt (it gets too hot to hold), I slowly worked that bevel in to the other side — at this point the blade was roughly 90% to where it needed to be.
Heat Treat
To harden the knife, I held it with tongs by the tang and heated it up to bright red (1,425°F–1,450°F) in a forge and then quenched it in vegetable oil, just because I was working outside and motor oil is bad for the grass. When finished, I sanded off the slag with a 250-grit belt, and then tempered it in a 400°F oven for about 1 hour.
Build and Attach Handle
The handle is held in place with pegs. To make it, I centered two marks on the knife’s tang, drilled small pilot holes, then enlarged them with a ⅜” bit. Then I cut two pieces of Macassar ebony to the size that I wanted, temporarily glued one onto the tang using a small amount of CA glue, and used the holes I cut in the metal to drill through one side of the handle.
Once cooled, I glued on the other side, flipped the handle over, and drilled back through the holes. I stuck wood pegs through the holes to keep the handles in place while I hand-shaped them on the band saw. I like the simplistic look of the blade, so I also wanted the handle to be a simple round shape. To work around the blade’s height, I propped it up on a chunk of wood so that I could poke it straight into the band saw blade.
Using a V-block to keep the knife in place, I shaped the handle further with a Japanese rasp, did some final sanding, and then popped out the wooden pegs. I glued all the pieces back together with significantly more CA glue, coating the metal pegs and hammering them into place.
I used a jeweler’s saw to cut the pegs, and then ground them, nice and smooth, down to the surface of the wood.

Sharpen
Finally, I buffed the knife to give it a nice, razor-sharp edge from end to tip, using a buffing wheel.

As I often say, I am the god in the world of this knife — if it becomes dull I can certainly sharpen it. It halved my dinner like a hot knife through butter. Or, more accurately, a sharp knife through a burrito.
ADVERTISEMENT


