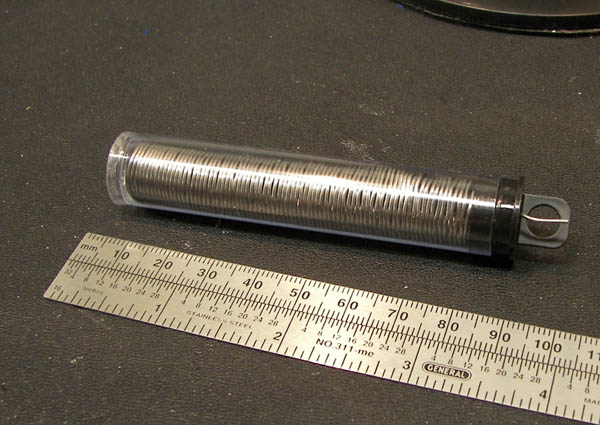
In response to my Your soldering tips post, “Gizmo” at CircuitGizmos Labs sent this little write-up on creating your own solder dispensing tube using the little tube containers found at hobby and craft stores. – Gareth
It is very easy to make a small solder dispenser. This is nice way to keep solder in your toolbox or pocket without it becoming tangled, crushed, or unruly. The solder coil is protected in the transparent container, the end of the solder feeds out of the top of the tube for use.

The little container I use was purchased at a hobby store. You might also look in the bead supply department of craft stores. The Sharpie is the right diameter to use as a form for wrapping the solder. A pencil will also work, but produce a smaller coil. A larger coil holds the most solder and prevents “bunching up” as the solder is dispensed. My big roll of solder is perched on a CD holder spindle that’s weighted on the bottom.

A small hole is drilled in the container’s cap. An 1/8 inch hole works well.

Slip the end of the solder into the cap of the Sharpie to hold it in place. The solder runs from the Sharpie’s lid down the length of the marker.


Wrap the solder back over itself, coiling the solder toward the cap of the Sharpie. When finished, clip the solder close to the body of the marker. Remove the marker lid and free the coil of solder.

Insert the end of the solder that was held by the Sharpie lid through the drilled hole in the container. Assemble the dispenser by sliding the coil into the clear body tube.
The plastic containers come several to a pack. This allows you to make several and scatter them wherever you might need solder, or dedicate one to lead-free solder. One improvement might be to glue a magnet to the bottom of the tube – the magnet, stuck to an appropriately heavy object, would help hold the solder dispenser in place as you use it.
ADVERTISEMENT


