By Claire Joyce-Johnson
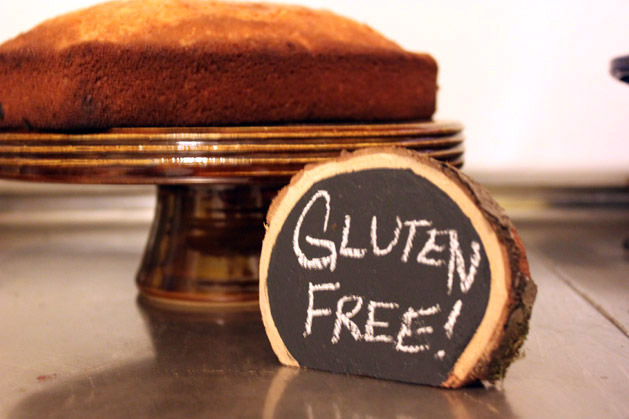
Each December, my husband and I host a cookie exchange. We invite as many people as we can squeeze into our home to bring over a batch of their favorite holiday cookies to swap. The party is always a big hit, but it can be chaos trying to get everyone to label their baked goods. This year I came up with a quick and reusable craft to help solve our labeling dilemma. Using a branch and a bit of chalkboard paint, you can create simple placards to help label anything at your holiday gathering!
Materials and Tools
Chop saw
Round branch that is at least 3″ in diameter or bigger with bark still attached
Palm sander, you can also sand by hand
Sandpaper medium-grit and fine
Paintbrush
Chalkboard paint
Chalk
Directions
Step 1: Using a chop saw, cut round slices from your branch that are about 1″ thick or larger. The great thing about this project is that accuracy in measuring is not necessary!
Step 2: Use the chop saw to cut one flat edge on each round piece of wood.
Step 3: Use a hand sander with medium-grit sand paper to smooth the surface of one side of each round.
If you do not have a palm sander, wrap a block of wood with sandpaper, allowing the grit side to face outward. Rub the paper against the face of the branch round until the surface has been smoothed.
Step 4: Sand the branch rounds with fine-grit sandpaper.
Step 5: Clean all dust from the surface of each branch round.
Step 6: Use a paintbrush to apply chalkboard paint to one face of each branch round, leaving 1/4″ – 1/8″ border. The chalkboard paint may require several coats, depending on the absorbency of the wood you are using.
Step 7: After the paint has dried, these small placards are ready. Use chalk to write a label or message!
Making several of these little placards is a quick project, and because they are reuseable, they can be utilized in a variety of ways:
- Spell out a birthday or holiday message
- Label place settings at a dinner party
- Indentify dishes at a potluck, wedding, or other buffet situation
- Label tables with numbers or letters to help guests find their seats at a wedding or other large gathering
Another variation on this project is to make reusable gift tags. Follow the directions above with a couple of adjustments: On Step 1, cut thinner branch rounds (1/2″ or thinner), and on Step 2, drill a hole in each round rather than flattening an edge. After the paint has dried, you can thread twine or ribbon through the drilled hole to tie the label to a package!
About the Author:
Claire Joyce is an artist and college teacher in Eureka, California. Since purchasing a new home she is constantly discovering new and exciting ways to better craft her life.
ADVERTISEMENT


