Most new digital cameras are able to compensate for human error in different ways. But the art of composing a good shot requires a bit of firsthand knowledge.

Here we offer you 10 tips used by professional photographers (and corresponding sample photos) that will help you achieve not just a good photograph, but a great one. Don’t worry if you don’t remember them all every time you take a photo. Your growing knowledge of photography will build on itself as you continue to delve in further. Most importantly, have fun! There’s a wealth of award-winning images out there still waiting to be shot.

What will the next generation of Make: look like? We’re inviting you to shape the future by investing in Make:. By becoming an investor, you help decide what’s next. The future of Make: is in your hands. Learn More.

Project Steps

Make wise digital decisions.

If you’re shooting digital (and we’re assuming you are), don’t compromise quality — capture all the pixels you can. It’s the amount of pixels per square inch that gives quality to your images, and you wouldn’t want to take an award-winning shot that can only be enlarged to the size of a credit card. So always shoot at your camera’s highest possible resolution.

Showcase your subject.

Decide what you’re really taking a picture of, and center your efforts on taking the best possible photo of this subject, be it a person, place, thing, or even mood. Be sure to keep anything that would distract out of the picture. Also check the area behind the subject, looking for trees or phone poles sprouting from a person’s head. Remember, a clean background will emphasize your subject and have a stronger visual impact.

Get close, then get closer.

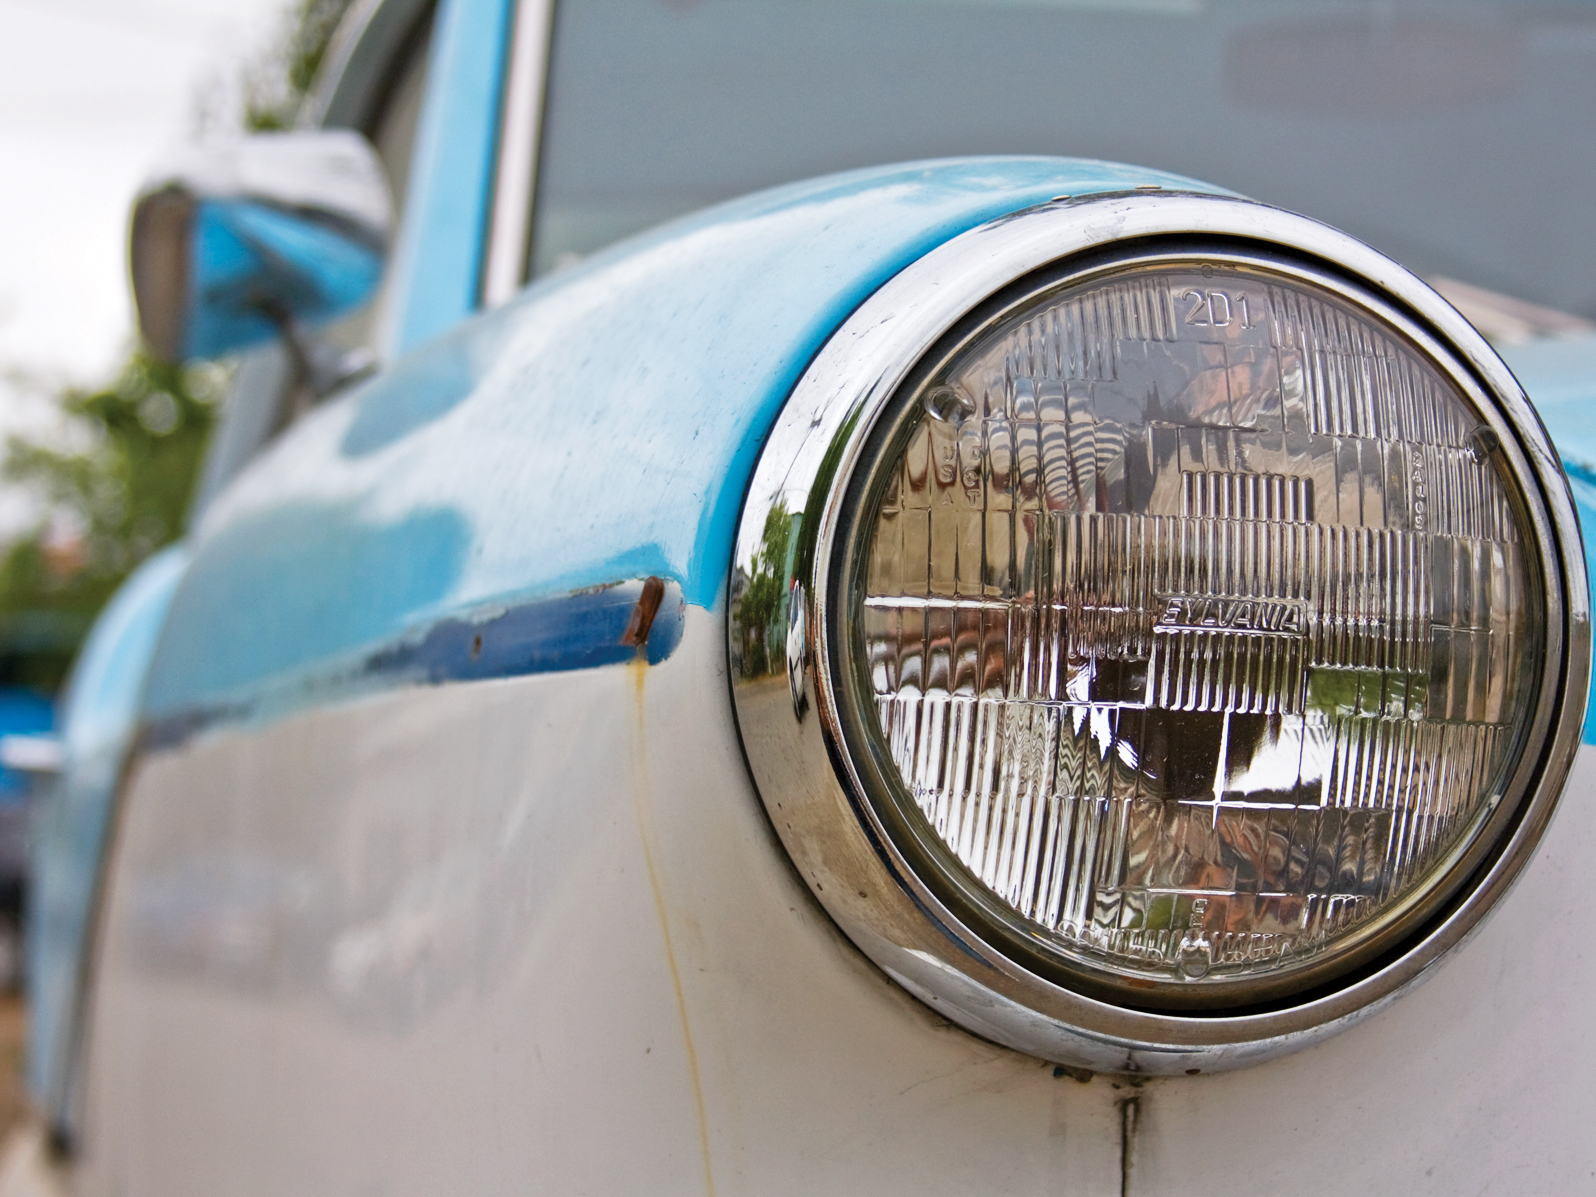
Try to zoom or move in to fill the frame with your subject, and don’t be afraid to get close — really close. That way you can truly make an impact. Even cutting into the subject a bit can be dynamic and lend the image an intimate mood. Use the Macro or Flower mode for small subjects. Even the simplest object takes on new fascination in Macro mode.

Strive for dynamic compositions.

One of the most important aspects of composition is the Rule of Thirds. The concept, discovered by the Greeks, is simple. Imagine a tic-tac-toe grid across your frame, and place the subject at 1 of the 4 line intersections. This doesn’t mean that there isn’t a time and place when you want to center your subject (an image highlighting perfect symmetry comes to mind). But usually, the strongest and most visually interesting place for your subject is at 1 of these 4 points.

Lock that focus.

Most cameras focus on whatever is in the middle of the frame. As we just learned, that’s rarely the best place for your subject, so it may be out of focus. To combat this, center the subject and press the shutter button down halfway to lock in the focus. Then reframe the picture and press the shutter button all the way to take the shot with perfect sharpness.

Try a polarizer.

A polarizer is one filter every photographer should have for general outdoor shooting. It works with both single-lens reflex cameras and point-and-shoots (just by holding the polarizer in front of the lens). By reducing glare, the polarizer gives your shots richer, more saturated colors, especially with skies (see the before and after shots above). Just one caveat: polarizers give such nice saturation by eliminating reflections, so be sure not to use one if you’re actually trying to capture a reflection image.

Trick your auto-exposure.

In-camera meters try to make your subject 18% gray. But some subjects are vastly darker or lighter than that, so it’s easy for your meter to get tricked and turn a snowy hillside into a dark, muddy mess. What you need to do is trick your meter back.

The most reliable way to do this is to use an 18% gray card like the one made by Kodak. To use it, place the card in the same light as your subject. Then point your camera at it, filling the frame. Lock in this exposure by pressing the shutter button halfway, then recompose and shoot with perfect exposure still set.

If you don’t have a gray card, do the same thing with something in the scene that seems 18% gray. This may be your own hand, a rock, or the grass in the same light as your subject.

Master outdoor lighting.

For stellar outdoor shooting, use these tips for the 3 main times of day:

Middle of the day: Harsh midday sunlight is especially problematic, because of dark shadows in the eye sockets, under the nose, and in other unflattering crags. A terrific solution is your camera’s Fill Flash mode, where the camera exposes for the background first, then adds just enough flash to illuminate your subject. Use Fill Flash midday to lighten dark shadows and even on cloudy days to brighten faces and separate them from the background.

Early/late day: For scenic shots, the light is usually best very early or very late in the day. That’s when you get the warm tones and long shadows of professional nature work. Of course, people and animals also look great in this light. You can even experiment with Fill Flash to balance a glowing sidelight from the sun where the face is mostly in shadow.

End of day/Magic Hour: The part of the day when the sun has just set or is just about to rise is known as Magic Hour. Its brightly diffused light is the darling of photographers of car ads and other hard-to-light surfaces. This even, pinkish light is also terrific for shooting people. (A similarly flattering light is that of cloudy days. A bride may be unhappy about an overcast nuptial day, but the wedding photographer never is.)

Master indoor lighting.

Indoor photography can be especially tricky, so remember these tips:

Without a flash, indoor lighting lends a funny color cast to your images. To correct this, set your white balance if shooting digital. If using film, buy the type that’s balanced for your type of room lighting.

To combat harsh shadows from an indoor flash, try covering it with diffusion material. Even bathroom tissue or a white T-shirt works.

Light from a north-facing window can be exceptionally flattering. Try a “window-light” portrait, in which a person (or object) is placed next to a window without direct sunlight coming through and then, often, turned to the side so that only part of the face is illuminated by the window’s even light.

Understand program modes.

To control certain aspects of your exposure in order to produce desired effects, take the camera out of automatic or P mode, and try the other exposure modes:

A or AV (aperture value) mode: This allows you to set the aperture while the camera sets the appropriate shutter speed. You might use AV mode to lower the shutter speed to create a shallow depth of field (like f/4.0), which will blur the background and result in clean, snappy portraits.

TV (time value) mode: Here, you control the shutter speed and the camera sets the aperture. You might use TV mode when you know you need at least 1/1000 to capture a flock of bicyclists as they fly by your lens, but you want the camera to decide the appropriate aperture for that speed.

In both these cases, if there isn’t enough light to compensate, your image may still be underexposed. This will usually be signified by a flashing number in your camera’s LCD screen where exposure is read.

Conclusion

This project first appeared in CRAFT Volume 08, pages 124-127.