

If you were on YouTube in June 2021, there’s a good chance you were recommended the video “Rare Antique Fractal Vise [Restoration]” by Hand Tool Rescue. The video showed a unique vise patented in 1913, and for most of us, it was like nothing we had ever seen (below ). It immediately gained traction, receiving over 12 million views to date.

MINDS BLOWN

Described as a “device for obtaining intimate contact with, engaging, or clamping bodies of any shape,” the so-called fractal vise features 30 semicircular jaw components connected to the main jaws of a vise (Figure B ). The smallest set of jaws is nested within the next largest set, and so on, using carefully machined dovetails which allow them to pivot to virtually any arrangement when closed around an object. The mechanism was enthralling to watch and commenters immediately started inquiring about the availability of such a tool.
At the same time, many commenters thought perhaps a 3D-printed version could work to allow the masses access to such a cool tool. One design was posted on Thingiverse the same day the video came out, by Evan DeLosh of Michigan (username Clerick), whose “Antique Fractal Vise Replica” showed his 3D model of the fractal jaws (thingiverse.com/thing:4893545). It got some attention but did not actually show the jaws printed and working, so ultimately lost momentum (Figures C and D  ).
).


Seeing this, and with my experience designing models for 3D printing, I thought I would have a crack at designing my own version of the entire fractal vise. It would take five days to design and print the first functional version, and I posted a video June 30 showing my experience so far.
My original design was very basic; it lacked the smallest, fourth set of jaws, and was pretty much just an experiment to see how well the mechanism would translate to 3D printing. But my design was only the first, and many more vises would appear from different designers over the coming weeks.
VISE VARIATIONS

Currently there are over a dozen different fractal vise designs on Thingiverse alone, too many to compare them all here. I’ve chosen three of the most popular designs that also have a lot to differentiate them: the vise by Michael Laws from Teaching Tech, the fully printed vise by James Chiang aka ToMaTo Lab, and my own V2 design (Figure E  ).
).
Summarized in the table below, the three designs are very different even on the most
basic level.

DIFFERENT DESIGN GOALS
Each design had a unique set of goals, aside from replicating the original mechanism. Michael’s was designed to be as easy to print as possible, specifically compared to my original design — which is completely fair. Both of my designs use single-piece prints with support for the dovetails on the jaws. This does work but requires a very well-calibrated 3D printer — there’s no way I could do it on my old I3-B clone, for example. His solution is to split the jaws in half and bolt them together later. This allows the dovetails to be printed with no supports (Figure F ).
).

This solution also allows him to constrain the jaws so they can’t turn so far as to fall out. Because he is closing two halves together he doesn’t need to slide the jaws on, as with my design, and this allows his jaws to have a lip to keep them on. (On the original metal tool, a small grub screw was used to achieve this but I found it too fiddly for the scale I was printing at.) The ToMaTo Lab design also uses these split jaws for easier printing.
Another of Michael’s goals was to use as little plastic as possible. Instead of using a large, 3D-printed bed to attach the jaws to, his design is based around four modules that attach to metal rods similar to the ones used in 3D printers. You can make his vise as wide as you want, restricted only by the length of rod available. In comparison mine and ToMaTo’s are of a fixed length, although the files for all three designs are open source and could be modified easily to be longer.

Because of these design choices, Michael’s vise uses the most non-printed hardware out of the three. ToMaTo Lab’s is the opposite: James’ design is very similar to my own, using two leadscrews geared to a single handle, but his major design goal was to be entirely 3D printed. He achieved this using clever techniques such as designing the leadscrews to be essentially rectangular (Figure G ). This allows them to lay flat for printing but still act as screws in the assembled vise. The rest of his design is held together by well-placed clips and friction.

As for my design, my main goal with V2 was to make it as functional as possible. With this in mind I included several extra features to make it versatile: mounting points for accessories like magnifying glasses, helping hands, and lights (Figure  H), holes to run the wires for a backlight, and a rail system to attach support plates if an object needs more support from underneath (Figure I
 ).
).

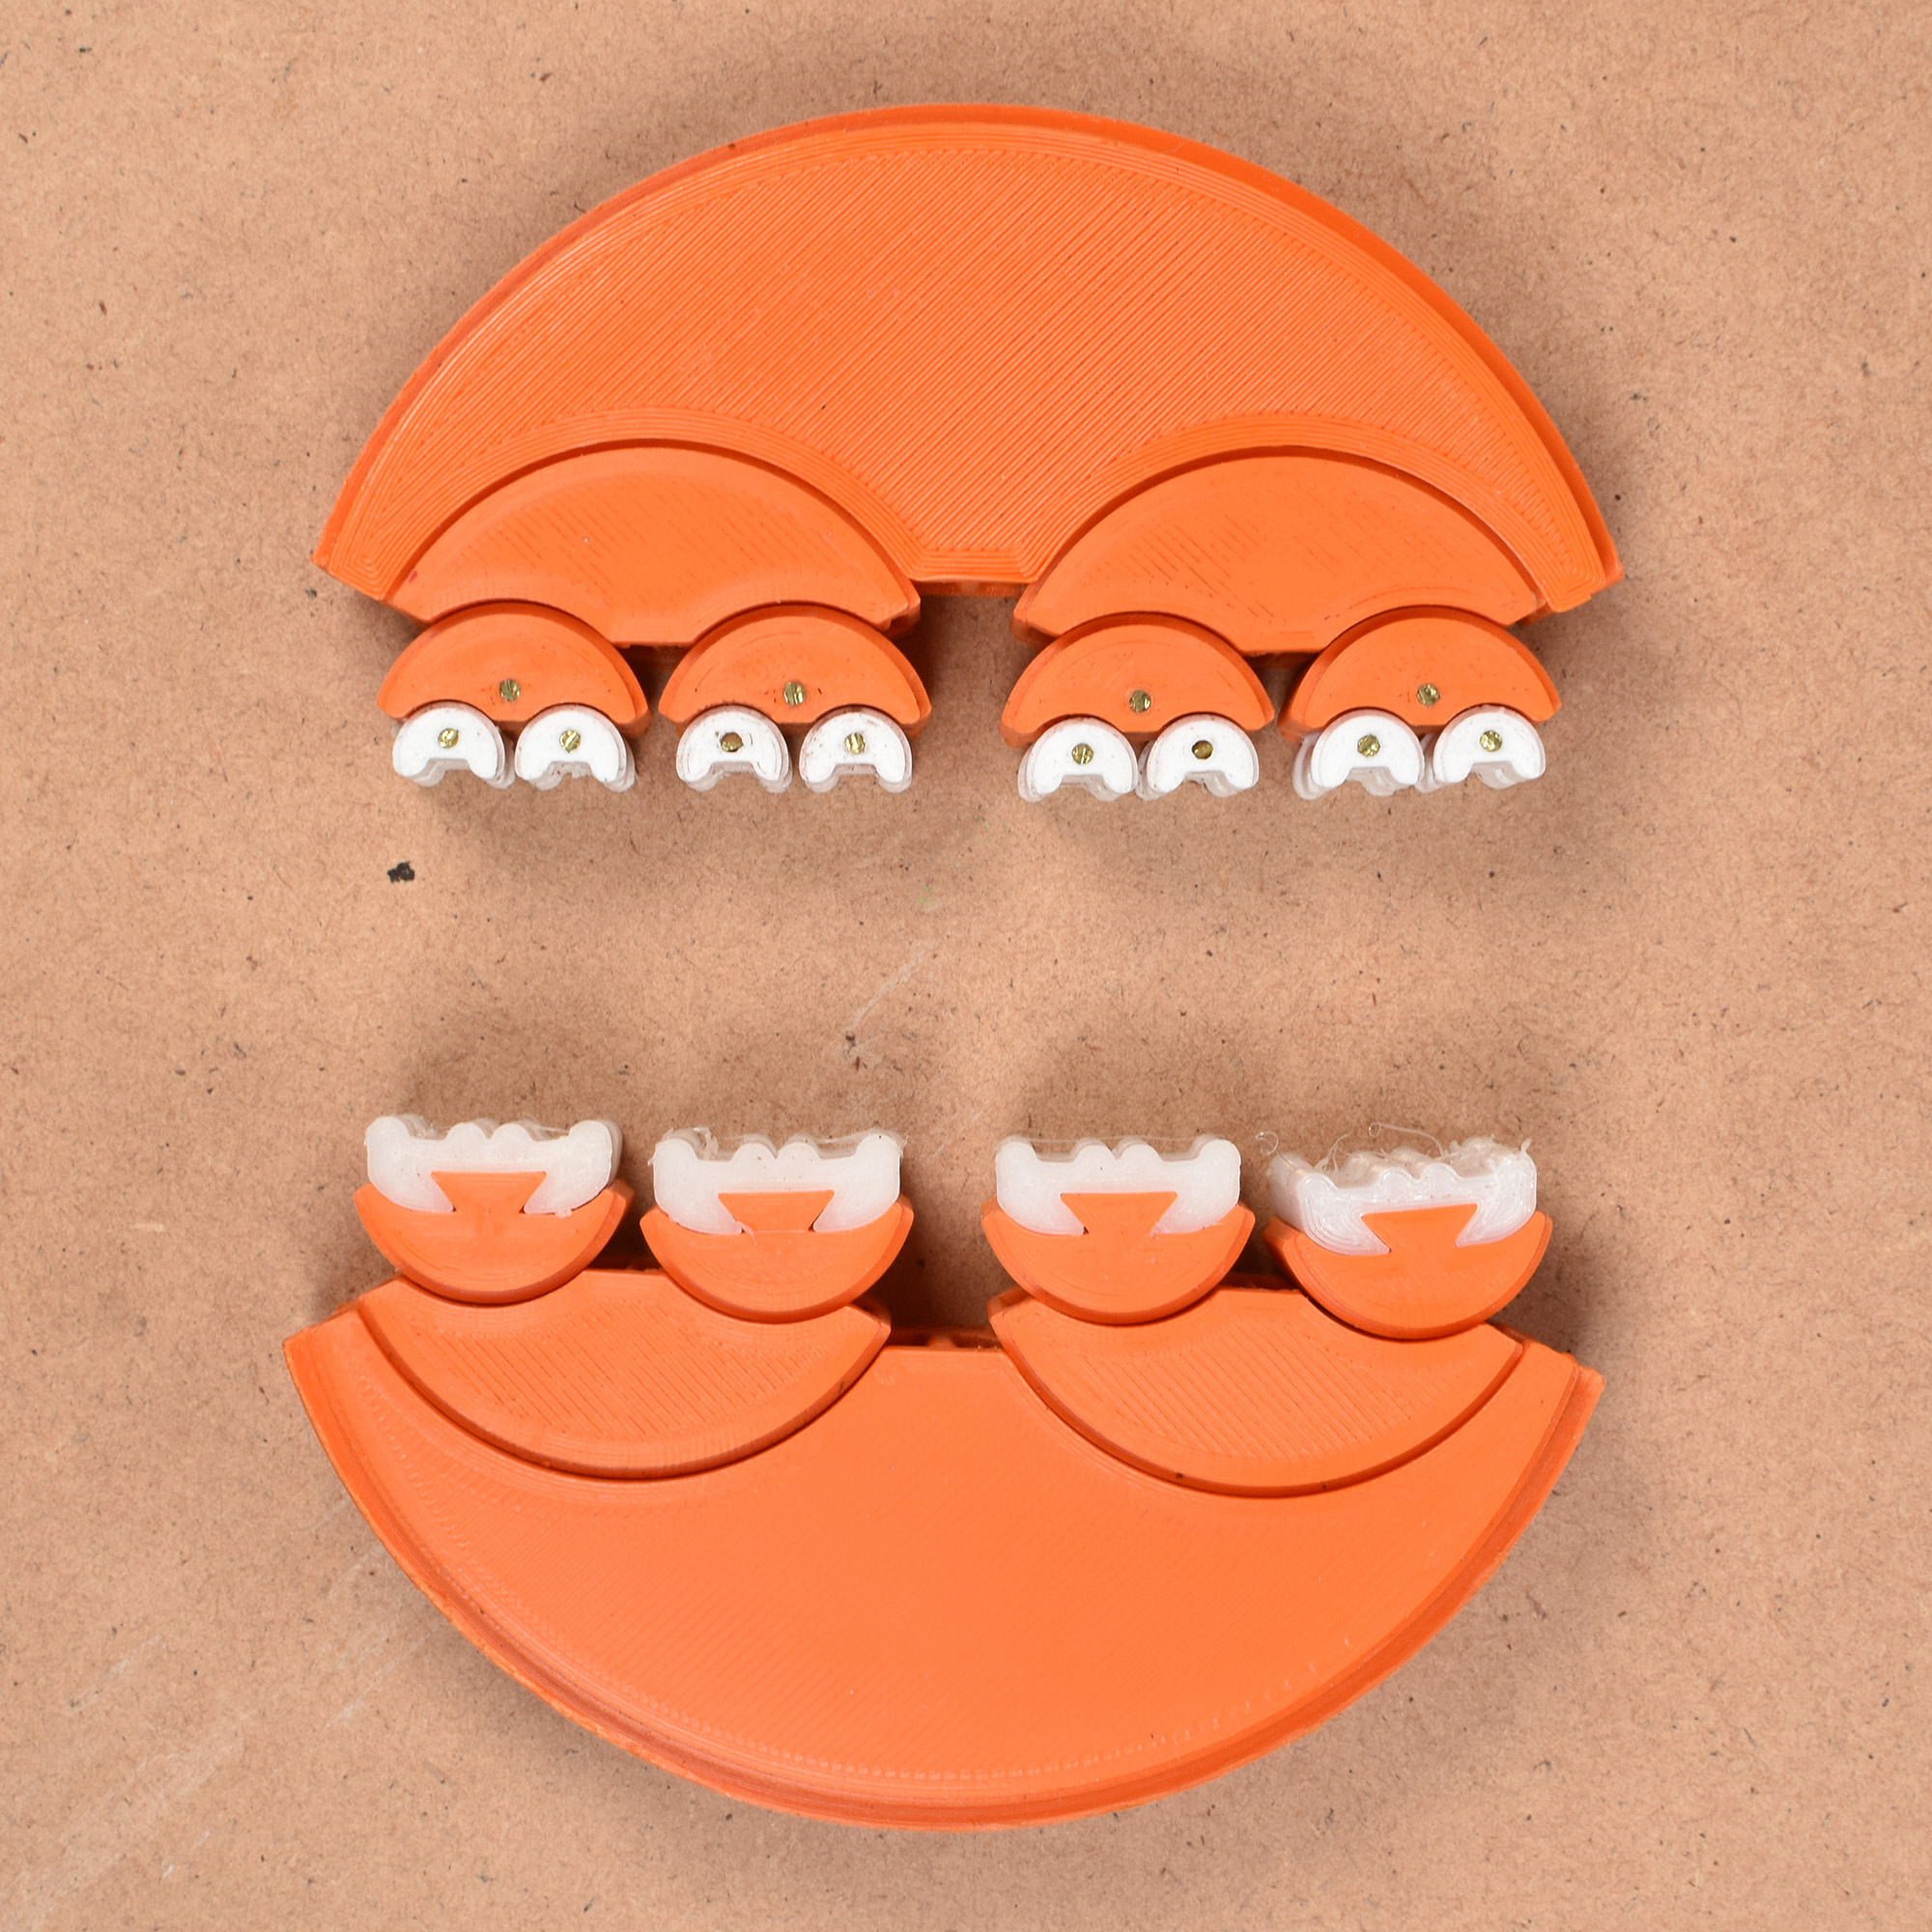
I also tried to make my design as rigid as possible. I did this with my usual technique of running threaded rods the length of the print which I then tighten to compress the print and make the plastic more rigid (see “3D Printed Wood Lathe,” Make: Volume 79). Using overall smaller, thicker jaws helps with the sag that I found problematic when using thinner jaws. I also designed a second variety of the smallest set of jaws, which replaces them with a rubber-like TPU part that is much easier to make but is less dynamic (Figure J  ). Overall I went with a small but bulky form factor to try to make it as rigid and useful as possible.

These different designs, their unique qualities, and their rapid creation really exemplify some of the best features of 3D printing technology and the 3D printing community. All these designers encouraged others to work from and improve their designs to get the best result for people to enjoy, and this open source mindset is what’s enabled 3D printing to get to the stage it’s at so quickly. Since all these designs are open source, if there’s a feature you like from one, it’s easy to modify another to include it!
WHAT ARE THEY GOOD FOR?
A good way to describe fractal vises is as a solution in search of a problem. They have a lot of uses, but if you don’t have a specific need for one it can be hard to think of anything. Fortunately I’ve had a lot of people comment on my videos, and describe how they’d use a fractal vise:
• Holding knife parts / knife handle parts
• Painting and gluing model parts
• Engraving oddly shaped rocks
• Engraving small items, specifically coins and Zippo lighters.
I’ve also heard from people who have disabilities that make holding things most people would take for granted difficult.

The use that I demonstrated was as a milling vise for a CNC machine. This was a good test since the machine wasn’t going to be “careful” with the vise — if the vise was going to fail, the CNC wasn’t going to stop putting pressure on it. For my demonstration I used a very strangely shaped piece of timber that would be difficult to clamp otherwise without losing a lot of its top face (Figure K ). Because it was clamped from the sides I was still able to do facing operations to smooth out the piece. This test was of a simple noughts and crosses (tic-tac-toe) board and the vise held up well (Figure L
 ).
).

Fractal vises are a fascinating example of the maker community working together to spread a new (or is it old?) technology. If you’re interested in any of the designs mentioned here, the 3D files and build guides can be found posted by their respective makers on Thingiverse. Just search “fractal vise” to see these and many more. 


