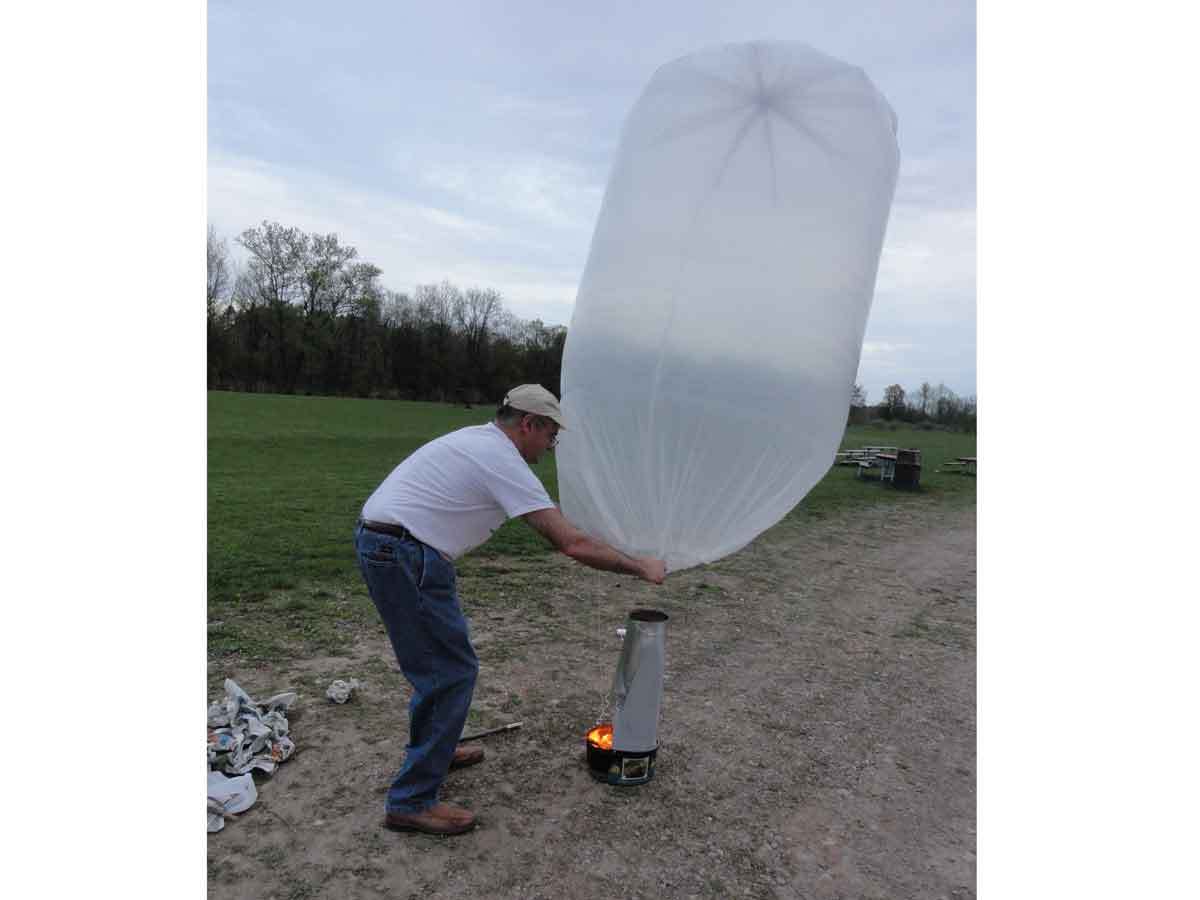
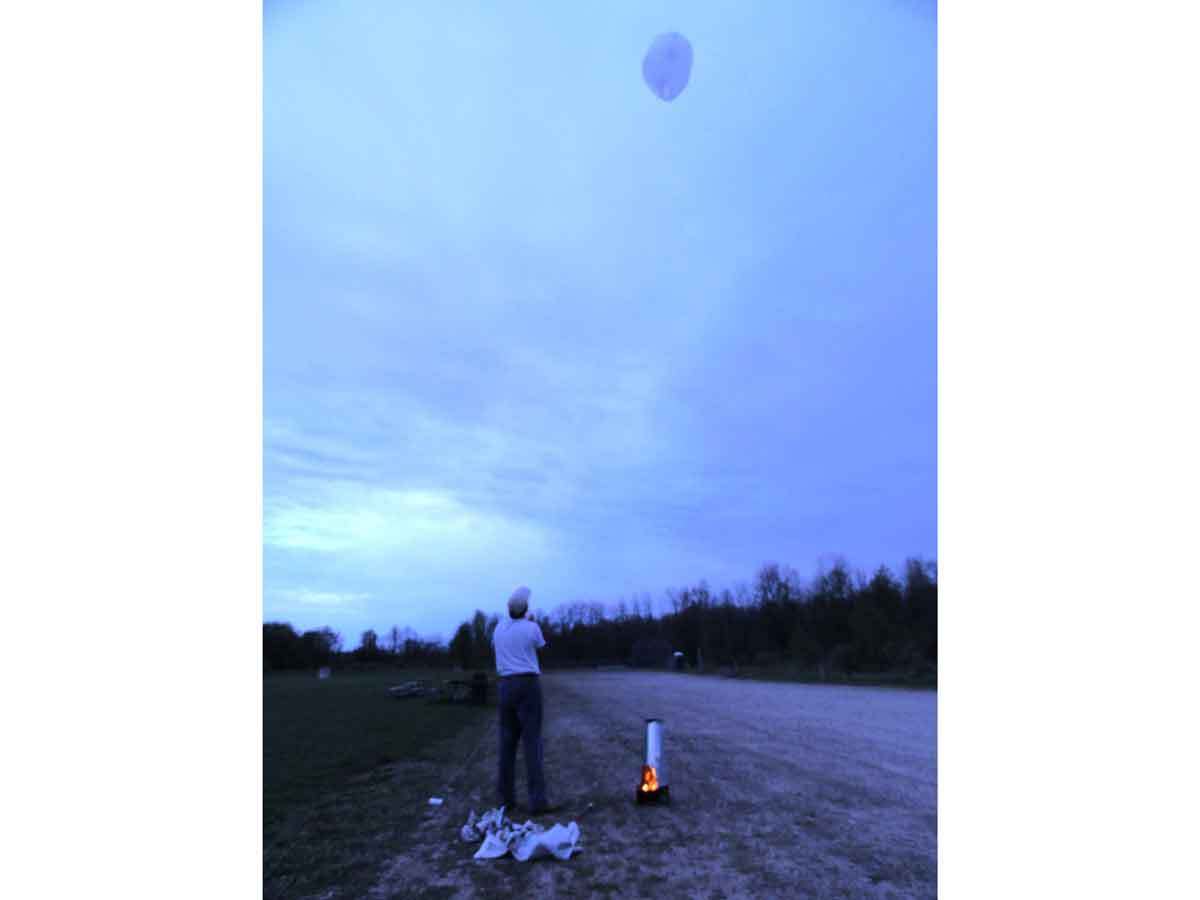
On a June afternoon in 1978, while most normal kids were focused on sports or getting Dad’s car keys, I was busy readying another one of my quixotic contraptions, made out of junk-at-hand, for its maiden voyage. Assisted by a good friend who also enjoyed such nerdy pursuits, I stoked a fire inside an improvised burner and slowly, carefully inflated the large, fluttering balloon I had fashioned out of plastic drop cloths, Scotch tape, and coat hangers.

The sides of the plastic envelope became warm to the touch, and I could feel a slight upward tug on the hoop that framed the inlet at the base of the balloon. My friend and I took turns steadying the giant transparent chrysalis over the chimney and gleefully fueling the fire with old exams and papers from the just-completed school term. Another minute passed; the balloon felt very warm and I could feel its positive buoyancy. I wasn’t sure how hot the top might be getting and didn’t want to press my luck. I released the hoop.

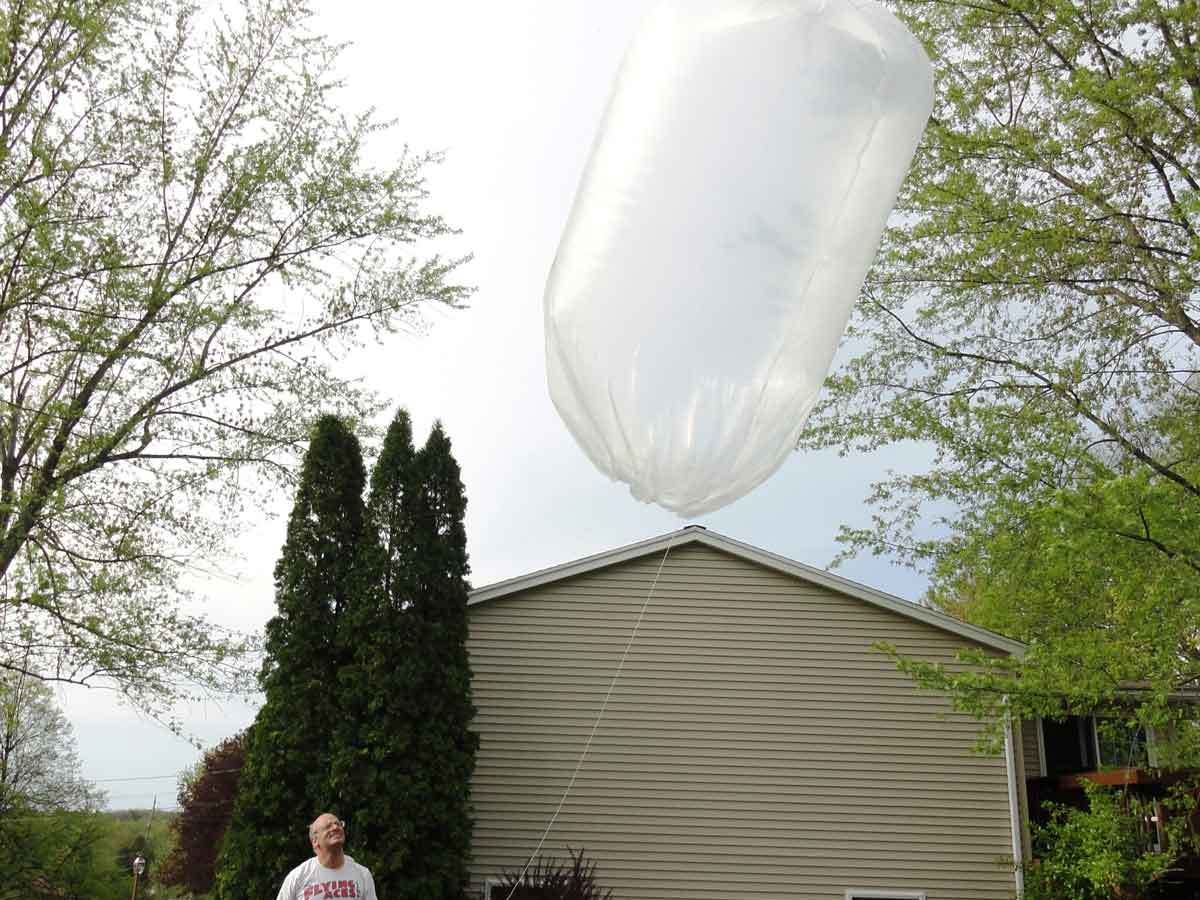
The balloon lifted upward perhaps 10 feet clear of the chimney. It seemed to hesitate there, as though comprehending its new freedom, and then accelerated skyward with a swirling whoosh. To my total surprise, it kept climbing past treetop level, 100 feet, then 200 feet, and began to drift as it climbed. First it cleared the field, then the neighborhood, and then went out of sight over the hills.

Our elation was only slightly dampened by my father’s reprimand for our irresponsibility and my mother’s aggravation over the disappearance of yet more household supplies — aka “engineering materials.”

We went on to fly more balloons (tethered), one even carrying a half-pound camera aloft. Years later, I bought and flew a ready-made model hot air balloon with my son. While more colorful to look at, it didn’t fly nearly as well as our homemade versions had. For all you readers who enjoy that special kick that comes from seeing an unusual homemade rig actually work, here’s some fun that can be had on a kite-string budget.

Specifications

My original balloons were fashioned from two 9’×12′, 0.7mil plastic drop cloths, seamed together into a cylinder along their 12′ sides. The finished envelope enclosed a volume of roughly 230 cubic feet (6.5 cubic meters), weighed 15oz (425g), and would lift again as much in payload when thoroughly heated. Unladen, these balloons had lots of extra lift for rapid climb and a long flight before cooling enough to descend.

The single-drop-cloth balloon presented here encloses about 75ft³ (2.1m³), weighs about 8oz (227g), and will provide another 4oz (113g) of extra lift when heated to the plastic’s safe capacity. These smaller balloons provide shorter flights but are much easier to handle.

What will the next generation of Make: look like? We’re inviting you to shape the future by investing in Make:. By becoming an investor, you help decide what’s next. The future of Make: is in your hands. Learn More.

Project Steps

Make the balloon envelope.

Lay out the drop cloth on a smooth, clean floor. Place a strip of cardboard or wax paper (a separator) on top of the drop cloth, running down its centerline, parallel to the 9′ sides.

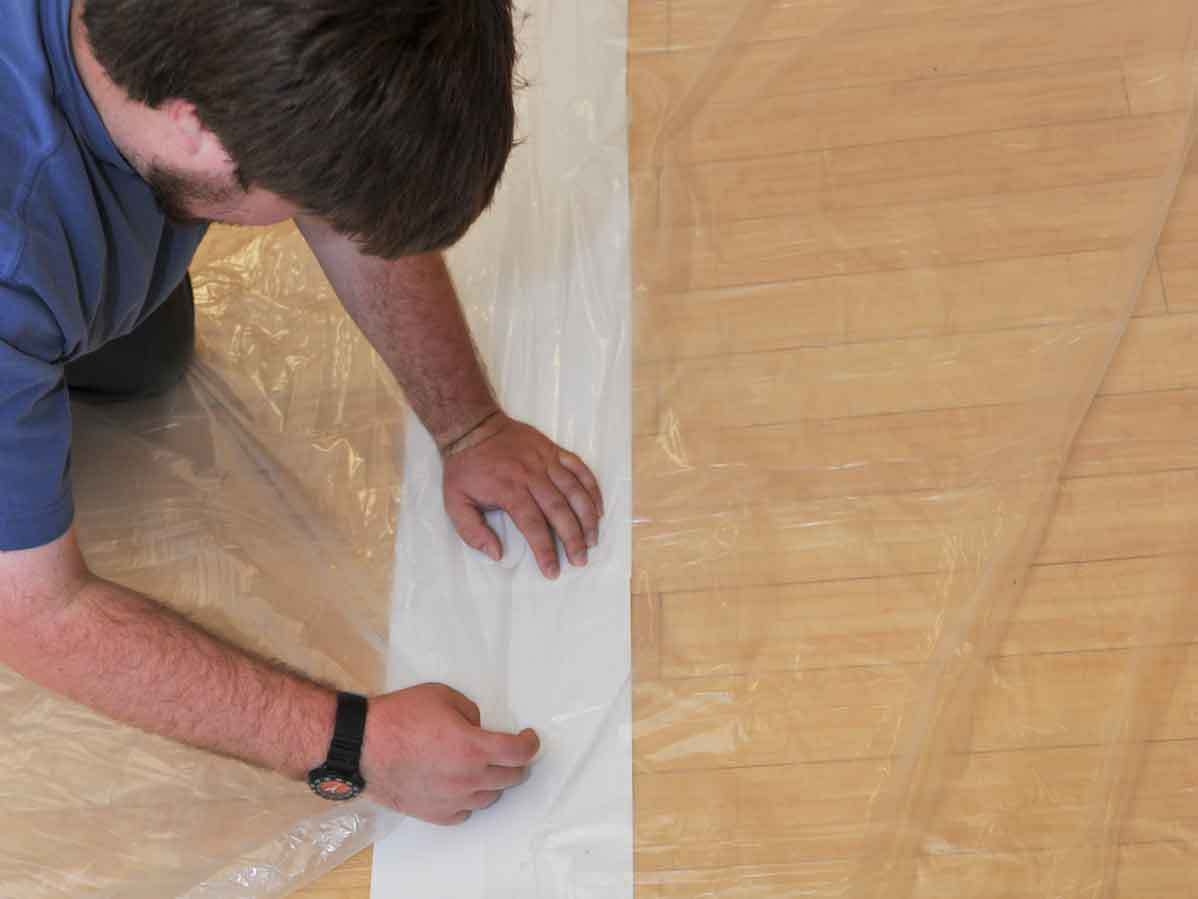
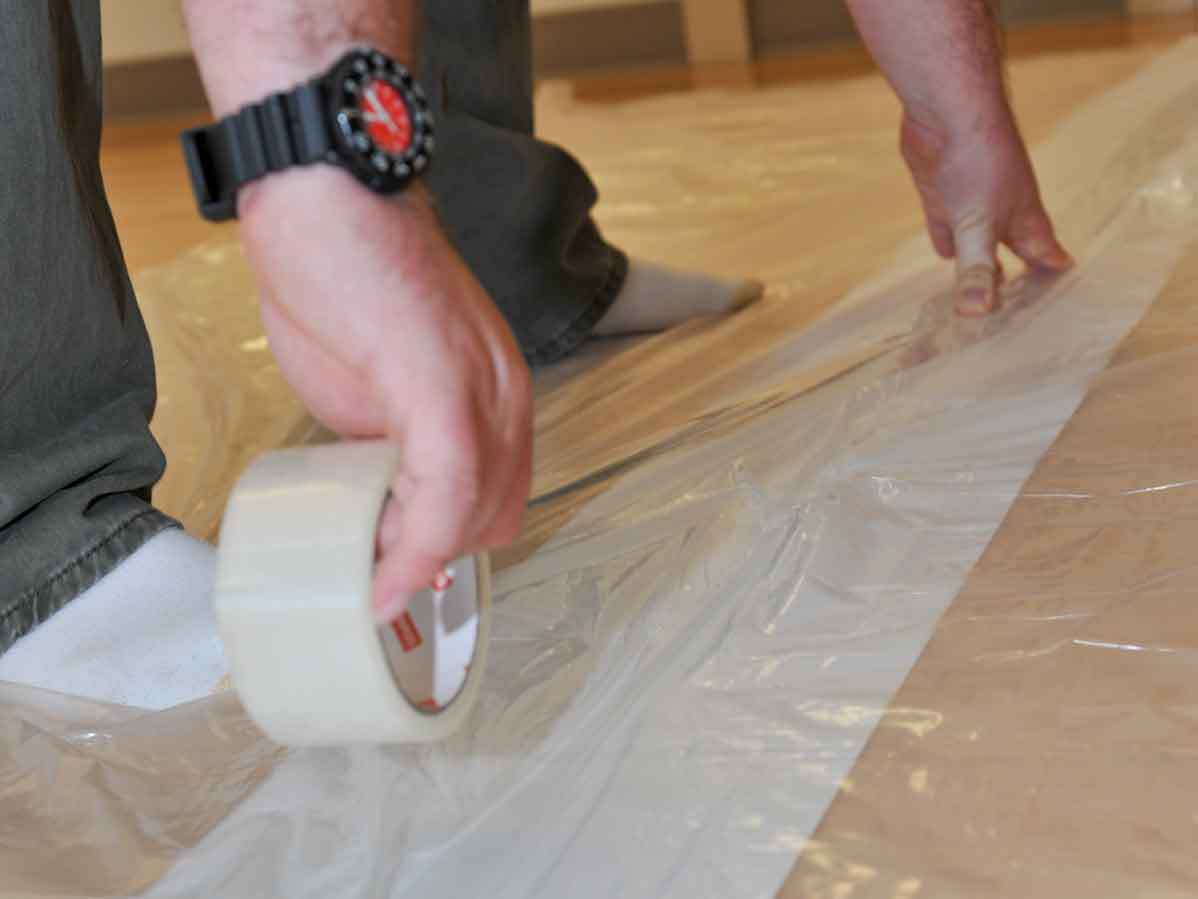
Fold the 9′ edges over so they meet on top of the center separator. You may find it helpful to first place a strip of tape, sticky side up, in the center, then draw the 9′ edges to meet at the tape so the edges are abutting and parallel.

Tape the edges together to form a 9′-long cylinder, trying to overlap the tape evenly onto both sides of the seam. Goofed spots can be double-taped later. The separator may now be removed.

Close the top.

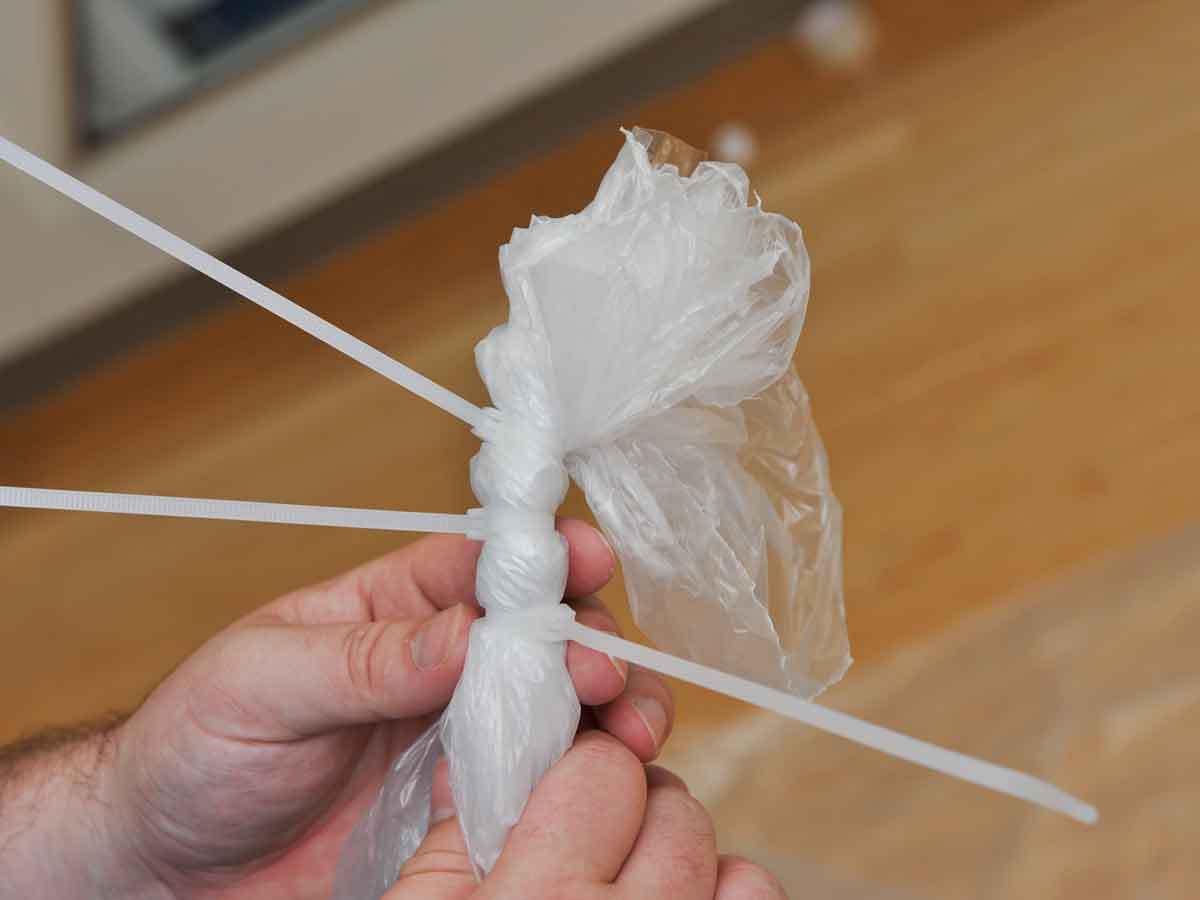
At one end, gather in the plastic as evenly as possible from points every 1′ of the way around. Twist tightly together for a few inches and secure soundly with tape or a couple of twist-ties or zip ties.

Make the inlet.

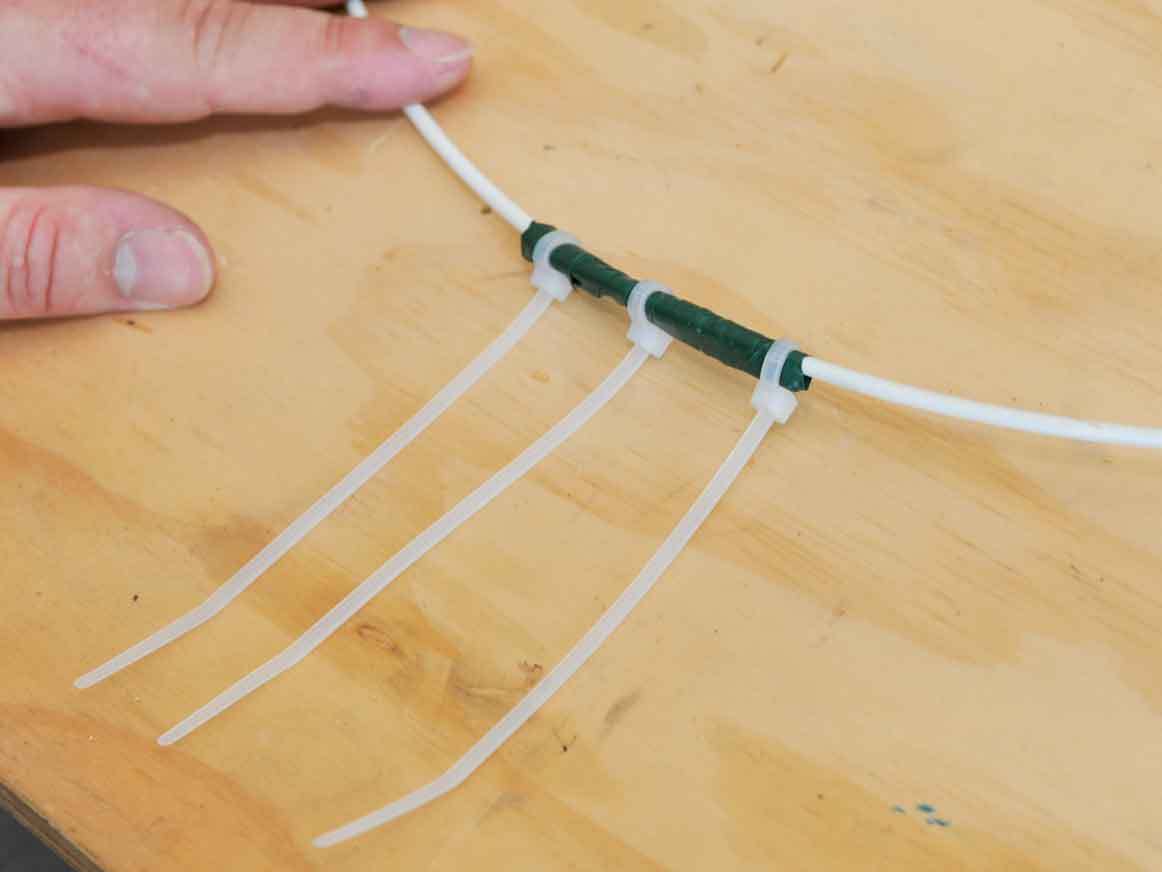
Form the tubing into a hoop about 1½–2′ in diameter and splice it with duct tape. For springy materials, reinforce the tape with zip ties. Don’t use wire for the hoop (in case the balloon runs afoul of power lines), or wooden doweling (it snaps and splinters).

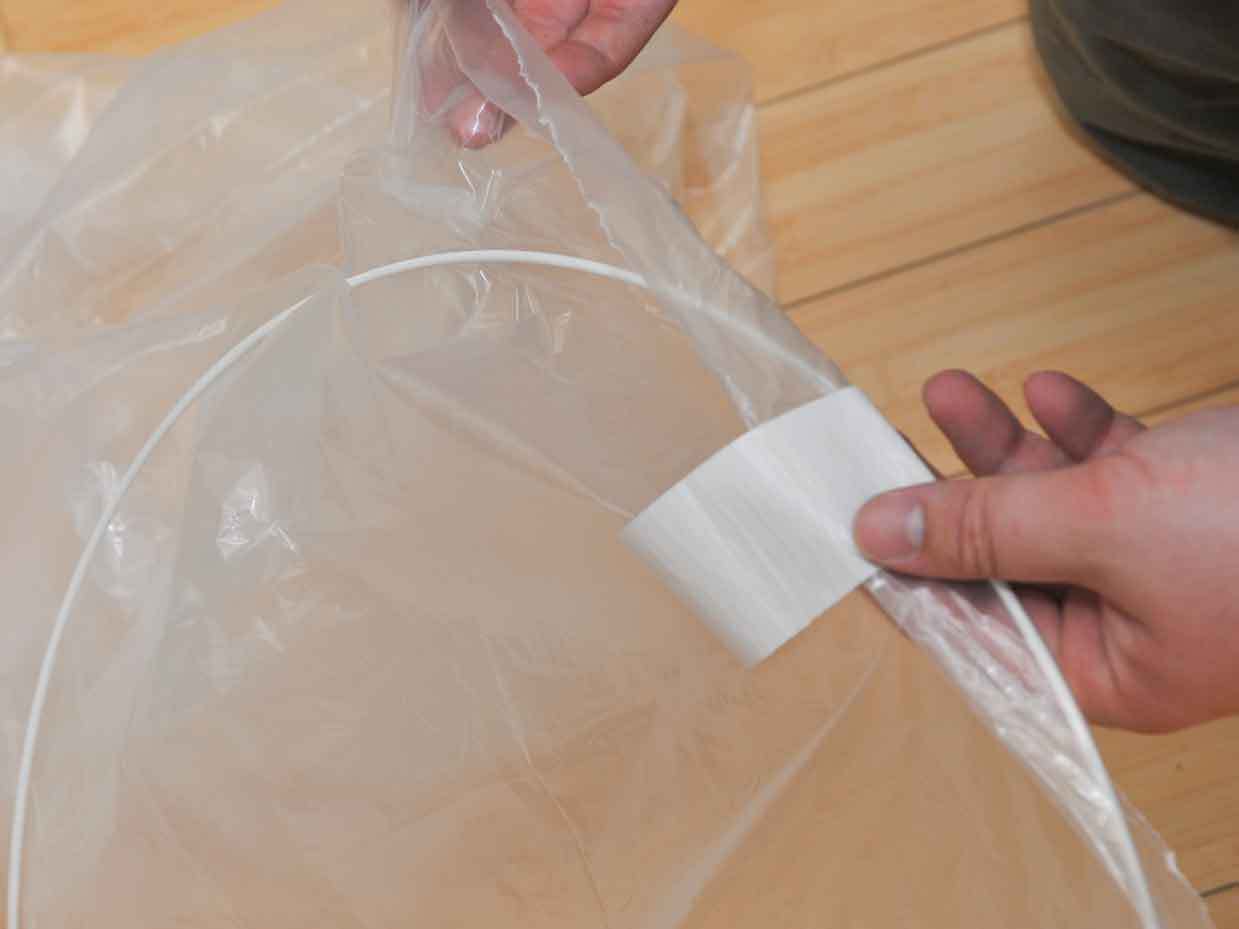
Gather the other end of the cylinder as evenly as possible, wrap it around the hoop from the outside inward, and tape it every few inches to form a hem a few inches up inside the bottom of the balloon.

Check for holes.

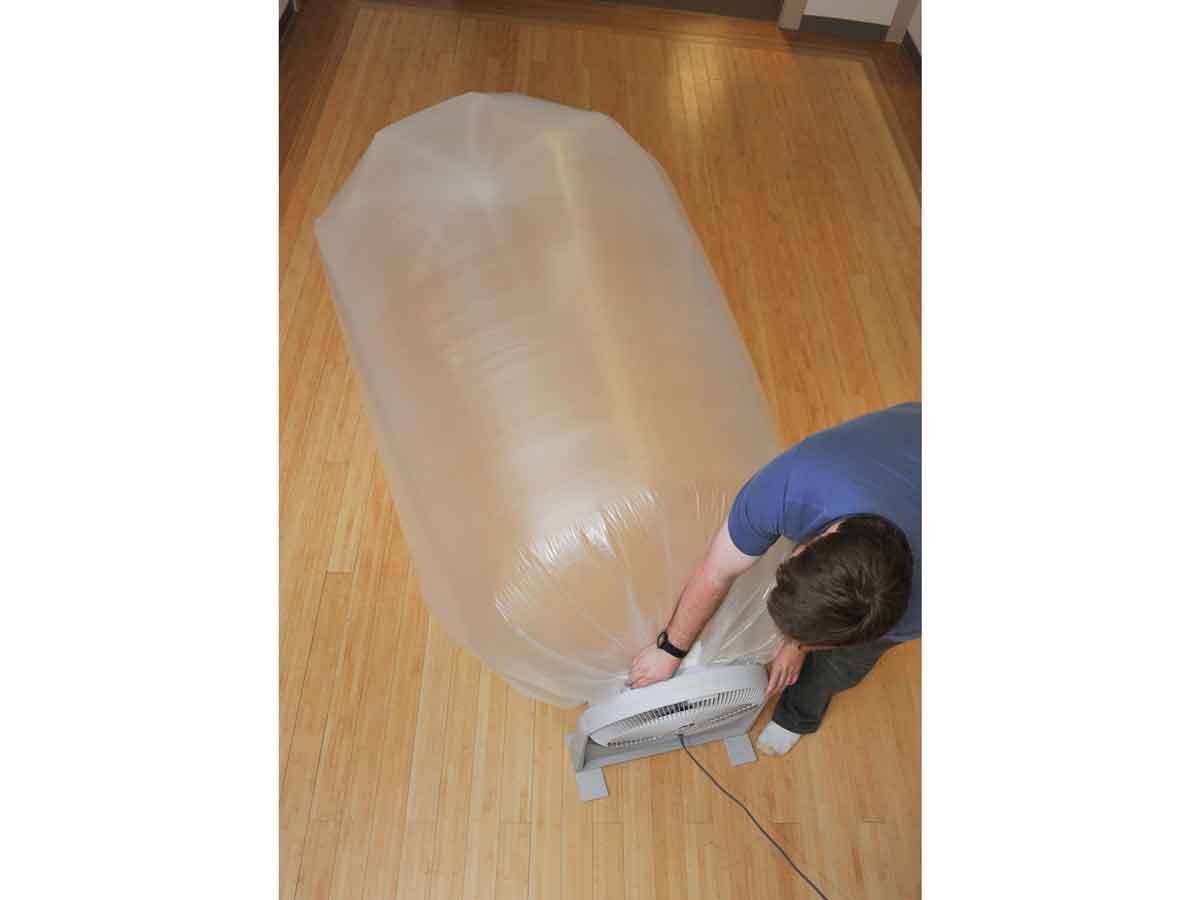
Inflate the completed balloon by holding the open end in front of a small fan. Identify any holes and tape them. Tie the tether line to the hoop and secure it with tape, or use kite line attachment links if you wish.

Pick a heat source.

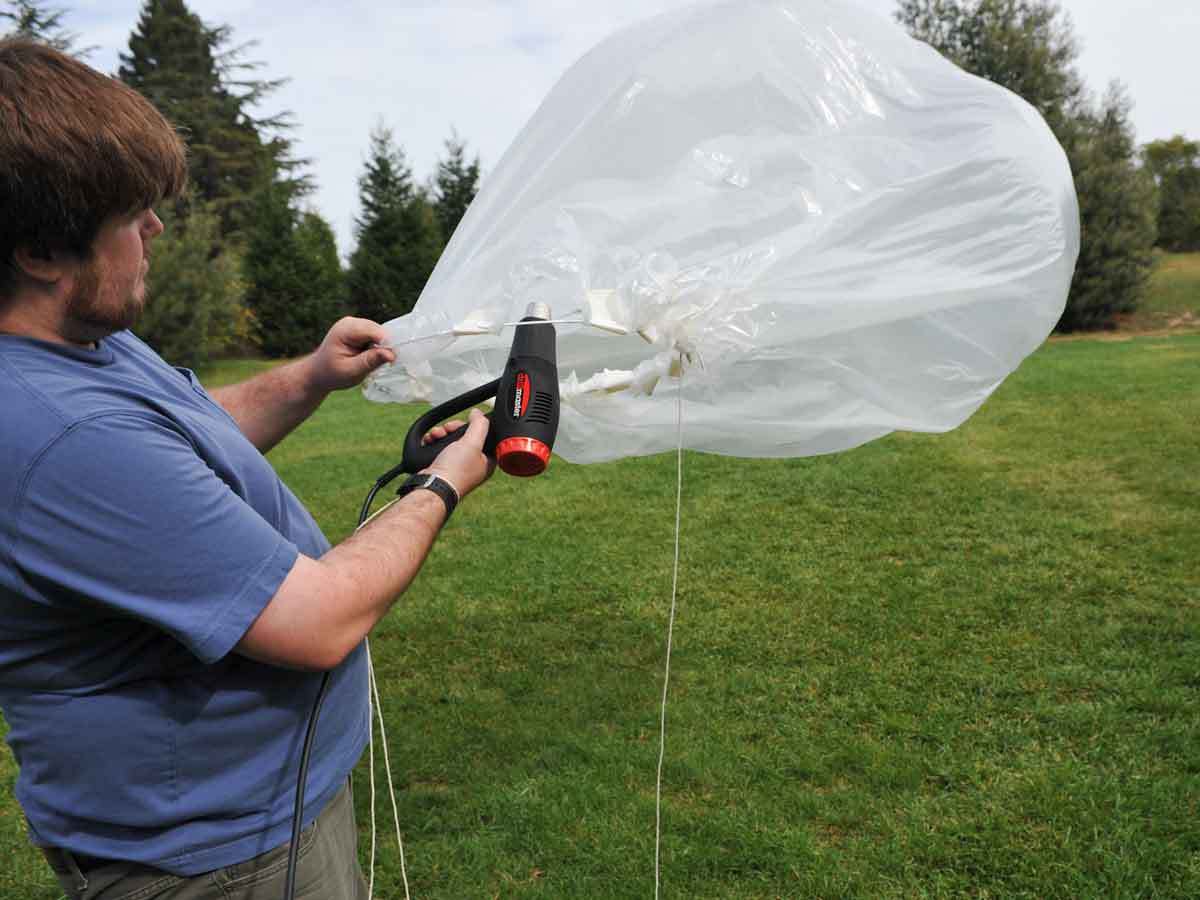
An electric heating gun/paint stripper has enough power to heat the balloon for short test hops in the backyard, and it helps inflate the envelope while heating. Other heat sources, such as multiple cans of Sterno grouped beneath a short metal chimney, may be experimented with.

But the classic wastepaper/stovepipe burner provides maximal heating for this balloon. You can make the burner from a few feet of 6″ stovepipe and a firebox made from an aluminum register box, a ductwork elbow, or scrap sheet metal. Black steel or aluminum is best, as galvanized steel ducting produces unhealthy zinc-oxide dust when exposed to flame. The burner shown here has a firebox fashioned from scrap aluminum flashing and a large cookie tin, riveted together in about 10 minutes.

Fit the firebox to the bottom of the pipe and place a piece of screen over the top of the chimney to prevent burning bits of paper from escaping.

Unless you’re flying on a steel wire in the middle of nowhere, it should not need saying that a heat source should never be sent aloft on a balloon.

Fly your balloon.

Conditions: Absolutely calm air is required for the balloon to be manageable while heating. Dawn and dusk often provide these conditions, as do winter days of high pressure when it’s clear and very cold. You also get more lift when it’s cold outside, because buoyancy is a function of the difference in air density outside and inside the balloon.

Find a location: Identify a flying field where you can safely and legally make a fire. Bored park police may create some real drama if they find you building a fire outside of a barbecue grill. Keep a fire extinguisher or at least a bucket of water handy along with a pair of leather gloves. As with kite flying, make sure no overhead power lines are anywhere nearby. Be sure to locate your burner on sand or stone, off the grass, away from flammable scrub, and then stabilize it with bricks or a metal stake as required.

Tether: Do not attempt to launch a balloon without a tether. Even when it’s dead calm on the ground, there are always winds aloft, and a well-heated free balloon can be lost before cooling and descending somewhere. As my father angrily pointed out to his teenage kid, the huge plastic bag could come down in traffic, on electrical equipment, over a rooftop exhaust pipe, or on top of young children. Even if it just festoons somebody’s treetops, it’s not a good situation.

Prepare the fire: Pay out some tether line along the ground before launch. Next, prepare a supply of newspaper wads several feet away from the burner, then start a fire in the firebox.

Inflate: Now here’s the tricky part. Partially inflate the balloon by wafting the hoop through the air, and then quickly stand it as upright as possible over the heater while an assistant helps. It may be helpful to use a pole to hold up the topknot until the balloon begins to fill out. It’s critical to keep the plastic from draping too close or touching the chimney, as it will instantly melt through. When using the heat gun, keep it moving and keep its end far from the plastic. A few small holes near the bottom of the balloon are inevitable and inconsequential.

The combustion gases flowing up into the center of the balloon are much hotter than the airflow near the sides and can sear faces or lungs if you get into their path. Be careful not to burn through the tether line!

Launch and Ascend: After several seconds the balloon will begin to fill and loft itself. Keep the hoop centered over the heat source as you continue heating. It will become buoyant quickly. Place a hand against the side of the envelope as high up as you can reach. When the side feels very warm about halfway up, perhaps 150°F (65°C), the top will be approaching its limit around 200°F. Check that the tether is secure and release the hoop, gently escorting it straight up from the chimney. Pay out the tether line and watch your balloon ascend.

Experiment: You can experiment with lofting small payloads such as a mini digital camera, an altimeter, etc. Try making balloons of different sizes and shapes. Maybe find some colored plastic. Or how about a hot-air dirigible with a small electric motor and lithium polymer battery?

Conclusion

This project first appeared in MAKE Volume 29, page 134.