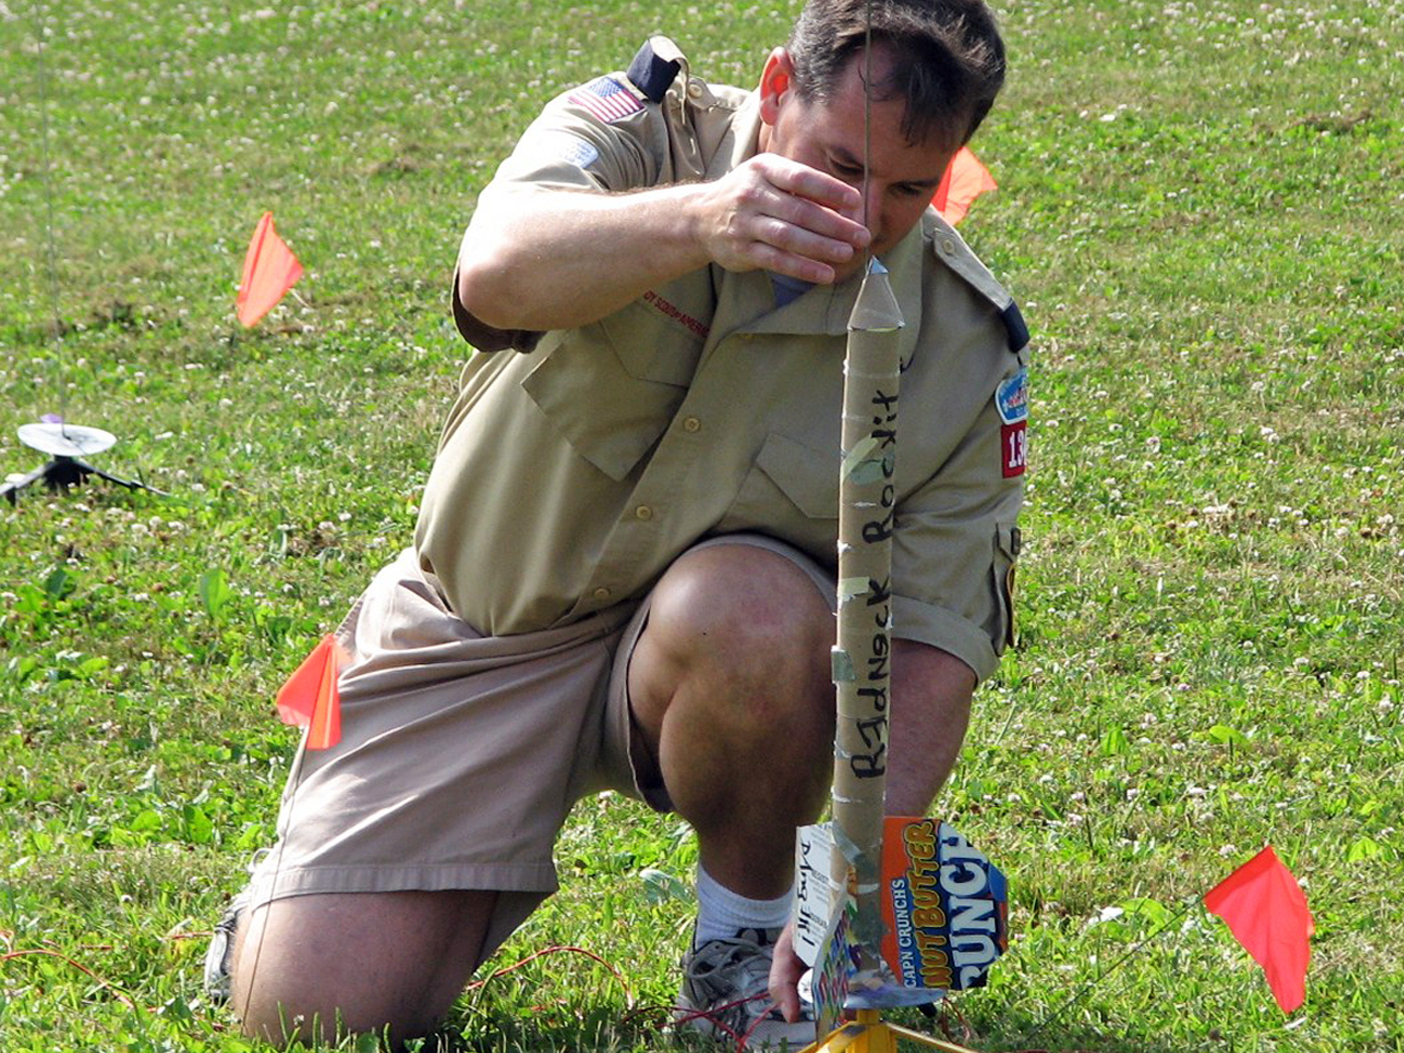
The HeliRocket is propelled by a standard model-rocket engine, but instead of the engine’s ejection charge deploying a parachute, it releases the rocket’s 3 tail fins. The fins then swing up into a helicopter blade configuration, which slows the rocket’s descent by converting much of its kinetic energy into drag and angular momentum (spin).

Some commercial kits enable a similar “spin recovery,” but they use separate helicopter blades. Having the tail fins perform double duty makes for a cool “transformer” effect and reduces rotational drag for faster spinning. Using household items, you can build this rocket for nothing more than the cost of the engine. (To fire it, you’ll also need a launchpad, with either a fuse or a launch controller and igniter.)

YouTube player

What will the next generation of Make: look like? We’re inviting you to shape the future by investing in Make:. By becoming an investor, you help decide what’s next. The future of Make: is in your hands. Learn More.

Project Steps

Make the top tube and fins.

Split a toilet paper (TP) tube lengthwise, then cut off a 1″-wide ring. Trim a bit off the ring circumference so that it fits inside another TP tube without overlap. This is the first of several “doubler” reinforcements that are needed to strengthen parts of the rocket body.

Completely cover the outside of the ring with wood glue, and slide it into place in one end of another TP tube so that it’s flush with the end. This will be the top end of the top tube.

Take a scrap piece of hardwood and cut 3 flat teardrop- shaped pivot supports about ½” wide and thick. Use a rotary tool to get a rough aerodynamic shape, but let’s be honest here: the overall rocket is not very streamlined.

Drill a hole centered in the wide part of each pivot support that allows your hanger wire to fit through snugly but still spin. A #45 bit usually works.

Using plenty of Gorilla Glue, evenly space and attach the pivot supports to the top tube on the end with the doubler, trailing edges pointed down. After the glue is dry, redrill the holes to clear out excess glue, and gently drill through the cardboard tube.

Cut two more 1″ doubler rings from the tube cut in Step 1a, coat them with glue, and use them as joints to connect 2 more TP rolls in series behind the top tube, to make a tube about 12″ long. Inside the bottom end, use Gorilla Glue to mount a sturdy crossbeam (about ½” deep and 1″ thick) for the rubber-band hook. (With thinner balsa or plastic, glue together a double layer to make the beam strong enough.)

Cut pieces for 3 tail fins out of balsa or thin cardboard. Each fin should be about 2″ wide, 8″ along the long edge, and 7¼” along the shorter edge. See https://makezine.com/25/helirocket to download a template, or cut something similar. With cardboard, cut butterfly pieces that fold together into the tail fin shape. With balsa, cut 6 pieces (3 pairs) with the grain running the long way.

Straighten the hangers with pliers and cut 3 lengths of 18″ (you can get 2 per hanger). Put in a 90° bend 2″ from the straightest end of the wires, a 45° bend in the same direction 1″ farther down, and a second 45° bend back in the opposite direction, spaced to accommodate the wood pivot support thickness. Mark the wires 11″ from the 2″ bend, for positioning the fin later, then put 2 more 45° bends, approximately 1″ apart, starting at 12″ to form an internal support for the fin.

Use pliers to slightly angle these last 2 bends 8°–10° away from the plane of the bends at the pivot end, offsetting the fin supports in the same direction on each wire.

Cut three 6″×1″ strips of thin corrugated cardboard in the same general shape of the fins, corrugations running the long way. Assemble the fins using Gorilla Glue, sandwiching the corrugated cardboard strip and wire between the folded soda-box cardboard (or 2 balsa pieces); the extra cardboard inside helps form a roughly symmetrical airfoil cross section. The 11″ mark on the wire should be at the top edge of the fin.

Clamp the fins with small clamps, clips, or clothespins, and let dry.

Insert one fin wire through a pivot support, all the way up to its first bend. Grip the pivot support with pliers, and while keeping the fin parallel to the tube, bend the internal 1½” part of the wire over about 45° using the second pliers. Repeat for the other 2 wires. Test-swing each of the fin wires up perpendicular to the tube in both directions, and if there’s any internal rubbing against the tube, use wire cutters to trim the excess wire back.

Tie a 3″ piece of string near the end of each wire, and put plenty of super glue over the square knot.

Cut 3 rubber bands to equal lengths, and use super glue to make a loop at one end of each. Tie the string from each wire to the loop of a rubber band.

Tie the free ends of the 3 rubber bands together with string, and connect them at equal length using a short hook, cut and bent from some extra hanger wire. Carefully push the bands and strings down the tube.

Make the engine mount.

Cut TP tube cardboard to wrap around a rocket engine. Gorilla-glue the cardboard over the engine and let dry (I used rubber bands and some tape to hold it in place during drying).

For the engine holder, cut a piece of coat hanger long enough to clip around the length of the engine with one end bent to extend fully across the engine’s diameter (approximately 1¼”) and the other end bent to stop before the engine’s center (approximately ¼”) to leave room for the fuse or igniter.

Cut 2 centering rings out of corrugated cardboard, with inside diameters fitting around the engine, and outside diameters fitting inside a TP tube. Cut a small notch inside each to fit around the engine-holder wire.

Fit an engine into the mount by sliding it through the tube unti only ½” sticks out the bottom. Line up the clip wire with its short end at the bottom of the engine. At the top, carefully use the tip of a hobby knife or a drill bit in hand to punch a hole through the holder tube for the long end of the clip wire to run through. Tape the long section of the clip securely to the tube; the clip should flex just enough for you to remove and replace the engine. Finally, Gorilla-glue a centering ring around at each end.

Make the tab slider.

The tab slider needs to be tough since it catches the “backfire” from the rocket engine’s ejection charge, which normally deploys a parachute.

Cut a 2½” length of TP tube and reduce its diameter so that it slides easily inside the paper towel tube. Glue a 1″-wide doubler (as in Step 1a) inside the bottom of this tab slider tube, using wood glue.

Cut a corrugated cardboard disk to fit in the top end of the tab slider, and secure it inside with plenty of Gorilla Glue, making a tight seal.

Once the glue is dry, line the inside of the slider with metal repair tape or layers of aluminum foil.

Make the bottom tube.

Cut a 6½” length of paper towel tube. Then glue the 2 centering rings of the engine mount inside the 6½” tube, so that the engine’s bottom is roughly flush with the end of the tube. Once the glue is dry, measure the distance from the top of the 6½” tube to the top of the upper engine-mount centering ring, and mark where that ring is on the outside. Measure up 3″ and mark the tube again. Put the tab slider inside the 6½” tube, with the sealed end up (away from the engine). It should easily slide up and down, with minimal gaps around the perimeter.

Cut 4 strips of thick (or double-layer glued) scrap balsa, 2½” long and approximately ¼”–2″ wide, and glue them one at a time evenly spaced around the top of the 6½” tube, with the lower part of the strip at the same depth as the 3″ mark made earlier. They should extend about 1½” from the top rim. The lower parts of these strips provide the stop for the tab slider, which should now move freely up and down about ½”.

Following the same even spacing as the pivot supports, cut three 1″×½” rectangles out of the 6½” tube, starting just above the mark you made at the upper engine-mount ring and cutting upward 1″, being careful not to cut into the slider.

Use Gorilla Glue to attach two ½”-square balsa tabs through each hole to the now-visible tab slider. Space the tabs apart just enough to accommodate a fin, and take care not to glue the slider to the 6½” tube. With the tab slider pushed up, a gap should appear below the tabs, where the hot gas will exhaust.

Final Assembly

Cut 3 lengths of string about 15″, and epoxy each to the top tube, directly down from a pivot point and 9″ away.

Make a hook tool from scrap hanger wire, pull the rubber-band hook down inside the top tube, and latch it into the balsa crossbeam. The fins should pivot up, but don’t worry if they don’t go all the way out — aerodynamic forces will take care of that during flight.

Tie and epoxy the other end of each string to the midpoint of each fin wire, calibrating the length so that each wire angles up about 10° when its string is taut. This angle is called a dihedral, and it increases stability. Put drops of super glue on the knots, and trim excess string.

Make a nose cone using cardboard and duct tape, foil, or whatever — it should be as close to symmetrical as possible. Secure it centered to the top, and make sure it doesn’t interfere with the pivoting motion of the fin wires.

With the rubber-band hook in place, slide the 6½” tube into the upper section (NASA calls this “assembling the stack”) and tape the tubes together. You’ll need a launch lug to guide the rocket up the launch rod. Cut a 2″ length of plastic straw and slice it lengthwise. Wrap the plastic around the launch rod so that it fits closely but can still slide, and tape it together.

Glue this 2″ lug onto a small spacer of the same length, approximately ¼” wide by 1″ thick (balsa, plastic, scrap wood, or even cardboard will work fine). Glue the lug and spacer vertically on the bottom tube, placed so it doesn’t interfere with the pivoting fin wires

Make cutouts on each fin, sized and positioned so that when the tabs slide up, the fins are released. The completed fins should look like ceiling fan blades when fully extended but will radiate out perpendicular to the tube when secured in the tabs.

Finally, the TP tubes sometimes flex during blastoff, which may cause a fin to pop out from behind the tab. Adding a small paper clip retaining wire above each fin prevents early fin deployment. Bend a paper clip segment so that about ¼” of it angles away, and epoxy it with the fins in the tabs, so that the fins can only slide in the direction of the rubber band pull.

Conclusion

This project first appeared in MAKE Volume 25.