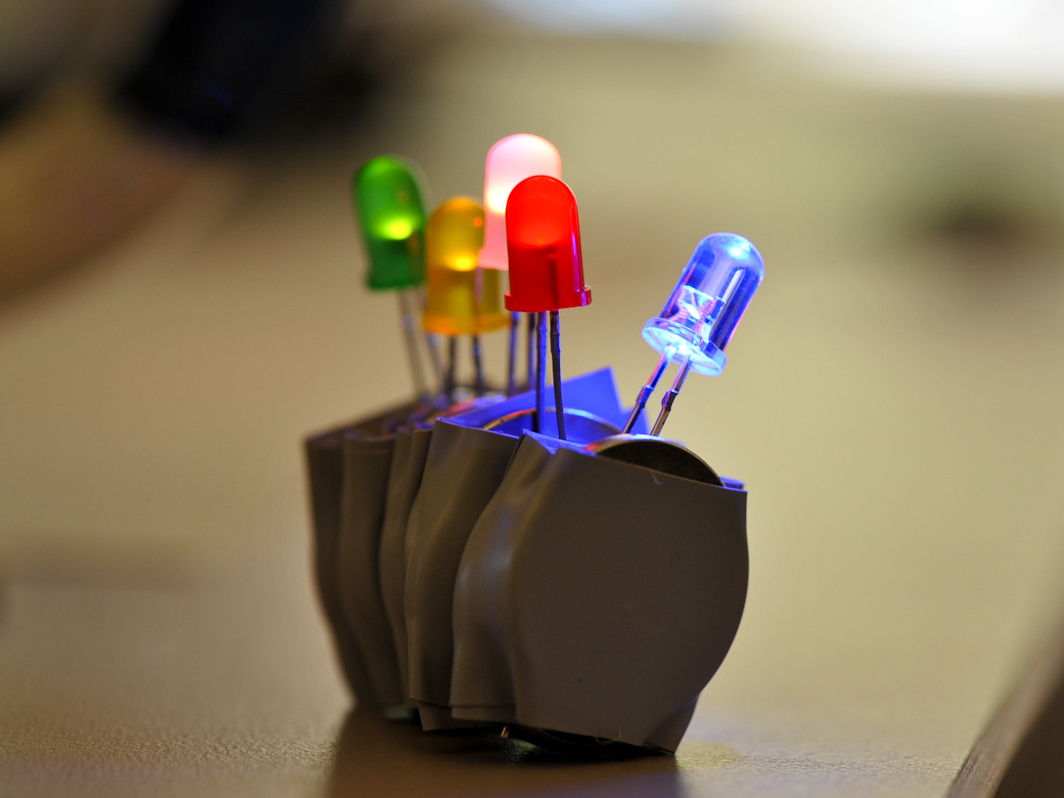
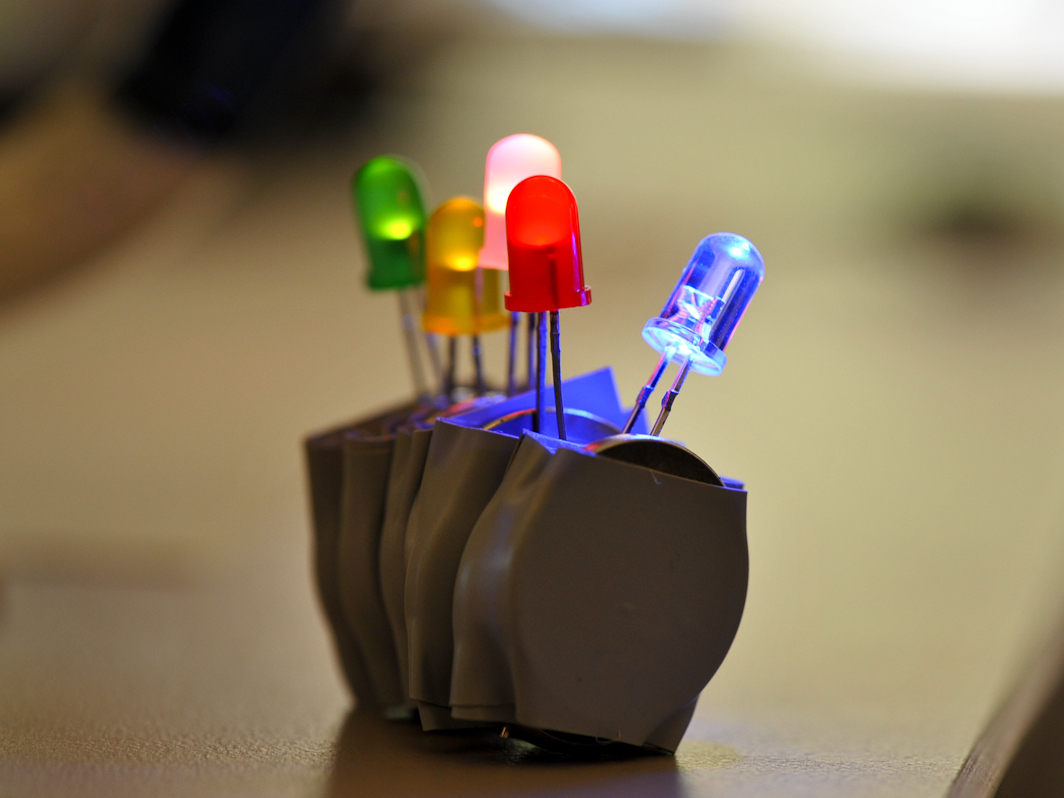
LED throwies are cheery glow-dots you can make in seconds from simple components and stick to any ferro-magnetic surface. But that’s just the beginning — here’s how to hack and modify them.

First make a basic LED throwie, and chain them up into big throwie “bugs.” Then learn to hack the throwie with an On-Off tab so you can switch it on whenever you want.

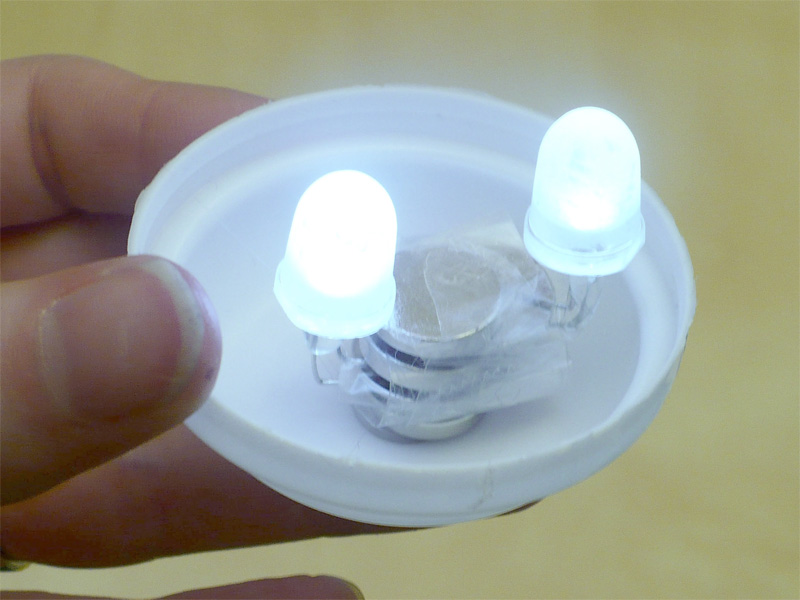
For extreme weatherproof outdoor lighting, slip a throwie inside an Indestructible LED Lantern — it floats, survives rain and ice, and looks really cool in multiples, for lighting paths, patios, or anything you can think of.

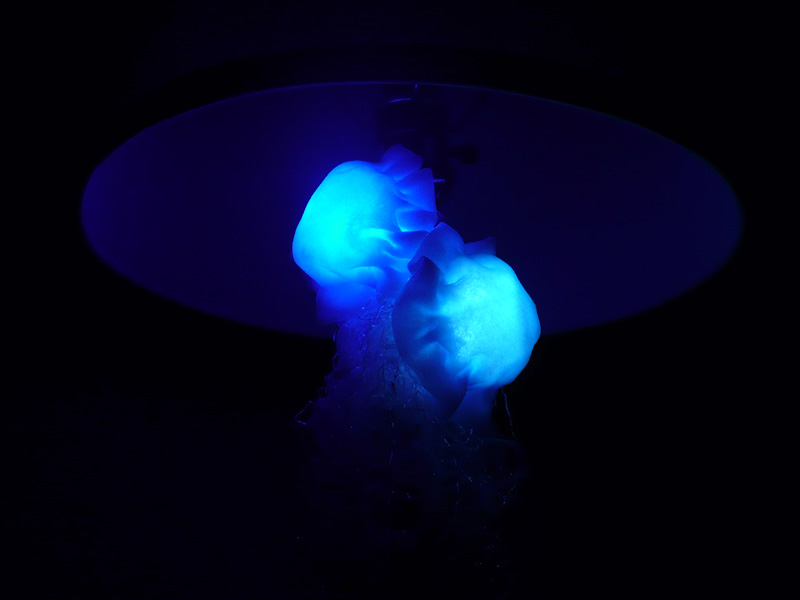
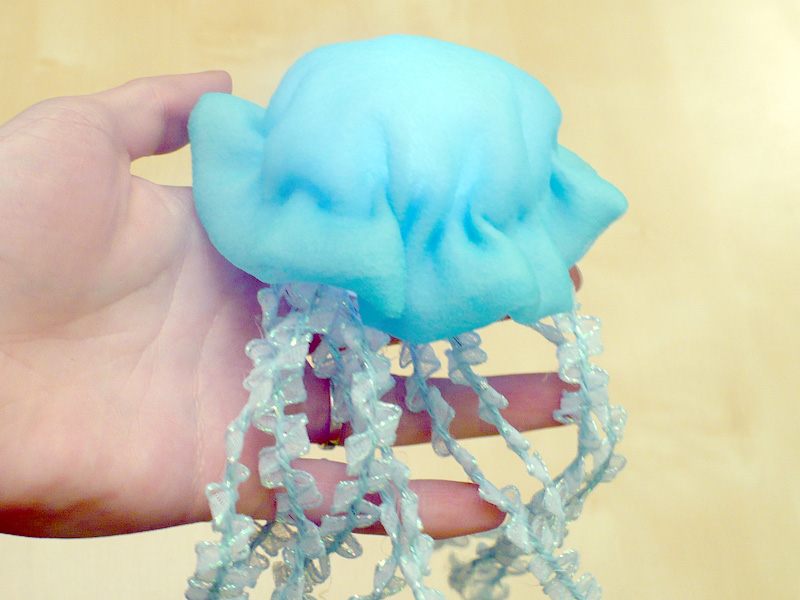
Finally, decorate your undersea grotto with LED Jellies — eerie glowing jellyfish. And read on for even more fun hacks using LED throwies, from the MAKE blog.

YouTube player

What will the next generation of Make: look like? We’re inviting you to shape the future by investing in Make:. By becoming an investor, you help decide what’s next. The future of Make: is in your hands. Learn More.

Project Steps

Build an LED throwie.

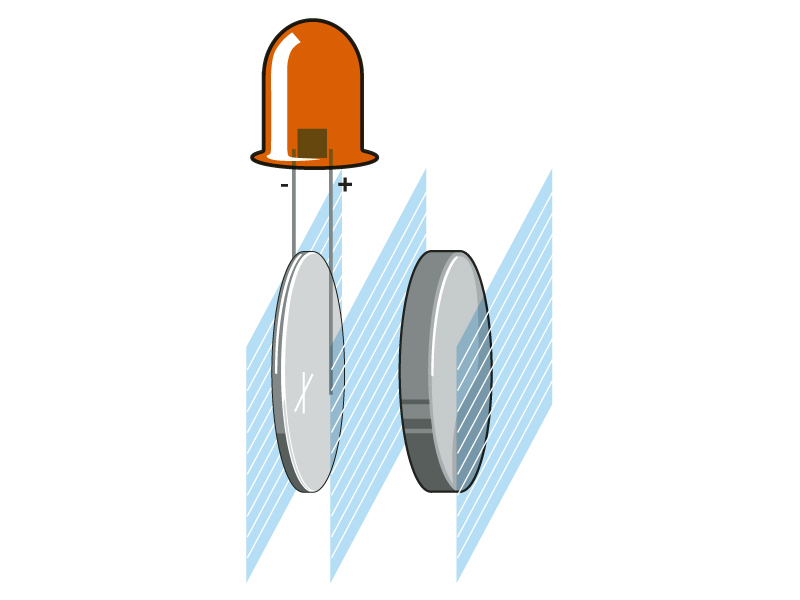
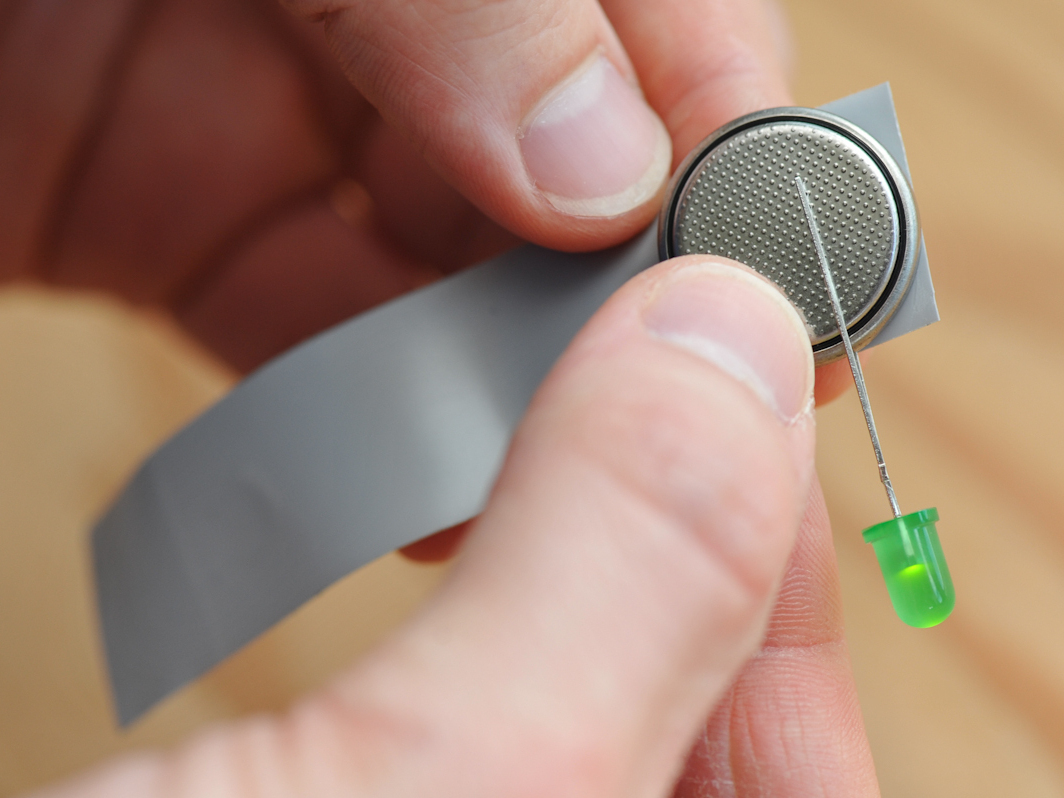
Pinch the LED’s leads to the sides of the battery, with the longer lead (the anode) touching the battery’s positive (+) terminal, and the shorter lead (cathode) touching negative (–). It should light up.

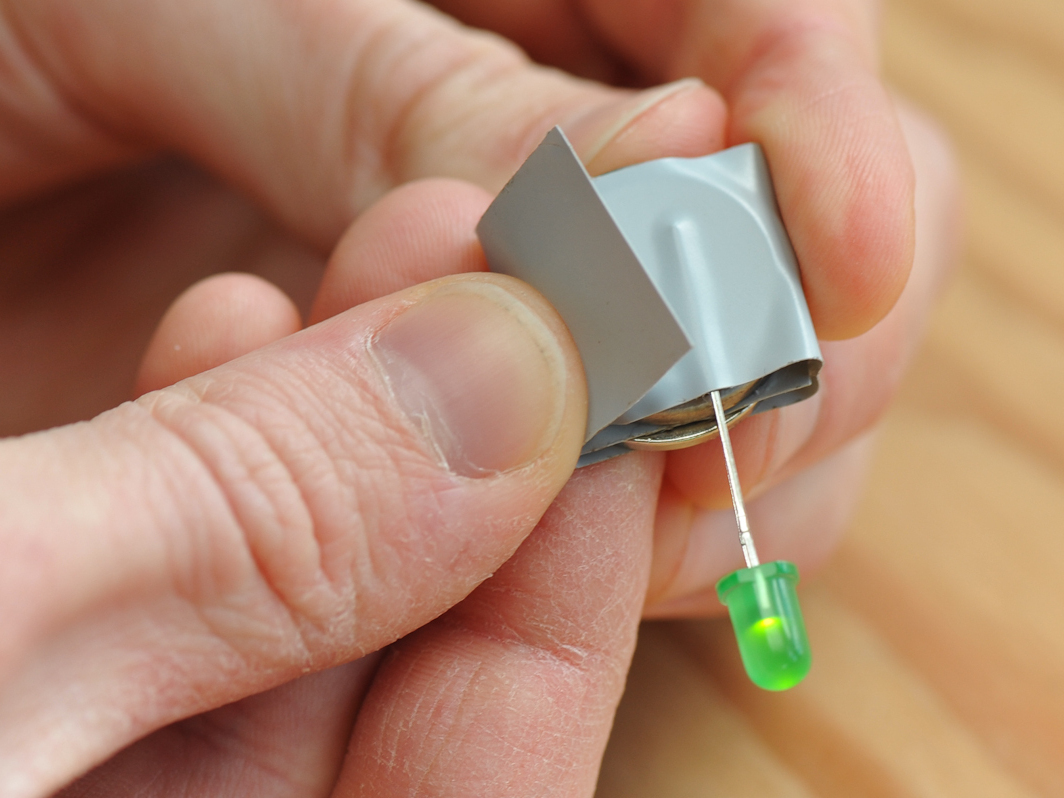
Cut a 7″ length of strapping tape or electrical tape, and wrap the leads tightly to the battery so the LED does not flicker. Wrap once around both sides of the battery.

Place the magnet on the positive side of the battery and continue wrapping tightly.

The battery’s positive contact surface extends around the edges of the battery, so don’t let the short lead (cathode) touch it or you’ll short the circuit.

That’s it! You’re ready to throw it and watch it stick to any ferro-magnetic surface. Throw it up high and in quantity to impress your friends!

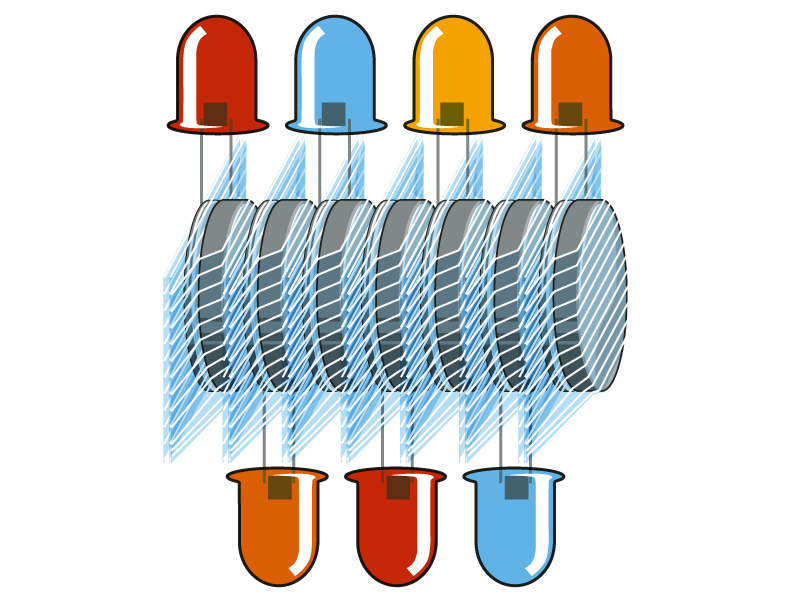
Build giant throwie bugs.

Throwies naturally chain together in your pocket, making multi-segmented throwie bugs, which will also stick to metal surfaces if they aren’t too long.

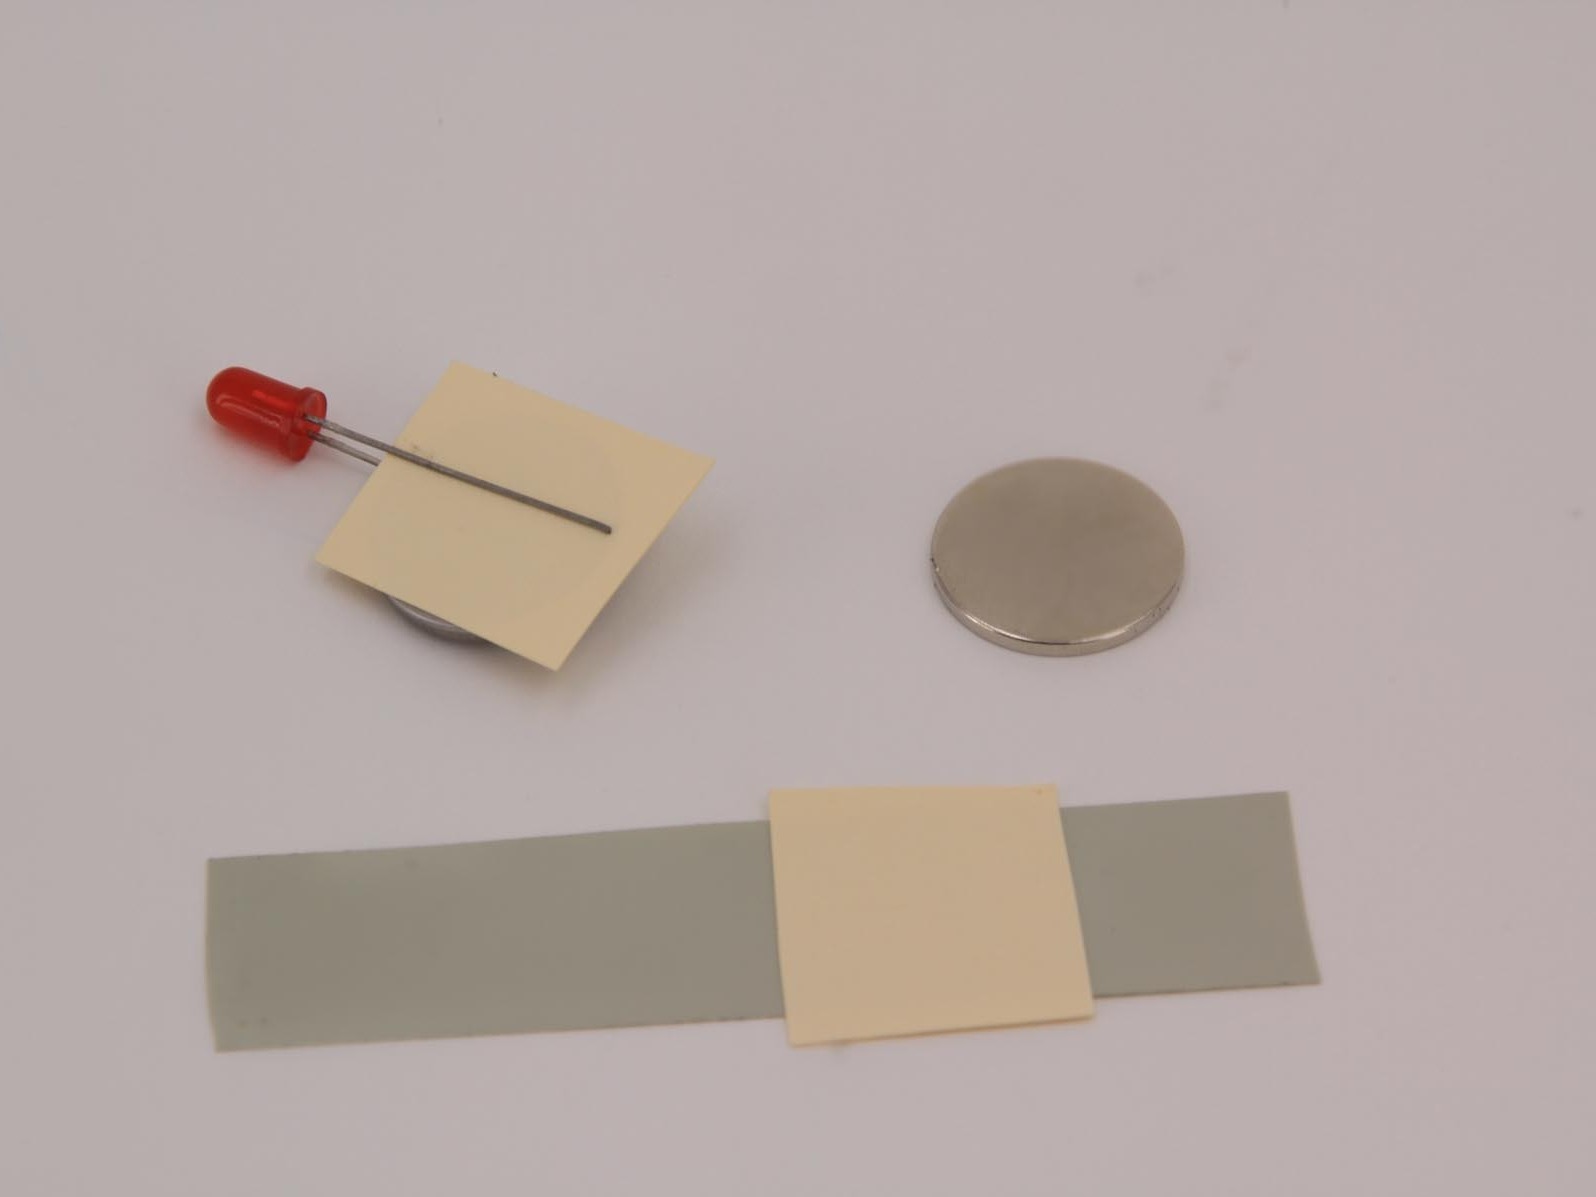
Hack your throwie with an On-Off tab.

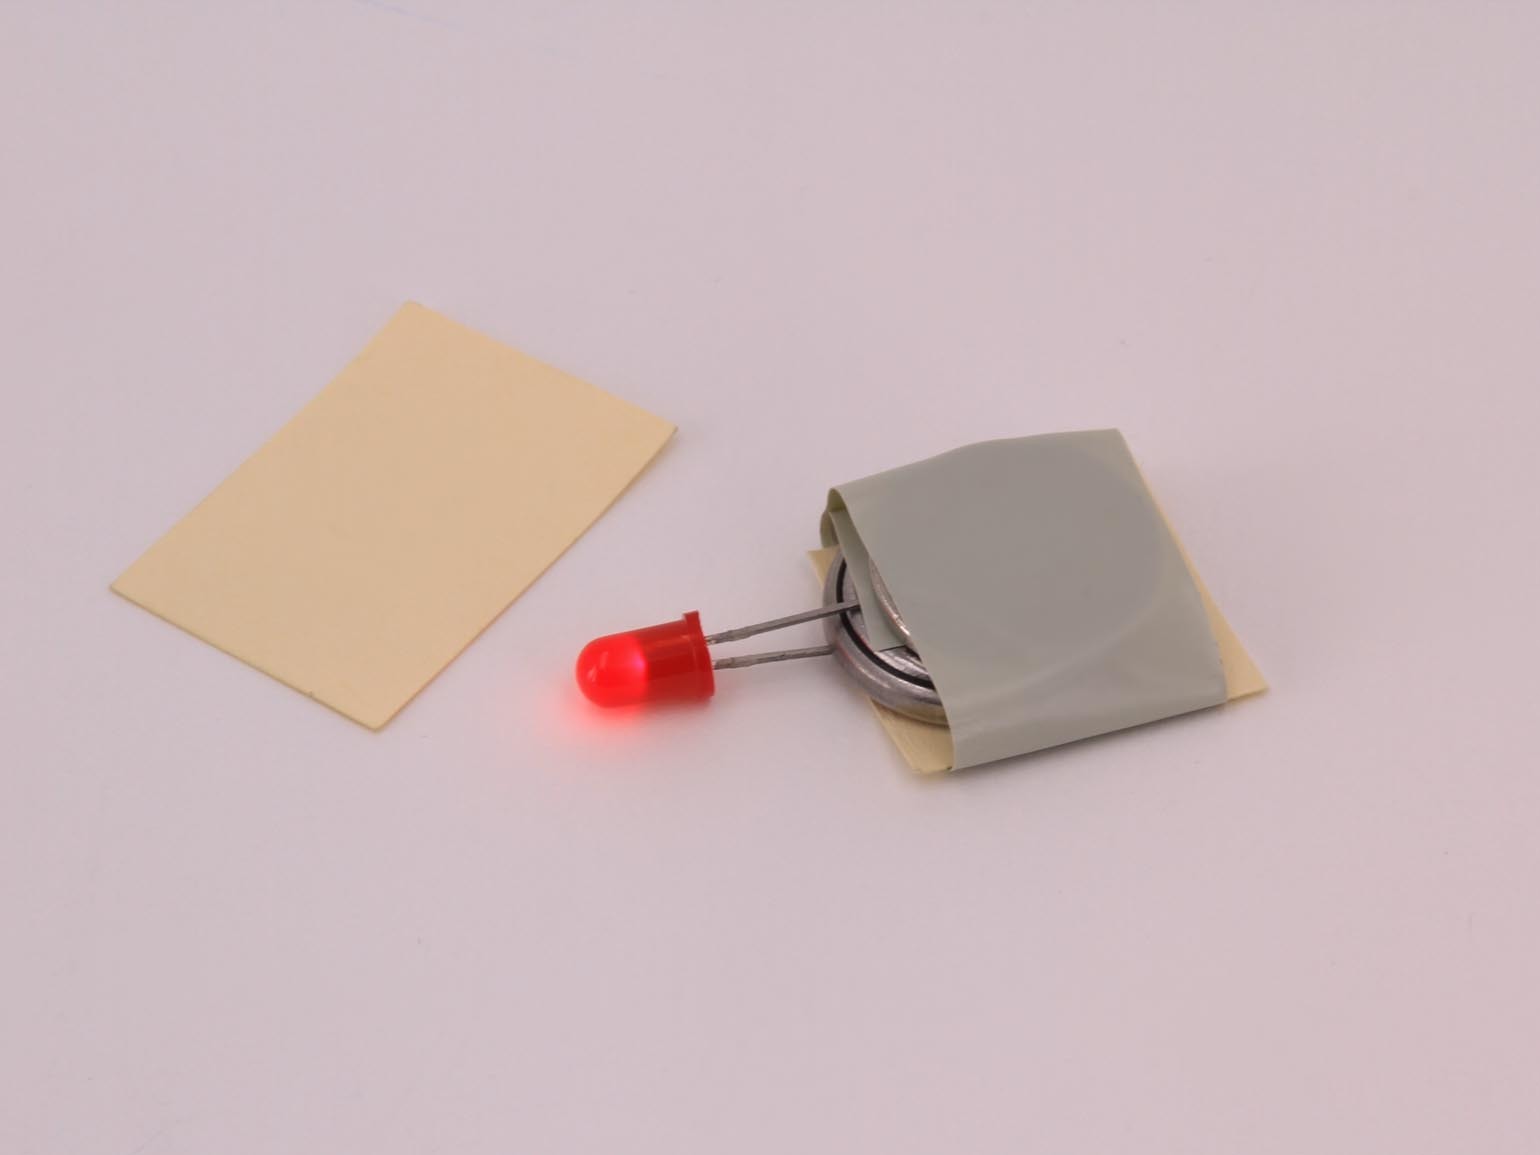
Before you tape the LED to the battery, sandwich the longer lead between 2 tabs of cardstock.

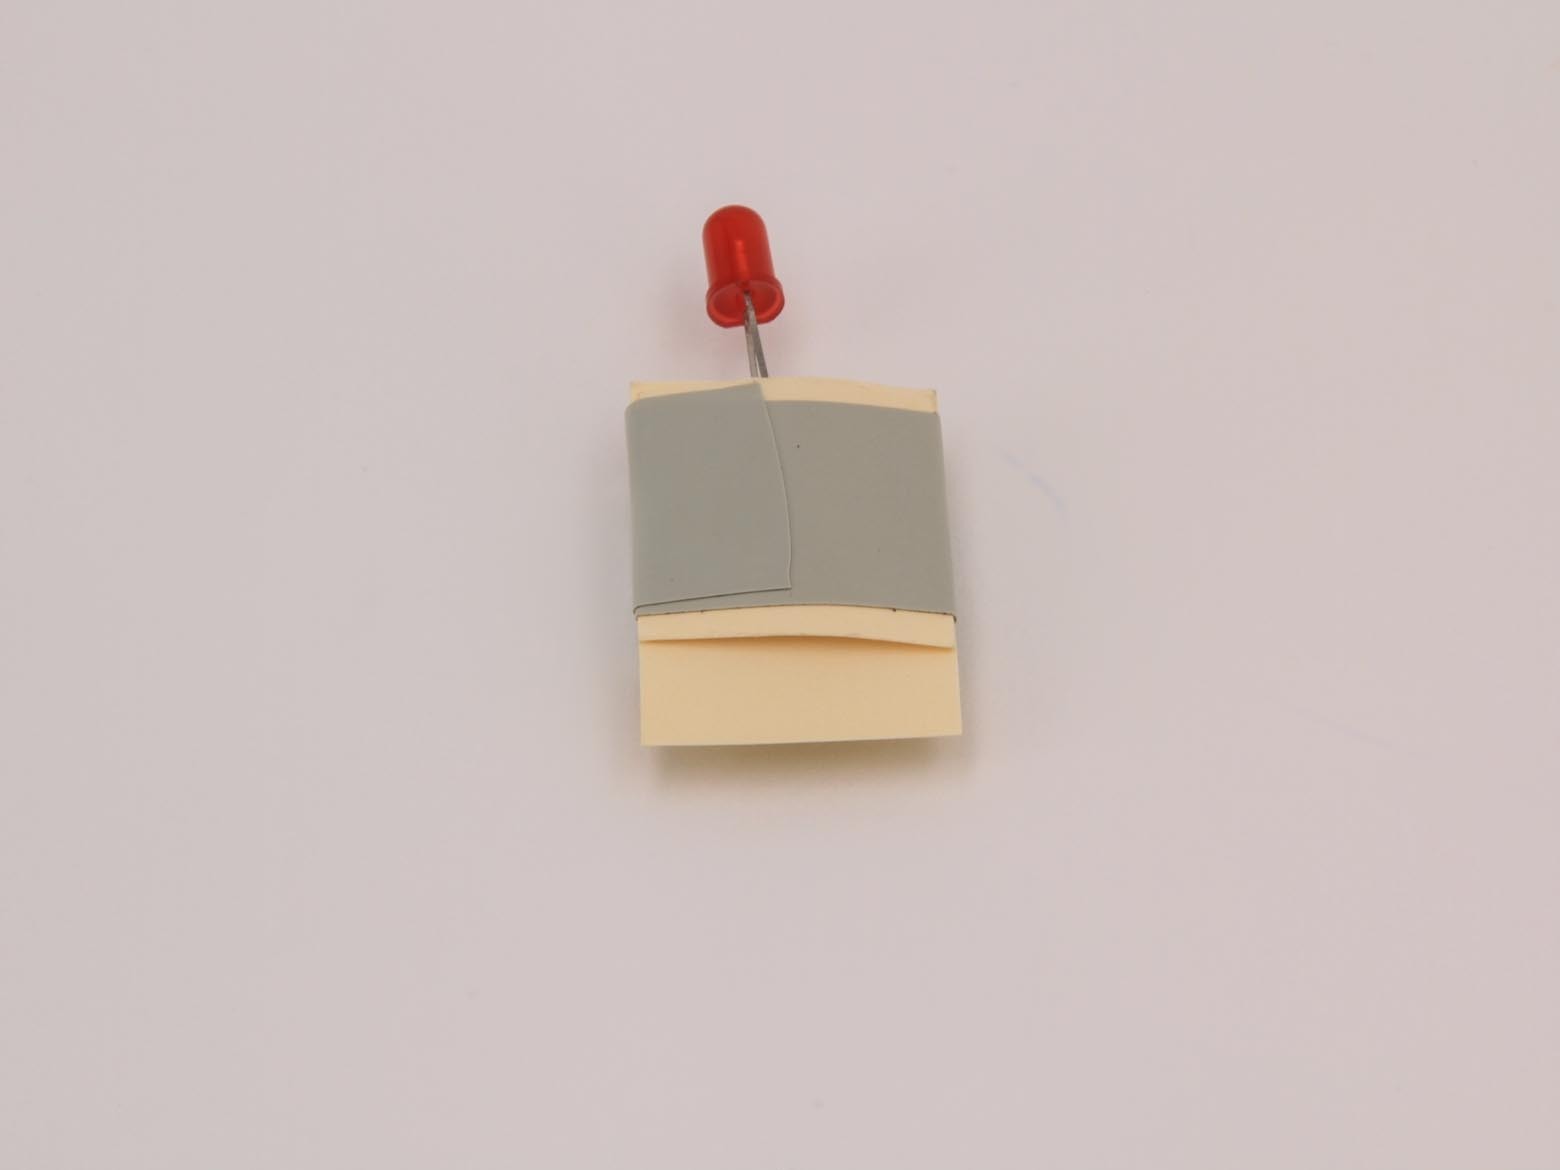
When you wrap the tape, one tab will stick to the tape; the other tab will be free to slide in and out, on the positive (+) side of the battery, making and breaking contact. So you can switch your throwie on and off whenever you want. Nice hack!

Build an Indestructible LED Lantern.

Drill a 3/8″ hole in the top of the PVC cap; it will make a watertight fit for a 10mm LED. Use a drill vise to prevent kickback.

Cut 1/2″ off each LED lead, then use pliers to bend a small dogleg in the longer, anode (+) lead. This helps keep the cathode (–) lead from shorting out the edge of the battery.

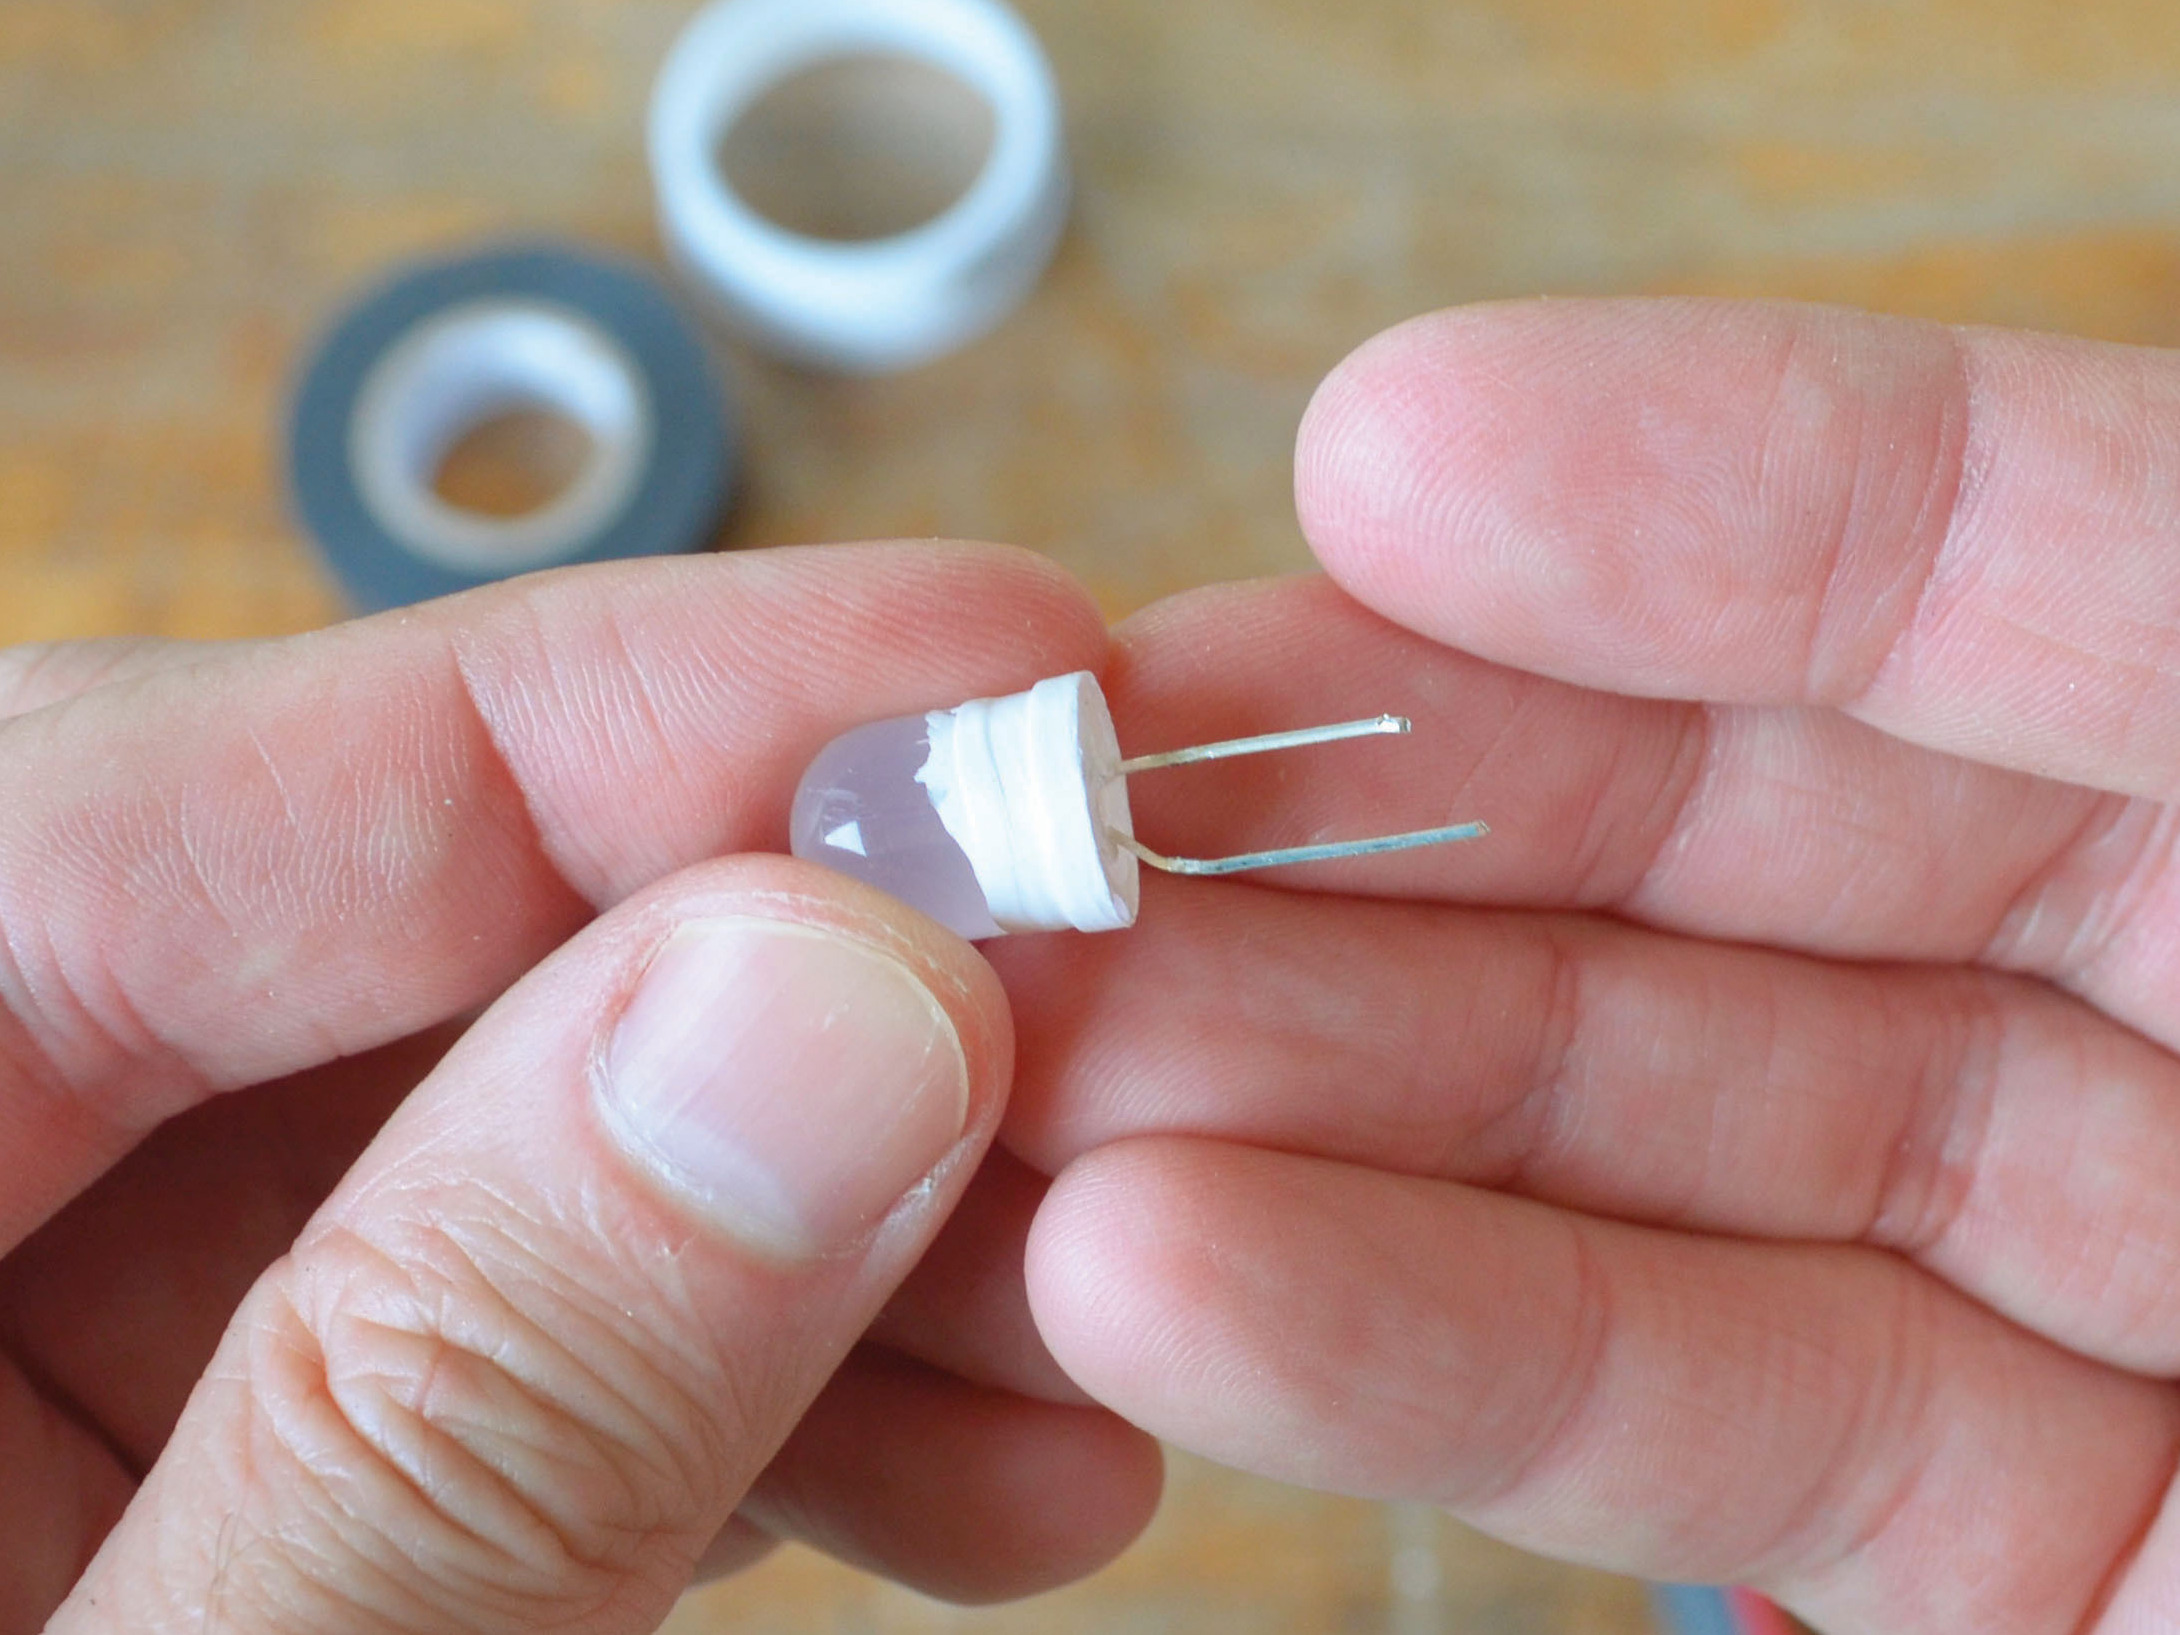
Wrap the base of the LED with thread sealing tape.

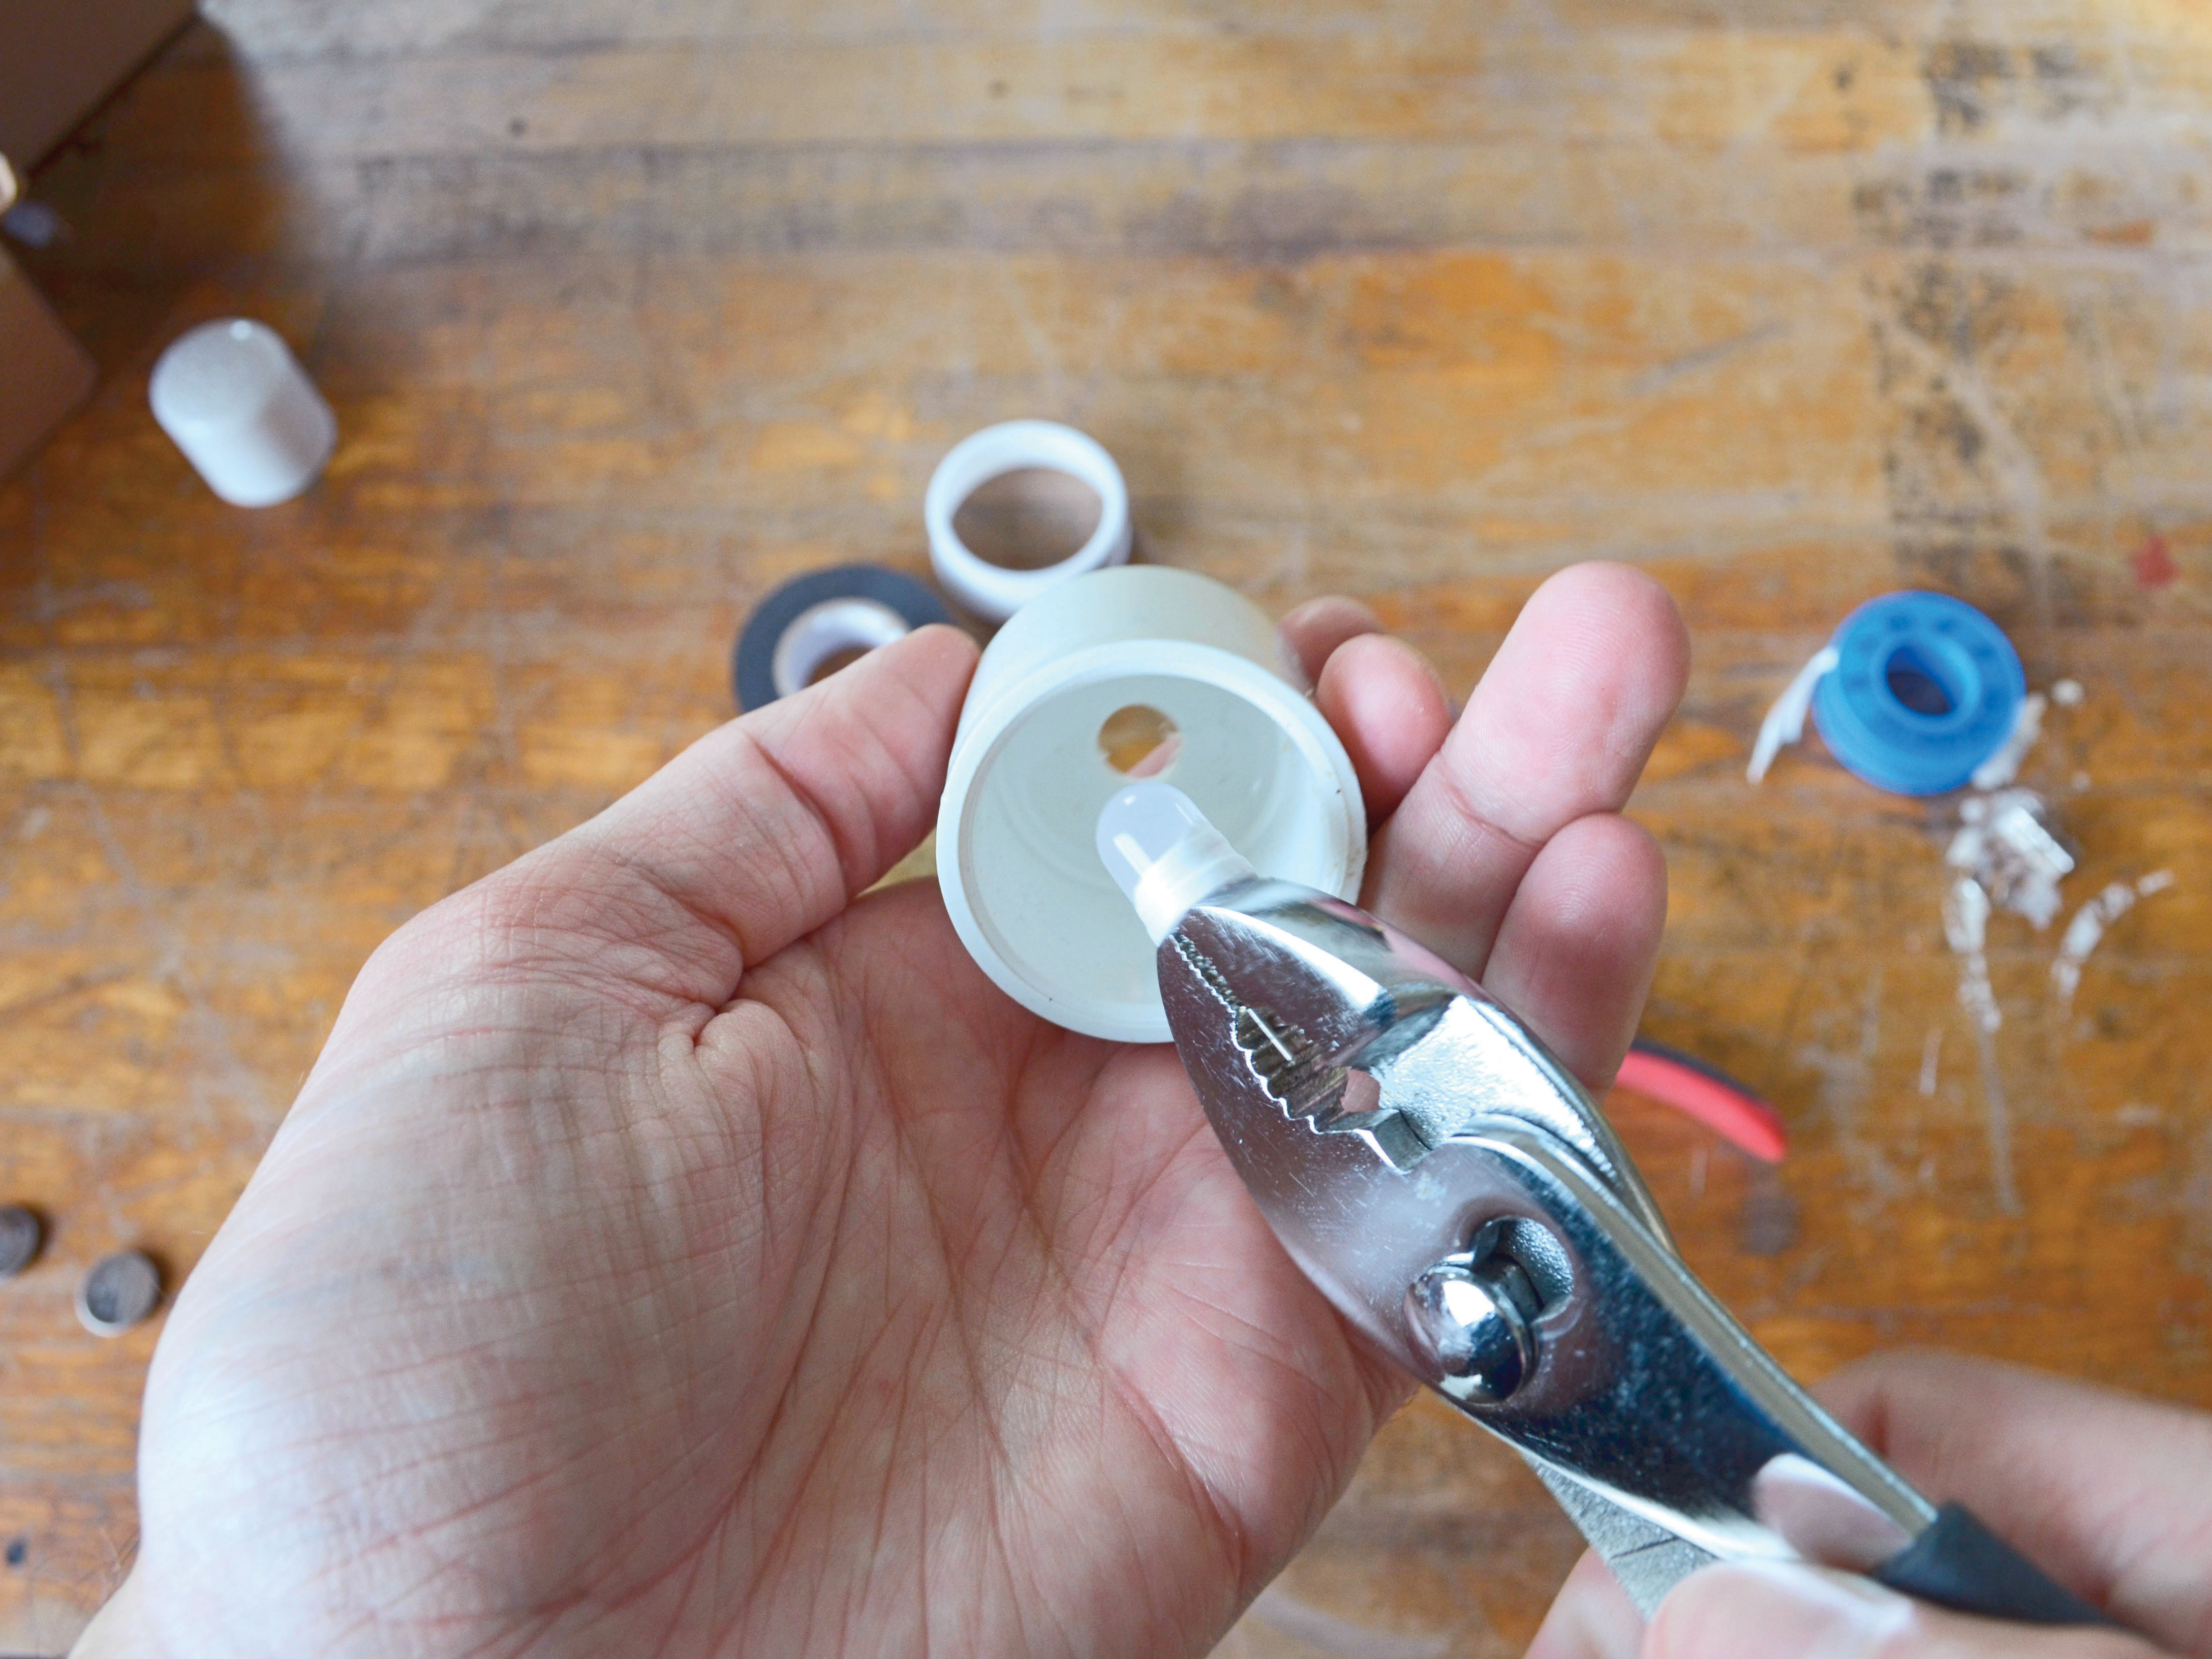
Place the LED in the pliers so their blunt nose is flush against the LED’s bottom. Push the LED firmly through the cap from the inside until it’s flush against the inside of the cap. If it’s too tight, use the open end of the plug as a backstop and gently tap the plier handles with a rubber mallet or block of wood.

Power up your Indestructible LED Lantern.

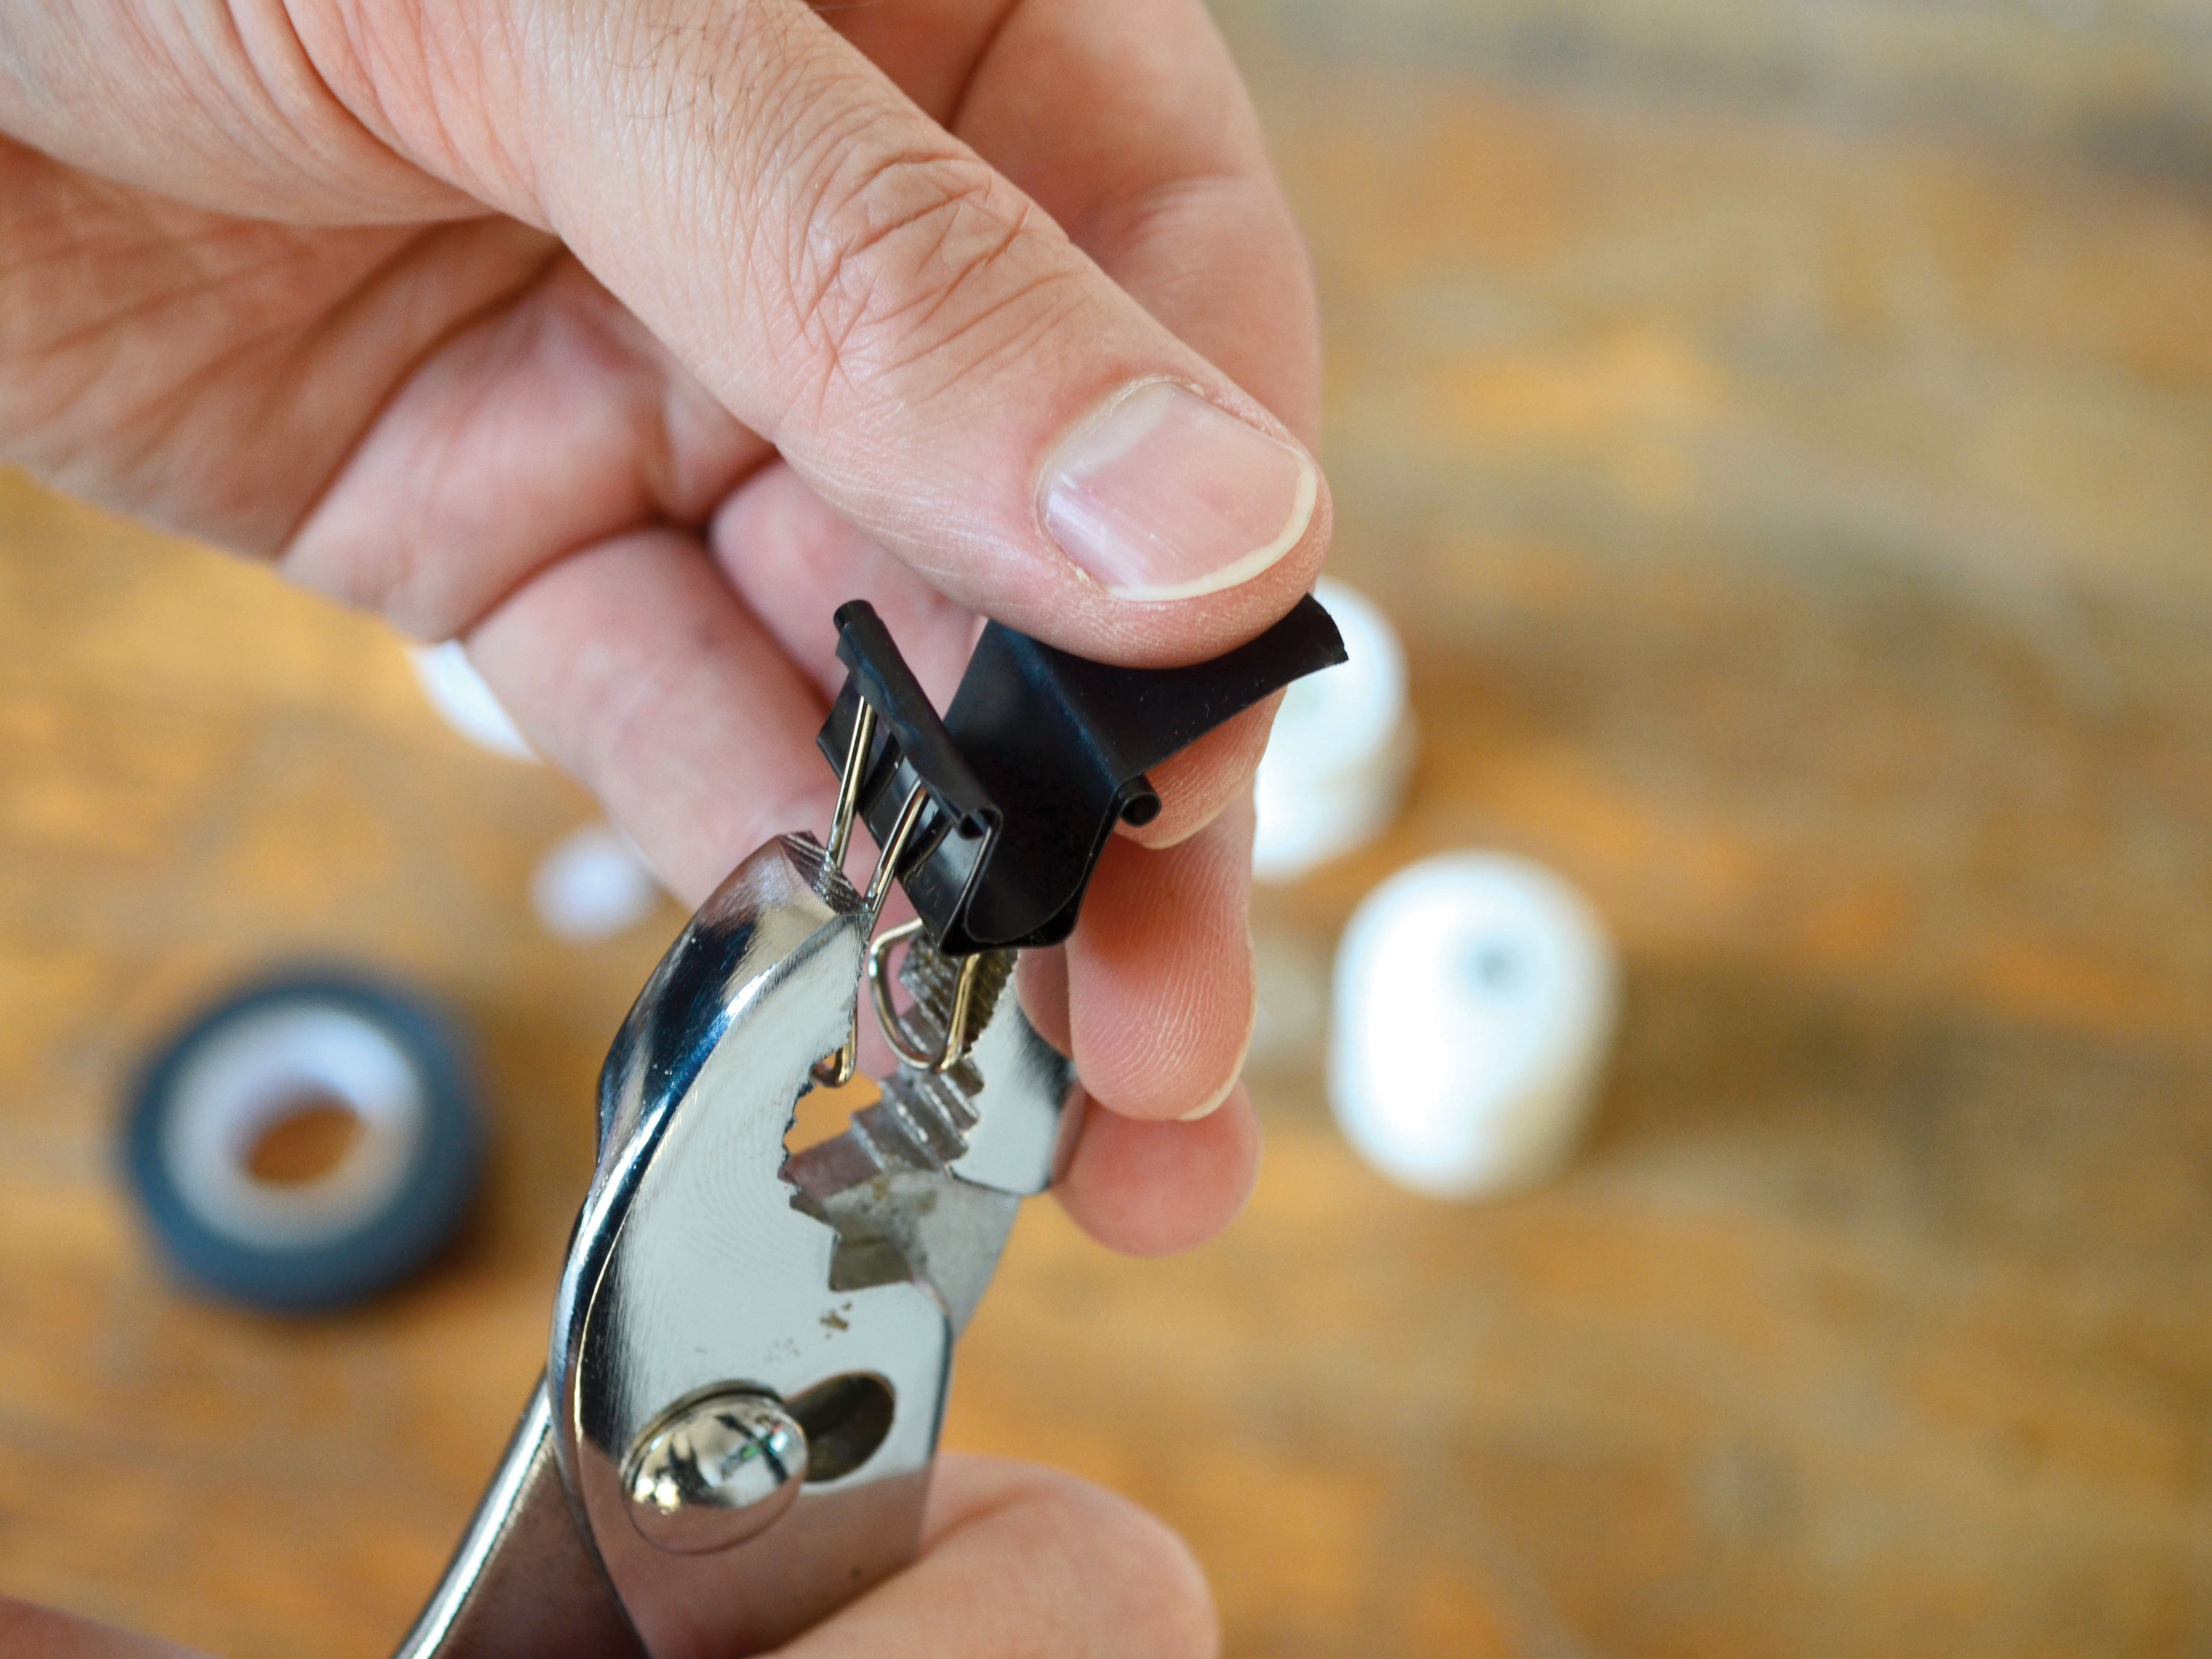
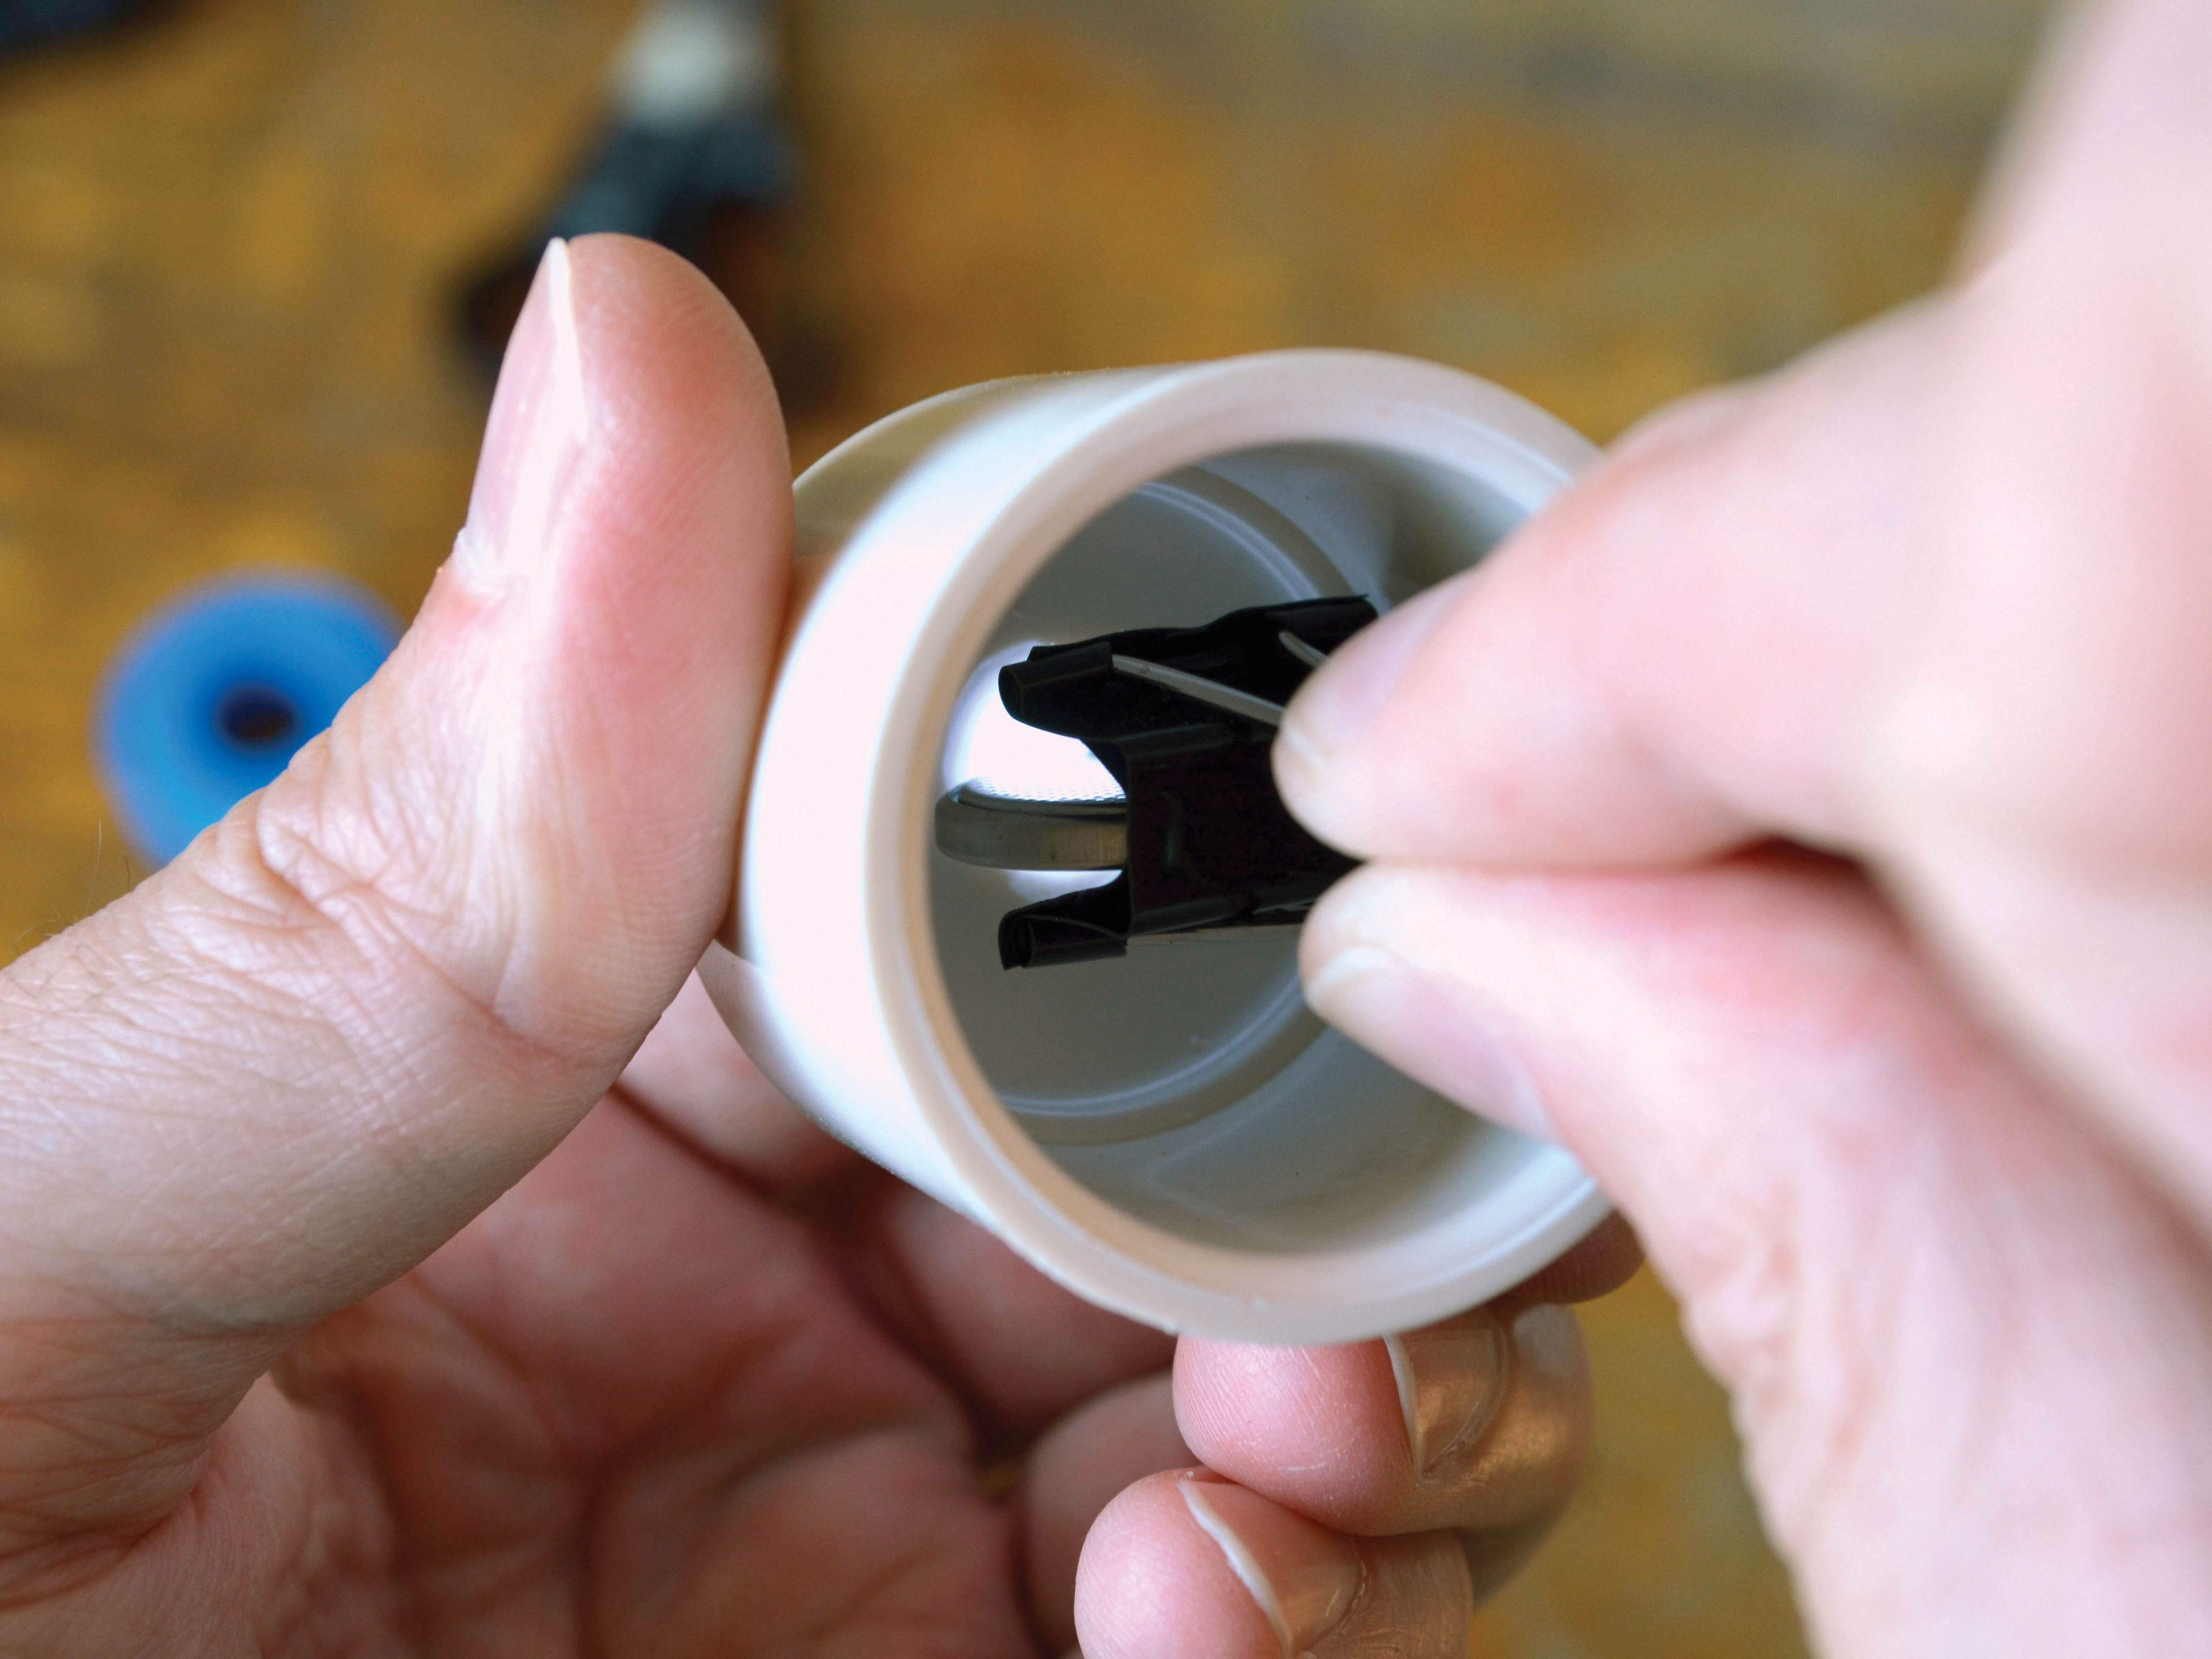
Insulate the inside of the binder clip with a bit of electrical tape, to avoid shorting out your LED. The pliers will help hold it open.

Slice the CR2032 coin cell battery between the LED’s leads, with the battery’s positive (+) side against the longer (+) lead. The LED should light up. Clip the binder clip over the leads to hold them securely to the battery.

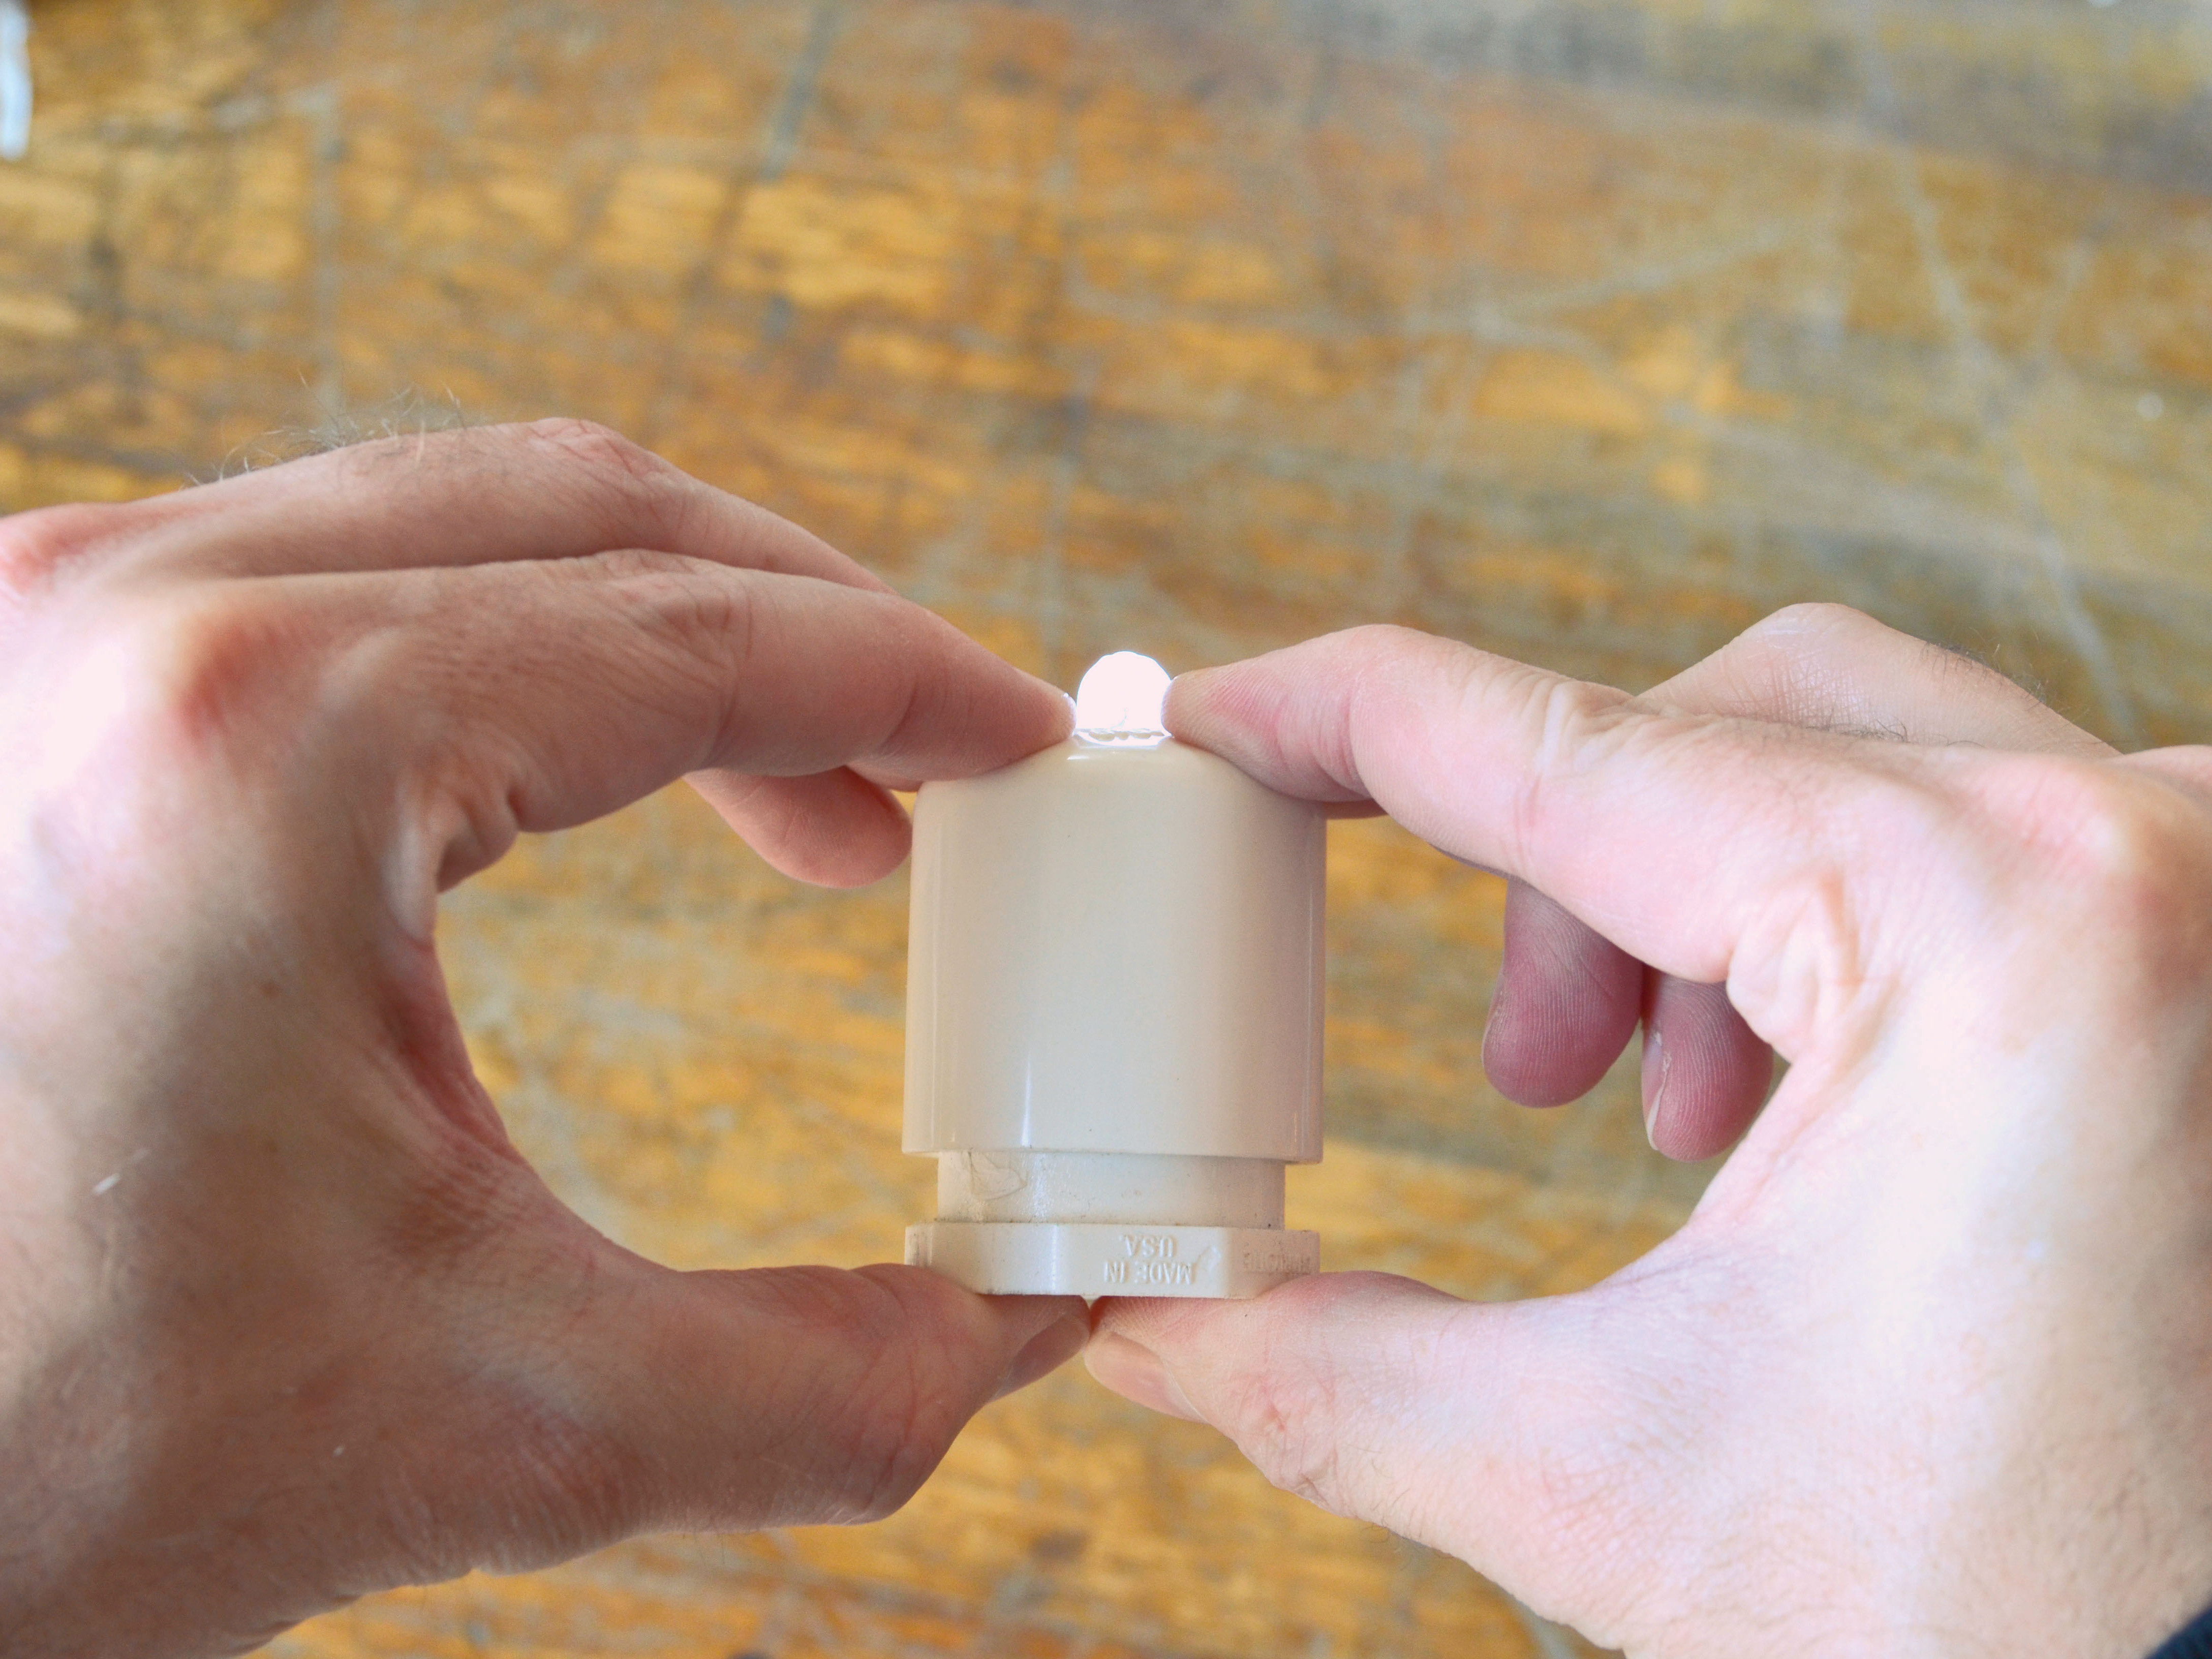
Wrap the top edge of the PVC plug once with sealing tape, then squeeze the plug into the cap. That’s it!

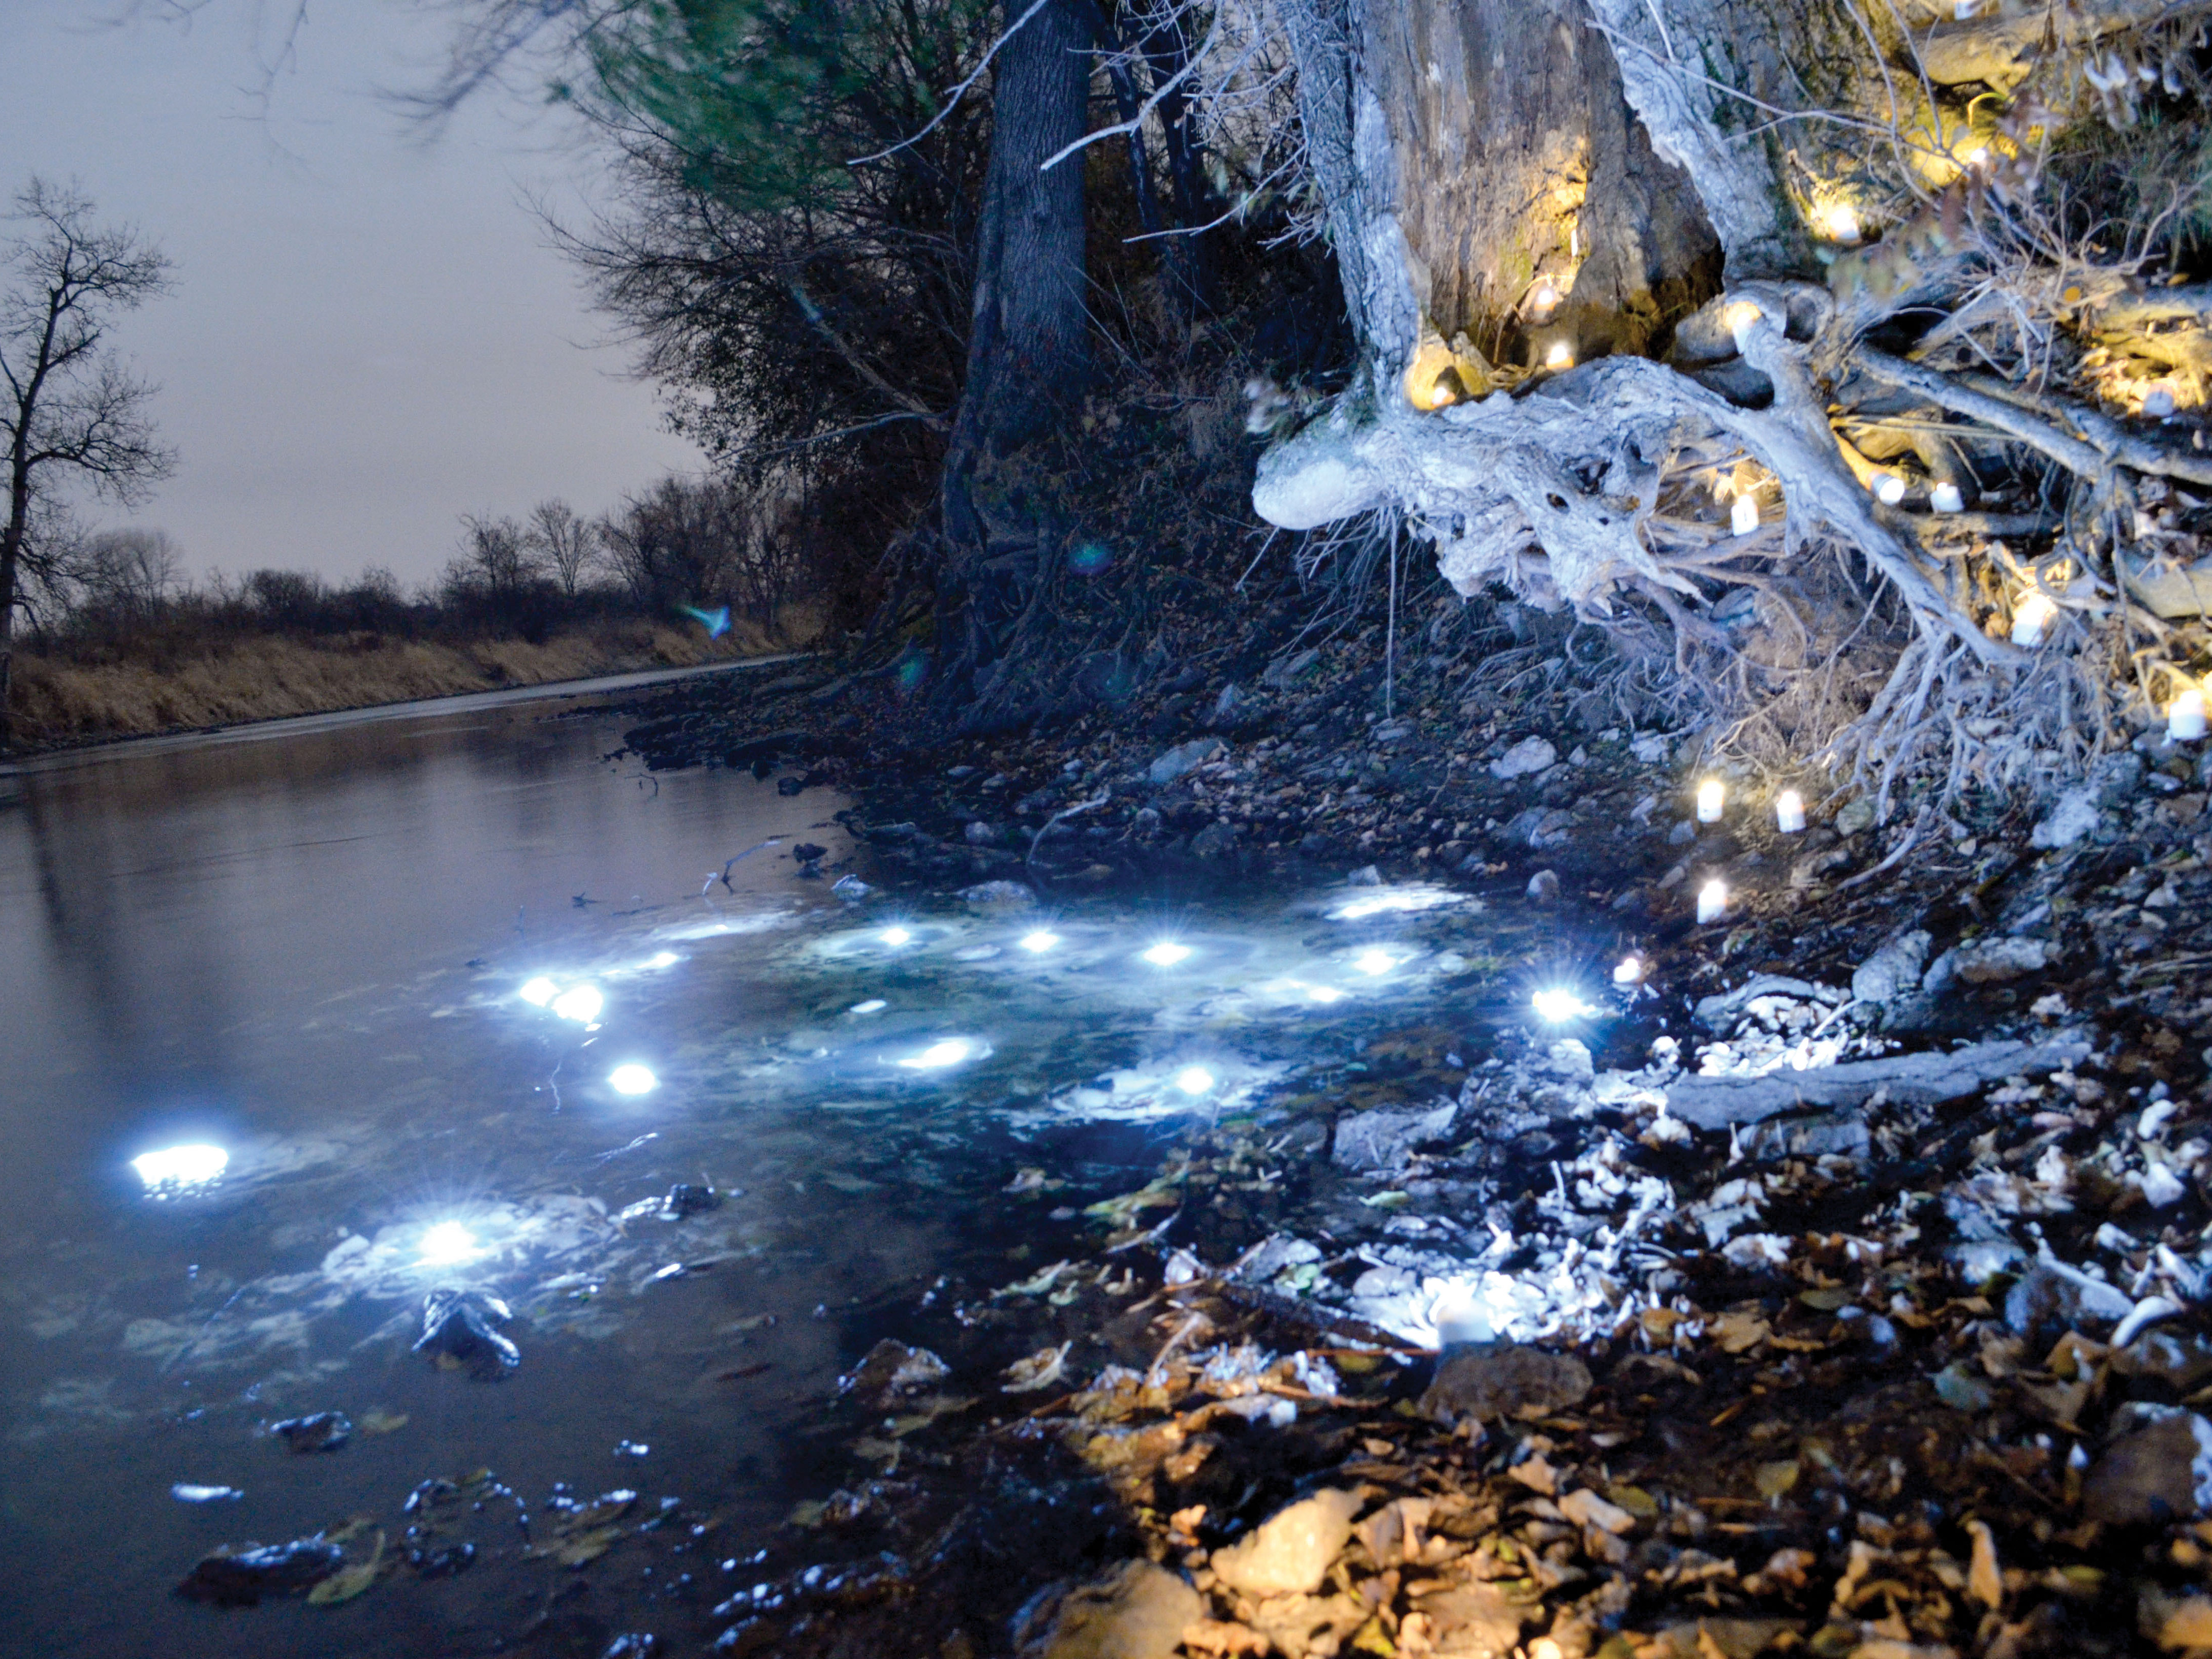
Deploy Indestructible LED Lanterns anywhere.

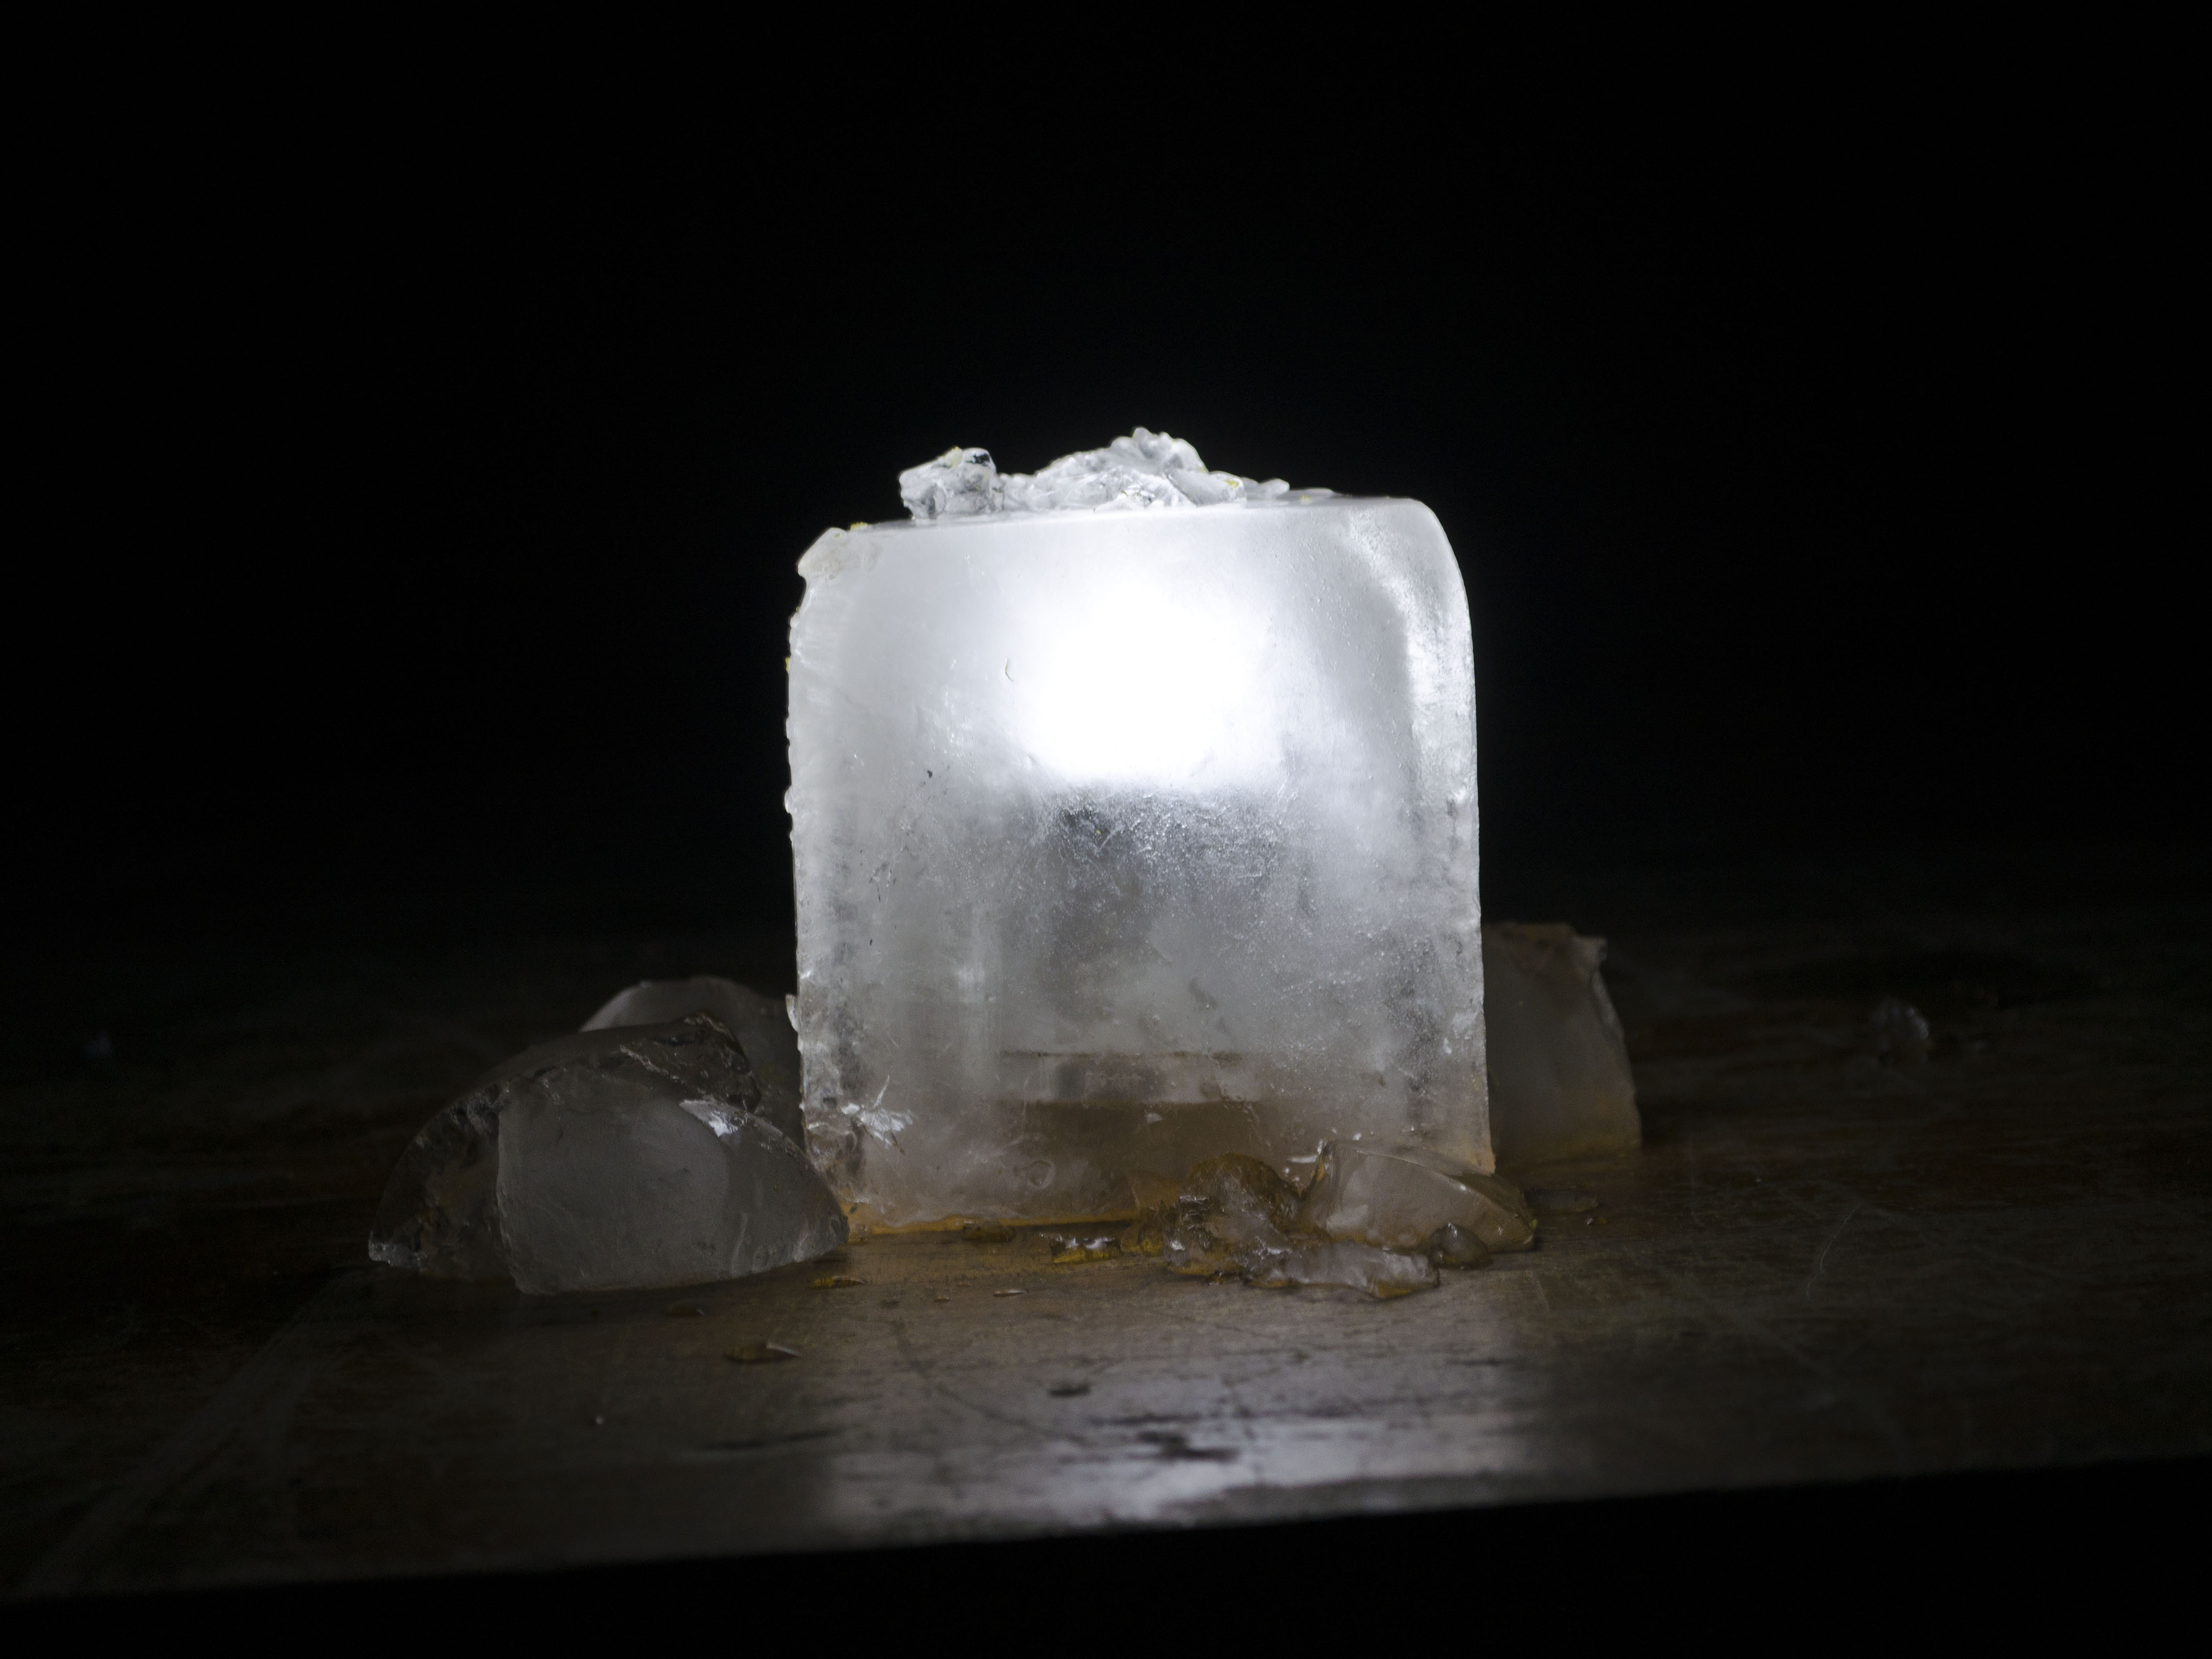
These simple, rugged, floating LED lanterns will glow for days. They’ve survived being submerged for a week, frozen, and laundered in the washing machine.

Use them to light up a yard party, or to mark the trail for night hiking. Maker Steve Hoefer, who invented this lantern, has floated them downstream, frozen them in ice, even used them as ammo in a pneumatic cannon. Use your imagination!

Turn throwies into LED Jellies.

To turn your throwies into an eerie glowing jellyfish, try making Angela Sheehan’s cool-looking LED Jellies. Full instructions are in Make: Projects here.

More great LED throwie ideas.

Since MAKE first published the LED Throwies how-to by Graffiti Research Lab in 2006, we’ve seen dozens of cool hacks and mods. Here are a few favorites from the MAKE blog:

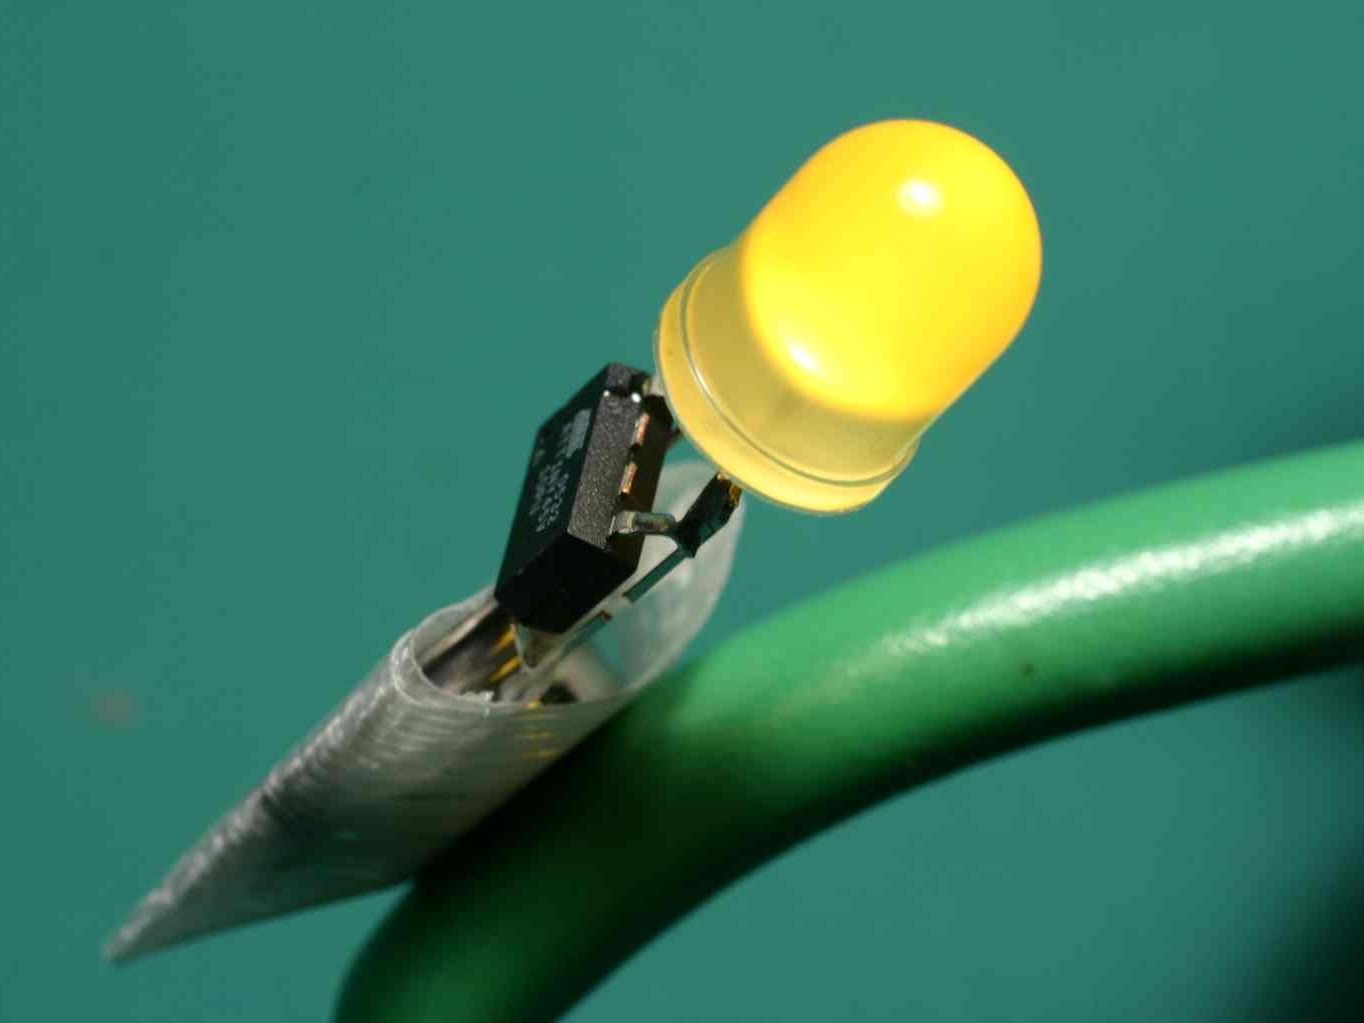
Programmable LED Throwies (Throwie Talkies) — Stick an Atmel ATtiny microcontroller on your throwie and the LED will flash messages in Morse code! Hack by Ward Cunningham.

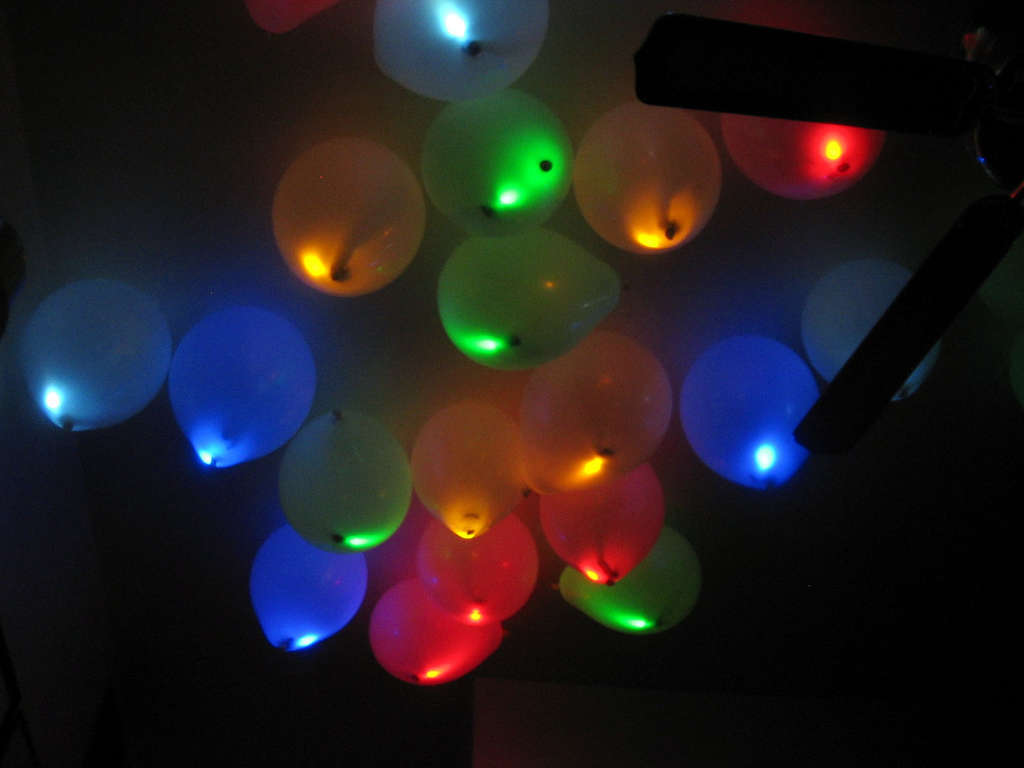
LED Floaties — Put throwies (minus the magnets) inside 12″ helium balloons and light up the room or the sky.

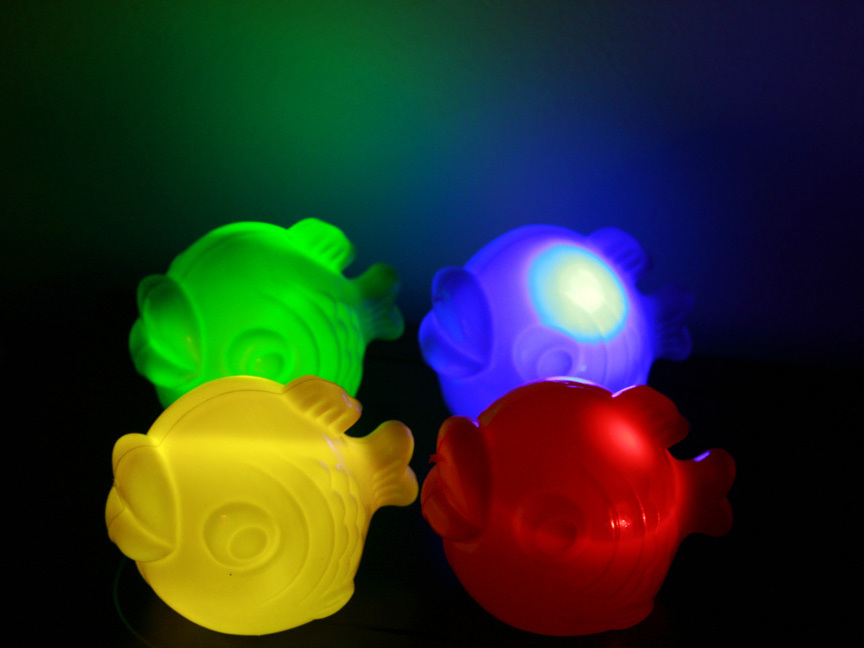
LED Swimmies — Slip throwies inside plastic fish toys and light up a pond or pool party.

Motion-sensing LED Throwies — Use a scrap of guitar string to make an intermittent switch so the throwie will flicker when it’s jiggled.

Amplified LED throwie wall — Susan Clausen of AS220 made this amazing sheet metal target for LED throwies, then put audio pickups on the back and ran it through an effects pedal and into an amplifier. It made for some extremely satisfying tosses.

Conclusion

A throwie will shine for 1-2 weeks, depending on the weather and the LED color. To get one off a ferro-magnetic surface, don’t pull it, or it might come apart. Instead, slide the magnet sideways while lifting it with a fingernail or tool.