This project is a part of the Arduino Data Acquisition and Control System described in the upcoming book Automating Aquaponics with Arduino.

While this project is designed with aquaponics in mind, it does not require an aquaponic system, making it useful for other projects such as home automation. The included application is, therefore, bare-bones, making it easier to integrate into any other App Engine project.

How It Works

Every sixty seconds, the Arduino will test its connection to App Engine. The return should be “Ok”, which is parsed by the Arduino. If the connection is ok, the bicolor LED is set to green, otherwise it is set to red. If the connection is good, the Arduino will take a reading from digital pin six (the DHT pin) and create a GET request to App Engine. App Engine will query the datastore (its database) for the Environment entity, update the temperature and relative humidity values and put the entity back in the datastore.

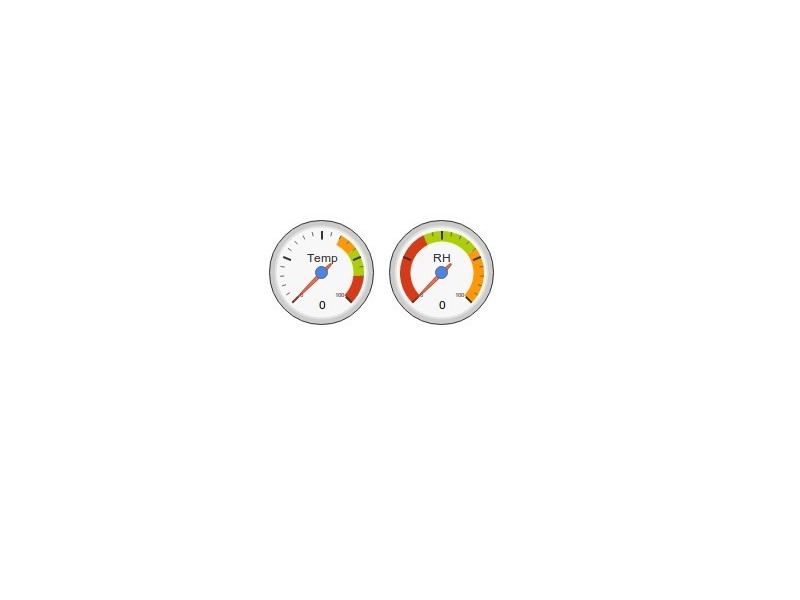
On startup, the web browser (client) will create a temperature and humidity gauge with values at zero. It will then make an AJAX request to the datastore which will return a JSON array. The client parses the array and updates the gauges. Finally, it sets an interval to repeat the process, giving you an updated display.

Software Versions:

1. Arduino IDE: Arduino-1.0.3

2. App Engine SDK: Python, Linux, 1.7.4

3. Python: Python2.7

4. Ubuntu 12.04

5. Adafruit’s DHT Arduino library

Update

I removed the dependency on the Timer library – it simply wasn’t needed for this application.

The Arduino code has been updated.

For whatever reason, the Arduino fails to connect on the third HTMLRequest. I don’t know why, but it works flawlessly after that. It may have something to do with the Arduino code for Linux, or not. For this application, it means the second attempt to testConnection will fail, but every request after that will work.

Finally, I have the serial output on by default. In application, you’ll want to comment this out, or the counter integer will grow very large.

Project Steps

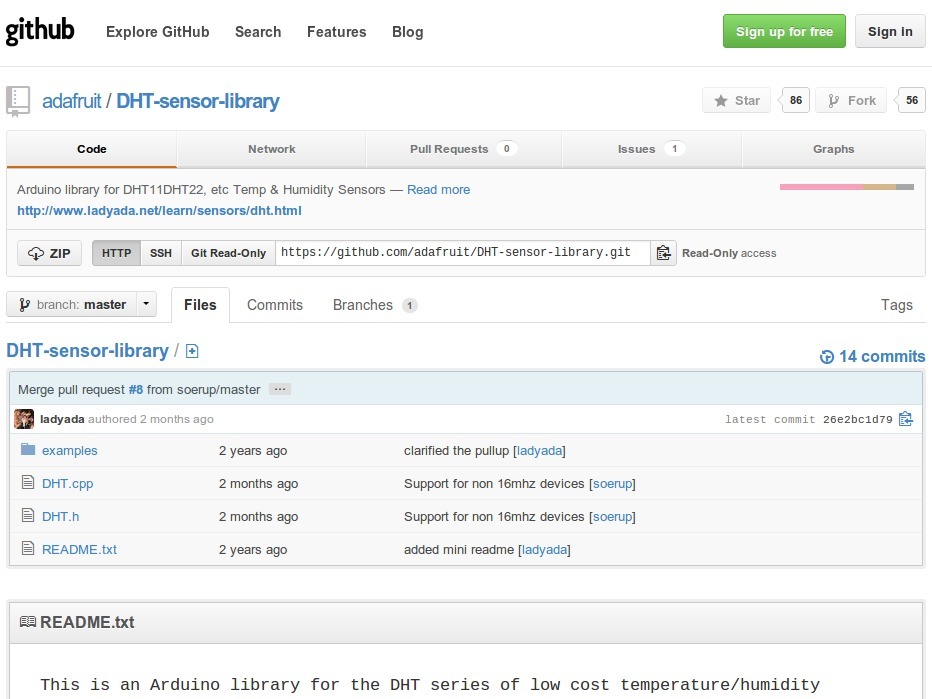
Install Adafruit’s DHT library.

Make sure the DHT library is named “DHT”.

If you don’t already have a free Google account, sign-up for one.

Use your Google account to sign-up for App Engine.

Next, download the App Engine SDK. The version used here was 1.7.4

In the App Engine Admin Console, create a new project. The final URL for the project name will be: http://.appspot.com. Also, take note of the login security. You can choose Google Accounts, Google Apps for Business Domain, or OpenID.

Download the project tar file and extract it in your home directory (Ubuntu). Inside you will find the GAE directory labelled myapsystem and the Arduino folder containing the Arduino file.]

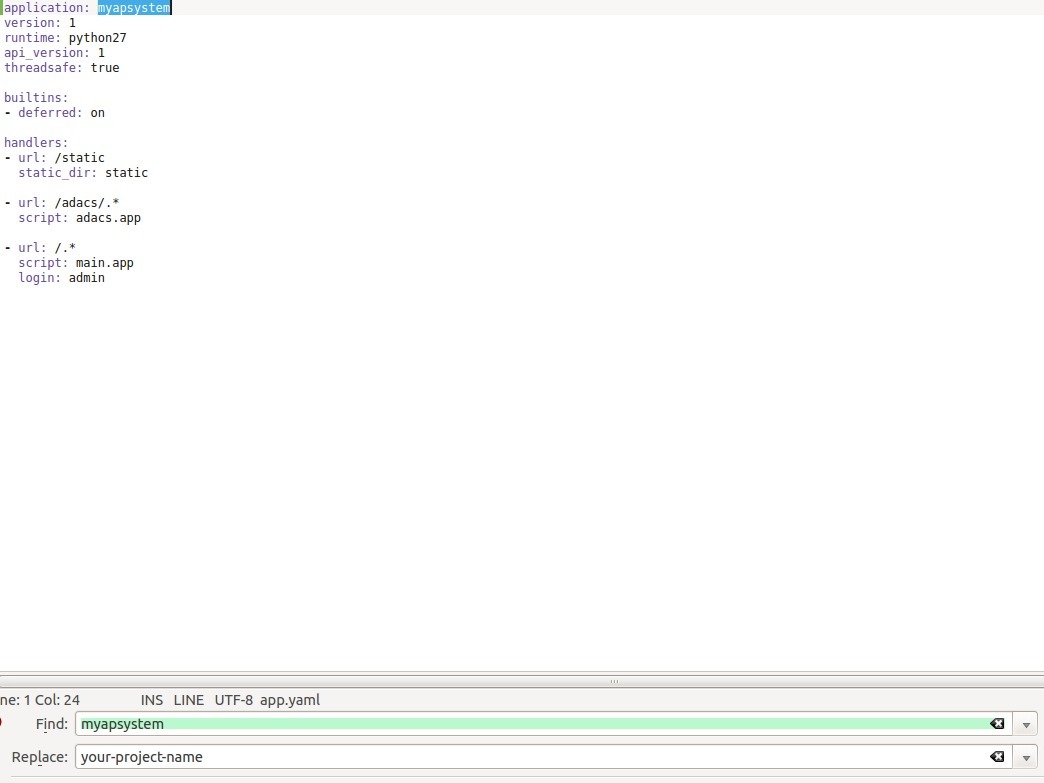
Go into the myapsystem directory and open “app.yaml”. On the first line you will see the application name. Replace the highlighted name with the identifier you created earlier. See the second image.

One final note on security. At the bottom of the “app.yaml” file you will see that the script “main.app” requires admin to login, but no other script says this. This application is not secure beyond the first page. A thorough discussion on security is outside the scope of this project, but be aware.

To launch the GAE SDK, open up a terminal and type: “python2.7 AppEngine/dev_appserver.py IAquaponics_DHT/myapsystem”. If you renamed the project folder, or put it outside your home directory, change the path accordingly.

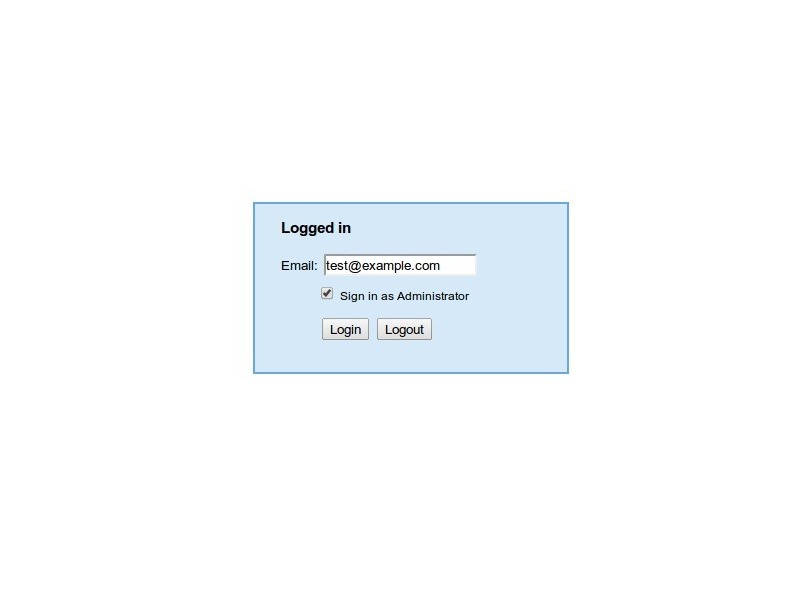
Launch a web browser and go to: “http://localhost:8080/”. If all went well, you should see a login prompt. Click the checkbox “Login as administrator” and login. The email address doesn’t matter.

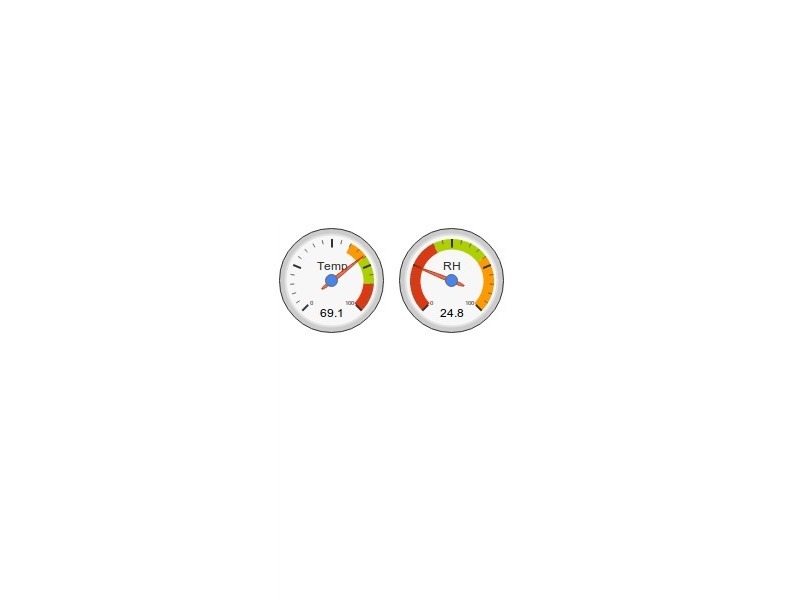
At this point you should see two gauges that read zero. To make sure everything is working, we are going to replicate the call the Arduino will make. In the browser, type in: “http://localhost:8080/adacs/dht?Temp=69.1&RH=24.8”. This will present a page that says, “Ok”.

Now go back to the previous screen and you should see the gauges update. Ideally, you should see figure three.

If all went well, it’s time to upload the webapp to GAE. From the command line, change directories into your GAE folder and type: “./appcfg.py update ~/IAquaponics_DHT/myapsystem”. Again, substitute your path.

You will probably be prompted to login with your email and password.

When the update has done, go to your webapp: “http://myapsystem.appspot.com”. If you are not already logged in, you will log in to Google normally. Finally, you will see the home page.

If your gauges are zero, go ahead and fake the Arduino call again, and return back to the home page. It should look the same as the localhost app.

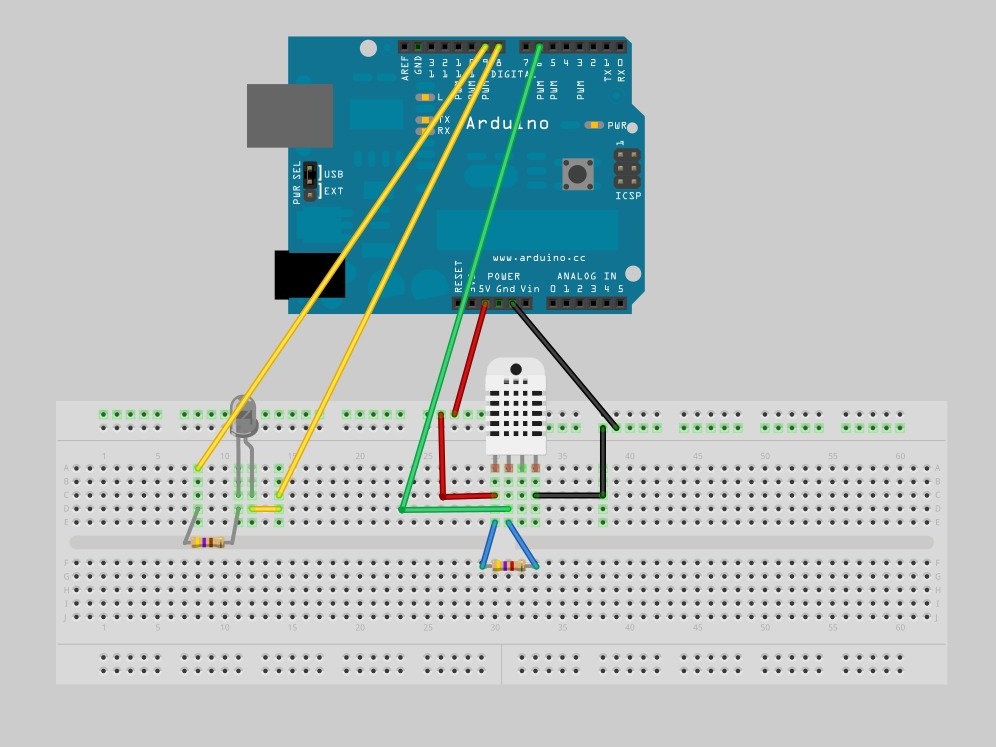
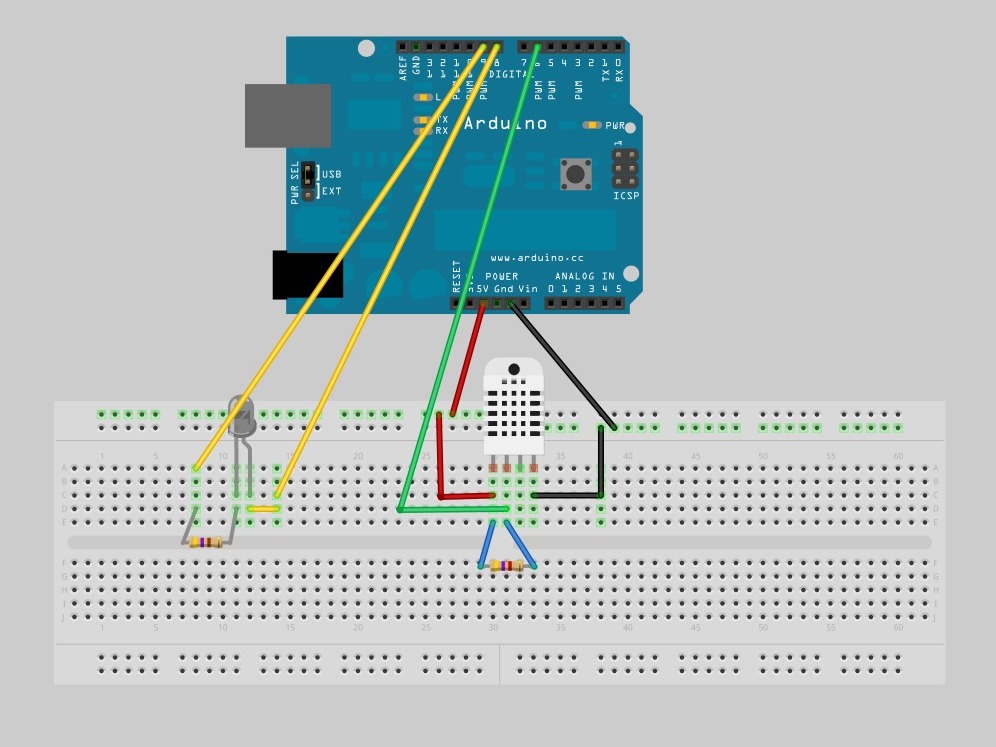
Wire up your breadboard as shown in the Fritzing diagram. Please note, the Ethernet shield is not shown, but the jumper wires plug into the Ethernet Shield which resides on top of the Arduino.

The 470 ohm resistor is used by the bi-color LED, and the 4.7 k is used by the DHT.

Load the Arduino file. Select Arduino Uno board and your serial port.

Now, amend the Arduino file with your project name. There are three locations where the URL is mentioned. Change ONLY your project name. In the default case, the project is called “myapsystem”. When you change the URL, do NOT change the “.appspot.com/….” part, only the project name. There are three places where it must change.

Save and upload the Arduino code. Optionally, it would be helpful to open a serial monitor.

Finally, open your app’s home page and watch the gauges change.

Note: It may take the Arduino a few tries to connect if there are no instances of your app already running.

There is a flaw with this code, whose remedy wasn’t included. This was to ease integration into existing apps. Basically, if the Arduino were to stop communicating, you wouldn’t know without looking at the log in your Admin Dashboard. The gauges would stay the same.

The solution was to create a timestamp every time the Arduino contacted GAE. A deferred task was created for five minutes later.

After the five minutes, the task would evaluate its current time to the timestamp of the Arduino’s last contact.

If that time exceeded double the Arduino’s normal contact time interval (60 s => 120s), an email alert would be created to notify the user of the connection loss and the values would return to zero.

Conclusion

If you incorporate this into your own project, send us a screenshot, we'd love to see it.