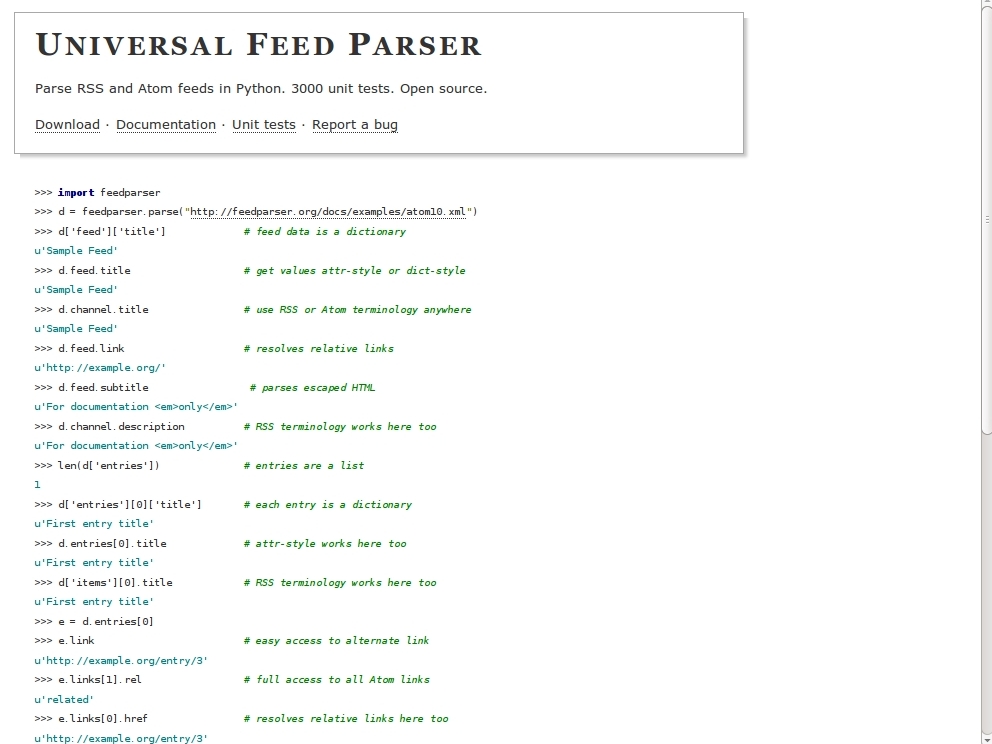
For this tutorial, you will need (or at least it is helpful to have) a knowledge of the Python programming language. You will also need an Arduino and, depending on how many of the projects below you want to work on, different electronic parts. Let’s dive in!

What will the next generation of Make: look like? We’re inviting you to shape the future by investing in Make:. By becoming an investor, you help decide what’s next. The future of Make: is in your hands. Learn More.

Project Steps

To start, let’s grab your (virtual) parts. Go to:

http://www.feedparser.org/

and http://sourceforge.net/projects/pyserial…

so you can download the packages for the two extra libraries we will need, feedparser and pySerial.

Note: To install these, unpack the tar.gz file and run setup.py like the following (on Linux):

python setup.py install

On other systems, just run the setup.py file with the command line argument “install.”

Now for the physical parts. As you can see to the left, all you need for this first project are an LED and an Arduino. The box and switch are part of my Arduino housing and aren’t required.

Now just connect the LED between pin 13 (+) and GND (-), and plug the Arduino into your computer.

Now, just download this program onto the Arduino. Leave it plugged in after downloading.

Then, create a file called new_rss.py, or whatever you want, ending in “.py”. However, make sure to take note of what you call it. Inside the file, write the text in the accompanying image.

Note: Sorry, but the image got cut off after cropping. The cut-off line says:

makezine = feedparser.parse(“http://blog.makezine.com/feed”)

Now, make sure that your Arduino is still connected and running the Arduino sketch you made earlier. Now, run the Python program, and when a new feed comes in from the Make website, the LED should light up!

Note: To view other websites, in the line that was cut off in the earlier image change the URL to the one for the desired website. The URL must be that of an Atom/RSS feed.

Great! On to project #2! Our next project goal is to print the title of the latest RSS feed entry onto an LCD screen. First, assemble the parts, plus breadboard and wires.

Note: The LCD screen is from the Maker Shed.

Then, wire up the LCD screen according to the instructions on the Maker Shed site.

Let’s program it! Go ahead and type up the code in the box to the left and download it to the Arduino. Sorry about the size of the text.

Now let’s write the Python script. This one can also be named anything, but for a suggestion, something along the lines of make_rss_read.py should do.

Note: Once again, the last line accidentally got clipped. Oddly enough, the same line got clipped. The complete line reads:

makezine = feedparser.parse(“http://blog.makezine.com/feed”)

Run this code, and the latest RSS feed from Make should display!

Last but not least, number 3! Our final goal is to create a virtual piano. There will be a GUI (graphical user interface) where the user clicks buttons to play notes.

To begin this one, we have some physical parts to collect: an Arduino and a speaker.

To assemble this project, simply plug the speaker into the Arduino, with the positive pin going to pin 8 and the negative to ground. Also, plug in the Arduino to your computer.

Now for the Arduino code. Download this program onto your Arduino, and leave it plugged in. Once again, sorry for the small text.

Now, save the text to the left as digital_piano.py, or whatever you want, ending in “.py”. (Note that this code was adapted from the tutorial: An Introduction to Tkinter. Thanks!) Also, the code is shown in two images. The images, however, have some overlaps, so watch out for that. Finally, the first letters of the first three lines are i, f, and s, in case it was too hard to tell.

When you’re done with that, execute the file. A window should pop up! To use this, click a button and the note will play from the Arduino!

Also, an image of the final product is shown to the left.

Additional notes: If you had any trouble with these projects, go into the Python file and make sure that the path to the Arduino (currently /dev/ttyUSB0) is the path to yours. The path above only works for Ubuntu, and so you may have to change it around. Also, the piano is in its beta version, and has a few glitches.

Final note: If these projects interested you, look at the pySerial documentation that can easily be found via Google.

Please go ahead and modify/tinker with these projects, and create your own. I have already created an amazing TVout application that prints off RSS feeds, and did it in about one day. Use this tutorial, and post your accomplishments here, at Make: Projects.