halloween props

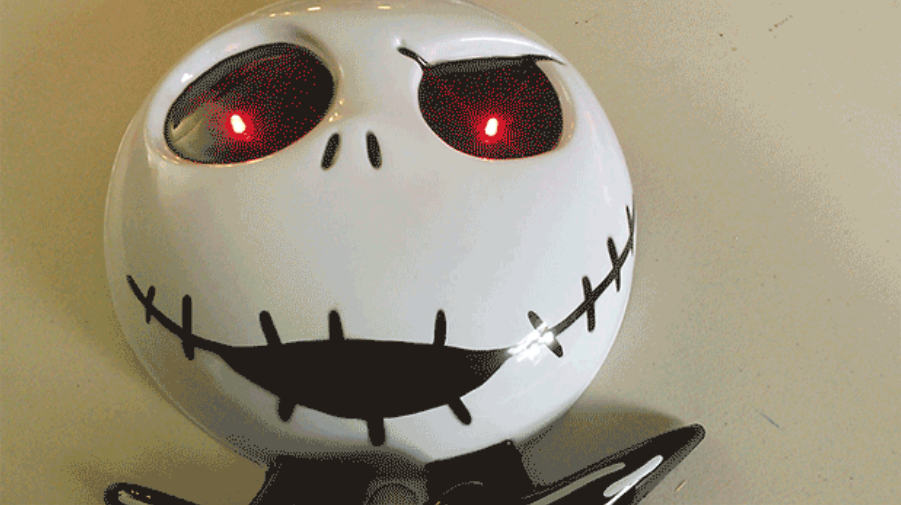
It’s relatively simple to add pulsating, glowing red eyes to any decoration or costume. The key is having a place to conceal a battery power supply (9V or 4xAAA) and an Arduino microcontroller board. I found a Jack Skellington wall hanging decoration that seemed perfect, and the effect is ideal for Halloween props.

It’s also a great beginner’s project for learning to use your Arduino — no soldering required!

What will the next generation of Make: look like? We’re inviting you to shape the future by investing in Make:. By becoming an investor, you help decide what’s next. The future of Make: is in your hands. Learn More.

Project Steps

Mount the LEDs

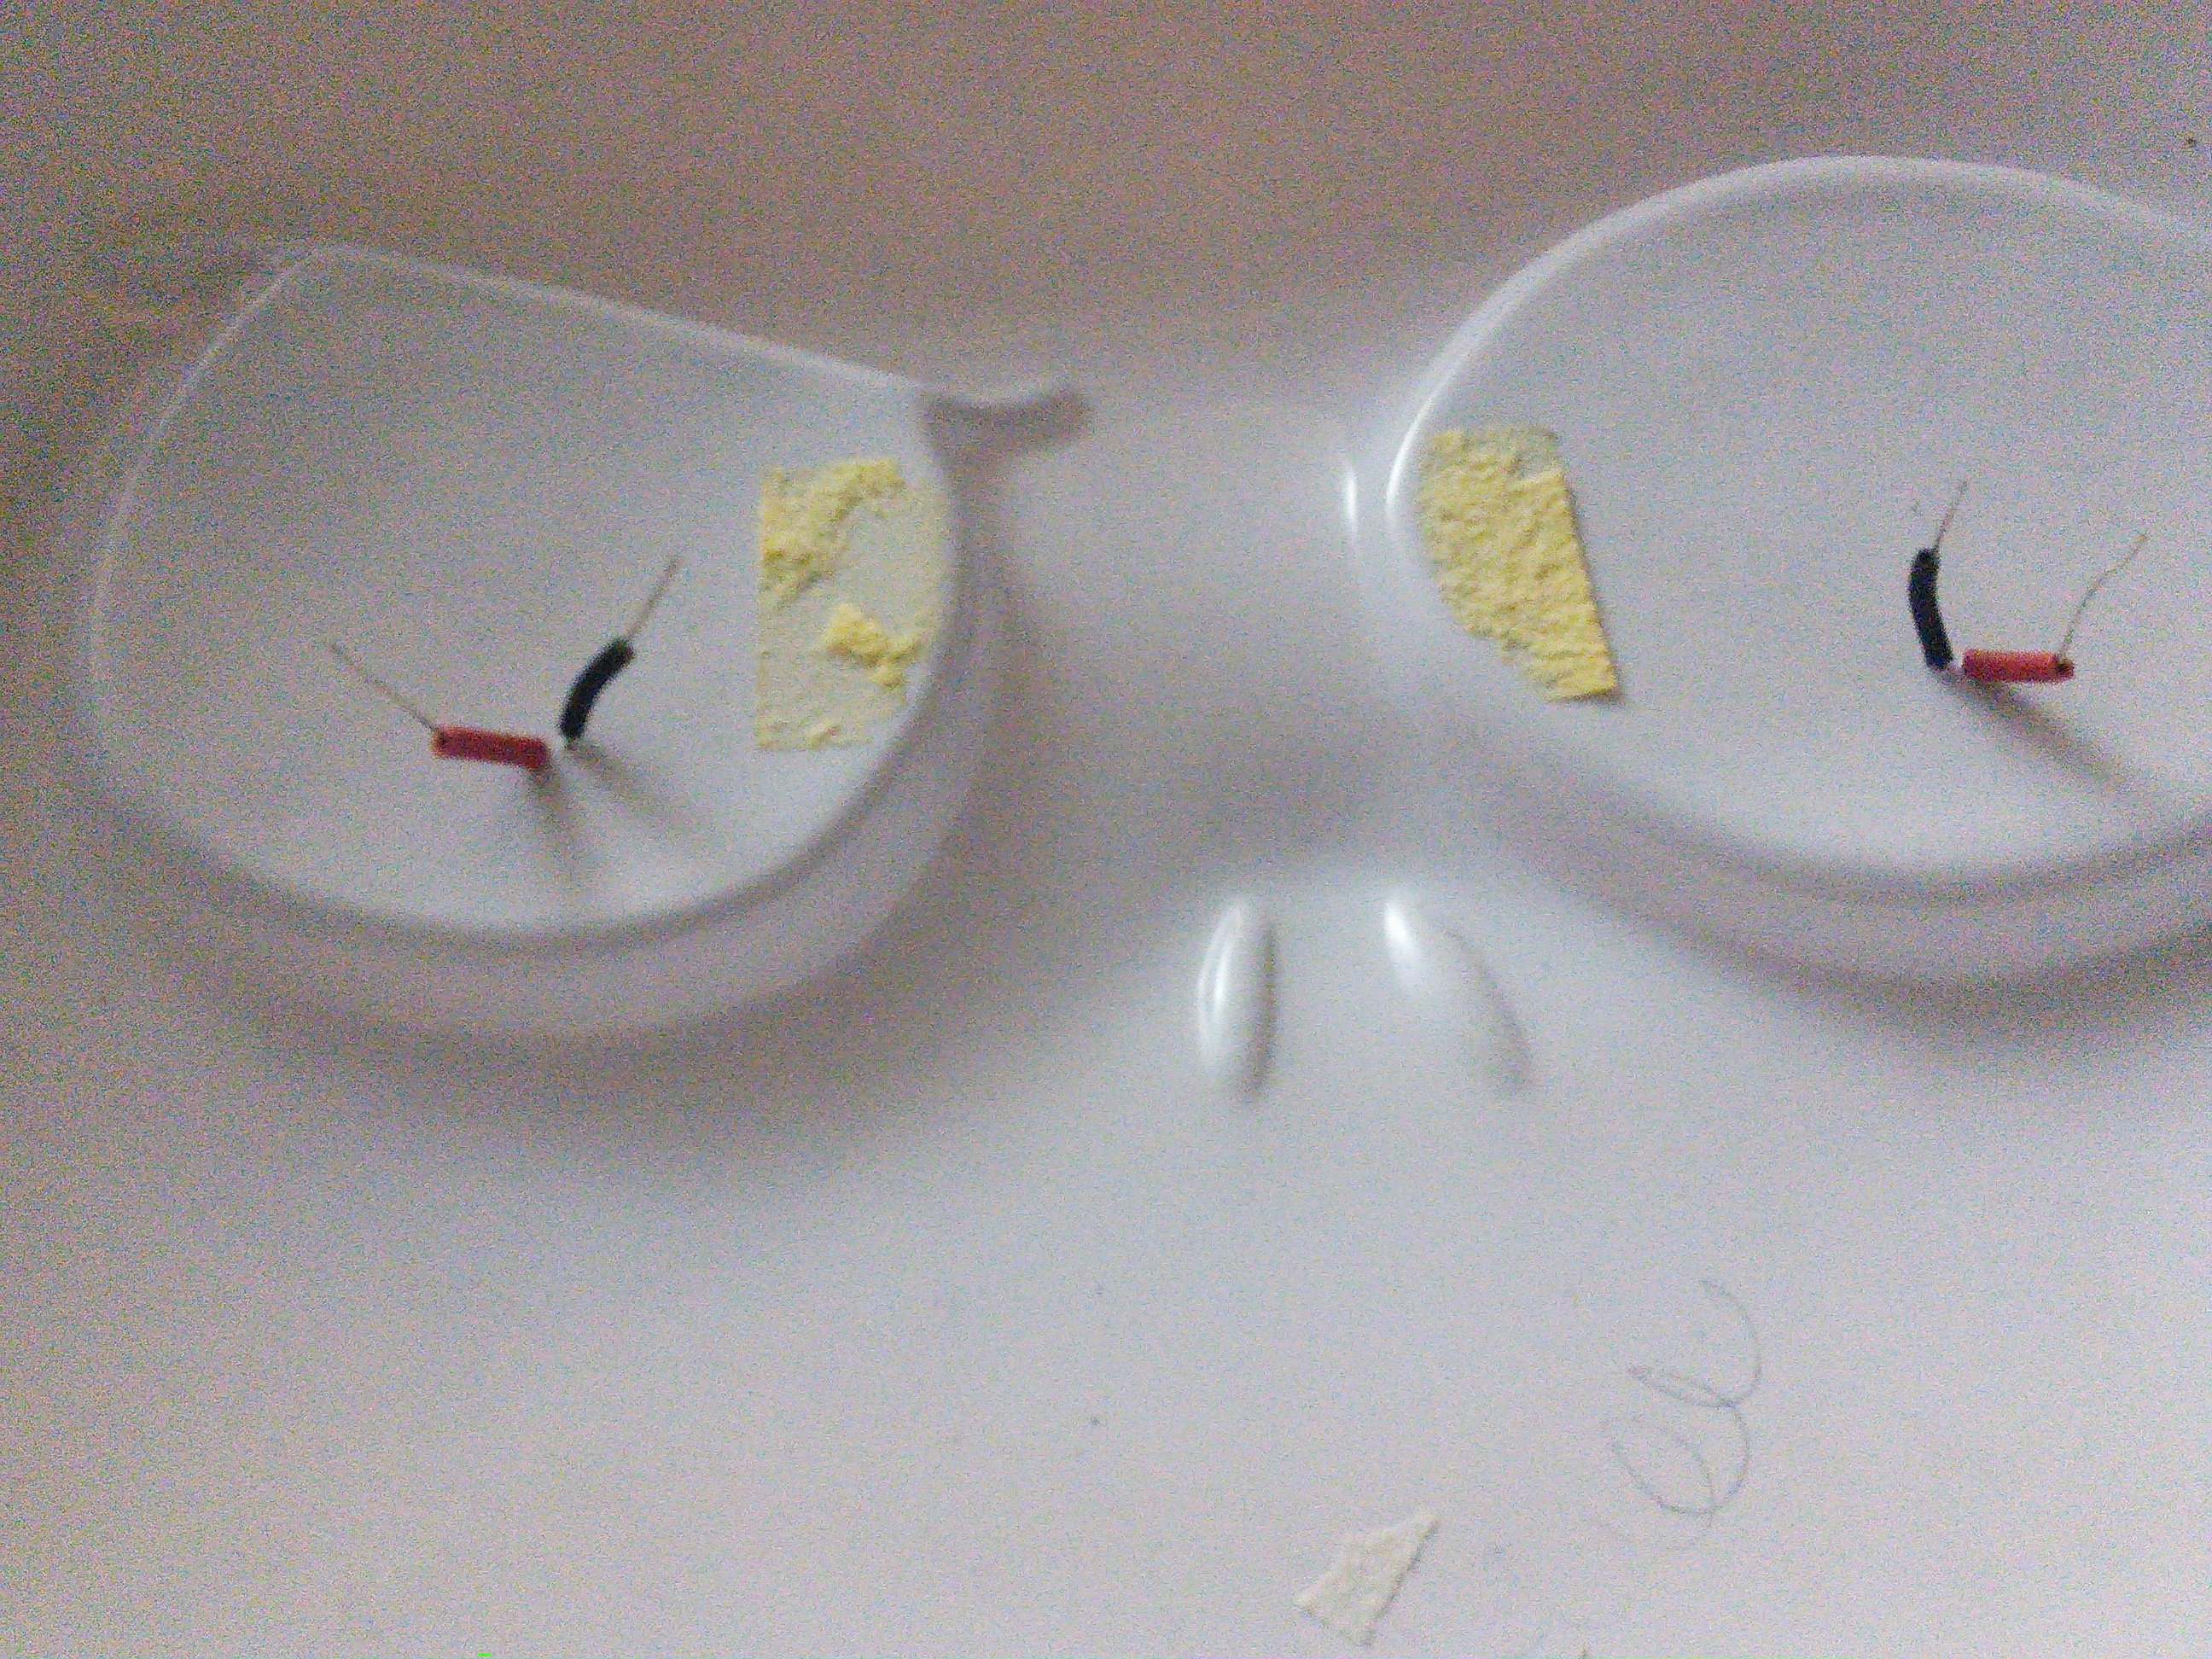
Start by deciding where to put the LEDs. It seems to me that mounting them a little below the center of the eye sockets enhances the intensity of Jack’s look.

A straight pin or needle can be used to poke 2 holes in each eye socket for the LEDs’ leads. Push the LEDs through.

Pay attention to which lead is negative and which is positive. Put a small piece of black insulation on the negative lead, and red insulation on the positive lead.

TIP: If you’re not familiar with LEDs, the negative lead is shorter than the positive one, and even if they’ve been cut you can still identify the negative lead by the flat spot on the side of the clear casing.

Connect LEDs to Arduino

Use the mini breadboard to connect the Arduino’s digital output pin 9 to two 270-ohm resistors with a short length of red wire. Then connect each resistor to the positive lead of an LED with a red wire and a wire nut.

Similarly, connect an Arduino ground pin to the negative leads of both LEDs (the leads without the resistors).

Mount the Arduino and battery case

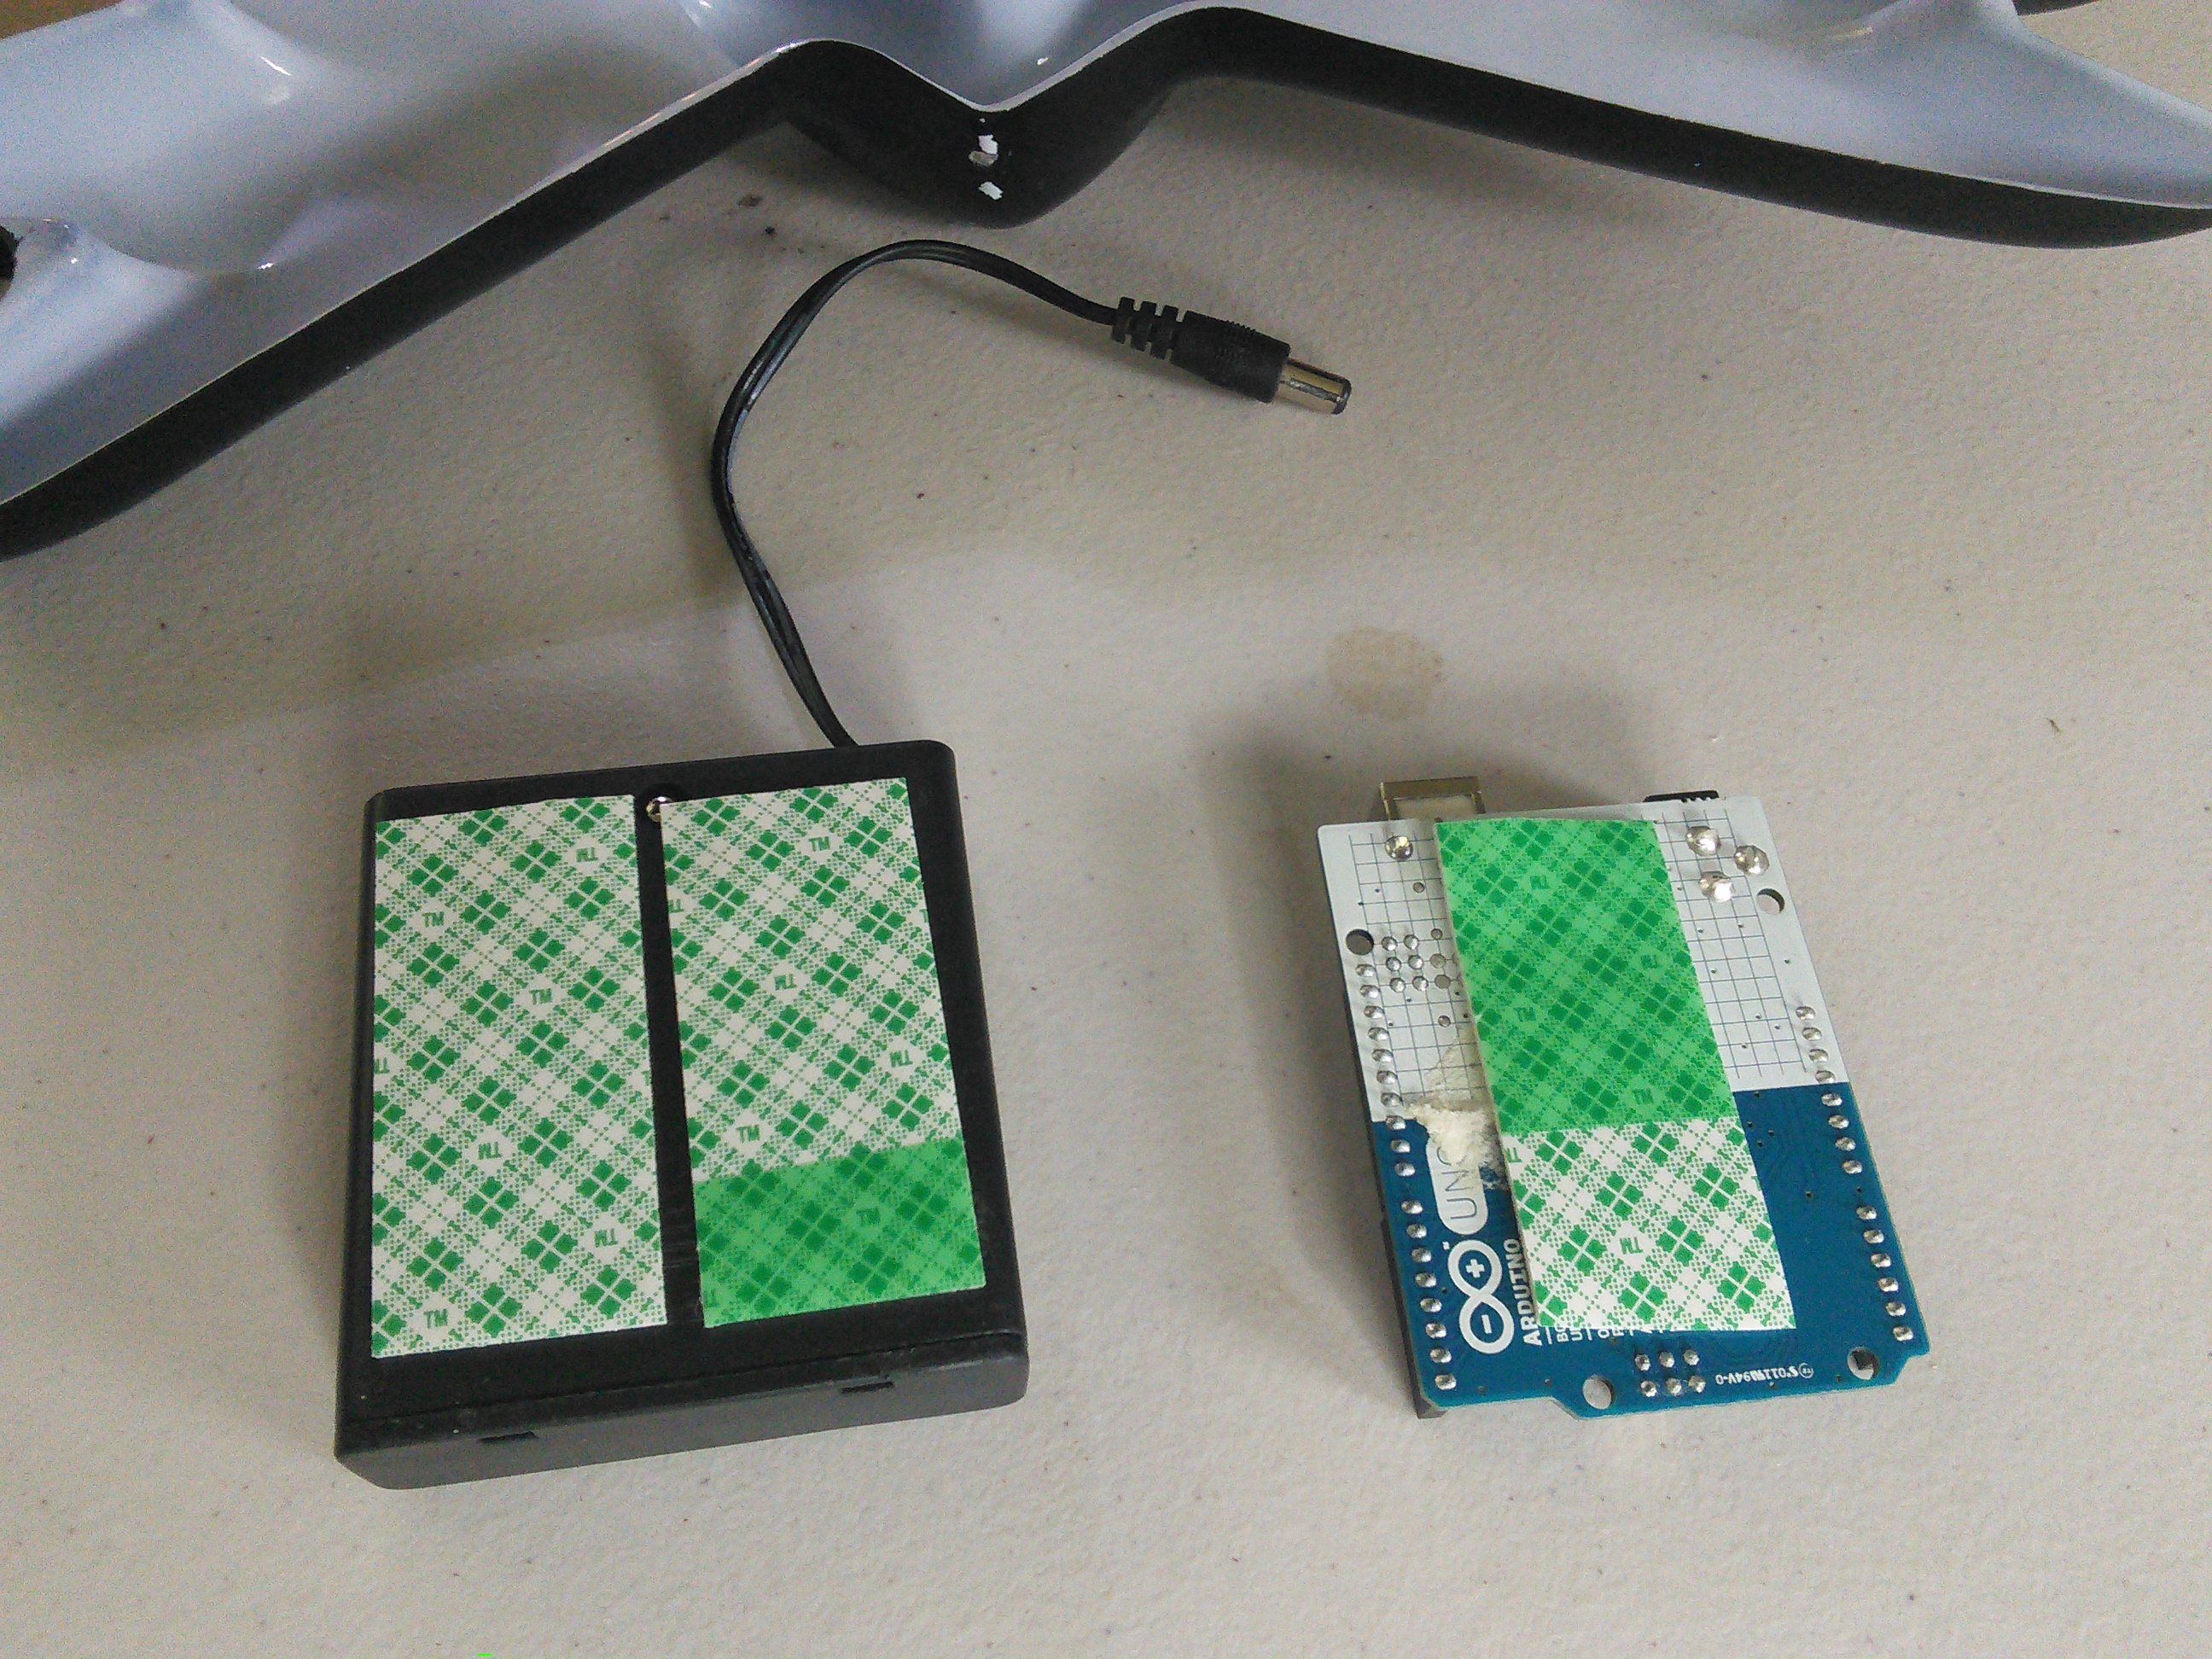
Double-sided tape is the handiest thing since duct tape. It works great for attaching the breadboard and the power supply to Jack’s underside, and for attaching the Arduino on top of the power supply without blocking the on-off switch.

Program the Arduino

All that’s left is to upload the program. Connect the Arduino to your computer with the USB cable, the power up the Arduino.

The Arduino IDE includes a sample program to fade an LED on and off. Open it at File–>Examples–>01.Basics–>Fade. Then upload it to your Arduino board. That’s it!

Your evil eyes should start pulsating, fading brighter and dimmer, brighter and dimmer…

If you search the internet you can find other programs that accomplish the same thing slightly differently. Looking at the way other people have written their programs and seeing the change in how they work is a great lesson in programming and mathematics.

Take it further

To take this a step further, you could integrate a passive infrared sensor (PIR) so that the LEDs only begin to glow when unsuspecting trick or treaters approach.

Happy Halloween!