Paper birthday cards are boring…
So let’s build an “Arduino LCD birthday card!”
Build a clever birthday card with an Arduino and an LCD.
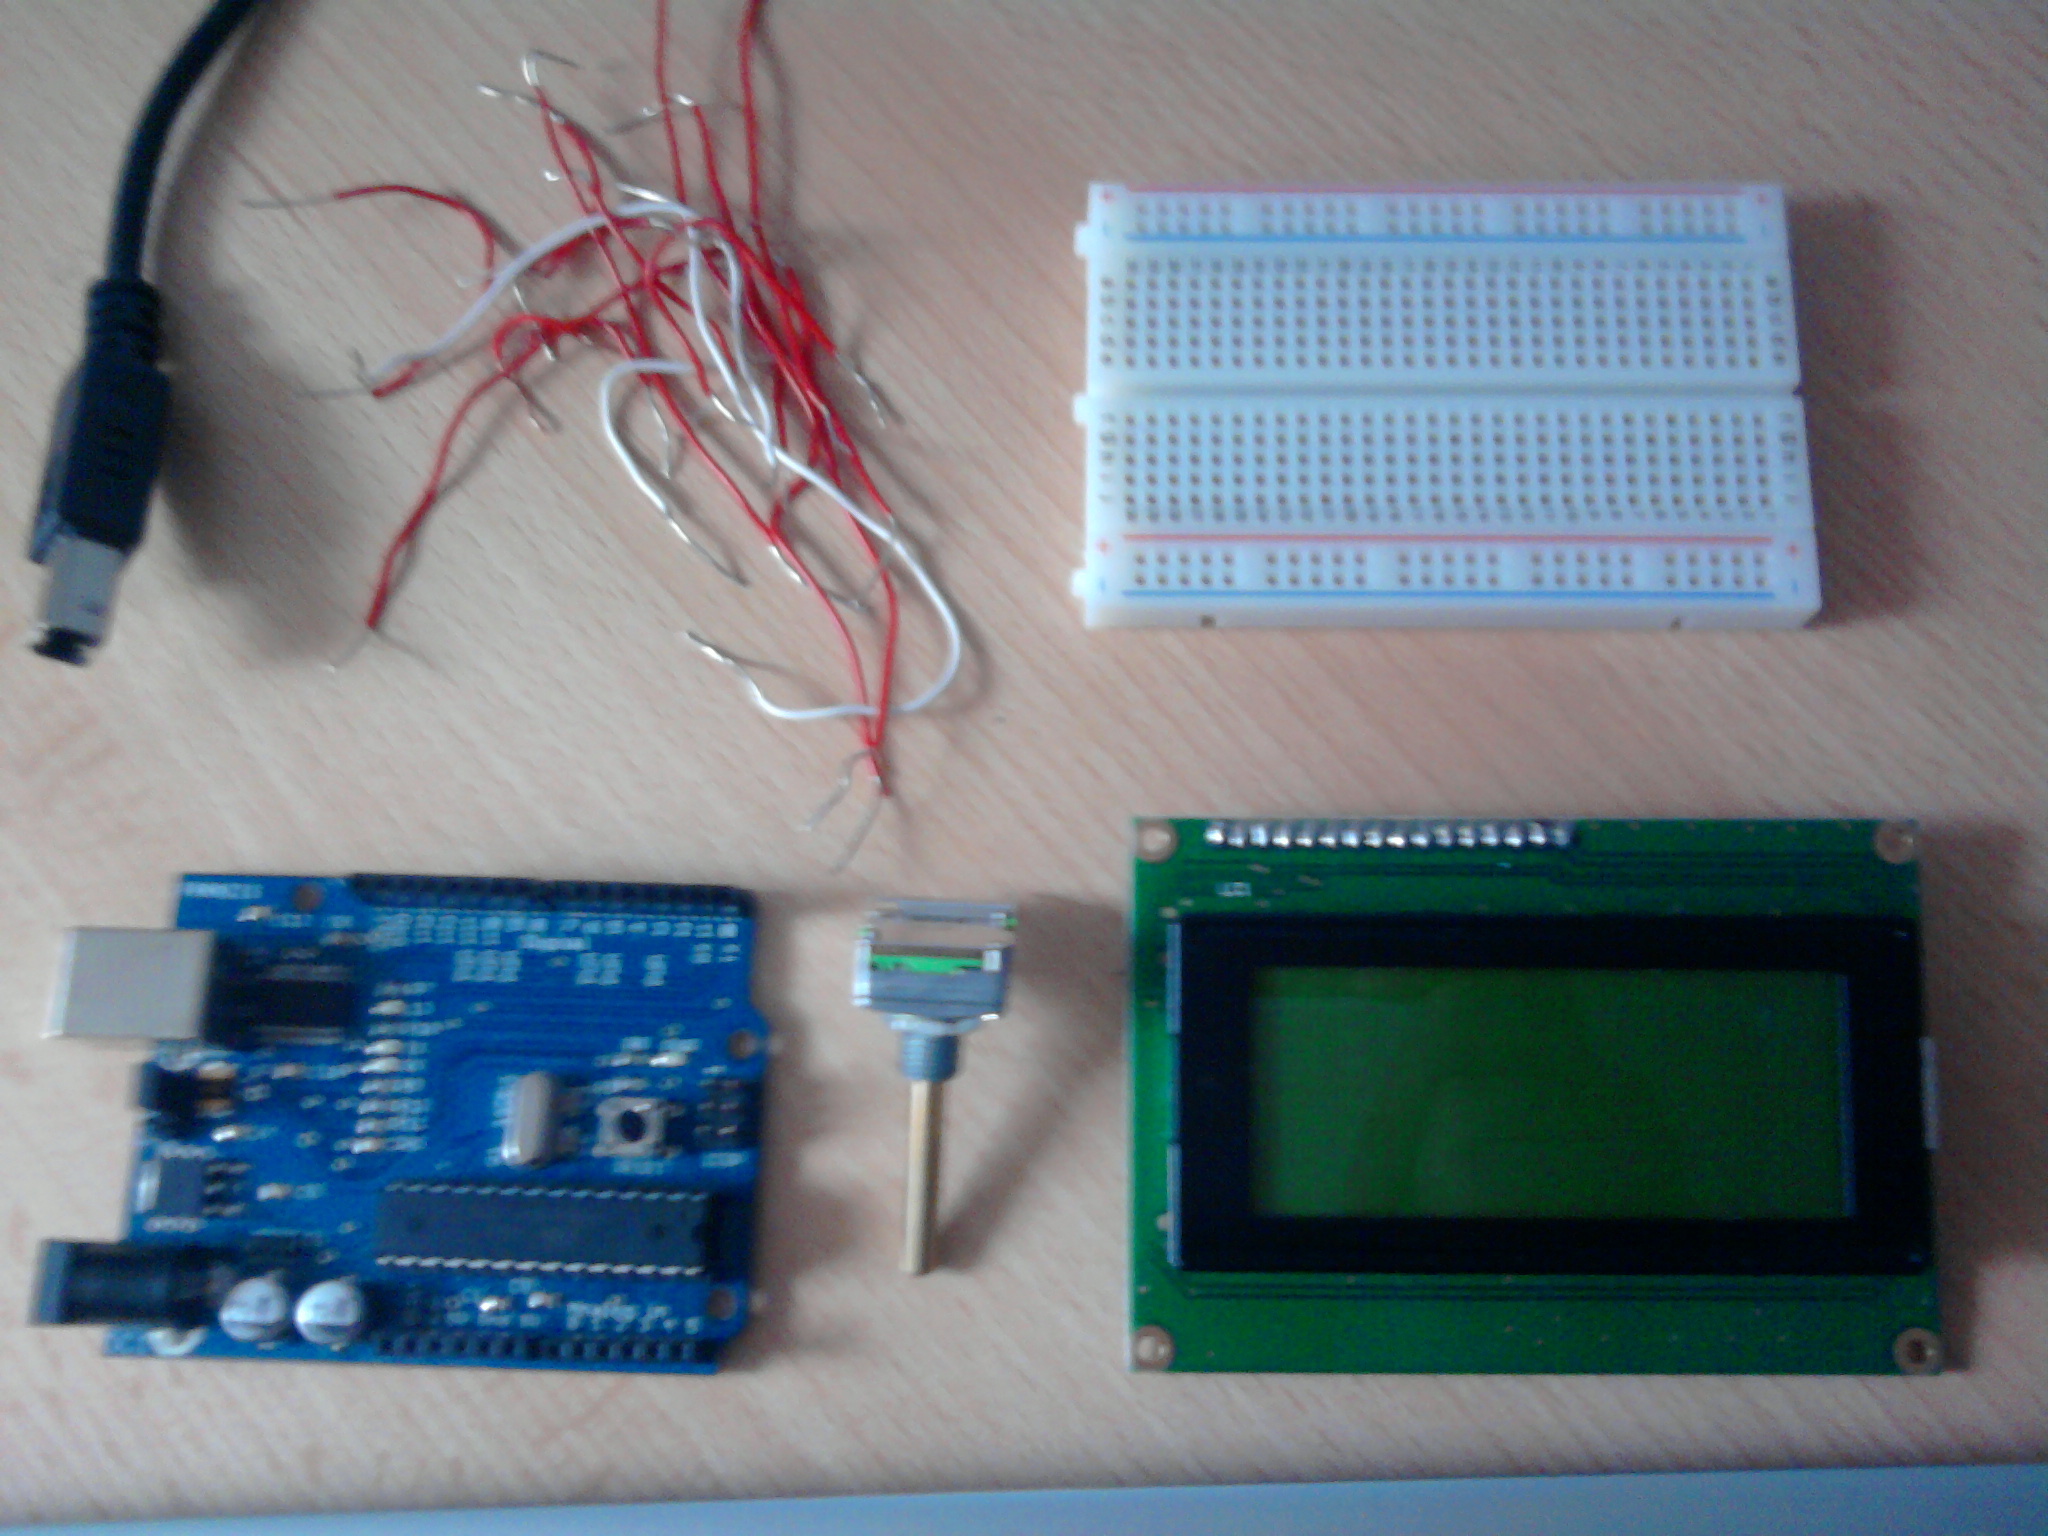

Here are the materials you need:
Arduino, LCD Display, 10K Potentiometer, USB cable, some hook-up wires and a solderless breadboard.
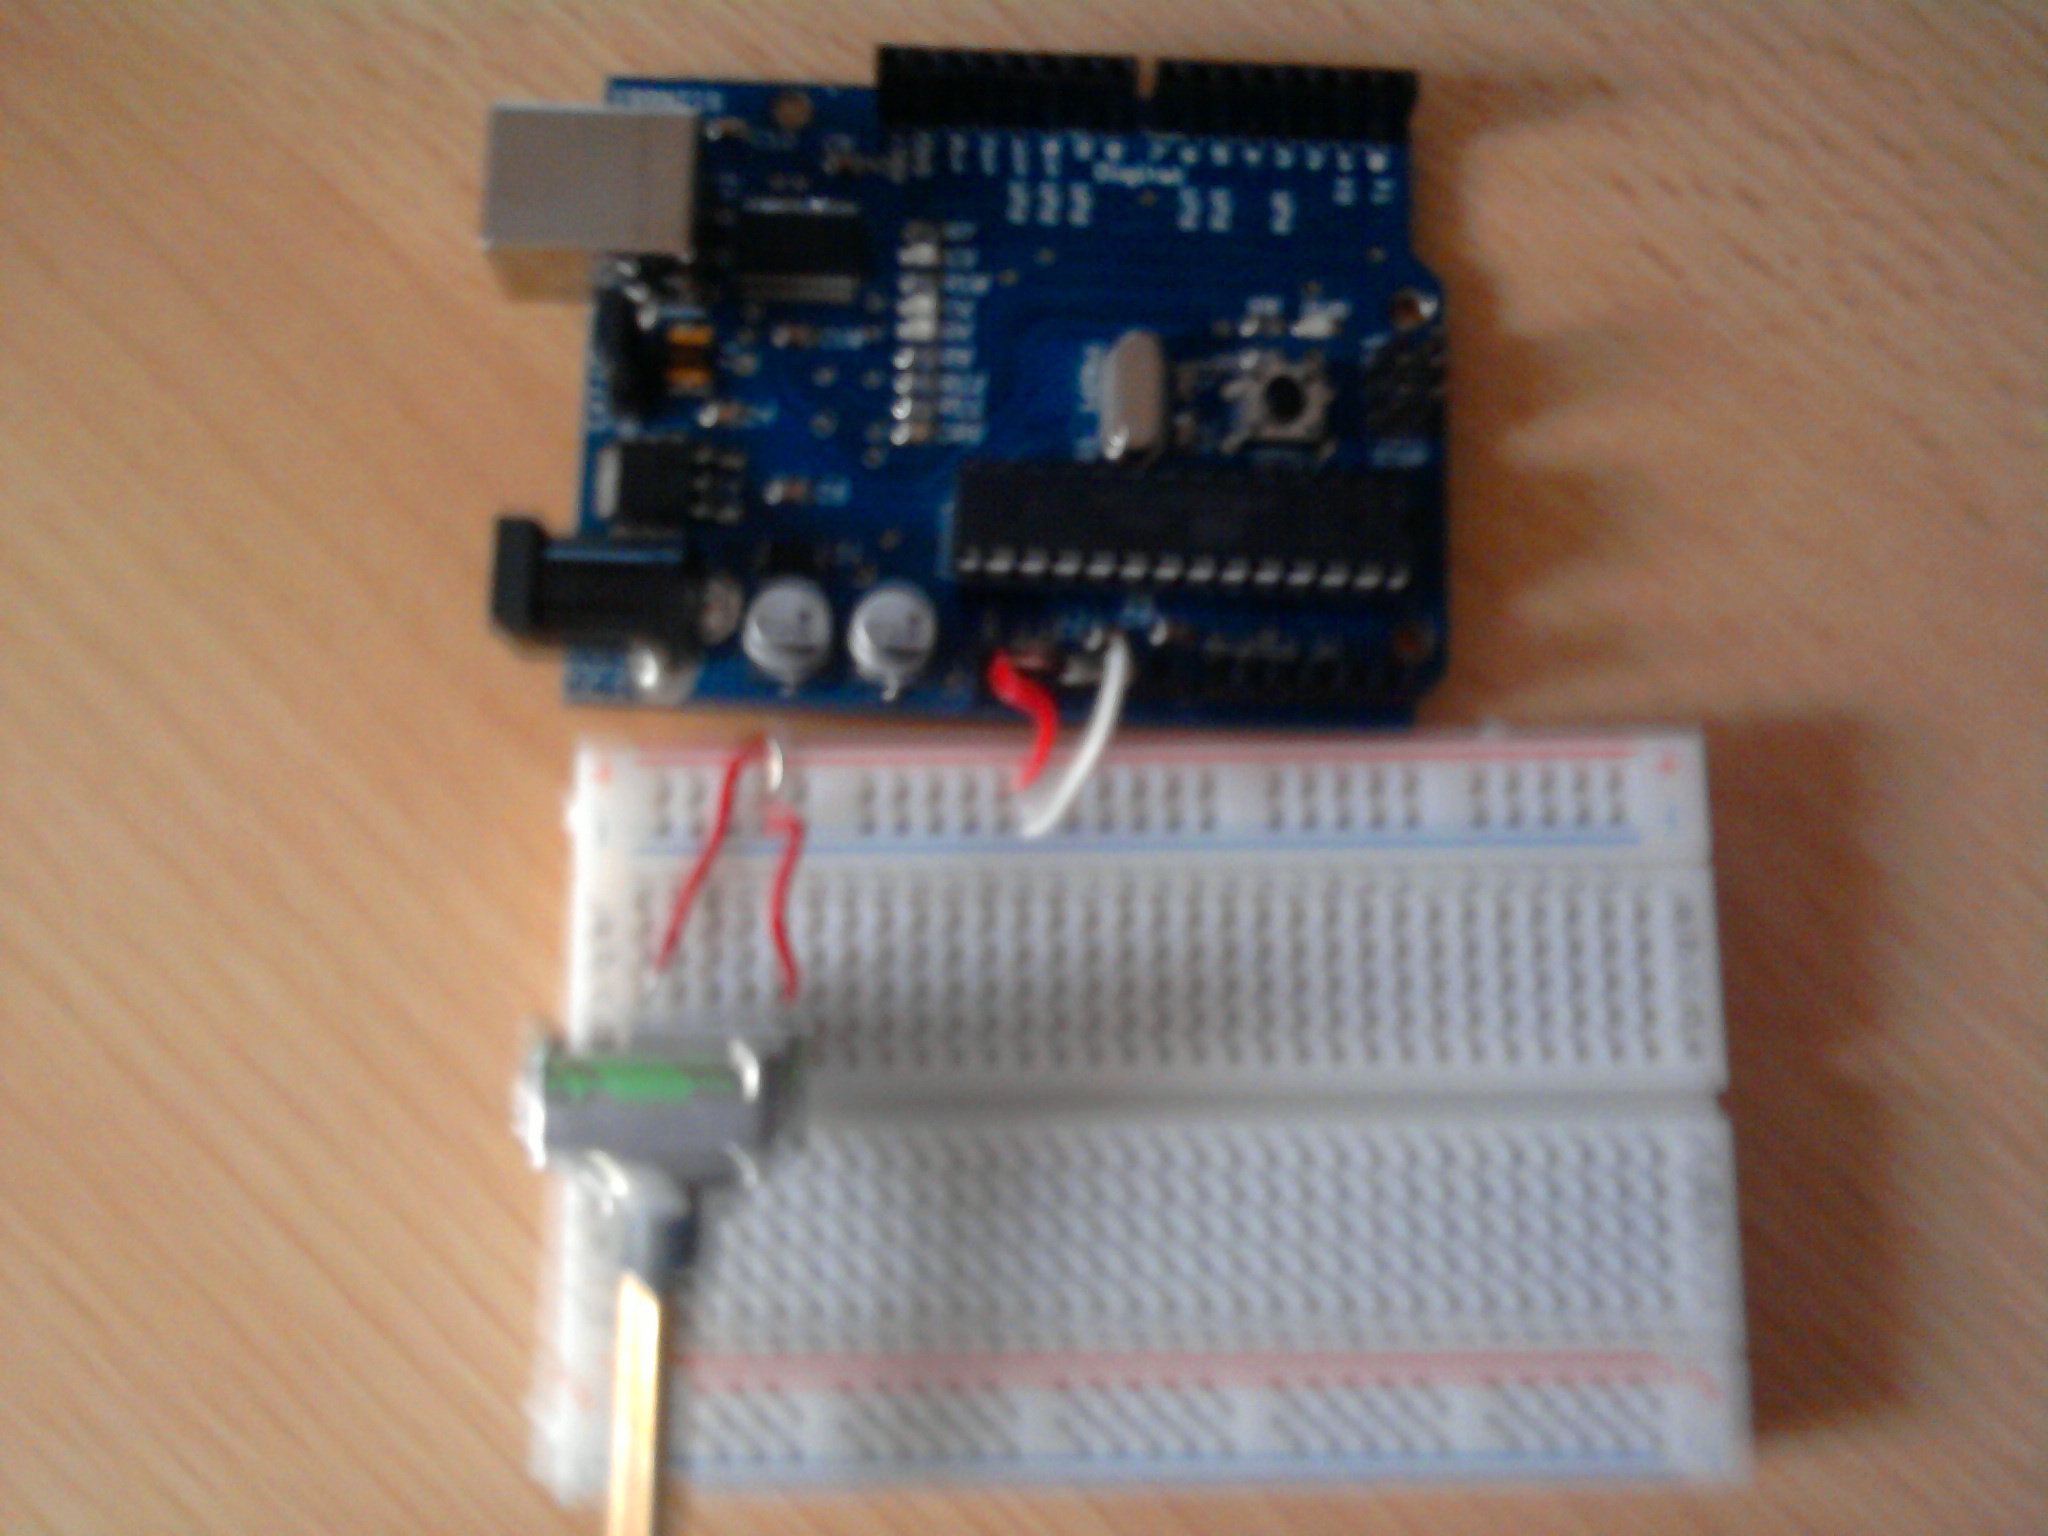
First we connect the 5V and the Ground to the rails of the breadboard.
Then we add the potentiometer and connect it to 5V and Ground.
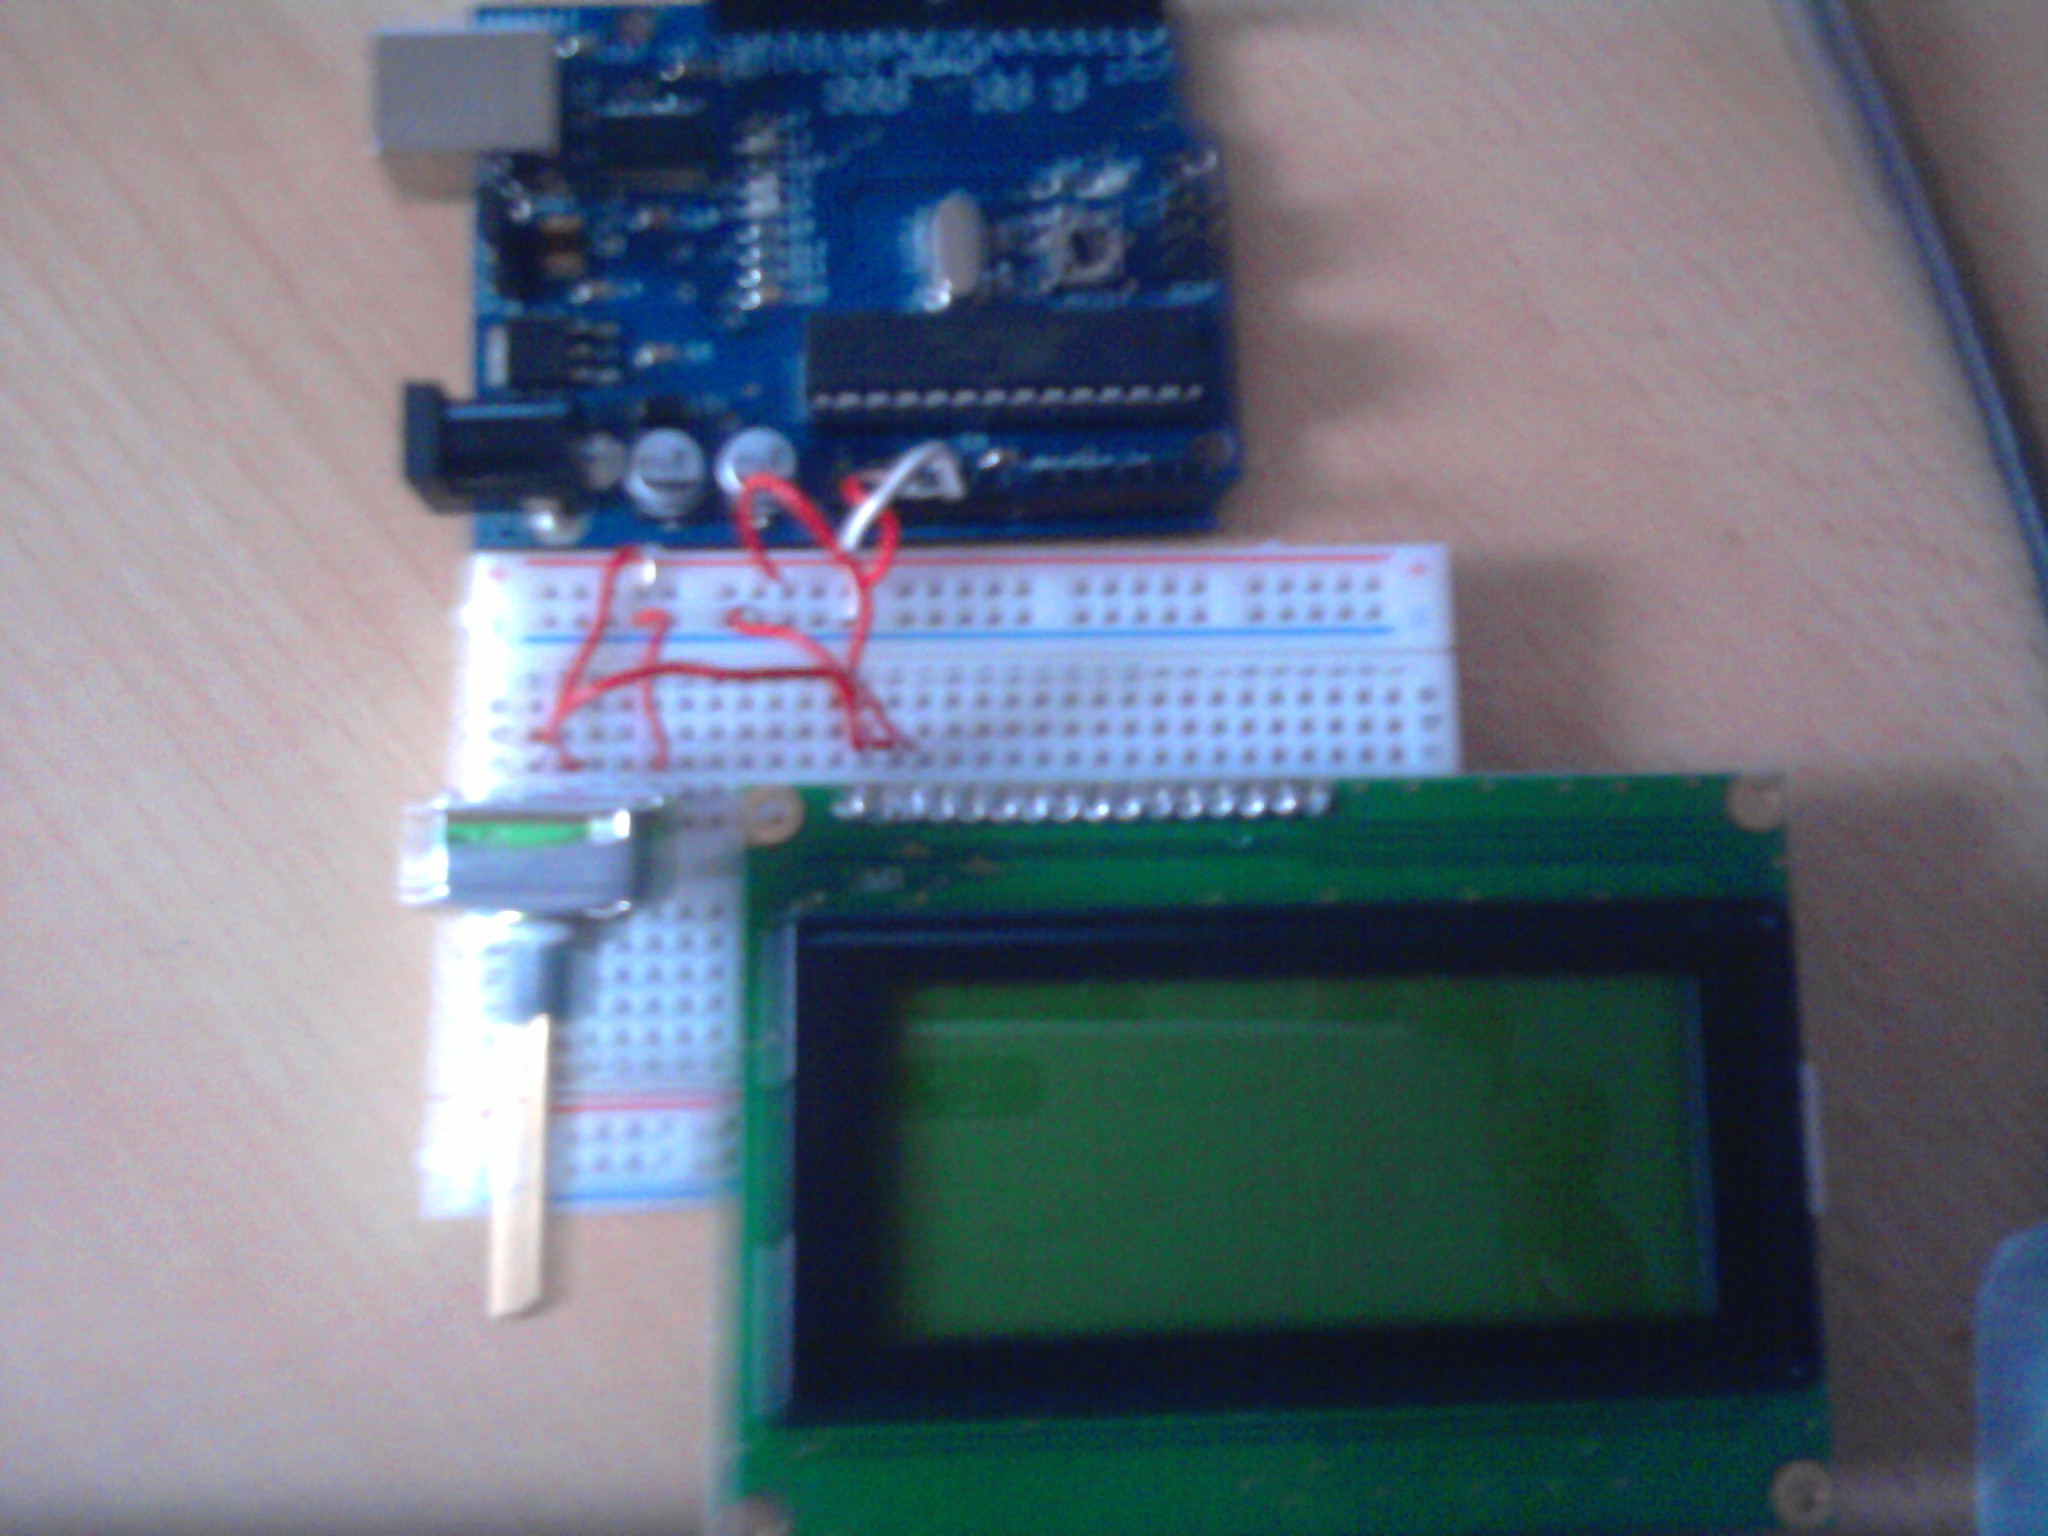
Now we add the display and connect it to 5V (second pin) and Ground (first pin).
We connect the third pin of the LCD to the “wiper” (middle pin) of the potentiometer.
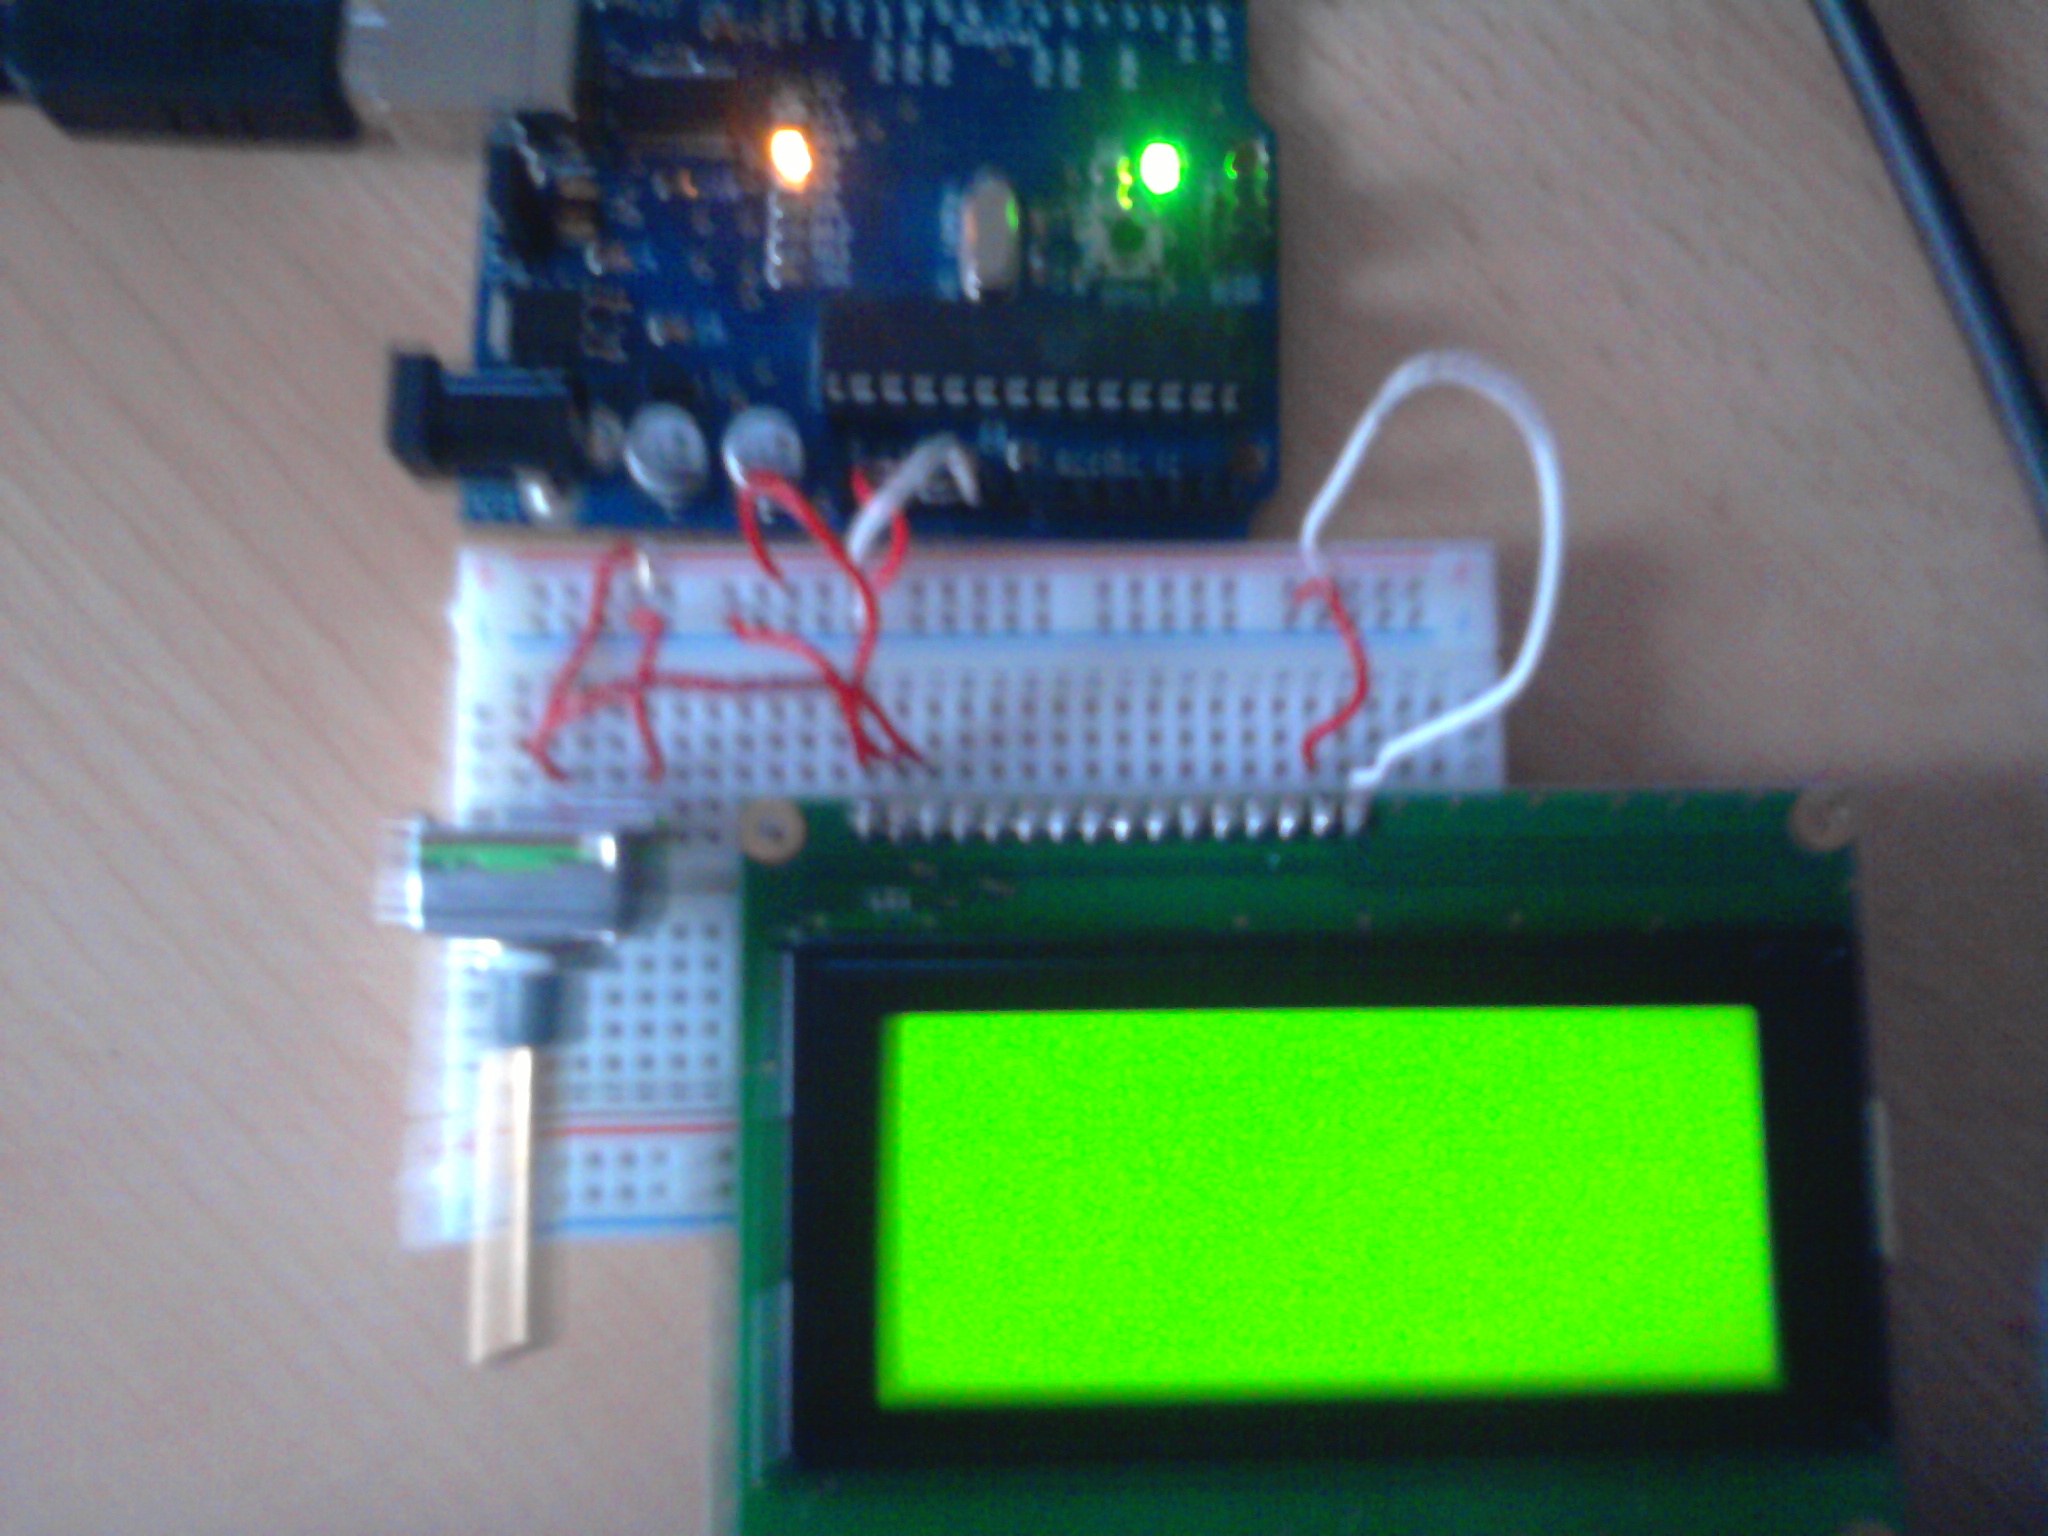
Now turn the backlight on! Connect the sixteenth pin to Ground and the fifteenth pin to 5V.
Plug in the USB cable and you should see the backlight light up!
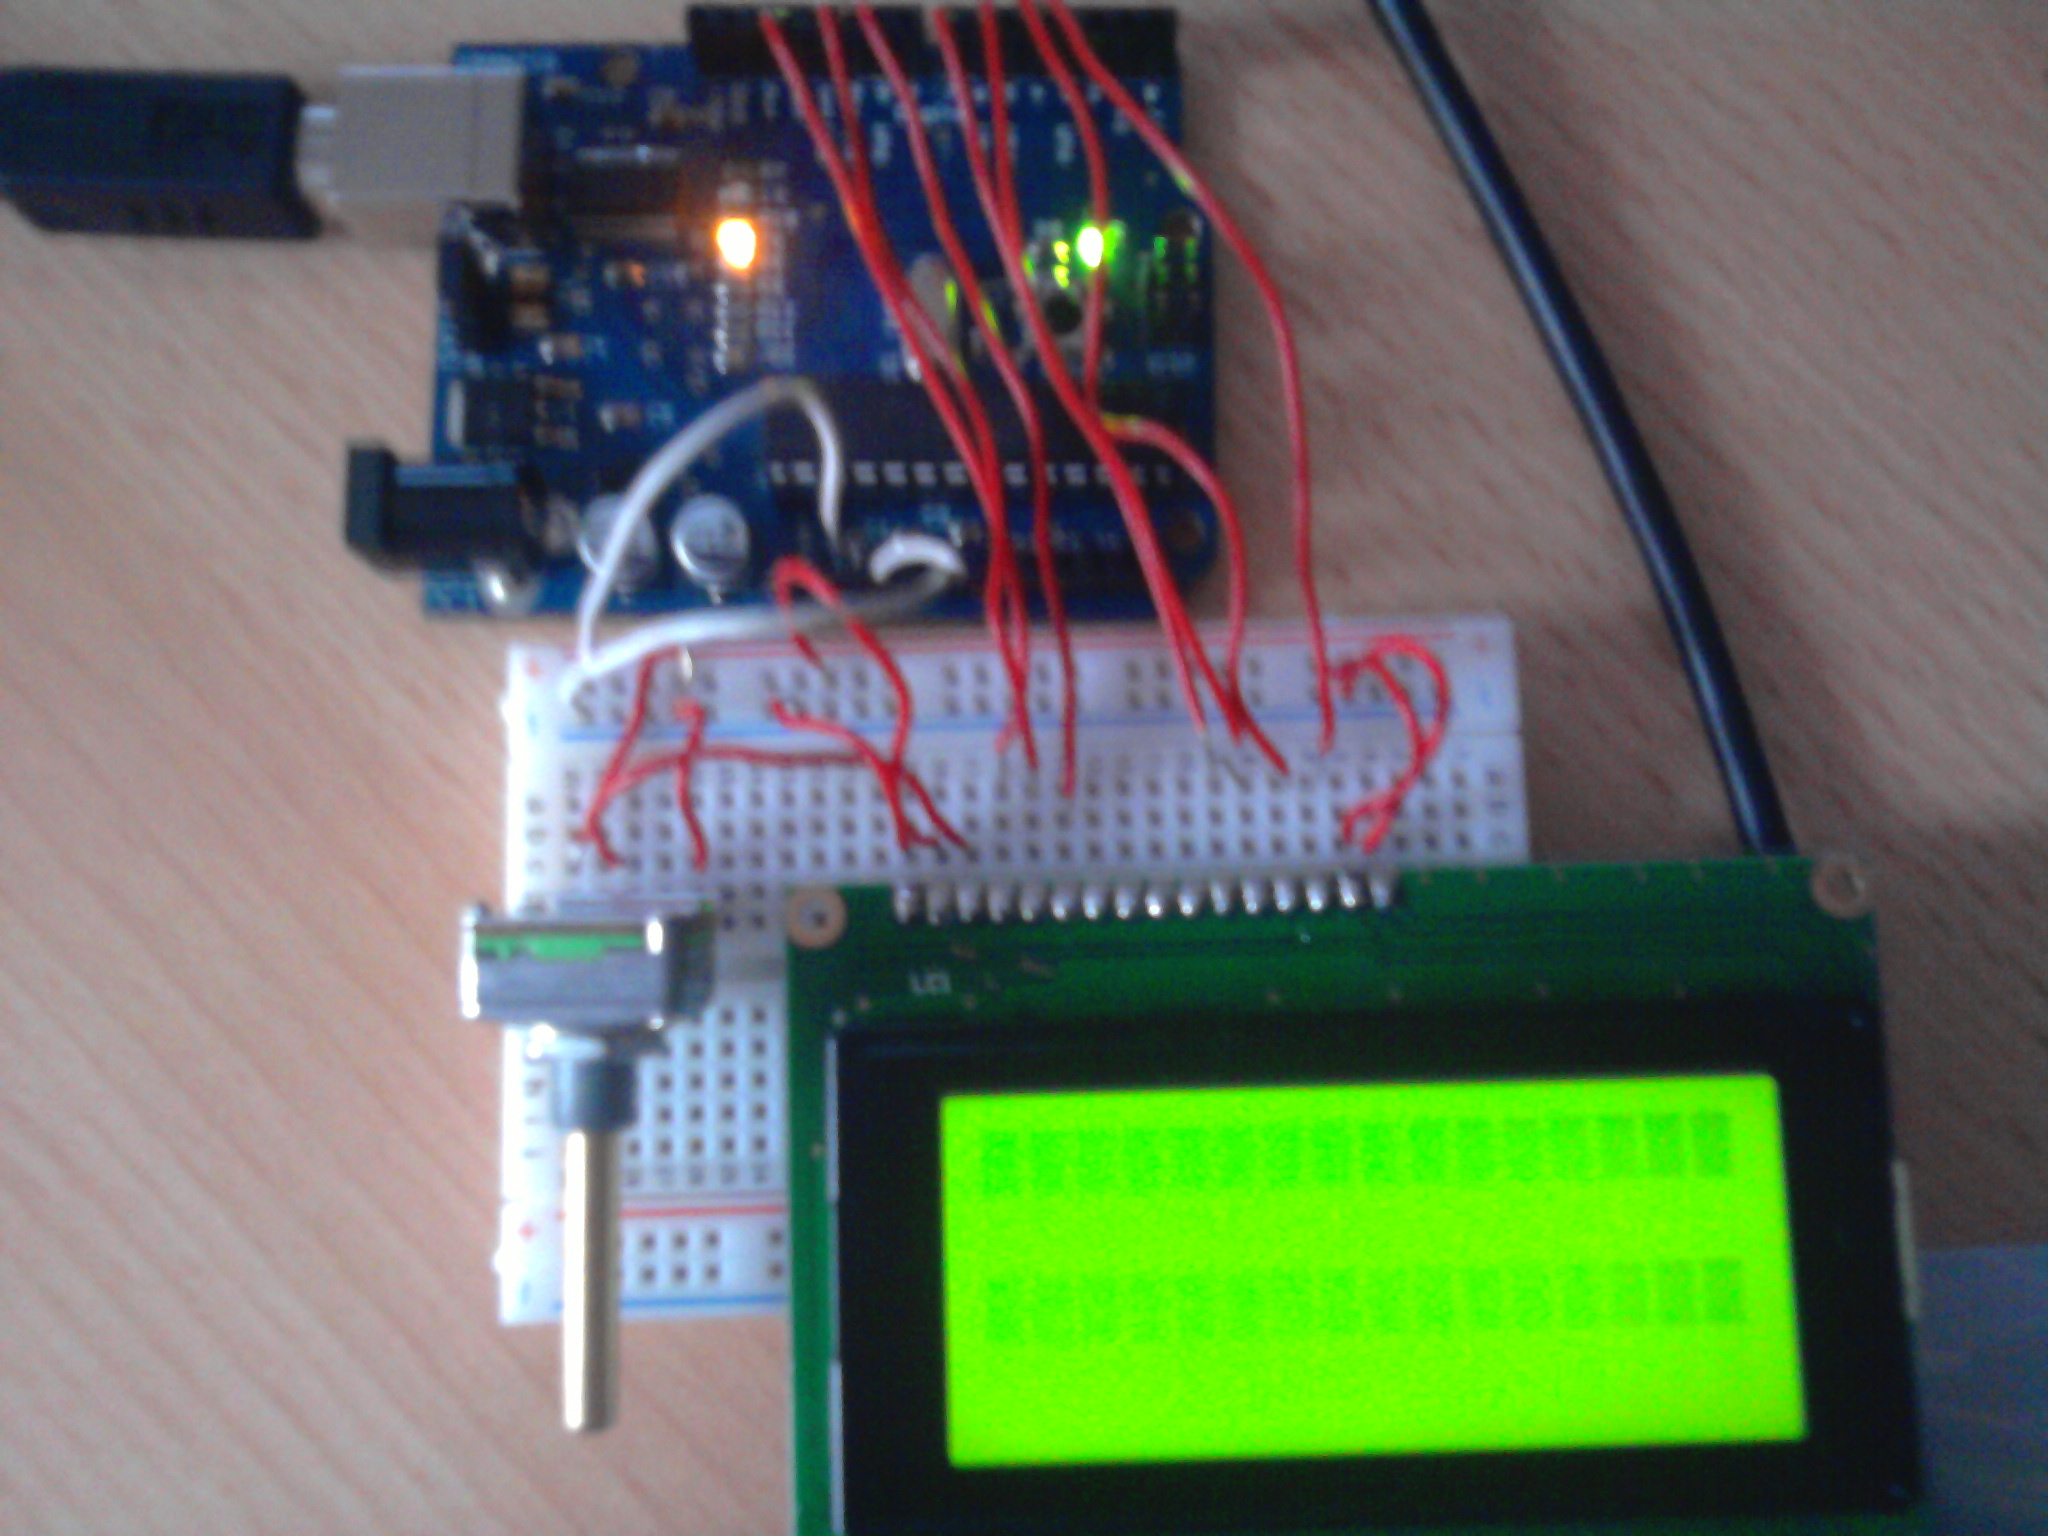
Now it’s time to connect the data pins! The list that follows is: Display Pin → Arduino Pin
4 → 12
5 → 11
6 → 10
7/8/9/10 = No connection
11 → 7
12 → 6
13 → 5 and 14 → 4
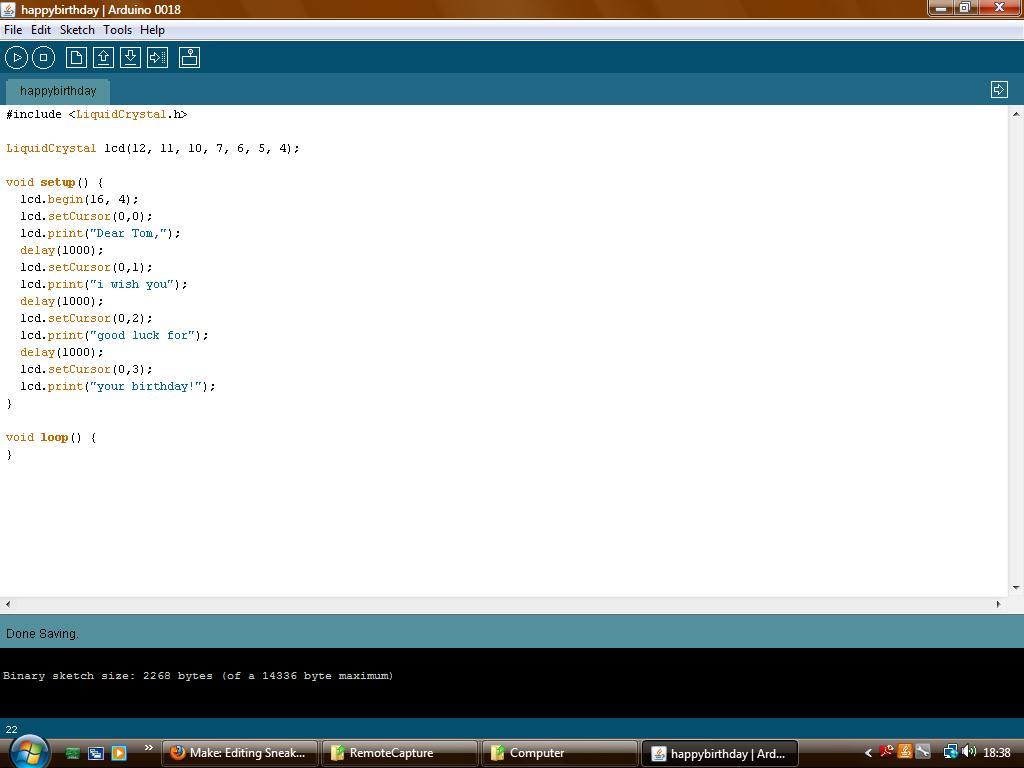
Now it’s time to program the Arduino! Start with the code in the picture at left.
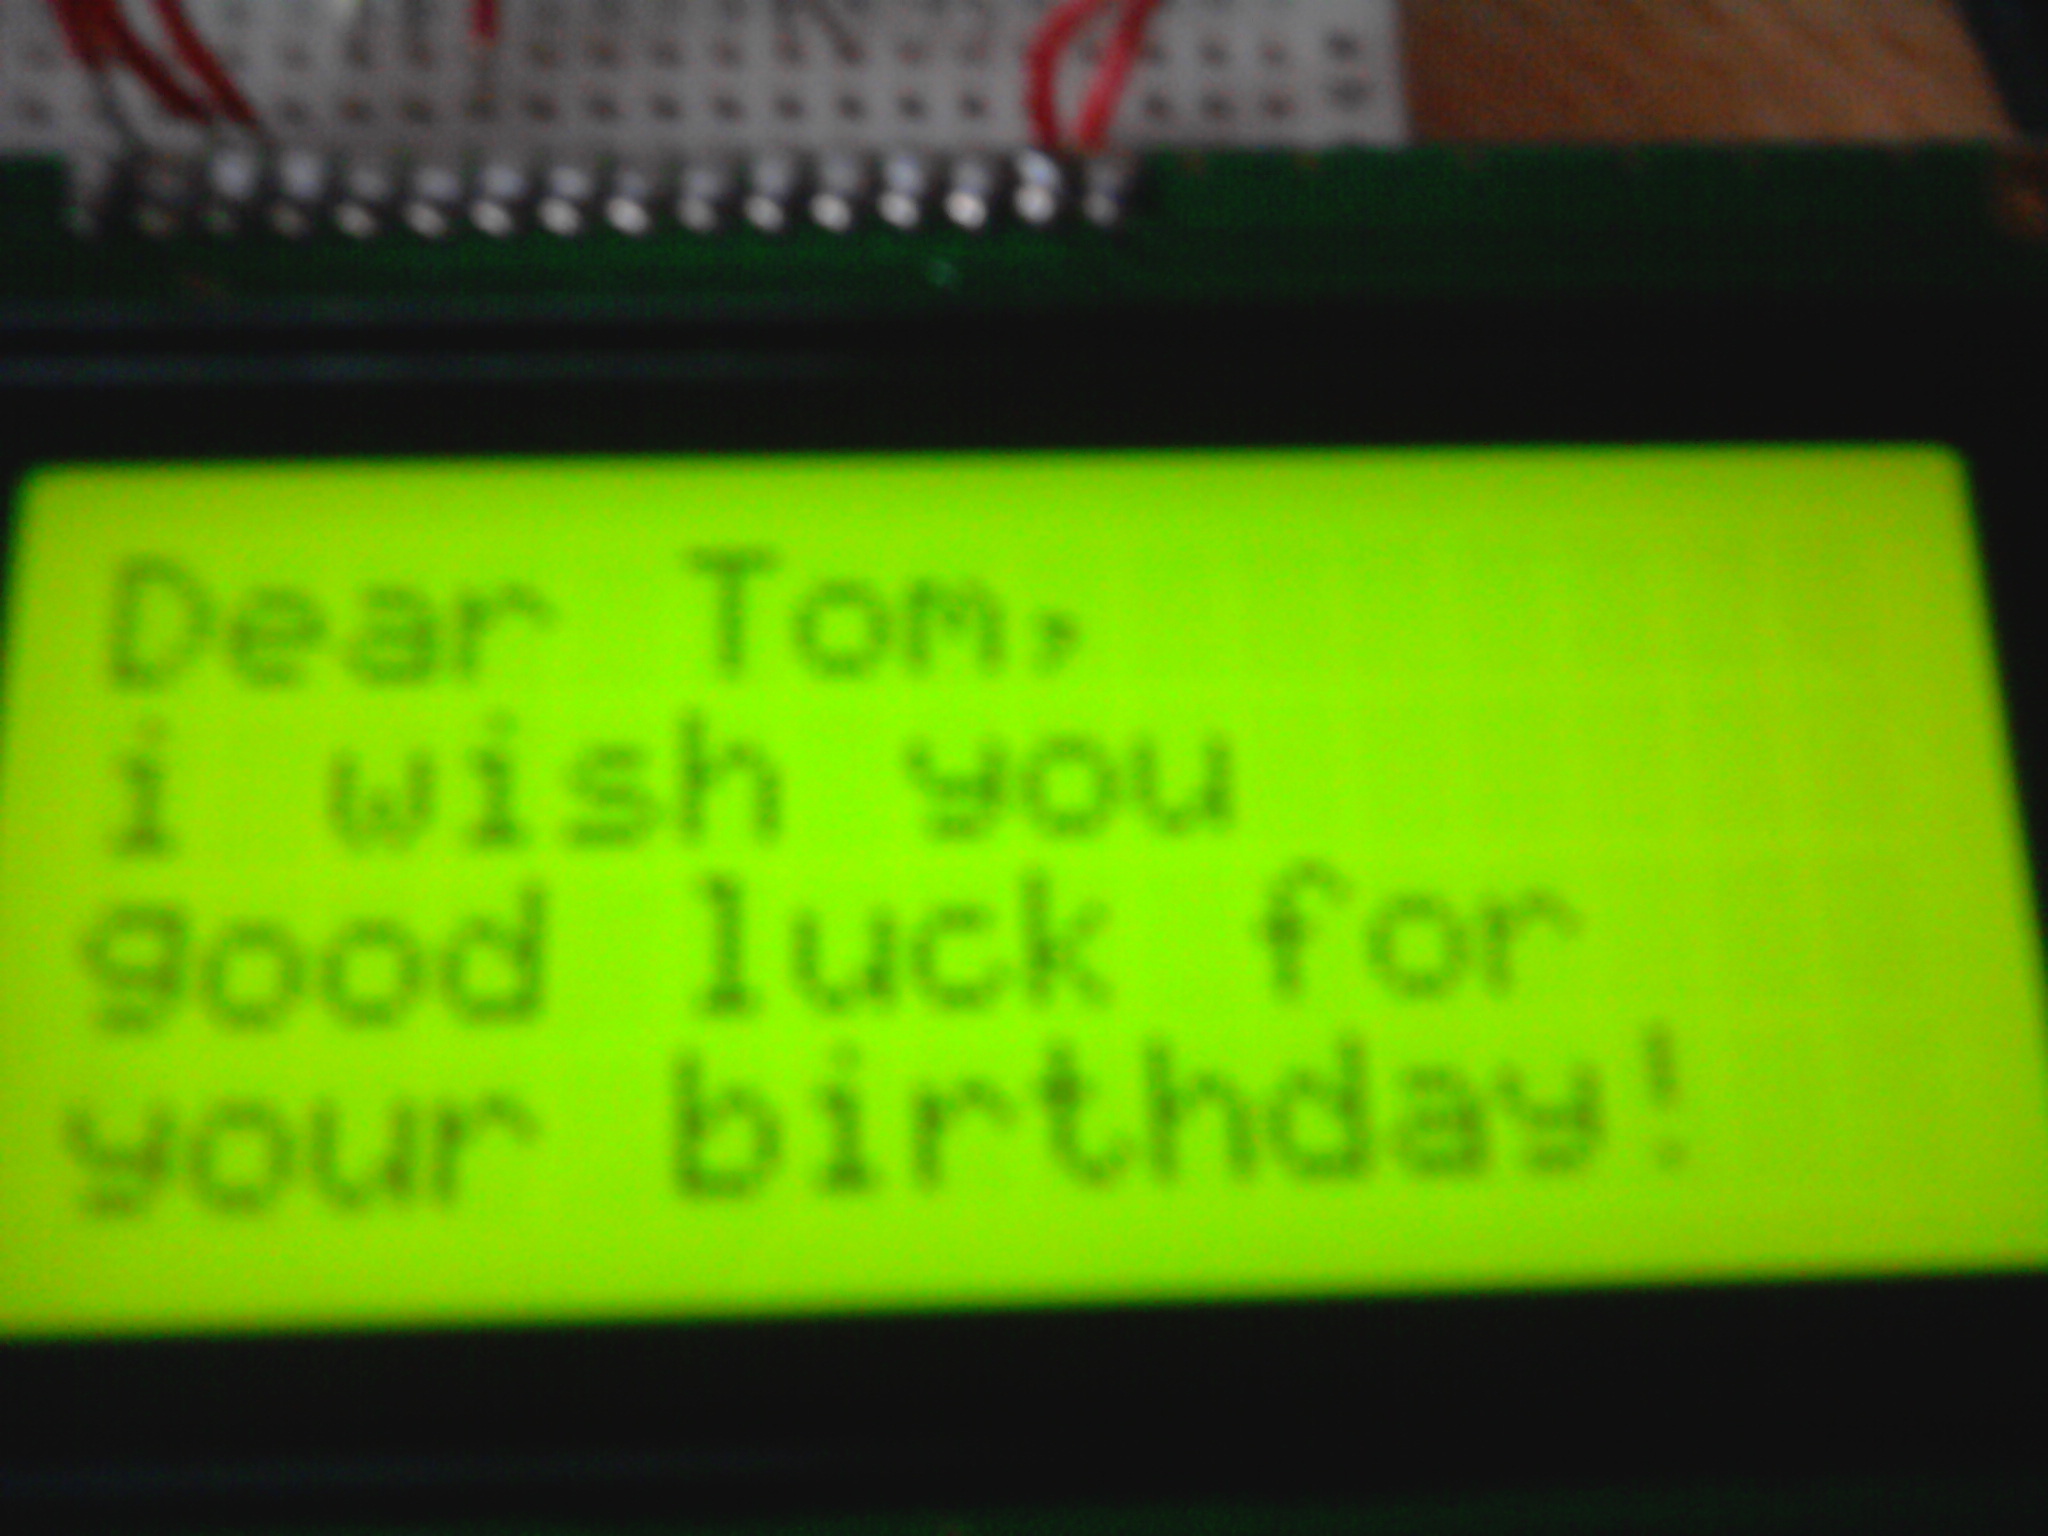
Now it’s finished! Print a sweet frame, cut it out and put it over the LCD.