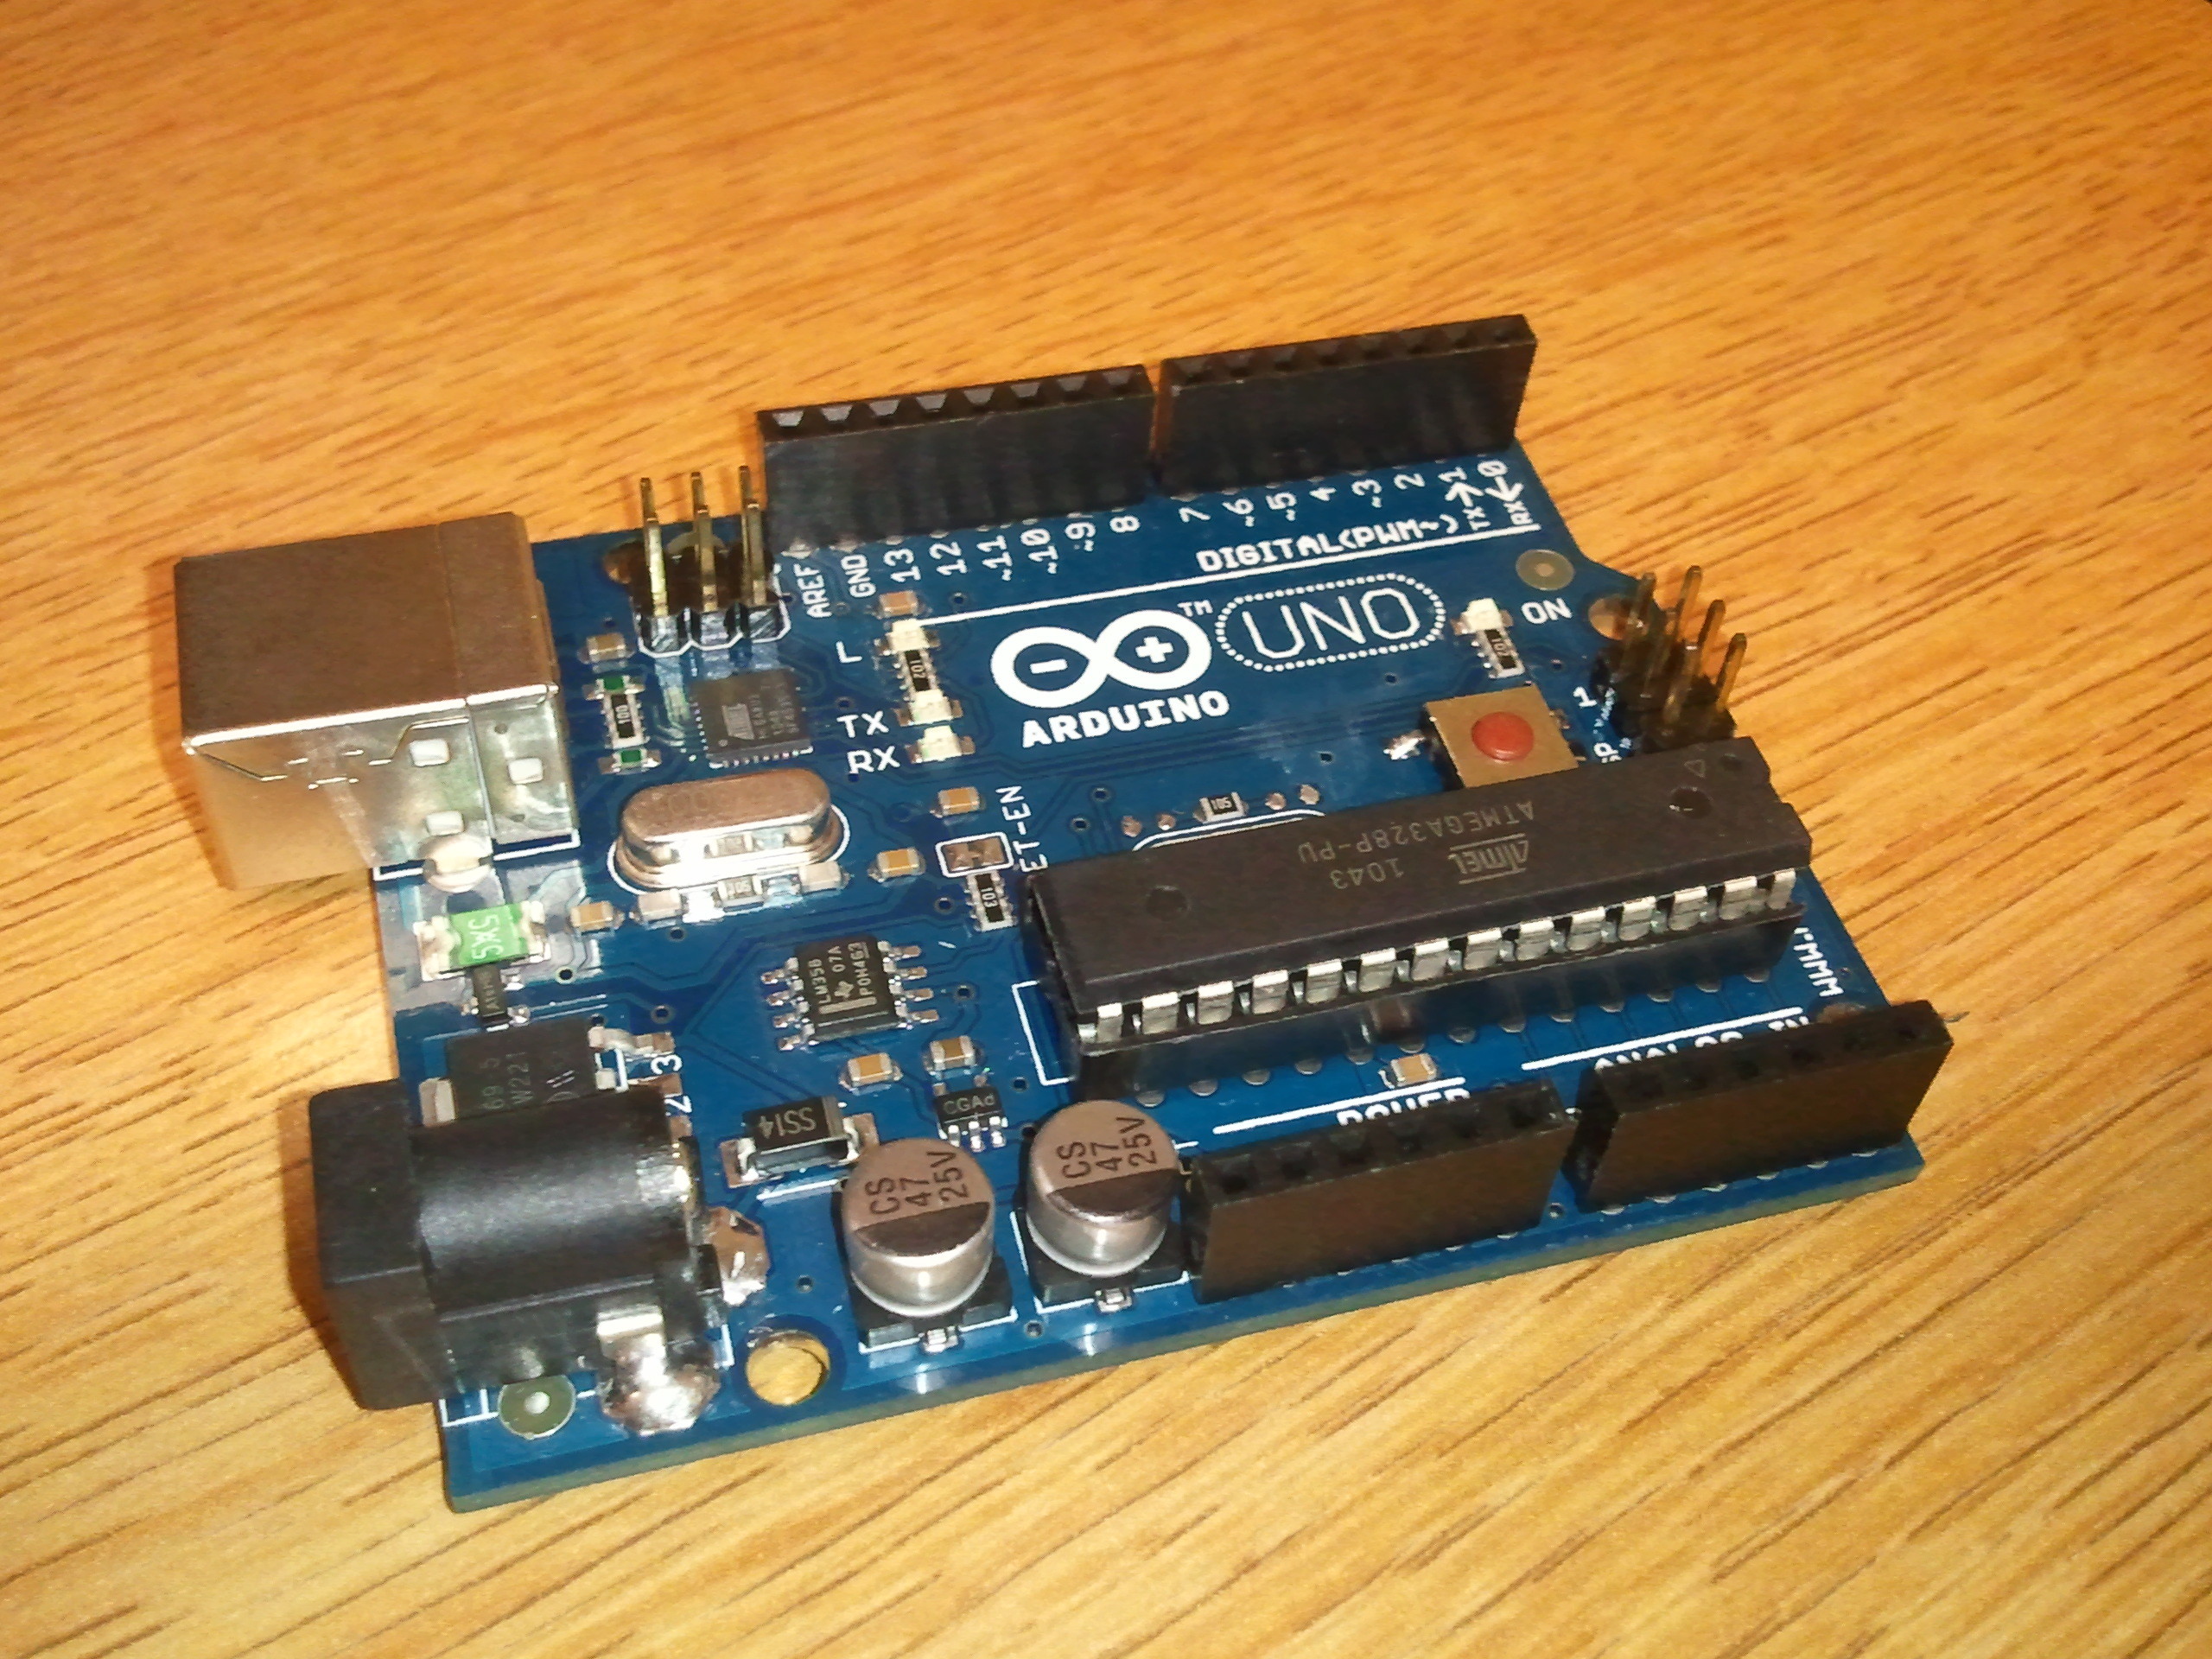
Arduinos are great open-source products with many uses, such as a Morse code flasher. This is a great project to begin with for people new to the Arduino.

What will the next generation of Make: look like? We’re inviting you to shape the future by investing in Make:. By becoming an investor, you help decide what’s next. The future of Make: is in your hands. Learn More.

Project Steps

The parts you need are:

Arduino (assembled)

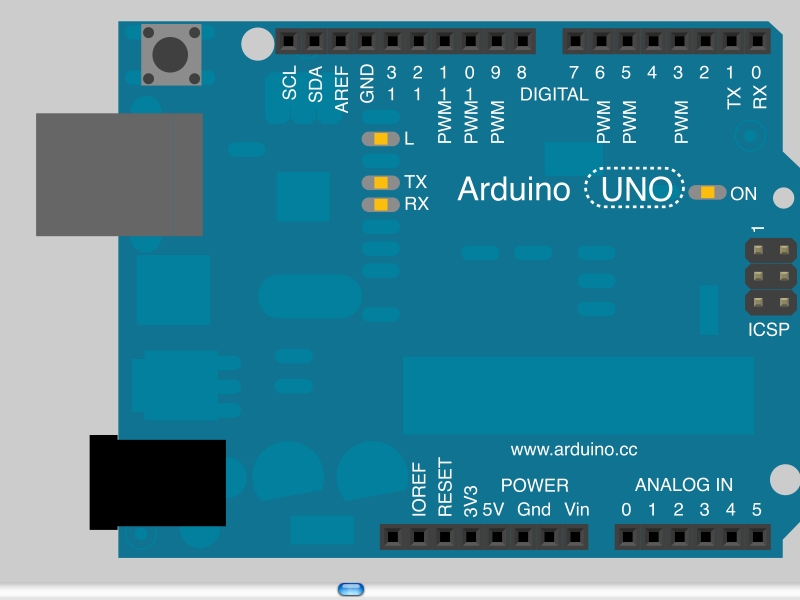
LED (unless your Arduino has a built-in LED)

This step is optional. If your Arduino has a built-in LED, skip this step.

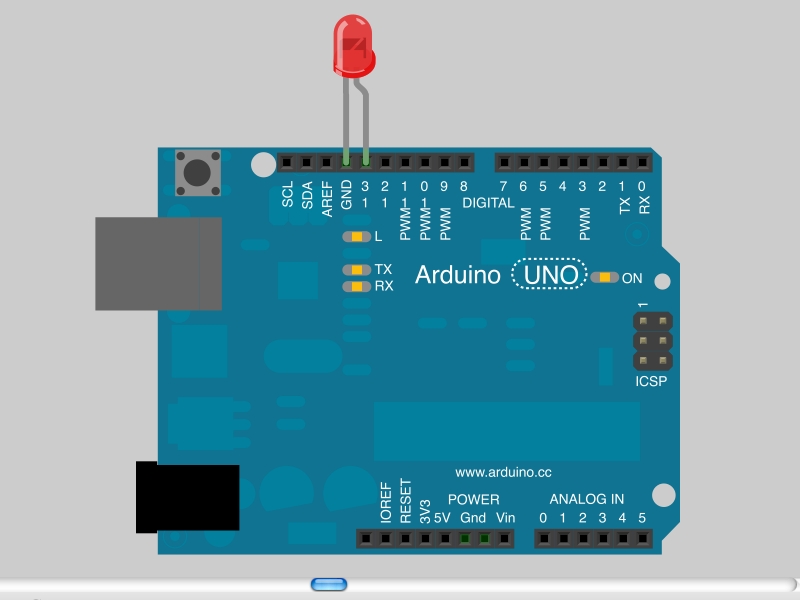
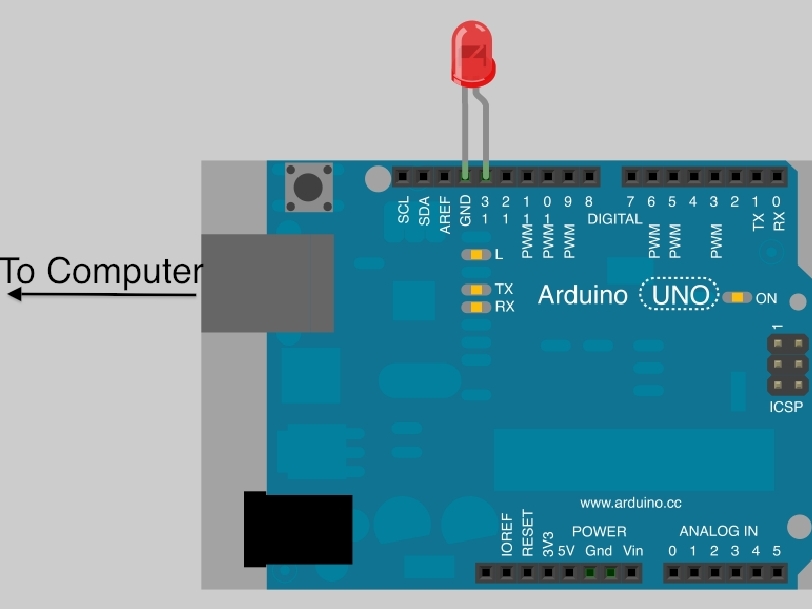
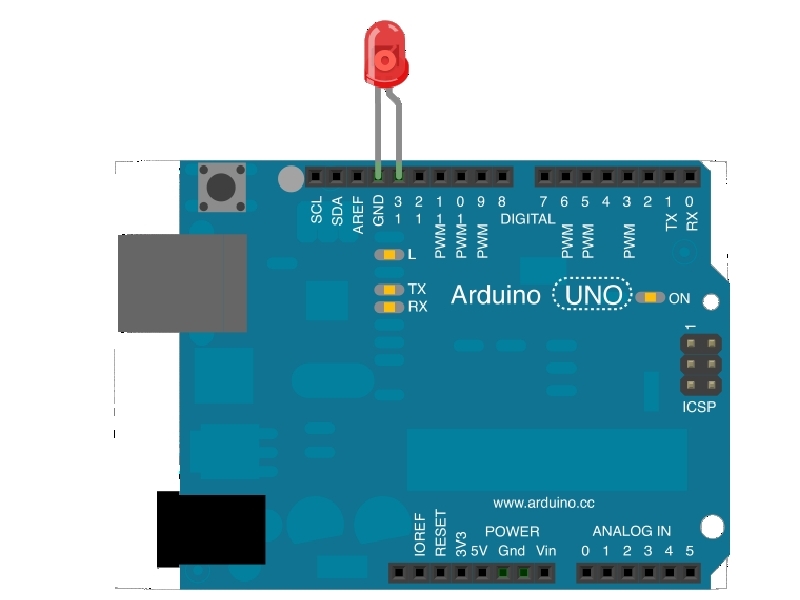
Insert your LED in the header socket so the longer lead (+) is in pin 13 and the short lead (-) is in ground (GND).

It should just push in. No soldering required!

Plug your Arduino cable in to the Arduino and then plug the other end into the USB port on your computer.

After your computer has installed the device drivers (this is automatic) download the Arduino software.

Open the Arduino software, go to Tools→Board and select your Arduino board.

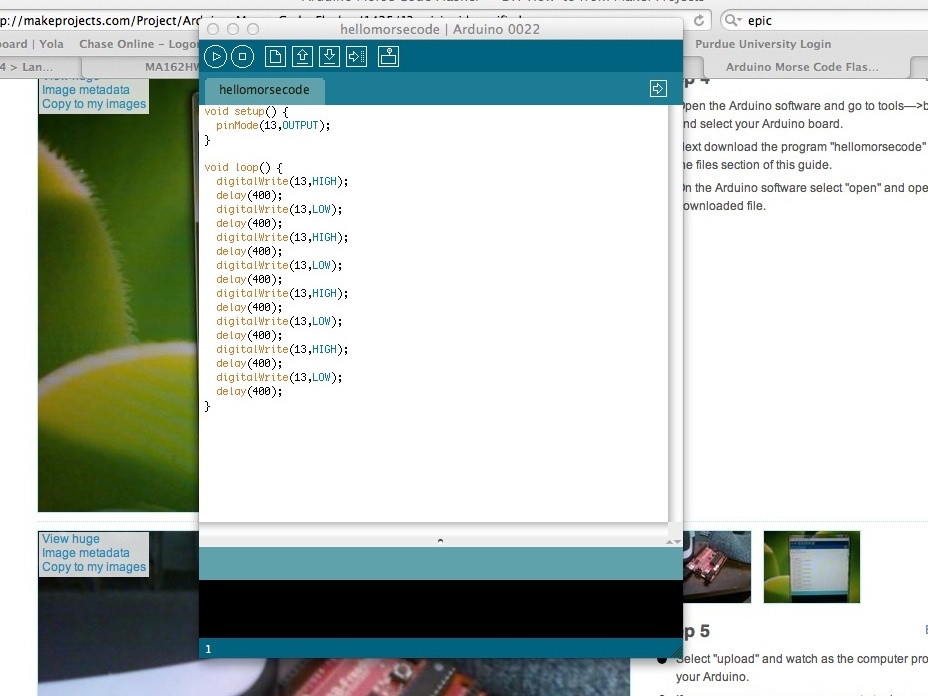
Next download the file hellomorsecode.pdf from the “Files” section of this guide.

Open the PDF file in Adobe Reader or another PDF viewer. Select all of the text in the file, copy it to the clipboard and paste it into the Arduino IDE.

Select “upload” and watch as the computer programs your Arduino.

If an error message comes up, go to Tools→Serial port and see if you can get it working. (That has always been the problem for me.)

Watch your LED flash!

Pull up a Morse code alphabet on your computer and see what your Arduino is saying!! Push the reset button to start the message over.