It is important that you have a working knowledge of the Arduino, networking and basic programming.

What will the next generation of Make: look like? We’re inviting you to shape the future by investing in Make:. By becoming an investor, you help decide what’s next. The future of Make: is in your hands. Learn More.

Project Steps

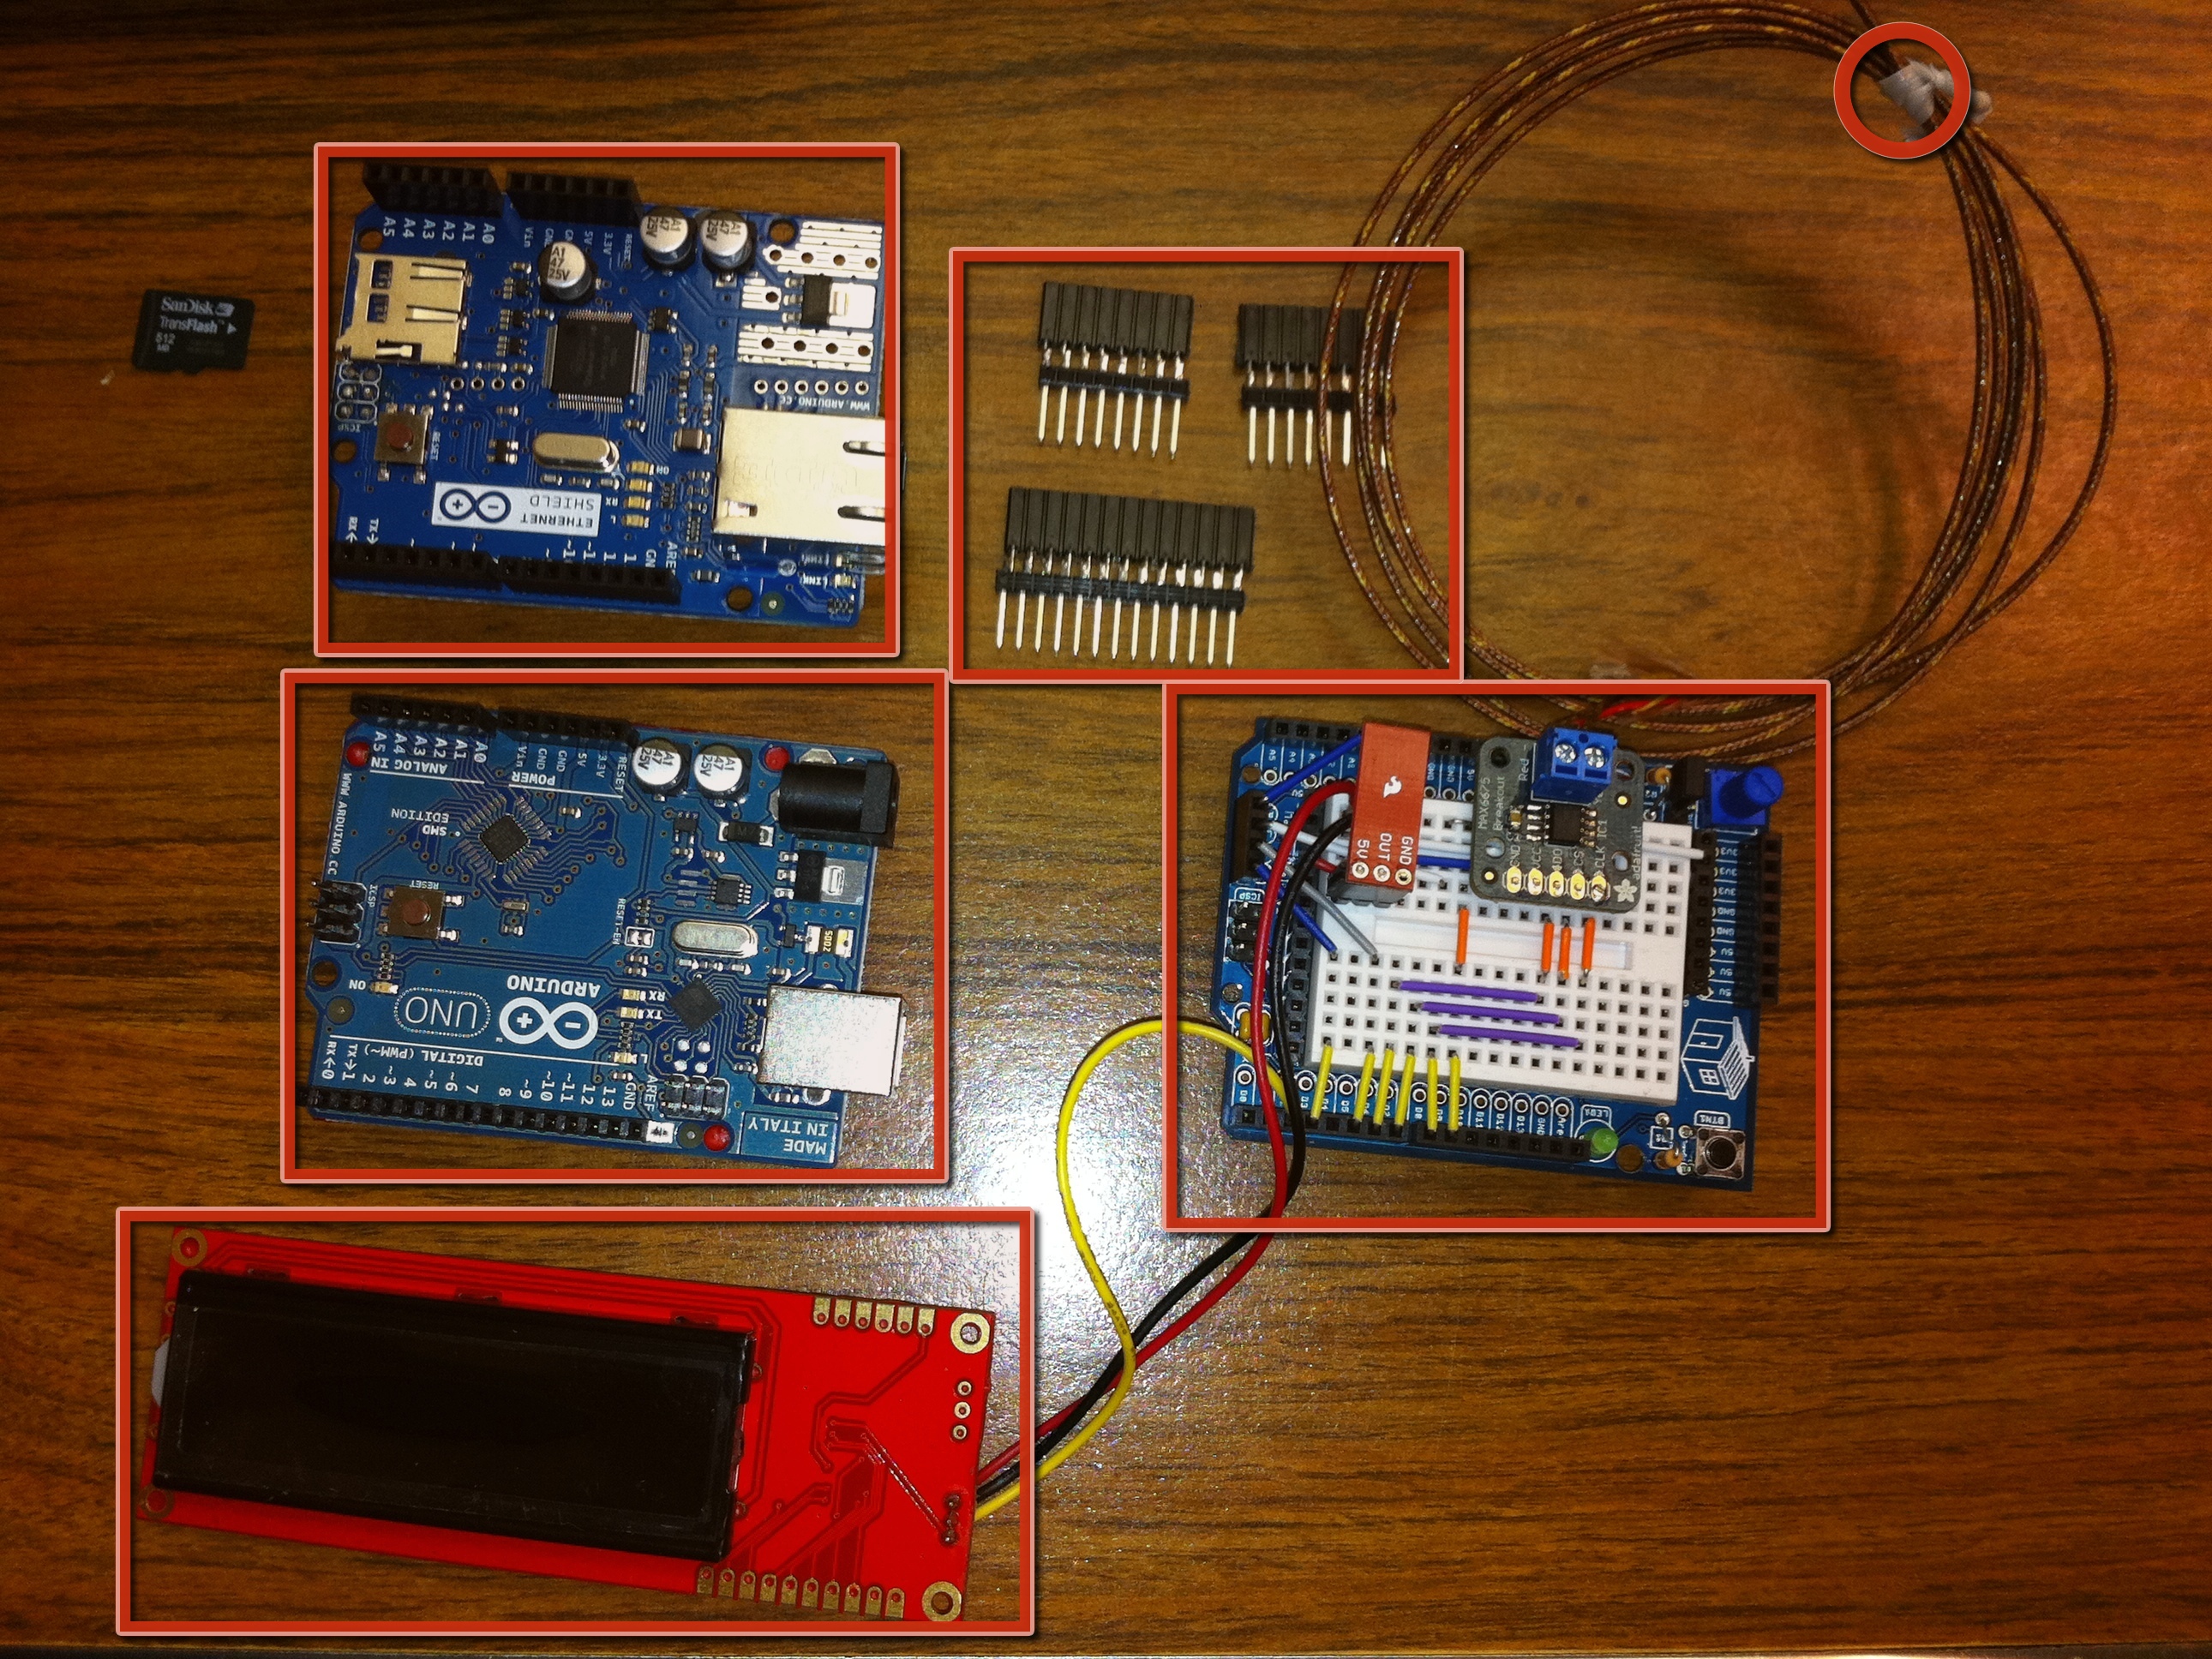
Here are the pieces needed for this project:

Arduino UNO

Netshield

MakerShield with Breadboard

Sensors

Wires

Serial LCD Screen

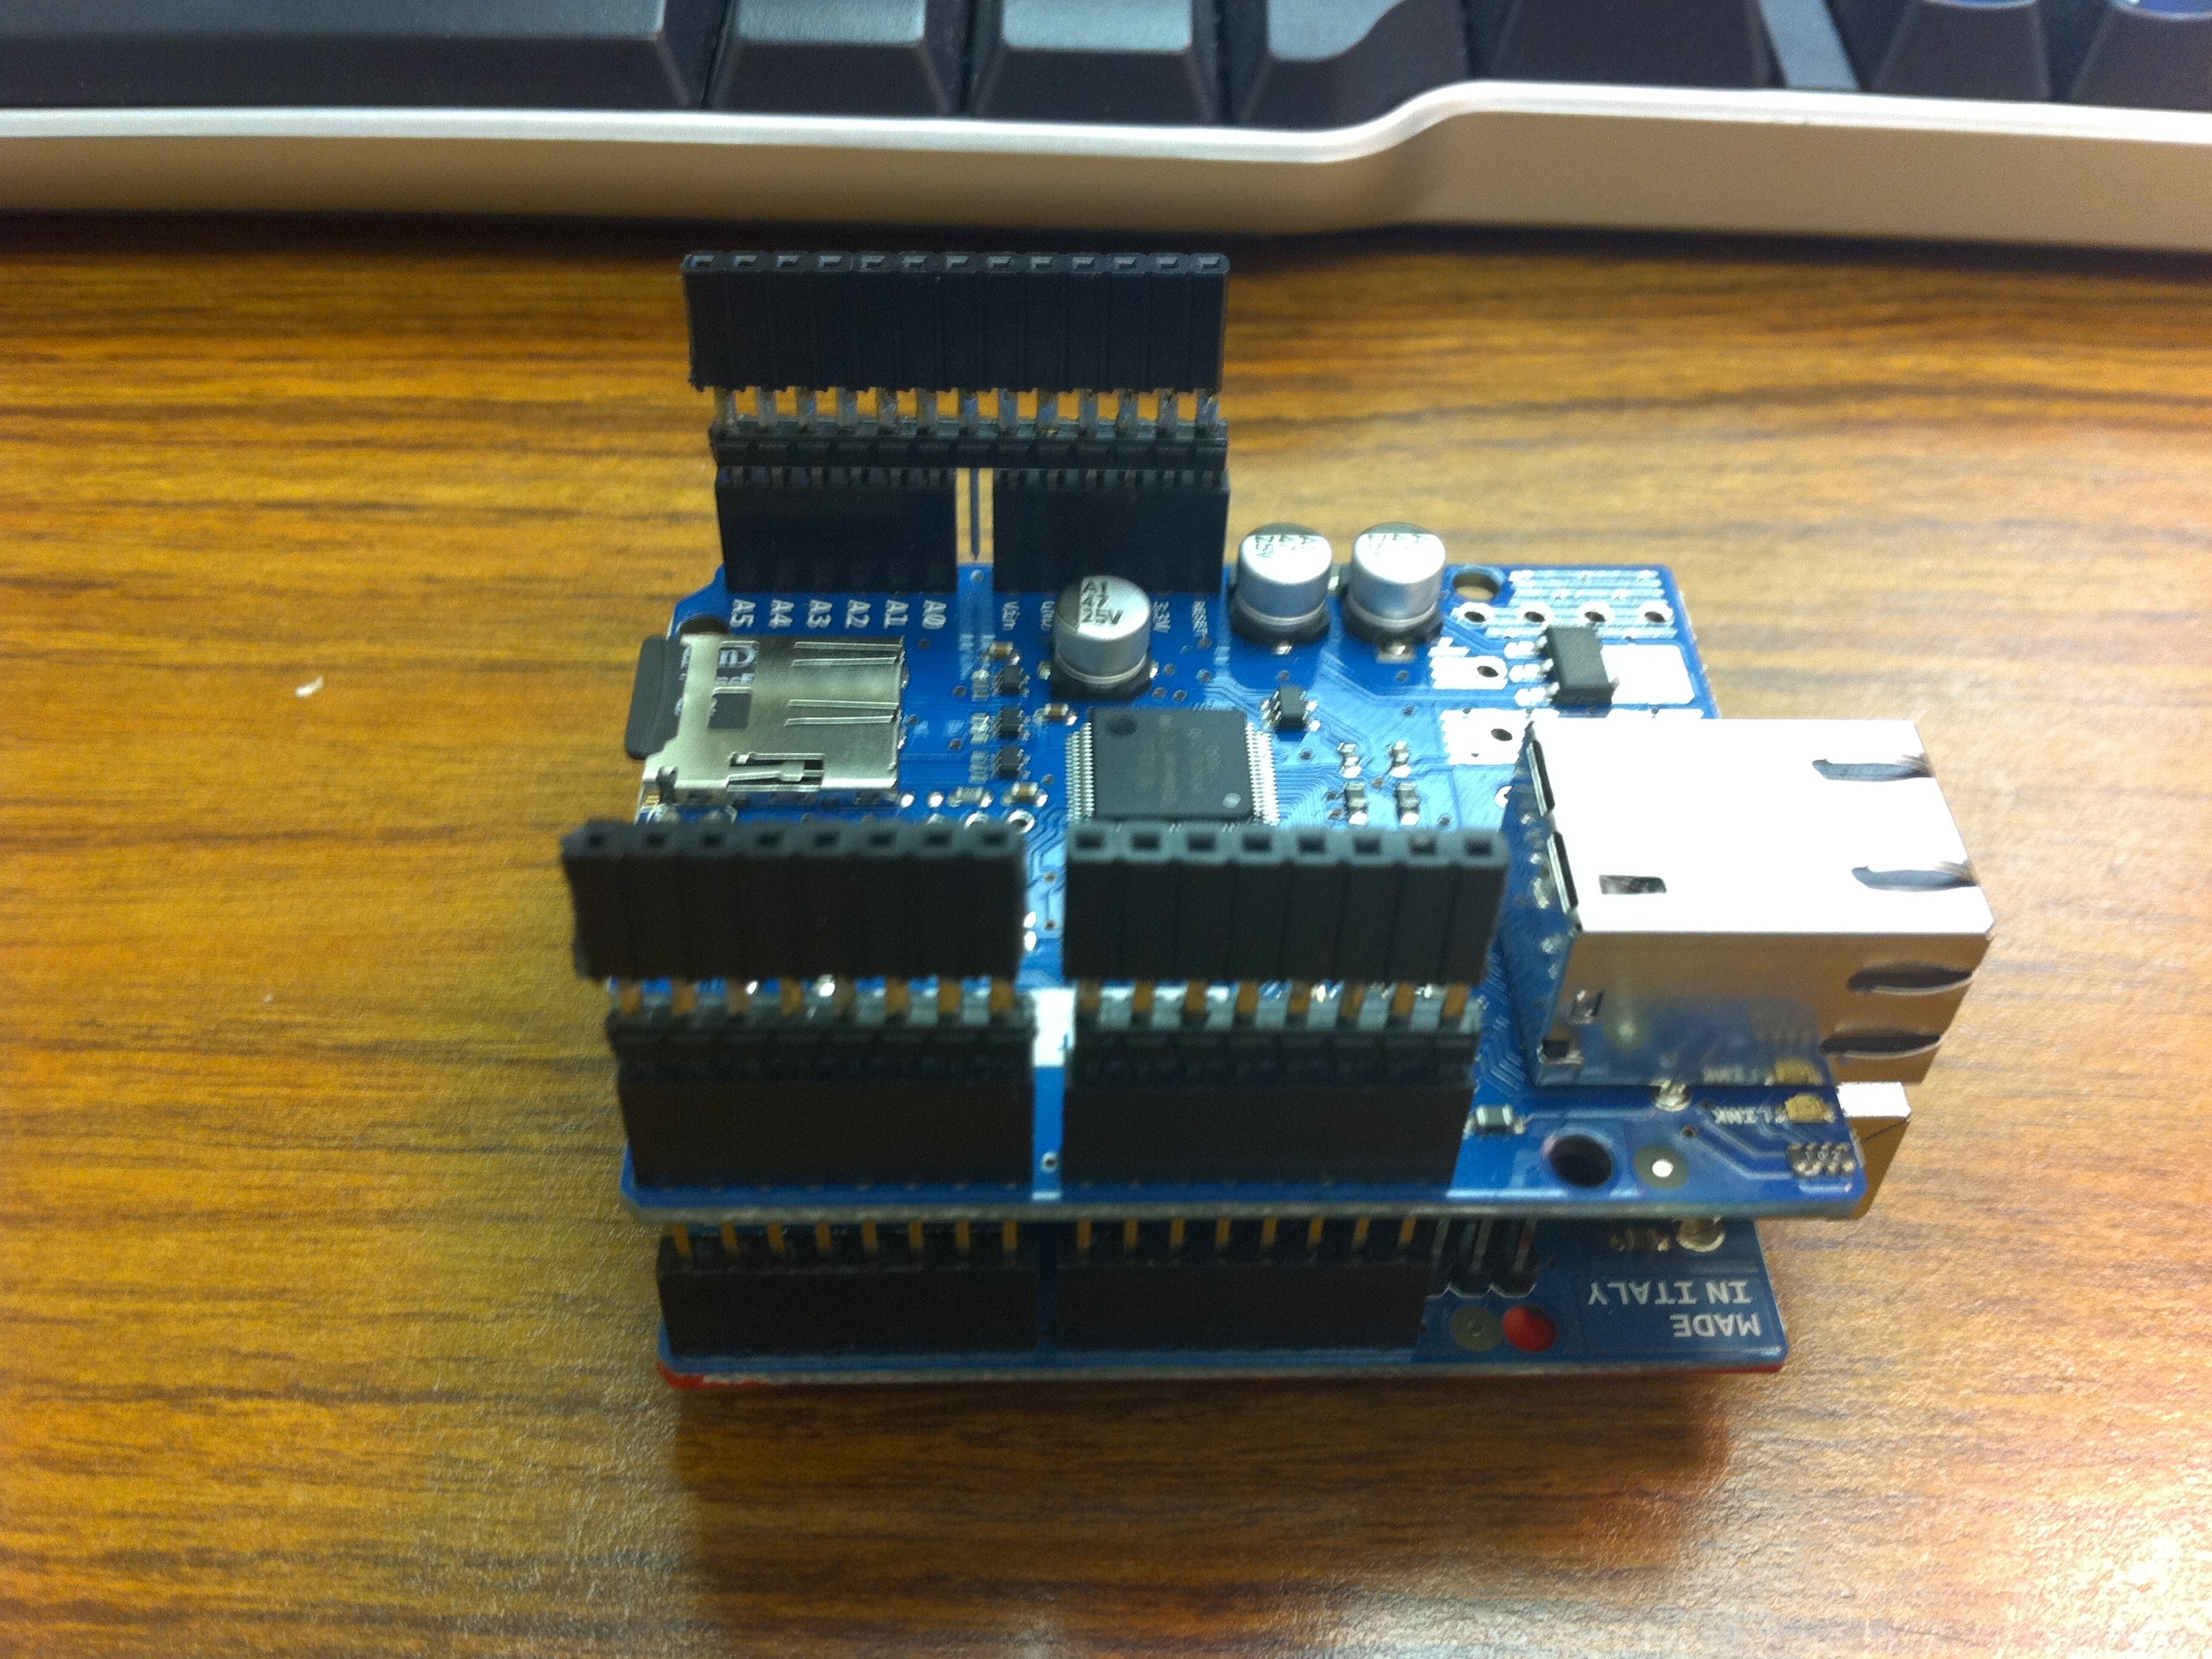
Add the Netshield to the Arduino.

Solder custom header pins to use as a spacer for the MakerShield.

Using long-pin male headers and long-pin female headers solder them as shown.

These custom headers will be used as spacers between the Netshield and the MakerShield.

NOTE: The center pin on the longer spacer will not be used. I left it to make the unit stronger.

Add the spacers.

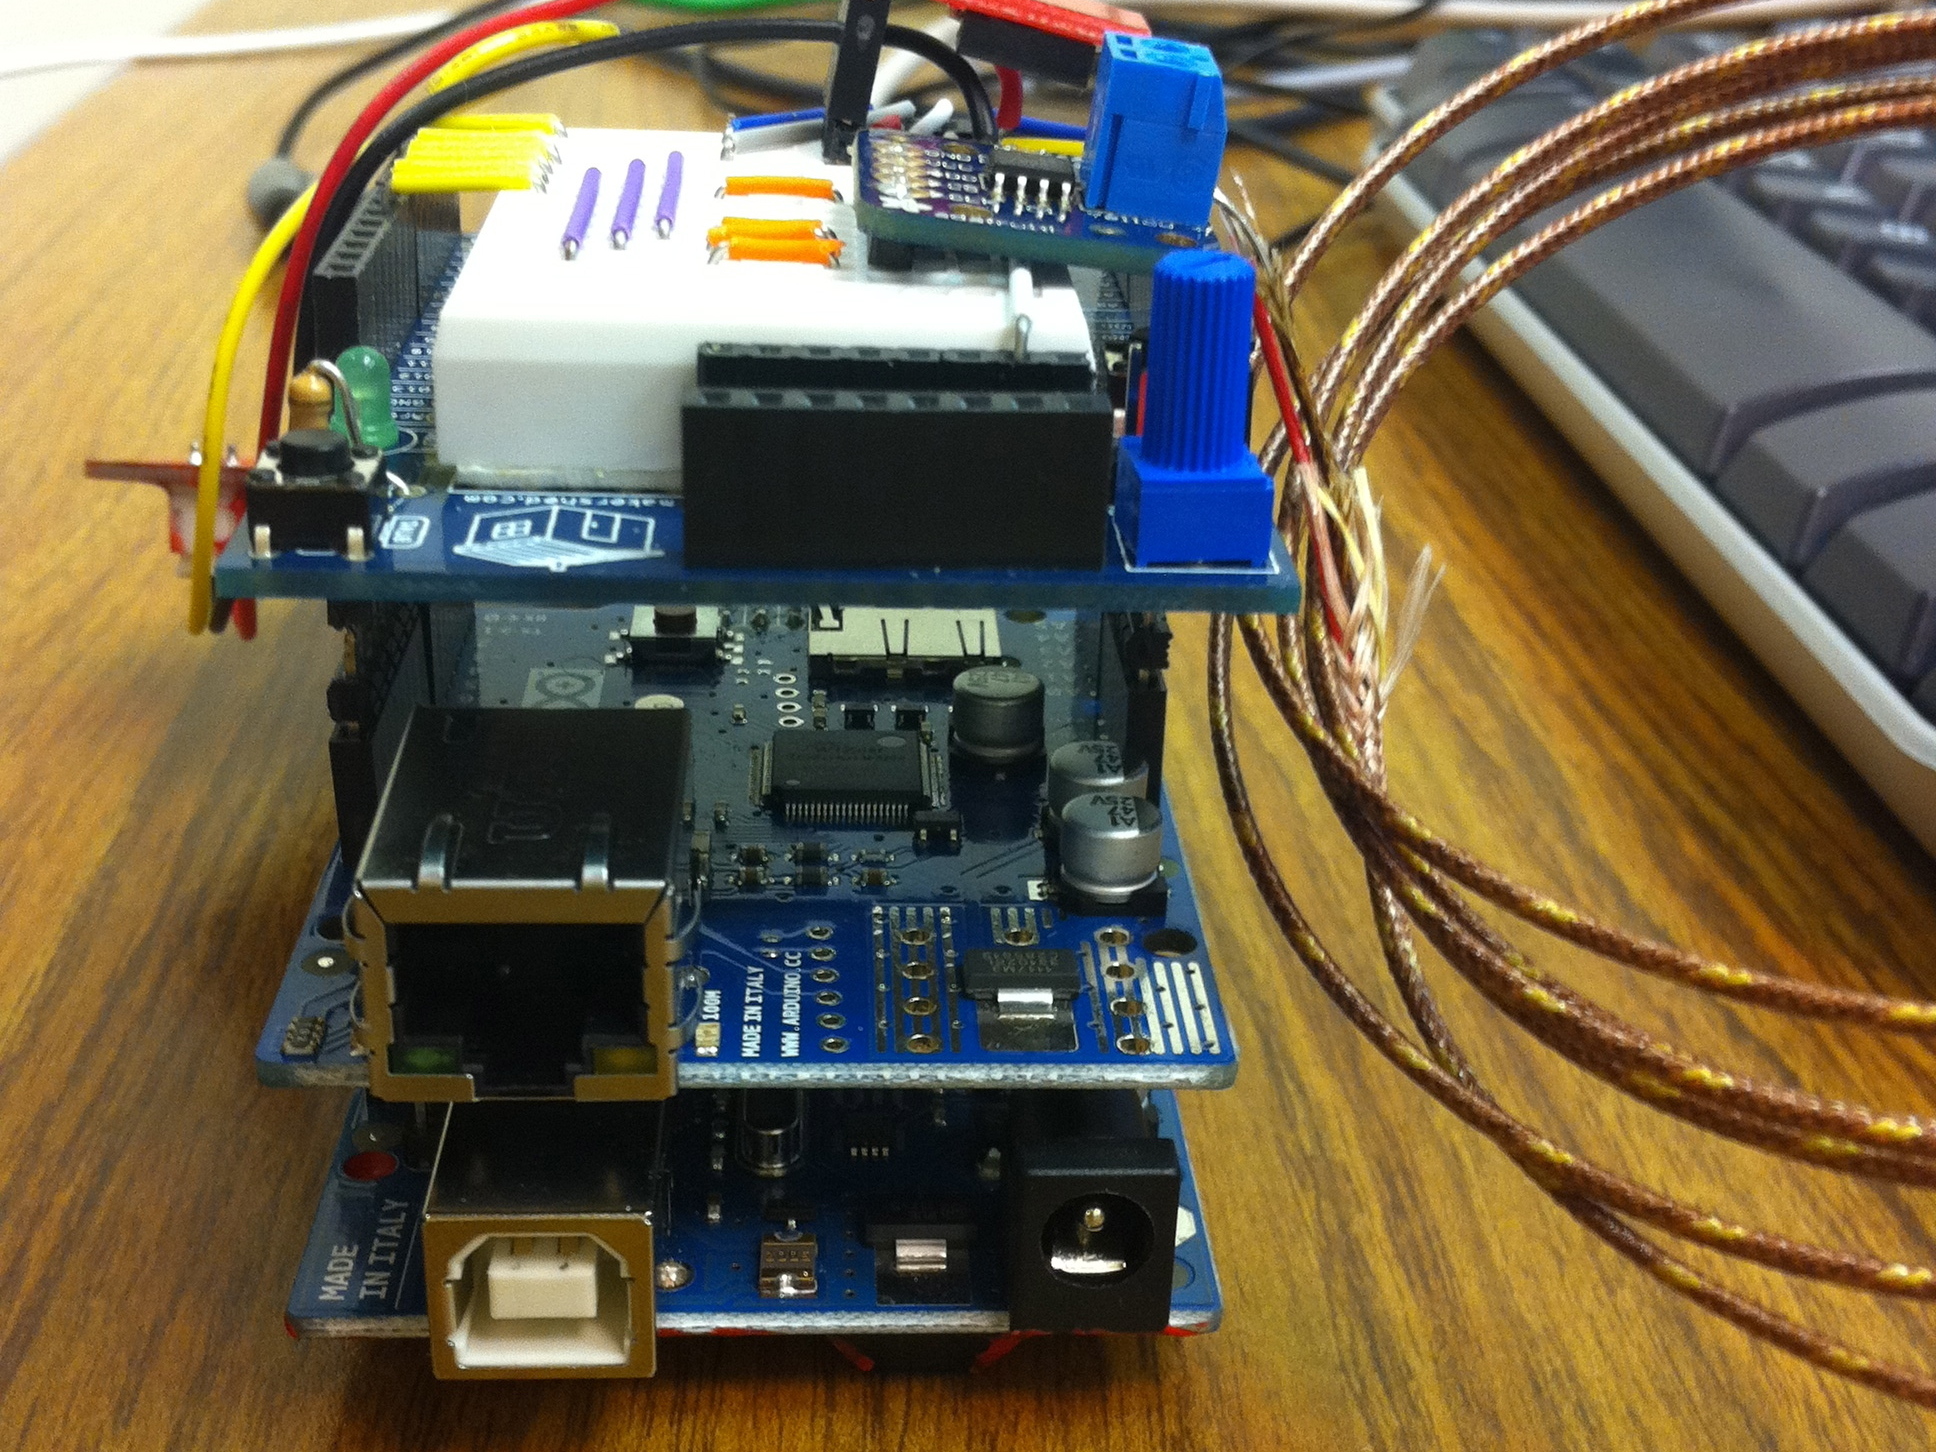
Add the MakerShield.

As you can see, the spacers give plenty of room and prevent grounding issues.

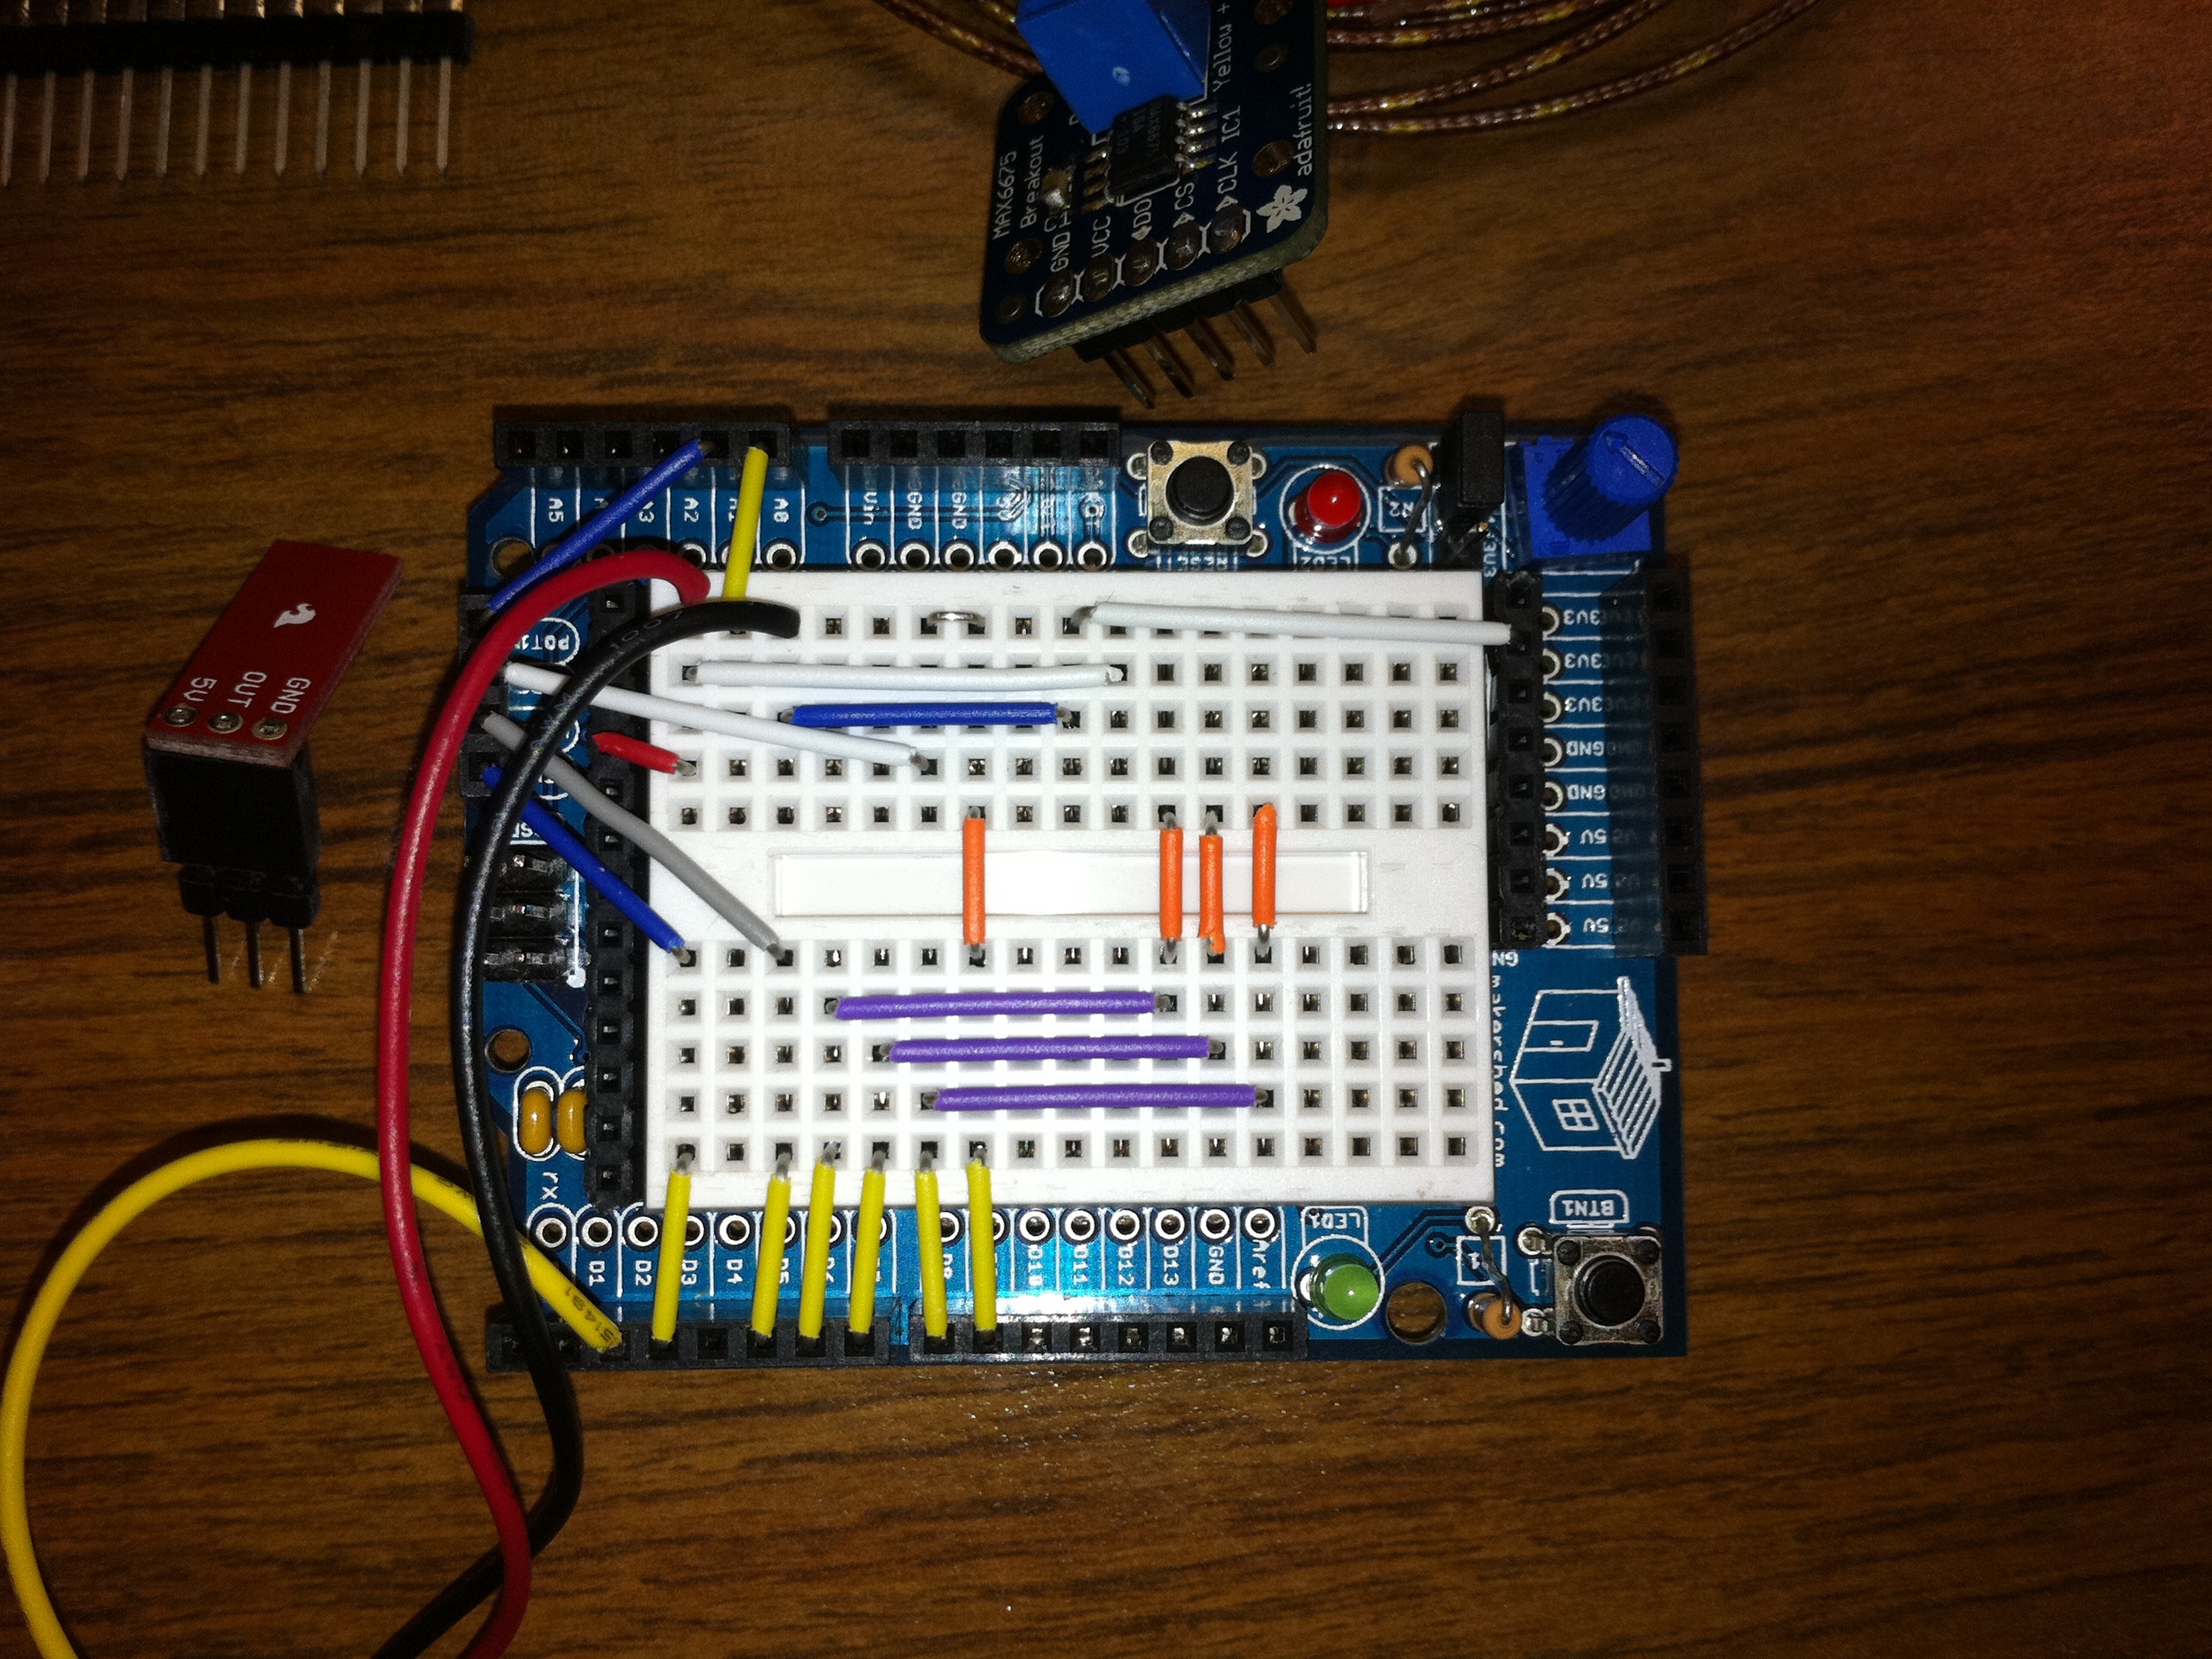
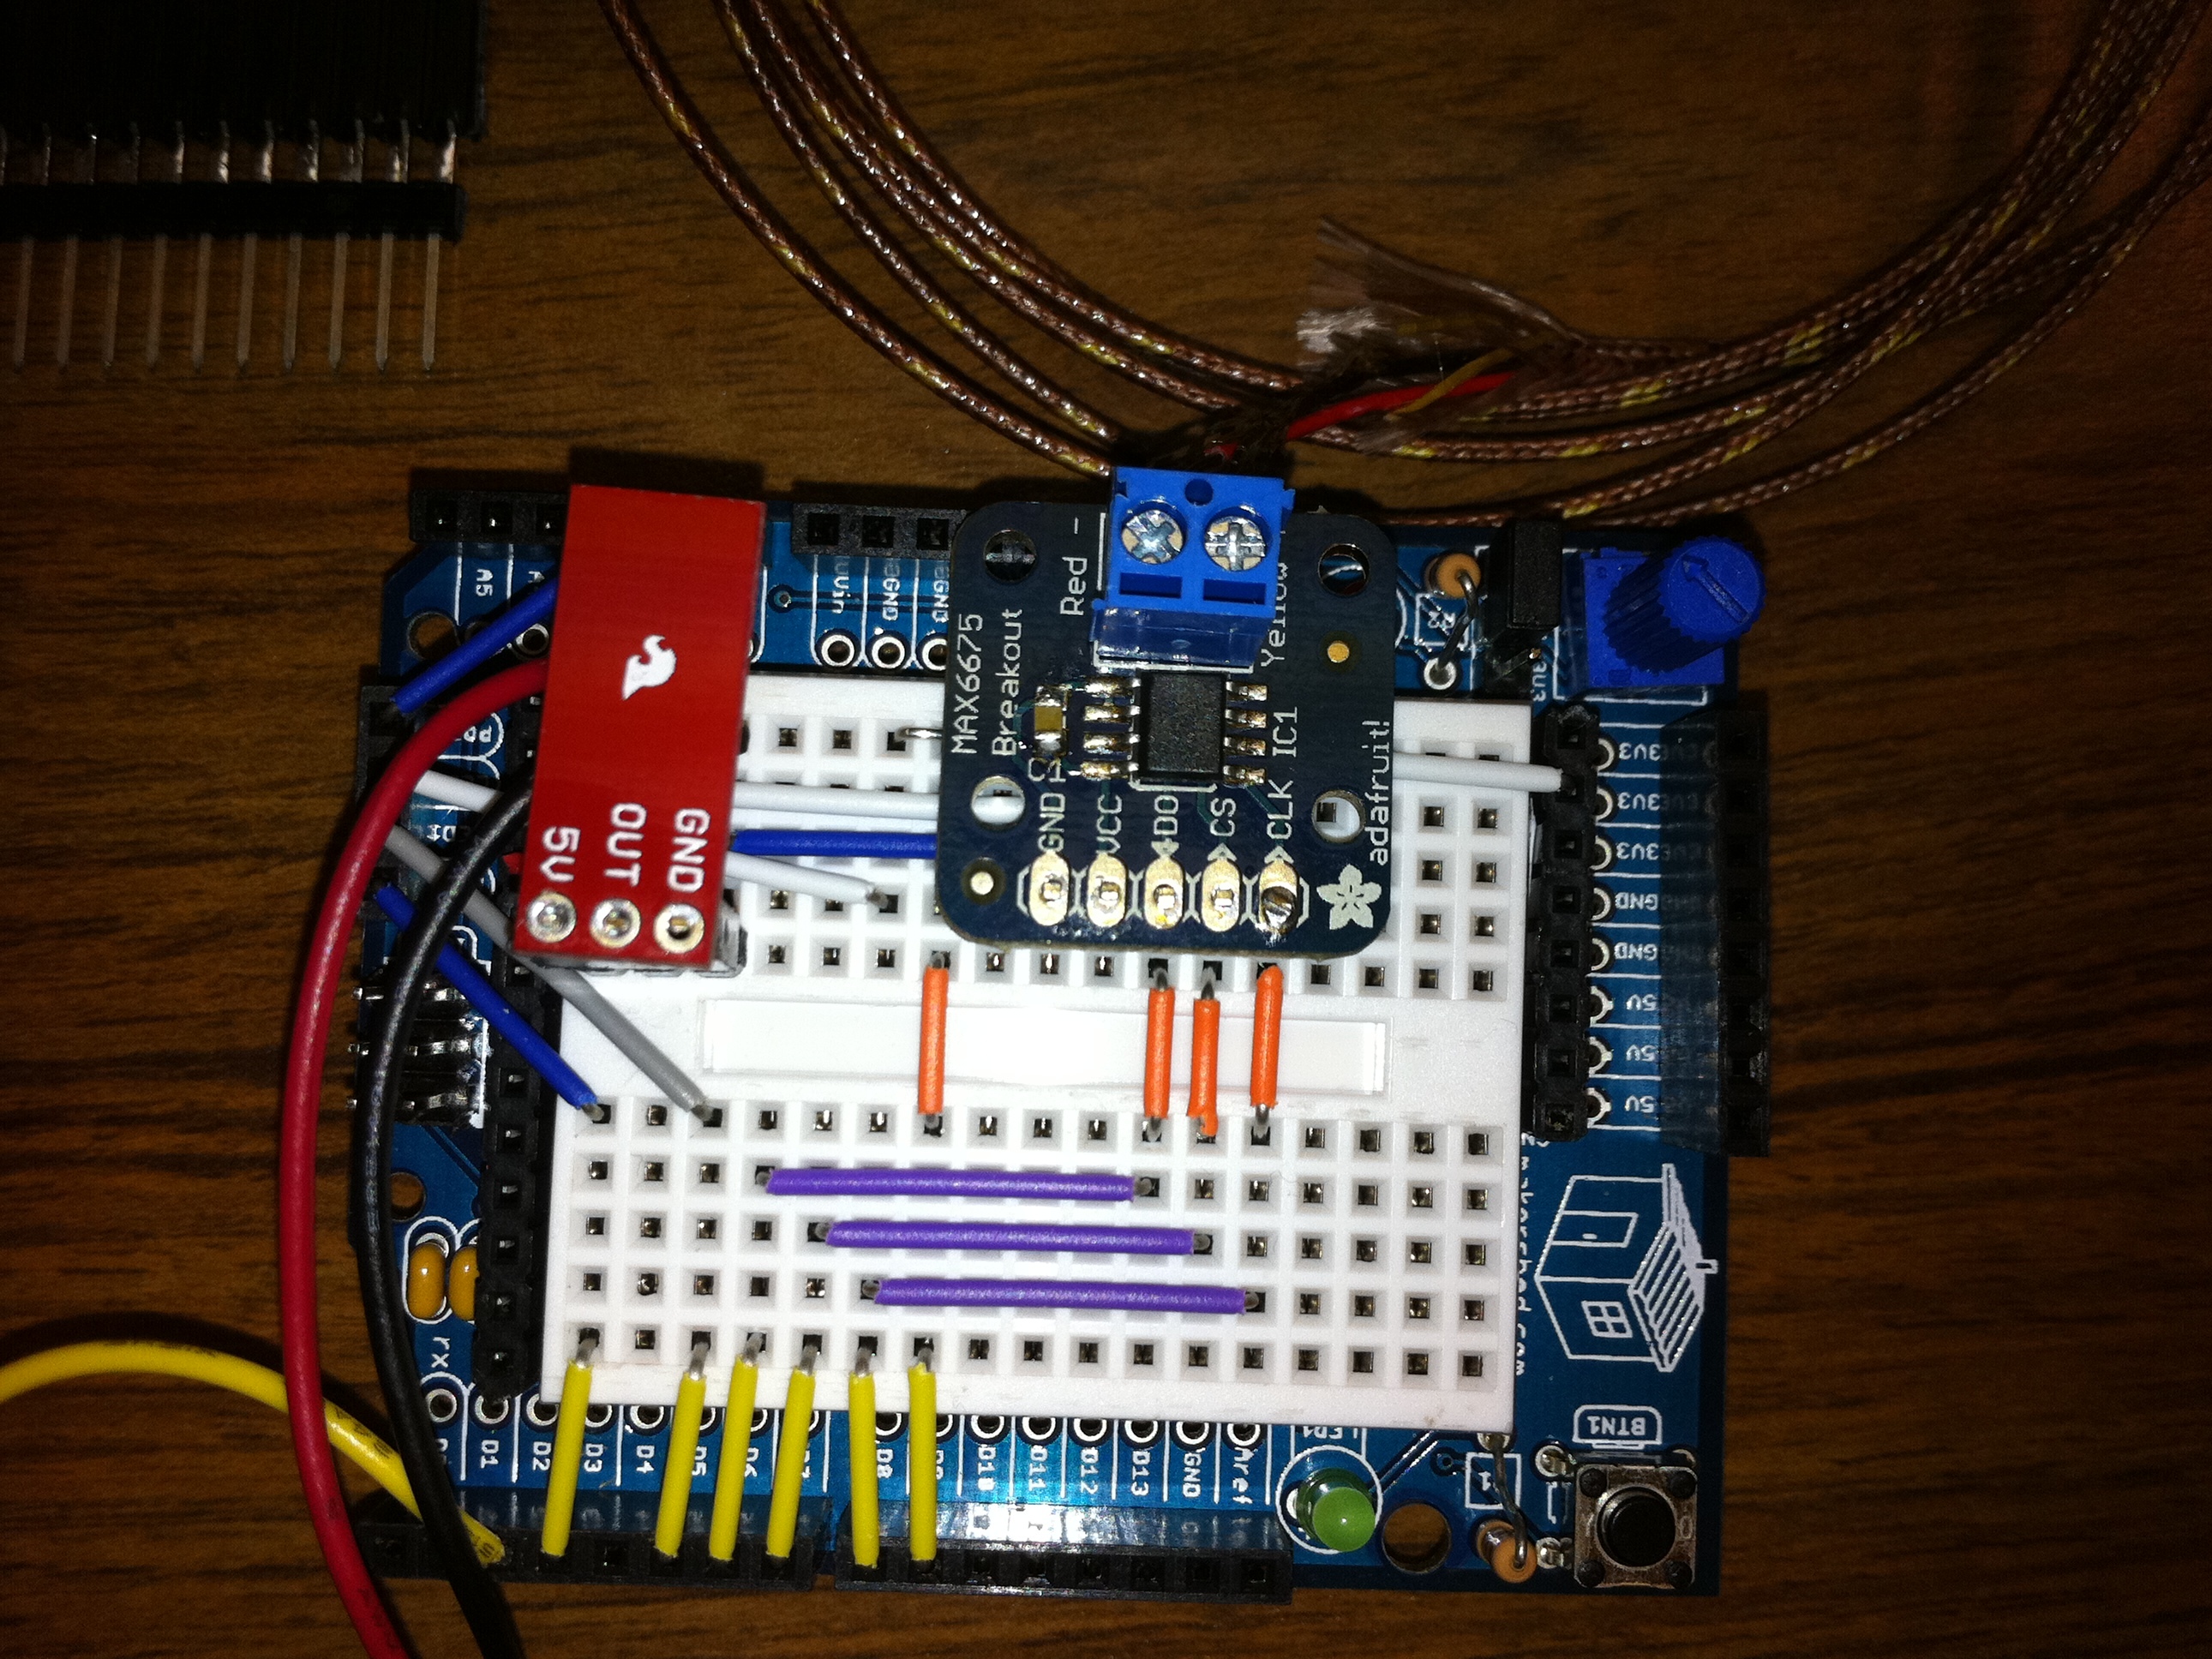
Add custom wires to breadboard.

Add sensors.

Add code to the Arduino.

A PDF of the sketch is included with this project.