With a few hardware store and household items we are going to construct our own clock that looks like a classic design piece.
Projects from Make: Magazine
Atomic Age Clock
Mid-century modern is such a gorgeous era and is permeating the design scene.

Mid-century modern is such a gorgeous era and is permeating the design scene.

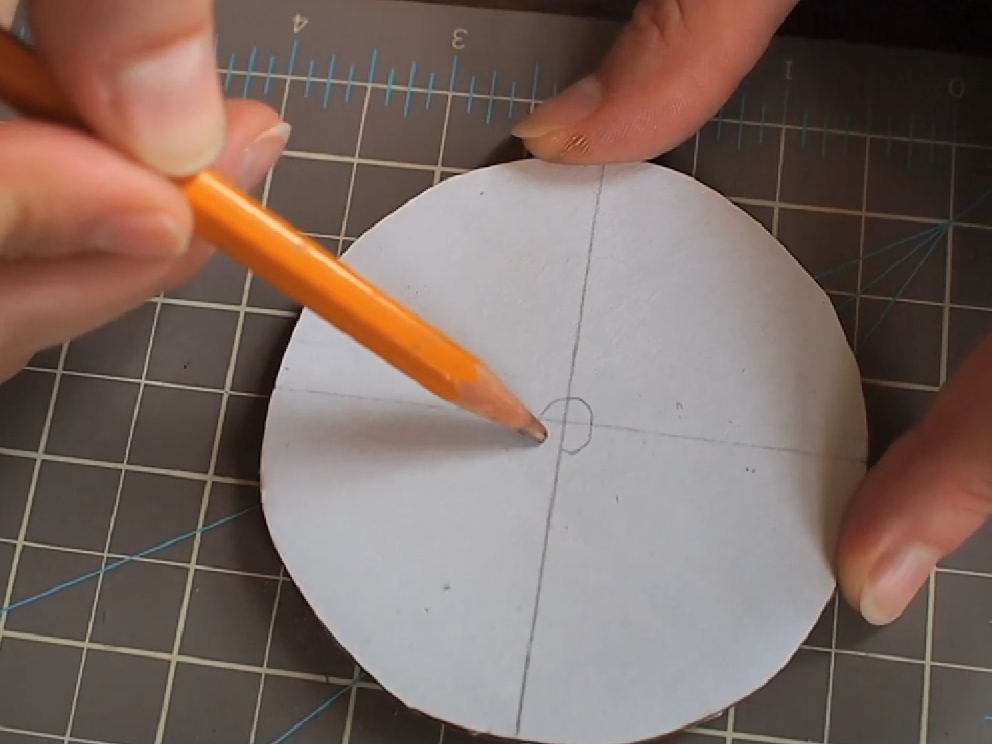
Cut 2 pieces of cardboard into circles that are 3 1/2″ in diameter. Hot glue them together to make them stronger, avoiding the center for when you drill later. Measure and draw 2 perpendicular lines intersecting in the center. Drill through that center mark with a piece of wood behind the cardboard for safety.
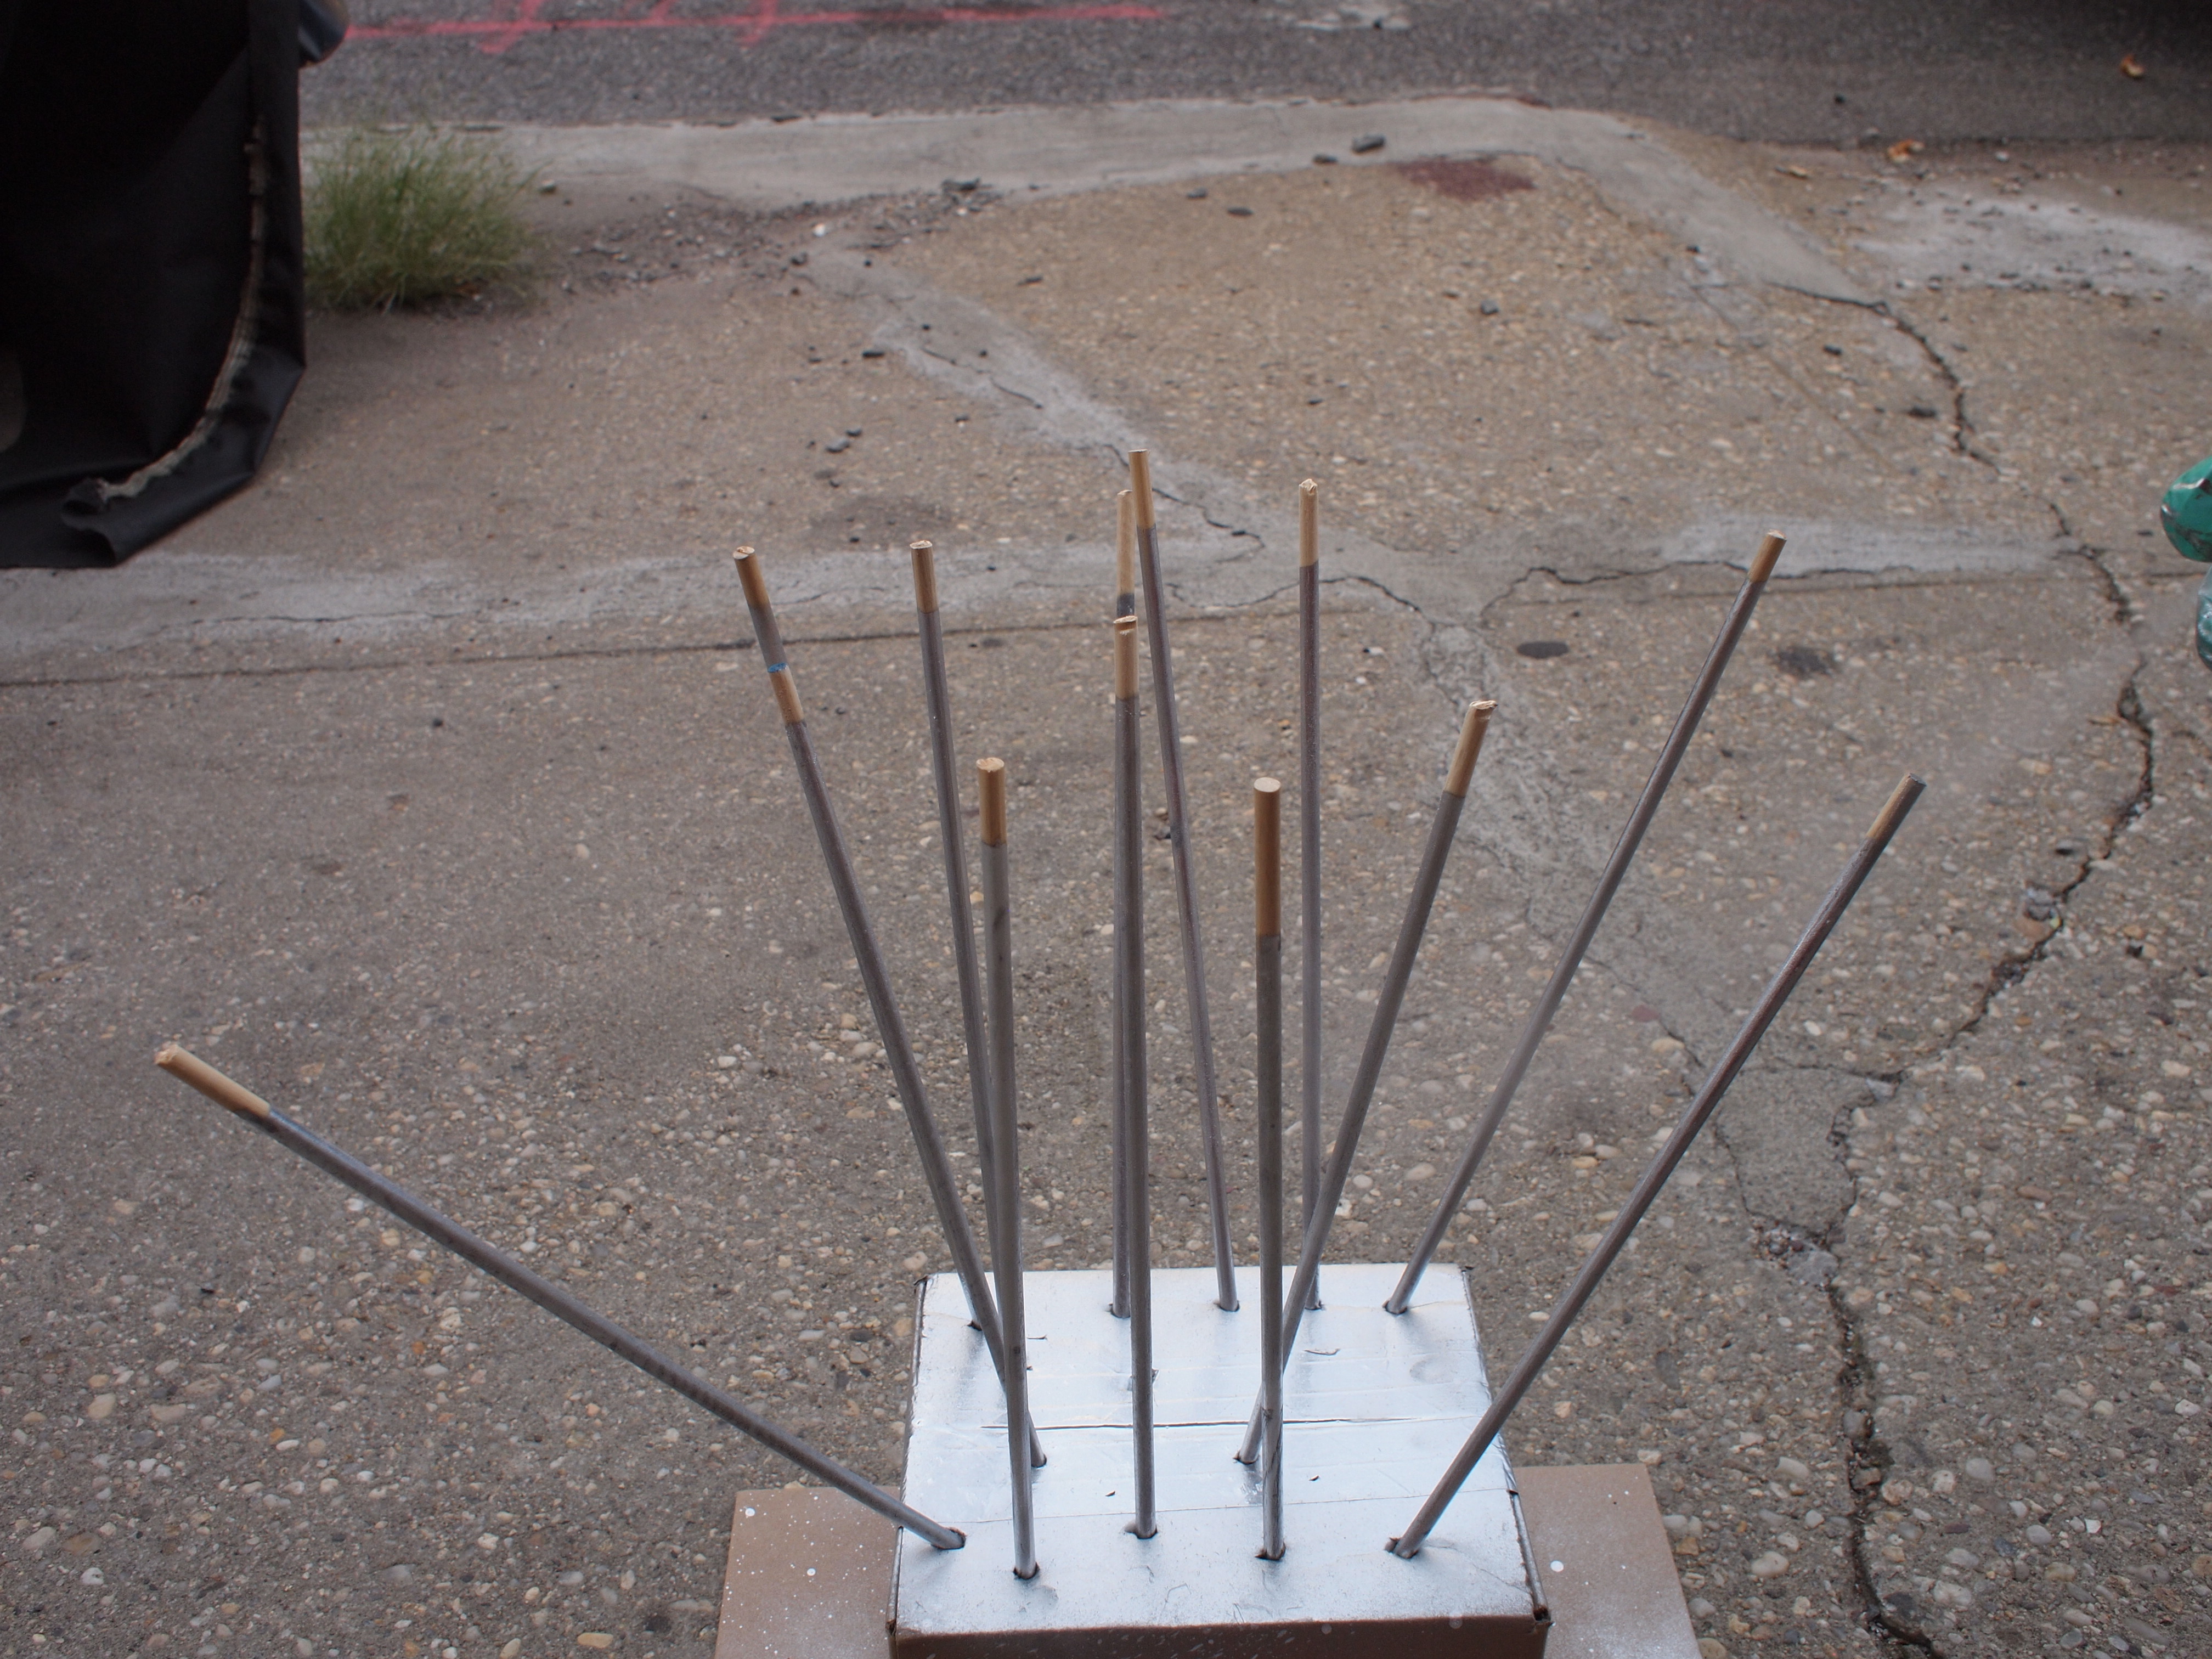
Paint the front and sides of your clock face. While that dries, sand, cut and spray paint 12 13″ dowels.
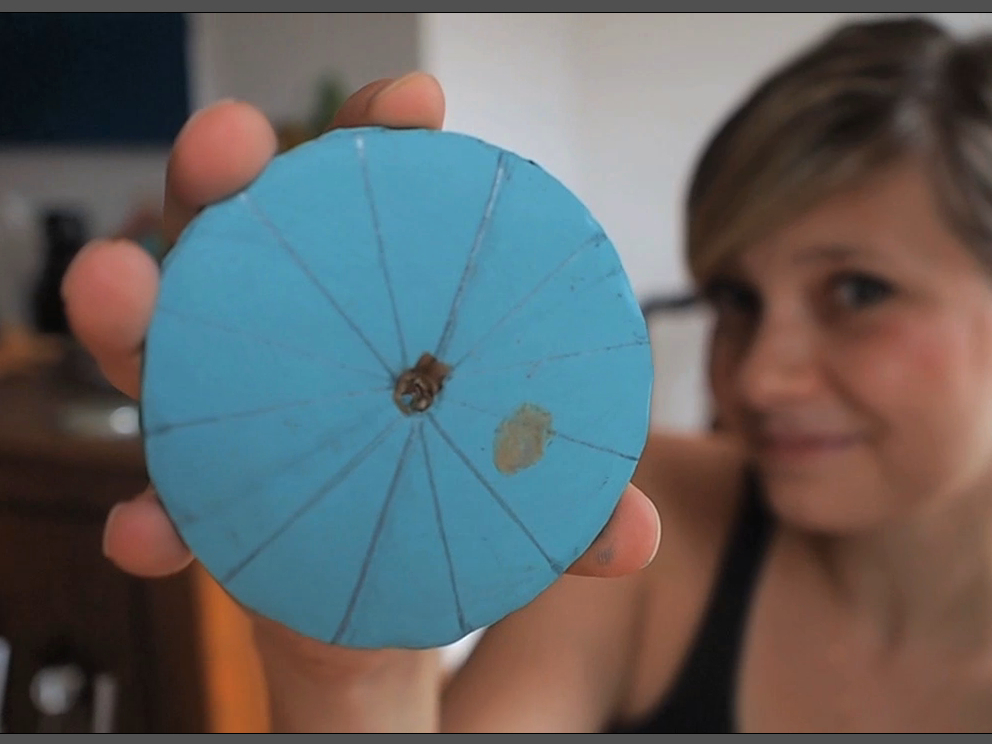
On the back of your clock face, draw 6 equidistant lines intersecting in the center as your guide.
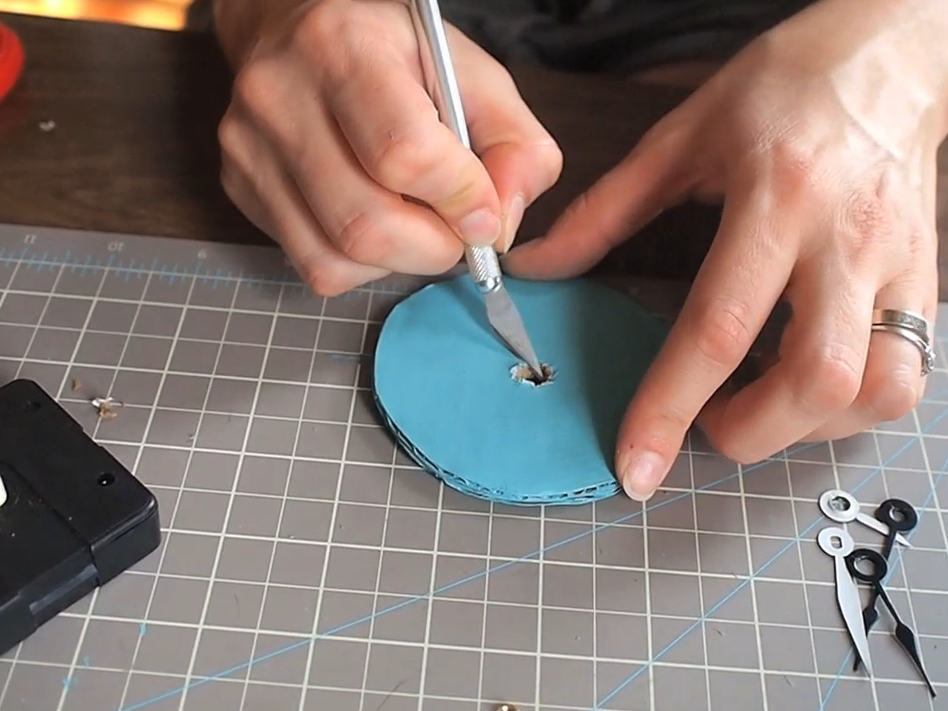
Cut away any excess material around the center hole with a utility knife so the clock can fit.
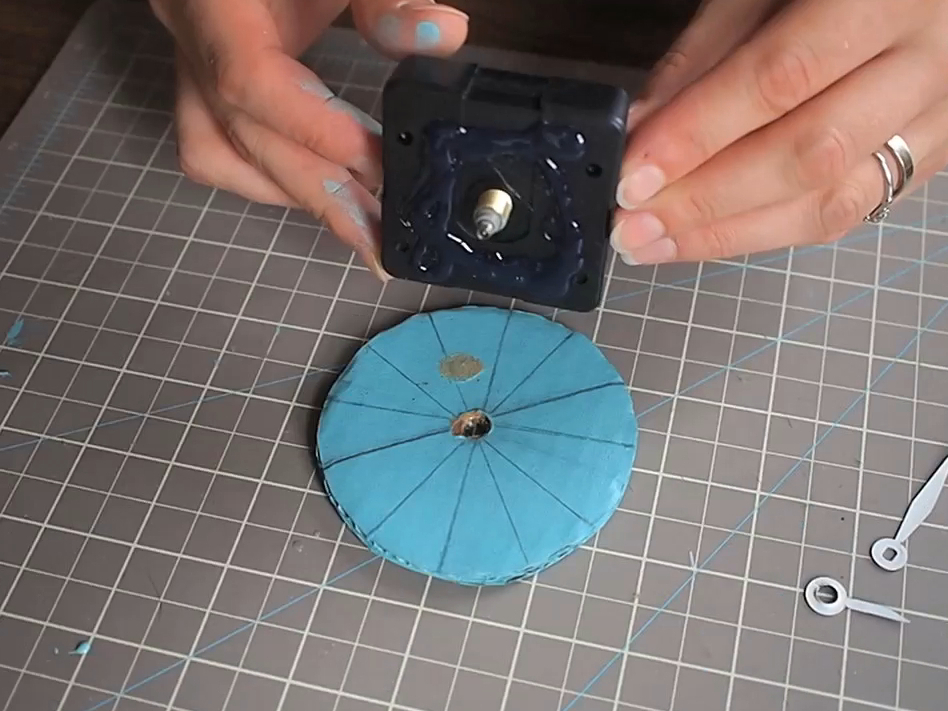
Align both 12 o’clocks on your clock and grid before gluing the two pieces together. Be careful not to get any hot glue on the center piece.
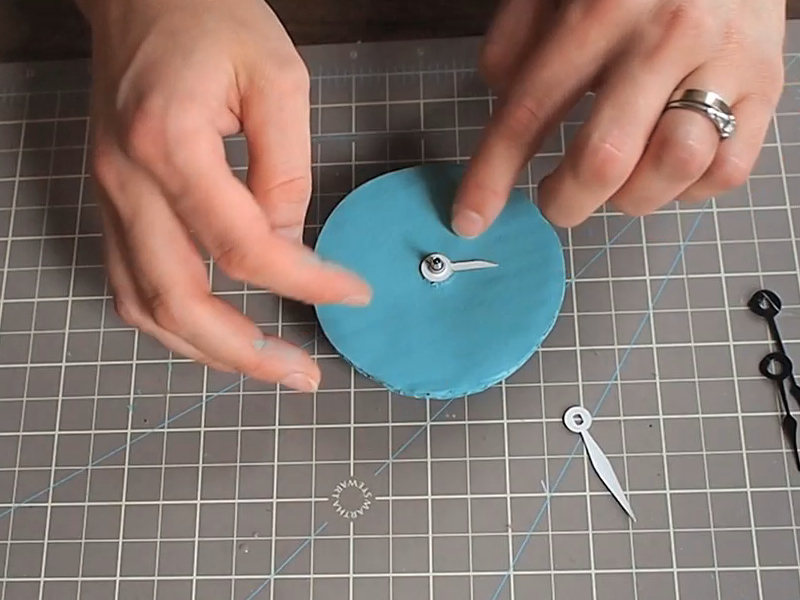
Add your clock hands and the top small screw to the face.
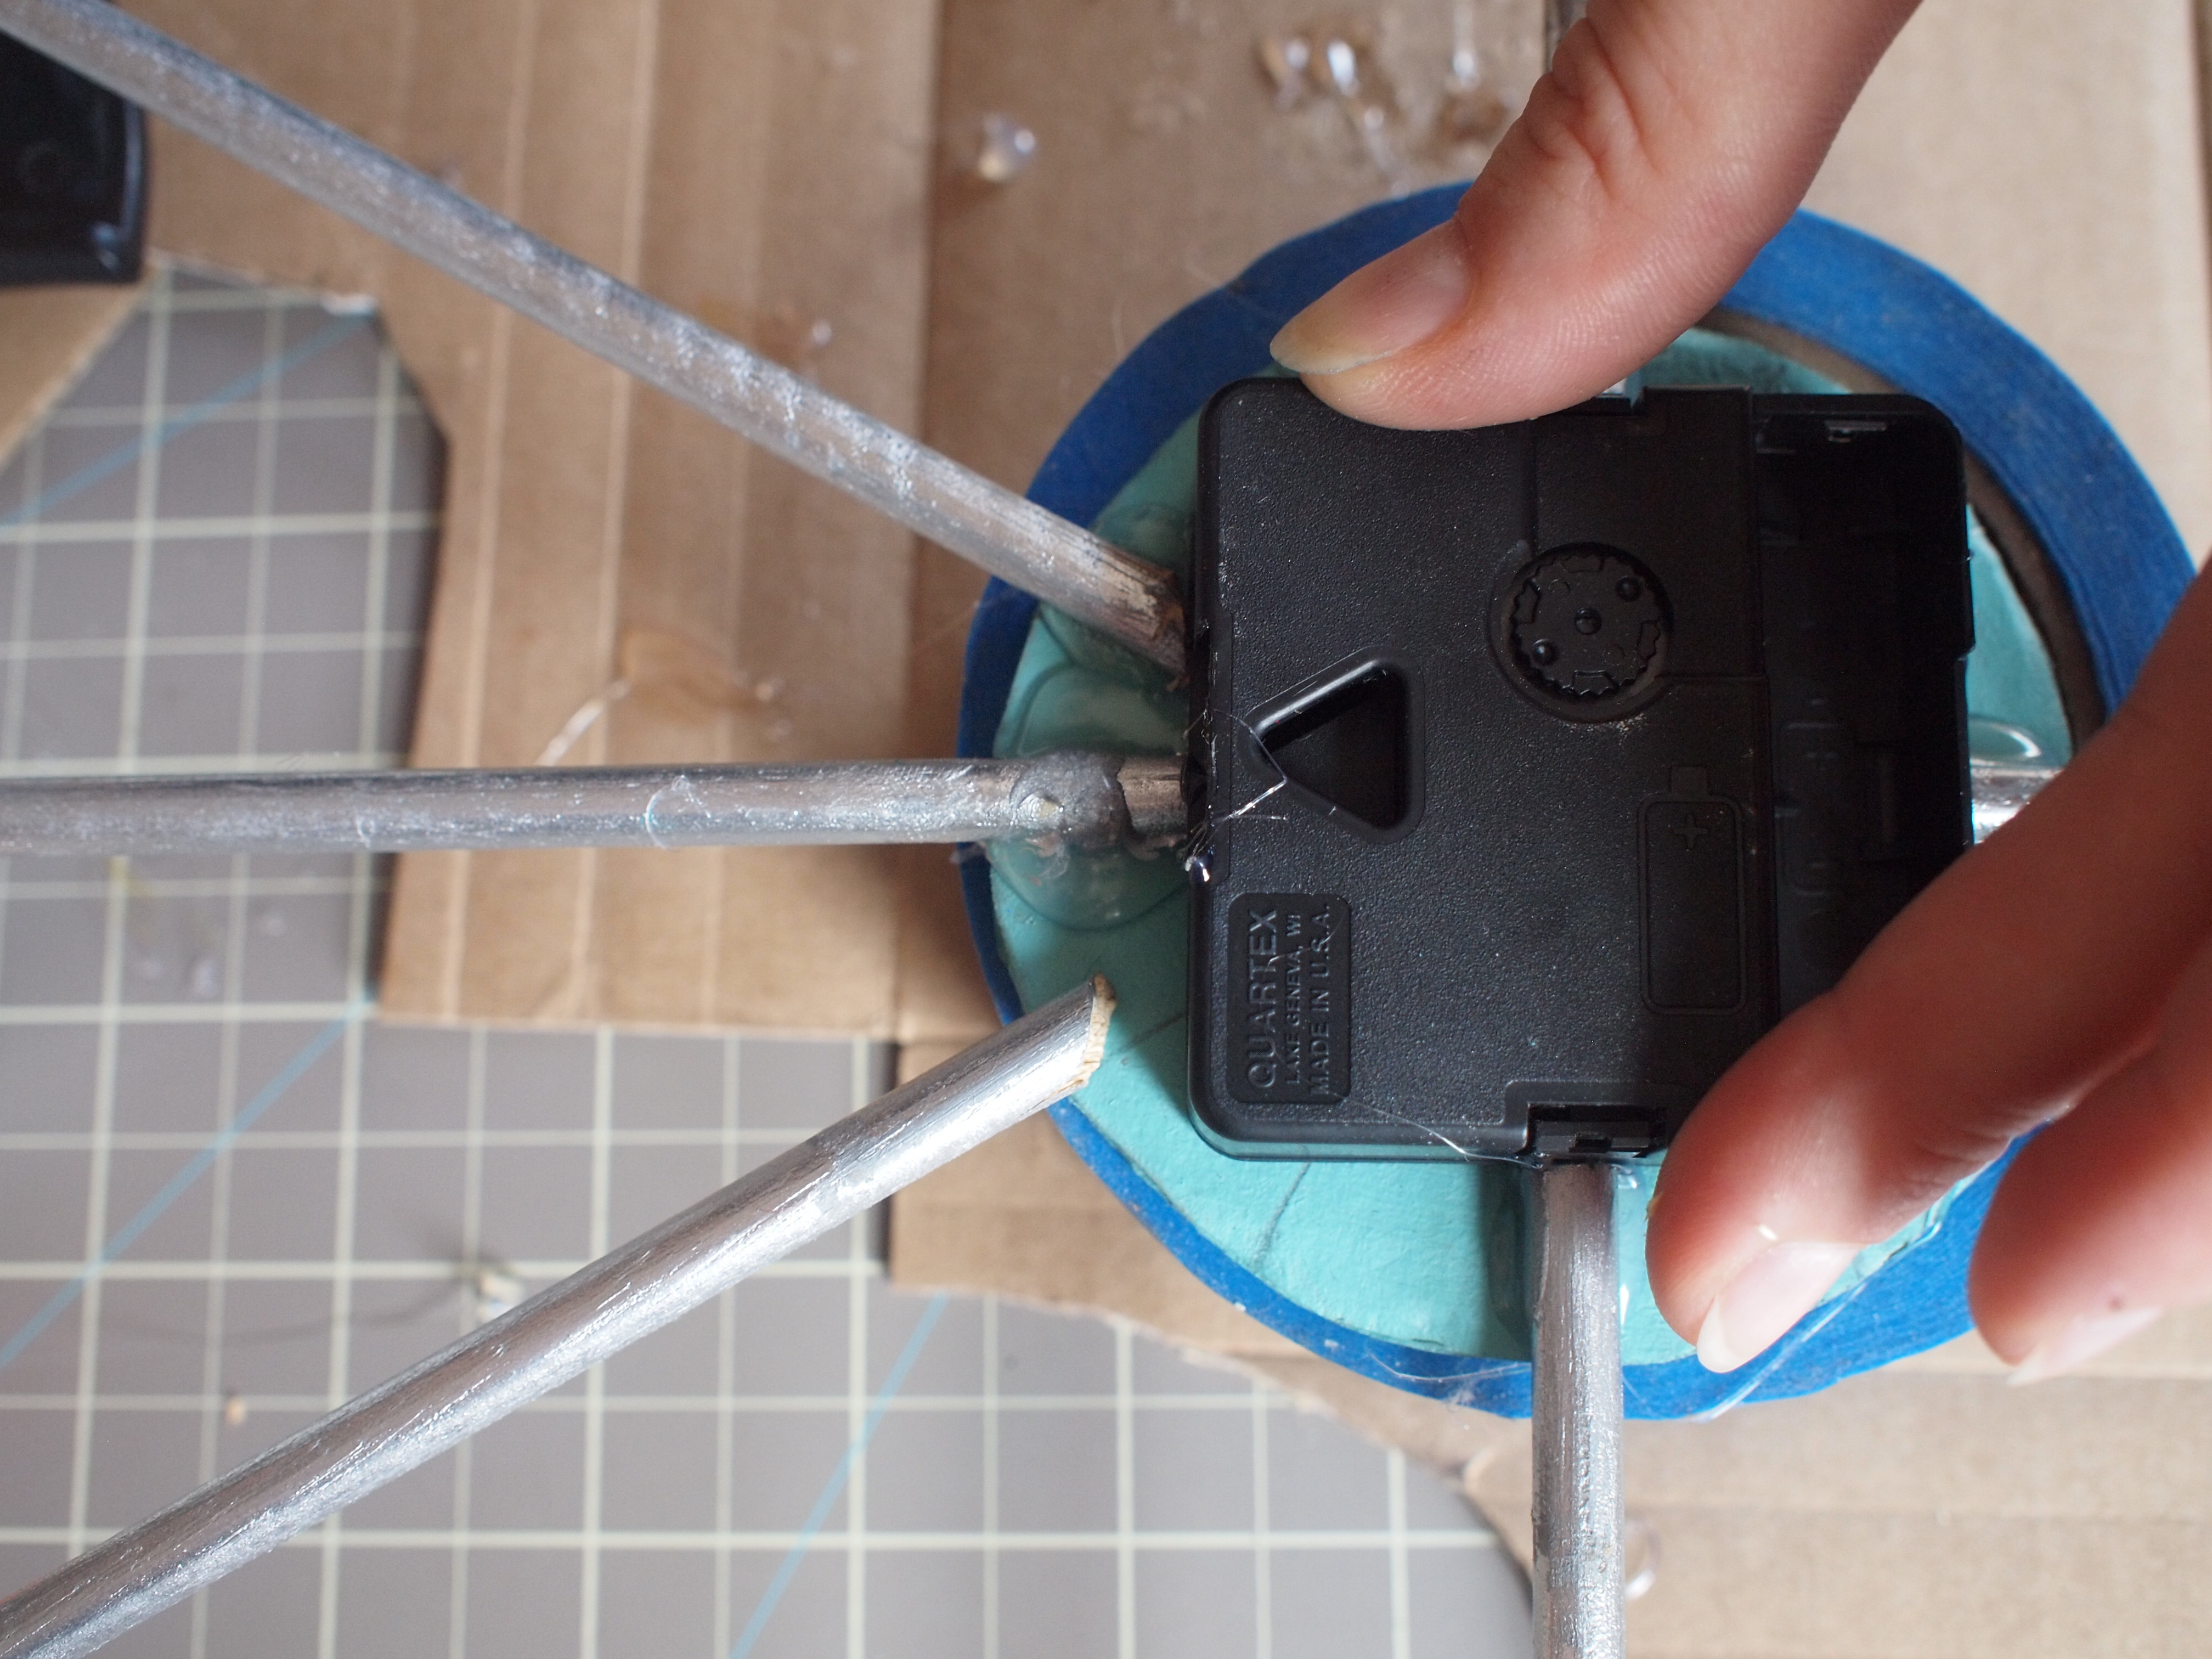
Using the grid as your guide, hot glue your dowels onto the back of the clock. Using a roll of tape can stabilize the surface area for this step. A bird’s eye view can help you see if the dowels align.
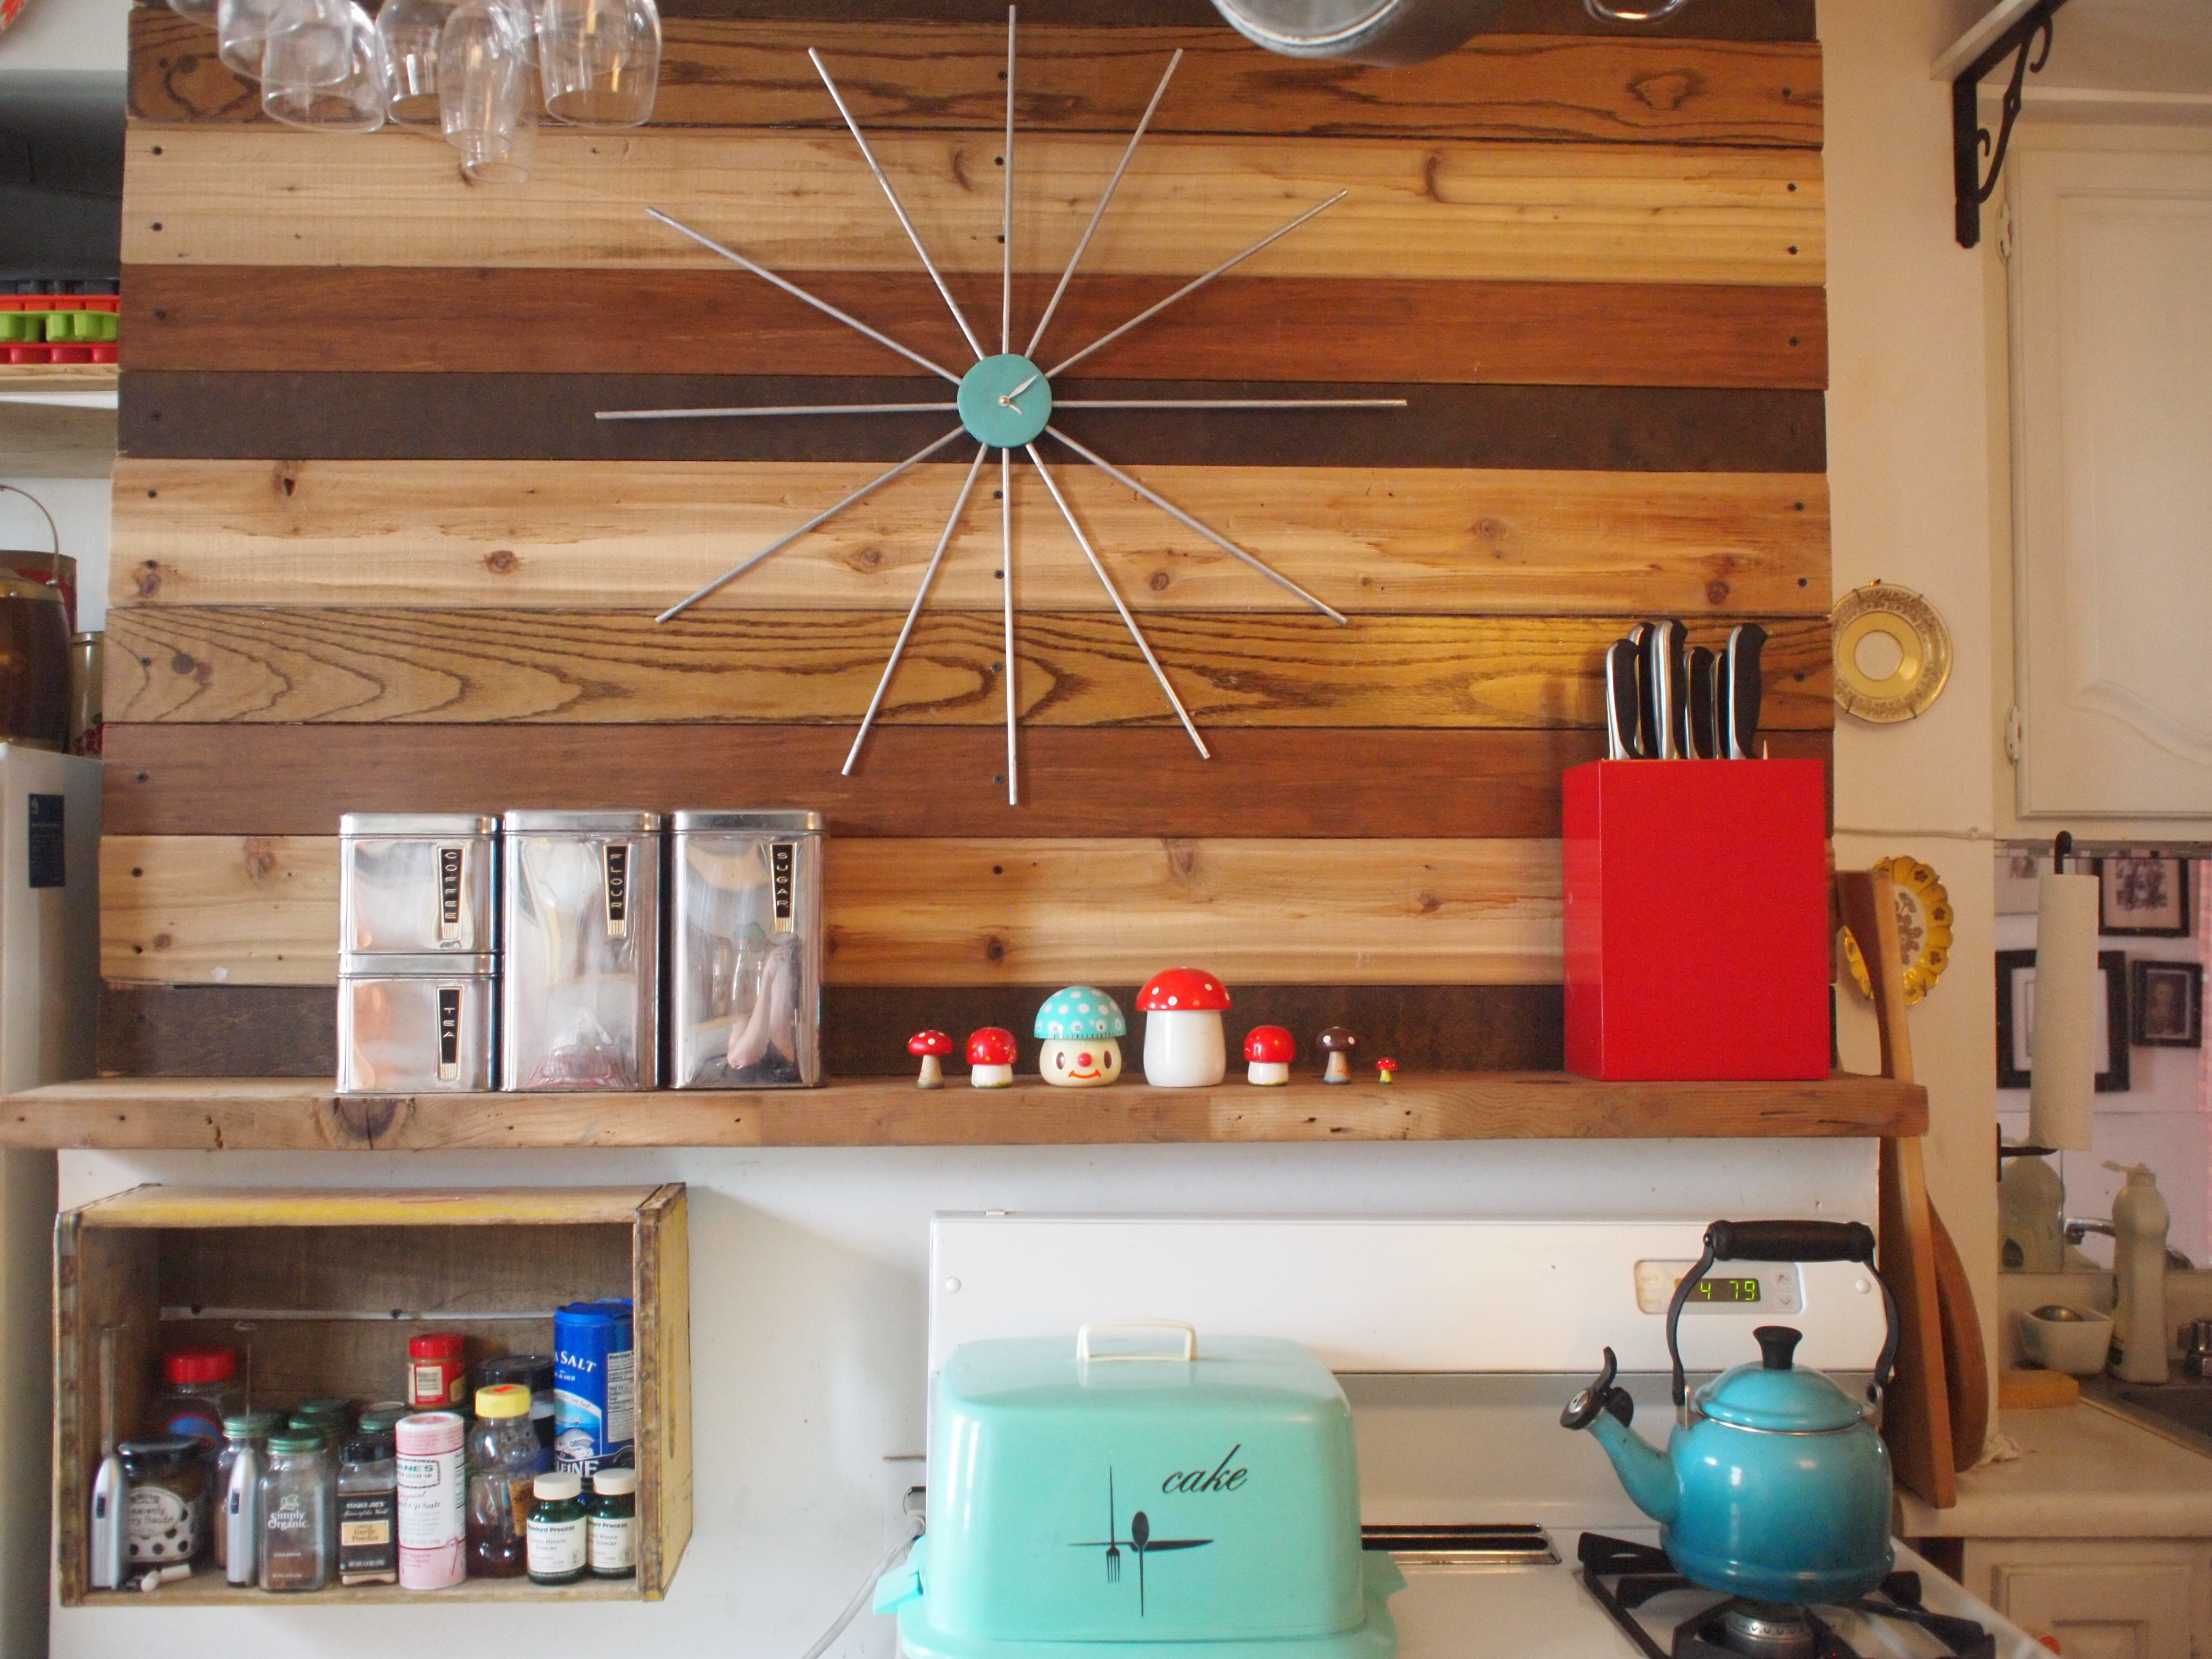
Add a screw to the perfect spot and hang your atomic age clock.