I am going to teach you how to properly set up an Arduino for this configuration and explain some basic programming. I am also going to explain to people how to build the system in a few simple steps.

What will the next generation of Make: look like? We’re inviting you to shape the future by investing in Make:. By becoming an investor, you help decide what’s next. The future of Make: is in your hands. Learn More.

Project Steps

The most important thing to make sure is that you have all of your components ready.

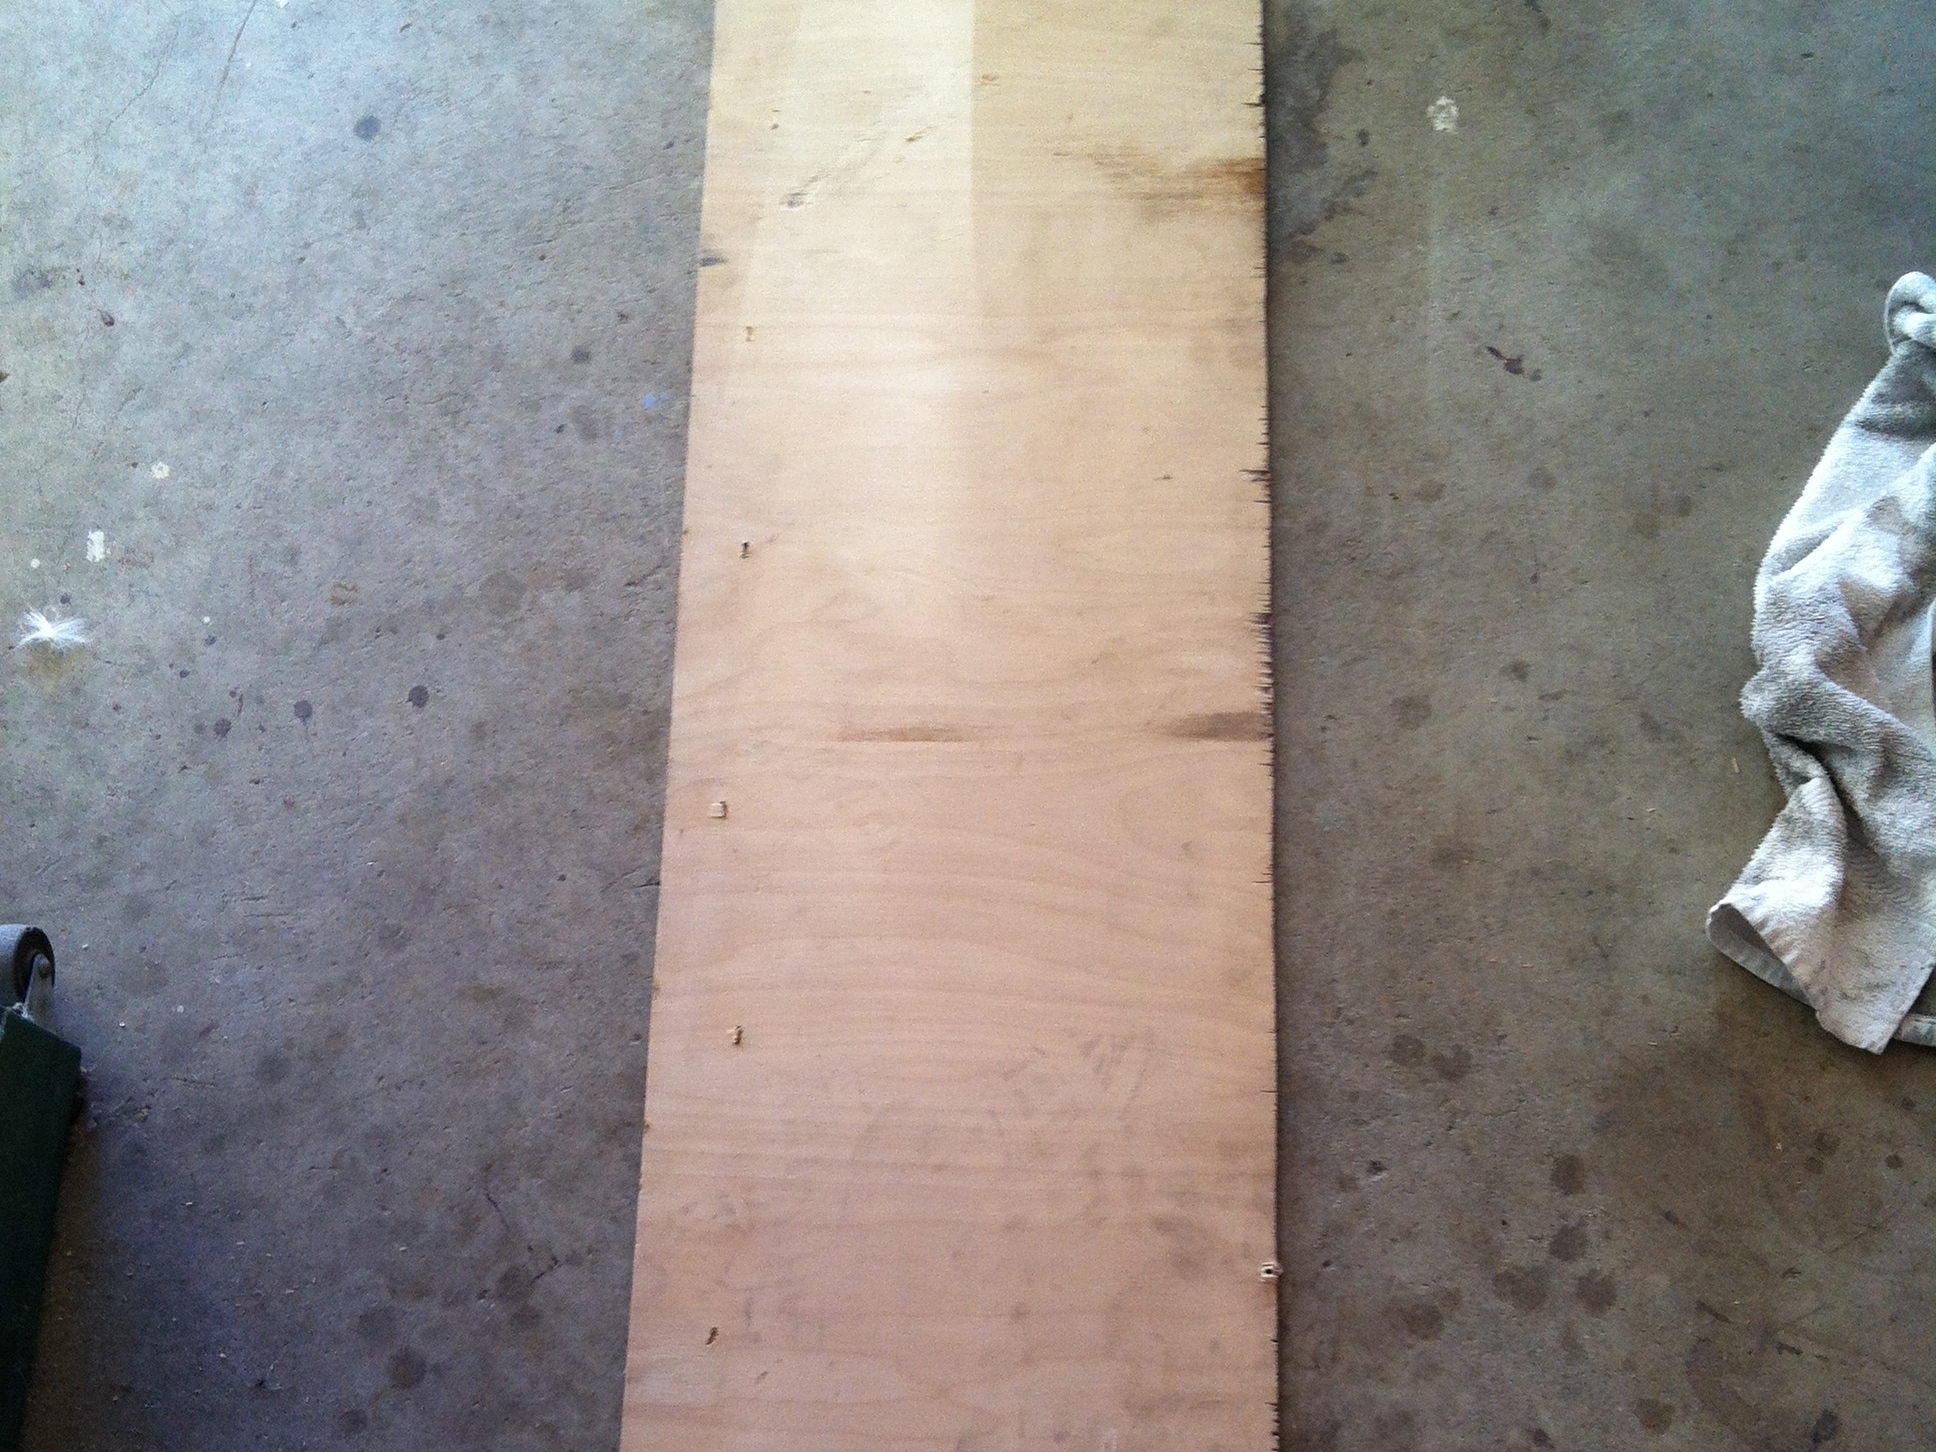
Next, You should take your plywood and cut it down to 13 ½” by 9 ½”

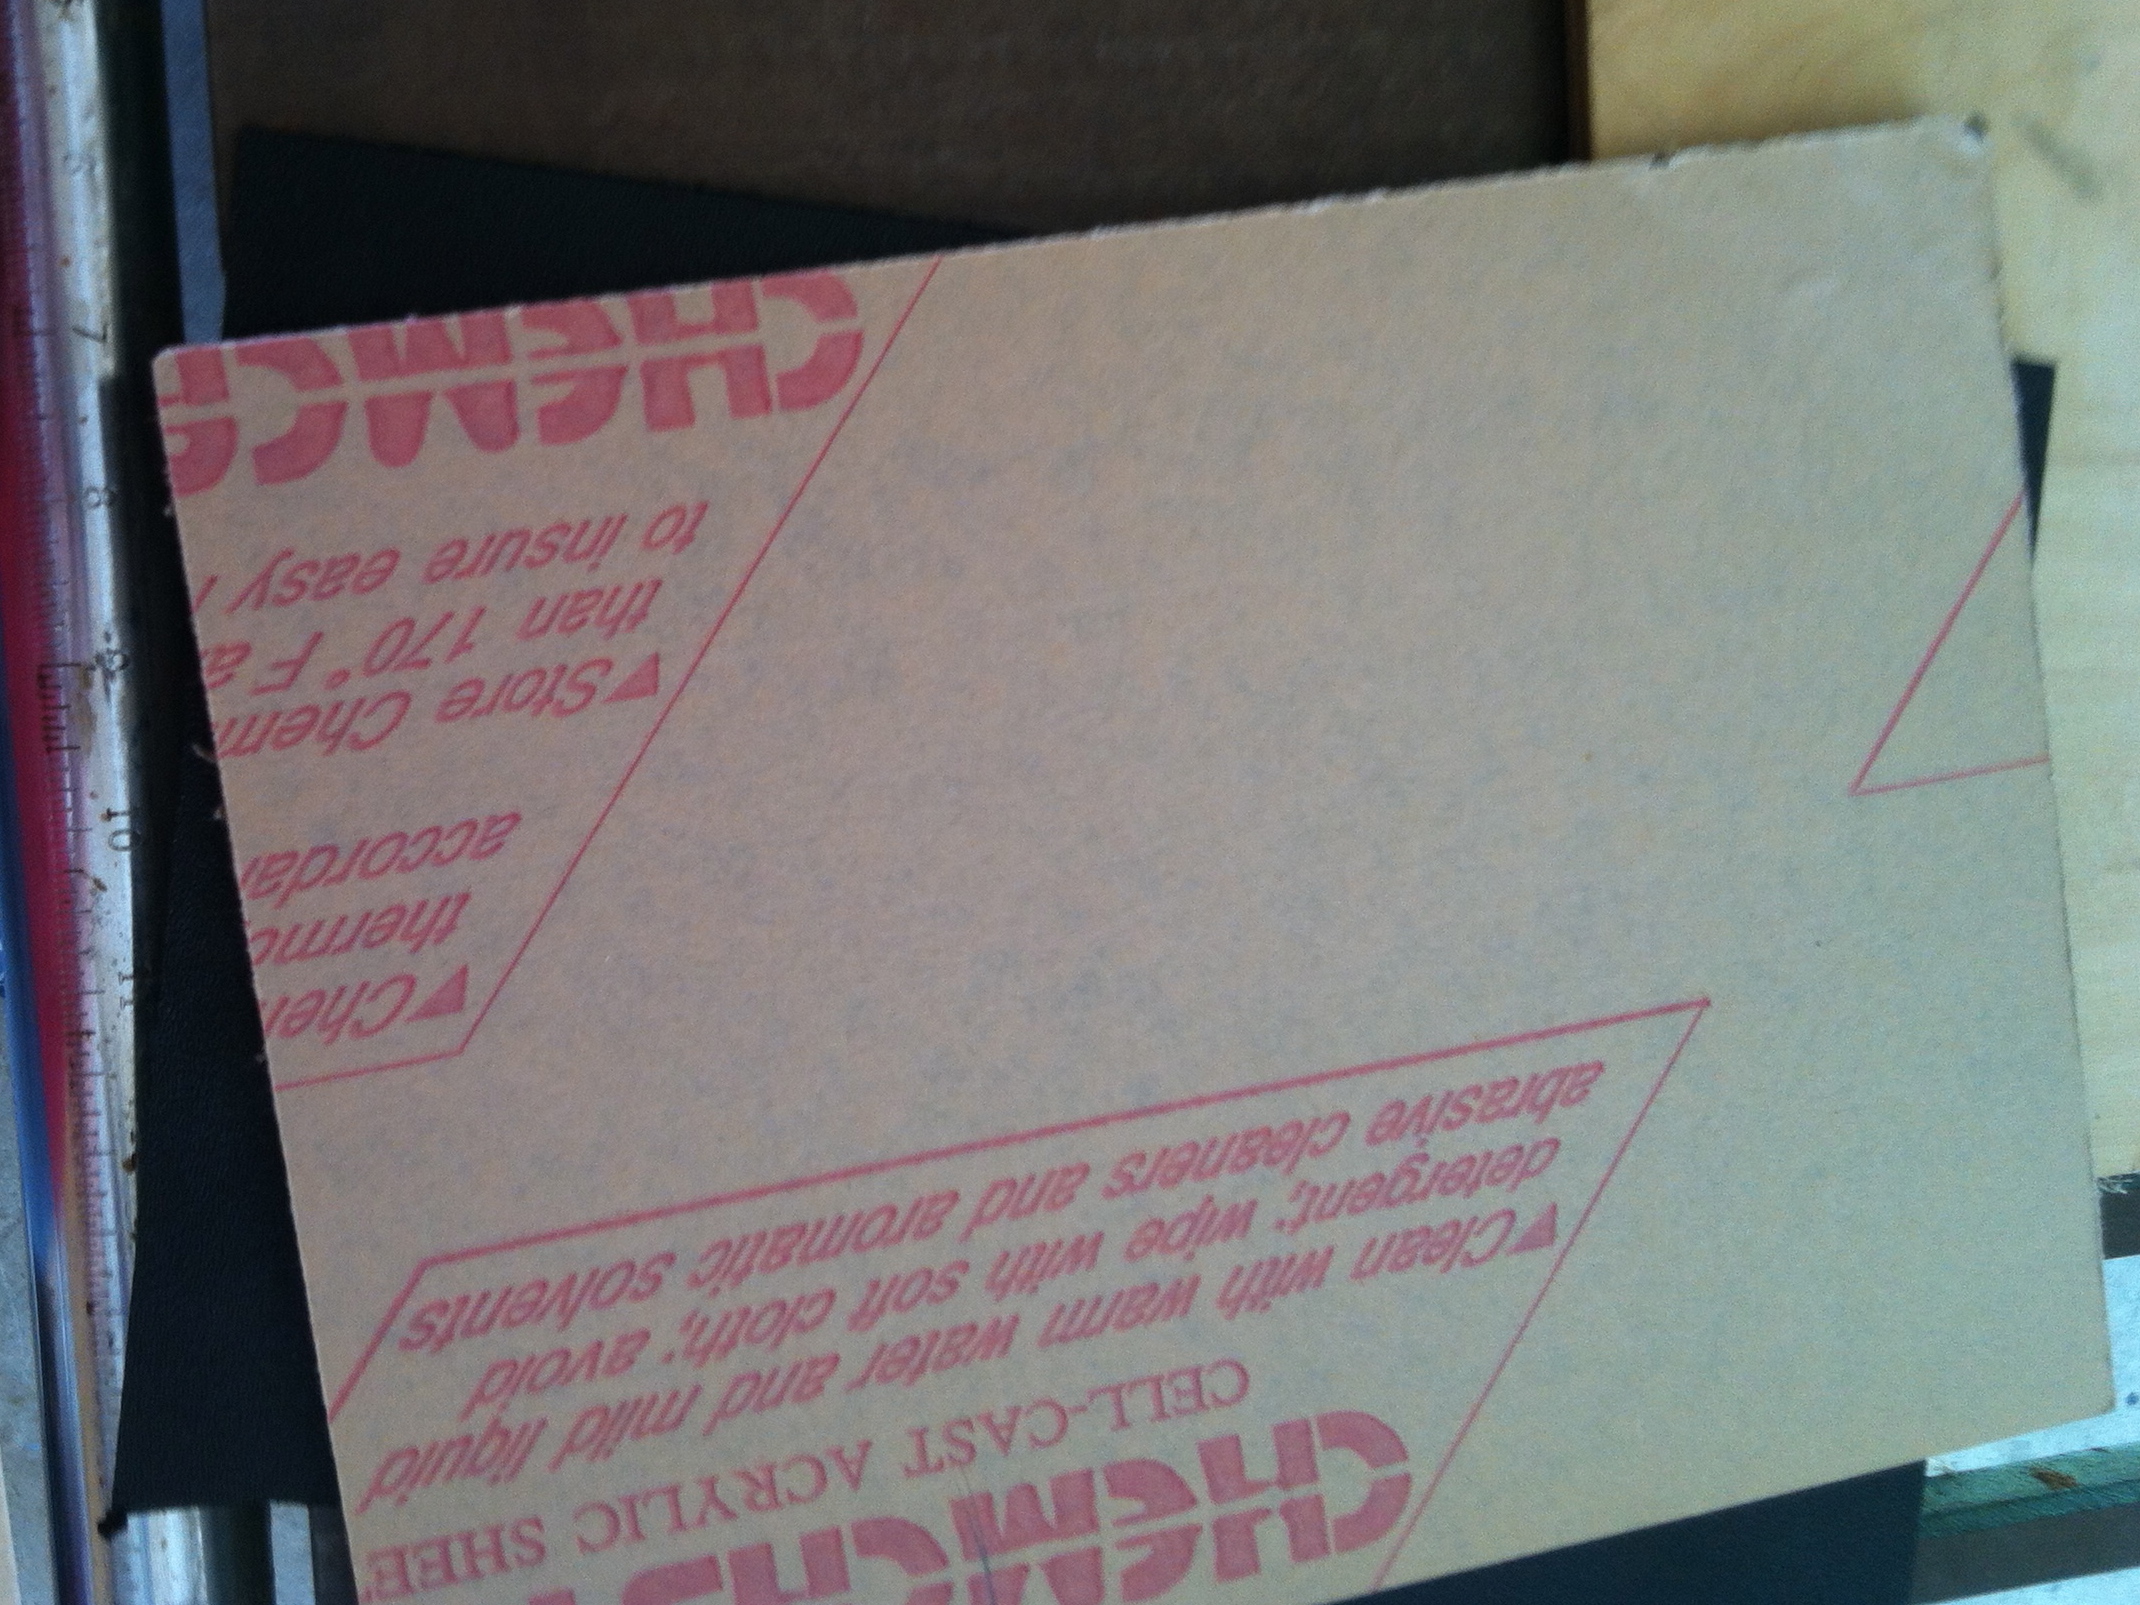
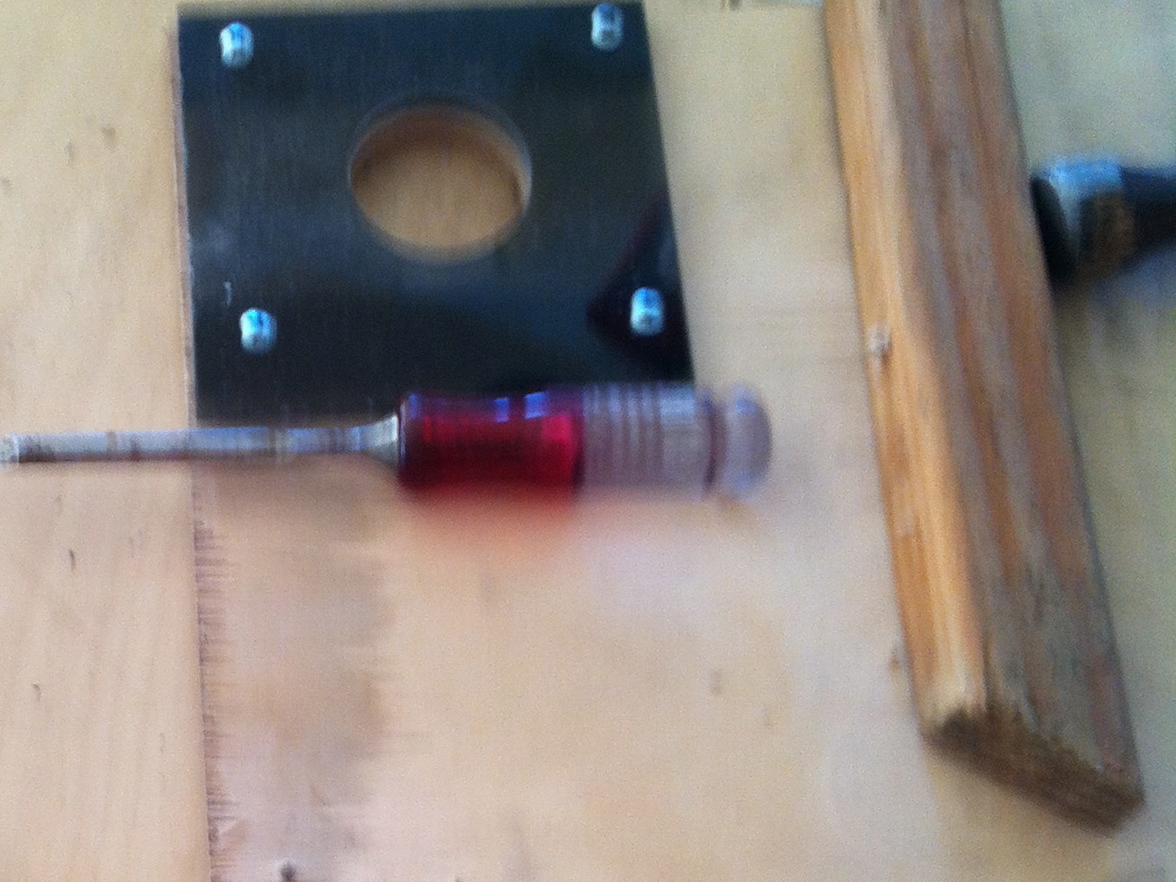
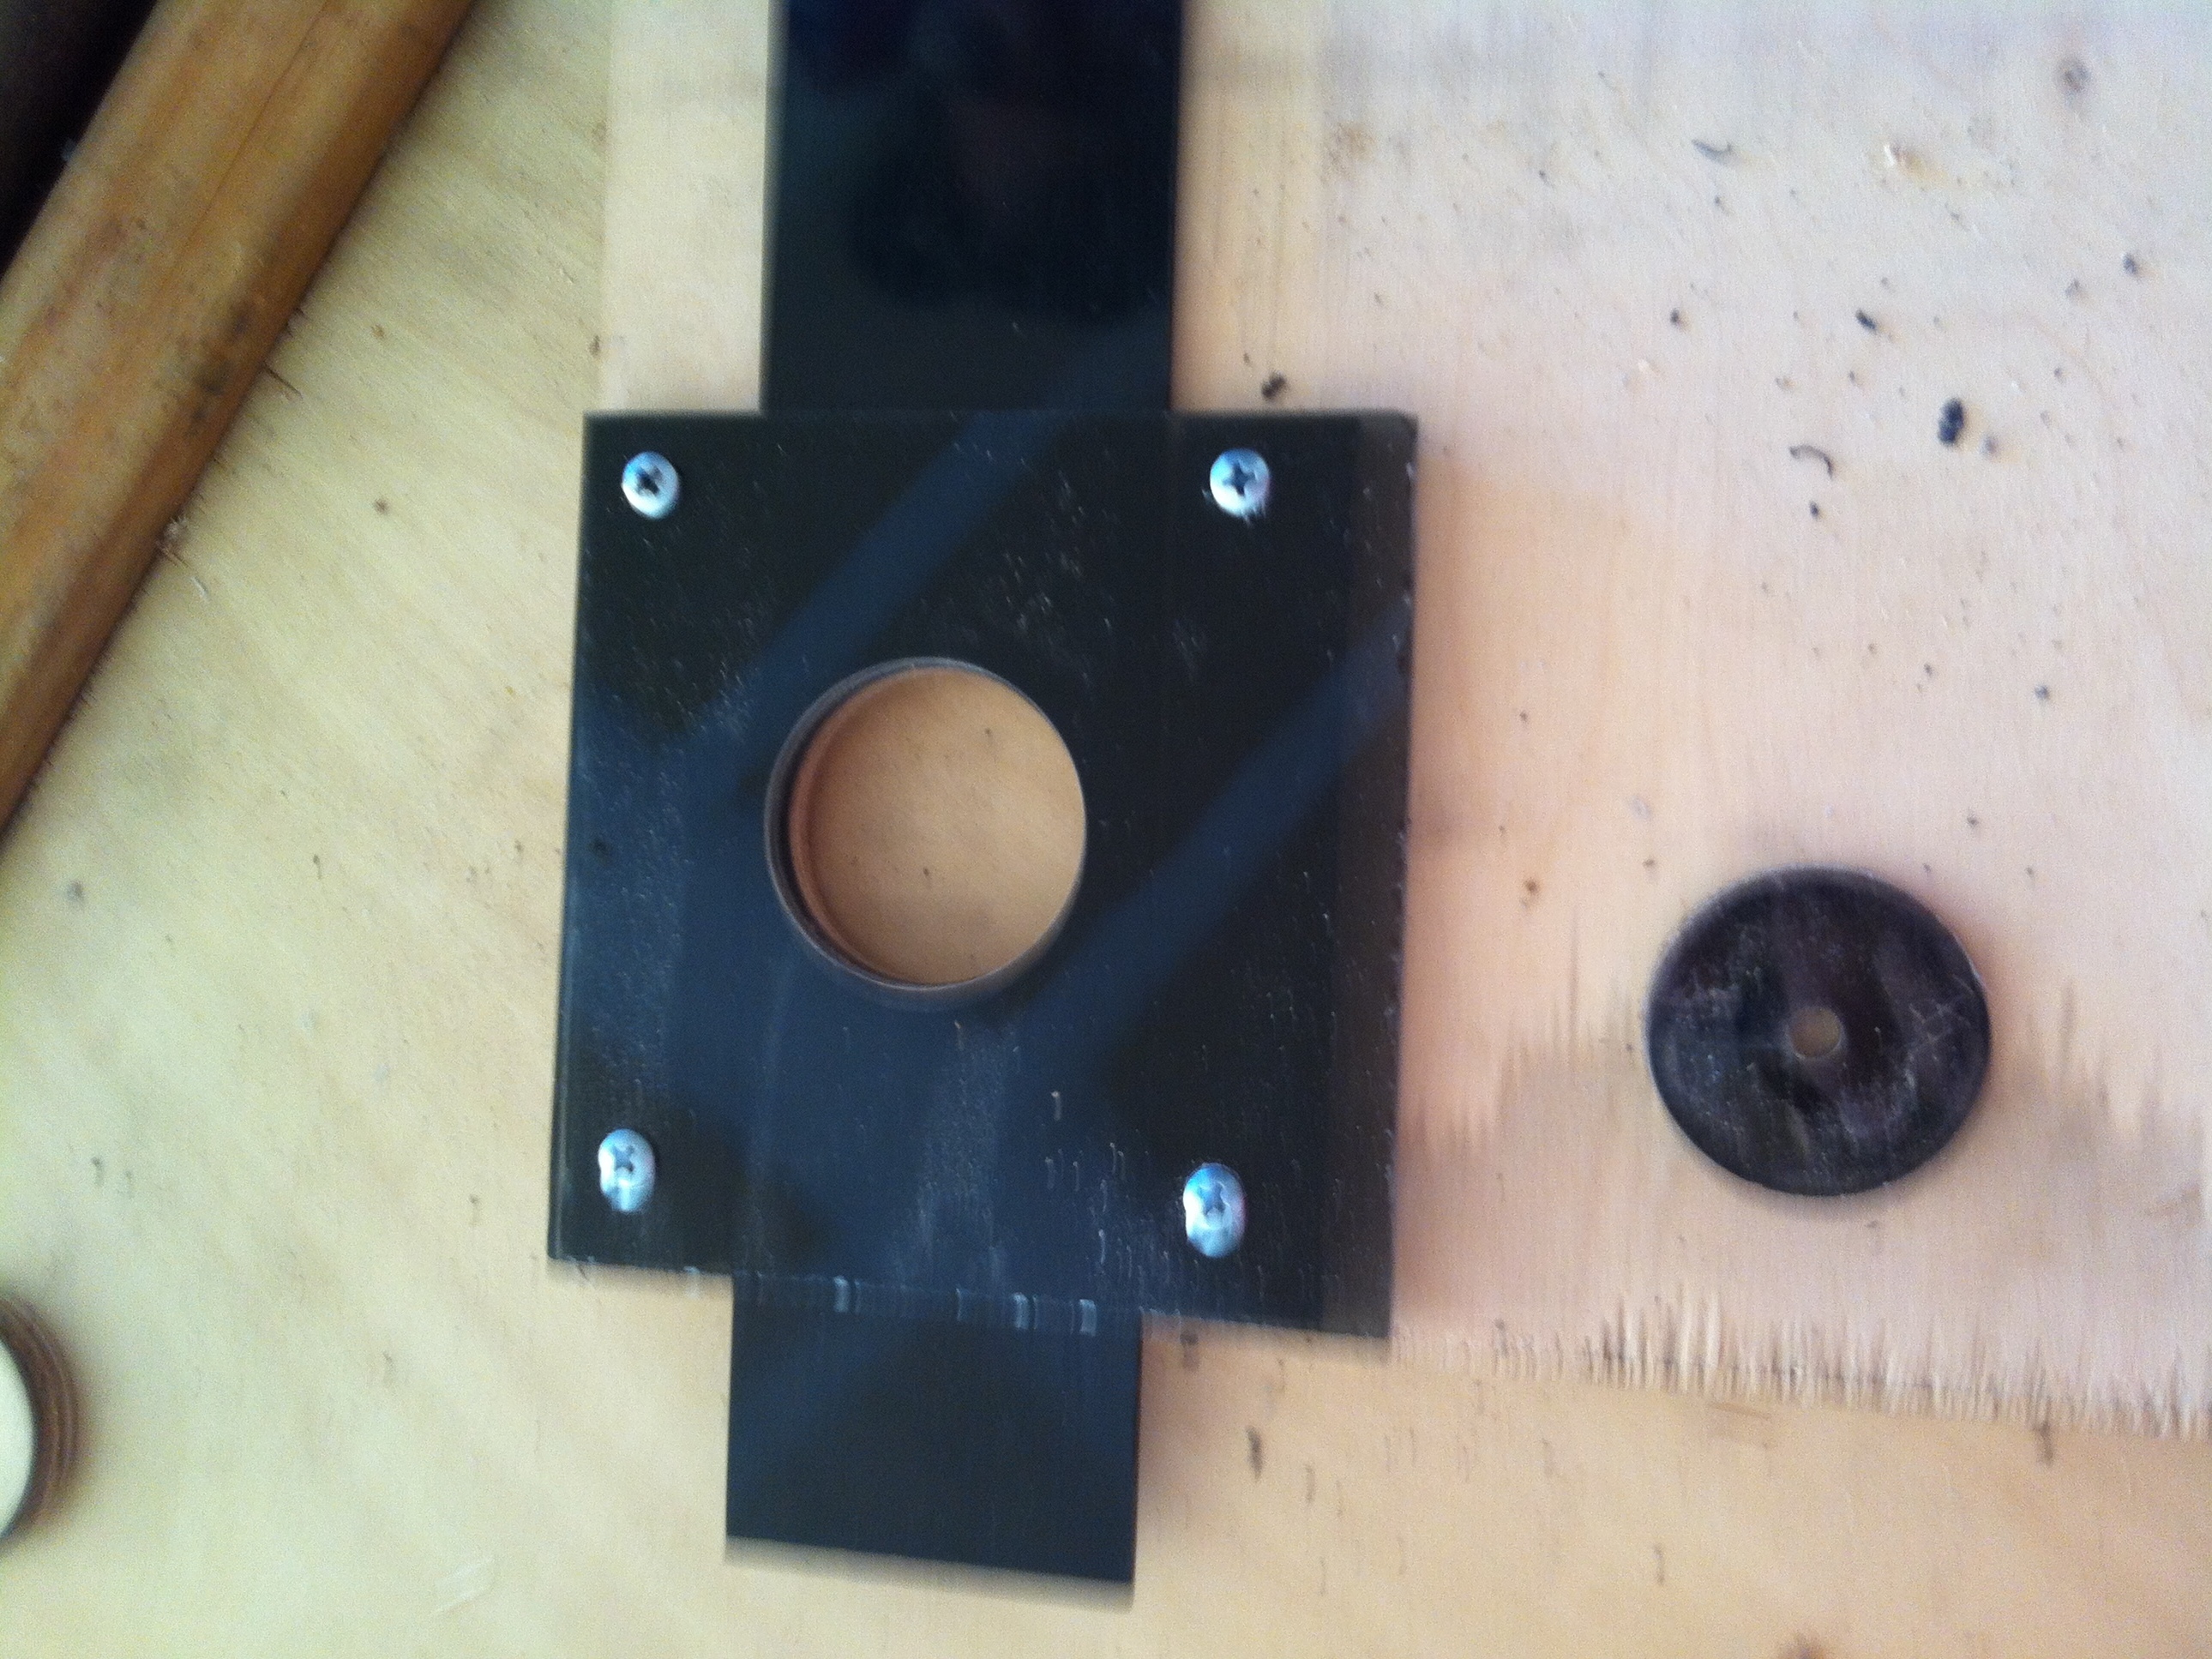
After cutting down the plank, next cut down the one of the acrylic sheets into a 5″ by 5″ square

Then using the remaining acrylic from the sheet you cut to fabricate two 4 ¾” by 1” blocks.

The 4 3/4″ blocks are used to raise the 5″ by 5″ acrylic square so that the slider can be put under the block to regulate the food flow.

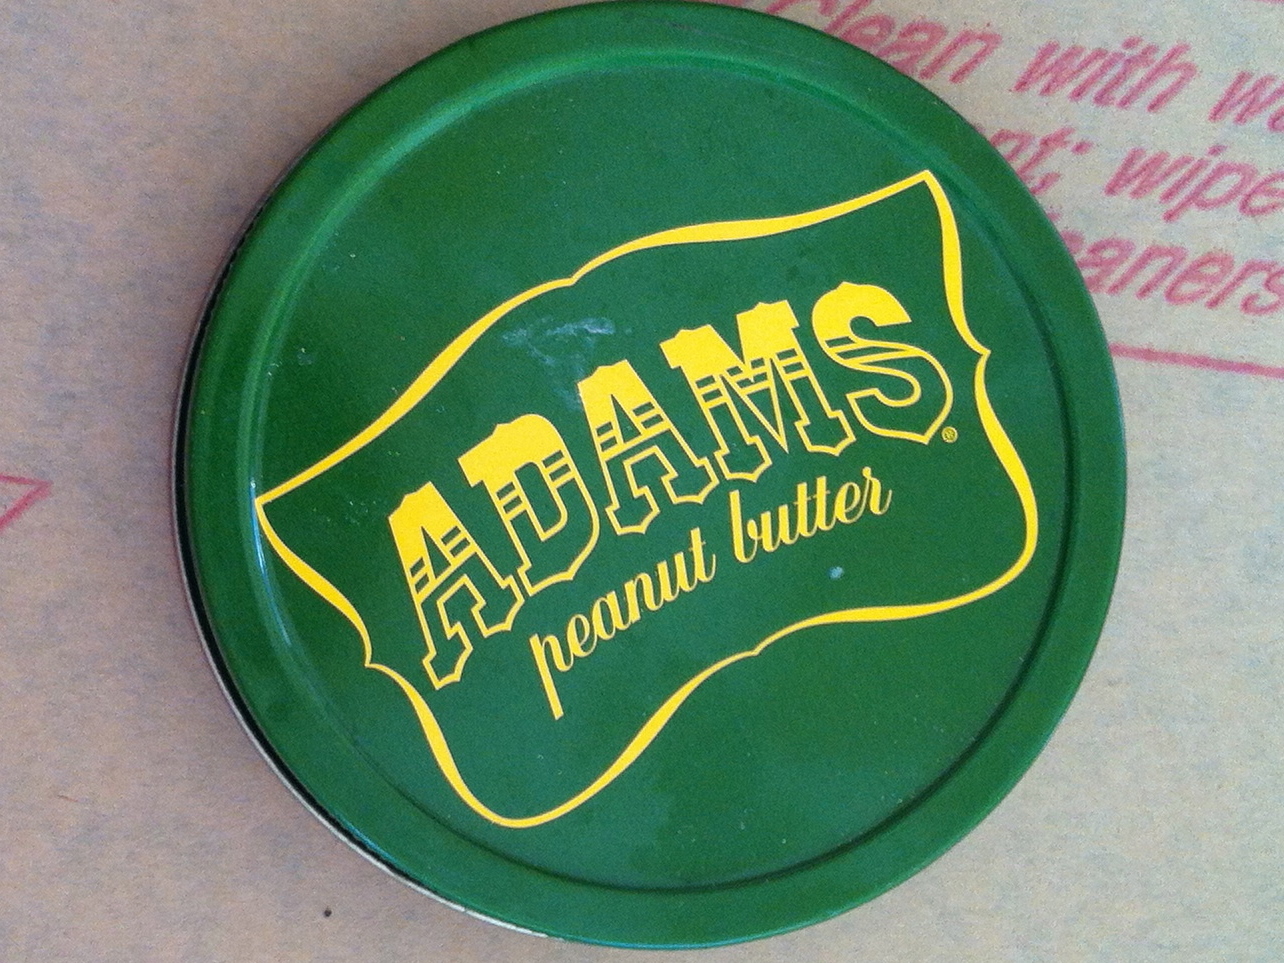
After machining all of the acrylics, take a pair of tin snips and cut out a rough circle approximately in the middle of the peanut butter lid. Make sure the hole’s diameter is bigger than 2″

Once you have fabricated all of your pieces, You can begin to put together your dog feeder.

Start by measuring the distance between your two 4 3/4″ blocks and make sure that they are far enough apart that the food gate can slide easily through them.

After confirming they are far enough apart screw them in using self burrowing screws. Make sure to go slowly because the acrylic can crack very easily

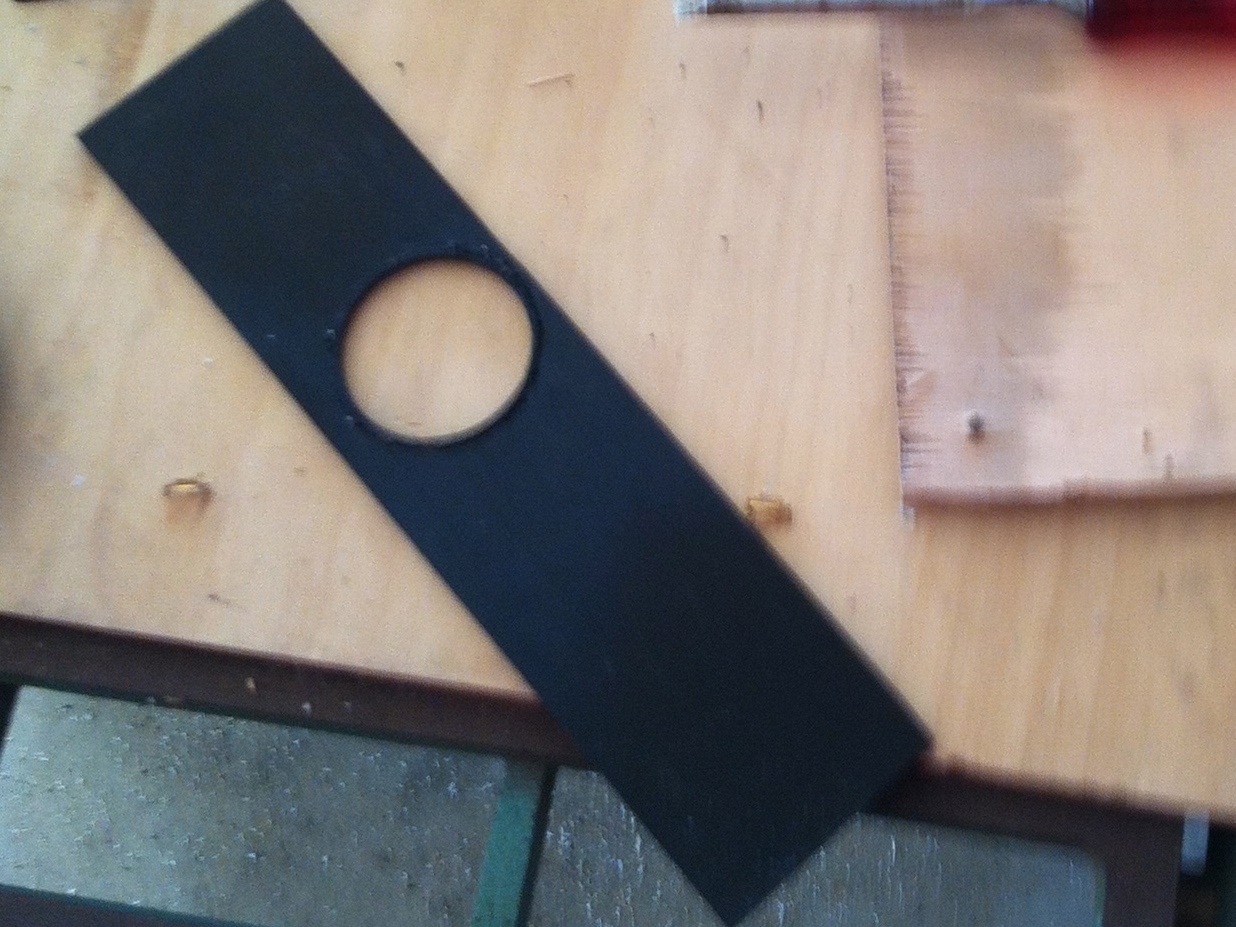
After all this is done, use the drill press and hole drill bit to cut 2″ diameter holes in the all three layers, the square, the gate, and the wood. This is the main passage way for the food to go through.

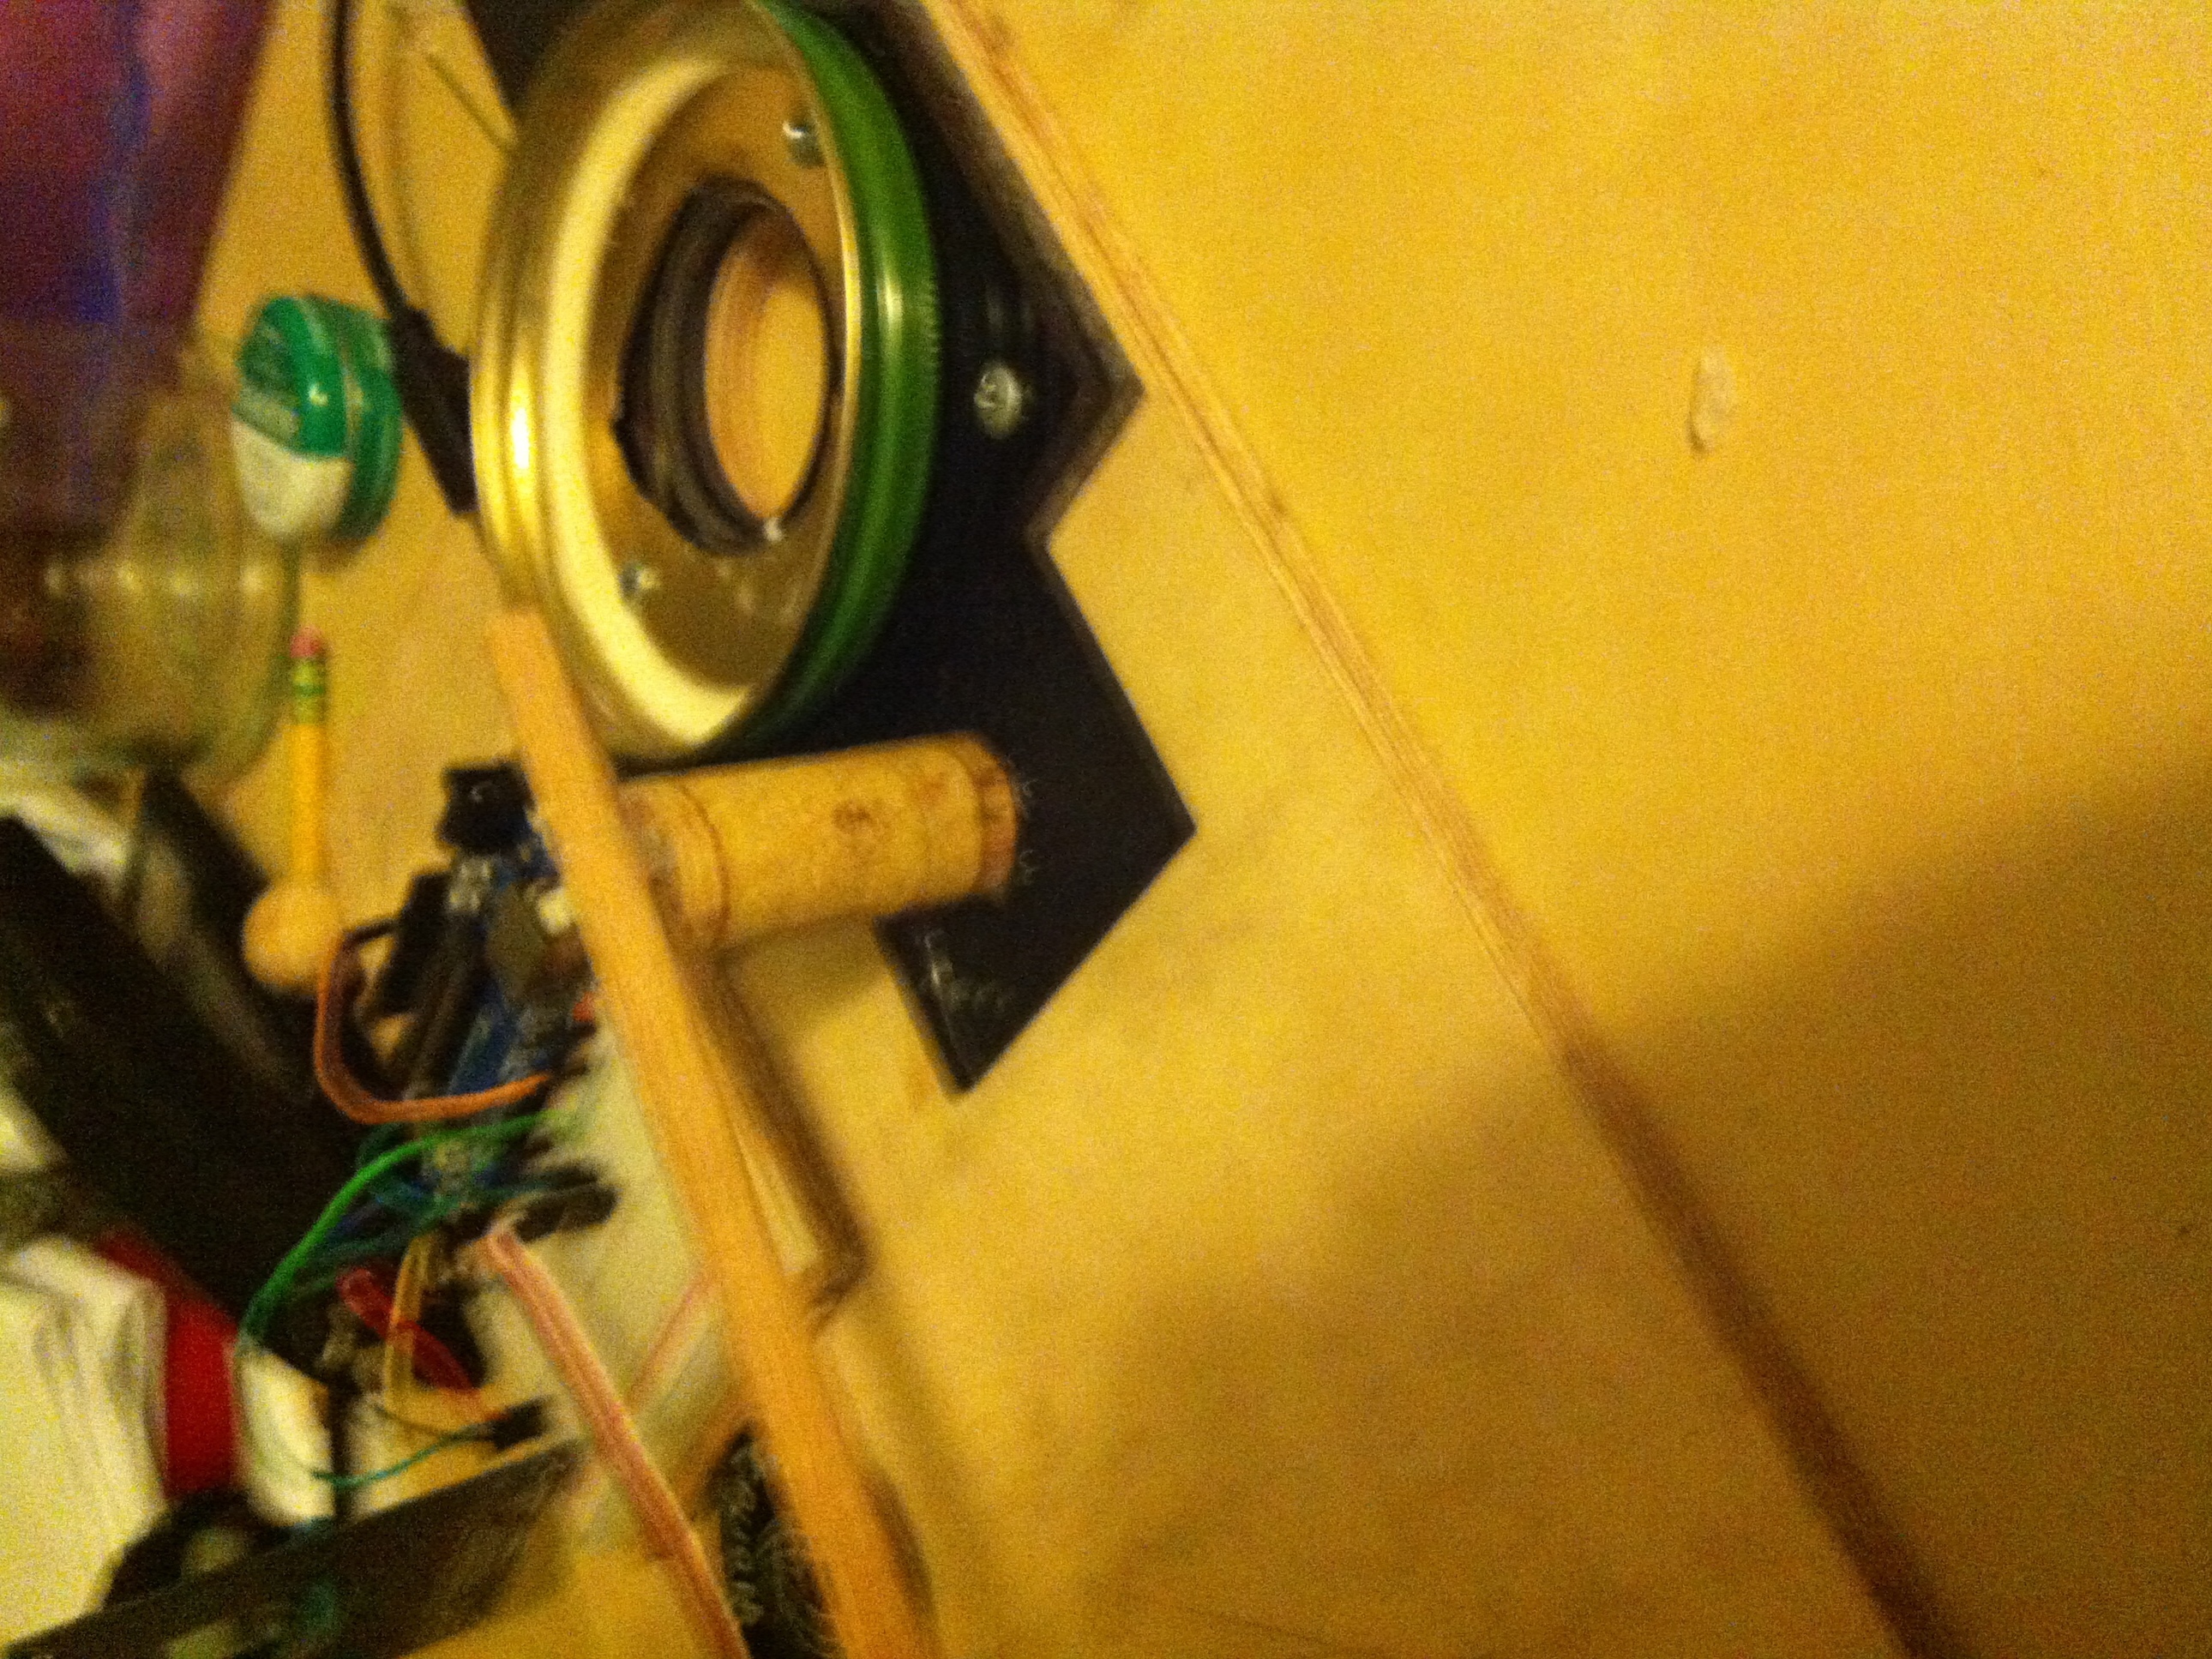
Next line the peanut butter jar over the hole, making sure that it is allowing the entirety of the holes drilled into the wood and acrylic to be exposed.

Screw the peanut butter jar lid in very carefully making sure that it does not crack the acrylic.

The picture show what it should look like when it is assembled correctly.

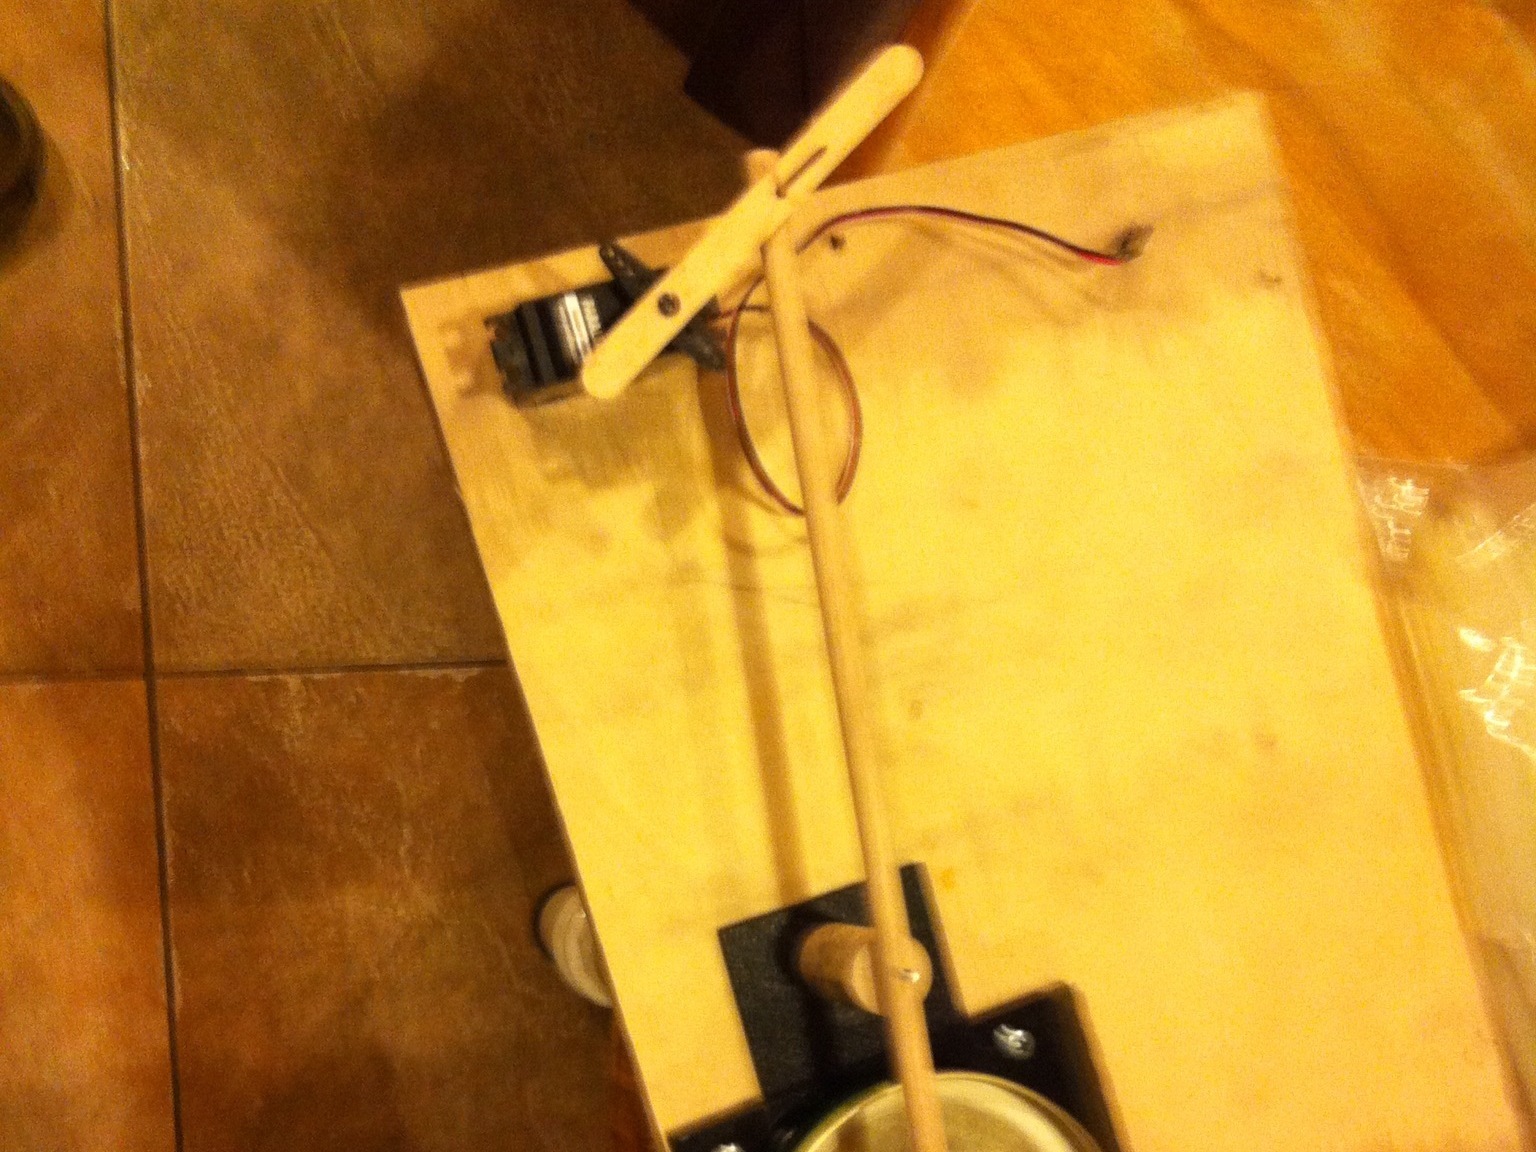
Once all of this is done you will build the drive rod.

I used a 10″ long 1/4″ diameter rod.

Drill a two small holes into the drive rod.

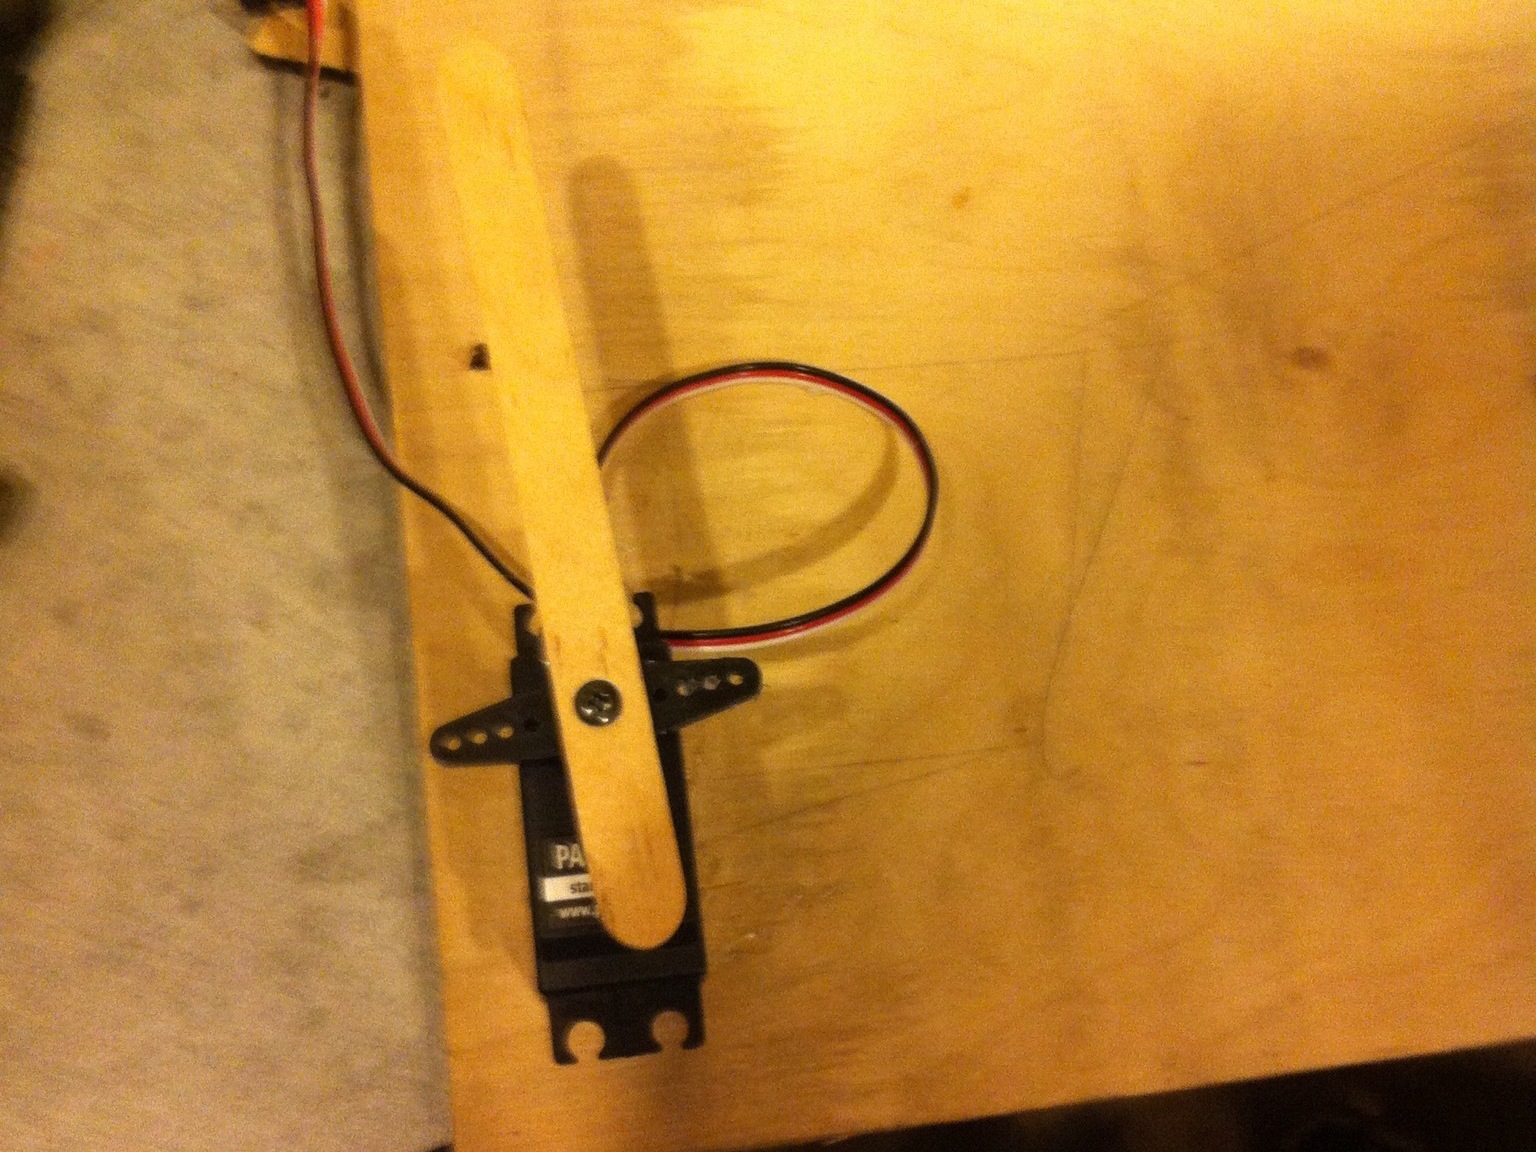
Drill two holes into the popsicle stick. One is going to be used to screw the popsicle stick to the servo and the other is for the one side of the drive rod to be attached to.

Glue a rubber cork to the food gate and push a nail through the unoccupied side of the drive rod through the cork

Once you have done this, You are ready to start programming.

Note: You may have to tweak the placement, it is going to be different for everyone.

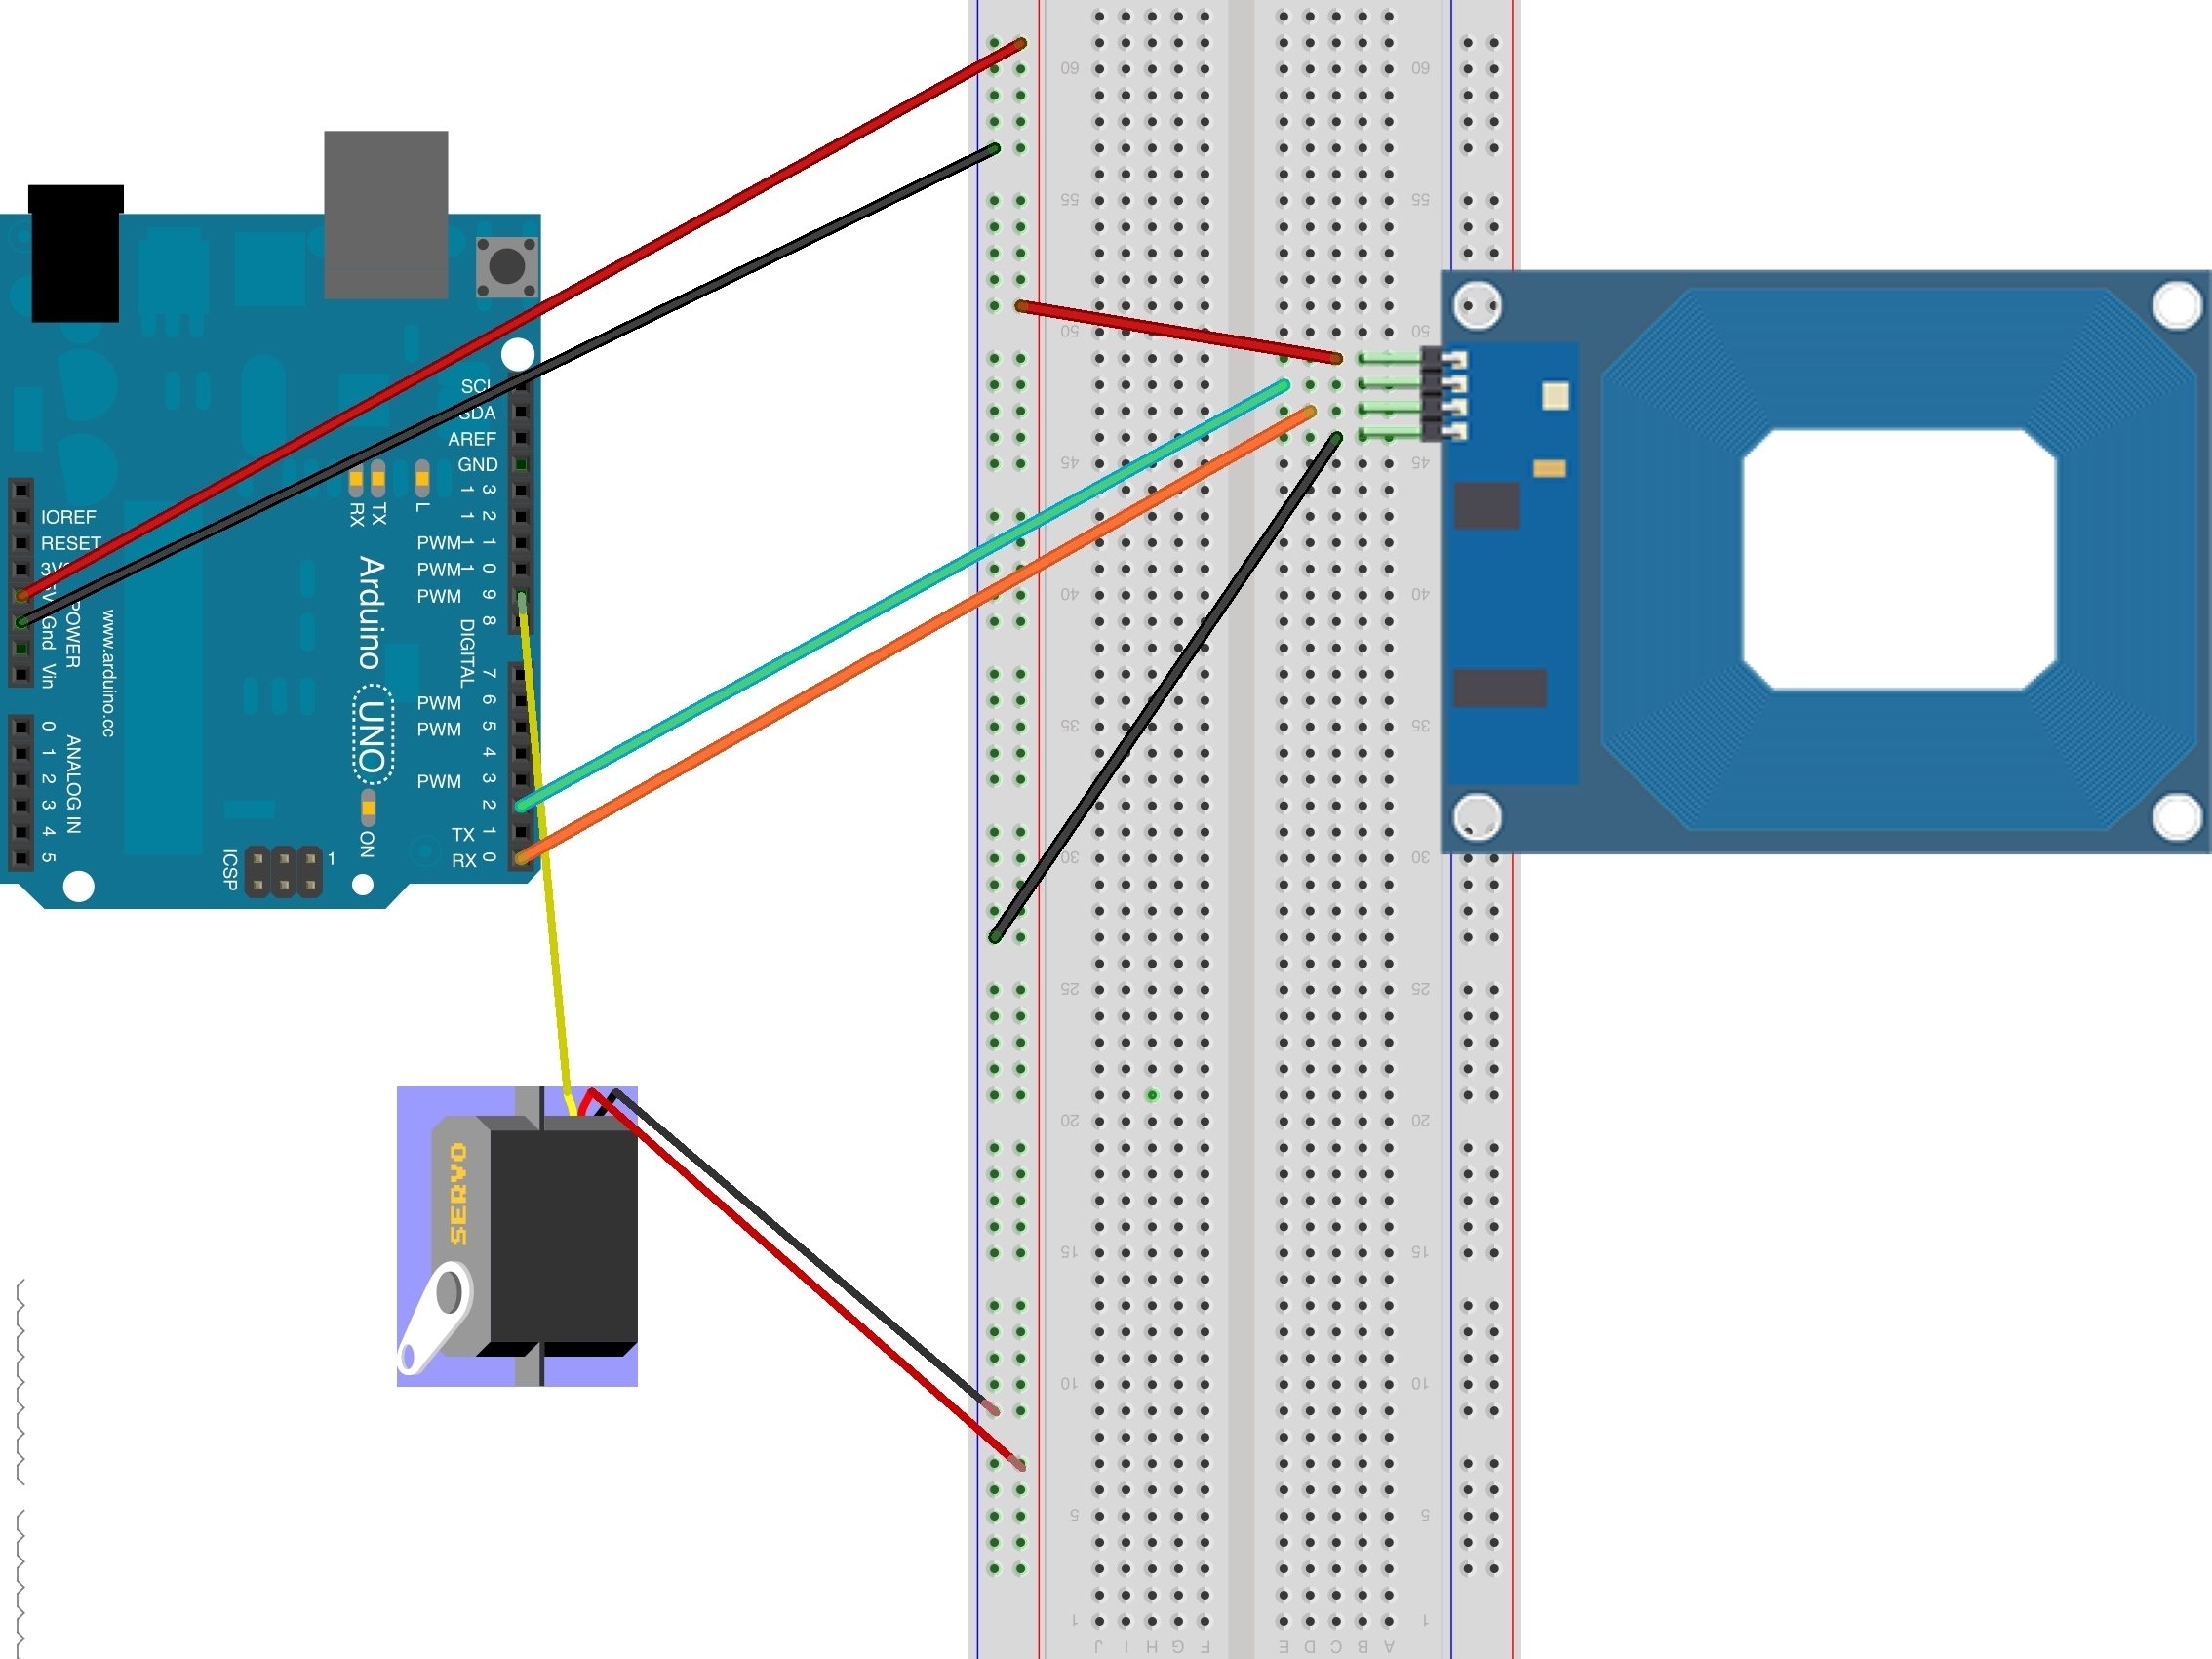
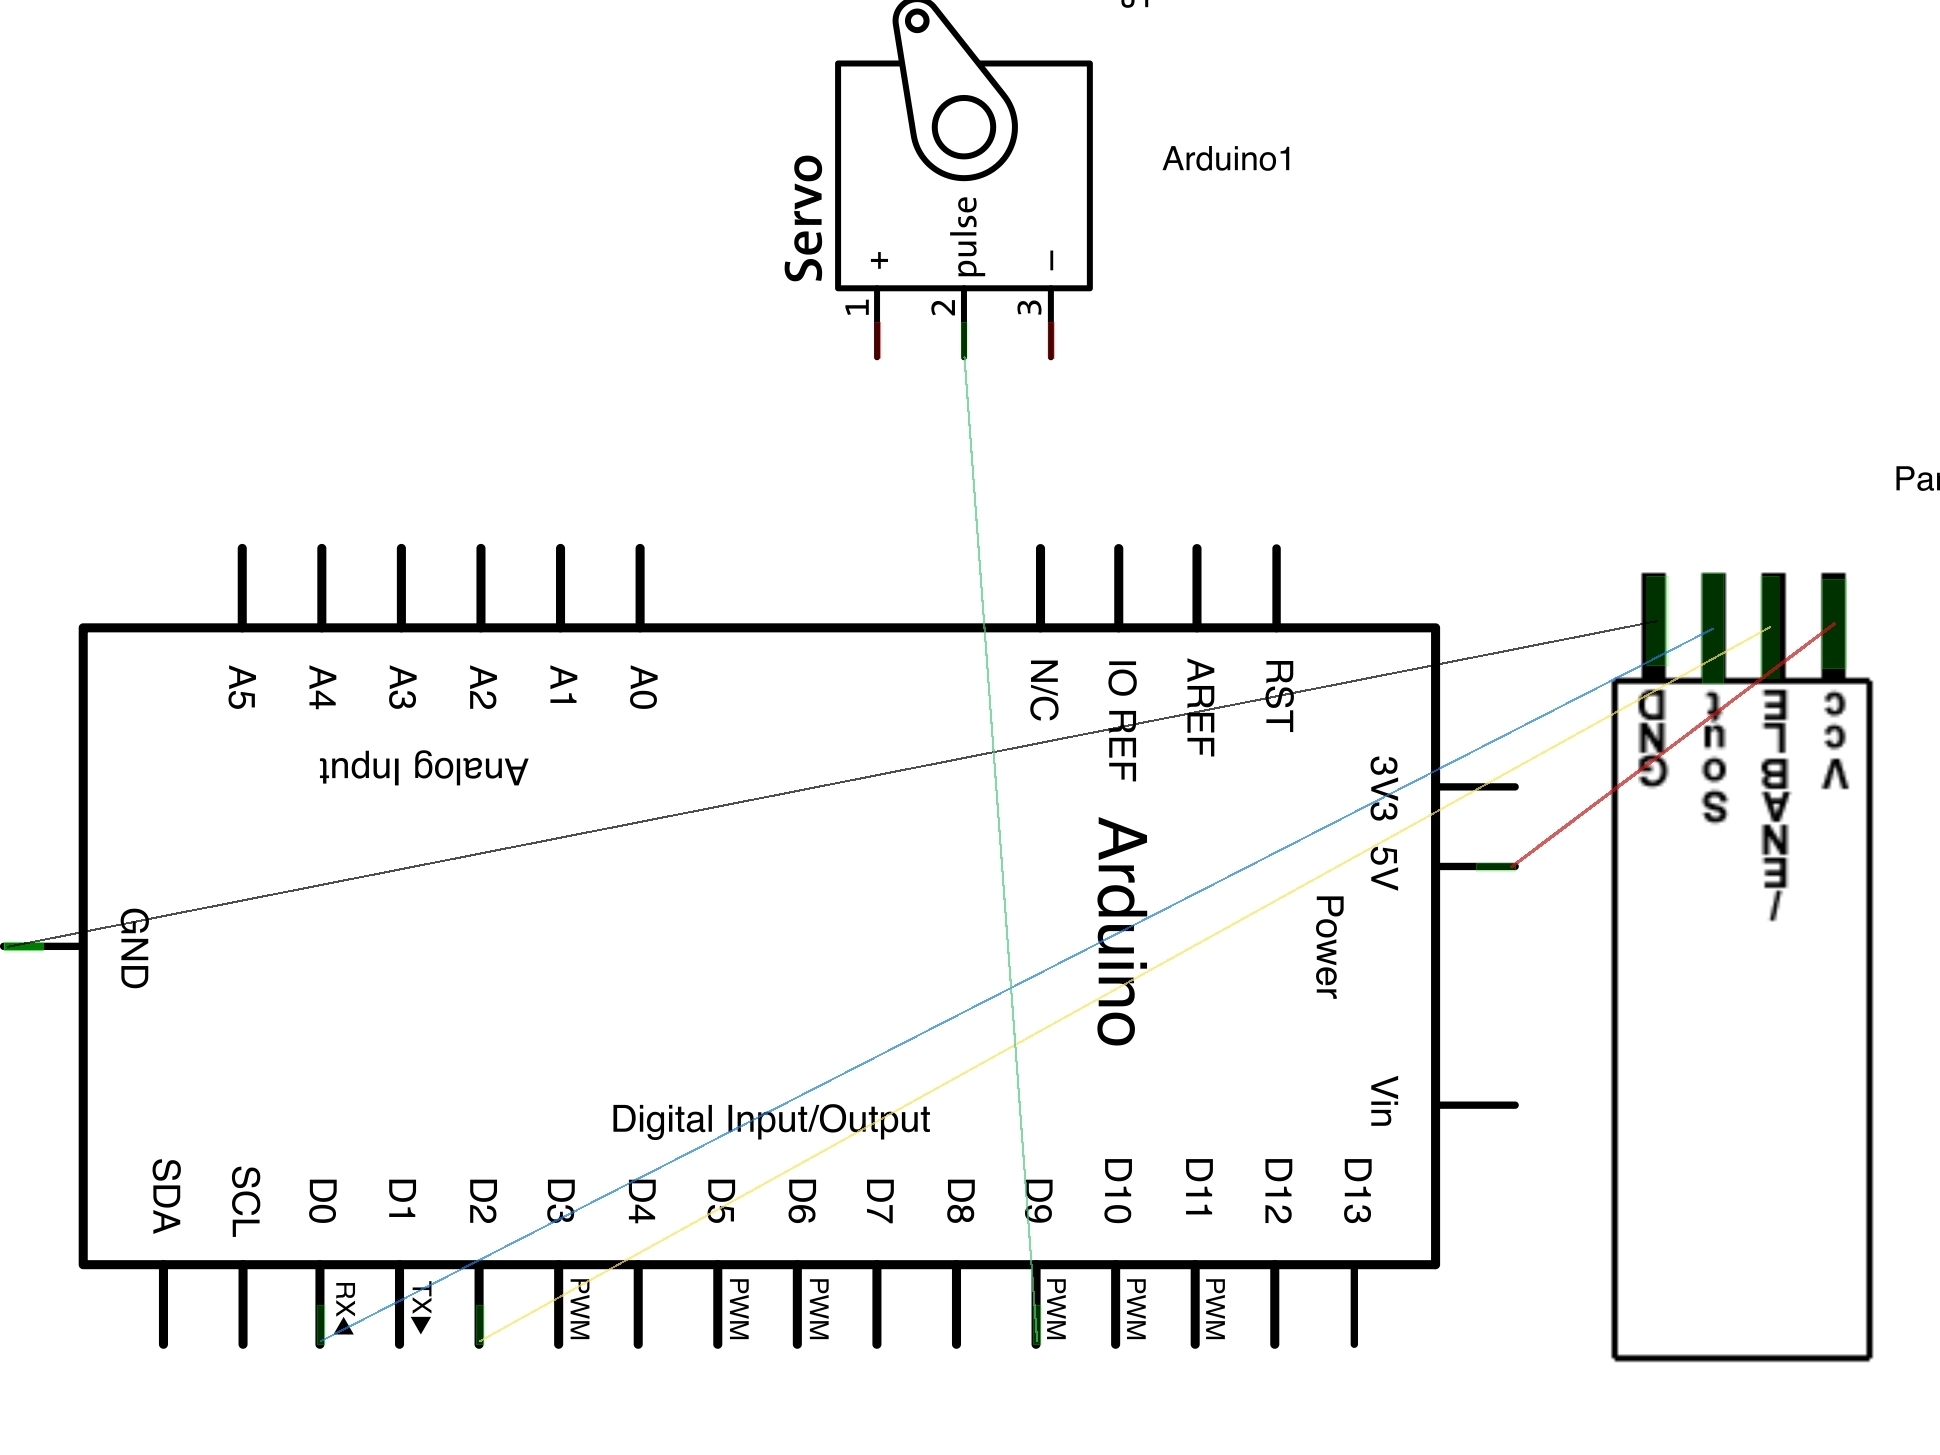
Here is the electrical design for the Arduino and breadboard.

Assemble your electronics exactly as they are here. Note that the RX on the Arduino must be unplugged or else the computer will be unable to read the Arduino.

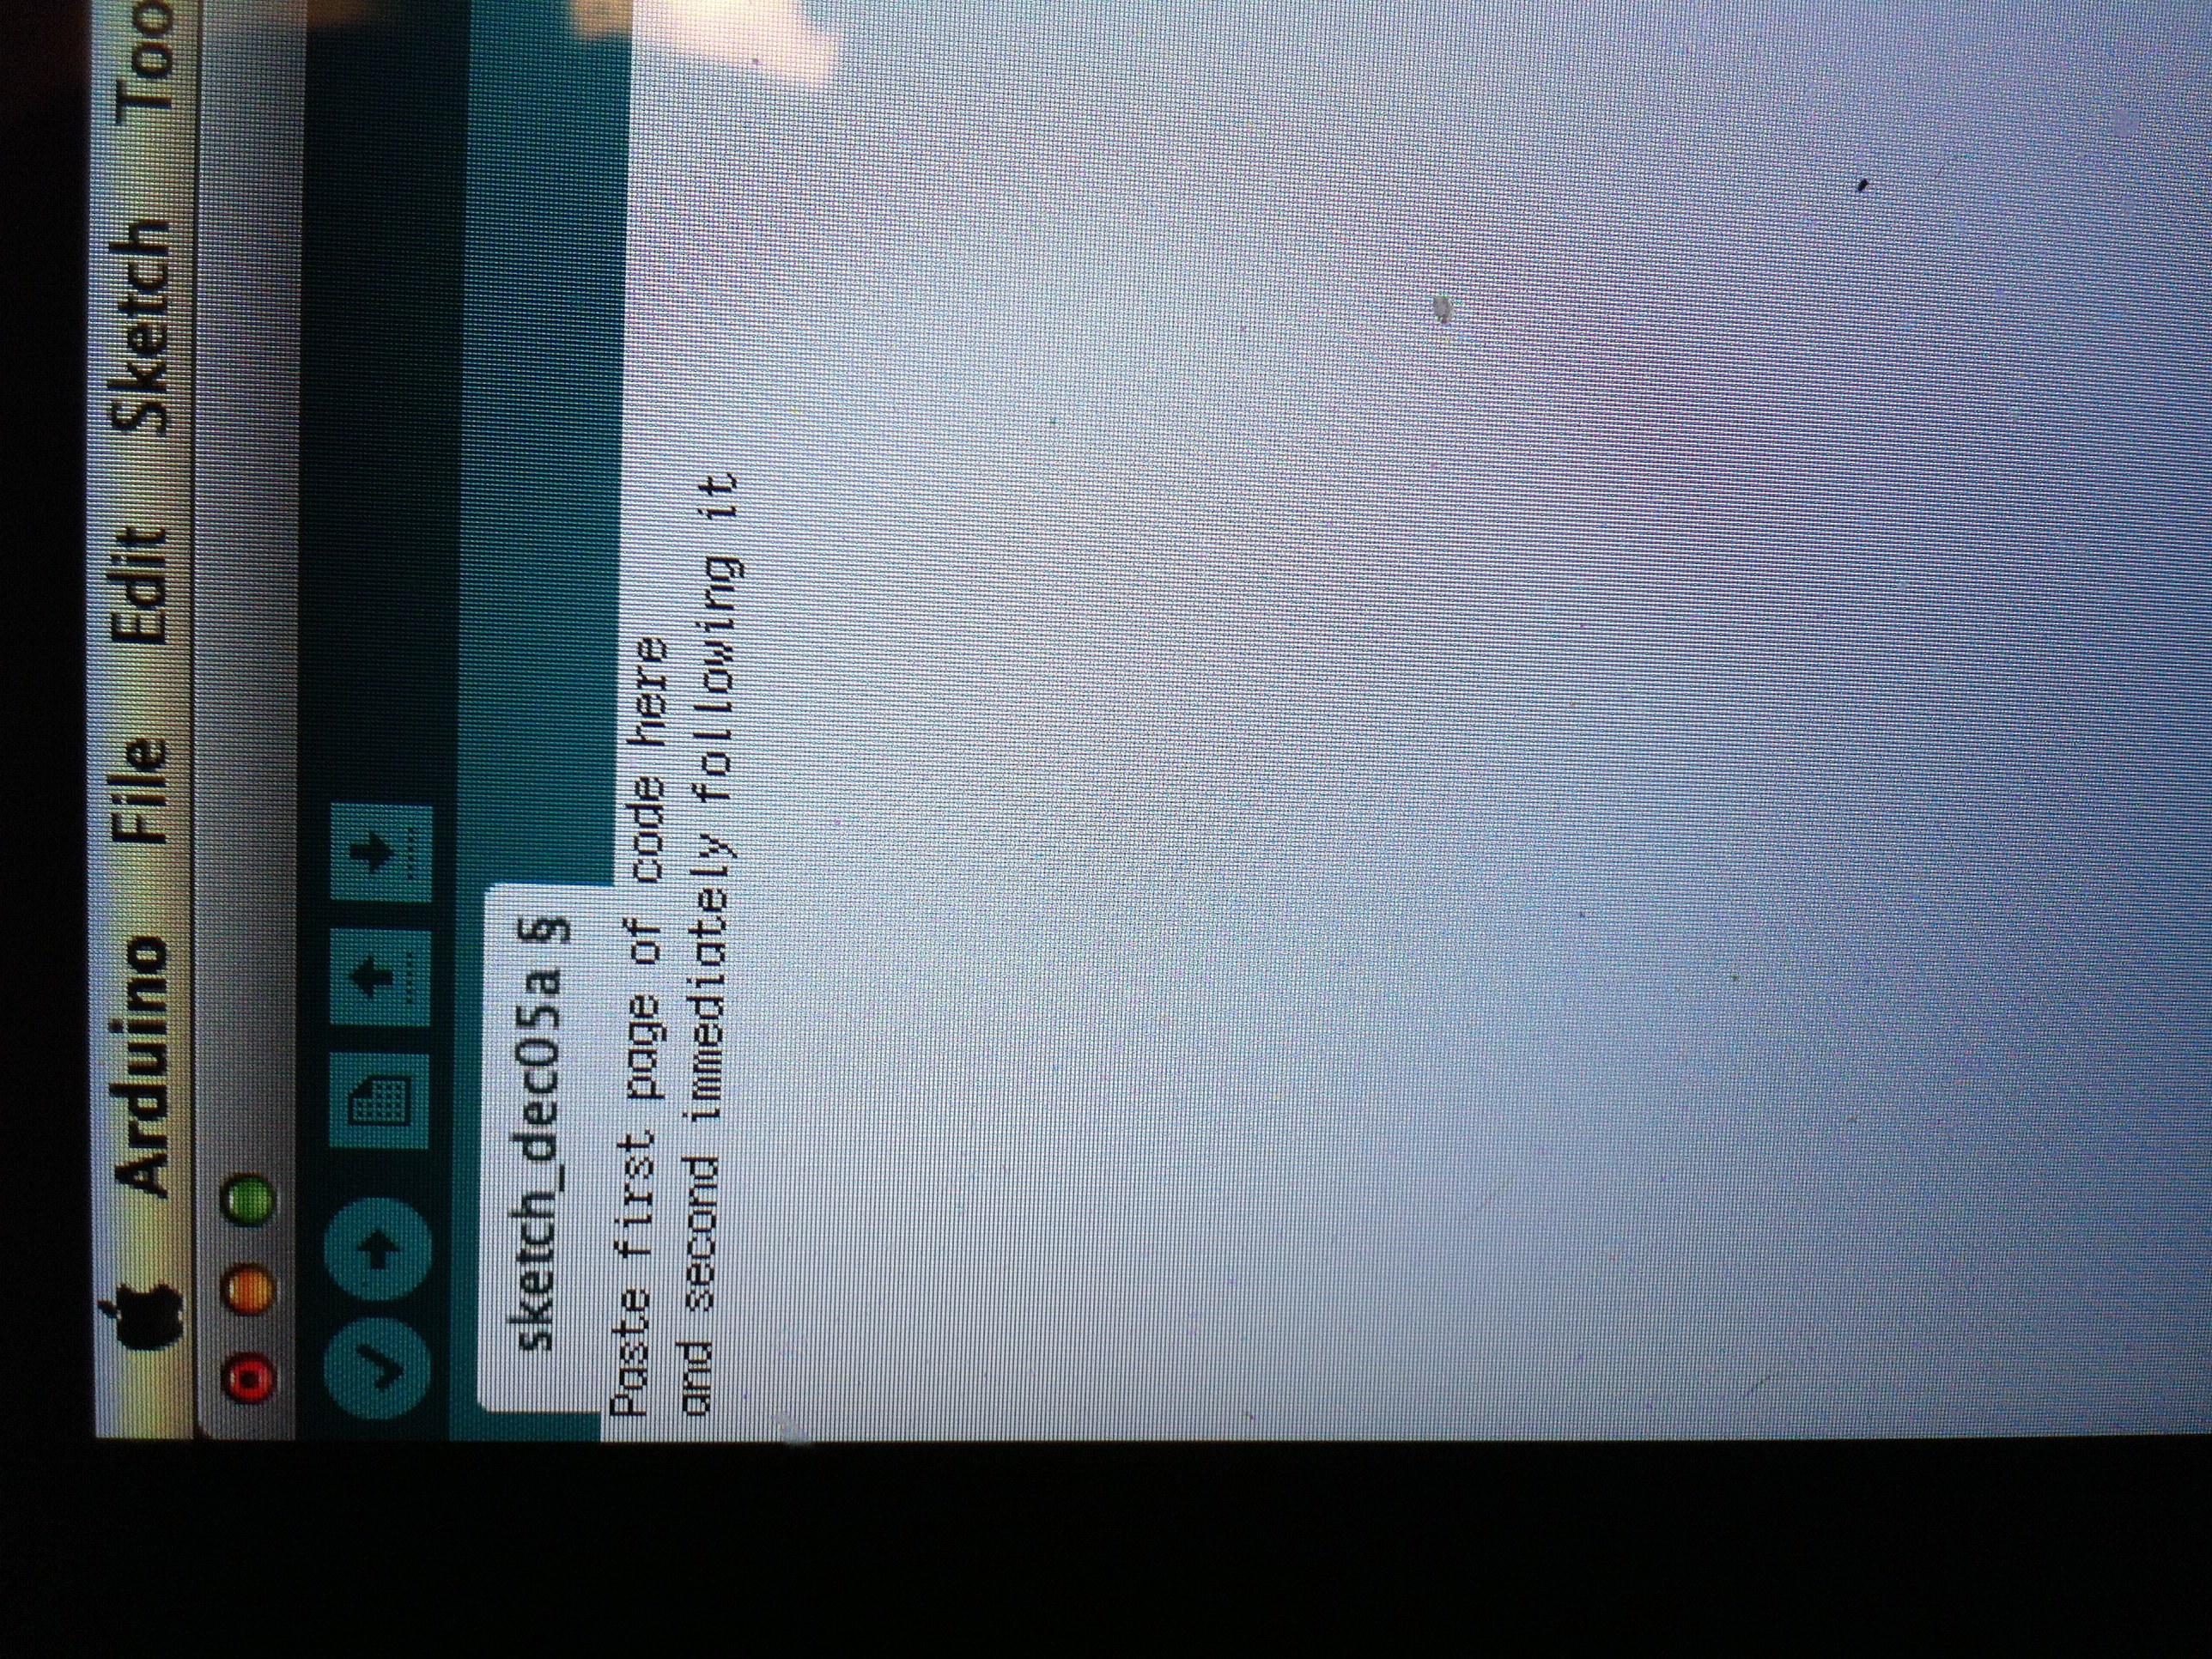
Insert code RFID reader for Arduino (1) first and immediately after it (On new line) insert bytesread from tools and parts page into the Arduino software. This should be the only code

Make sure that you save your work.

Note: Because we all have different kinds of dogs and I do not want to feed my beagle as much as I feed my German Shepherd i have made it more convient to change the amount of food given the dog by changing the color of the numbers to red, insert the command “delay(x)”

x=milliseconds left open. Also make sure to copy and past both pieces of code, sorry it is side ways :P

Once you have done all of this test it out and tweek it. It will take the hassle out of feeding your dogs forever. So CELEBRATE

Conclusion

Fabricating the materials is not very difficult if you have basic knowledge of how to use tools and basic wiring. The complications will arise when trying to modify the code besides in the places designated.